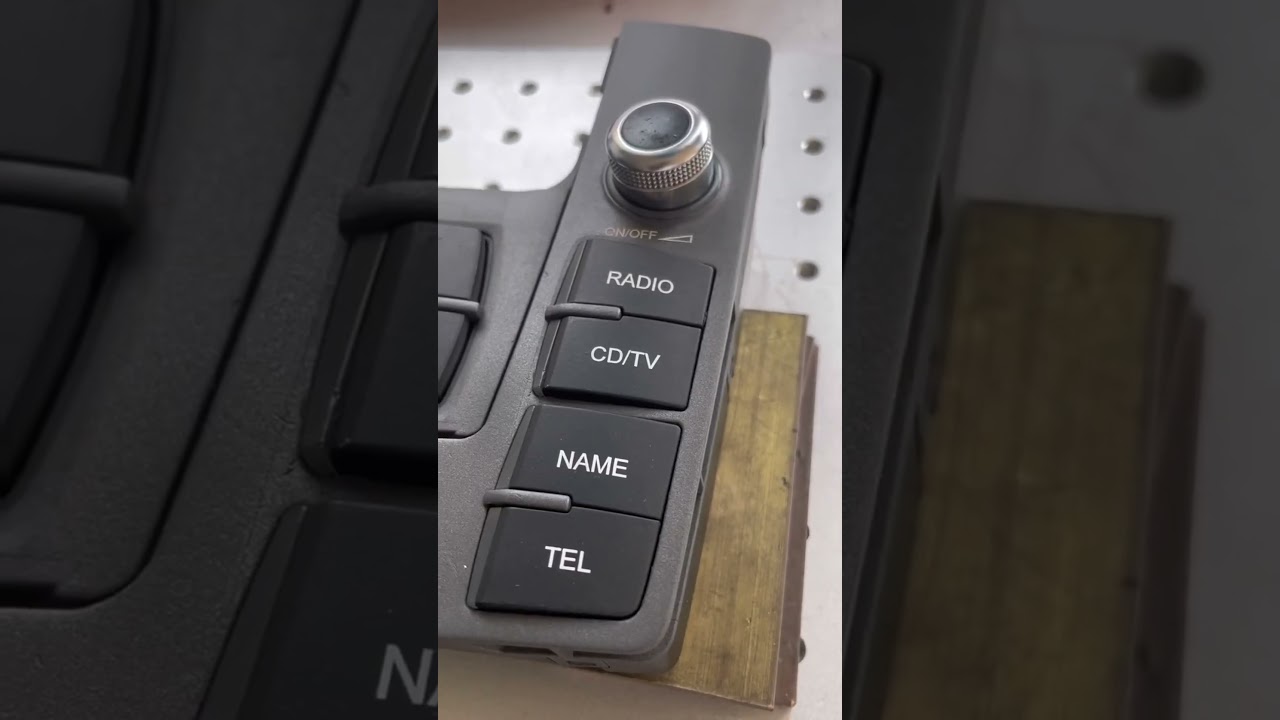
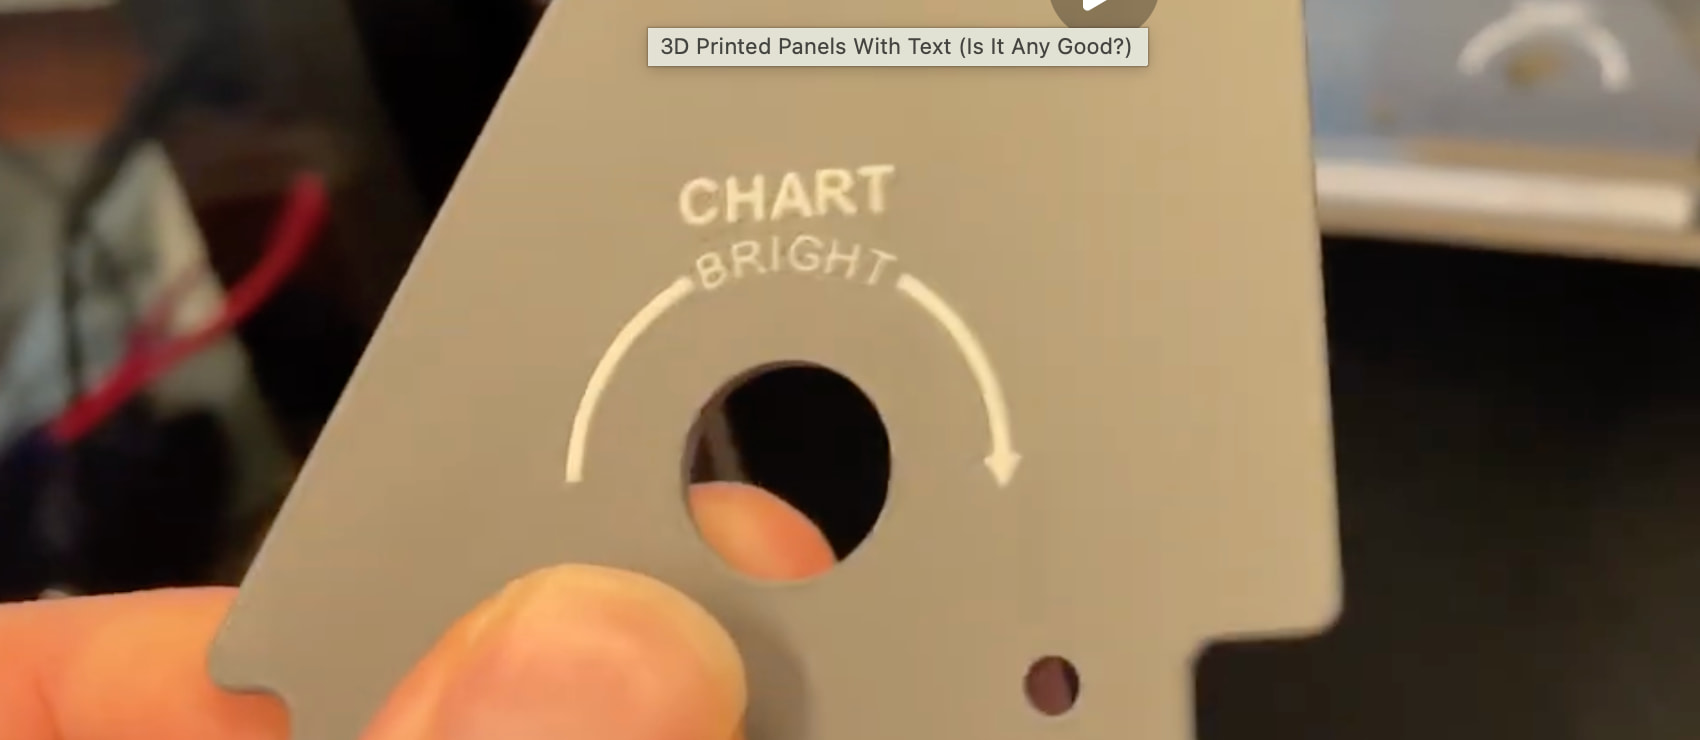
I am trying to create a set of buttons for my car stereo and recently obtained a Longer Ray5 MiniS laser engraver, trying to do something like this for backlit text:
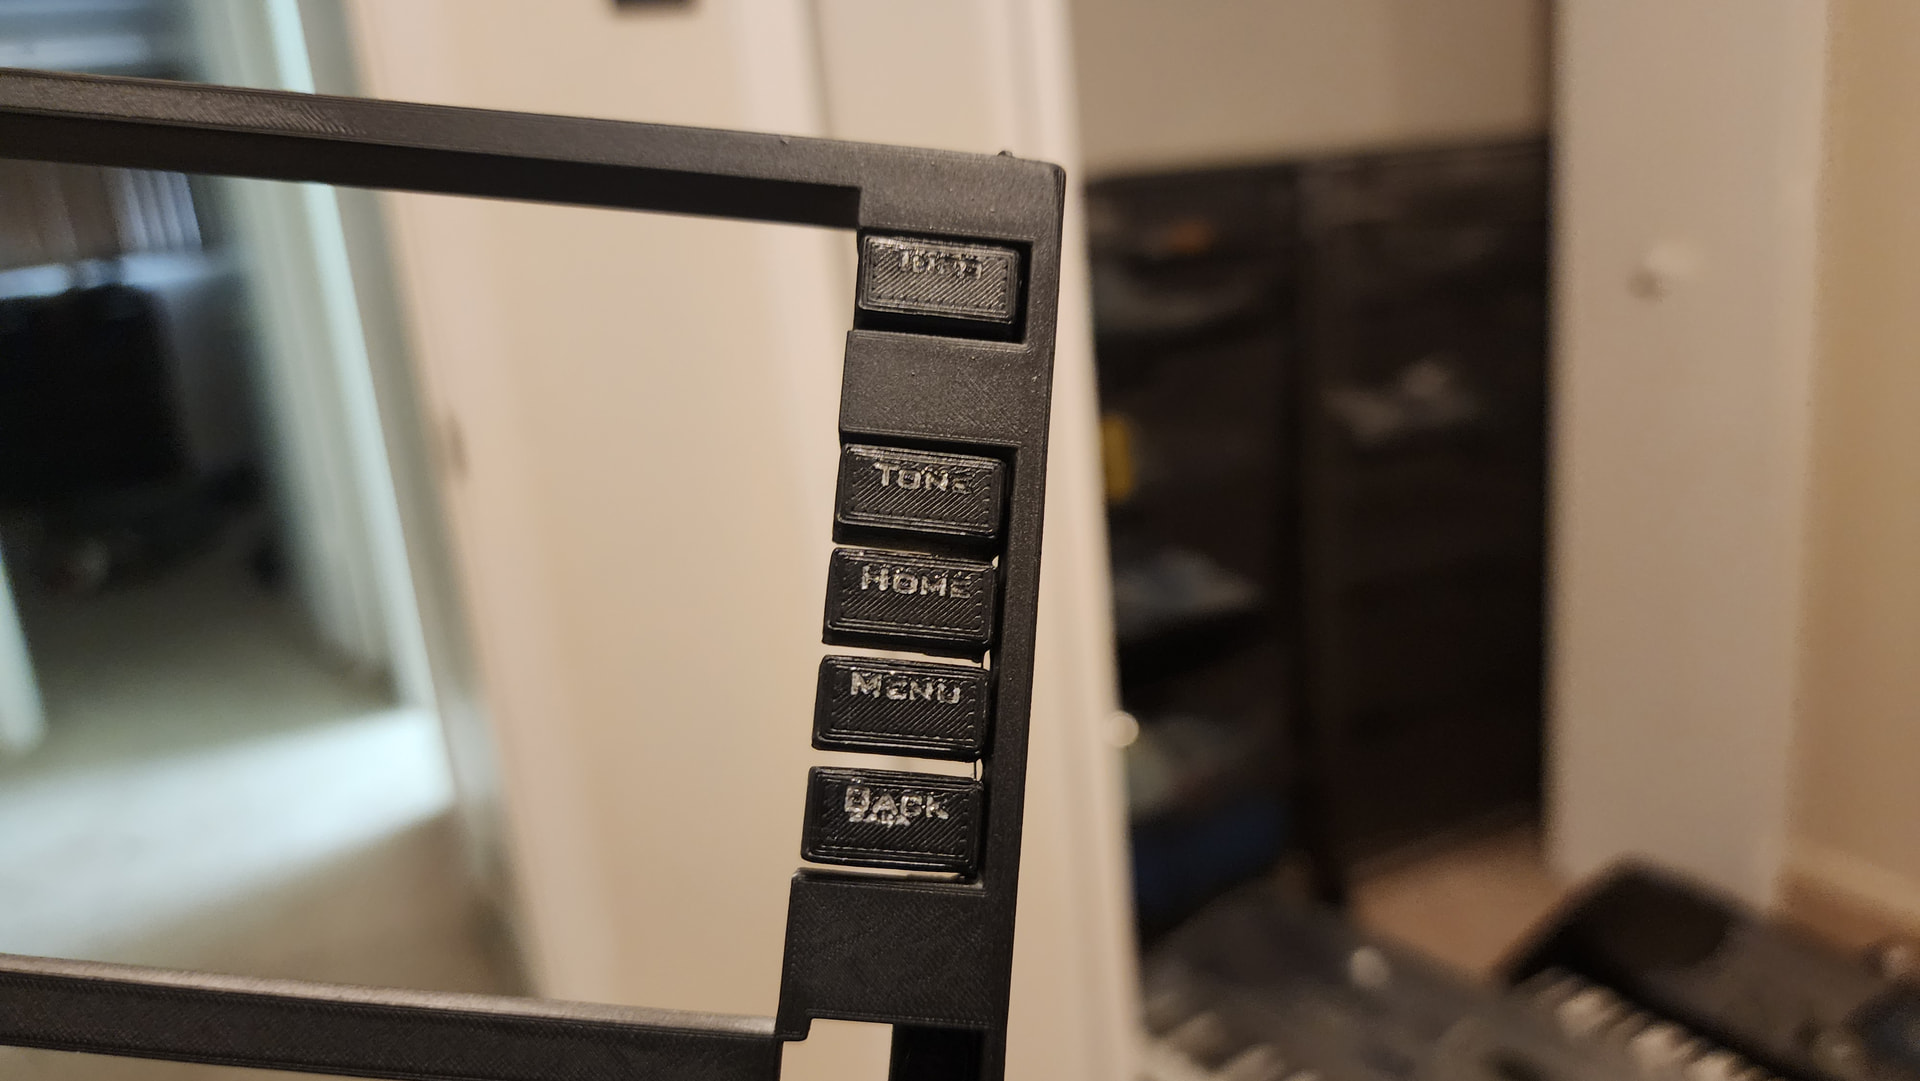
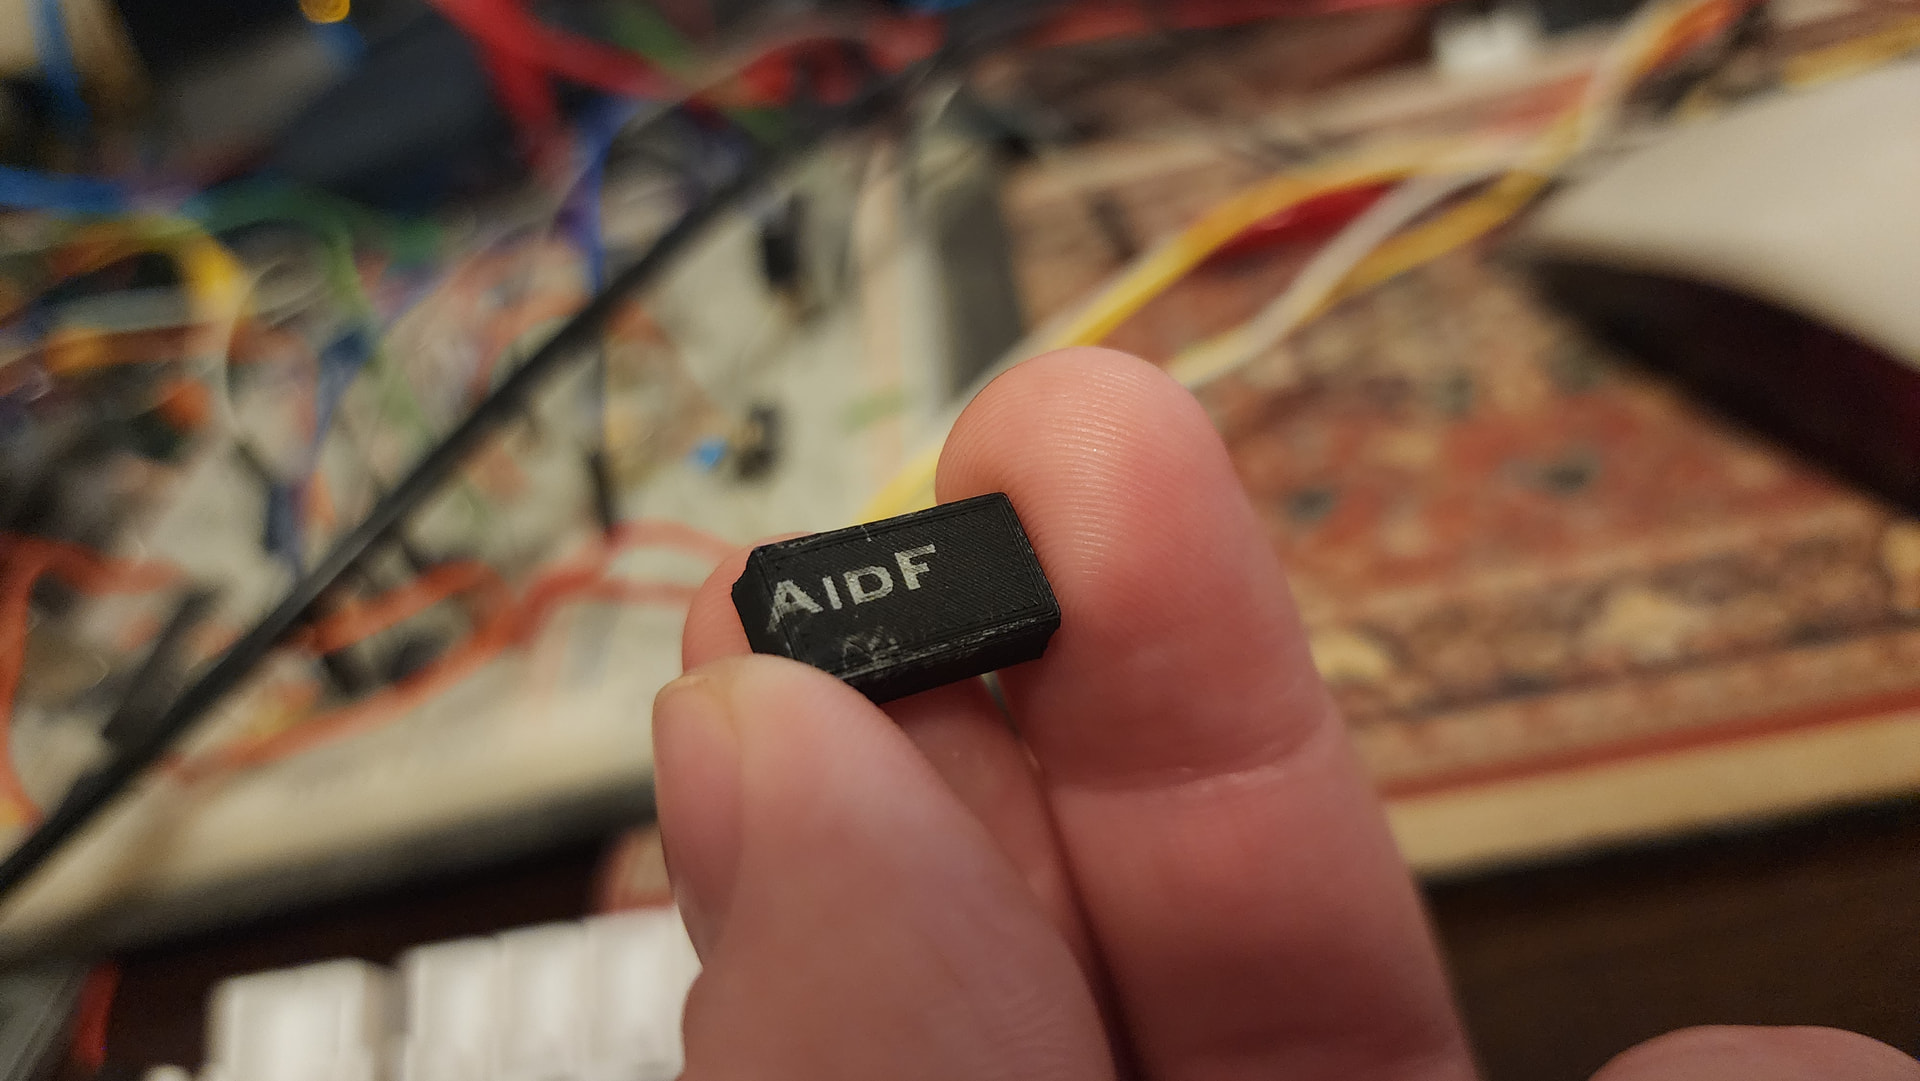
I tried it with 3D printed/painted plastic (again, with my own laser, not a shop laser), but ended up getting this:
It almost looks (and smells) like the plastic and paint melted together. Are there any laser settings I should know about that might be doing this? Am I using the totally wrong type of laser? Is there a better way of doing what I’m trying to do?
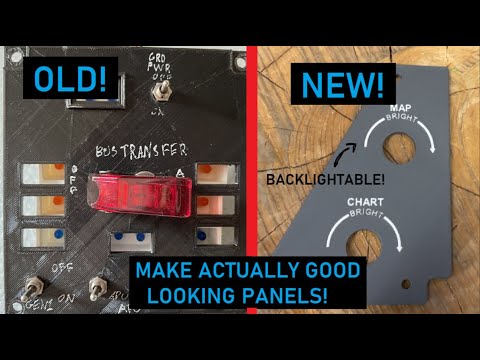
I tried something like that with the Prusa XL forever ago but the nozzle was too thick. Additionally, that printer wasn’t enclosed, so there was warping. I have my own enclosed MK3S now with a 0.25mm nozzle, though there is only one print head, and as he says in the video, manual filament changes are not ideal. Would 0.25mm be thin enough?
So it looks like I have a few options here. I think JLCPCB offers a pre-painted resin option but they list the heat deflection temperature as 50-55℃, which would not be ideal in a car… pre-painted would be convenient though!
if you don’t need the backlighting like they are doing in the video they mention you can probably get away with only a single filament switch on the top layer to put the Text layer down on top. They are using the Bambu 0.2mm nozzle and it looks like they are getting good details so your 0.25mm would probably work.
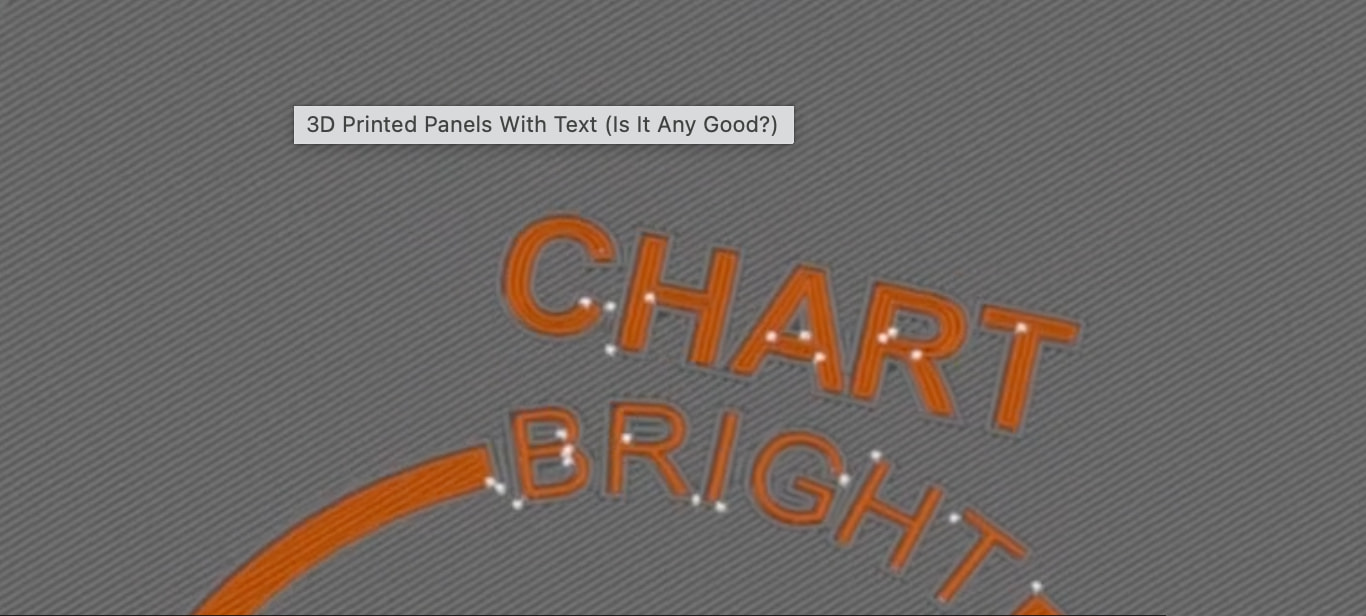
Here are some screen grabs from their video that show what the slicer generated and what the part looked like.
It’s a car stereo so it will need to be backlit… Though a single layer of white text at the top (or bottom in my case) could potentially work given that the button is not as thick as what they are printing here. I could just leave the areas the light would pass through open.
Would black filament block stray light well enough?
I may have a better idea. As I found out from running out of filament the other day, layers printed in different filament are easier to break off. Suppose I created a thin text layer that can be “peeled off” the print and used that as a stencil- I would print in white, paint, let it dry a bit, then peel. Could that work?
Update: This didn’t work so well, the text layer couldn’t be peeled off and created a bit of a depression around the text.
I’ve done a bunch of this text inlay for board game pieces generally, and through-lit a fair number of things. Perfect text is not where it excels though!
Glad you got the laser working right!
My first thought is to print the part all translucent, then mask with sticky vinyl from the vinyl cutter, and spray paint to block light before removing the mask.
If you want to do just the text layers with the small nozzle (because it’s horribly slow), you could try doing a thin print (eg. 0.2mm in four layers of 0.05mm) with the small nozzle, then start a second print with a bigger nozzle on top of it. If your first print is thin enough, you can get away with mesh bed leveling (because the nozzle doesn’t actually touch the plate during leveling). If this sounds interesting, I’d be happy to talk about details.
Good point! April and I have done some experiments with a 0.25 Revo nozzle already. I recommend a high quality high flow-rate filament, and a higher temperature than usual. Even with that, we saw some under-extrusion at 0.25mm.
I don’t what printer you’re using, but if you have access to an AMS or are willing to do some filament swapping, using the 3d printed method using a 0.2mm nozzle and printing with the text face down on the bed will get you really clean results.
One of the issues you’ll face using laser etching on the top side of the print is, basically, grain. The 0.4mm width of the filament will cause some uneven cuts. You could try doing an ironing pass on the top of the print to see if this helps.