i’m pretty handy and have always wanted to get my head around how to do professional picture framing.
i think i’m a couple of tools away from being able to do it all myself and i’m wondering if there is a pro out there that has done this that wouldn’t mind doing an informal presentation on it so i can tell notes and see the process.
THANKS
I would also sign up for this, formal or informal. I recently made some small frames (see the August project thread). I am somewhat comfortable with glass cutting, getting decent miters using the table saw sled, and producing edge profiles using the router table. But I am certain I’m missing the last 20% that makes it good.
I do recall a video from Jen on the TESTED YouTube channel a couple years back - it was helpful, but I also wasn’t willing to invest in the specific tools for how often I’d use them.
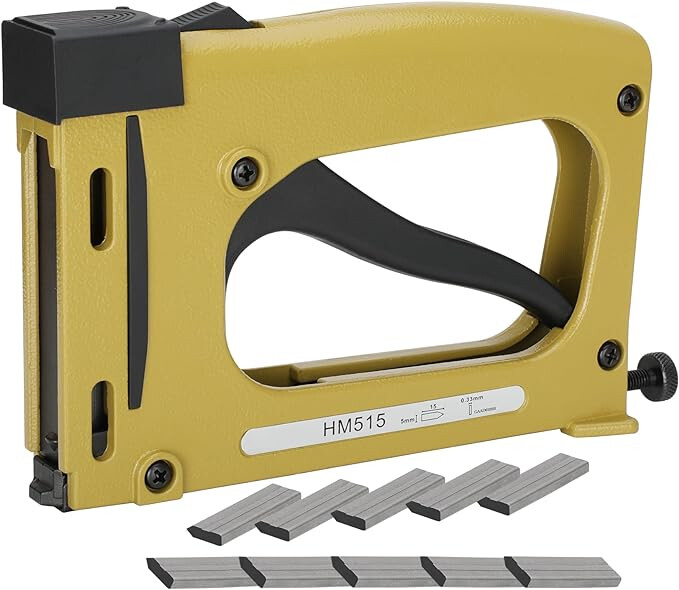
That video mentions a pneumatic tool used in frame shops. That may be true for mass production factories but not the custom frame shops I worked for as a teen. Those shops used a specialty nail gun similar to this: Picture Frame Nailer Used for Picture Framing and Door Assembly | V Nail Gun | Meite USA — MEITE USA
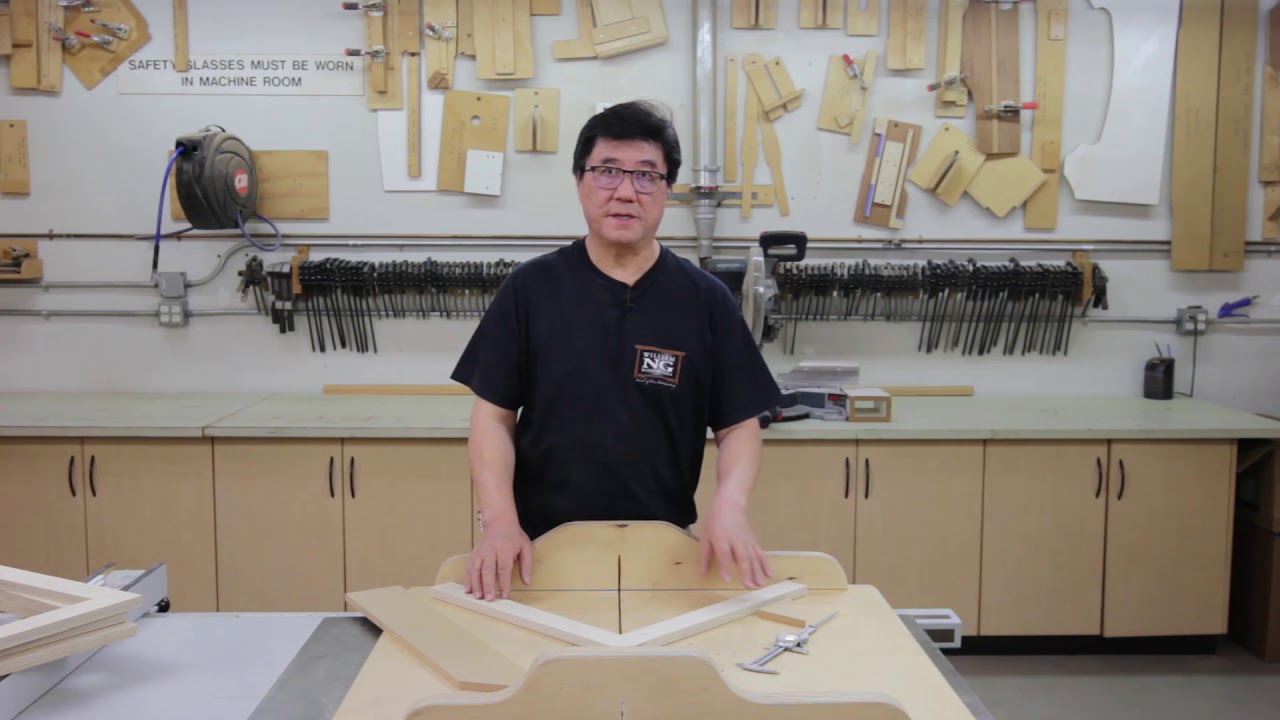
Like every other “professional” work everything has to be taylored to the tools you have in hand along with basic knowledge and techniques. For example, the times i have done framing, the mats were cut on a wizard mat cutting automated machine, glass on a fletcher 3000 which could cut mat cardboard depending on the head attahment. Moldings were available for the frames and those were cut on a Pistorius double miter pmematic saw. It was put together with a pneumatic “V” nailer press. Made 10 frames in a few hours. As you can see in the video it can be done using manual specialty machines. I have also made plenty of frames using the miter saw and the sled on the table saw with the same results. The best i can tell you is use a sharp good quality blade when cutting the miters. It makes the world of difference. Oposite sides of the frame have to be identical in length to have good tight corners. If you’re just gluing the frames use a band clamp. Other than that educate yourself on acid, acid free mats/paper, different kinds of glass, the kind and qualities of mat board, the difference of widths in mouldings and how to apply that in relation to the subject that is being framed. The different markers and putties for the joints. The differents kinds of mechanical fasteners. The use if vacuum tables. And last different kinds of backing paper and mounting boards. Really not much to it and not very technical.
Also, we have a rarely-used and possibly little-known mat cutter. It lives in textiles.
thanks a lot for this Jon.
thanks for that. that’s a nice video. appreciate it.
thanks. i guess i’d pick something like that up if i could fine a high quality one used.
thanks for that JG,
it’s helpful.
i guess i am trying to see how close i can come to doing it reasonably professionally.
sounds like we have a mat cutter i could use.
and it also sounds like i would be cutting miters on the table saw or on the mitre saw?
then - do we have a vacuum table? or corner clamps?
you mention a fletcher 3000 which i have to look up. i could probably cut foam core and mats manually. i think the mats need a 45 degree angle for the inside cut to mount the picture?
then glass o guess o would cut with a glass cutter and a straightedge? or maybe done i have to sand the edges i would buy glass to fit? glass can get expensive so it could be helpful to cut and sand it myself i suppose?
then you were saying a double mitre saw and pneumatic V nailer press?
i won’t have access to those so can i ask if you think buying a pneumatic nailing gun and using the table saw to cut 45s is the answer here?
i’d also be using the table saw to cut molding - out of red oak - presumably?
and i suppose i could make myself a jig of some kind for nailing the frames? i wonder if people make jigs? or do i buy some professional quality corner clamps?
also wondering the best place to buy frame material i guess.
Do you want to do this as a business? If so, outright you’re going to have a hard time beating Hobbylobby. Is possible specially if you actually make your own moldings or you have “contacts” committed to you. Red oak off the shelf is not really a prime material for frames. Im not sure if theyre still around (its been 6 yrs or so) but there used to be some local manufacturers or major wholesalers in the nearby area. You may want to look into that. Which brings up a point, you may need a place to store the moulding to have on hand. There is no vacum table in Asmbly or any specialty tools other than the Mat cutter and that one is a table top manual kind. You will be limited to that size. In the posituve side, they are not very expensive but do take up some realstate. The vacum table for the most you may not need it and you could get a big vacum bag and a vacum pump to overcome that on the cheap. Mats normally have the 45 chamfer edge in the inside to make them attractive. You could order those online to whatever specifications you need cut, they are very competitive and you would not have to keep up with inventory. The Fletcher cutter is just what was available to me along with the other machines mentioned above. There are cheaper alternatives to them like you mentioned. The double miter saw is a specialty machine pretty much only used for picture framing. It cuts both sides of the 45° at the same time. They usually have a work table with measurements engraved on it and adjustable stop so you can make repetitve cuts. Is pricey. If youre going the miter saw way get your own with a very good blade and set it up to only cut miters. You can get glass, mat, or anything picture framing in bulk online from different sources. Some items may be cheaper on the business Amazon. Currently in Asmbly i dont think there is anyone doing picture frames in anyway so infirmation may be hard to get for you. But i may be wrong.
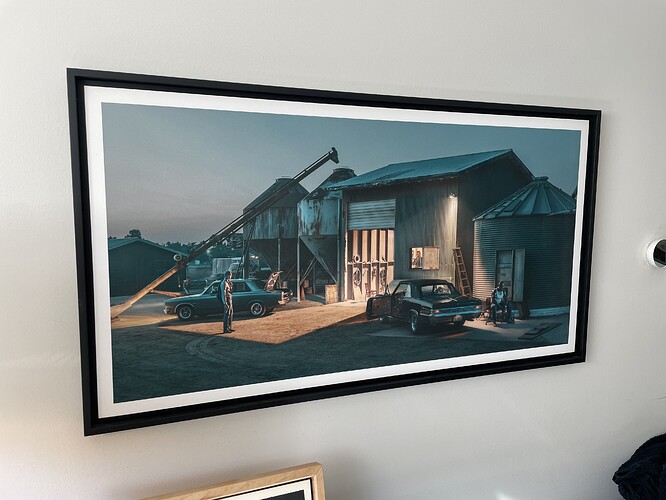
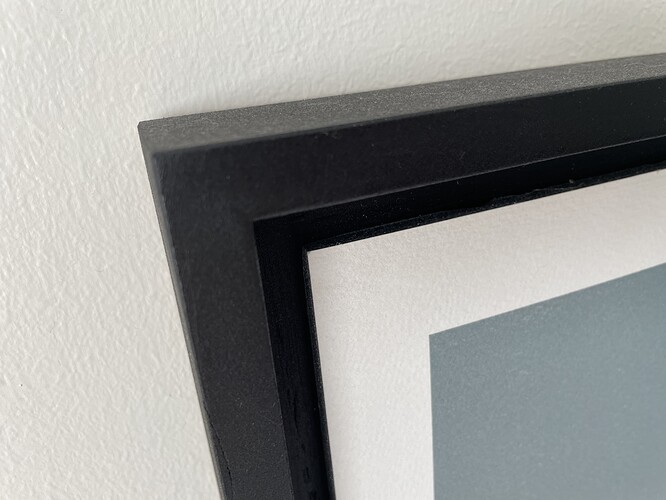
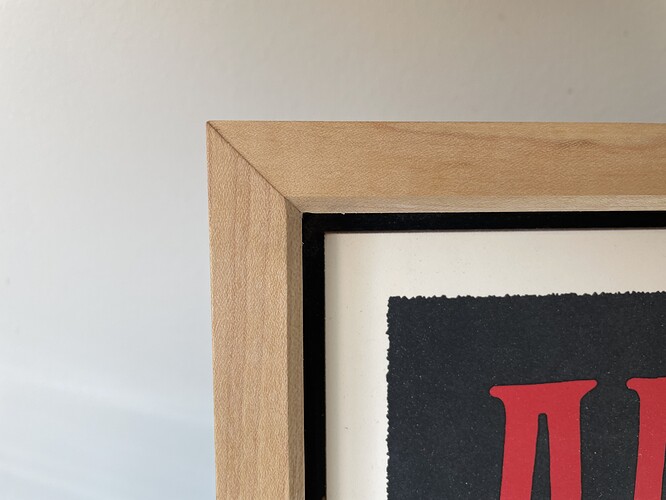
I’ve made a couple dozen frames for my own purposes, due to the prohibitive cost of custom framing. I don’t have any special framing tools, but I’ve made some frame jigs which have been successful for me. I don’t like glass on my arts, so I make the frames in this floating frame style. I always hard mount the art (or foam core), and glue or 3M foam sticker the art to a sub-frame. And then I wrap or install the sub frame into a decorative frame.
If you are going to do more ornate frames, @JOSEGAYTAN is right, you will need to find a supplier of those frame materials. It shouldn’t be too hard. For matte board, I would also do as Jose suggests, and sub that out. But if you really enjoy cutting matte, a dedicated cutter is a must. Frame shops go out of business all the time, and you can find a good deal on one. As for glass, just get it supplied and cut at Alamo Glass. You don’t want to be in the business of stocking these kinds of materials.
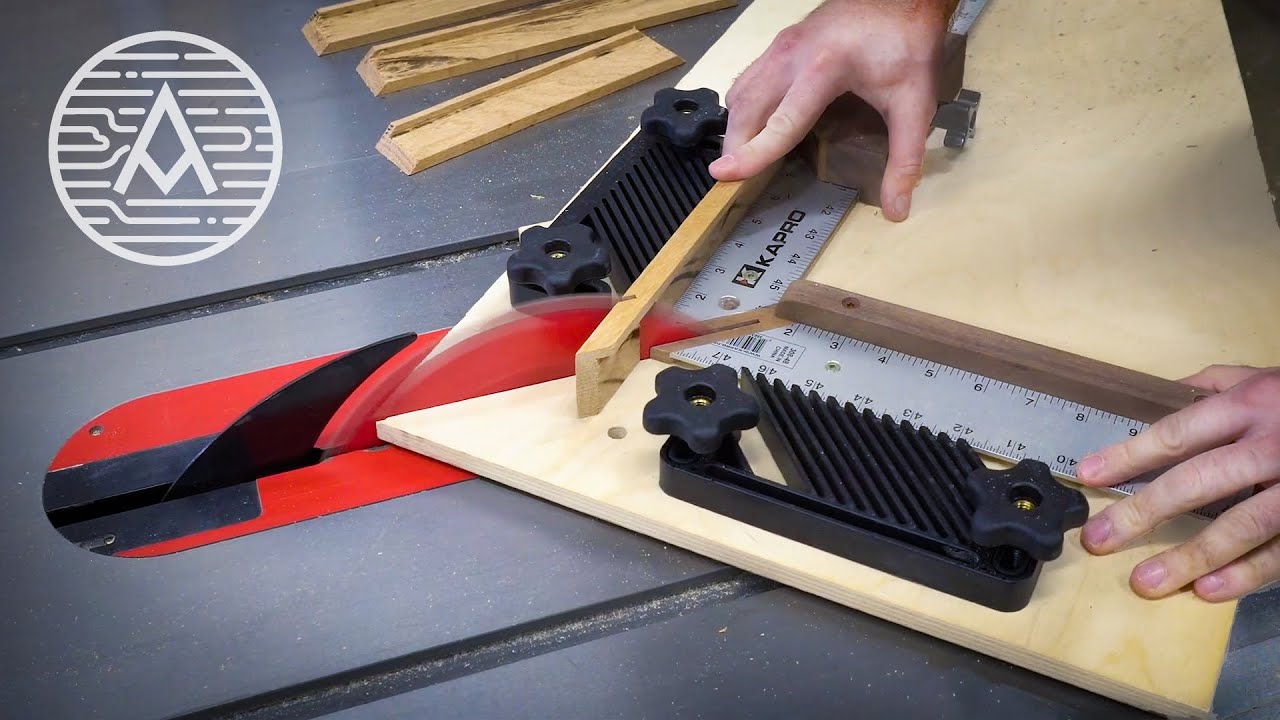
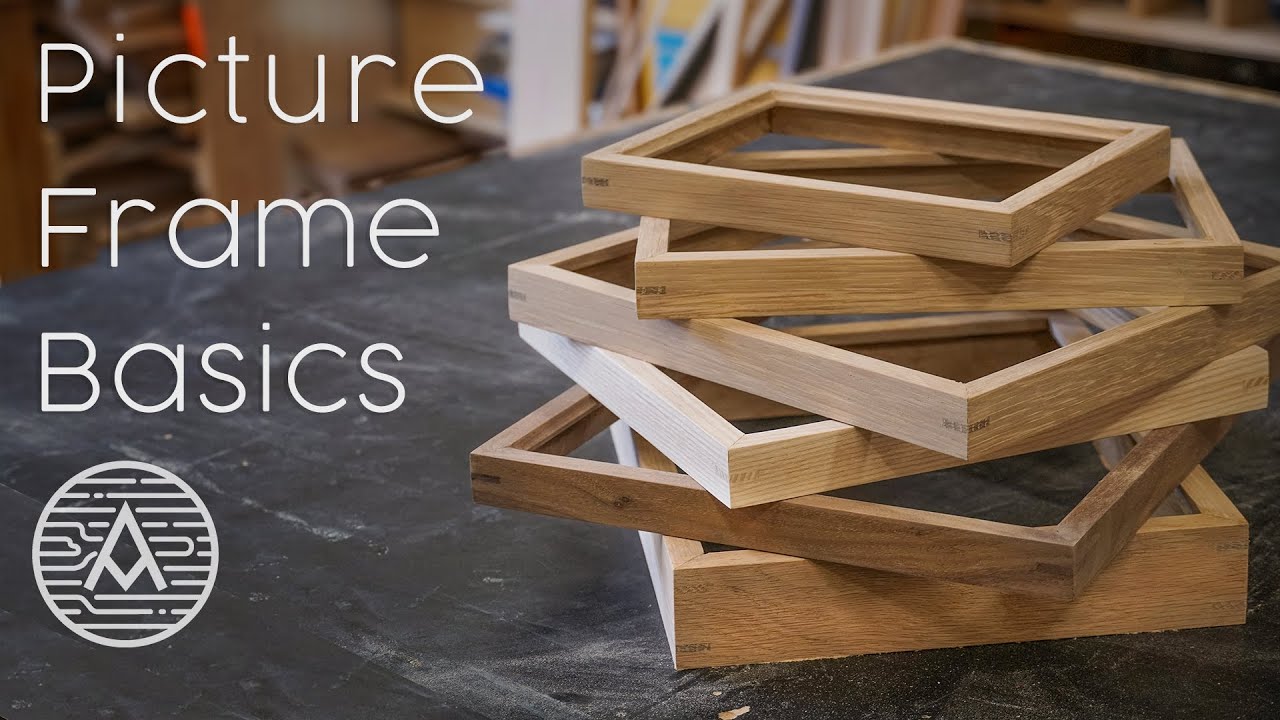
Making frames isn’t all that difficult. And I’ll be making about a dozen more in the near future, if you want to see how I do it. I wouldn’t use a miter saw unless you have a super good and dialed in model. A dedicated frame sled is ideal.
I don’t love this joinery style for a picture frame, but the Origin and router table offer alternatives for the actual frames: Picture Frame Created by Andy_R — A simple frame with dovetail joints. The size fits an A4 paper, by obscuring a 5mm border all around. The thickness is variable and also depends on the thickness of the (plexi)glass and the backwall.
Lot of interest in this topic.
@jiggliemon “if you want to see how I do it” count me in if you put something together.
I’m only in it for personal framing as well. ![]()
BTW, I did see some big manual mat cutters at Austin Creative Reuse last time couple times I was there.
Thanks @jiggliemon for the glass supplier recommendation. I have been meaning to ask around!
Custom framers go out of business like once a quarter. So if you watch Facebook marketplace, you’ll see some fancy framing equipment go on sale frequently.
I worked in a custom frame shop for a couple years in my distant past…here’s what I remember about tools/methods:
Frame material: Generally we used premade stock/profiles and finishes which you can order or purchase in 6-8’ lengths, although at ASMBLY you could make some of your own depending on complexity esp. if you want hardwood (mill lumber, size, route profiles etc. etc.)
Miters: We used a special cutter with a foot pedal that cut both sides at once, somehow it helped get through the complicated profiles…but at ASMBLY I like the miter sled/jig idea or maybe chopsaw…sled is probably more precise.
Frame Assembly: White glue of some kind, dries clear…dare I say Aleene’s Tacky Glue? There are definitely some nice Tite-bond versions out there. We also used these plastic key things and a special router that help align corners, but that might be a bit much here…we did have these corner clamp/framing vises that helped hold the corners while glue dried which I’d say are crucial. Sometimes you might add fine brads and fill the holes but probably not necessary and we didn’t do often.
Matte cutting: We had a CNC matte cutter so you could do all the crazy shapes…but in general from art school times I used to cut rectangular mattes pretty often which are much more common. There are table top or wall mounted versions which work best, or even handheld that you use with a straight edge…and you usually cut a 45 bevel around the art and straight cuts when sizing the board down. You can also order these cut to size at a shop as well. That Logan we have at ASMBLY would probably be fine if you got blades.
Glass: There are different kinds…if you are concerned about archival things then you want what is called “Museum” glass which has a coating which blocks UV, and there are also various types for minimizing glare if needed. I’d just order from a custom framing shop cut to size, there are glass cutters and we used a vertical one but it’s just another piece of equipment and if you are doing as a hobby I don’t think you need.
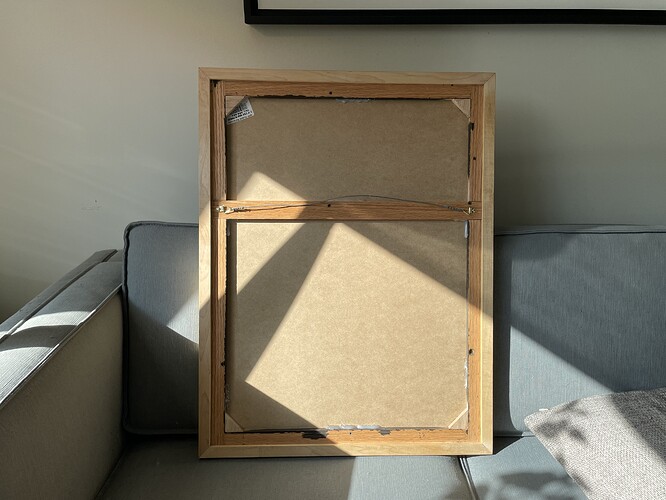
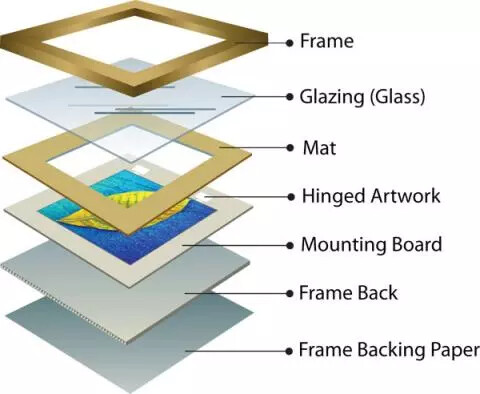
Assembling: Basically once you have all the parts ready you make a sandwich…like this:
One specific tool that was useful here and I’d recommend is something called framing points and a point driver…like this:
It shoots these little flexible arrow point things into the frame to hold the sandwich together.
Packaging/Hangers: Most frame shops will seal the back of pictures with something like black craft paper using some double side tape, makes a nice package and elevates the whole thing. Then we’d add felt bumpers to the bottom corners, and then attach hangers and a wire…we used a nice thin plastic coated framing wire with crimpy things for the end loops.
There are also other tips and tricks for dry mounted art with no mattes, building shadow boxes, floating mounts etc. I’m happy to answer questions or provide more specific recommendations if needed.
On the topic of points - I’ve framed with regular glazier’s points before. They install with a putty knife; you just have to be careful not to smoosh your material too much.
eg: Amazon.com
Point taken ![]()
nice! THANKS j! ![]()
![]()
