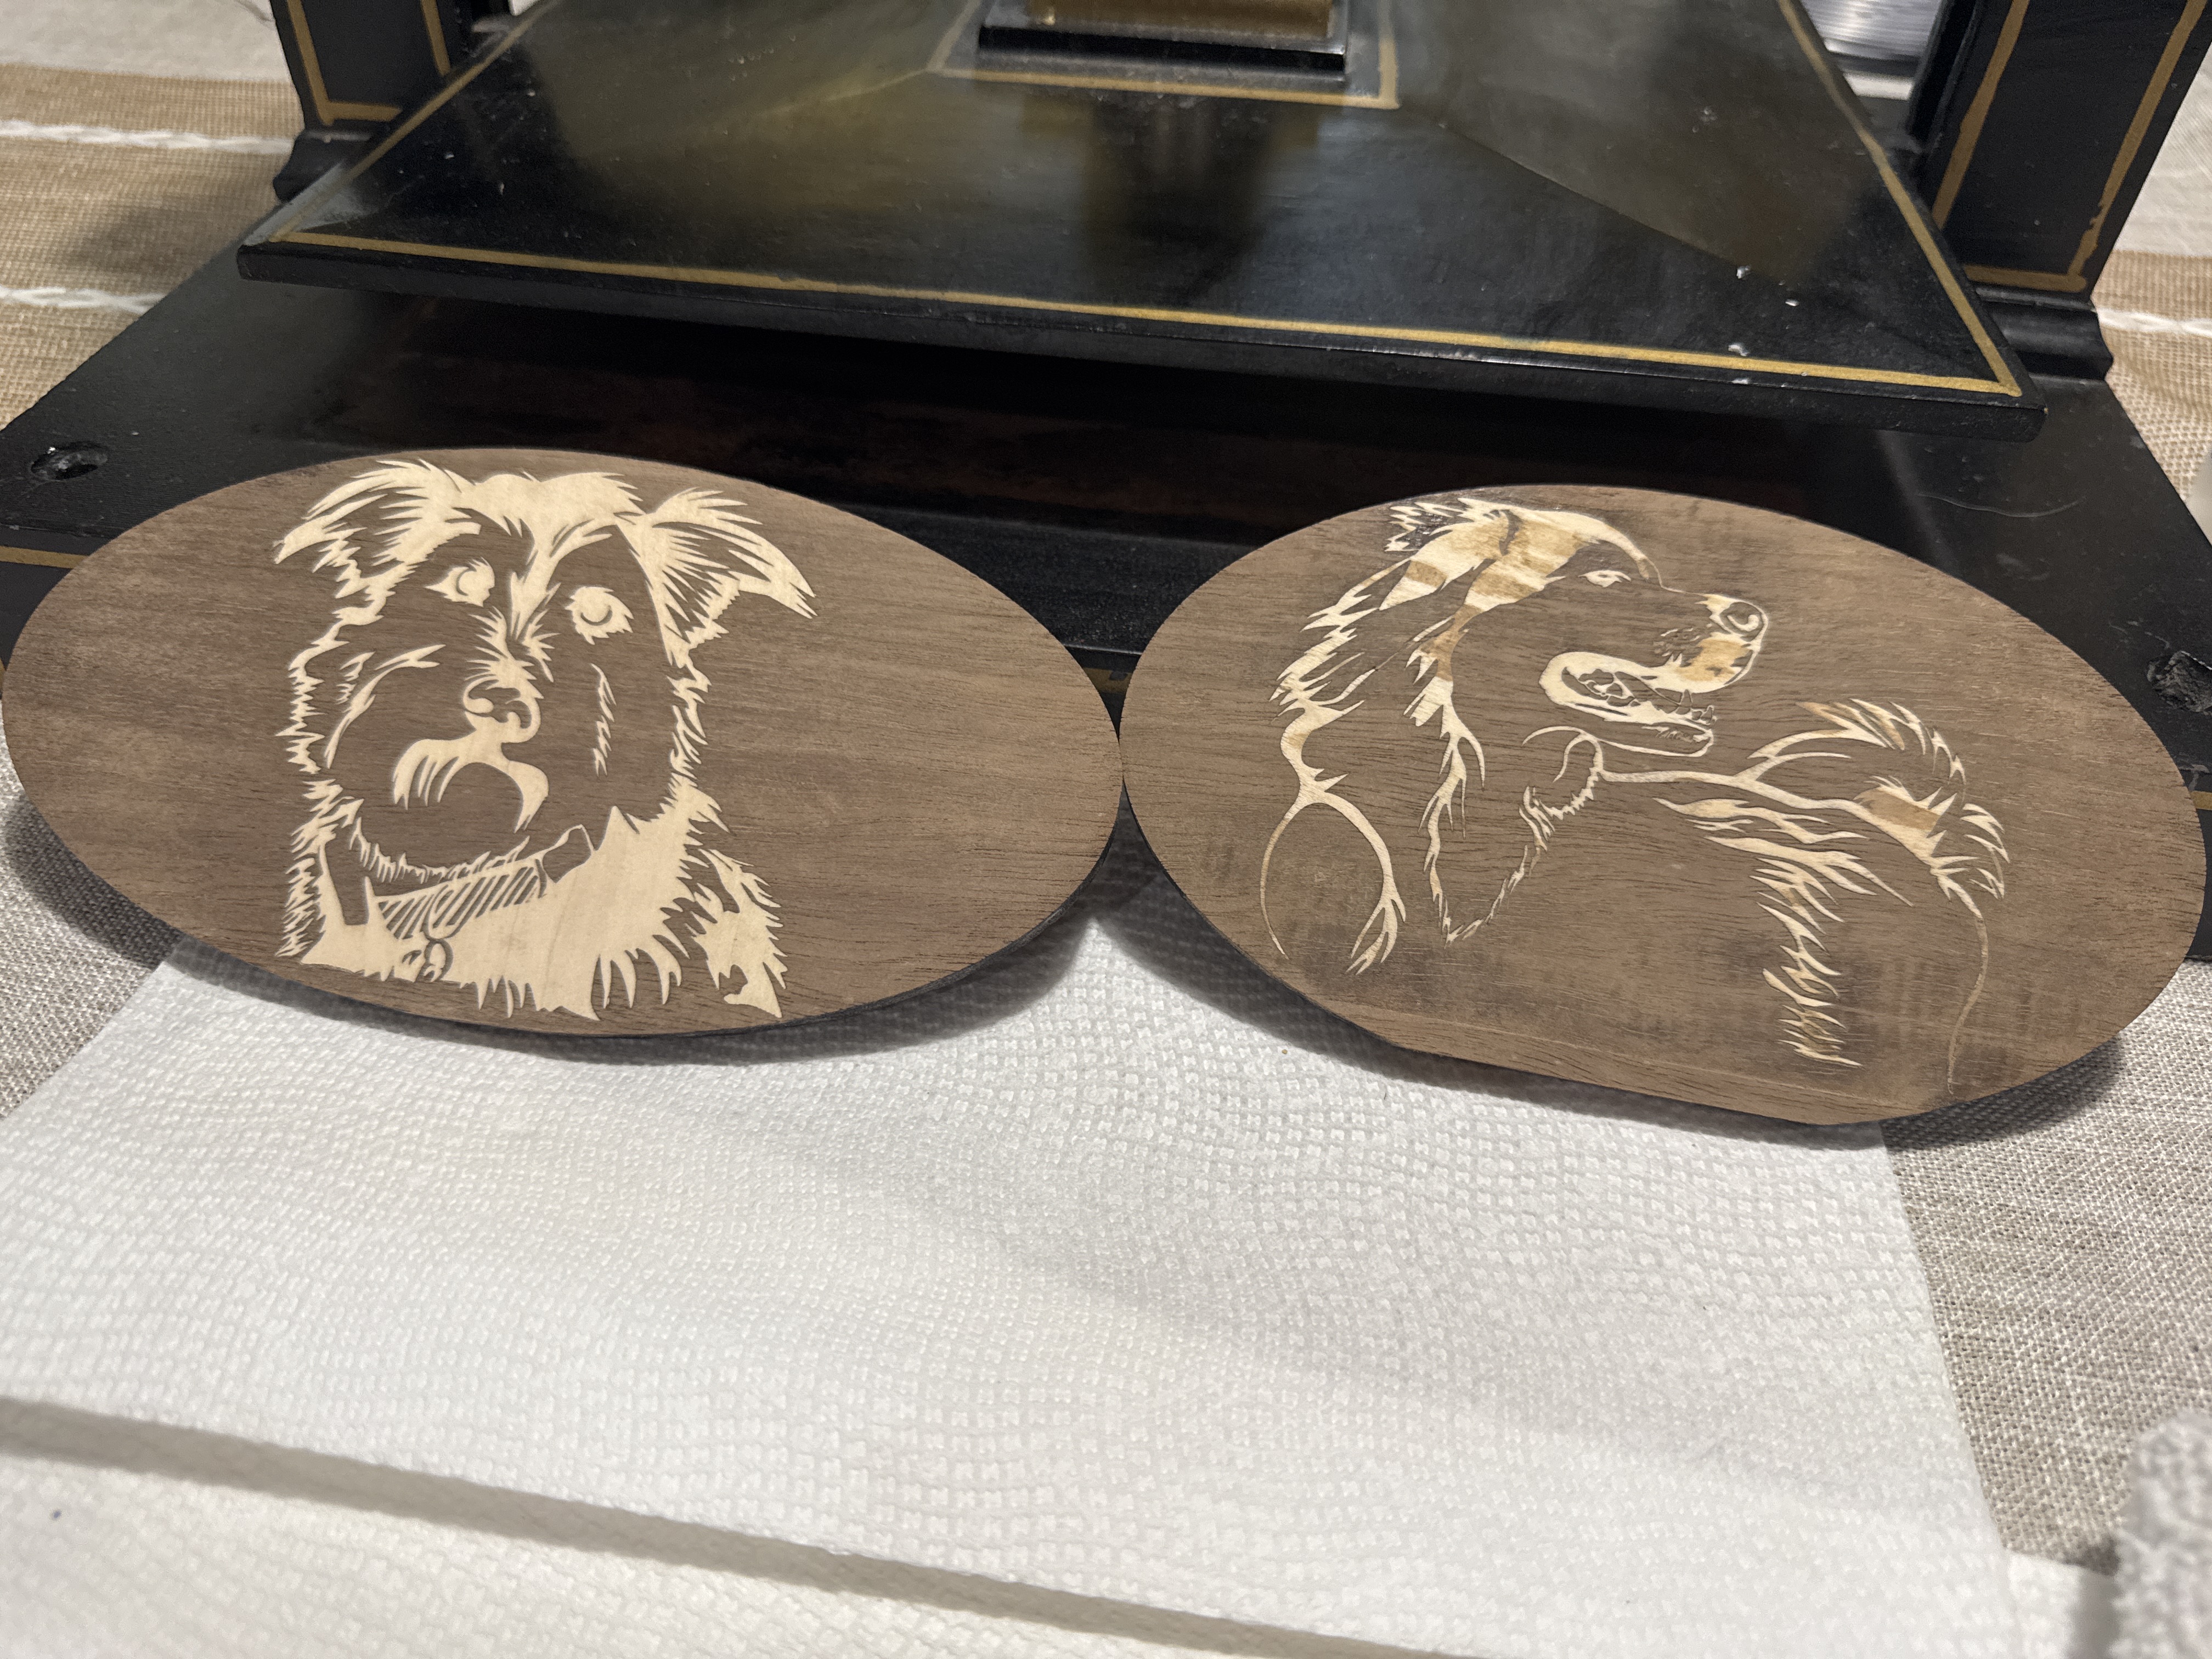
With a ton of help from Danny I knocked out a few last second Xmas gifts:
4 Likes
i did order some cheap veneer from Aliexpress that comes in rolls.
I had reservations about it because it had a “non woven backing” to hold it together. i thought that might be a problem.
it turns out the backing isn’t an issue, BUT I don’t think any of this is useable for laser marquetry.
This stuff appears too thin to use. it’s listed as 0.2mm but calipers say half the thickness is the backing. only 0.1mm of actual wood. that’s the same thickness as a standard sheet of paper.
I don’t see how this would work, because any sanding to level it will likely go through it before becoming level. the height of the inlaid surface across yhe inlay could easily vary by over 0.1mm.
and i don’t see how you’d get it aligned, either. it would be hard to tell if you’re pressing the foil and inlay in, or just the foil and having the inlay totally miss the alignment with the pocket. you can’t see the inlay itself at this stage.
I’m sure it’s useful for gluing on as a veneer in limited circumstances. you could glue it on cheap plywood and give it a quality surface- but if you went on to inlay a thicker veneer like we’ve been using into that, you can’t sand it level since you’ll likey sand through the veneer before getting it level.
well poop. I was all for cheaper, wider veneers but this looks like a fail
1 Like
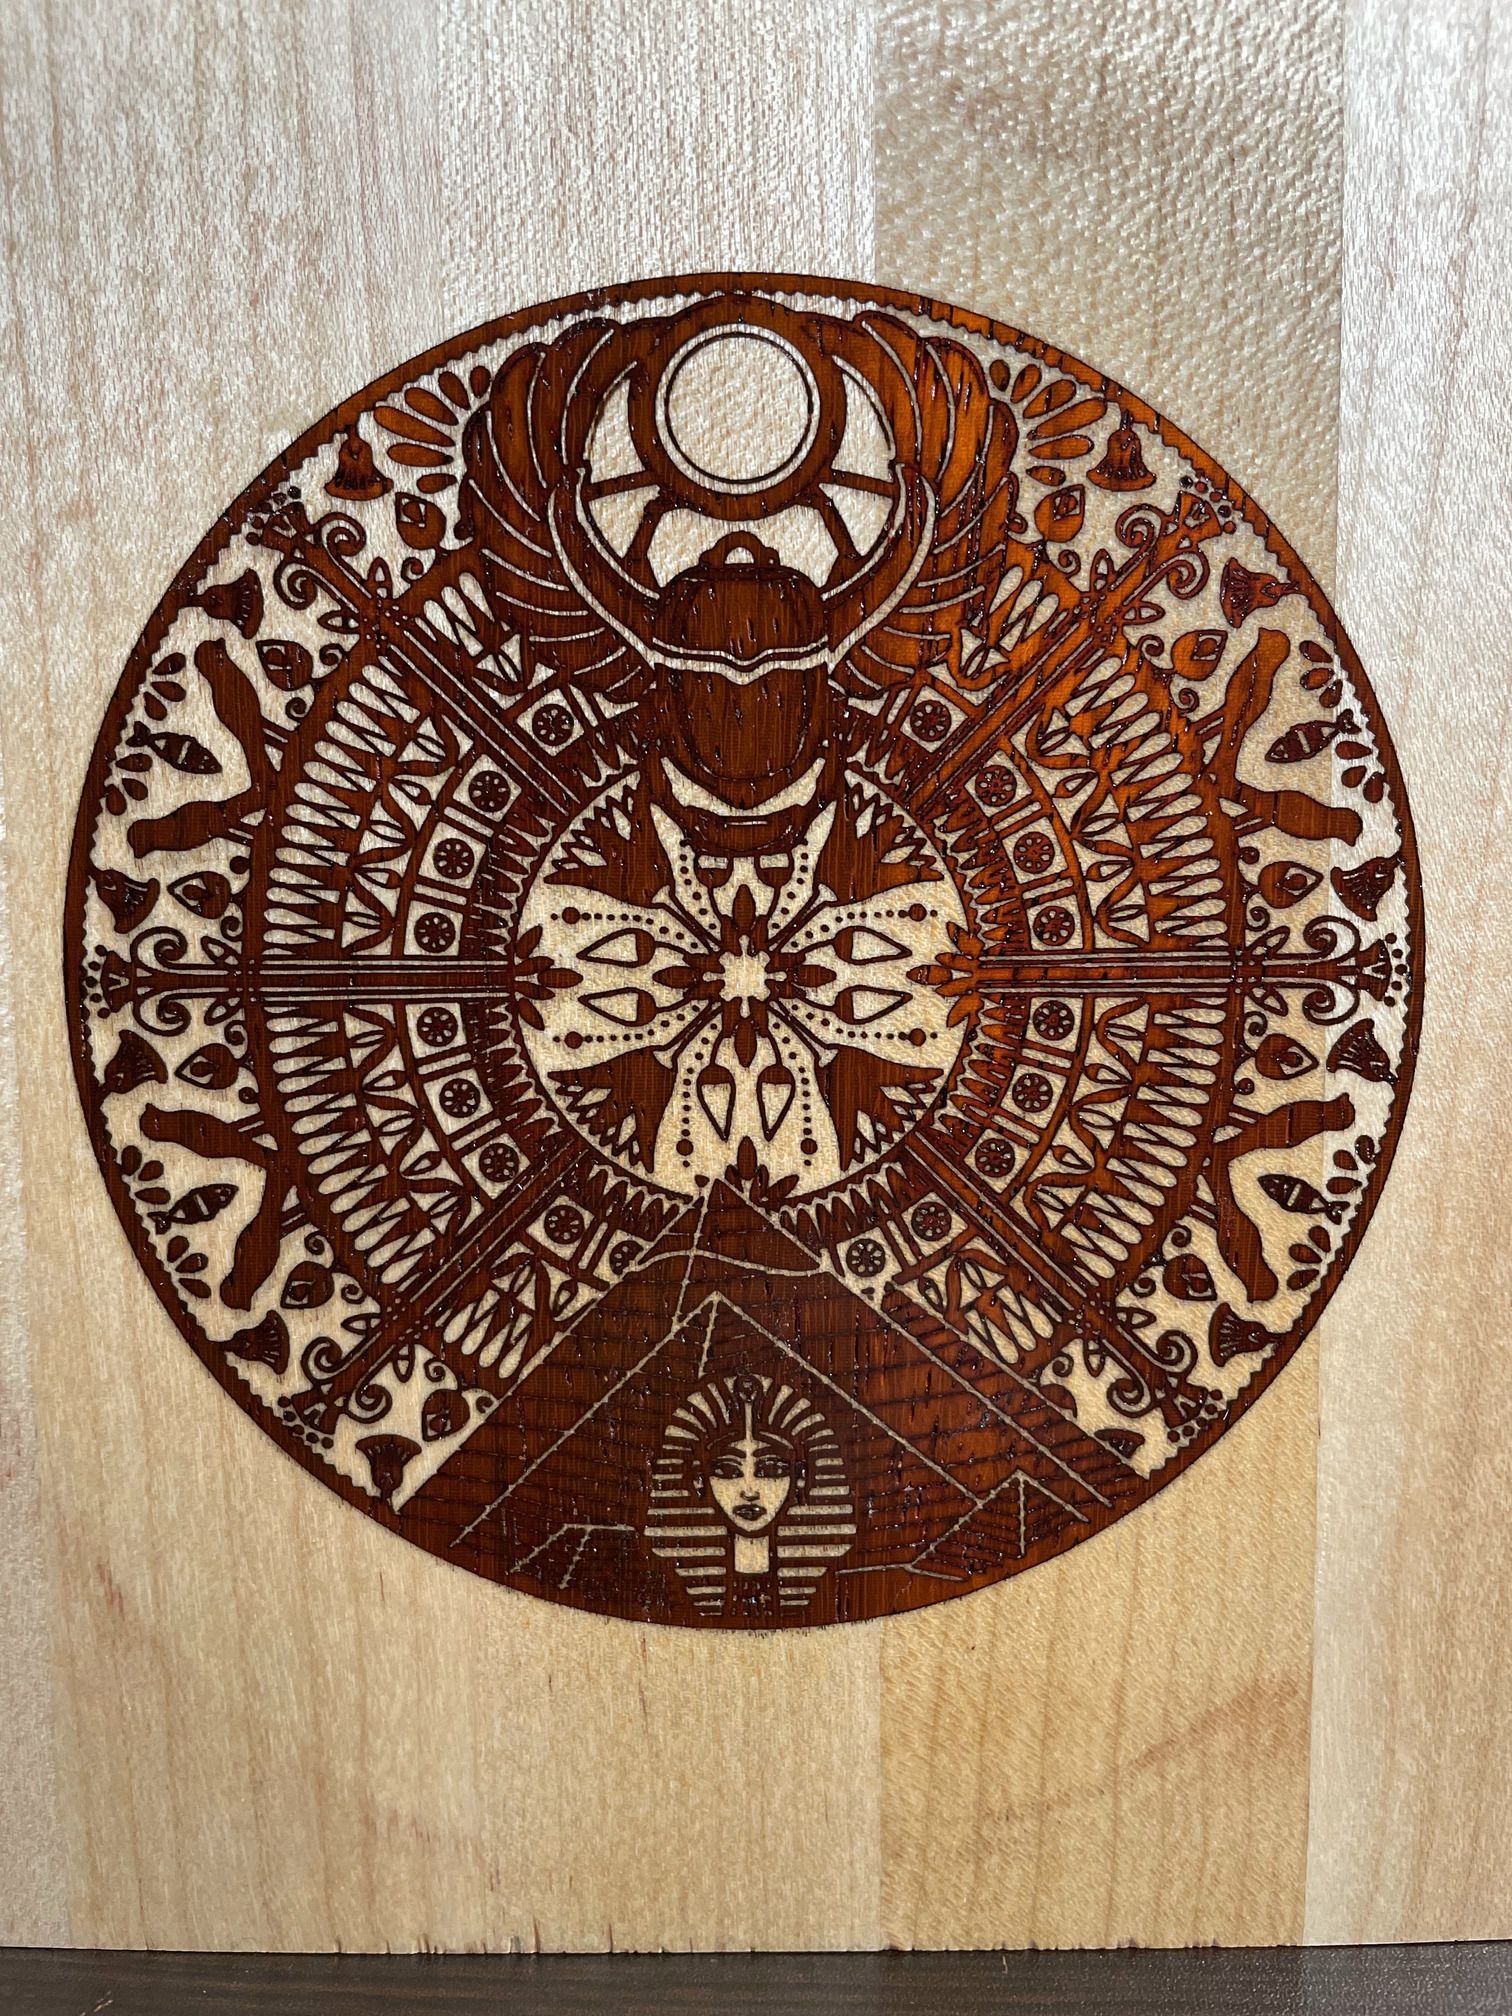
Here is my latest inlay using this technique, which I am quite happy with. The backing board AKA base is maple and the inlay I believe is padauk. The Egyptian Medallion is approximately 4.25" diameter. Tarkin settings for both base and inlay: Mode: Image with Grayscale, Speed: 800 mm/s, Power: 40%, Line Interval: 0.08.
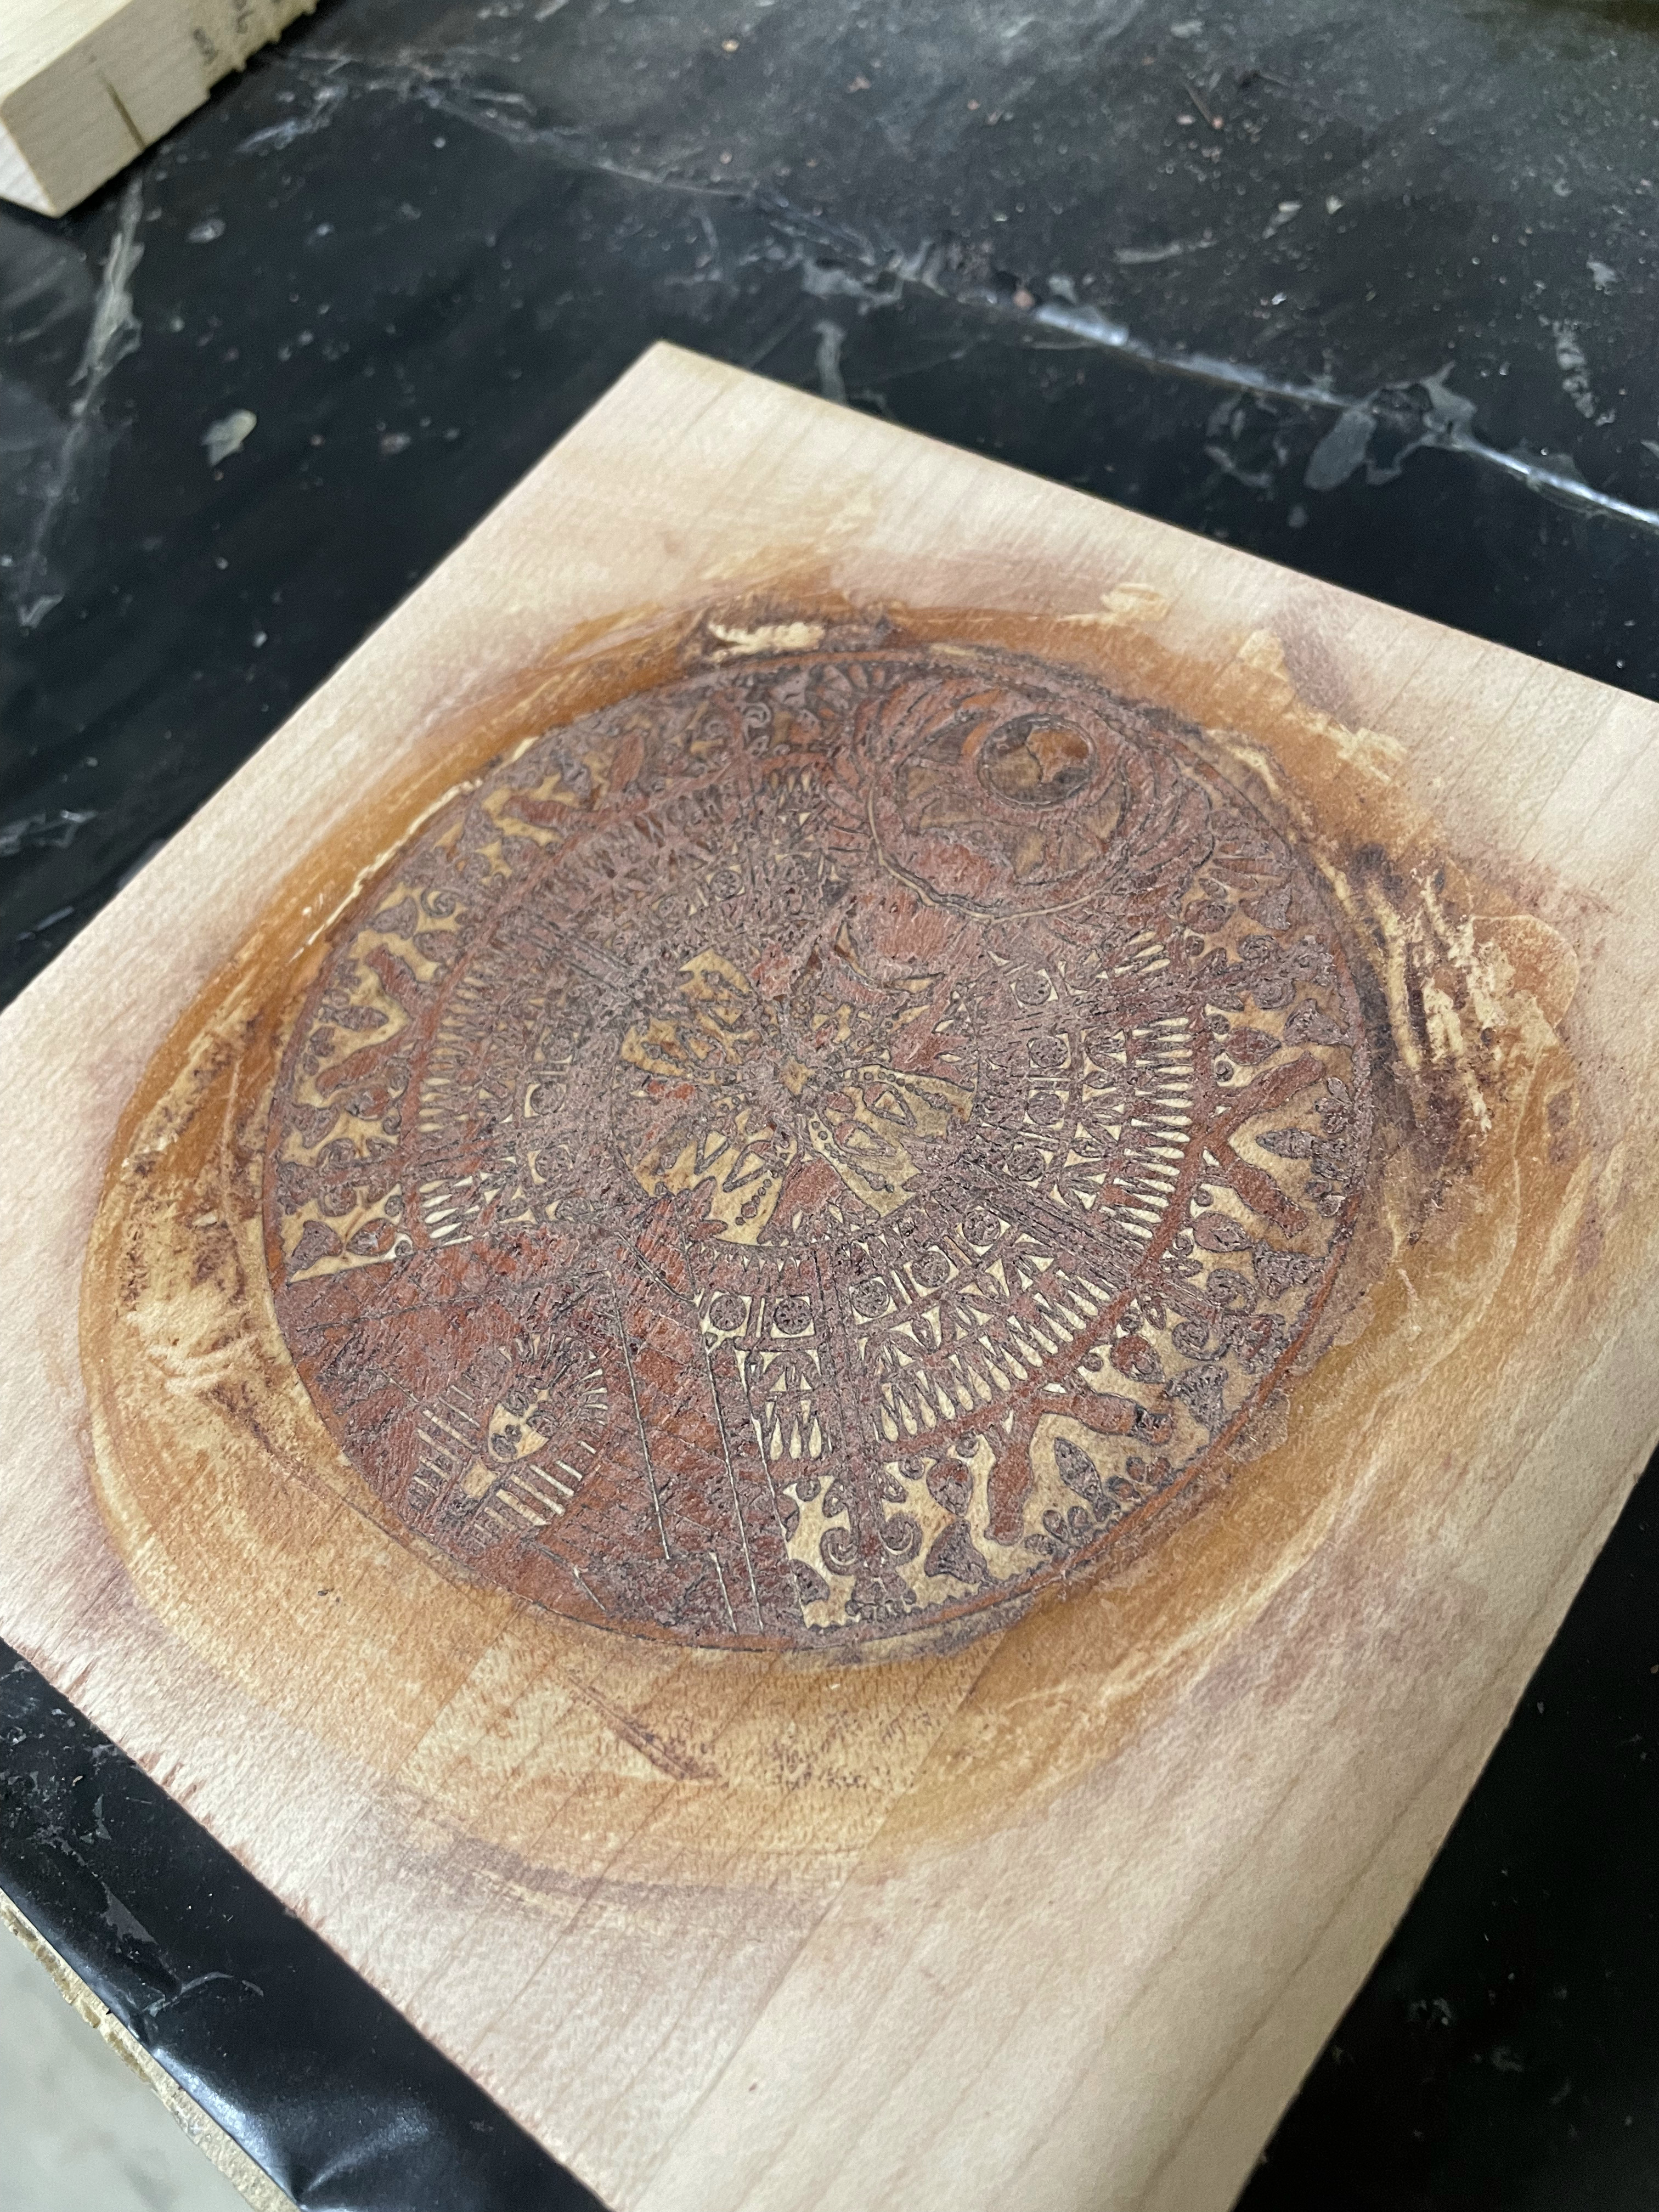
Here is a picture after gluing the inlay, letting it dry for three days, using an alcohol slurry to remove the aluminum backing, but before sanding. Sanded with 80, 150, 240 and 600 grit.
If you are interested in doing this technique, I would be happy to meet, share materials and work with you on your inlay project. This is because I would like to get more experience and to share the fun of this technique.
P.S. @Branislav When would you like to start on doing your inlay?
3 Likes
Did you do any offsets to compensate for the kerf?
@dannym, no I didn’t, but I tried to balance the positive and negative between the female base and the male inlay.
1 Like
Amazing results Brian!
The grain, contrast and detail really make this piece stand out!
@bwatt, that looks great! Being able to get those small circular features in the center to resolve and align is really encouraging.
My own project is an inlay for a gift/presentation box, although its contents won’t arrive until sometime in February (it’s a preorder of some cups/mugs). It will probably take me a couple of weeks to make the box, so I’m guessing I won’t get to the inlay until mid/late February.
@Branislav, OK, thanks for the update. Talk you again in mid/late February. Looking forward to it.
1 Like
@DanHawn Thanks! Do you have anything you’d like to try? We missed you at the Laser SIG last Sunday.
That’s kind of you to say, Brian!
I was bummed to be grounded that day! My knee injury took a turn for the worse and I’ve been spending all my free time in a recliner trying to recuperate for about 2 months now. (getting an MRI tomorrow, praying I don’t need surgery!)
I’ve got a bunch of artwork that might be suited for this technique, but haven’t been able to afford asmbly dues with medical and vet bills piling up.
@DanHawn Oh my gosh, so sorry that you’re not doing well, please get yourself checked out and get better!
Branislav, if you have the time, i would take Brian’s offer and practice a few runs. The process is not something that turns out right all the time. If you have experience, disregard this comment. Since the thread started i have seen several members try it (i was using Dorian) and all of them head to try more than once to get satisfactory results. The times i have done it (somewhat different techique) i can tell you, it can be frustrating as if something goes off a tiny bit that practice piece is toast. Anyway, good luck on your project, you always make nice unusual stuff.
1 Like
Thank you for the kind words, @JOSEGAYTAN ![]() I’ll definitely be looking for guidance and taking Brian up on his offer!
I’ll definitely be looking for guidance and taking Brian up on his offer!
Thank you to everyone who has contributed to this thread. I finally decided to give this technique a shot and got decent results. This is a 3”x3” spanish cedar inlayed in a piece of bass wood:
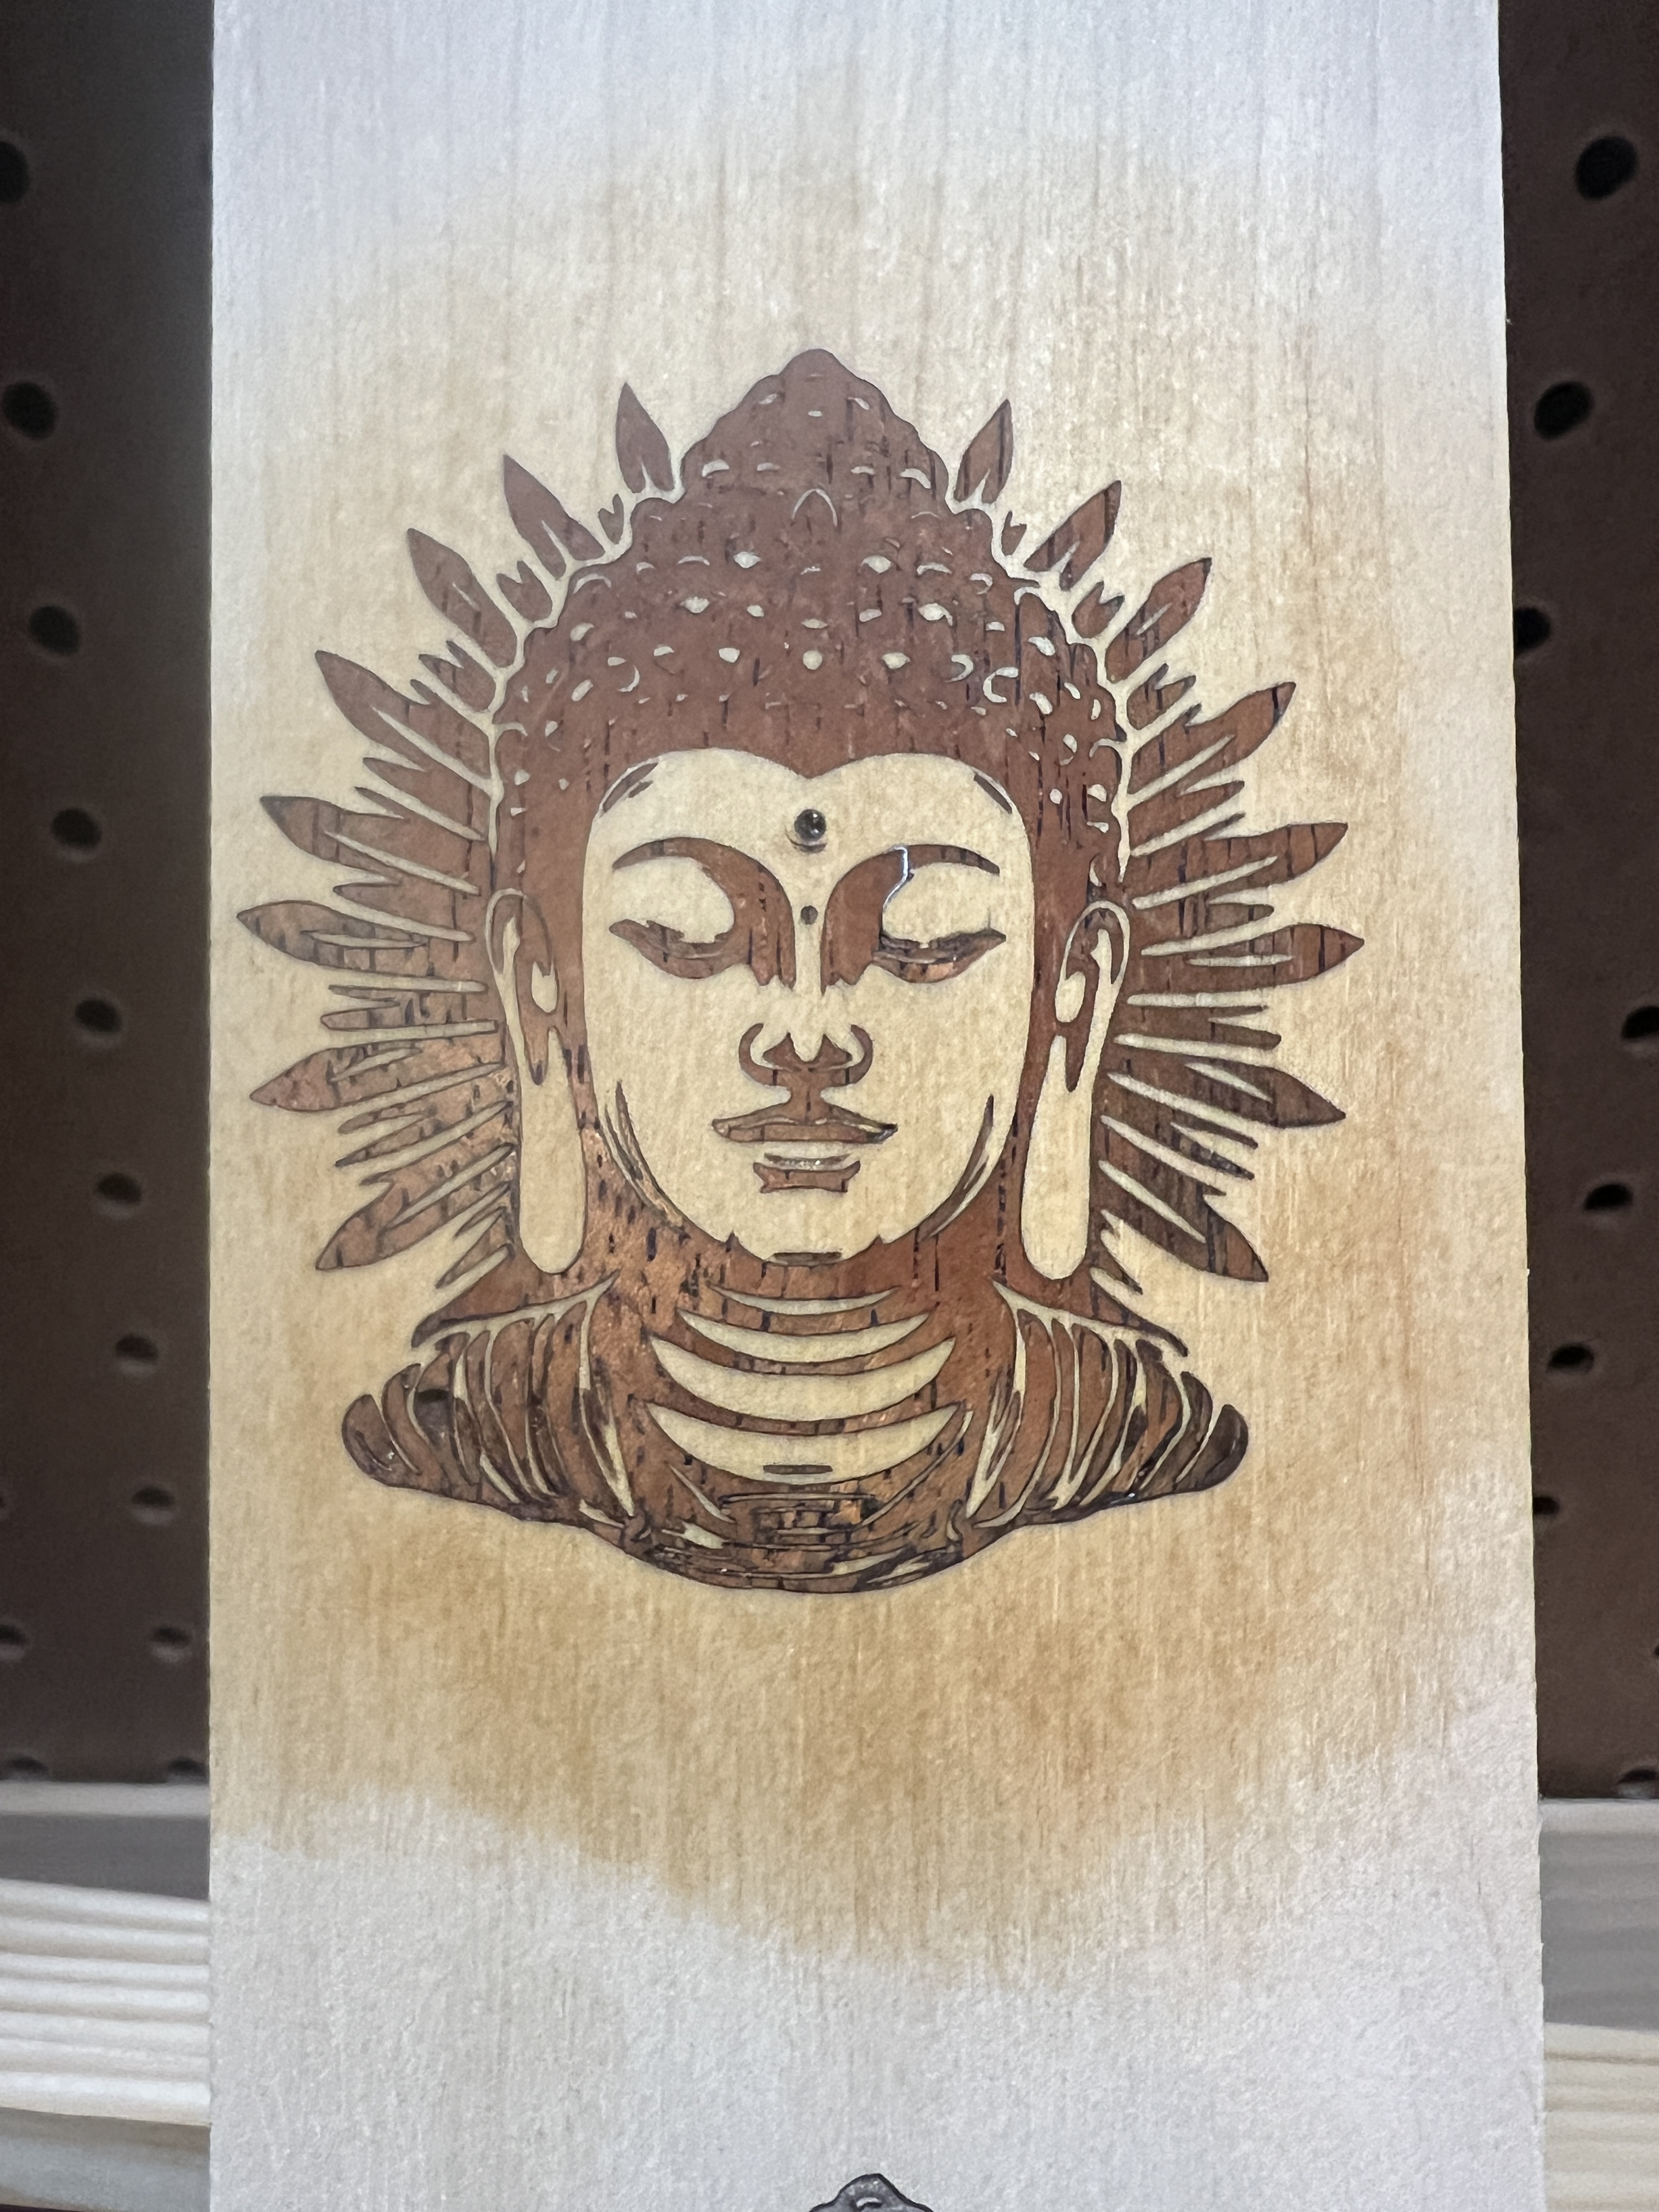
I used 2 strips of 2” aluminum tape, which wasn’t ideal (they separated and broke some of the veneer.)
4 Likes
Fantastic first run! Looks awesome.
I’ll bring some bigger foil tape sheets and get a few to you to try out next time.
1 Like
@Iammikecohen Next time if you want some wider aluminum foil, please ask me, I too have got a 50’ roll of 8" wide. Bri
1 Like
I’ll gladly accept a 6-12” strip or two if anyone is willing to leave them for me.
I’ll leave an 8" wide by 24" long piece on the Lost & Found with “Mike Cohen” on it tomorrow around noon.
2 Likes
Thank you. I’ll try something a little more ambitious now.
Enjoy! Post a picture if you make something with it.
1 Like