Installation of the new Laguna CNC’s is going well. Both machines have been powered up. Testing the small IQ CNC has begun and the large Swift will follow this weekend.
Keep an eye out for notices on refresher courses!
14 Likes
Thanks for all your hard work and dedication, James.
-Wolf
4 Likes
I second Wolf’s thank you.
2 Likes
The vaccum bed on the Swift has been completed and thanks to @bwatt we were able to label the zones.
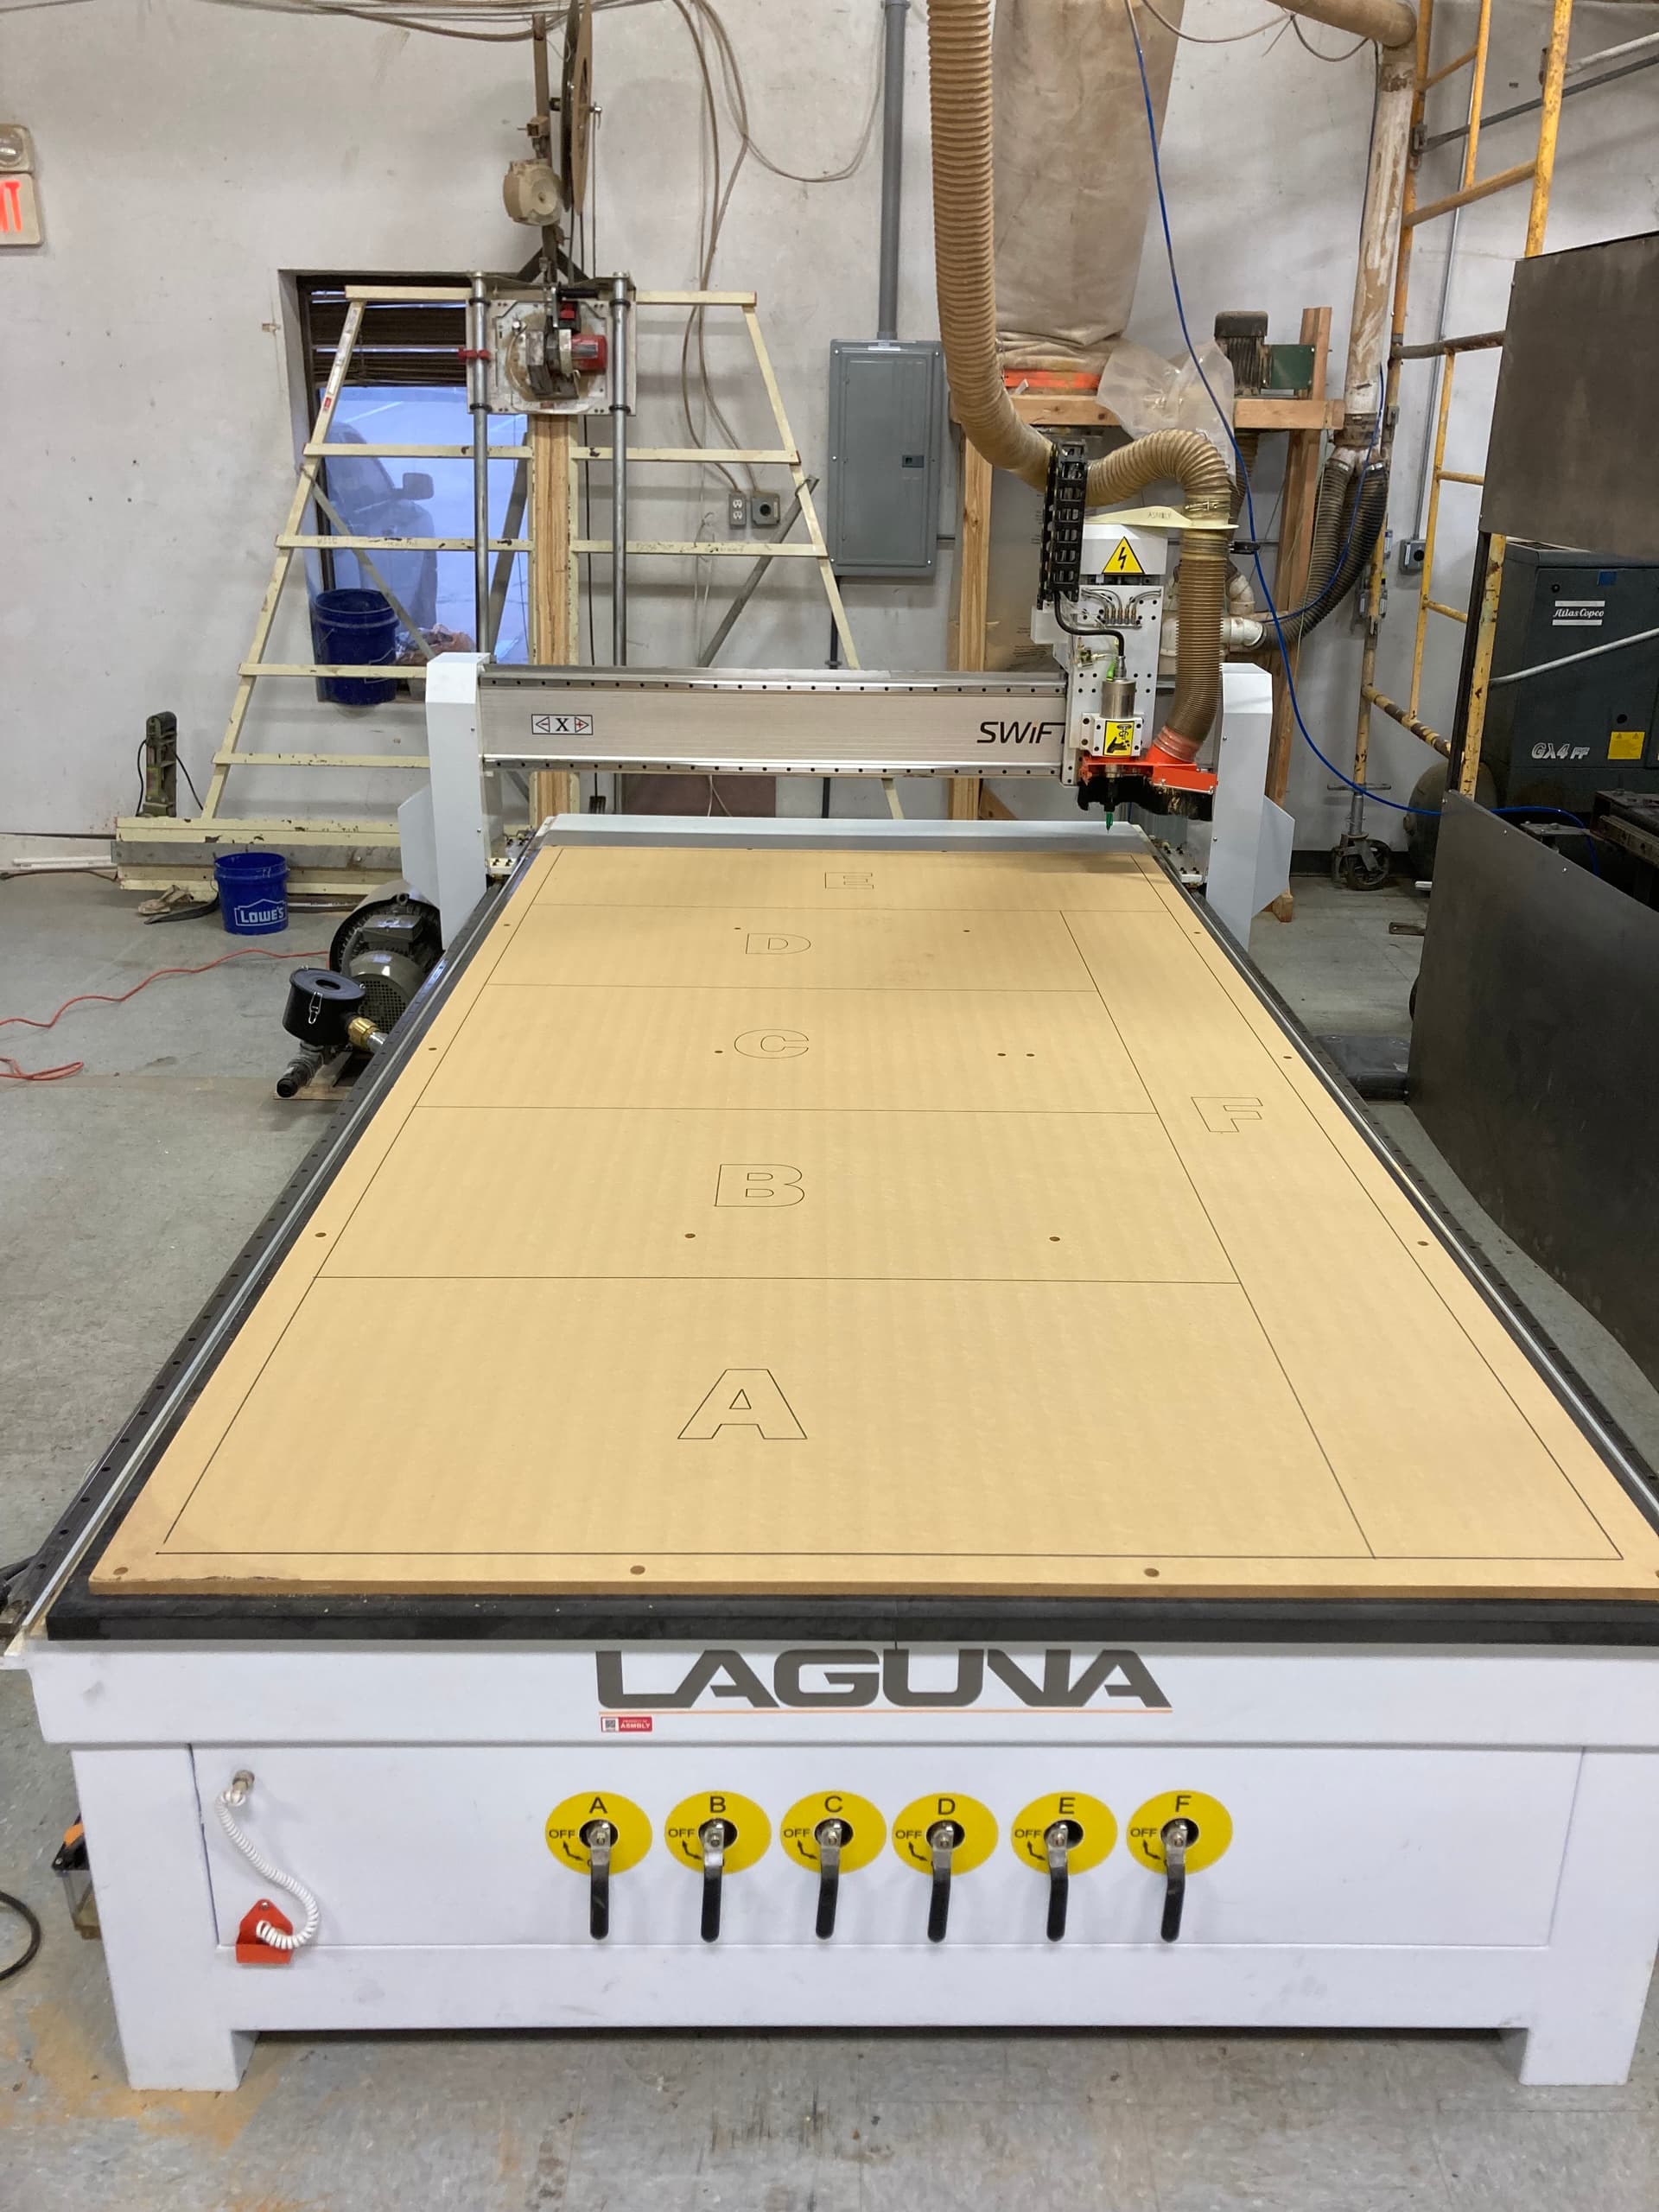
This was the last major step to complete to bring the new machines online.
6 Likes
For anyone that is still having a trouble understanding the vacuum table aspect of this machine, I found this video that does a good job of explaining it and showing the steps we took in setting it up including the gasketing, LDF explanation, etc. The machine model isn’t quite the same as ours and our segments are laid out differently as you can see from the picture above, but the concepts are the same.
 | Laguna Tools")
2 Likes
@jamesfreeman I mentioned this to Travis during certification, but is there any plan to get a drag knife for the CNC? I was going to experiment with cutting corrugate cardboard and/or coroplast boxes, and from what I can gather a drag knife will be faster and give better results. I guess you can also swap the knife for a scoring wheel.
I havent personally considered that, but see no reason not to. Do you know if Laguna makes one, or would it be a third party piece?
It doesn’t look like it. They also don’t look too expensive either if it’s something better off as personal equipment. I don’t know if there would be general interest in use, but Travis had mentioned sometimes they’re useful for cutting veneers.
I posted quite a while back about trying to make a CNC drag knife. I hadn’t quite succeeded but was on the right path, but then Joe lent me his to try. I had some hold down issues, and I heard the Laguna with the vacuum hold down was in the works, so I shelved that until now. As soon as I get up to speed on the new machine, I intend to try it again. I’ll let you know how it goes.
3 Likes
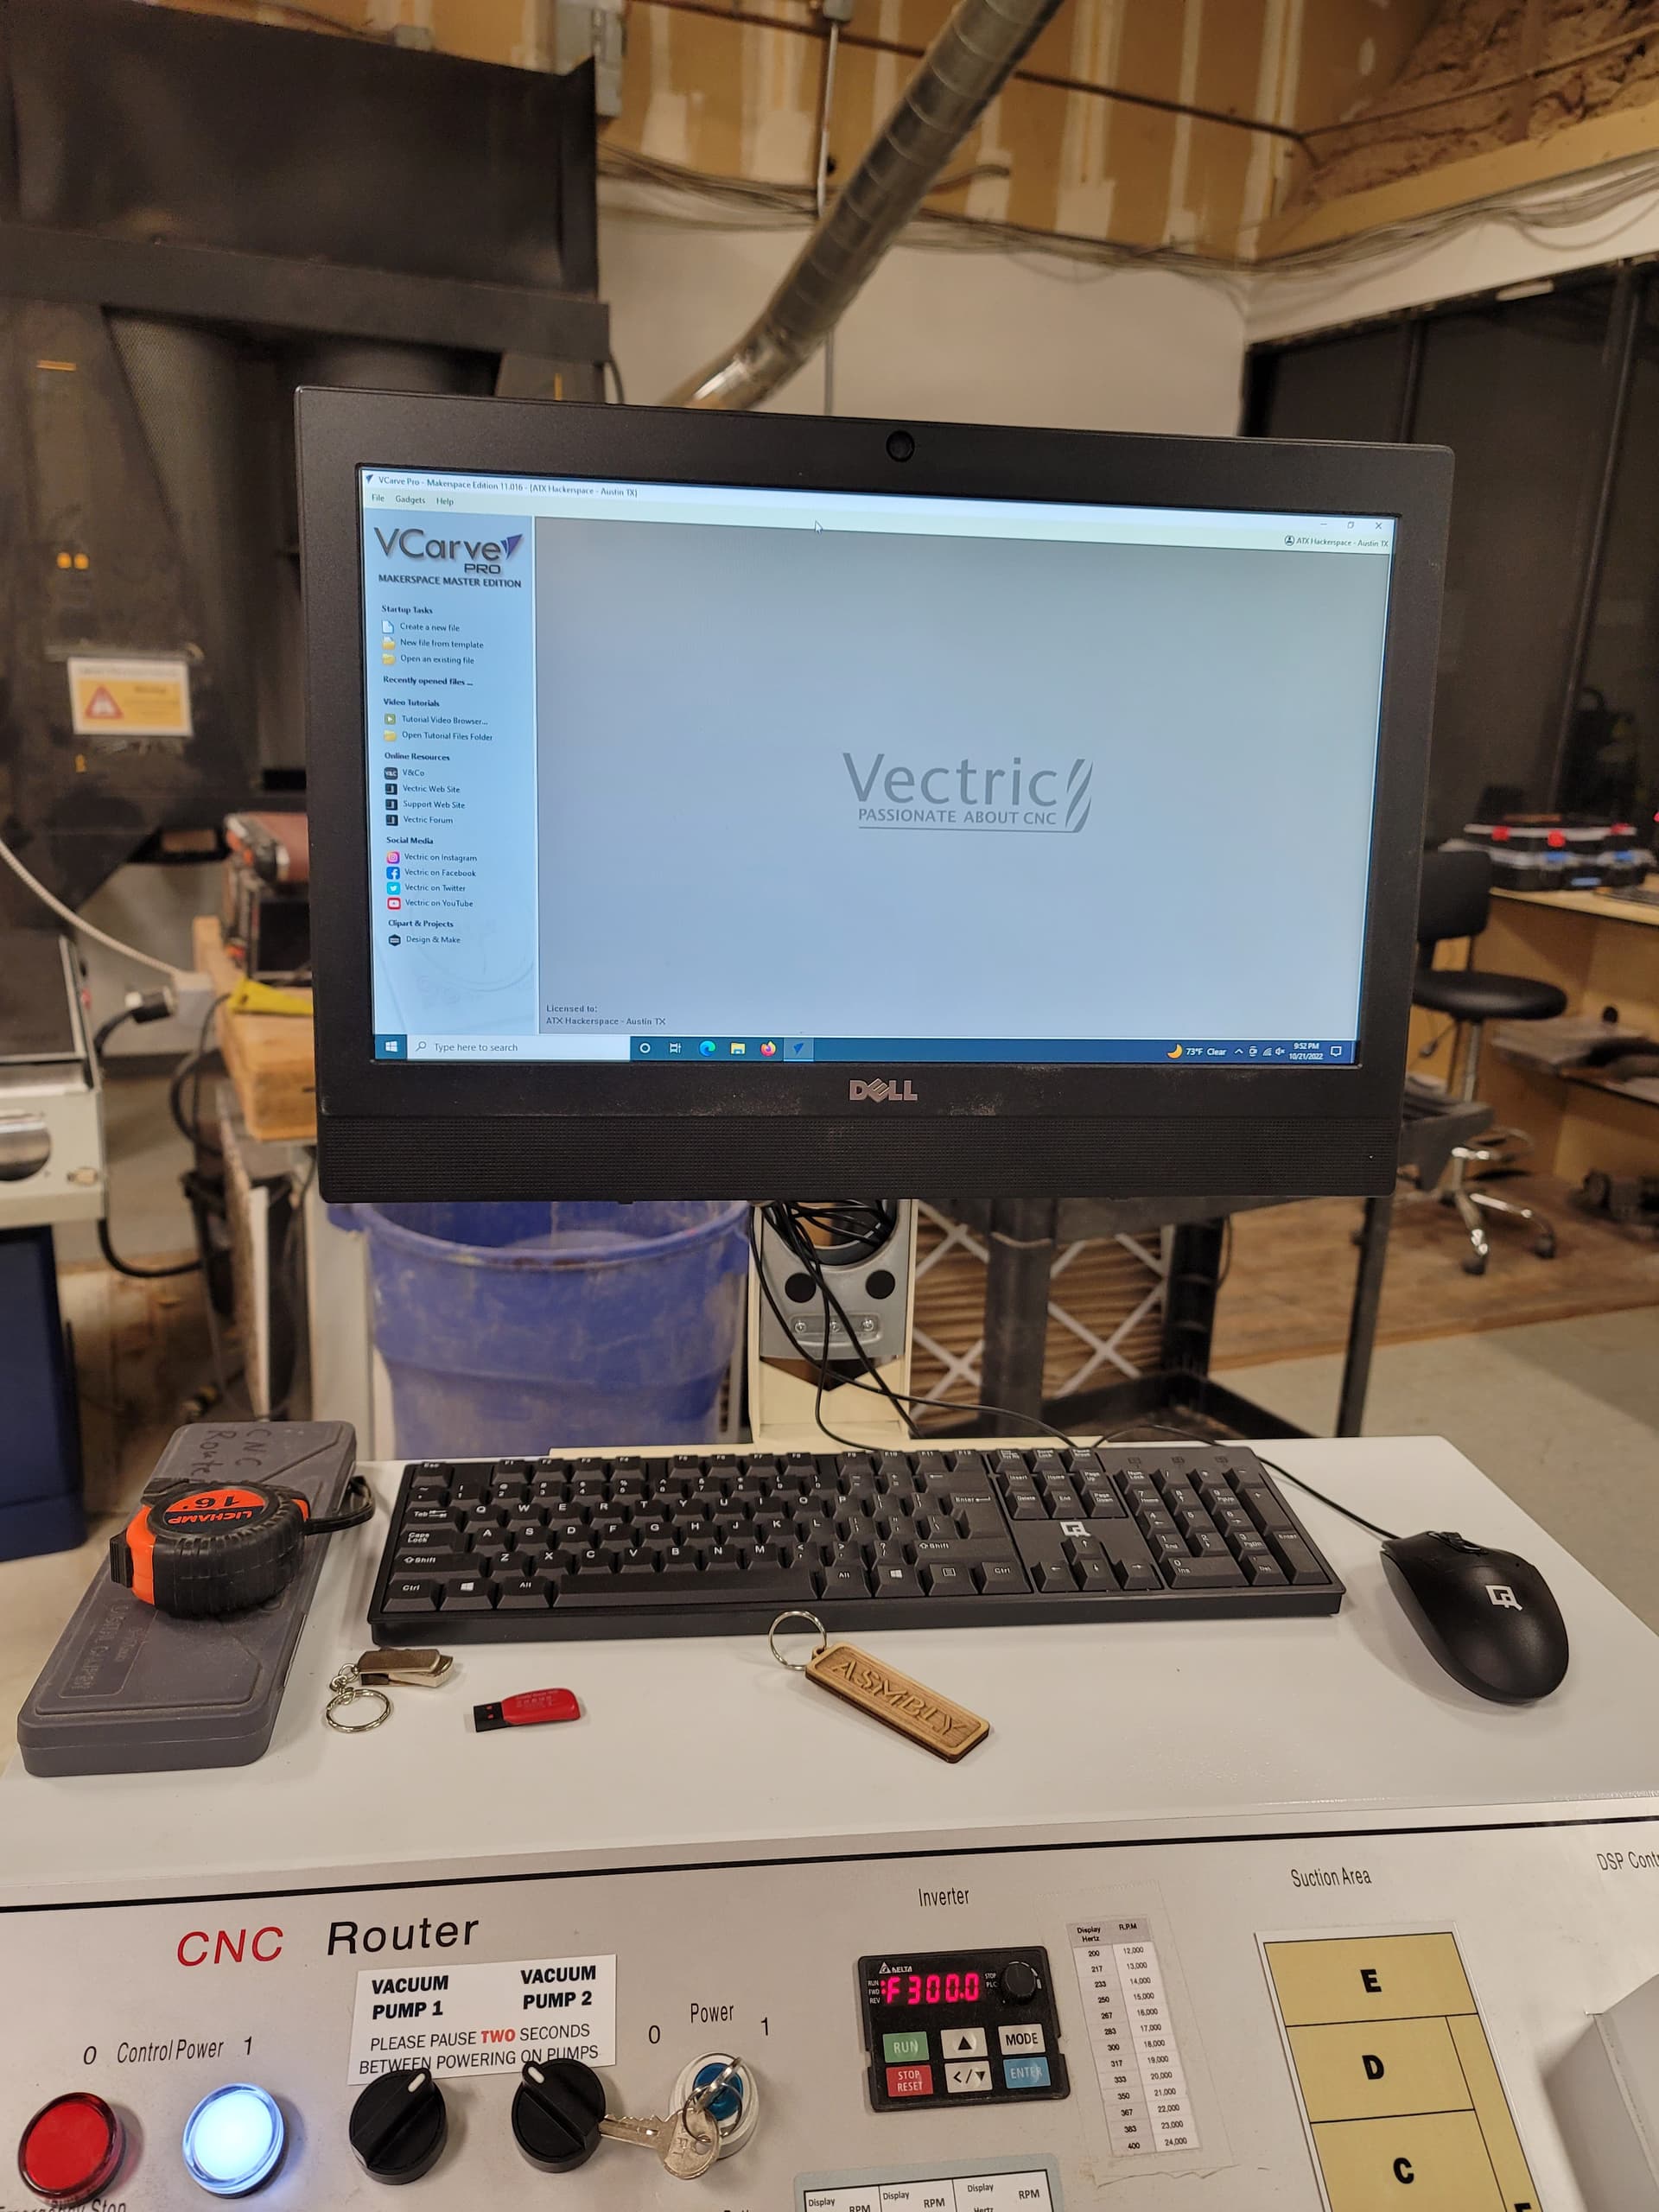
The computer has been installed on the swift controller cabinet. Thanks @JoeN for the custom mount.
Both post processors have been added to VCarve Makerspace edition.
3 Likes
I will have some kiddos 3d print a little board for usbs to mount into and a spot for the tape measure
3 Likes
Maybe we have the caliper and tap measure holders on the side so there’s less clutter on the top? Could glue magnets into the holders. I have tons of neodymium magnets.
1 Like
I will design a small tray for the top. I think we can have someone cnc router a wooden box that holds the tape measure and calipers?
Something that goes above the keyboard would probably work (esp if we take the calipers out of the case… maybe a tray with a lid?). We need to keep enough clear area for the mouse
I didn’t look very hard this morning. I assumed @jamesfreeman used pop rivets to attach the monitor bracket to the box. I will look at making a tray that will used the same pop rivet holes to connect the tray.
If someone wants to make something to hold calipers, I have a Vcarve file with the precise outline needed; no need to recreate that.
1 Like
I will make a base steel tray and someone can create a wooden topper that is setup for the tools needed
I used self tapping screws to mount the bracket.
1 Like
We were looking at this last night. I think it’d be ideal to make compartments on the left side of the cabinet for the calipers and also the tool box, like this:
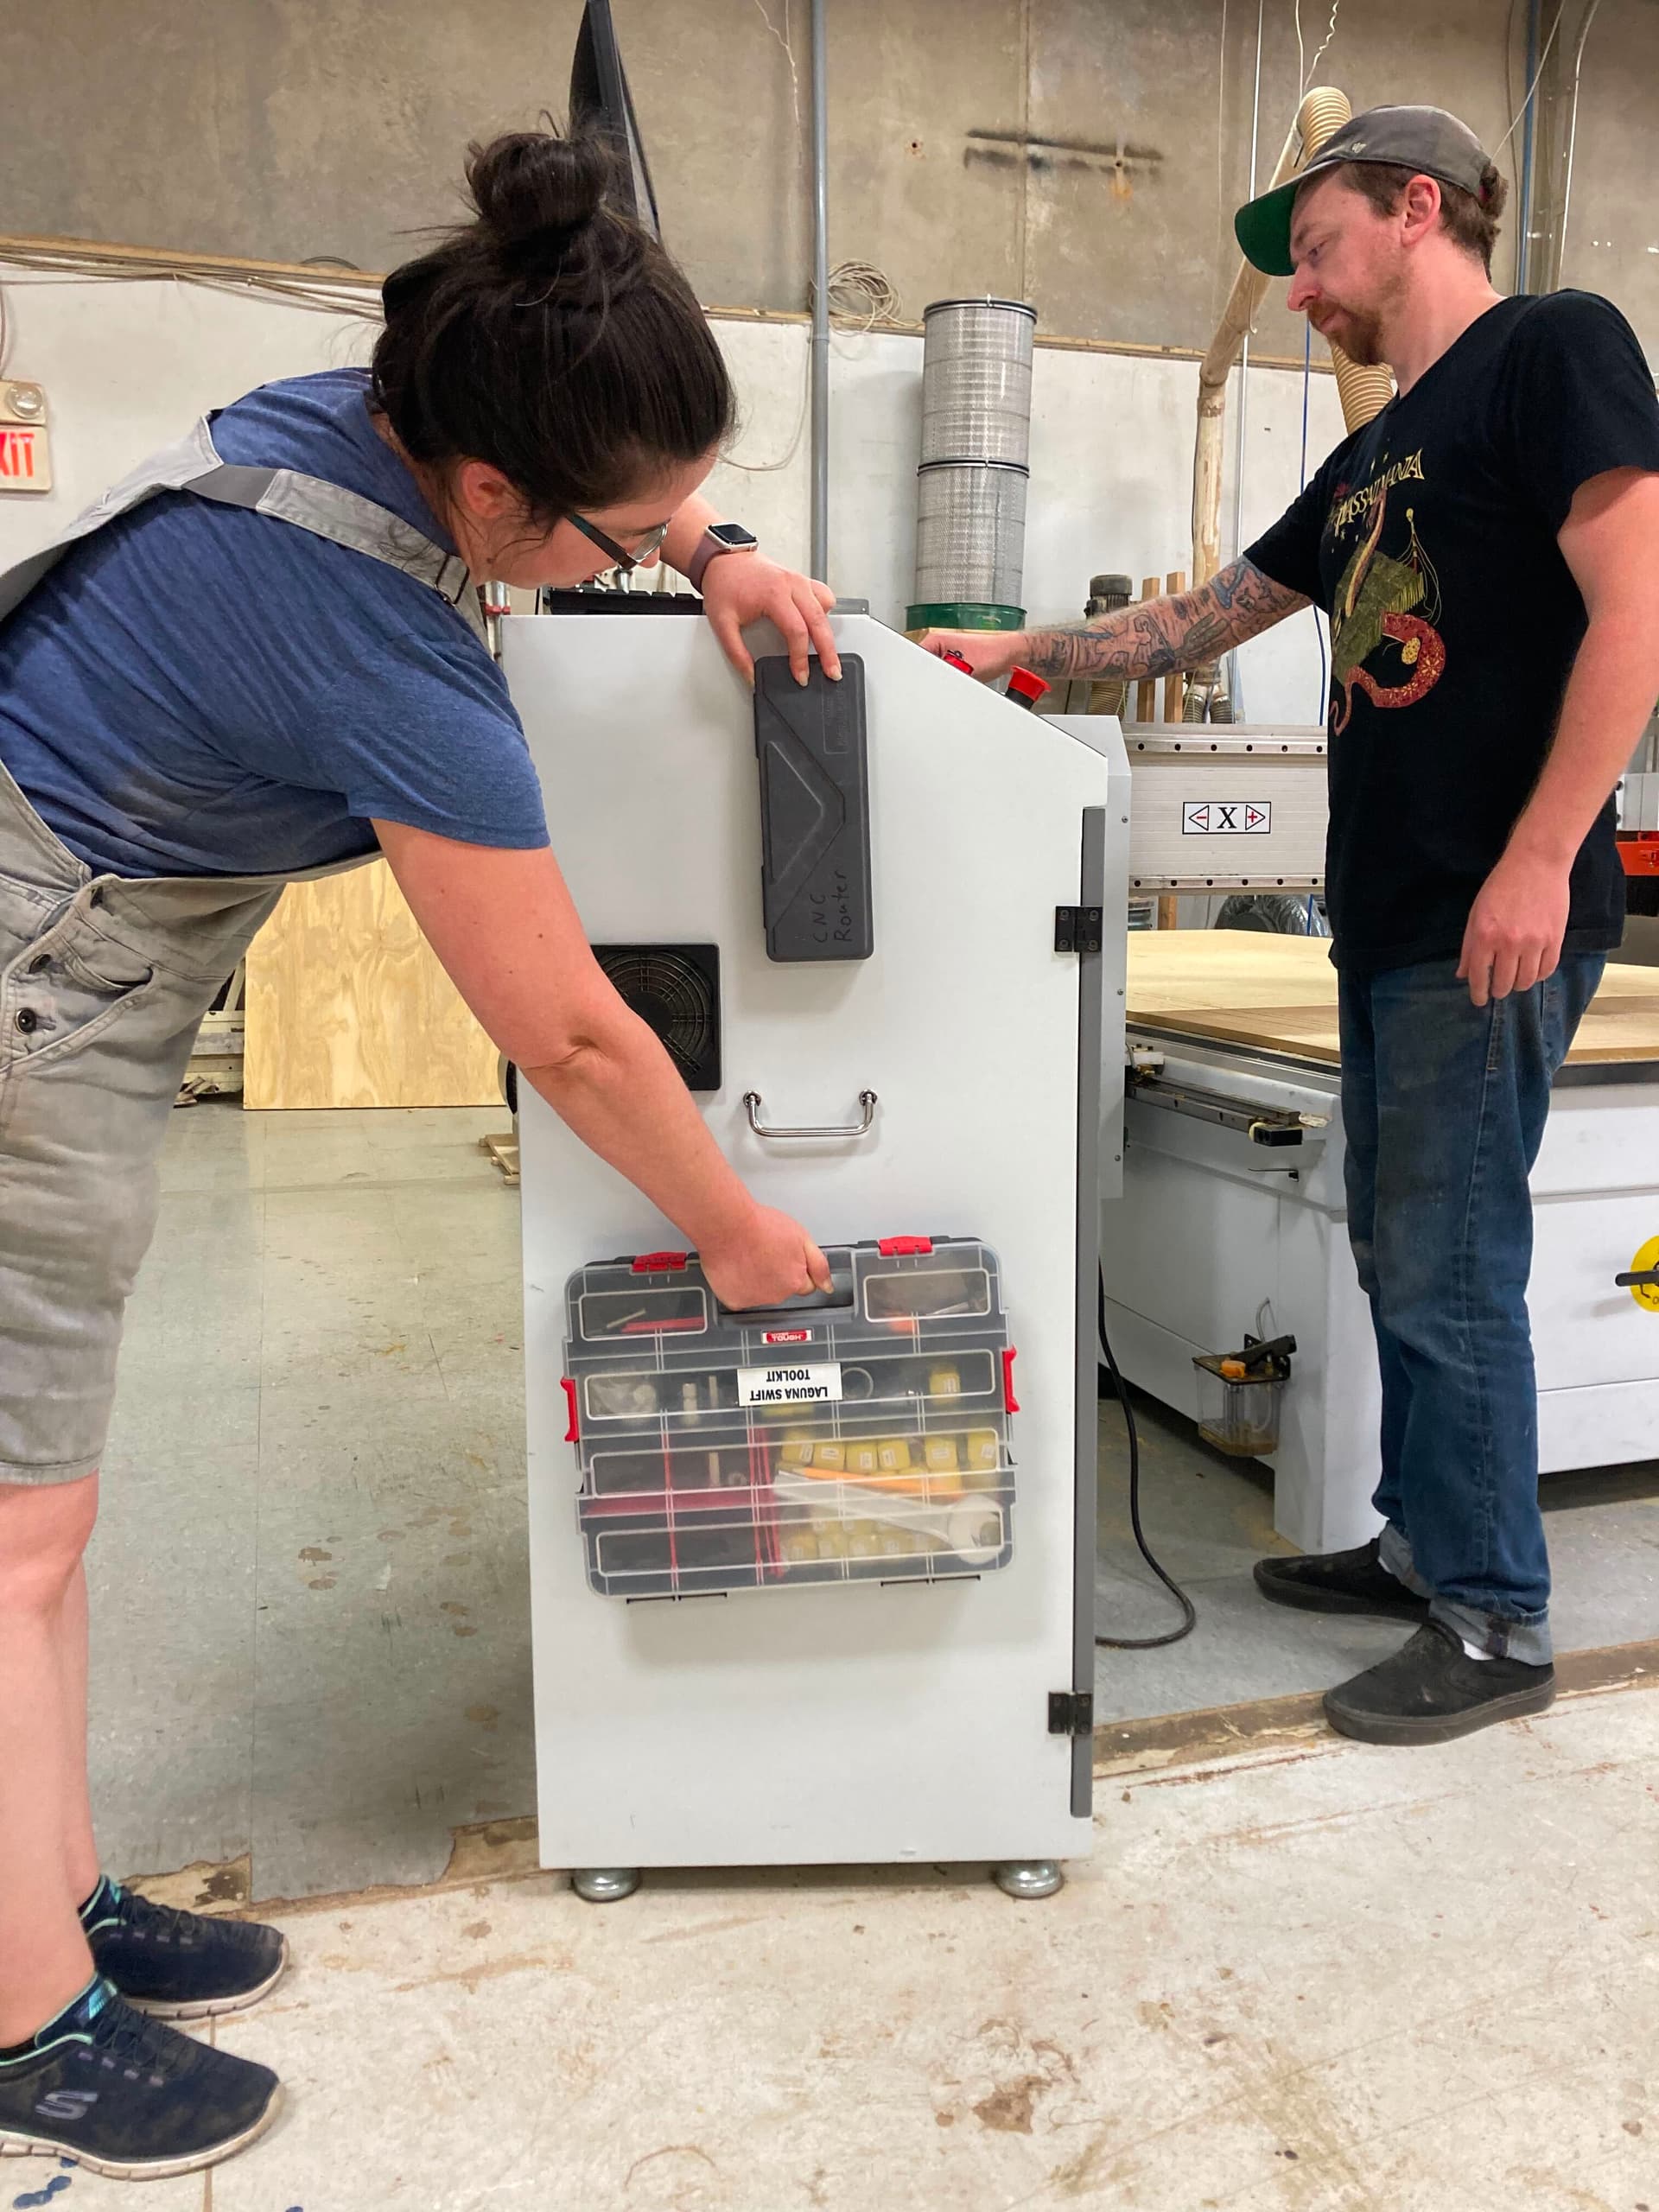
The tool box dimensions are roughly 12"x15"x3" so an inner dimension slightly larger (although doesn’t really have to be 12" tall) than that should work well.
As much as possible, I’d like us to aim to keep the top surface just keyboard and mouse.
3 Likes
Yes, please! The overcrowding of the top of the old cart was a huge hassle; let’s not recreate that problem.
2 Likes