Engraving acrylic on Tarkin -- any suggestions for starter settings?

Hi all. I’d like to create a small stamp for debossing leather using 1/8 cast acrylic, as shown in this video:

Since I don’t have a whole lot of acrylic on hand to test with, I’d like to start at least somewhat close to decent power/speed/line settings. Does anyone have any suggestions on where to start, assuming that the design (i.e. devil below) is ~1" in height and the desired depth is about 1/16"?

image

Thanks!

2 Likes

I’ve never done this sort of thing so I don’t have any advice to give you unfortunately, but I am very interested in this process as well so if you find out anything, then please update here! Do you have a press to use this with, or were you planning on using the press at the space? It would be overkill probably, but I think it could work

Hey Adam – will do! In all likelihood it’ll end up being a few small tests but if I settle on something I’ll post my results and save anything successful as a custom profile in Lightburn.

As for the press, I do have a Harbor Freight 1-ton arbor press (looks like it’s been discontinued) which I plan to use. That said, I’ve seen other videos that show a bench vise providing enough pressure as well. I guess all it takes is making sure it’s veg tan leather and that it’s properly cased before clamping it in.

3 Likes

I engraved some acrylic today.

I used the wood/plywood fill and line setting default from the library and got best results with yhe 1mm deep setting.

My acrylic has paper masking.

2 Likes

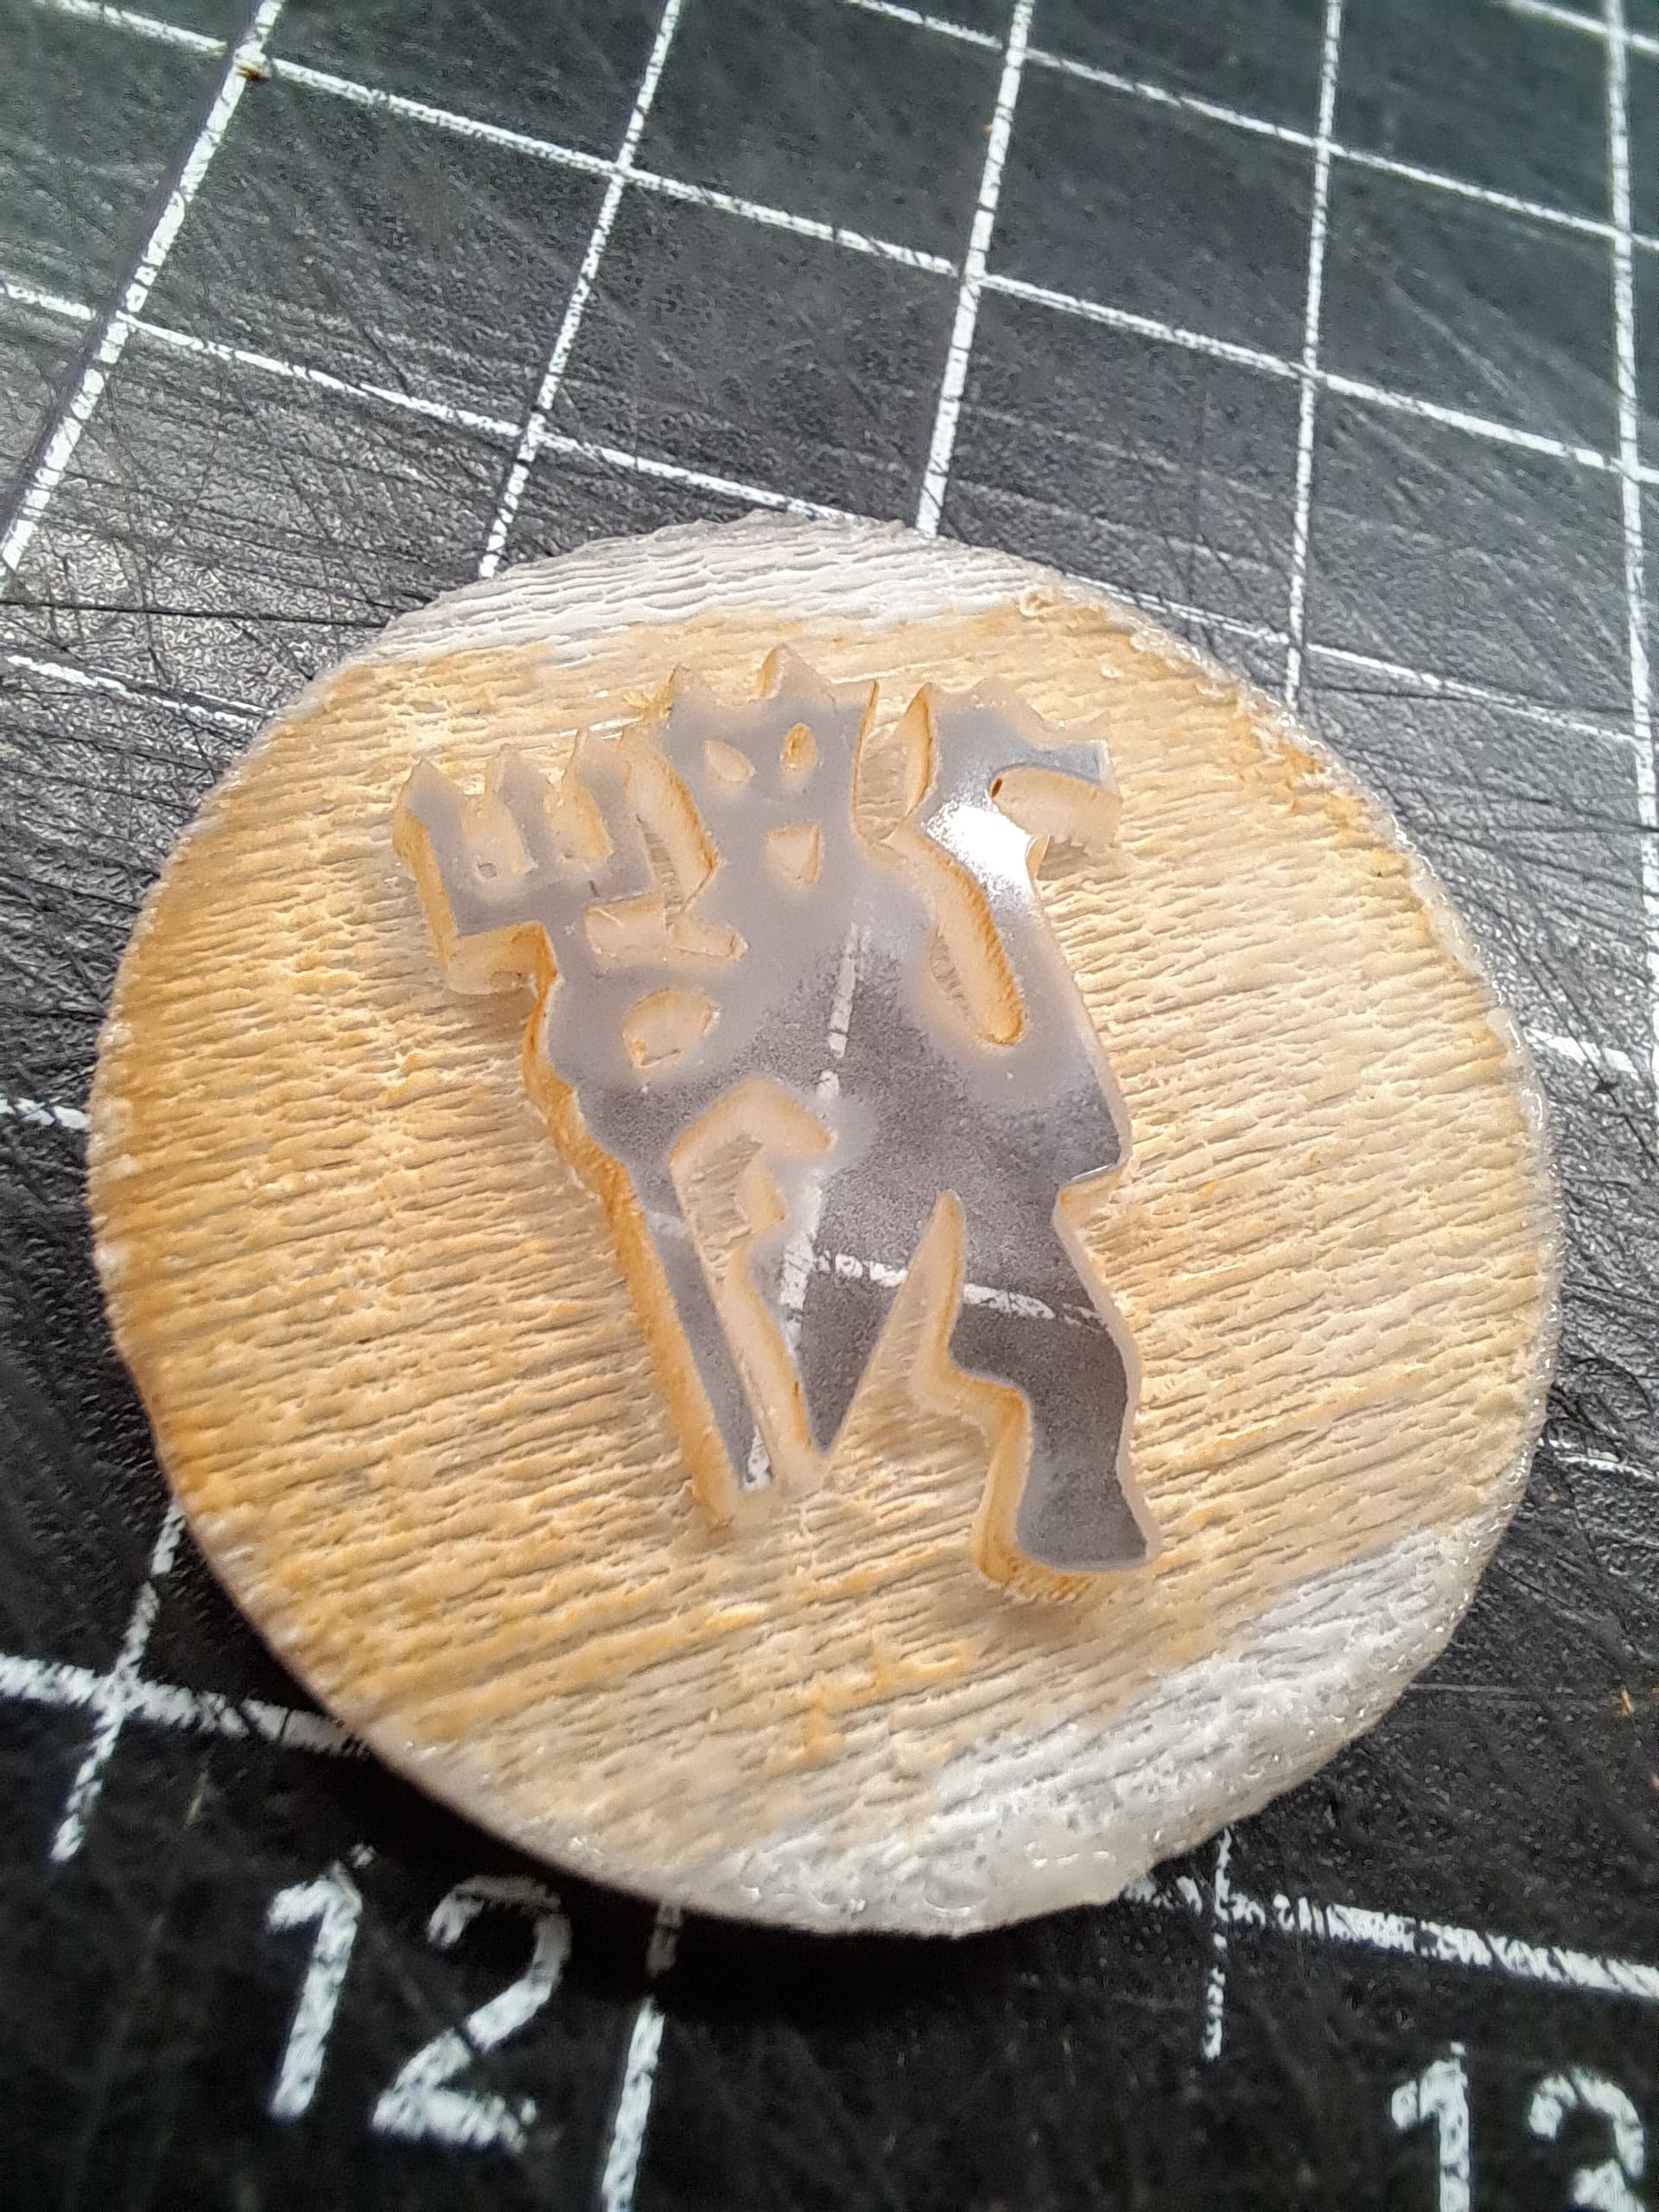
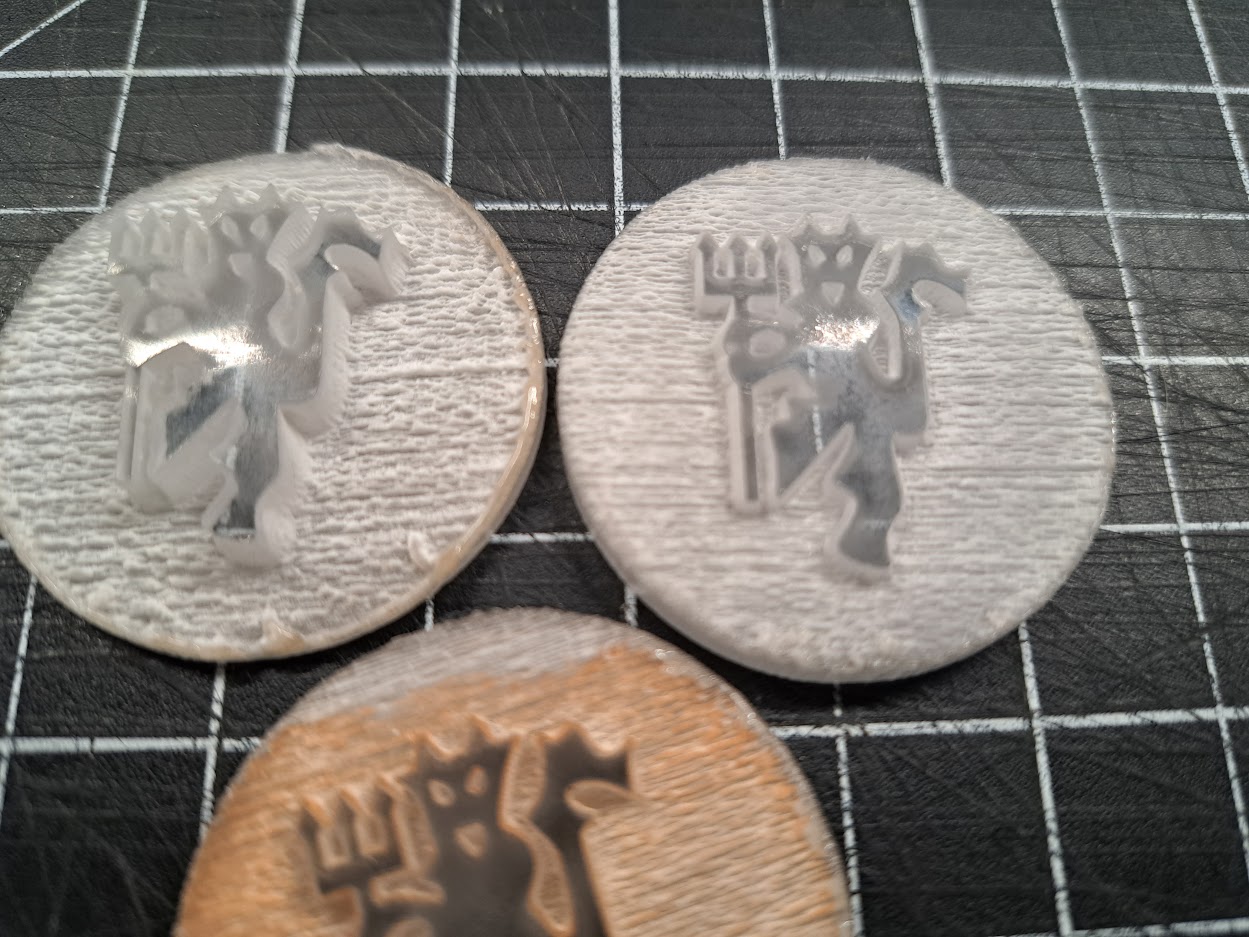
I have done leather stamps quite well. The wood/plywood Fill is an option, but not the one I’d recommend most. It should be a greyscale image mode.

What I did was like 1" thick acrylic, I drilled and tapped it about 2/3rds of is thickness and screwed in a common hex-head carriage bolt as a handle. You can use a mallet, or a regular hammer works too, the hex head is easy to hit. A press stamp would of course be constructed differently.

I would think that acrylic would need to be thicker than 1/8" so it won’t crack under pressure. Also, if you raster more than about 2/3rds through acrylic, the low spots may start to melt and sag. I did some where its back had sagged into the honeycomb cells and taken the impression. I’d go with 1/4" acrylic.

The shape of the swath cut by the beam is not a flat bottom. It won’t matter on wood, but a smooth bottom on acrylic may need a smaller line interval to get the bottom smooth and create small features.

Depth of cut is a constant times beam power (let’s just assume it’s fixed at 100% power), divided by speed, and then divided by line interval. So half the line interval is twice the passes which yields twice the depth. If you want shallower, I’d say still keep the line interval low, like 0.1mm or even 0.05mm. The raster speed caps at 1000mm/s. If you ask for 2000mm/s, the controller will intervene and actually run at 1000mm/s at 50% of the power you asked for. So if you’re at 1000mm/s and the cut it still too deep, in that case you should just reduce power.

“FILL” is limited to just 2 levels here. It’s either part of the fill or not. If you want a 3D stamp, you can raster a graphic in grayscale mode. Black=full power (depth), white=minimum power (min depth).

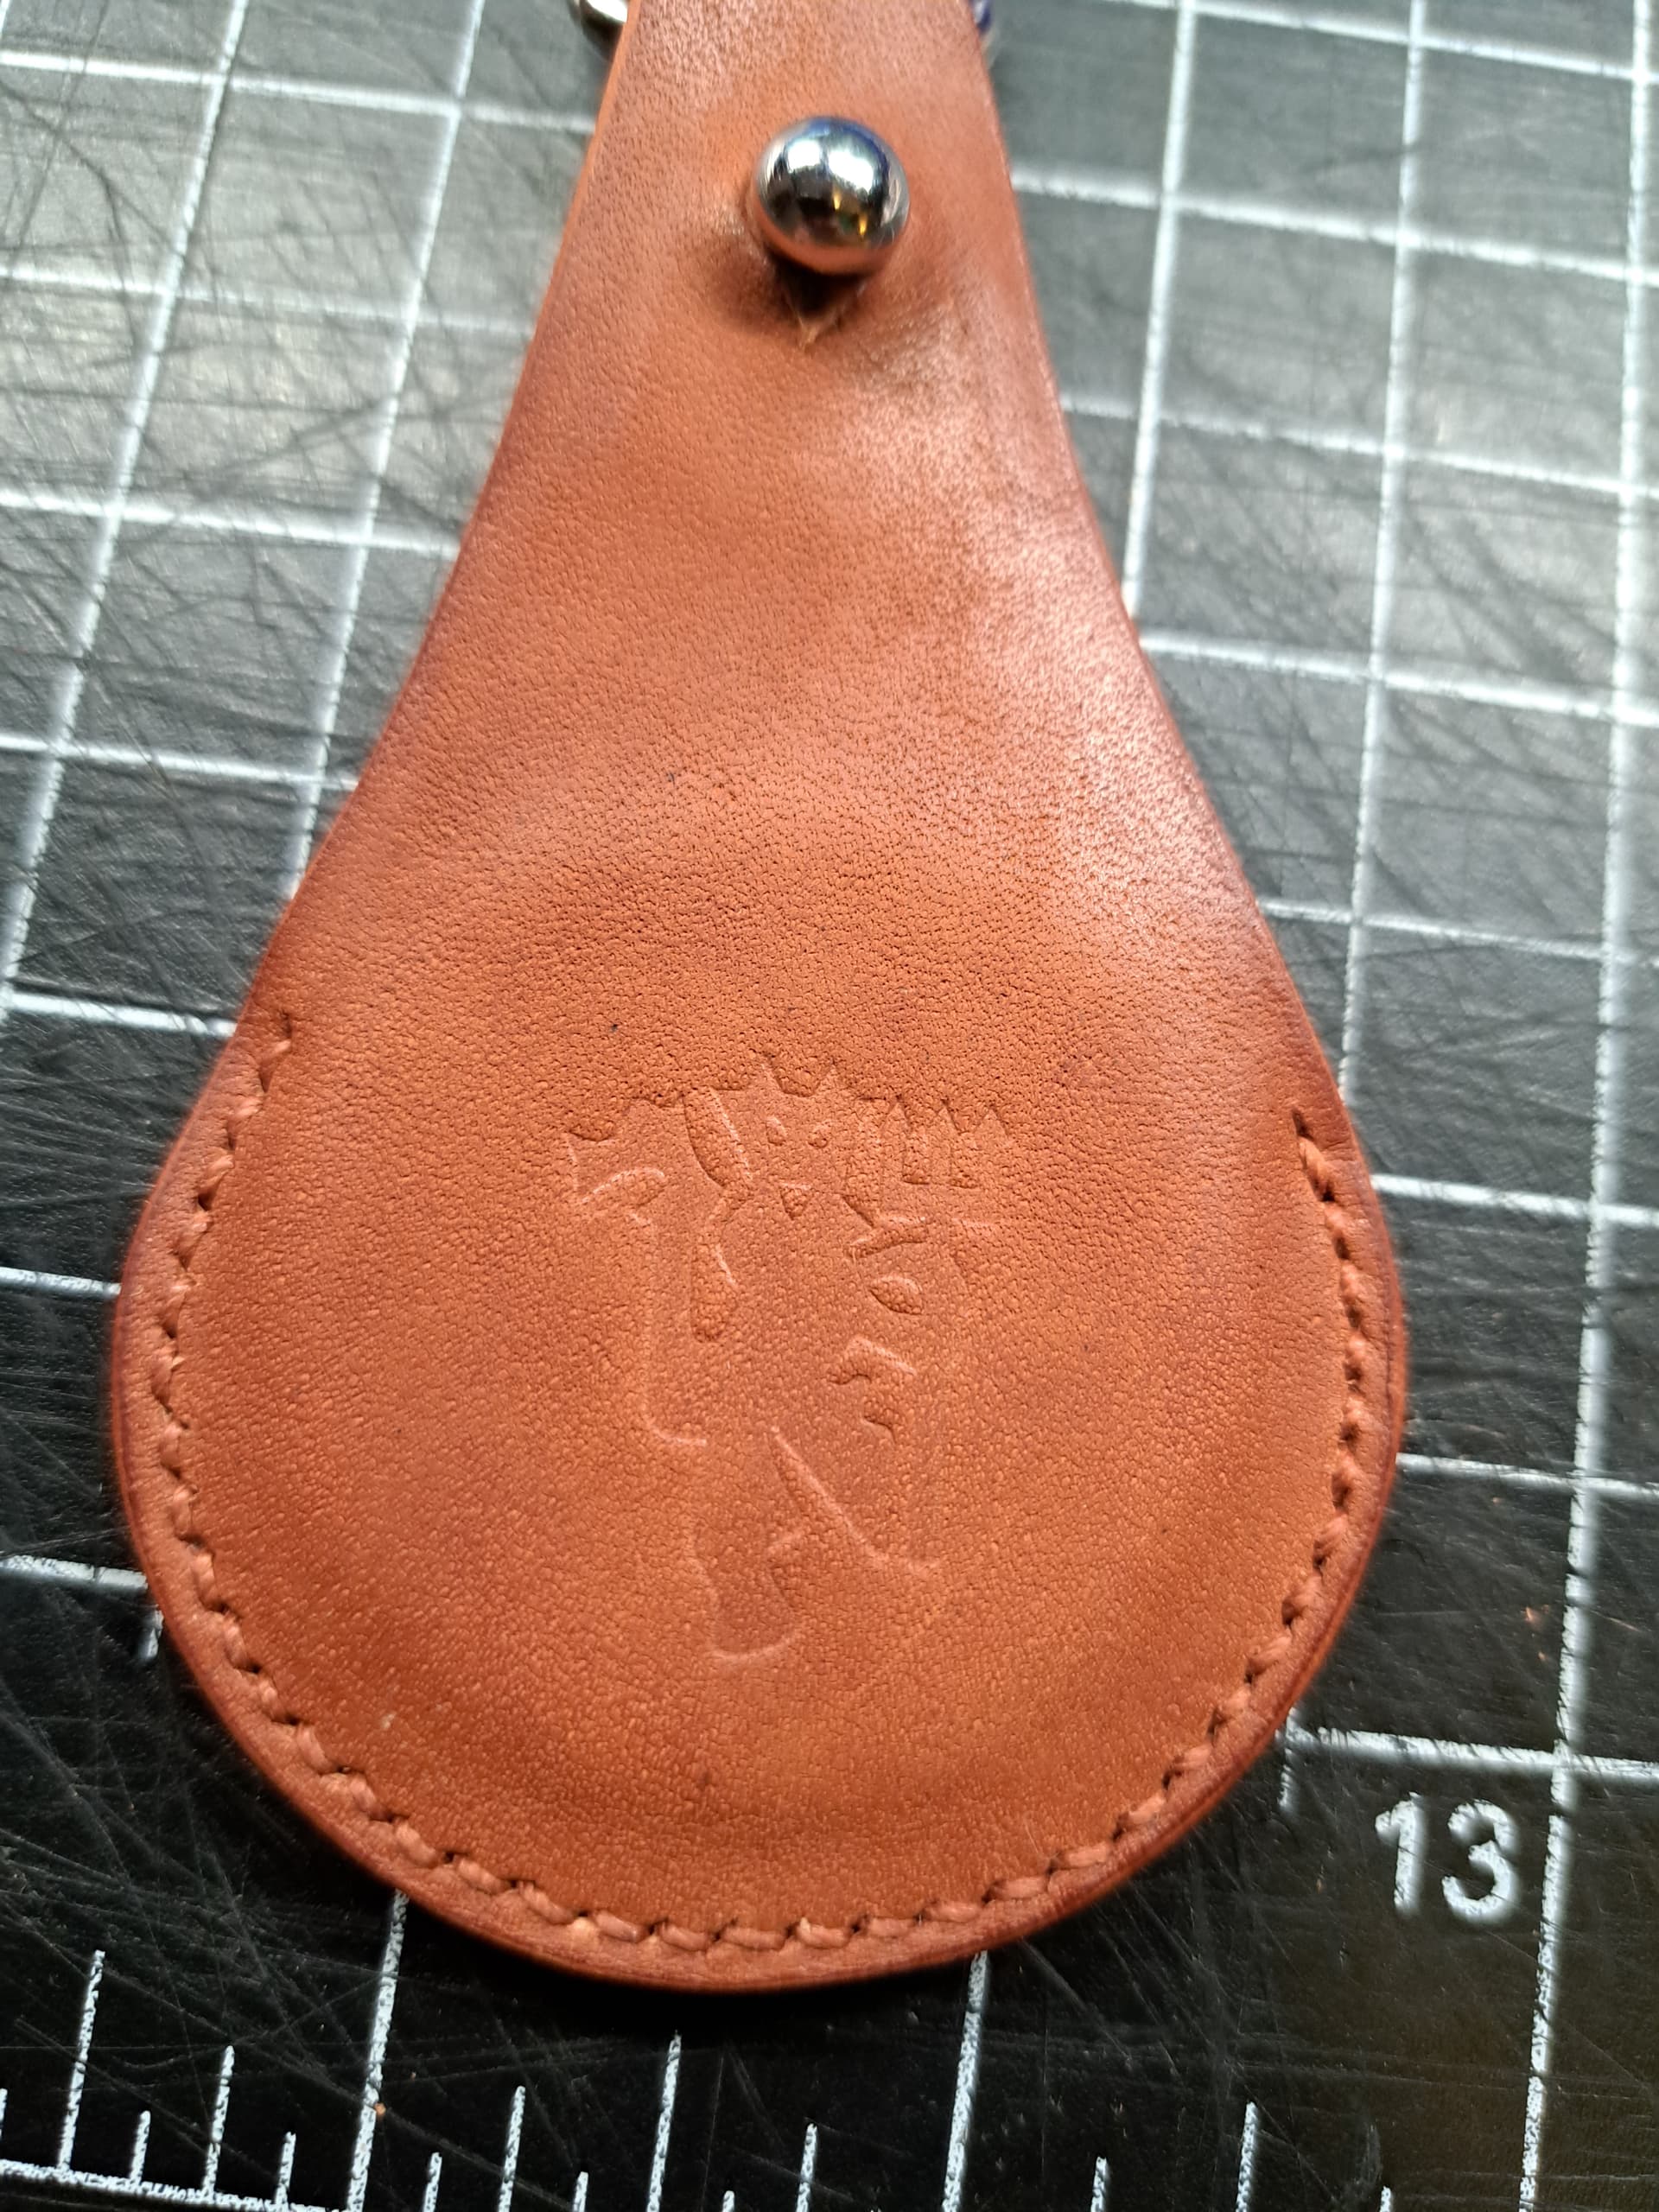
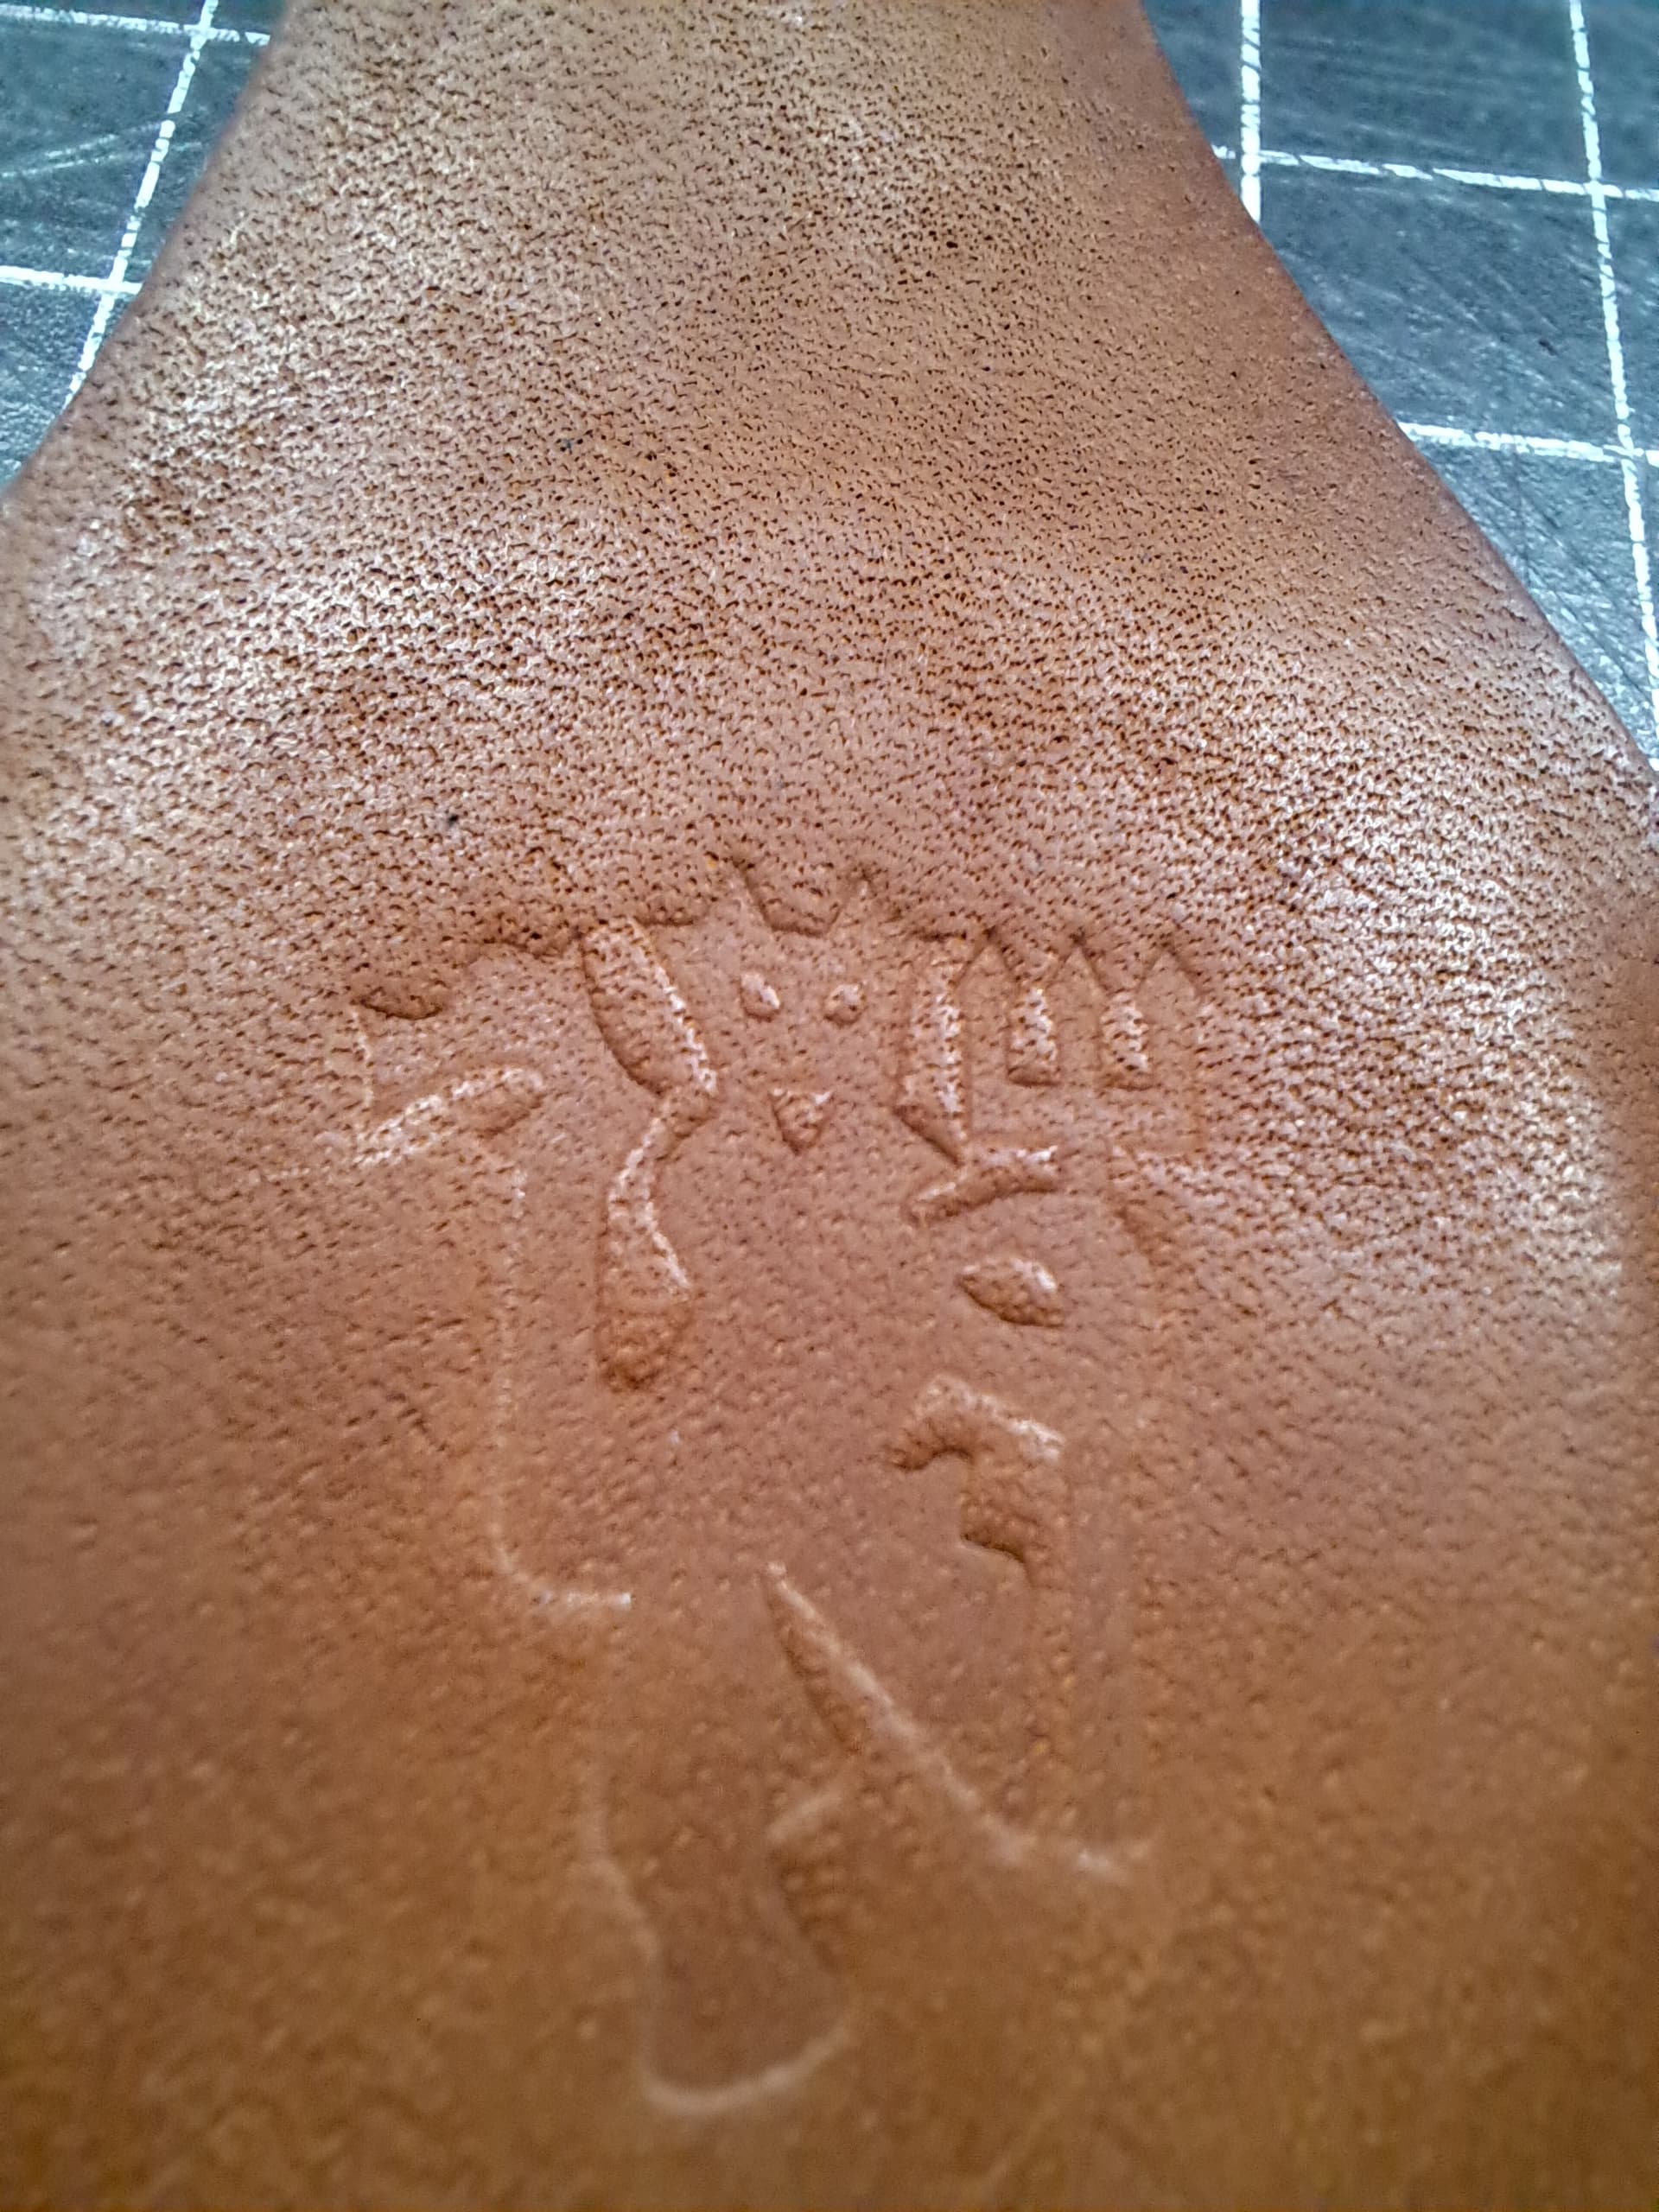
In my experience, acrylic leather stamps done as 2-level stuff can have sharp edges that can actually cut into the leather. It would be good to round or slope these edges slightly, which can only be done in grayscale image, not Fill. This is achievable by editing the graphic with Gimp or whatever- Gaussian Blur effectively rounds edges as it creates a gradient of shades (=depths) on the border of the solid white features.

Oh yeah- this is going to go far better on Tarkin due to its high speed RF-CO2 construction. Or Pearl would be good too. I would not put it on Dorian, its HVDC-excited tube is not capable of quick power changes along the raster line.

3 Likes

Thank you @njinuity and @dannym ! I’ll run a few attempts this weekend – something’s bound to work out.

And it’s probably smart to ask: are there any go-to places that sell small quantities of acrylic here in town? I’m working with scraps I gathered from others, but it would be good to have at least some decent material on hand.

I can leave some for you to try

1 Like

That’d be great! I probably won’t be able to swing by until Sunday afternoon but I’ll happily take whatever bits you don’t need. I don’t know if there’s somewhere you can leave them, so let me know if you think of a place. Thanks so much for the offer!

The Up For Grabs shelf with Branislav’s name on it would be the appropriate place to put it!

1 Like

@Branislav i just bought a 12x12 piece of 1/2” cast acrylic for this purpose, but won’t need that much. We can split it if you’d like.

1 Like

Thanks @valerie :smiley:

That’s very kind @gordoa40, I’ll take you up on it! Drop me a PM once you know how much you have left over and what I can PayPal/Venmo/whatever for it :smiley:

1 Like

A short update for those interested:

I tested a number of power/line interval/speed settings. The bad news is that I don’t think I hit on a perfect set of conditions yet. The good news is that this definitely works but I think requires testing for each design, or at least for sets of designs that share similar line widths, areas, etc.

Since I only had one design, I ended up settling on 1/4" clear acrylic (no protective tape) and eventually landed on the engraving depth of about 1/8". This is what it looks like:

(the stamp is brownish due to the leather dye lifting off during the stamping)

I think I settled on about 500mm/s @ 100% power for this one. The edges are indeed sharp, but did not tear into the leather. The rough bottom of the engraving also did not transfer into the leather:

Overall conclusions that I’ll follow if/when I do this next time:

  1. Test your design + material combinations as it’s not clear to me there’s a single best solution
  2. Make sure you case the leather really well with warm (but not boiling) water
  3. Be aware that superfine details may not transfer into leather as well as you’d like, and it most likely depends on the leather temper as well as the pressure applied

And in case you’re curious what this is about: it’s a “coin pouch” keychain for a secret Santa exchange. My recipient is a fan of Manchester United so I got him a poker chip with their design, made this pouch (based on a design I saw on r/leathercraft), and stamped it with their devil logo (svg from Wikipedia):

3 Likes

What line interval did you go with here?
The banding lines are due to the gaussian beam distribution- it is strongest at the center of the beam and cuts deeper there, unlike a CNC endmill. Closer to a taper mill.

Smooth bottom surfaces come from small line intervals. I would say less than 0.1mm. I have done 3D depth carving which definitely needs line intervals below 0.1mm and every time I send a job Lightburn nags me with a warning that most machines don’t have a beam that small and it might not go well. There’s no “I know what I’m doing” button to turn off that notification.

Note when you halve the line interval, you double the number of raster line passes so it will cut twice as deep. You can kick that up to 1000mm/s to make its depth equivalent.

The best impressions I get are from wetting with cold water for a decent soak, let it dry halfway, and tool at that point. The leather should be like clay. Heat is not good unless you want to harden the leather.
Also very important to have a very dense surface like granite to stamp the leather on, especially if you’re using a mallet.

Like I say, you may need to round off the edges by the method I gave to avoid cutting the leather.

I varied the line interval quite a bit, from 0.05mm to about 0.09-ish mm. It always produced a rough bottom surface, as you can see here:

(I had a few more that were too shallow so I tossed them, but what is shown there is typical)

I didn’t get any warnings when I went with very dense lines though, which makes me wonder whether Lightburn truly accepted my inputs or just ignored them.

I think pearl would give you much better results for this design. That has always been my experience with Tarkin for rastering

3 Likes

Gotcha – thanks for the suggestion @EricP. Looks like I’ll first need to get certified on the small lasers in order to use Pearl, but I’ll keep that in mind for the next one.

@valerie might be able to chime in on the differences in rastering between the small laser and large ones.

What mode are you using?
And that’s not the final graphic you’re putting in, right? It must be black and white, not red

This was the actual design sent to the laser (well, reversed on the X):

I had two layers: the red was a fill (where I varied speed, power, line, etc.) and there is also a black cut line around the edge (100% power, speed varied only to make sure it fully cut the acrylic). That was my understanding of how to separate engrave vs. cut. Was I supposed to do something different?