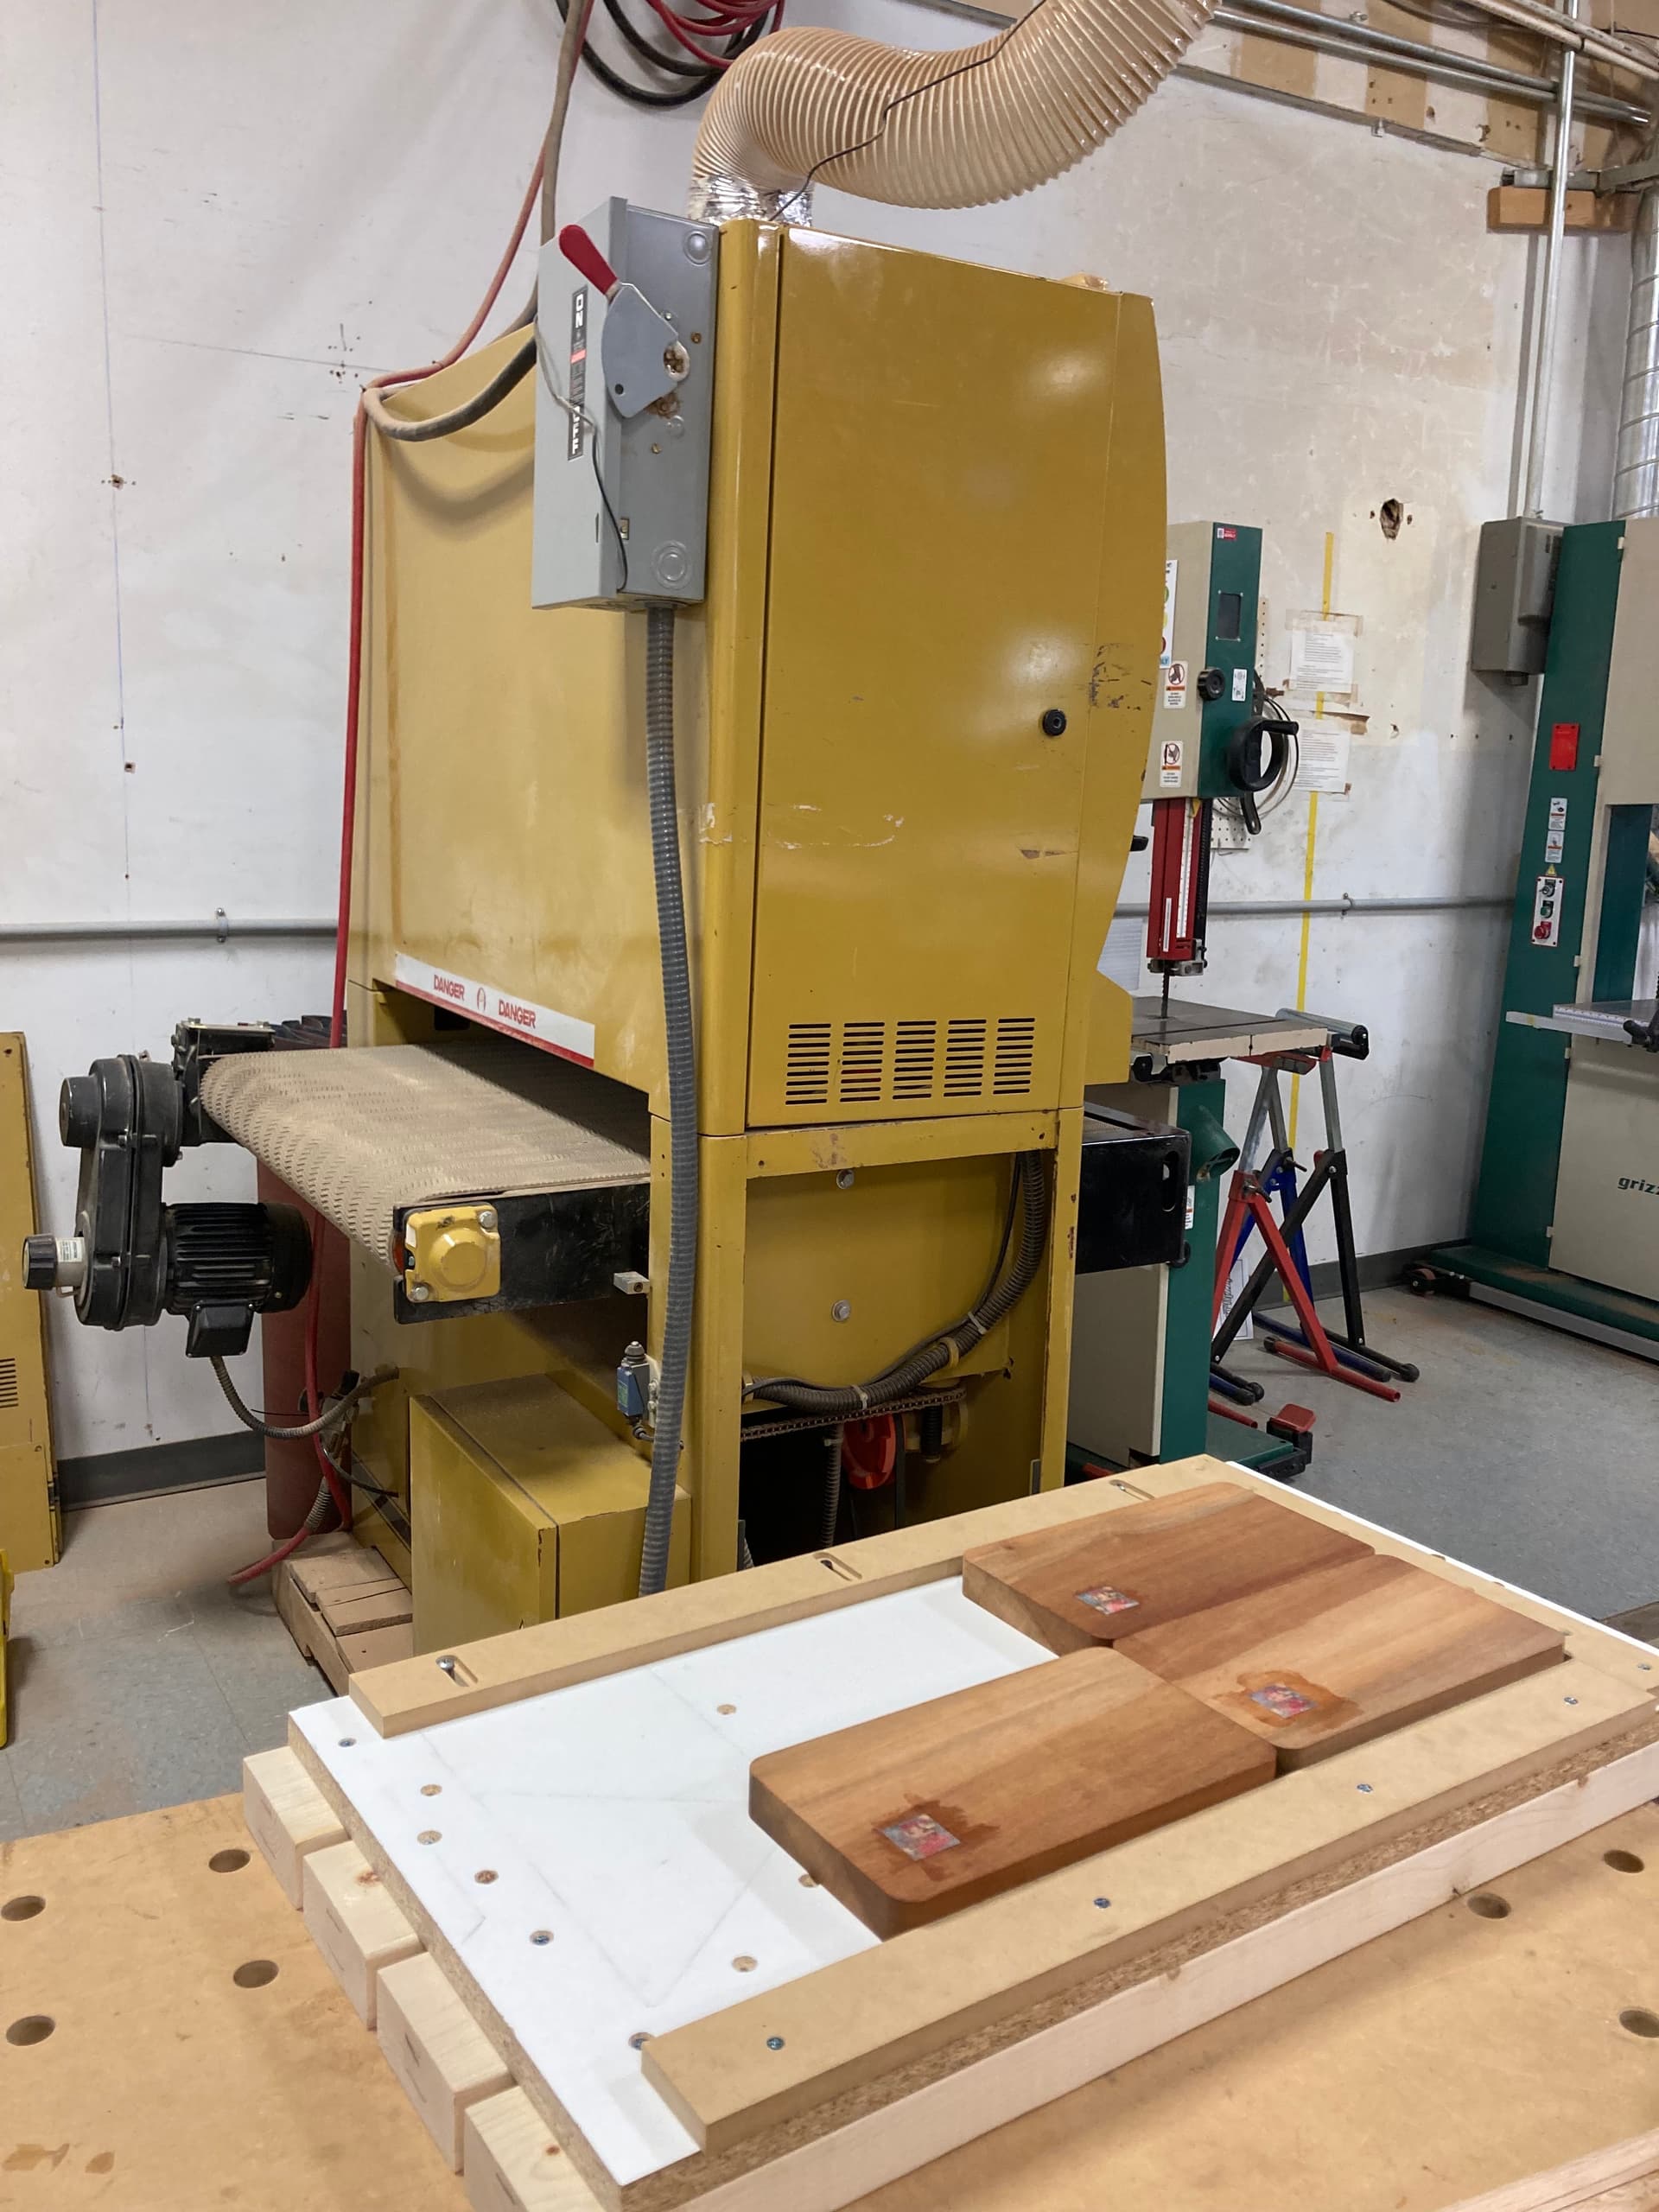
1.You can use the machine upper cabinet depth (i.e. view from the side when standing at the end of the jointer looking at the wide belt) to verify you have minimum length. I forget the exact length, but I believe it’s around or under 2’.
4.Definitely! @torchedguitar and I are doing this for a project. Just make sure your sled is super stable and doesn’t have anything that might catch or get sanded that ought not to (e.g. screws). You can also build your sled to assist with question 2 to give more lateral stability with adjustable sides to pinch your material in position.
OK, finally circling back to this after having using the sled and confirming it works
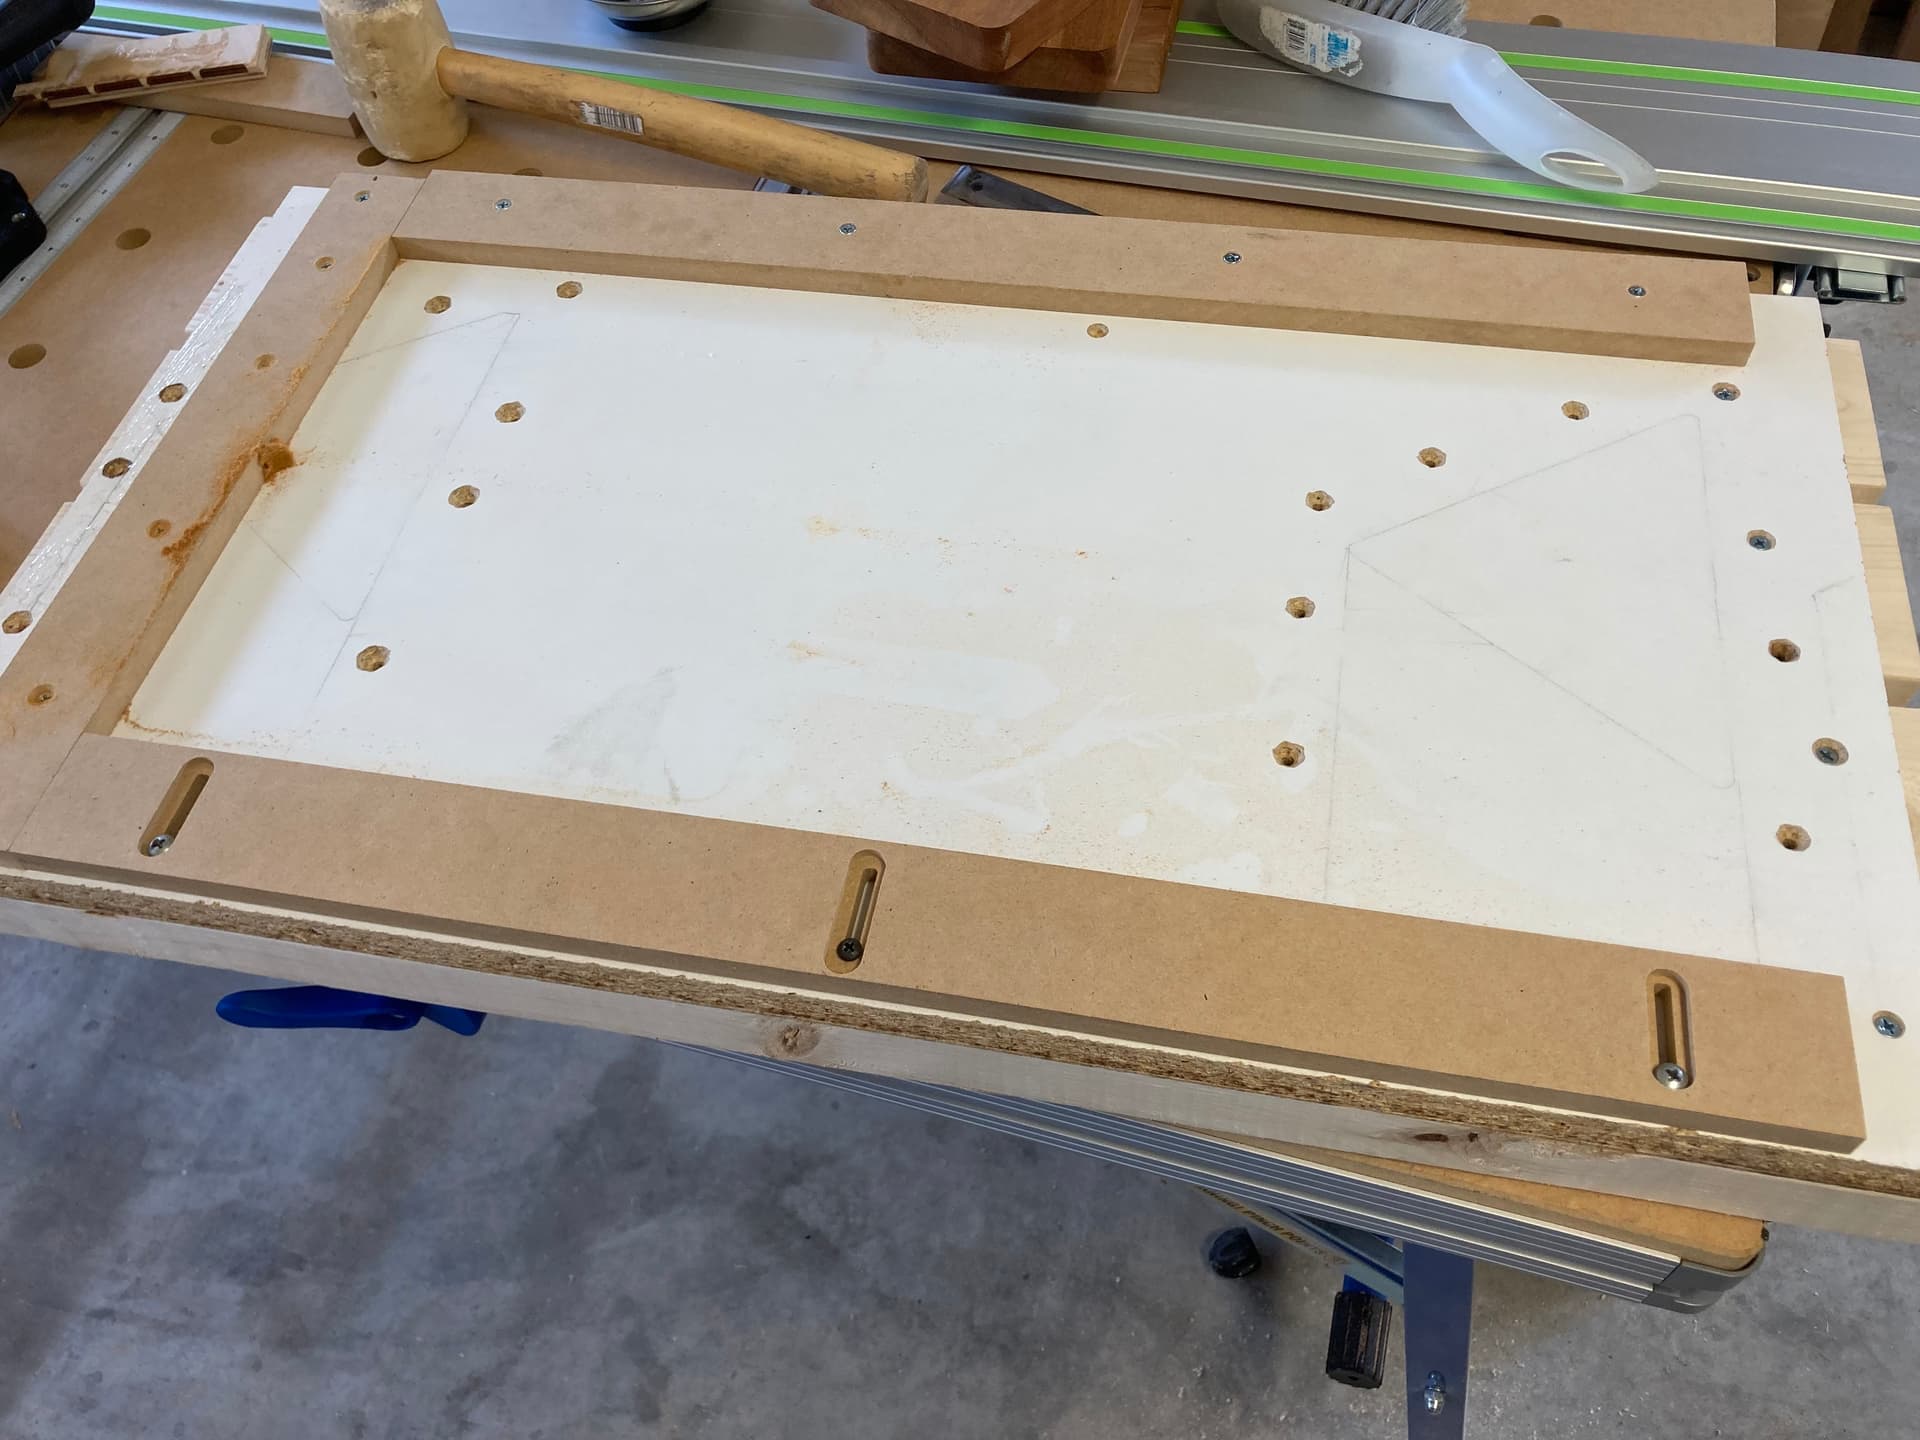
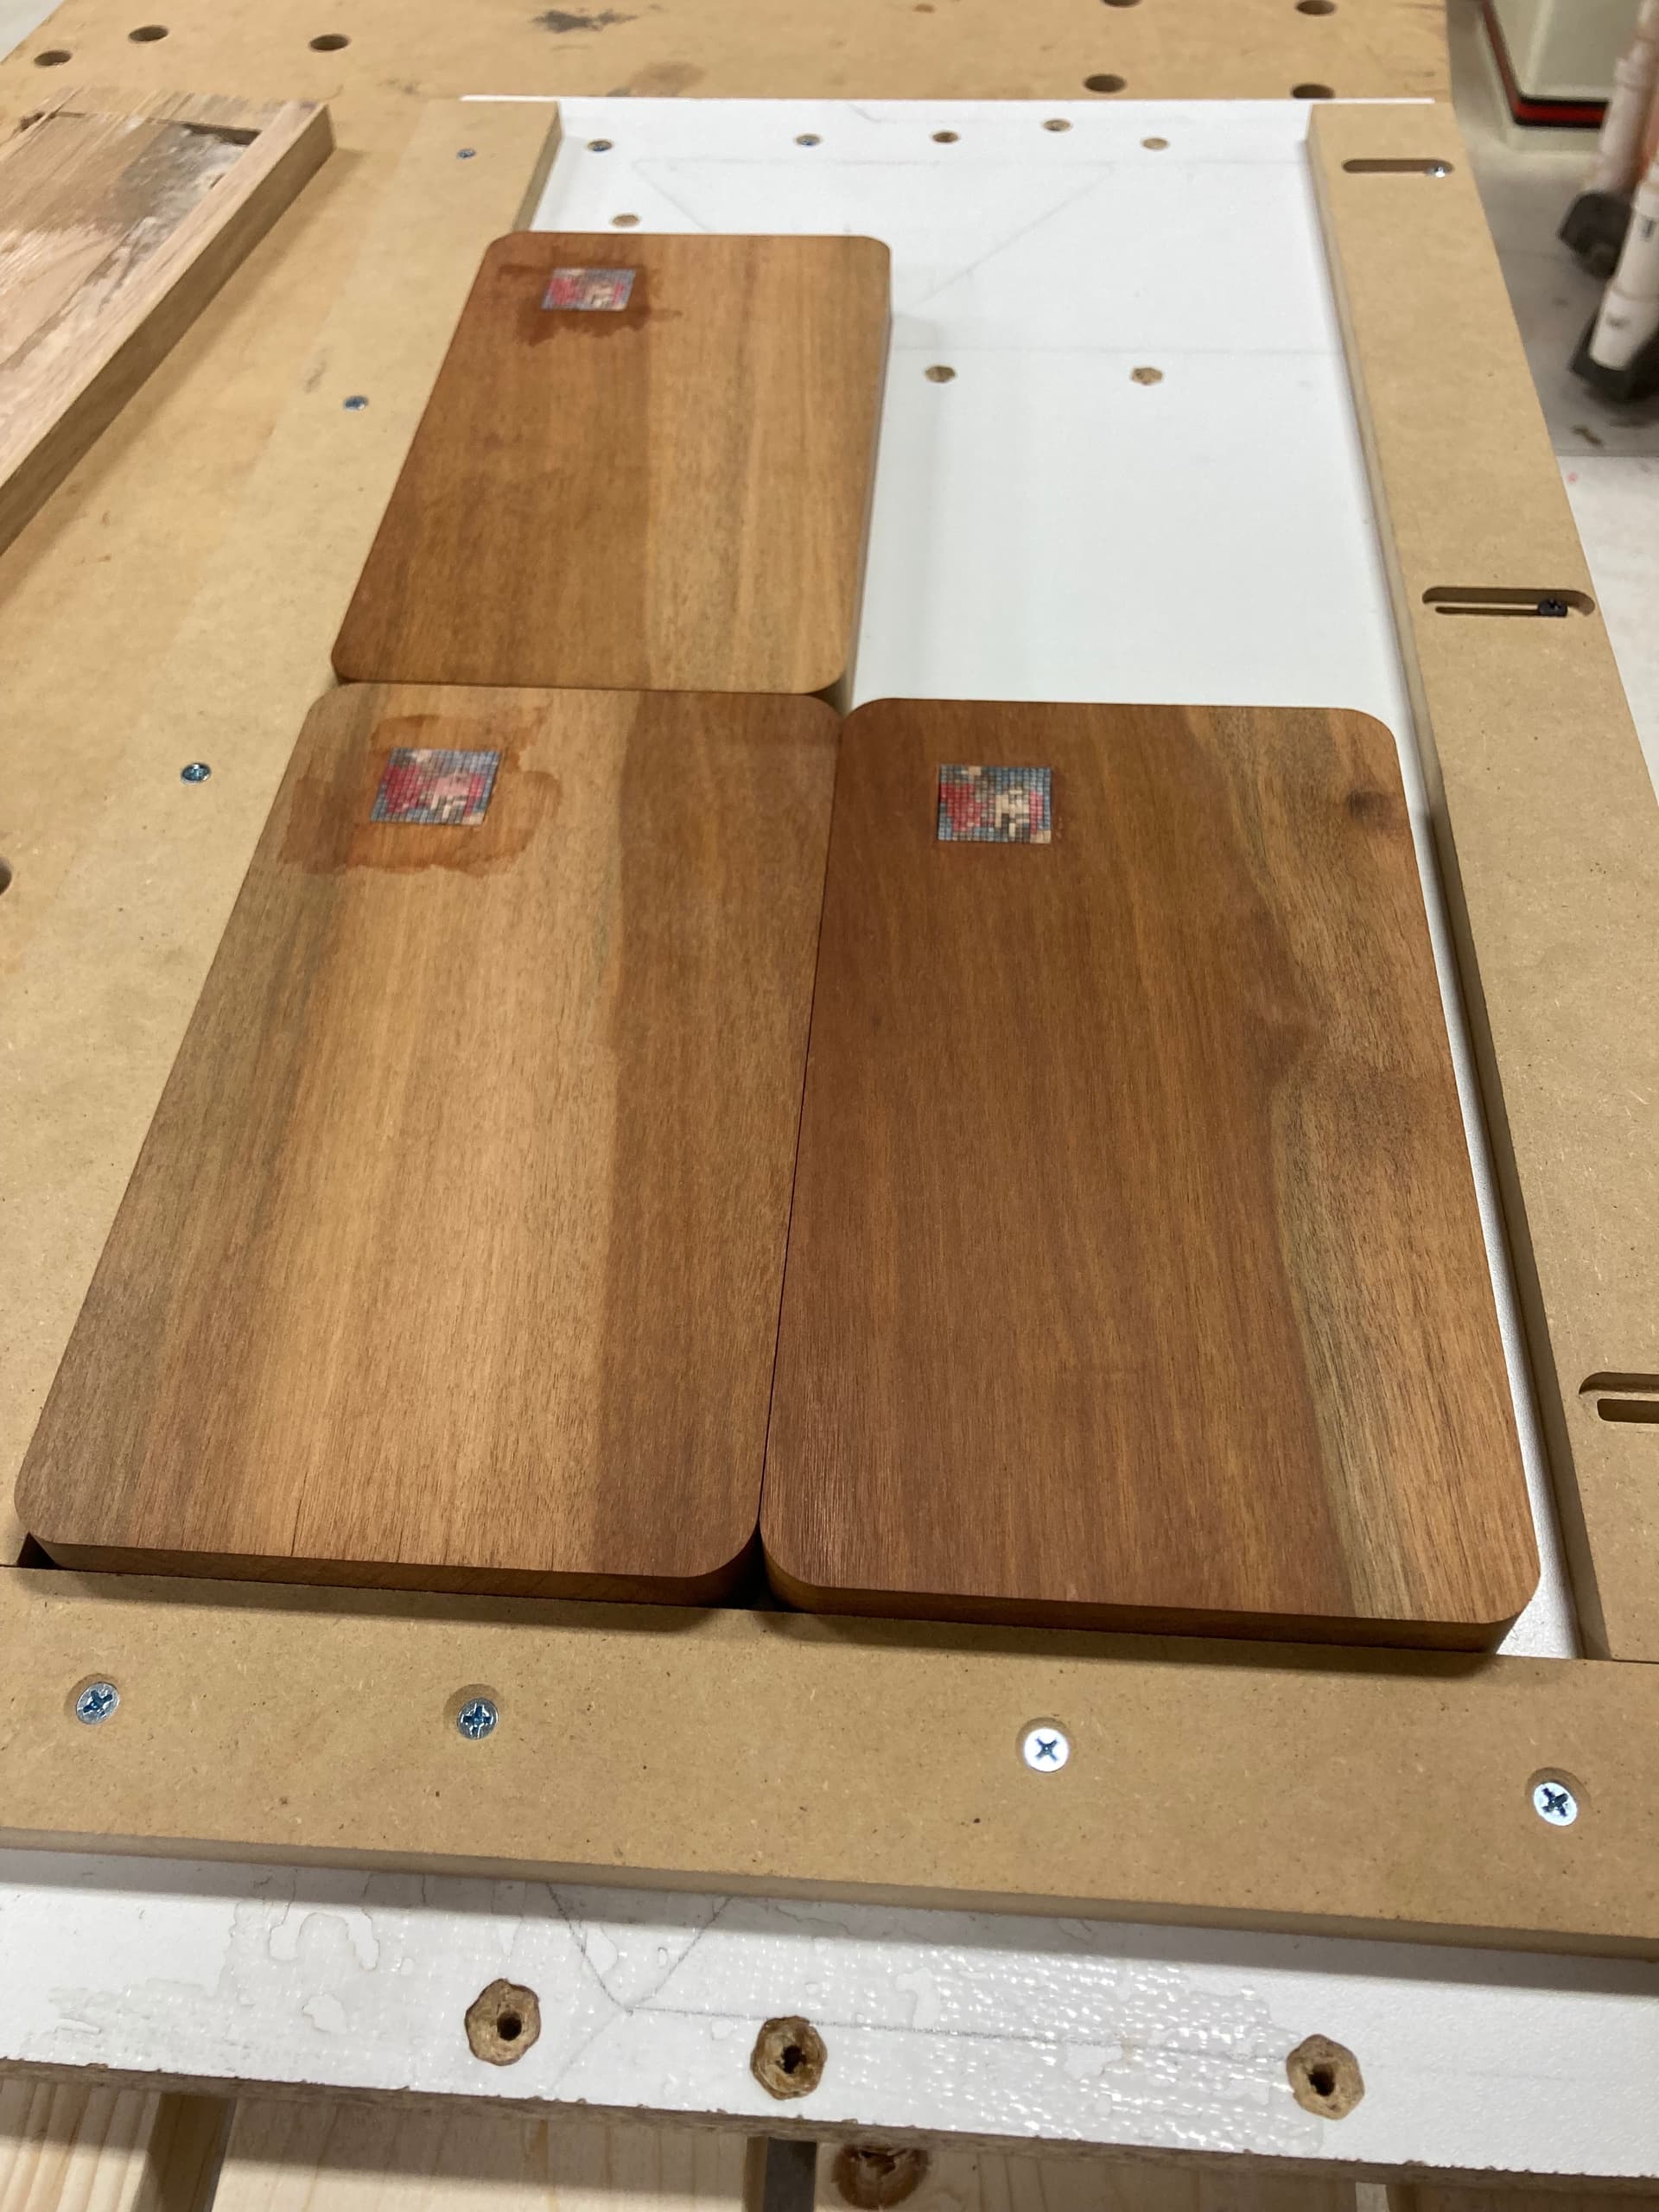
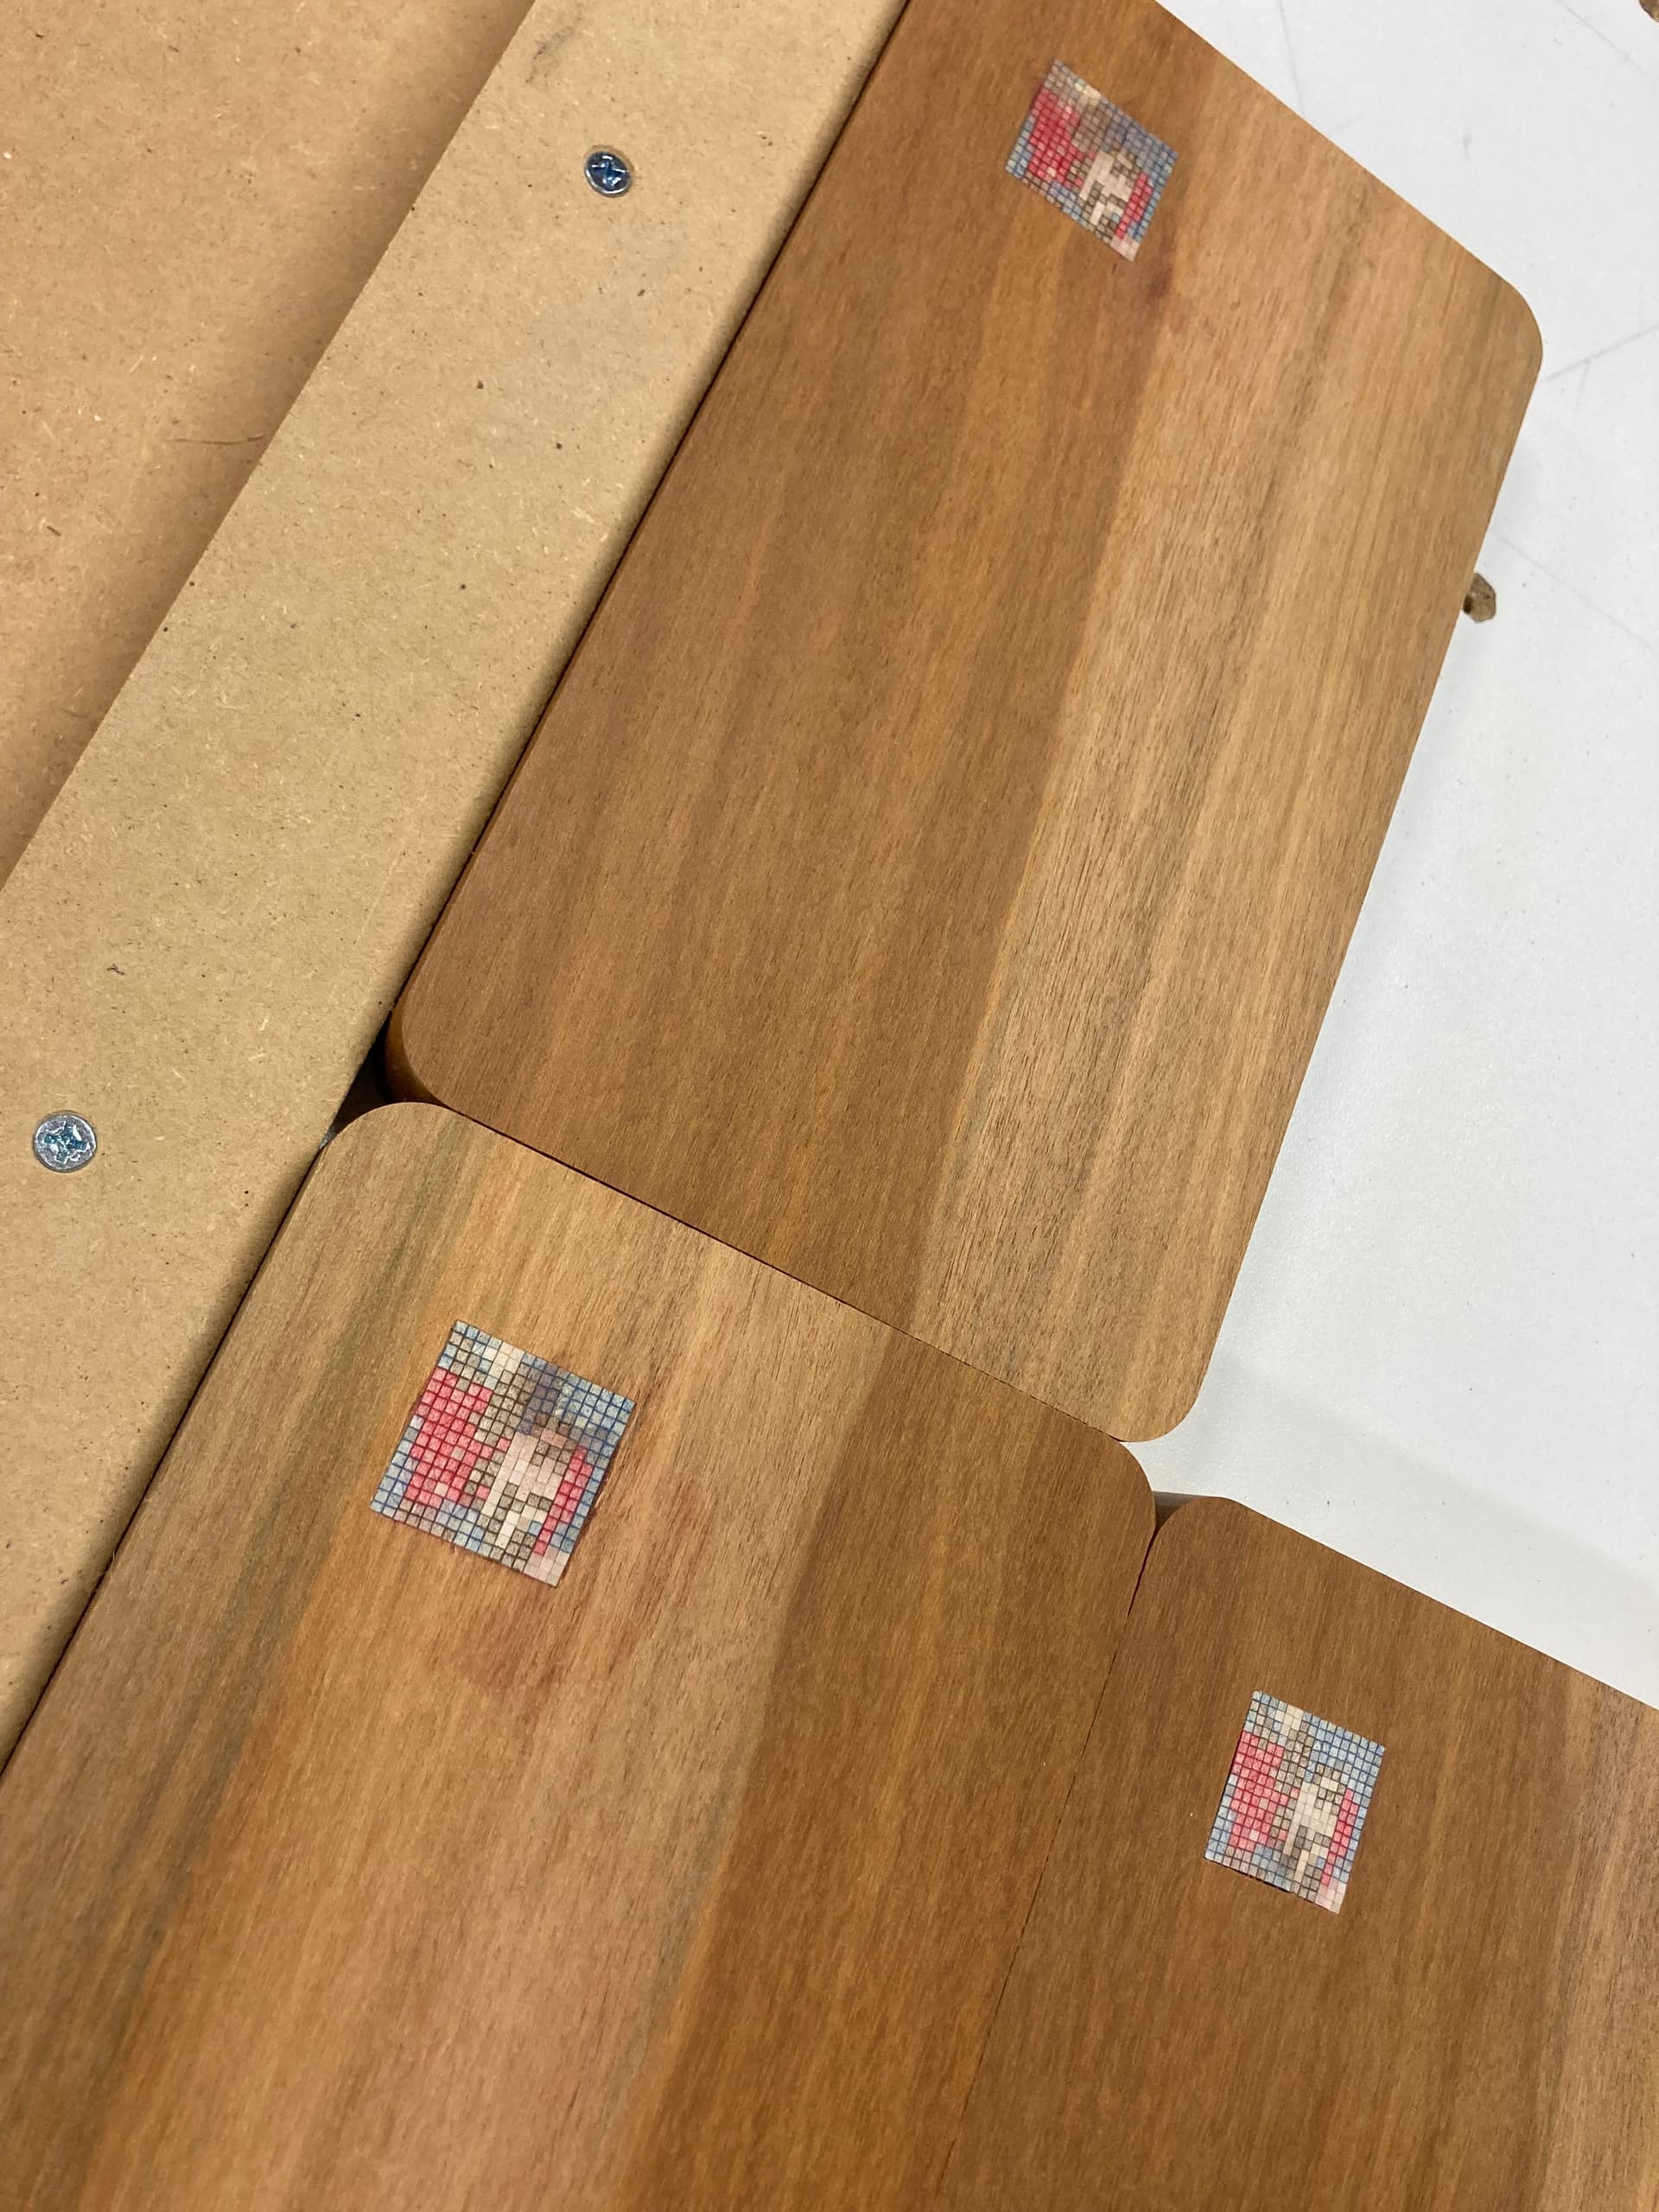
This is over-engineered (as a good engineering couple that builds together does ), but totally works. We built it these dimensions for a very specific project, but I used it for these cutting boards with spec tape to hold them in place and it worked great. Pics below show before and after (the after is about 3 passes, I did 1 or 2 more after that).
These are the optimizations we are going to make on it/would recommend if making your own:
narrow the width of the fixed long strip - the current width blocks you from being able to use the auto depth gage which makes for a very slow process dialing in the correct height. If you need a side rail like this, make sure you make it narrow enough to account for this.
if you feel you need rails along the bottom to ensure flatness, use something lightweight. The 2x4s made this sled a bit heavy, but our melamine was upcycled and not quite to our liking for flatness.
Breaking my silence for safety reasons. Im not picking on anybody and just a sugestion. If youre going to build sleds, try to glue down the fixed parts and if you need mechanical fasteners (screws, brads, etc.) Use aluminum screws or fiber fasteners. If you use steel and they come in contact with the belt, it may not grind it enough before it shreds appart(depending in depth of cut) and may damage the graphite pad that the belt rides on. The graphite pad is not as cheap as a belt. Also if you have mutiple metal fasteners shredding the belt, is going to be a bit violent as all those belt pieces bounce around inside the housing. Unfortunately the pieces dont always stay inside and often come out shooting through the gaps. For the most part still safe but it can be a little shocking or scary.
We glued and screwed for fixed parts here and all screws are deeply embedded (we also aren’t using the sled for sanding anything the same height as the fixed parts). Good reminders for others here building sleds.
The reason i brought that up is from experience. When i learned woodworking in highschool, in the shop there was no planer. The wide belt sander was the planer with a 40 grit or 60 grit belt. The biggest problem was “I thought I was only taking this much” when in reality they were taking a lot. Mechanical fasteners over time with the heat, pressure and vibrations do come loose. But really most times the surface of the holding frame in the sled often were sanded down by mistake without anybody noticing or checking and the fasteners were reached. Which it was no big deal since we were not allowed to use steel screws for that. We used aluminum when necessary. Now there were many times that students used brads or nails in the fabrication of panels or frames and forgot about it until the banging and other noises were coming out of the machine because the belt was shred to pieces. Another culprit was pocket holes. Anyway, the shortest piece that can be run safely without a backing board/sled, should be the distance between the pressure rollers plus two inches. I believe is 16" for this model but i dont know what they teach in the class or what was deemed safe by Asmbly. There are different techniques or ways to run far shorter pieces but it requires research, experience, and understanding of how the machine and abrasives work so im not going to mention them. Anyway, if you ever shred that belt to a lot of pieces you will remember it and so will all the persons around the machine. If that ever happens, please try to use one of the two emergency stops before you get out of the way. Respect the machine, be safe, and make some dust!