I’ve been working on a van build at Asmbly and a shop nearby for the past 5 or so months. I likely have another month to go. Technically started it long before but just got the time to focus on it now.
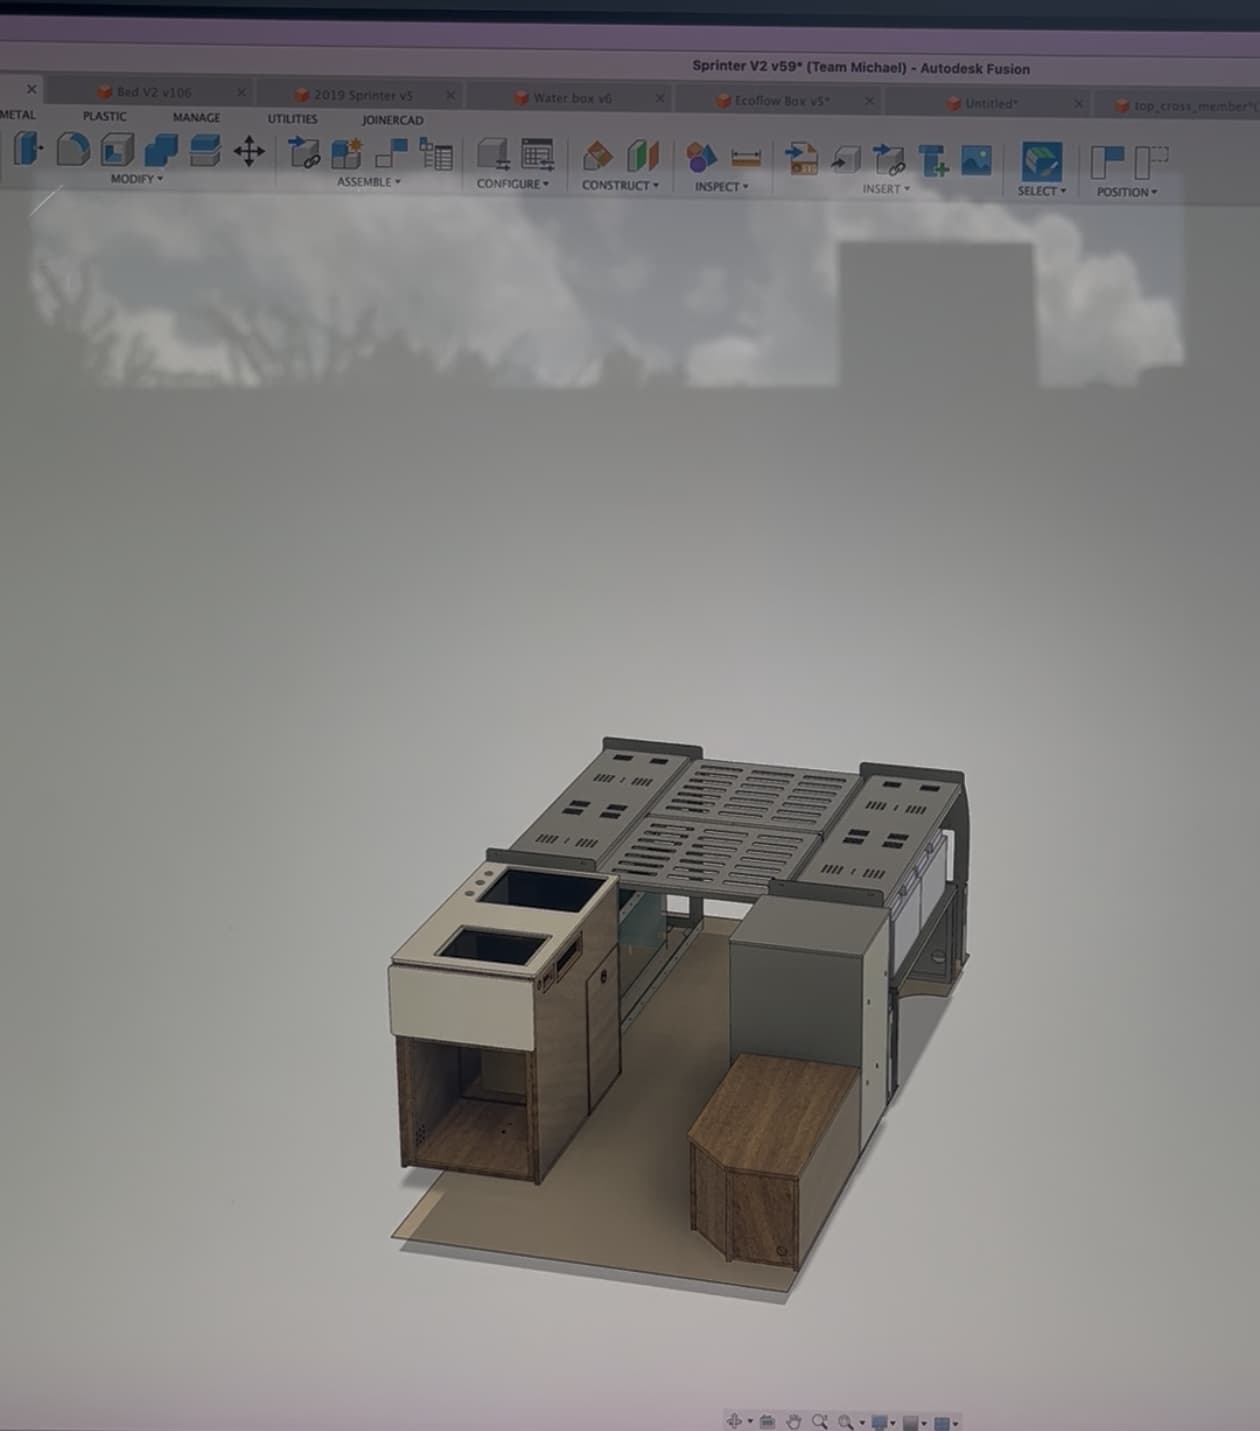
This was the original Fusion file. The design evolved some.
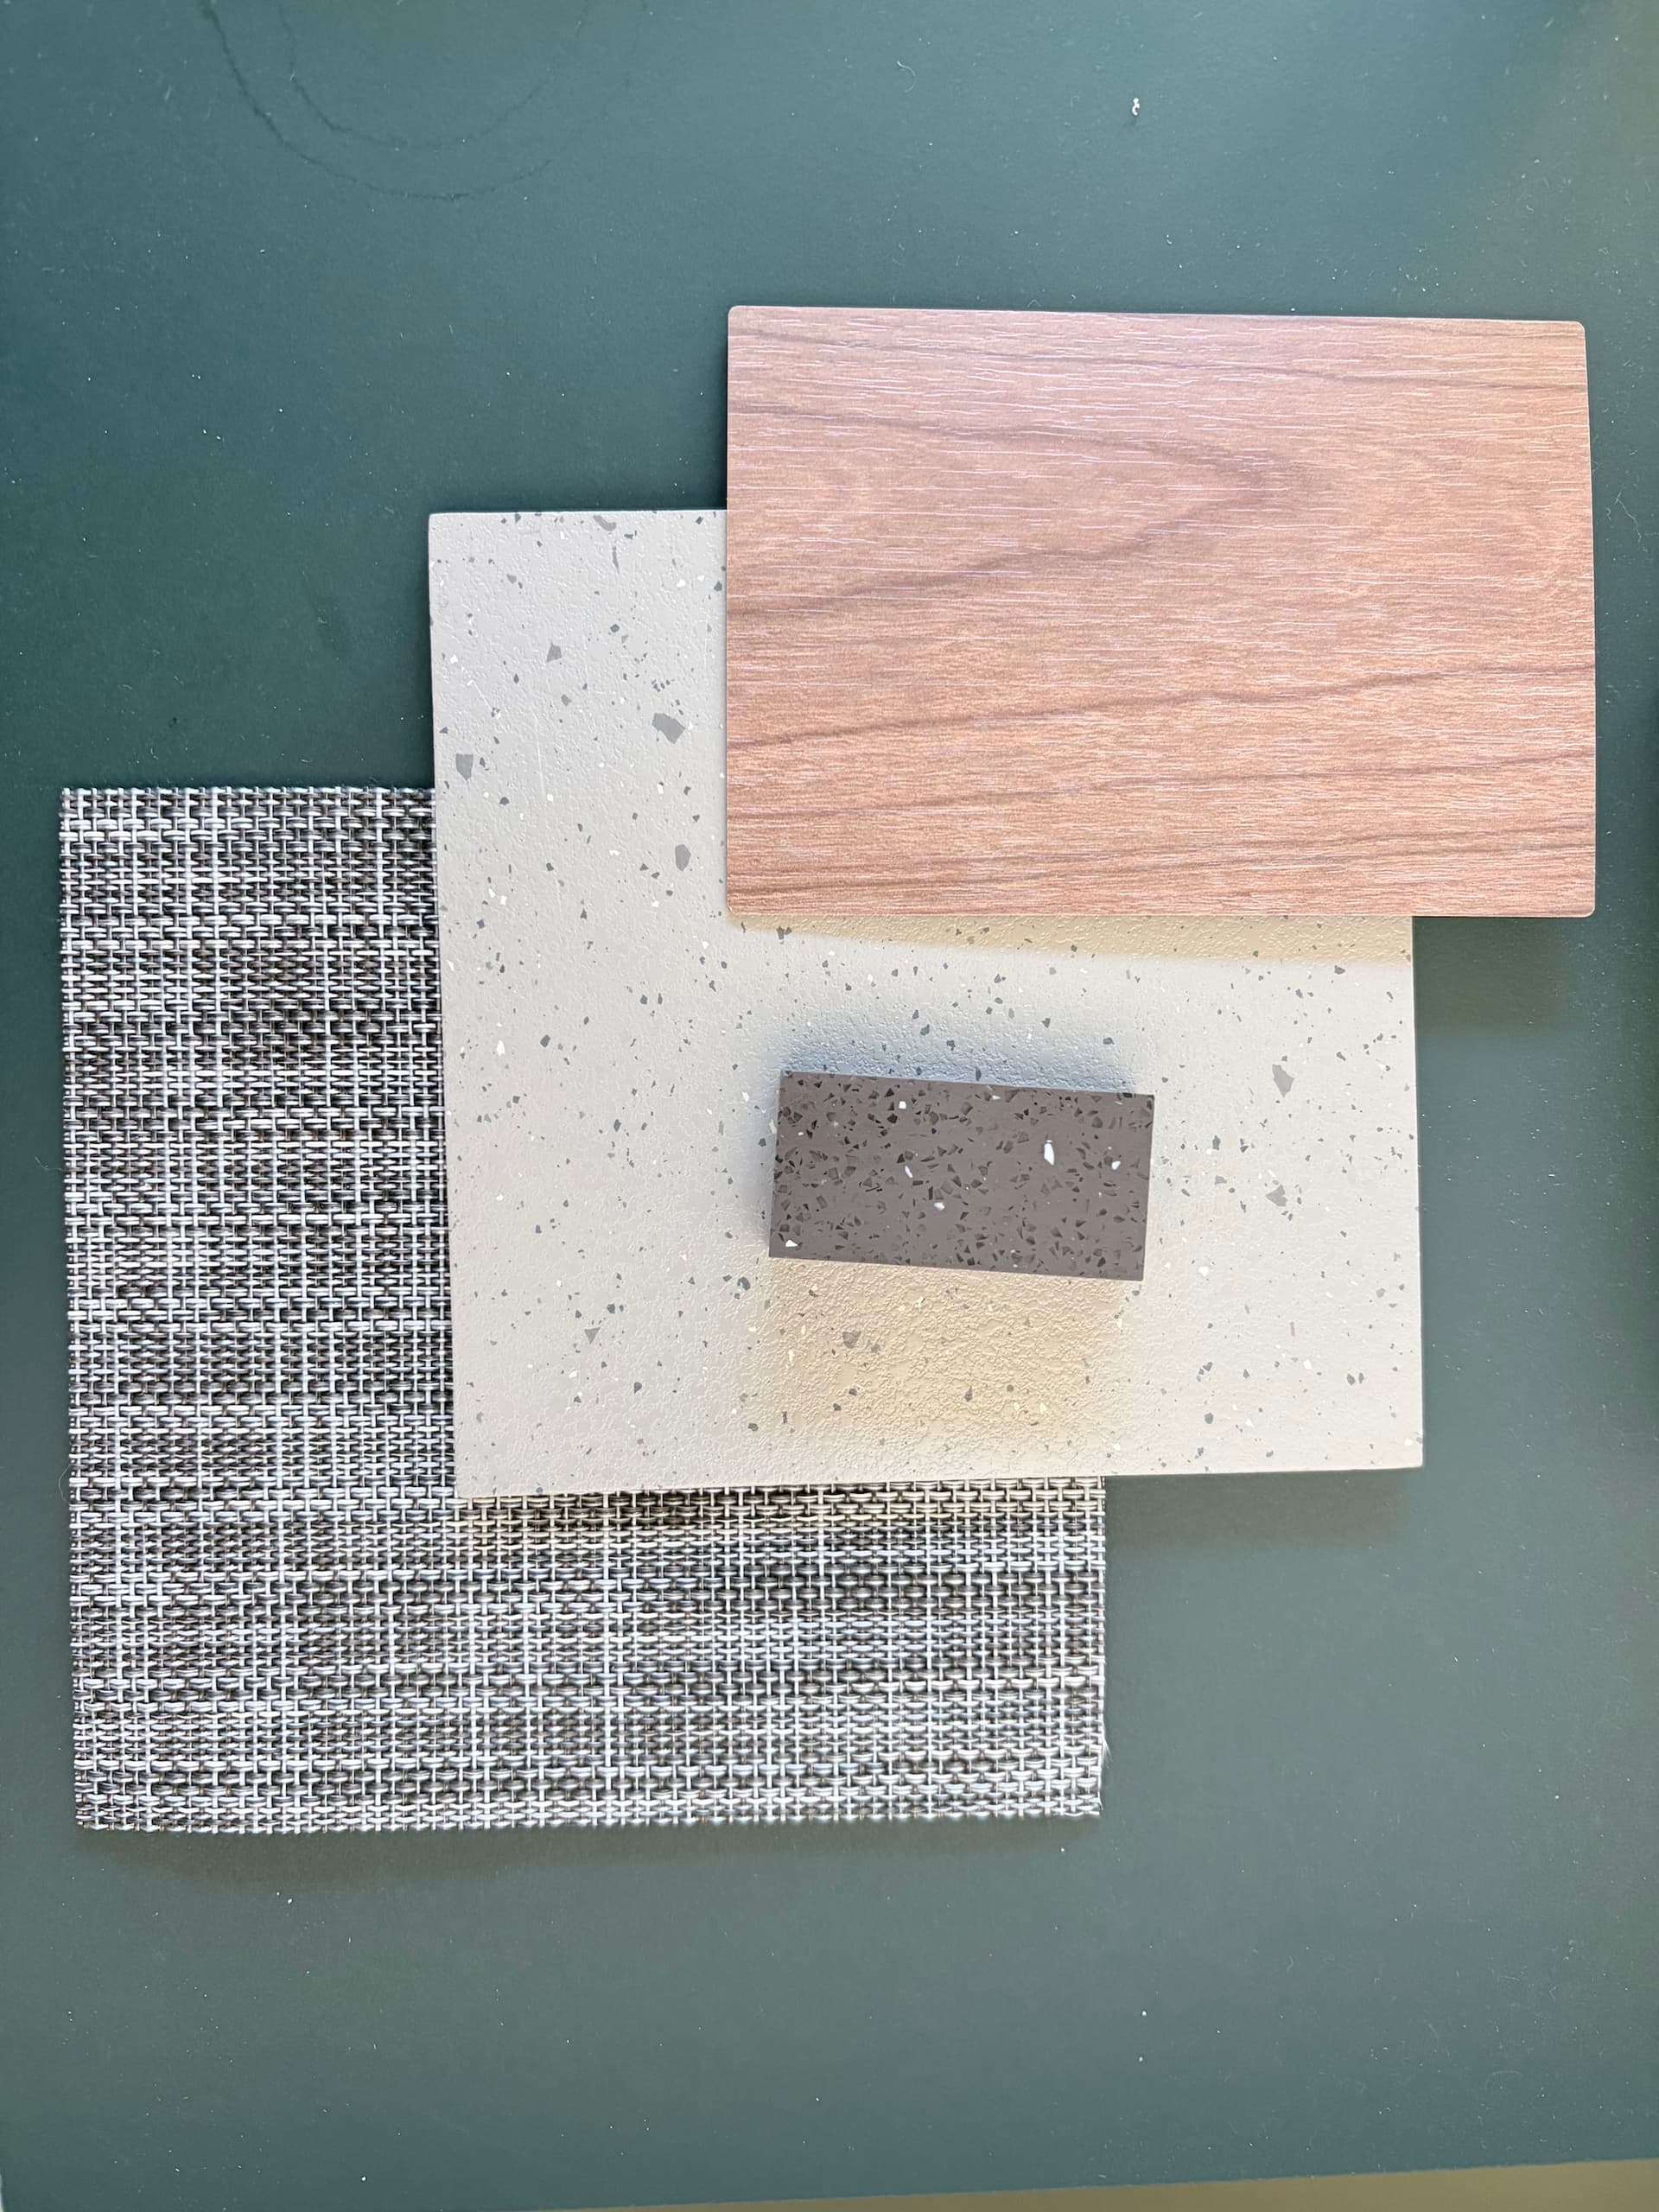
Most of the materials besides the green desk it is sitting on. Likely going to accent in some lighter sky-ish blue aluminum cabinets.
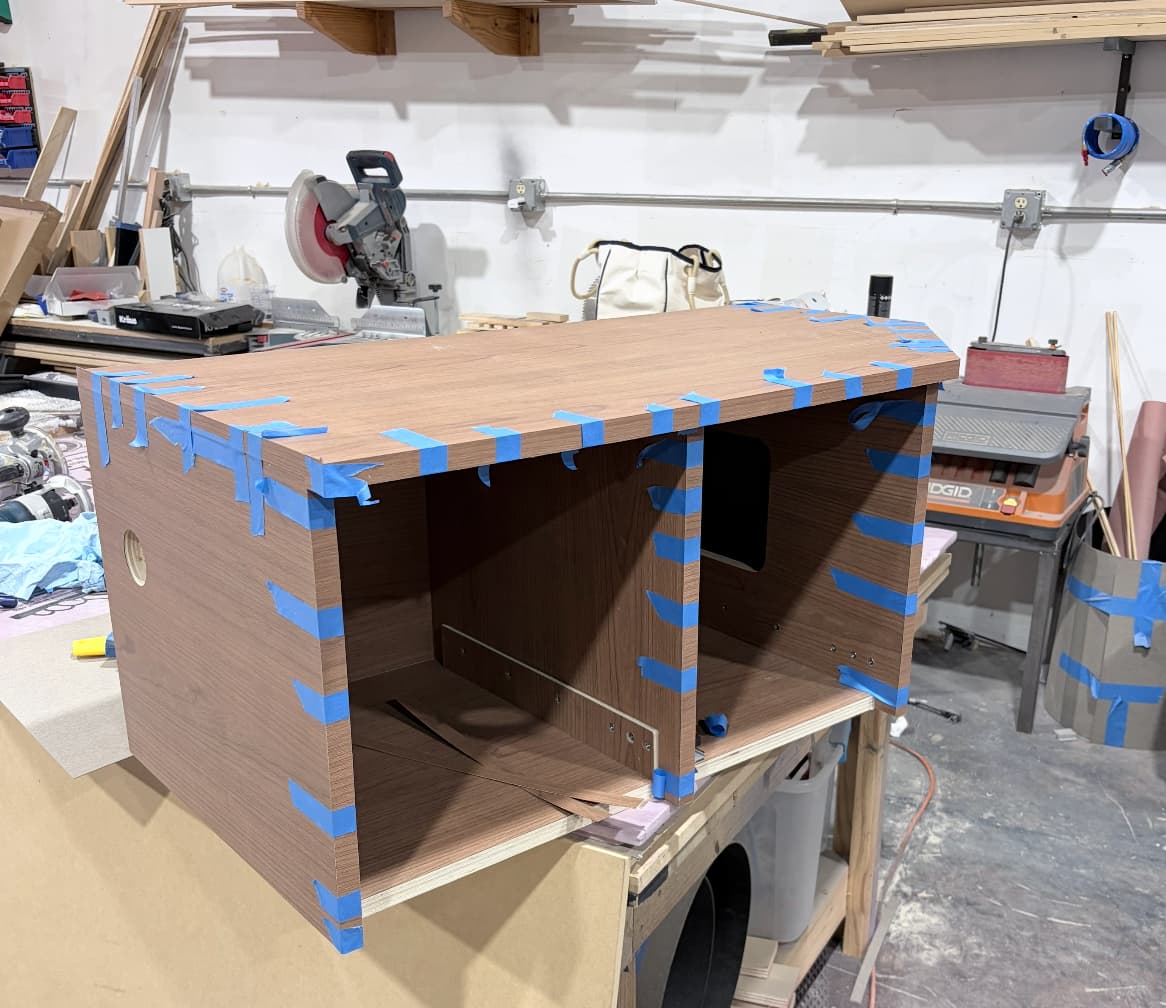
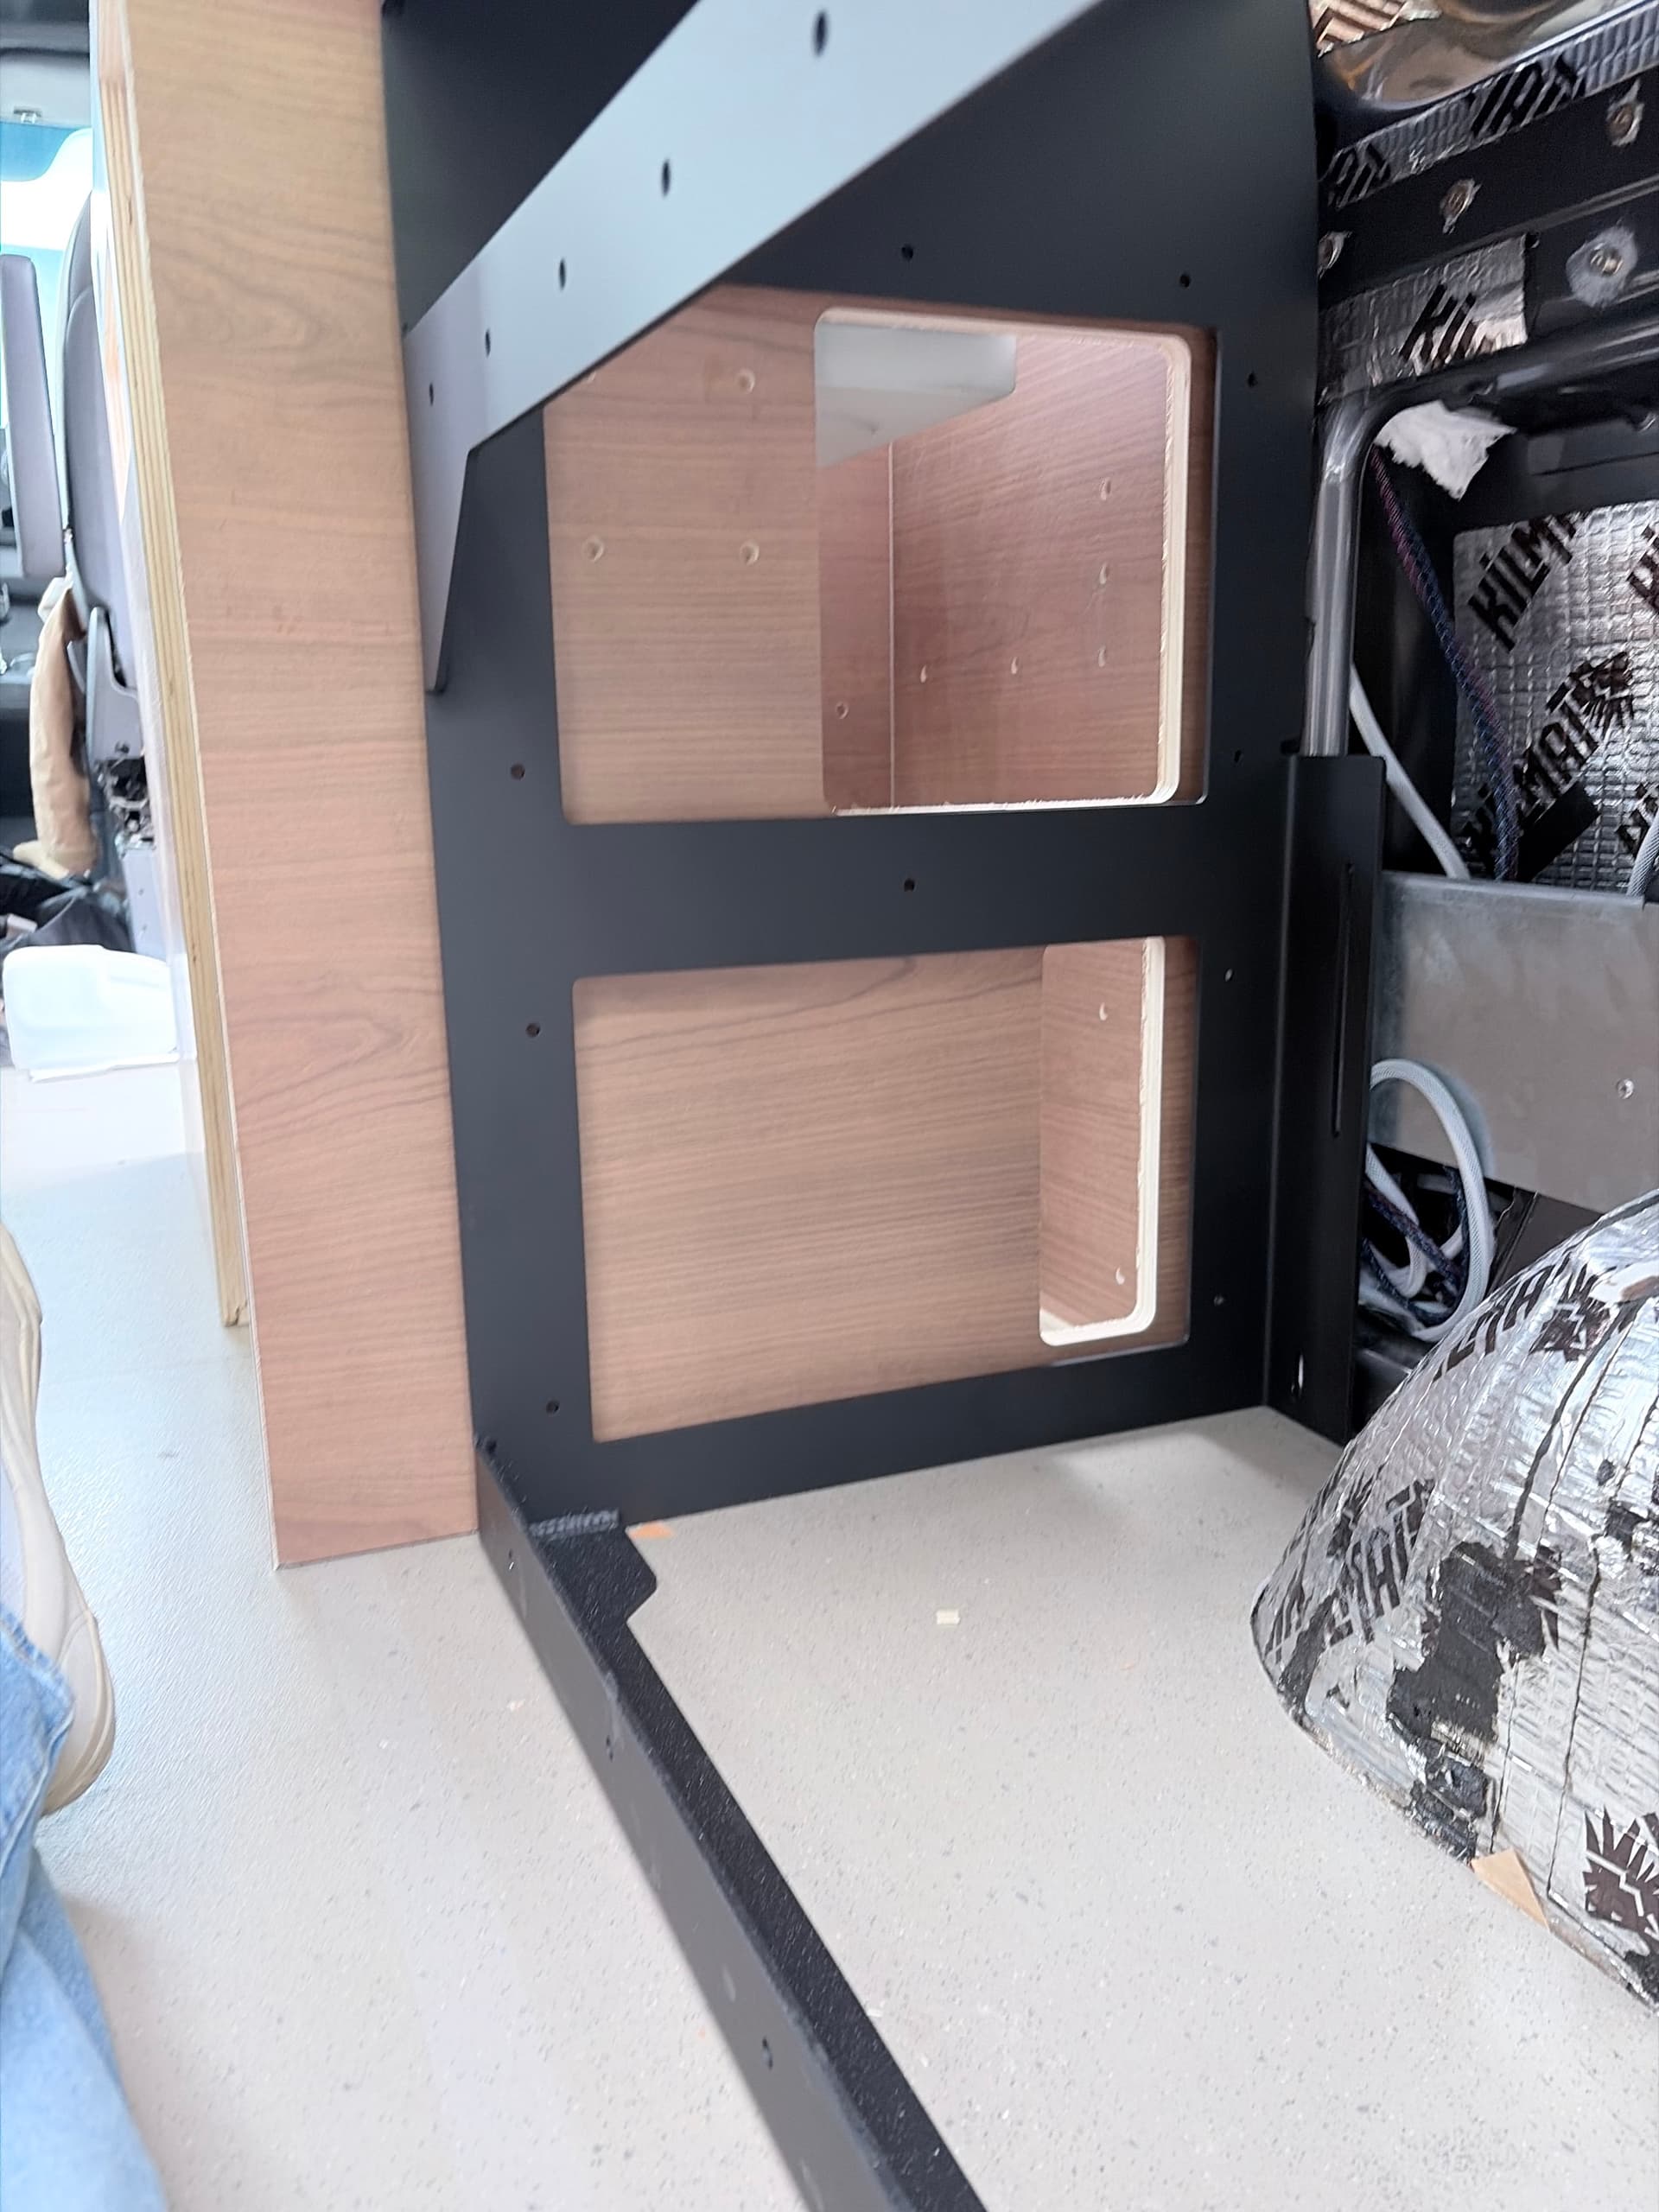
Here is the kitchen cabinet (with tape on it for edge banding that I just did.) I hadn’t built a cabinet before. The laminate was somewhat challenging. I chose a low VOC PVA glue that made it difficult to glue sheets larger than 4’x4’ without special equipment. First attempt at a larger sheet resulted in bubbling that was less than ideal. I ended up sticking to 4’x4’ (as recommended for more manual application.) Nearly every poplar sheet had laminate on both sides. In the future, I’d revisit how to this more efficiently. Likely run 4’x8’ sheets and not laminate every side to make assembling/glue up a bit easier.
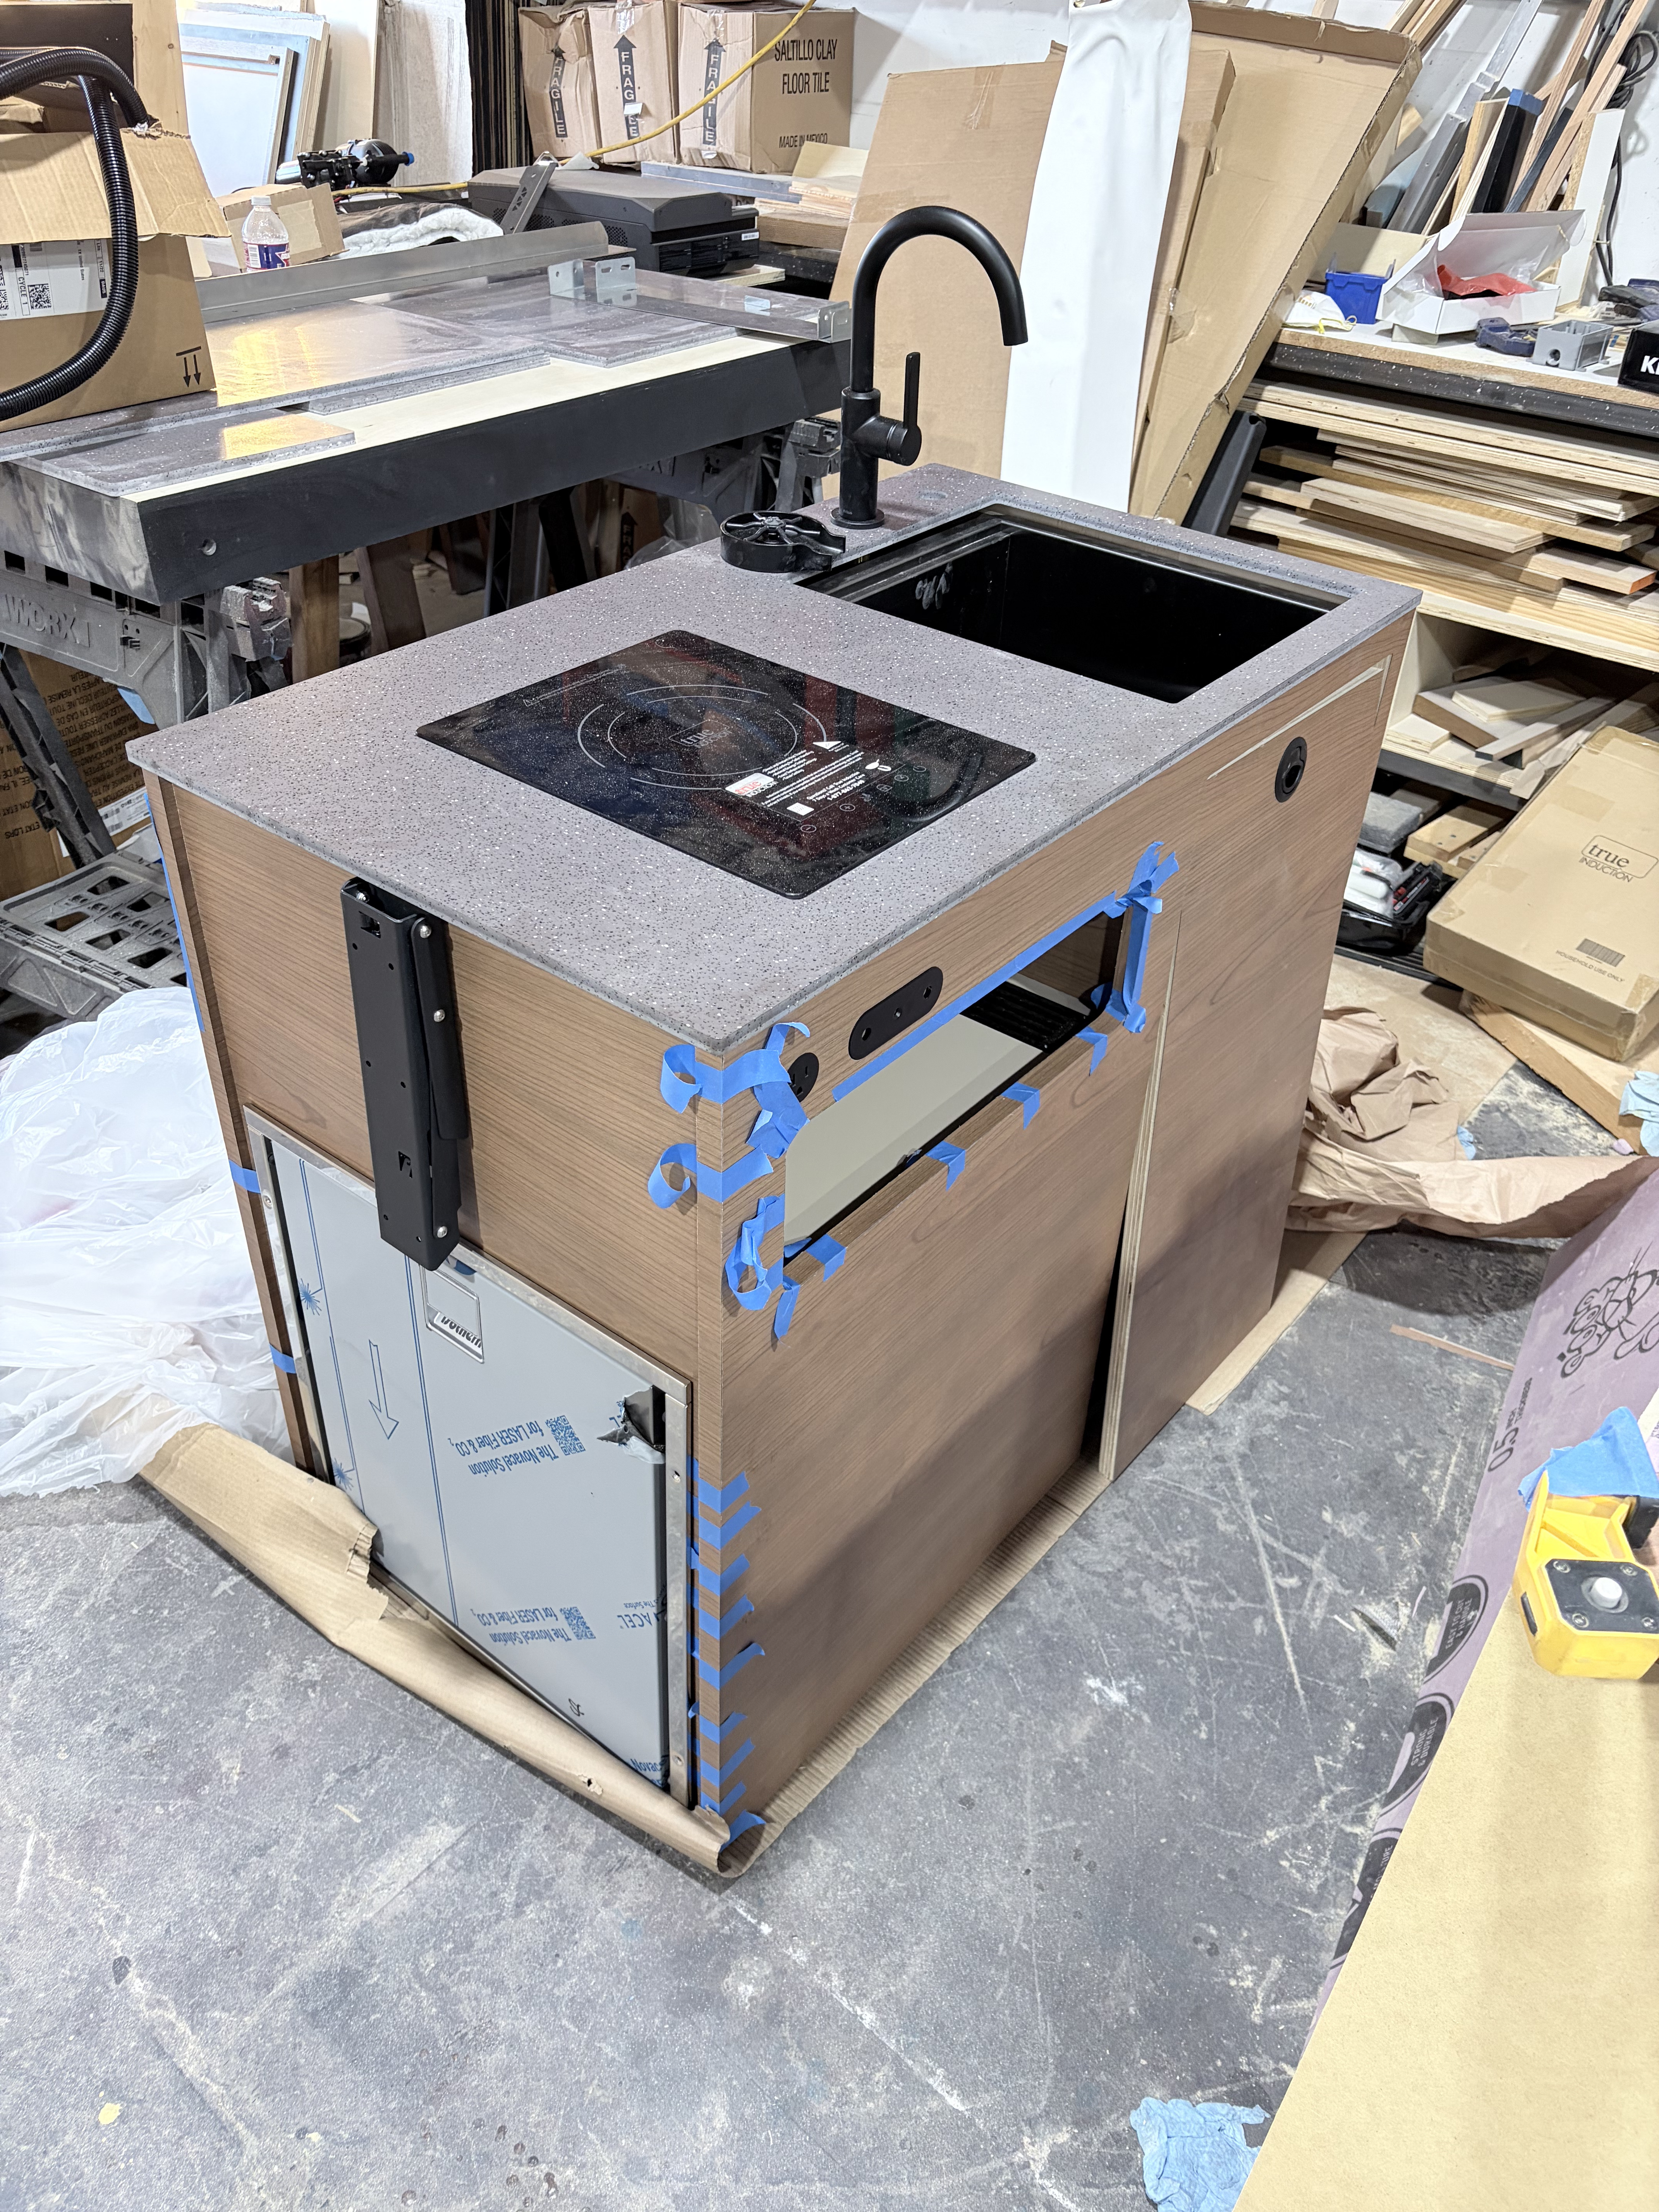
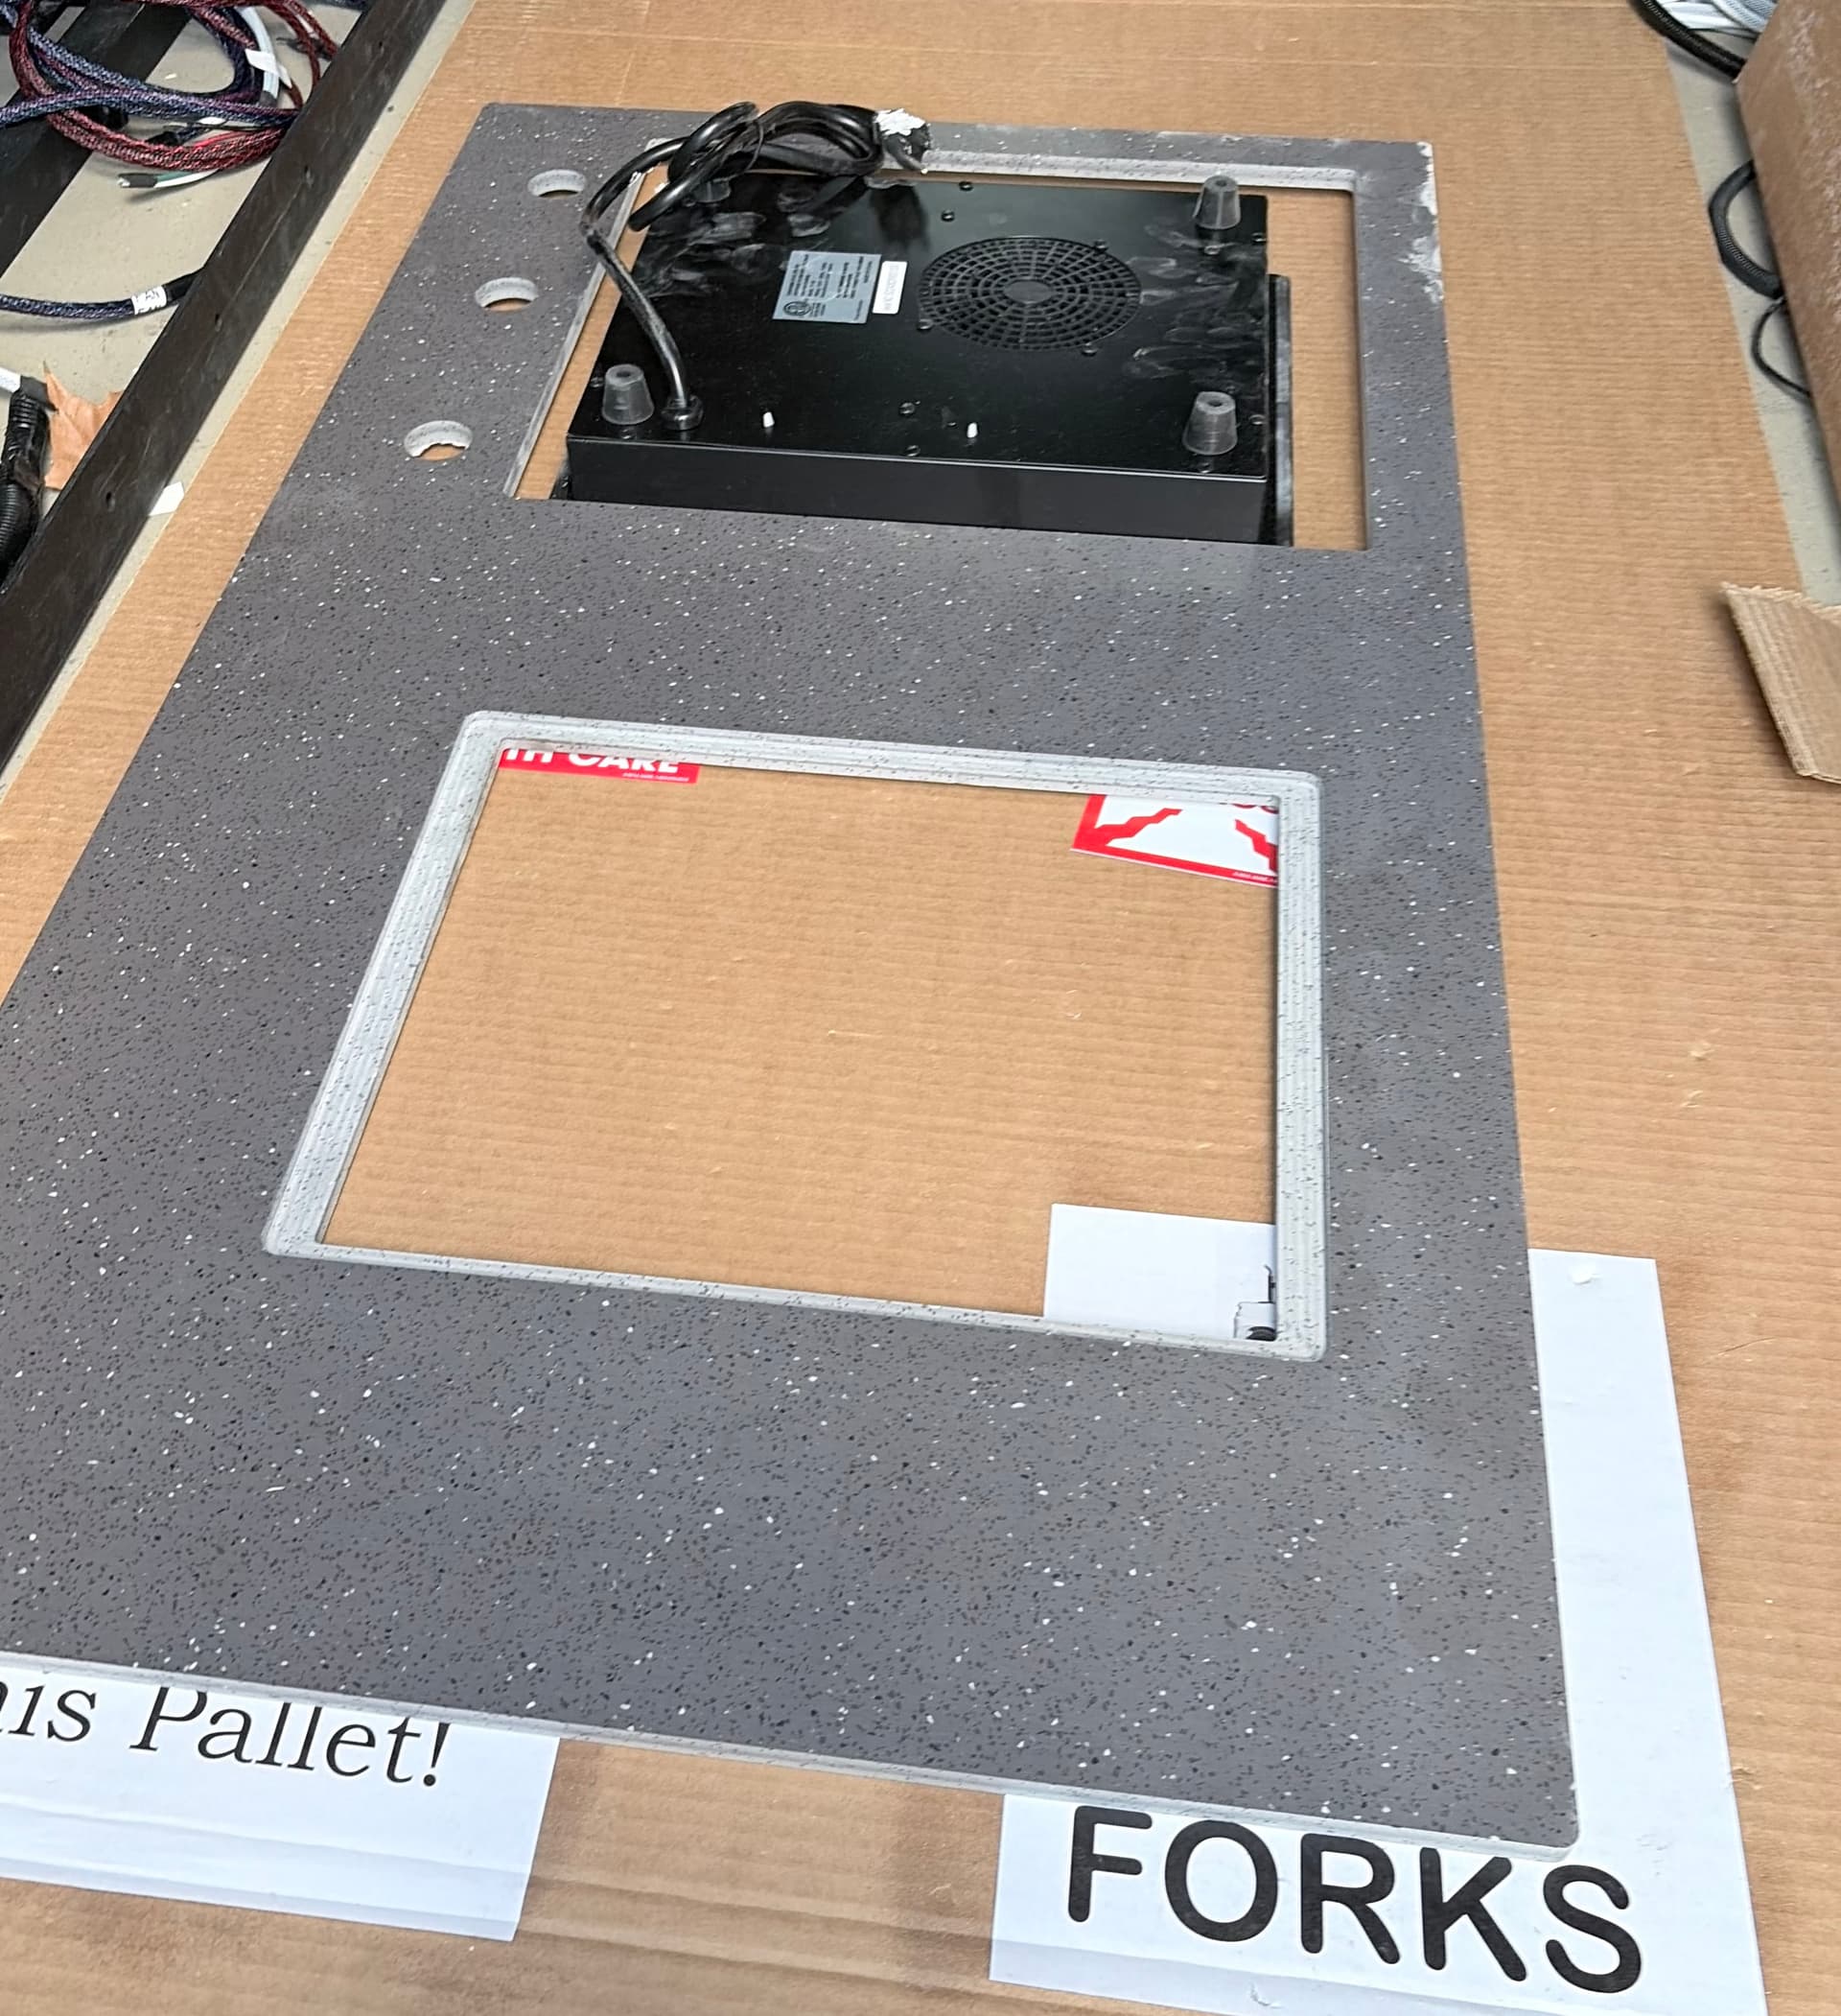
Cut the counter top on the CNC. It is a product called Durat.
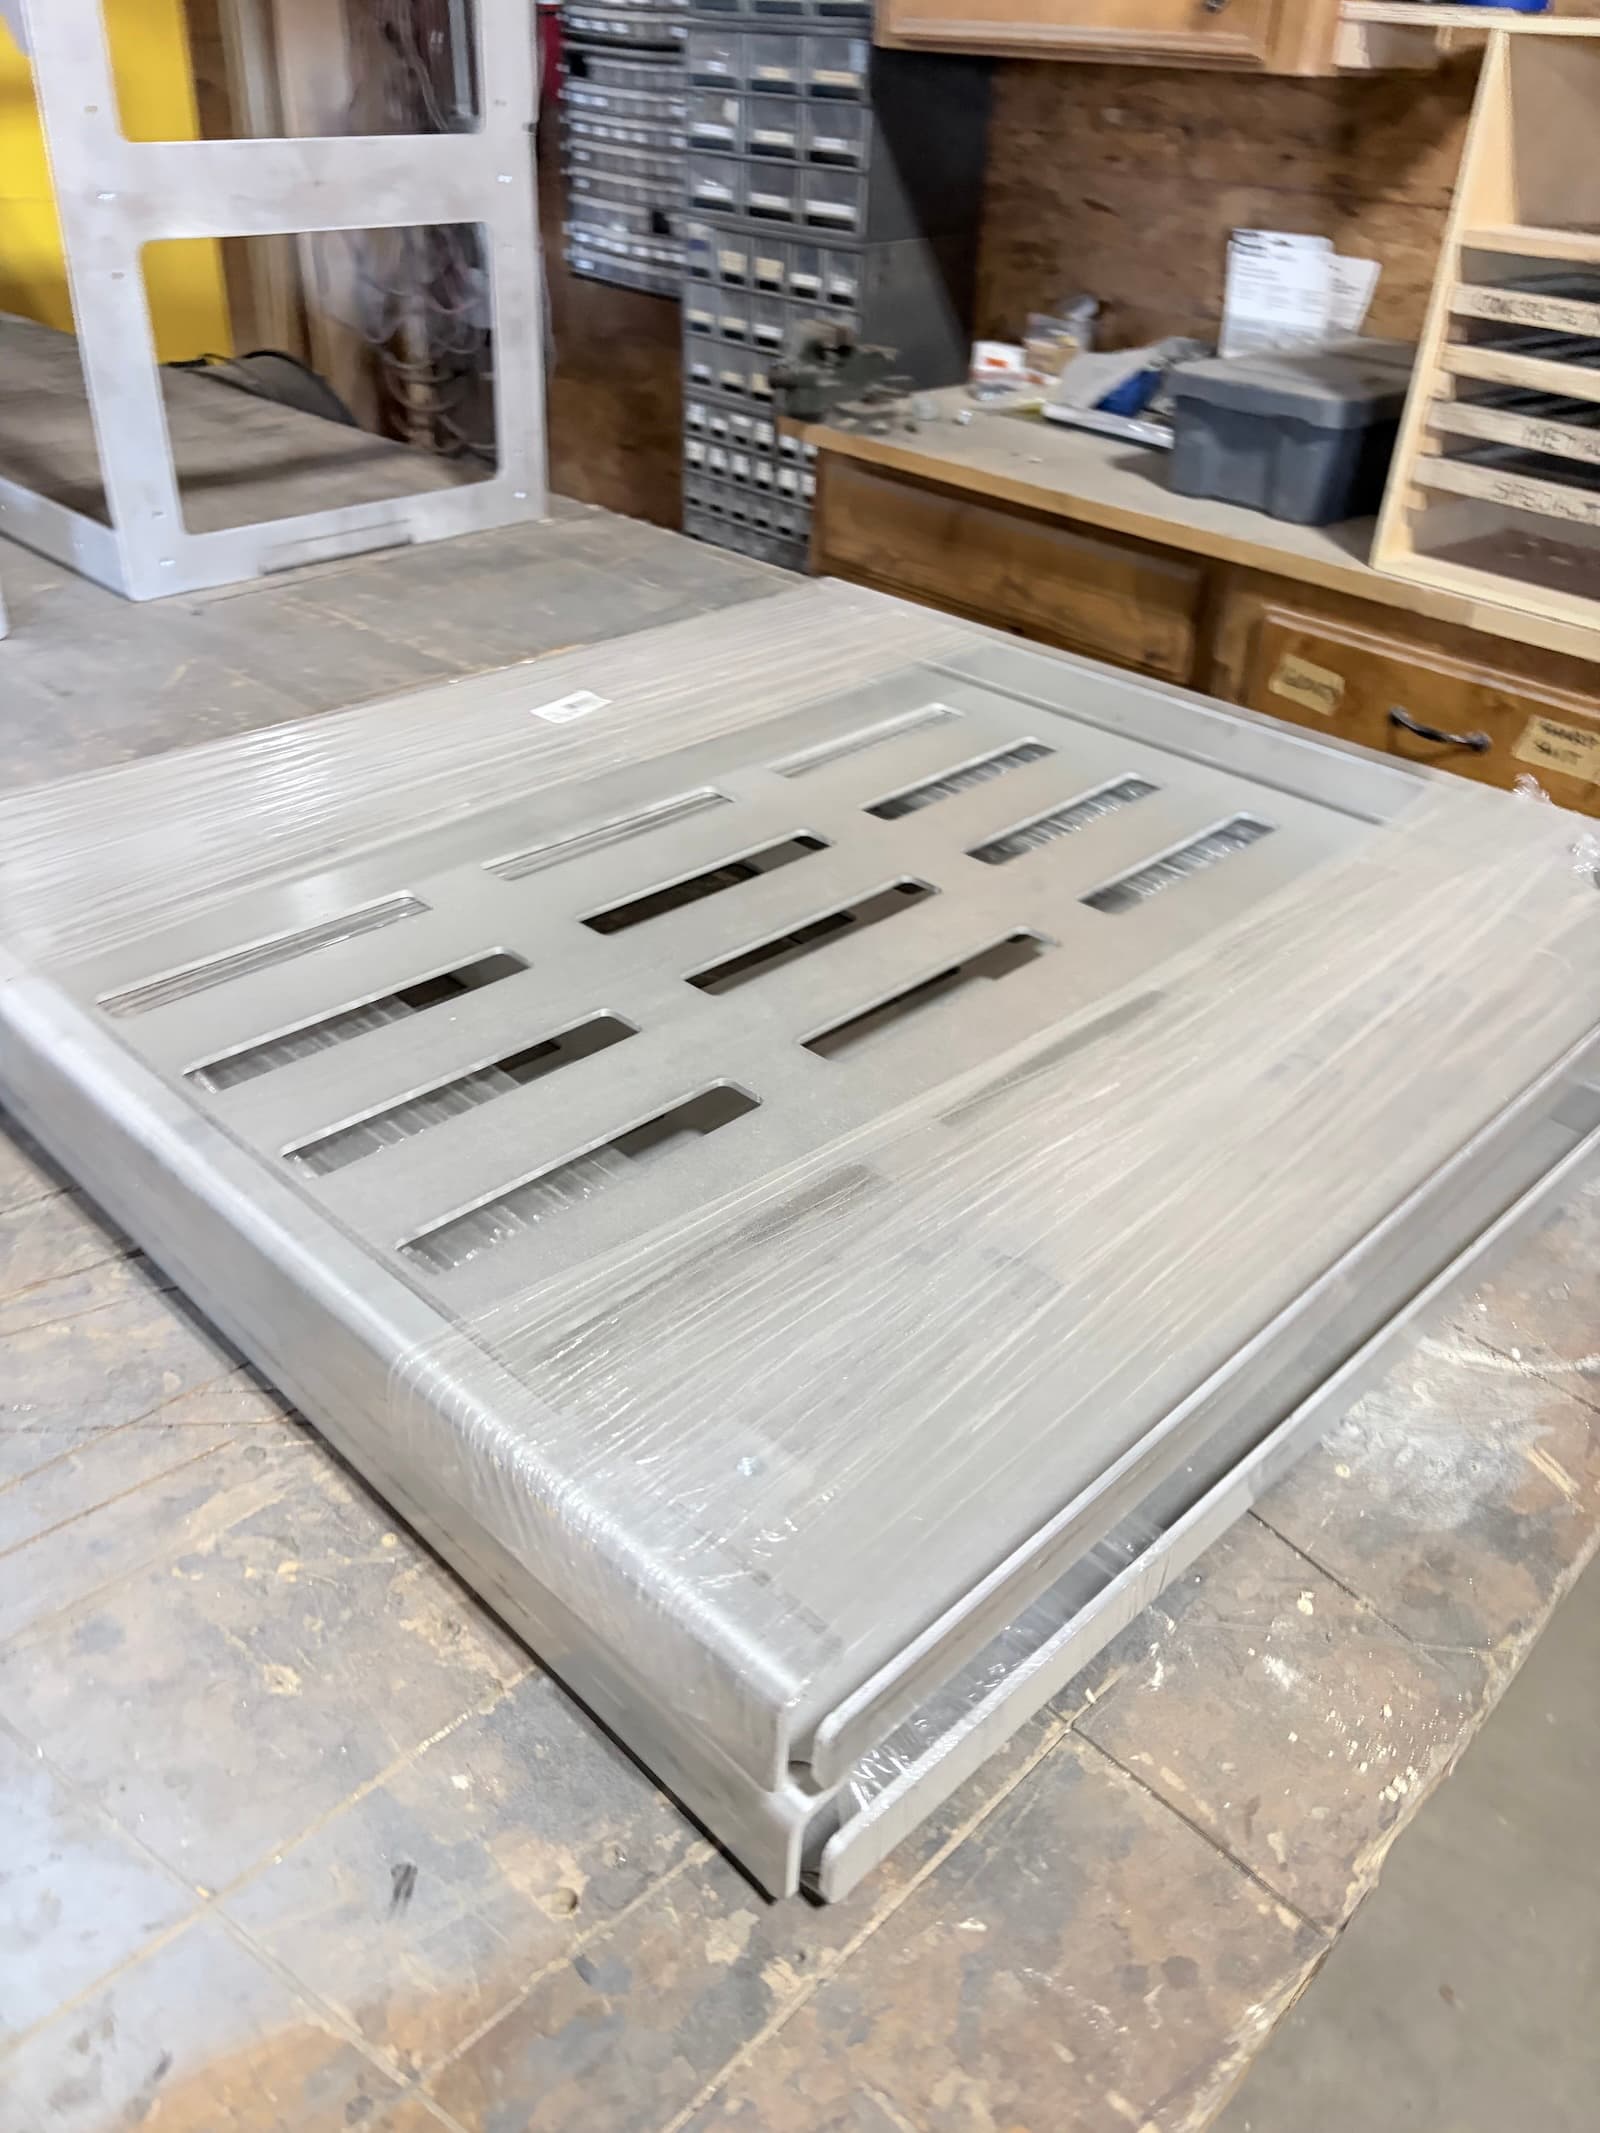
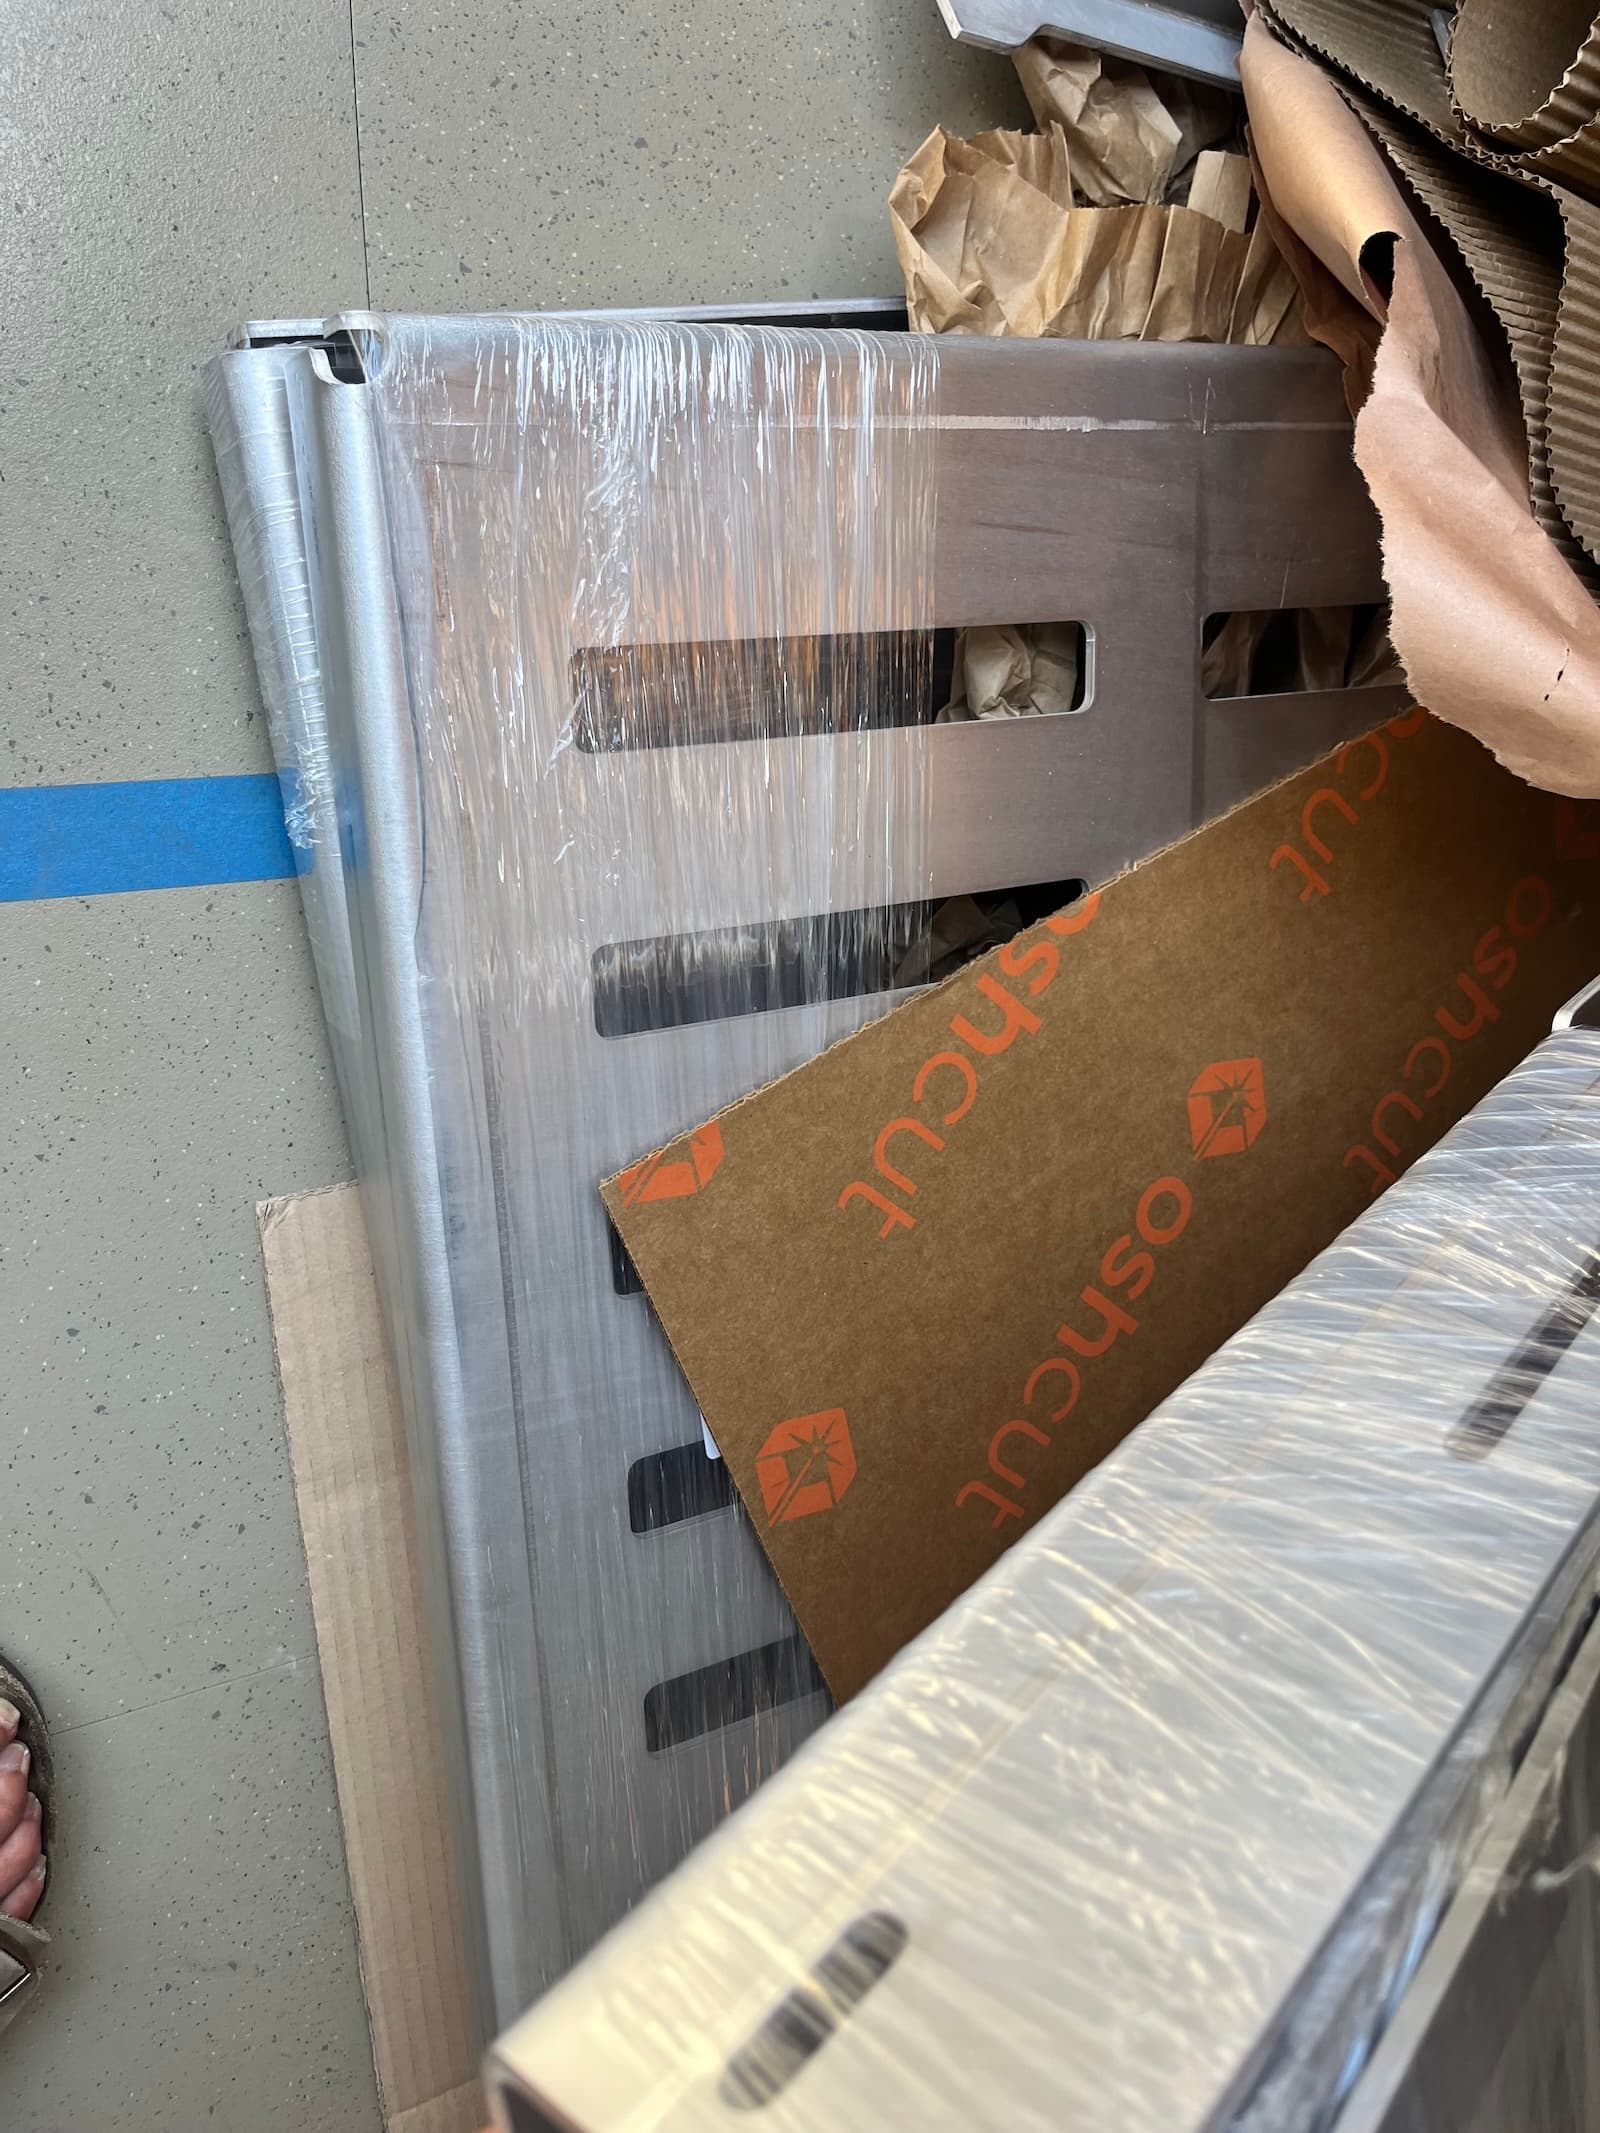
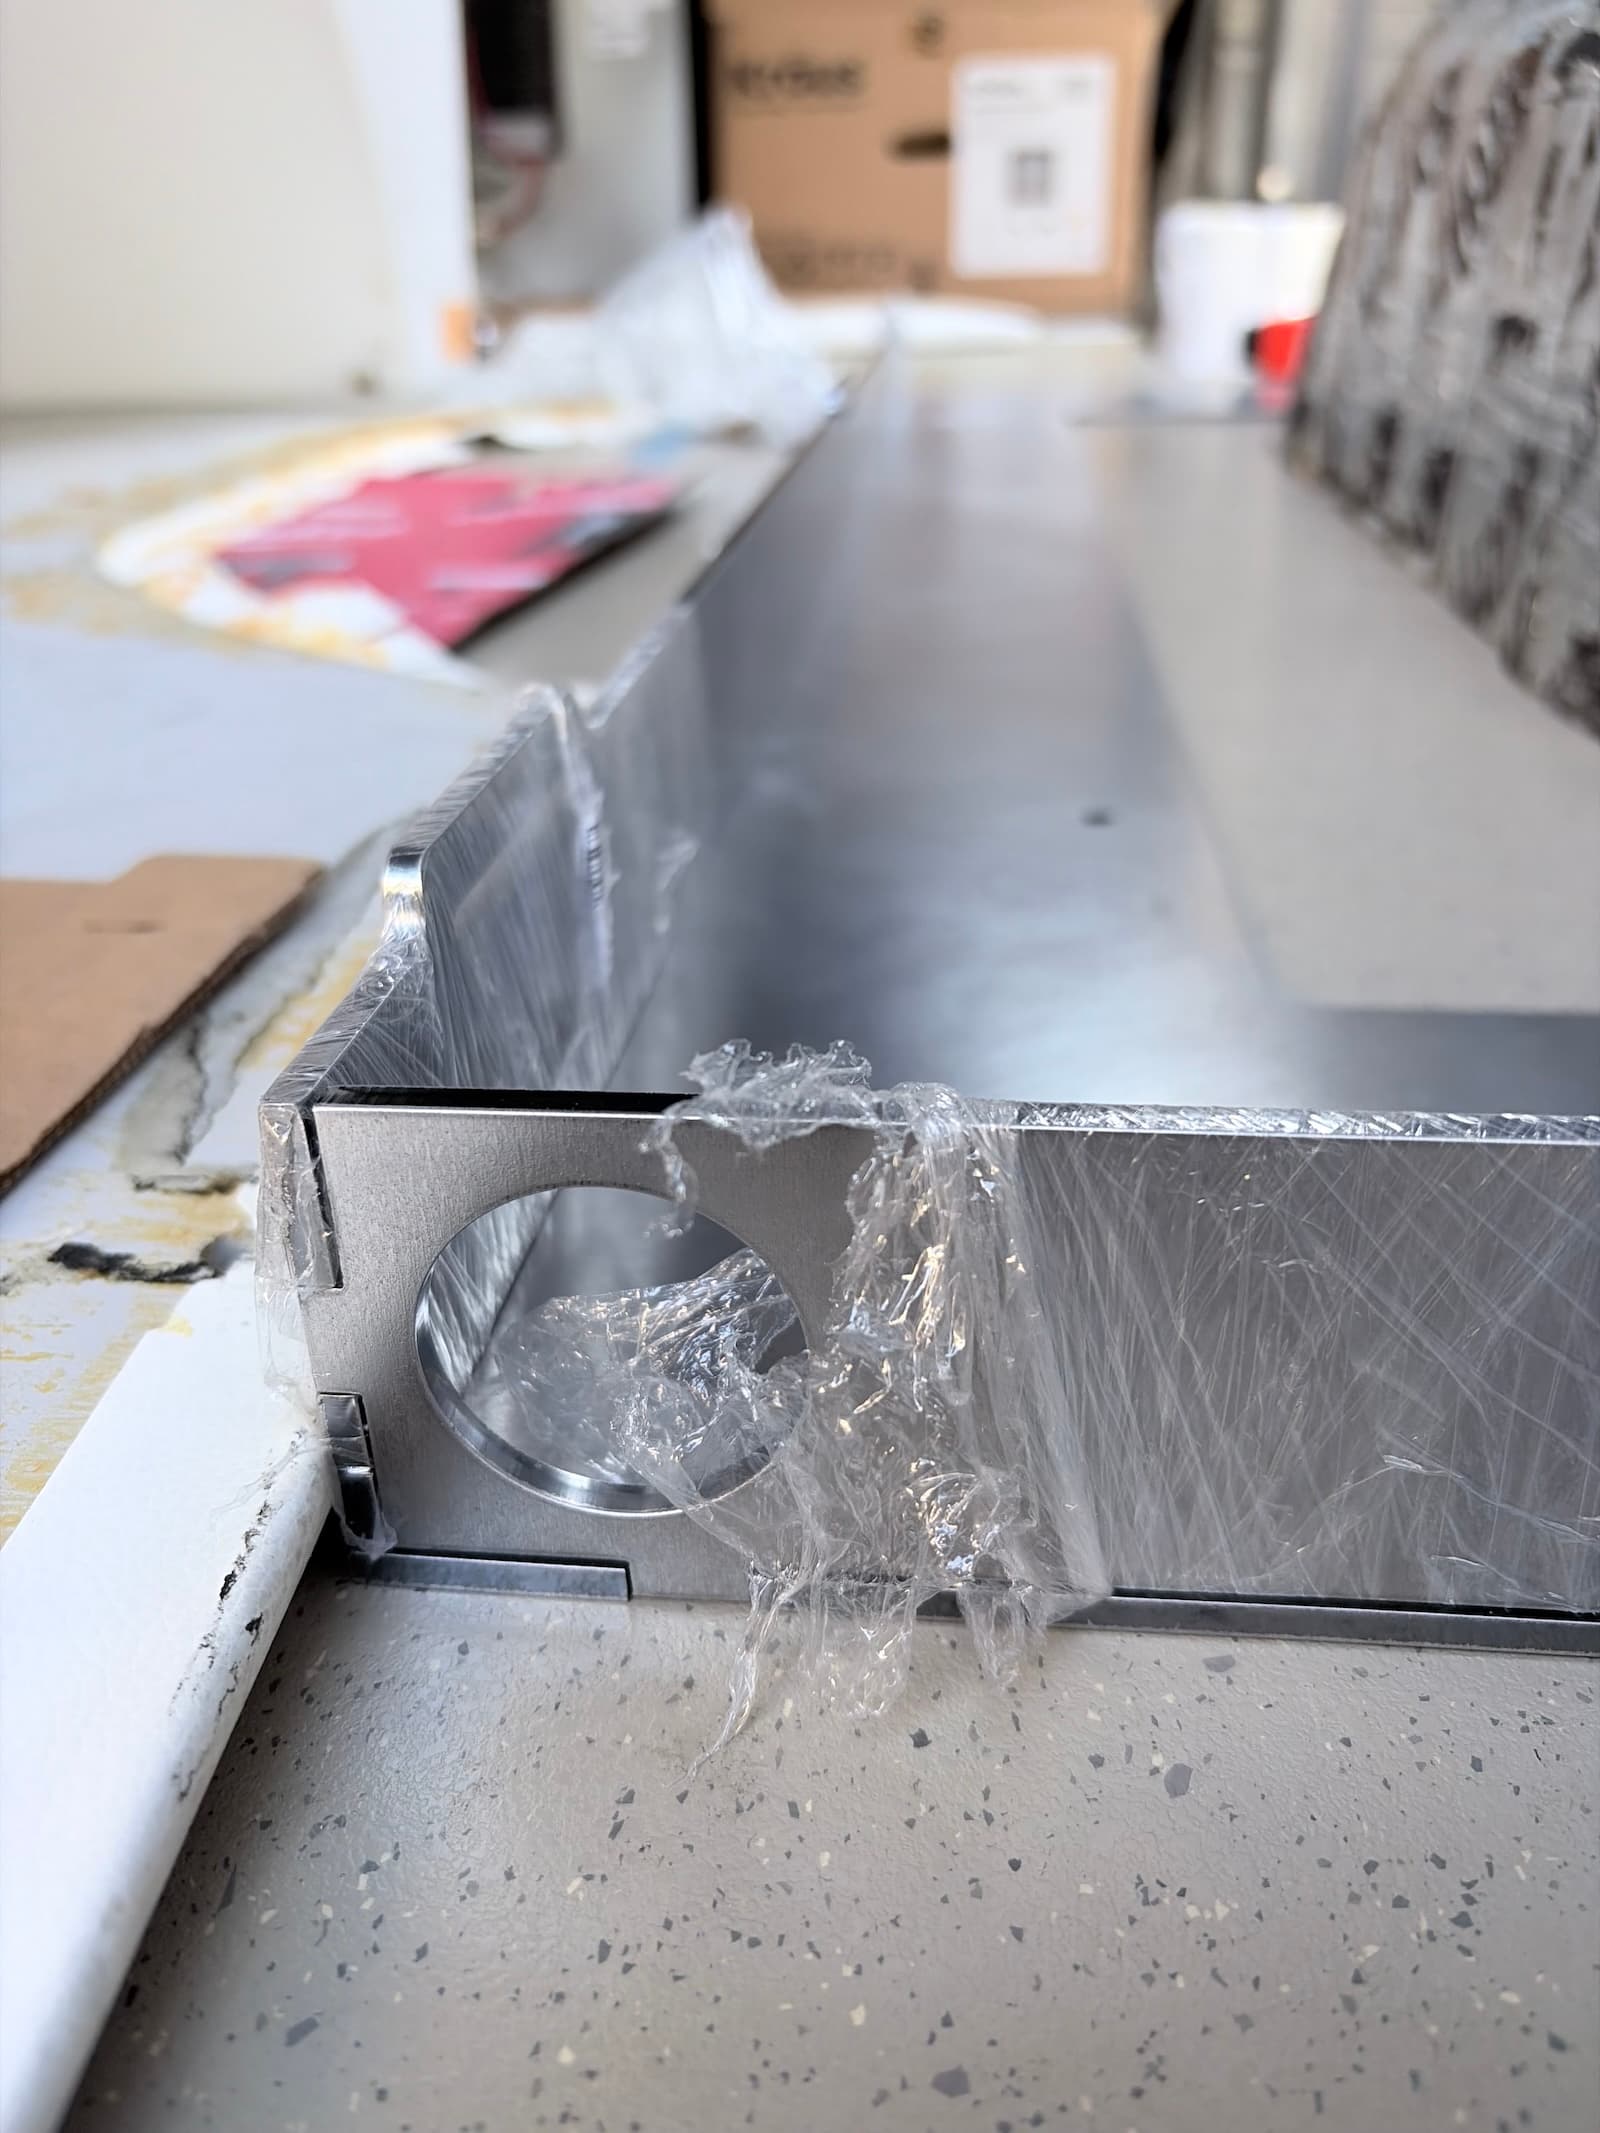
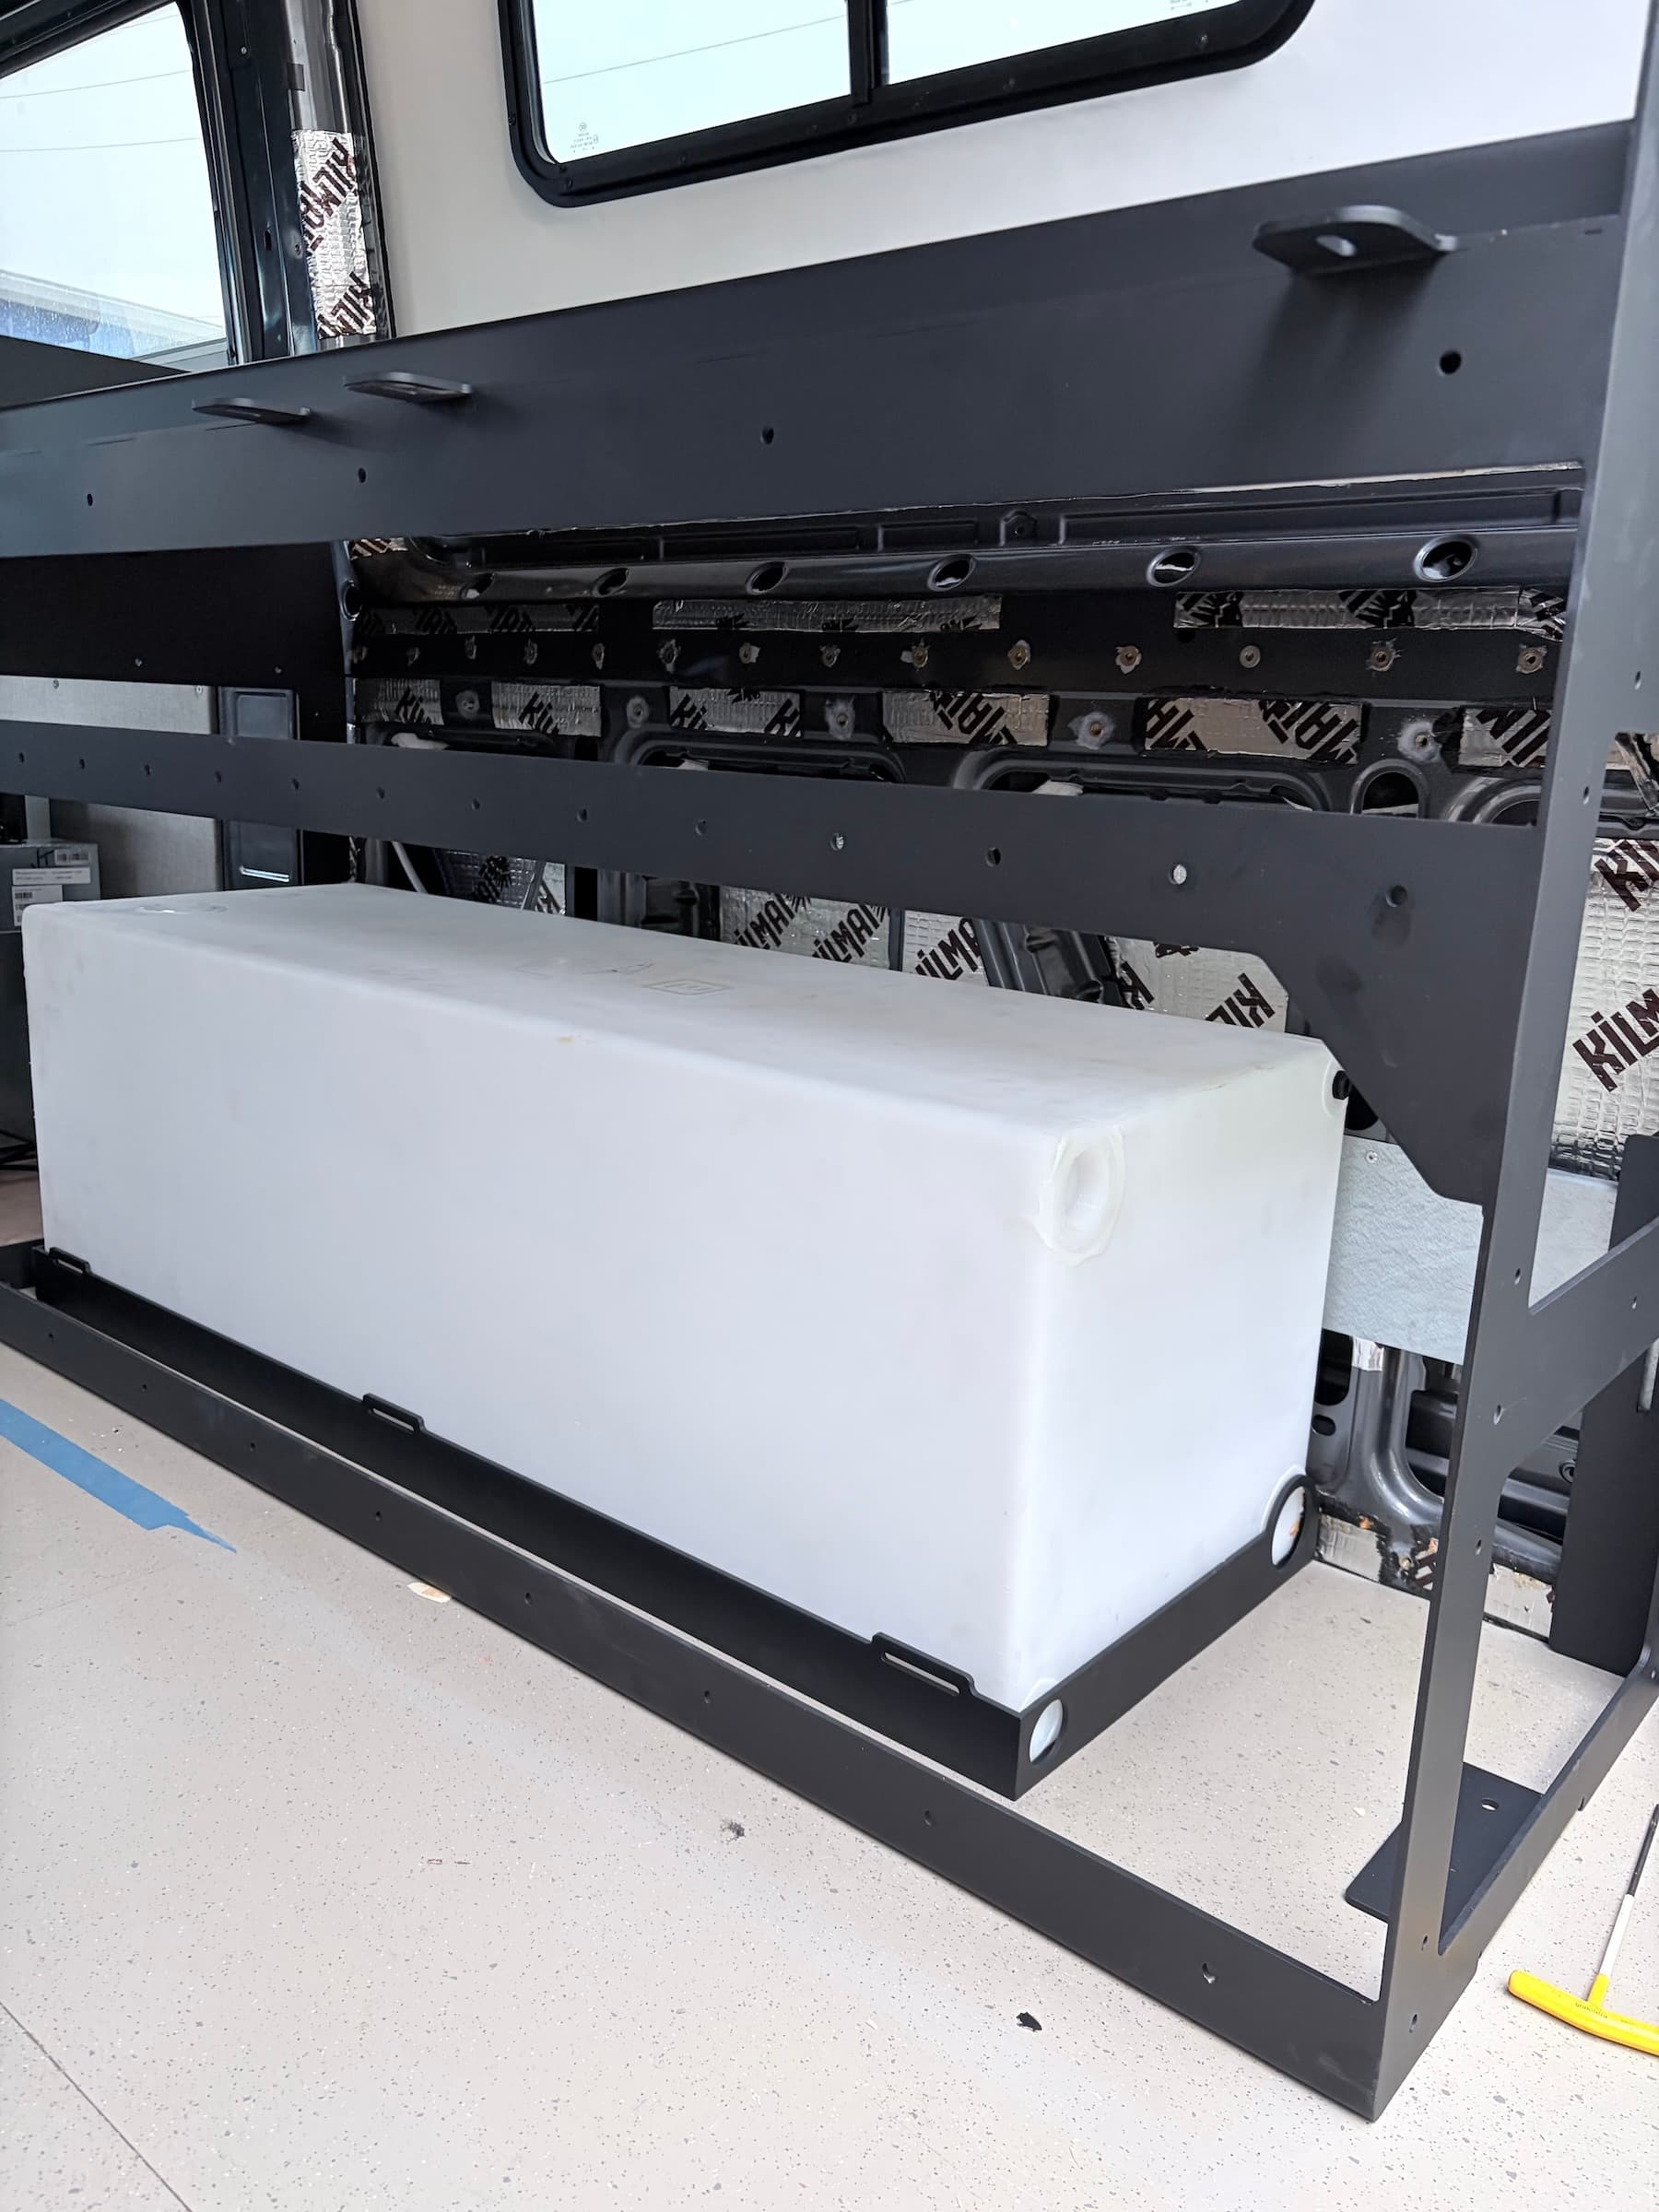
I designed a handful of metal parts. Most were aluminum for weight saving. I did the water tank tray/holder in steel due to the Fusion simulations I was running showing aluminum deforming in a pretty moderate wreck. Most of the parts are laser cut sheet metal. The box below is laser cut tubing. I followed a tab/slot design system and had someone professionally weld these. Didn’t feel like I could bite off more learning and get this thing done.

I spent more time with a caliper than I’d like to admit. Measured all bolt patterns so parts could bolt in as opposed to screwing into wood.
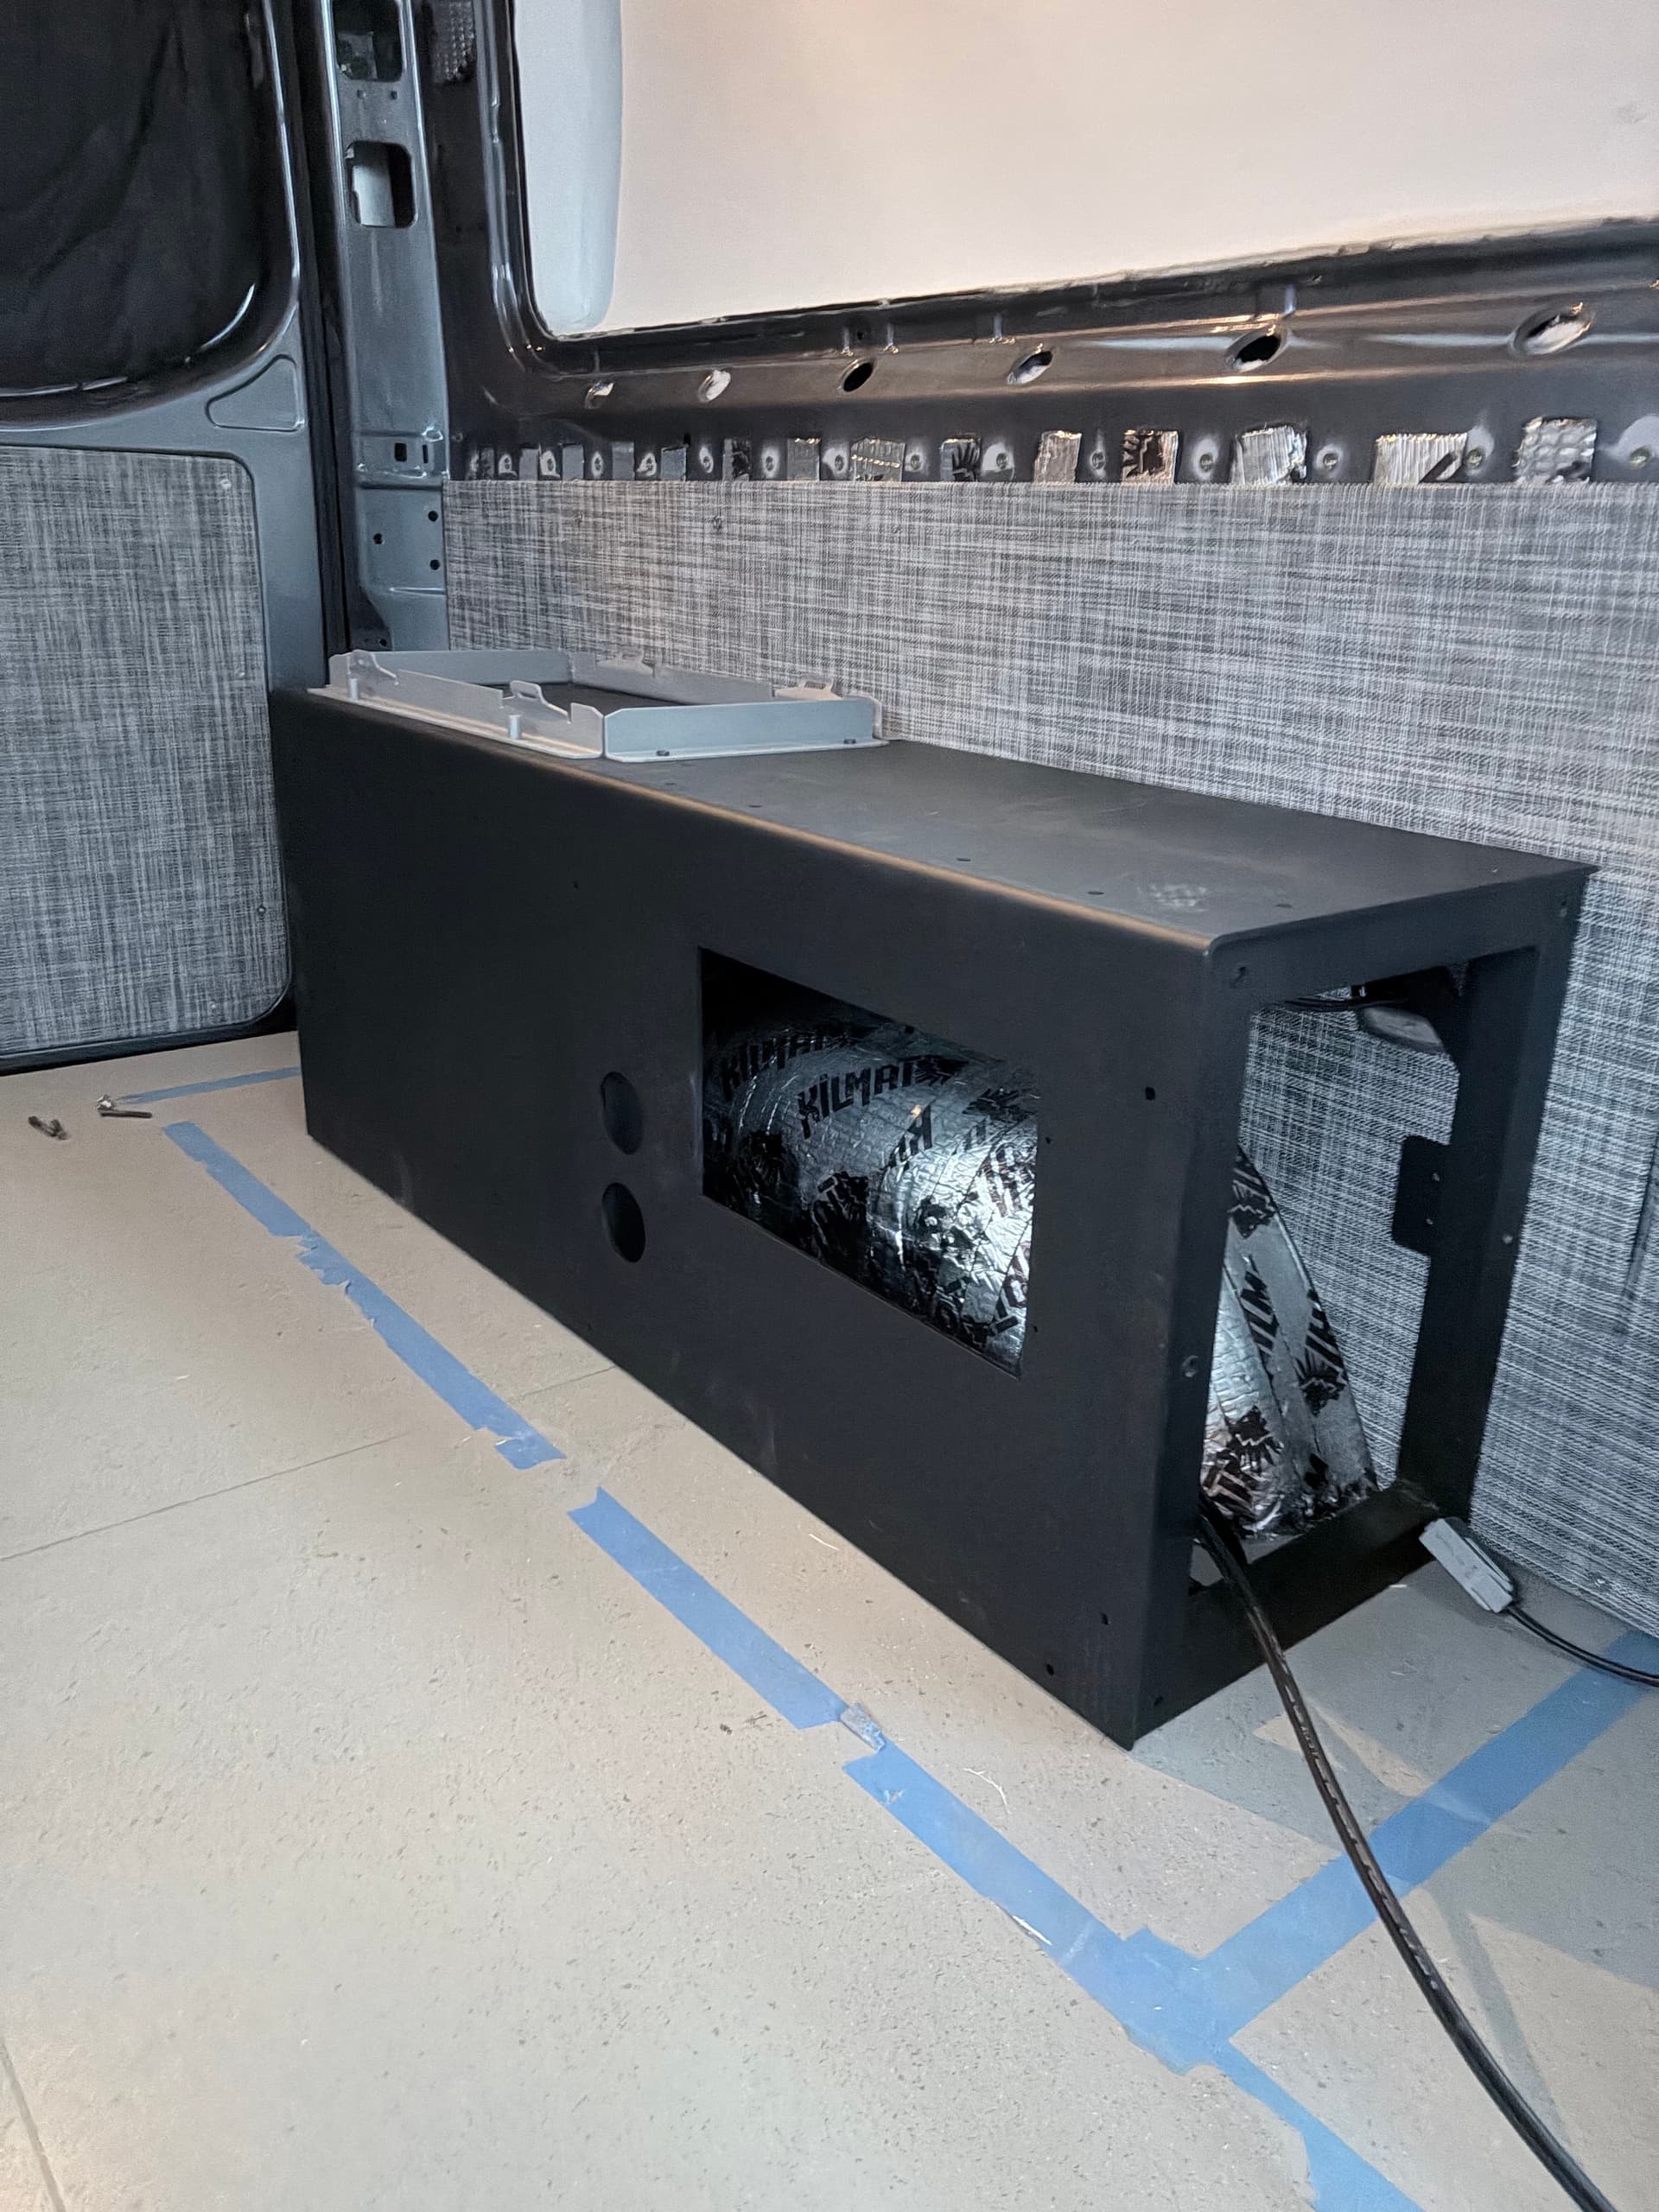
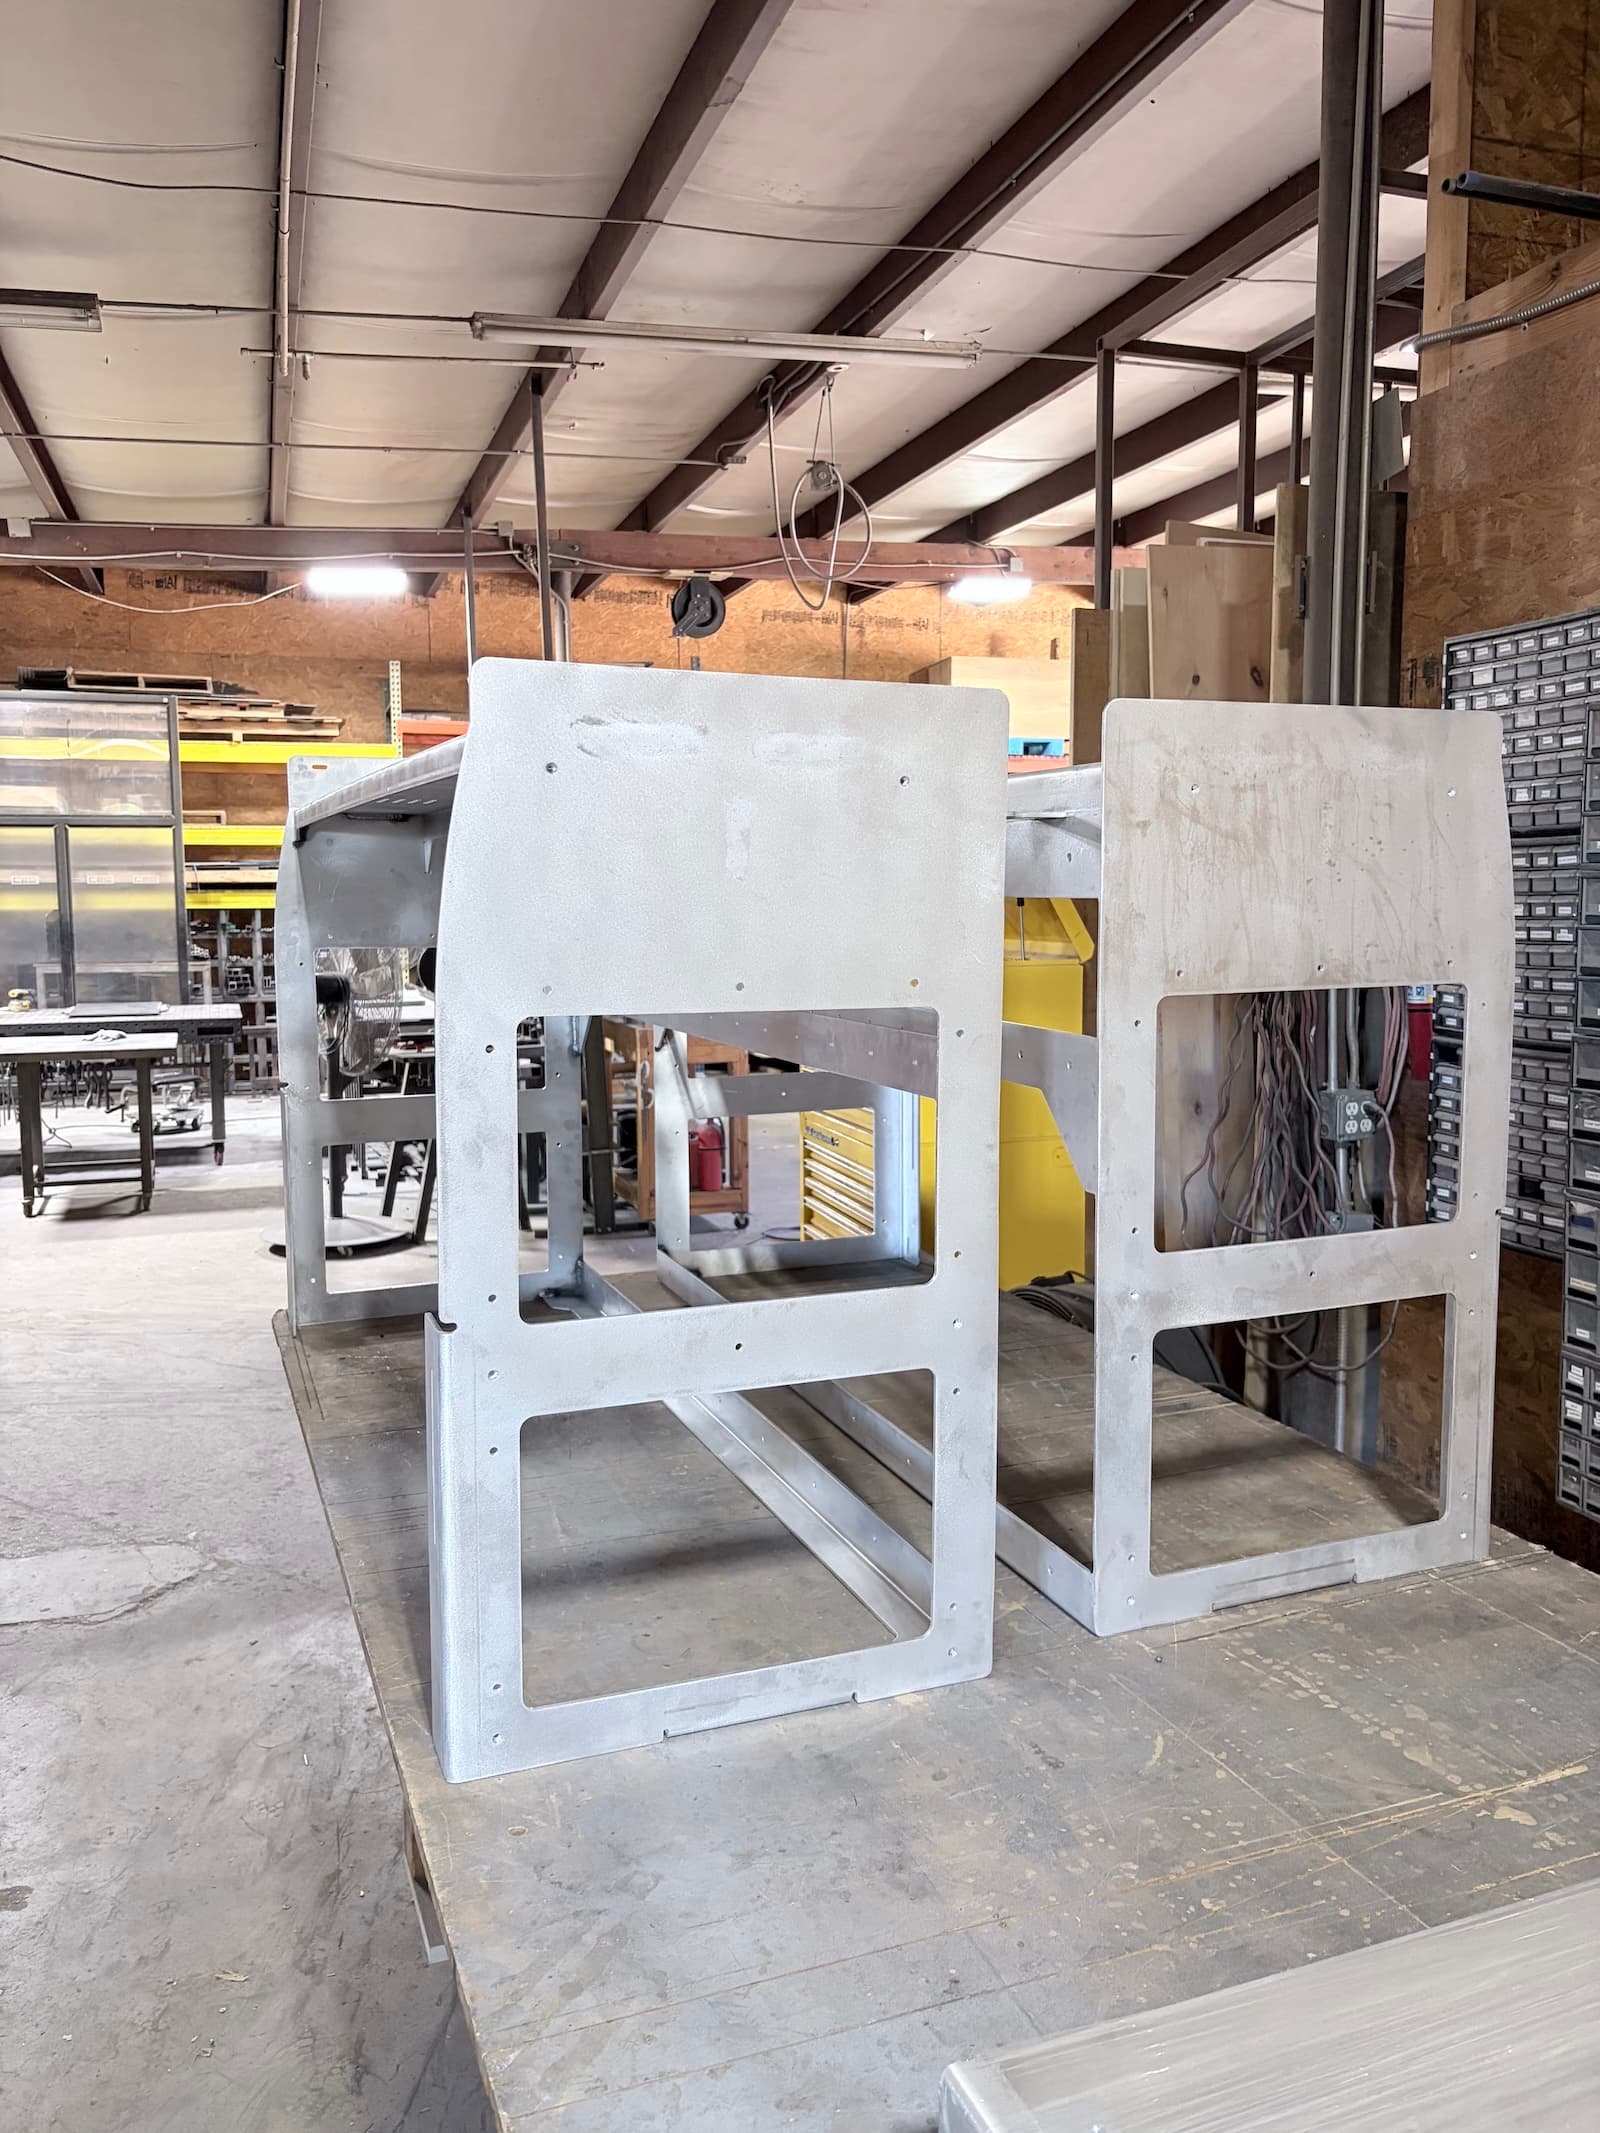
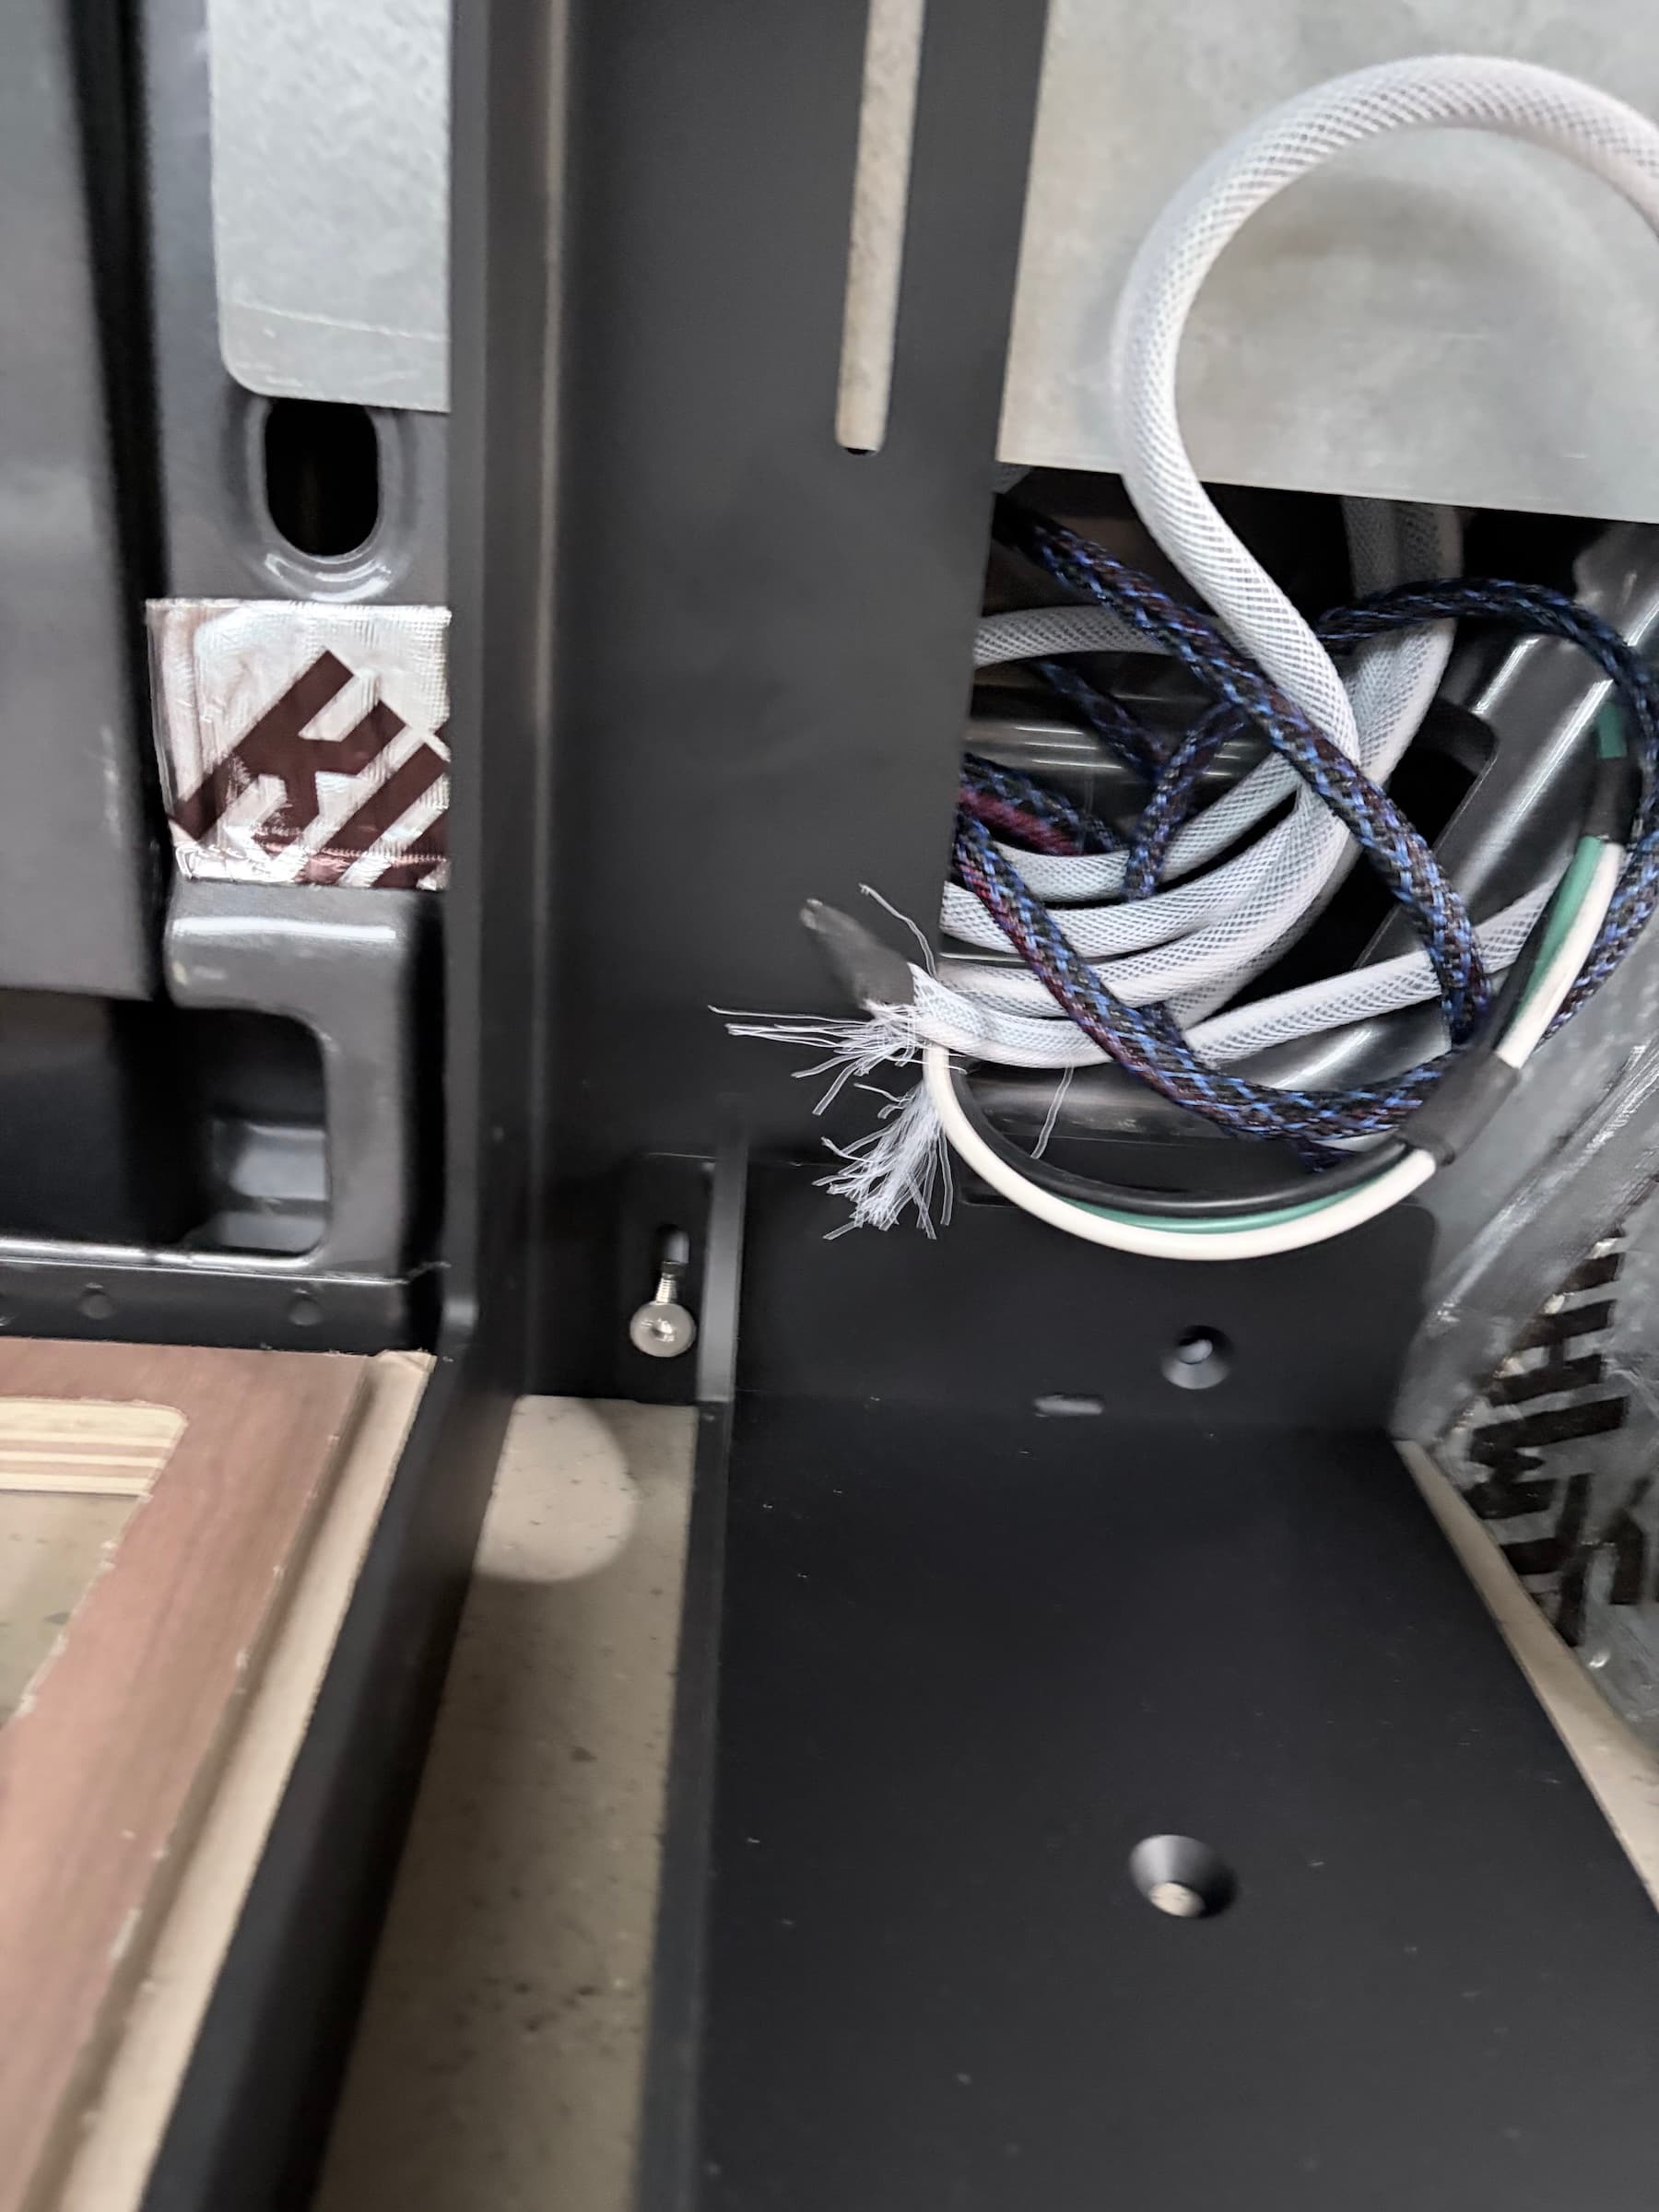
Here is what the battery system will bolt into. It bolts into the wall steel plates with four bolts and then two bolts go through the floor. Batteries also weigh a lot and I was concerned about it going anywhere in a wreck.