In the case of Big CNC the dogs are not meant for clamping but as a reference point when cutting. I need good registration between the top and bottom surfaces of my work and repeatable alignment with the tool from day to day as the project evolves. The following are the steps I used.
-
Place the good edges of the work piece firmly against the X and Y dogs. Use the vacuum bed to hold in the material place.
-
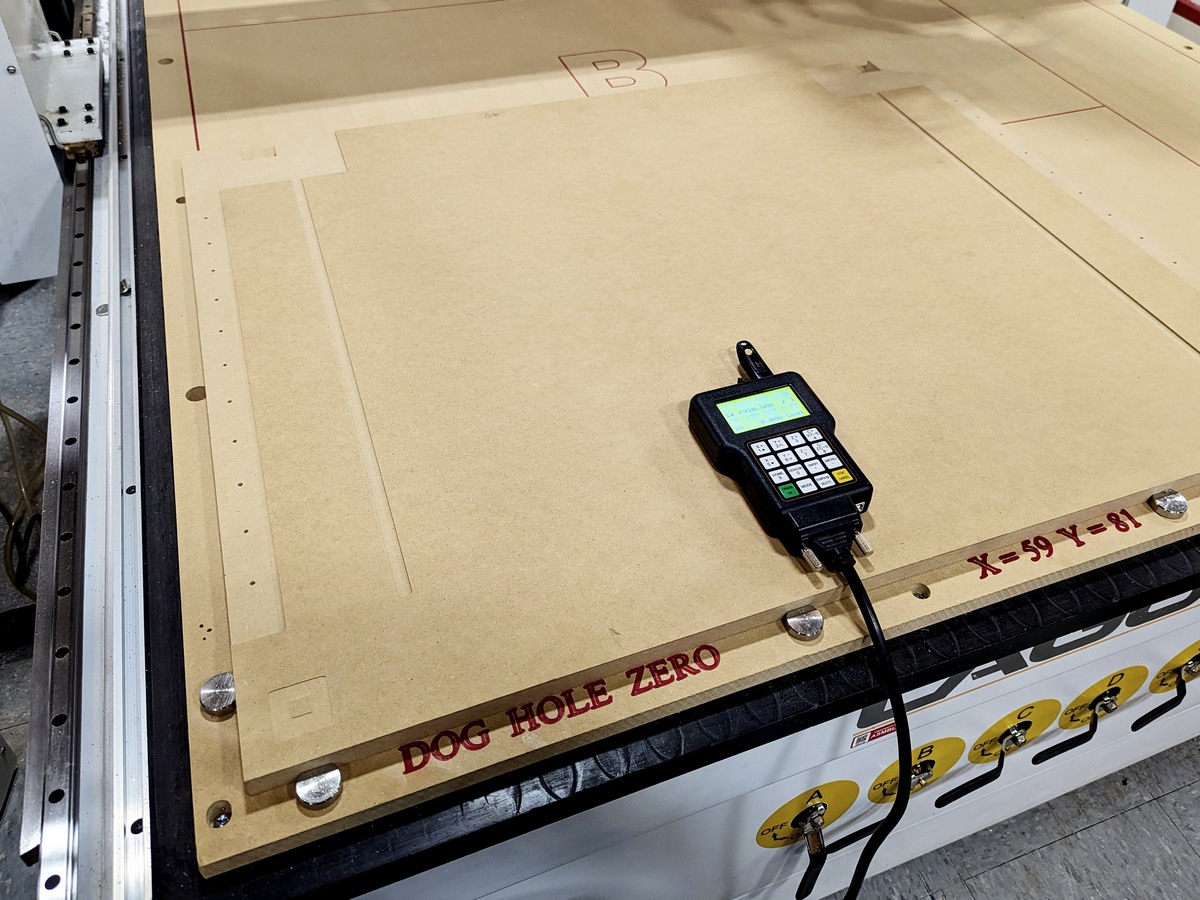
Home the tool and set the Z height to the work surface. Move the spindle to X=59, Y=81 and zero out X and Y.
-
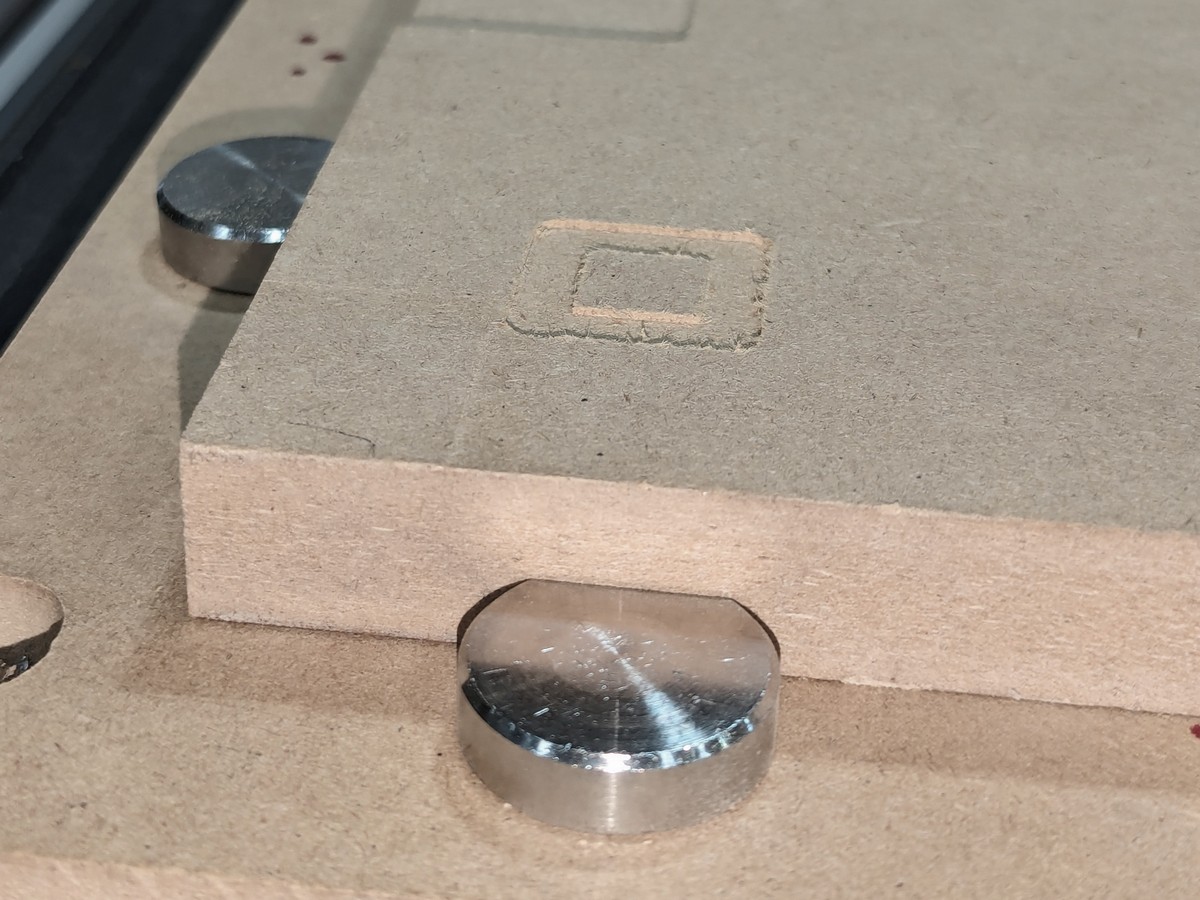
Do an inside profile cut of a 1" square box about 0.02" deep in both bottom corners of the work piece which are 1" from the edges.
-
Carefully measure the distance of your cuts to each edge. Average the distance between the two corner cuts. Calculate the correction in millimeters. I found the bottom dogs to be very square with the tool. i.e. The difference in the Y values measured between the two corners was minimal.
-
Take the spindle to the origin and manually move it using the correction factors just calculated. Zero out X and Y values at this new position. In my case I had to drop Y by 1.2 mm and move X back by 0.5mm.
-
Do another inside profile cut with a square slightly larger than the last, say 1.5". Check that the distances to the edges are as expected. I found that I could flip my work piece over, check registration by repeating this process and still be within 0,020" which is half a mm, which is good enough for me (for now).
I would expect to always have to correct the dog position due to differences in materials. Overall I found the dogs fast and easy to use. And they are repeatable and reliable enough to allow double sided work and duplicate work.