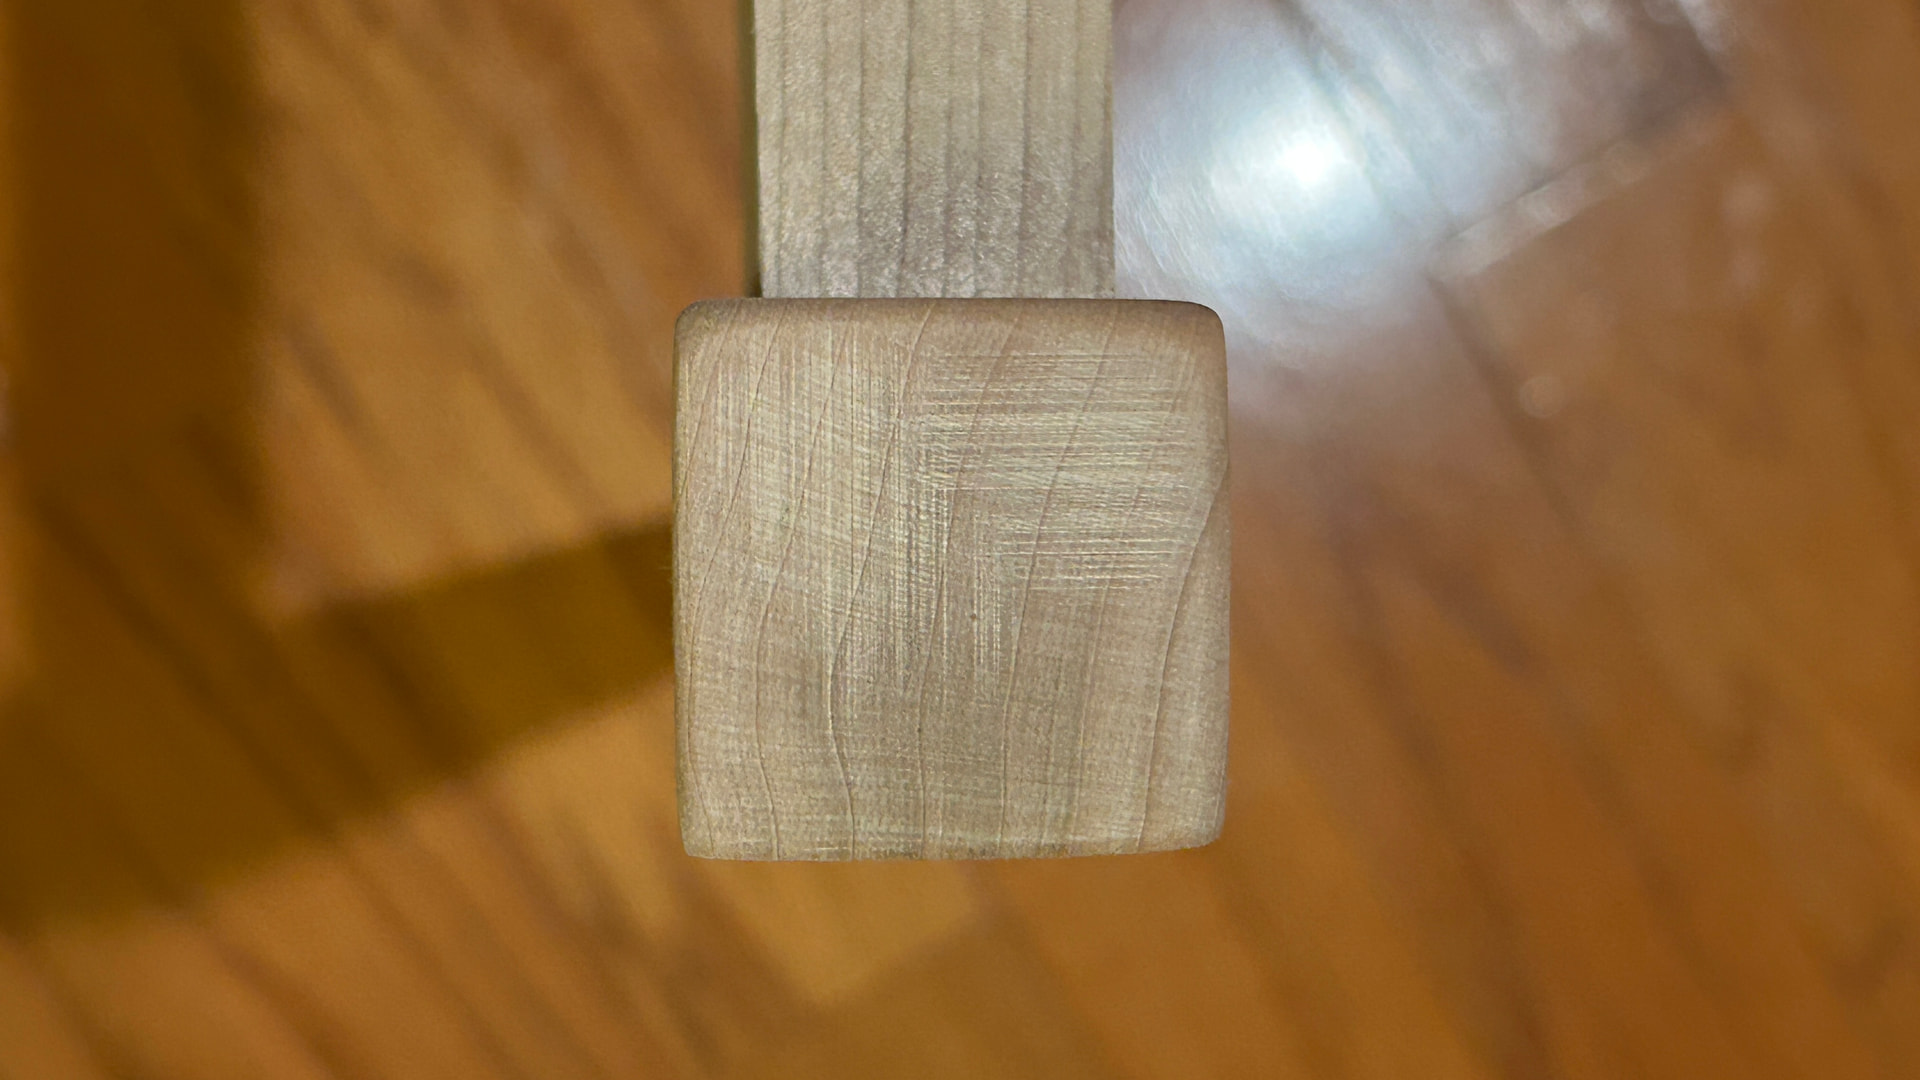
Can I get some suggestions on how to sand these scratches on the top of my table legs? The legs are already glued up, but the table top has not been added yet. I would prefer to fix this if it’s not too hard since these leg tops will be visible. Note the direction of the rings is different between the 4 legs.
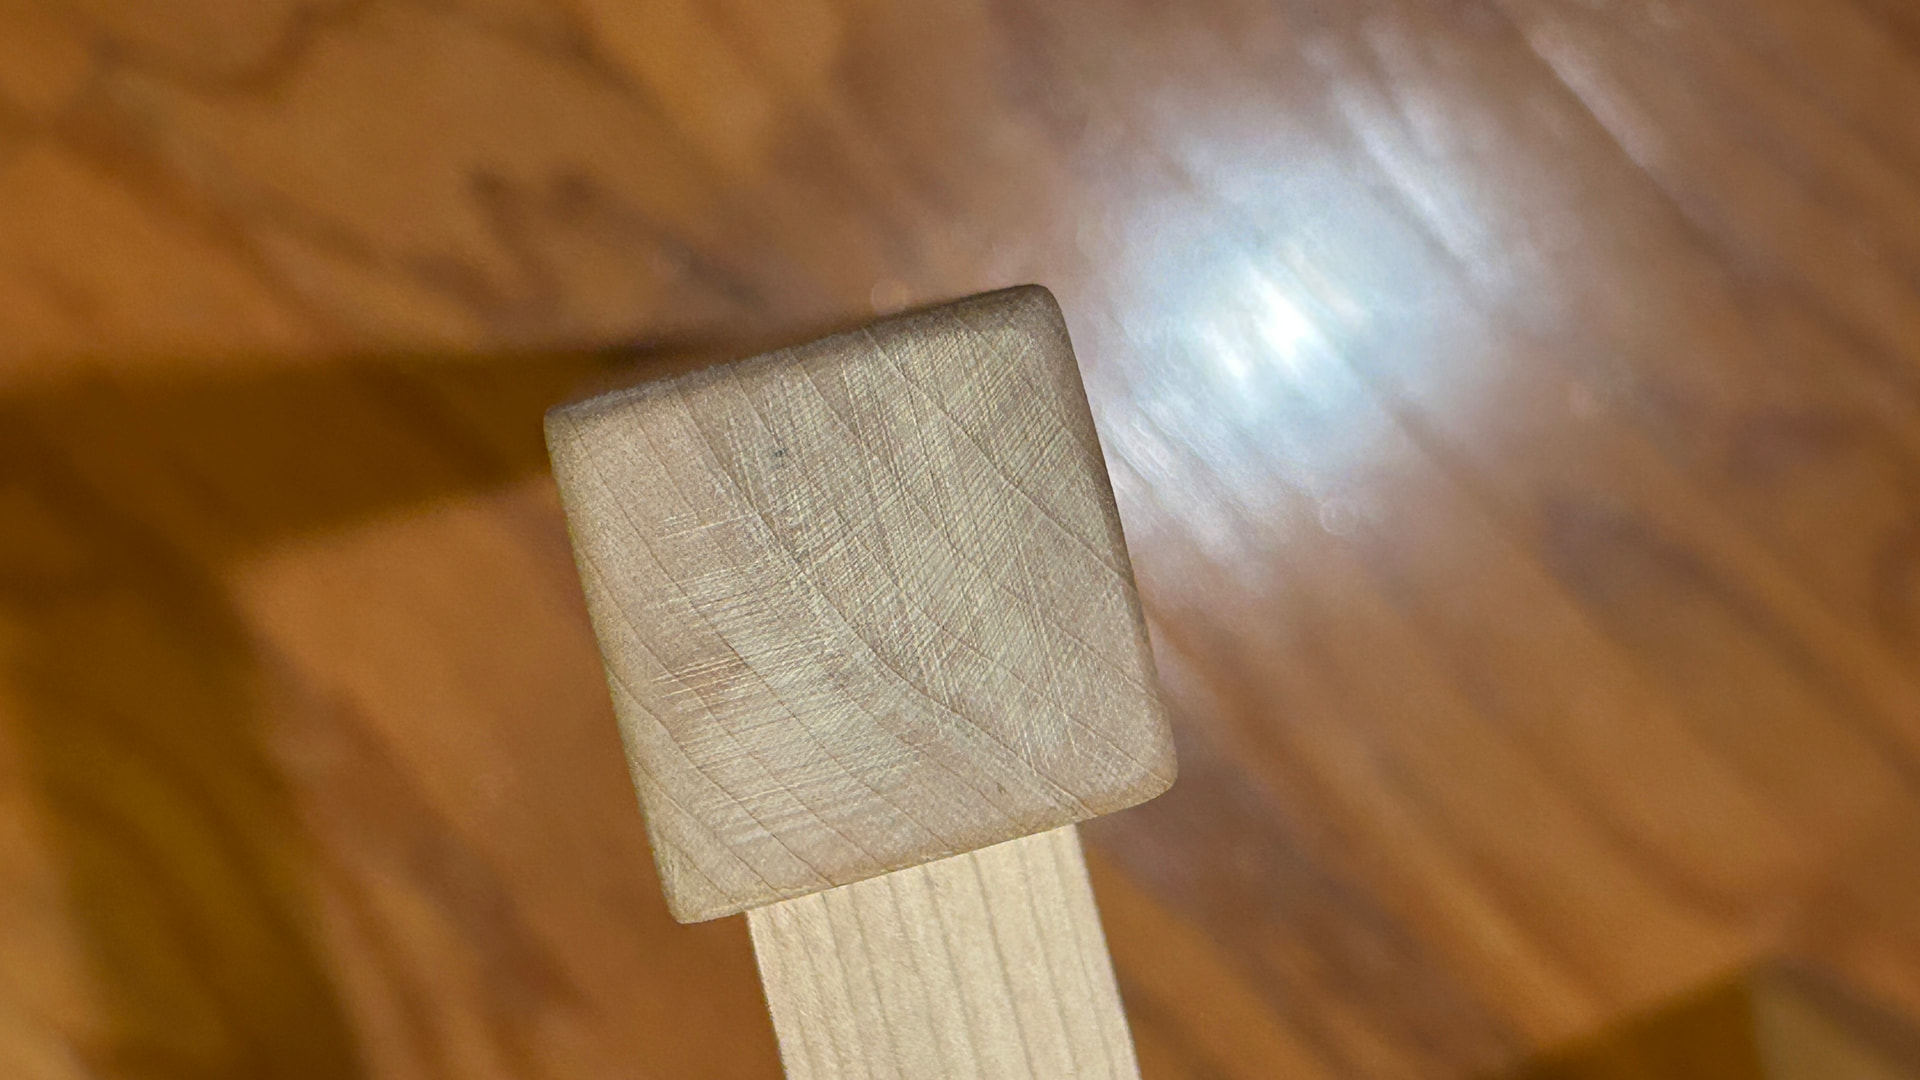
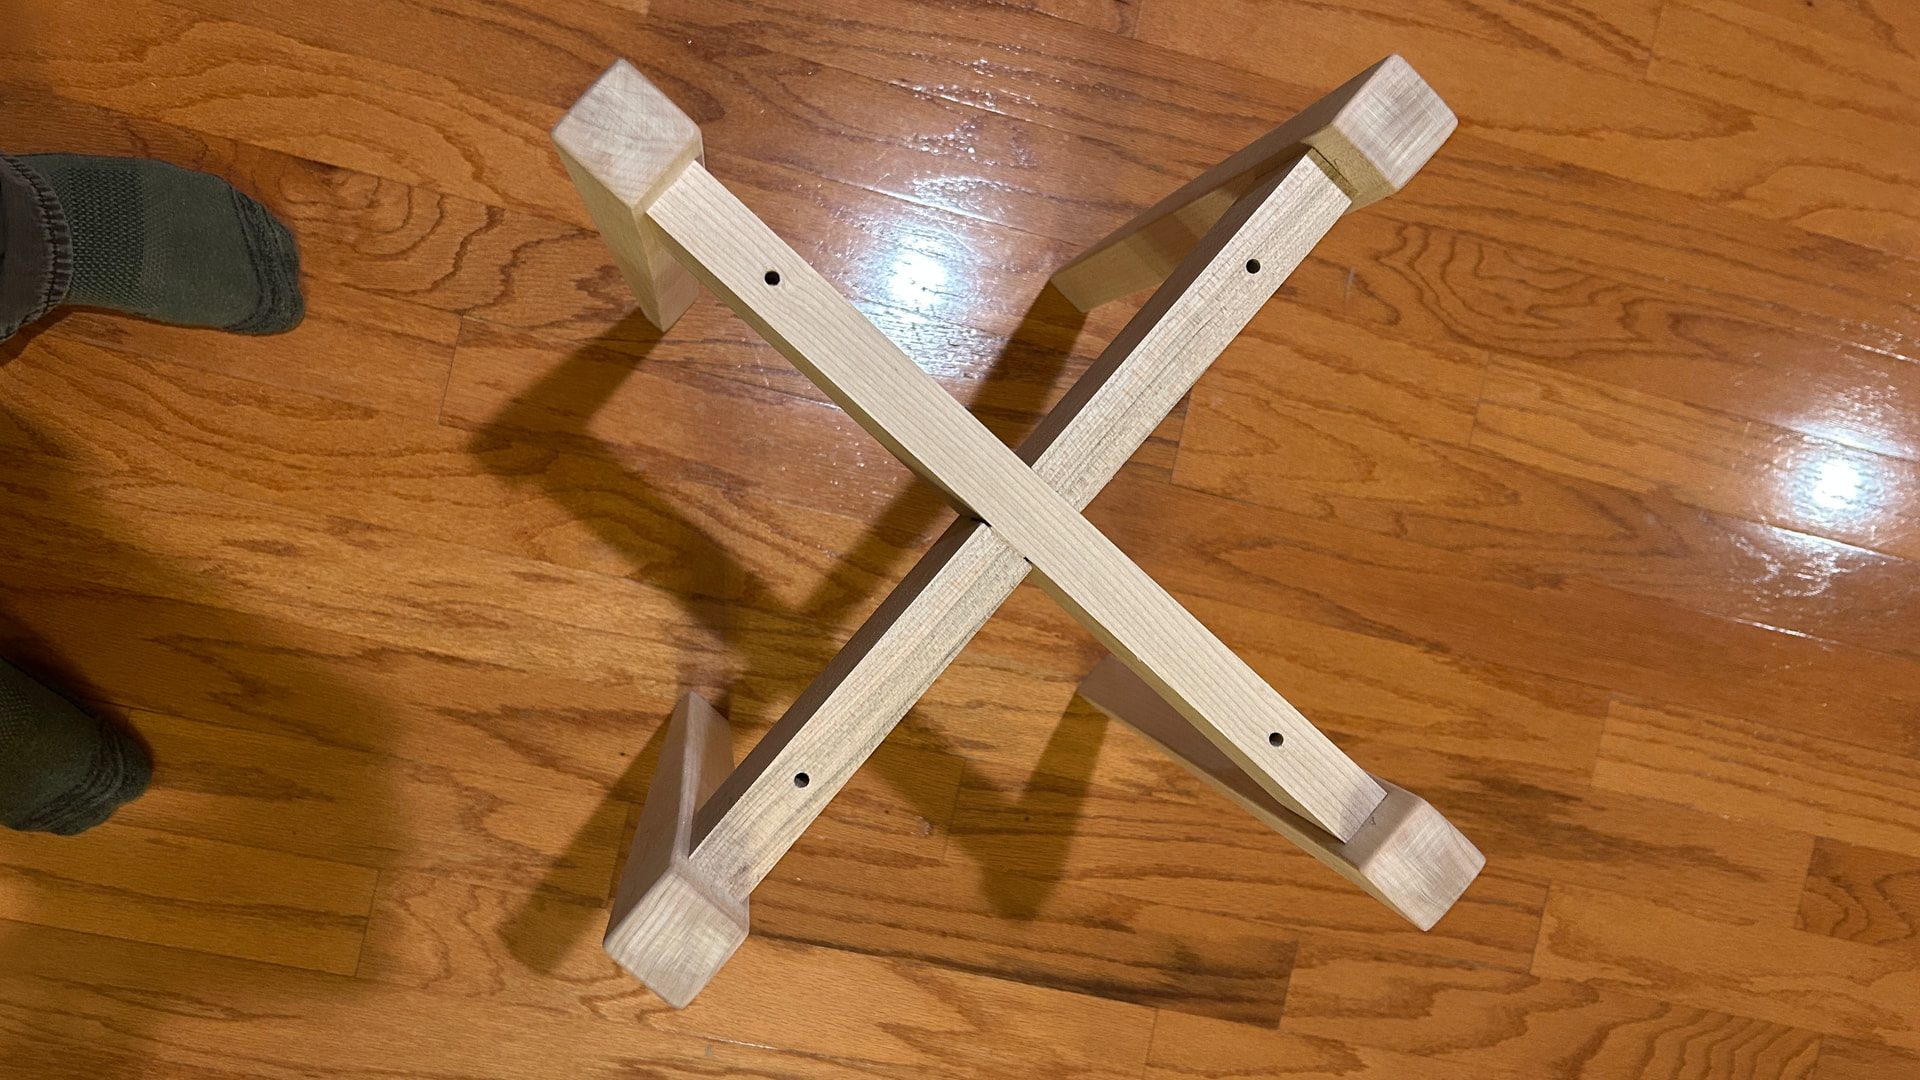
Nice Legs!
I suggest not doing this since it’ll be covered up by the table top. I know it is tempting, but with a top on it it’ll never be seen, right?
If that’s not the case, or you’d just like the good practice, get an orbital sander and some 60 or 80 grit sandpaper. Don’t smash the sander into the wood, let the paper do the sanding. Then work your way back up through the grits to be inline with the rest of the piece.
If you’re sanding and you still see scratches, consider your technique and also consider going back down in grit. If you go up in grit while scratches exist, you’ll just get really nice smooth scratches at higher grits.
1 Like
If you can take them apart, use a 90 tooth blade on the table saw and make a super light pass using the sled. There used to be a 90 tooth blade in the drawer below the mitersaw. If not, start with 80 grit on the orbital sander until you get rid of the marks. You have to go back and forth or if you can find the balance and do circular passes. Then just go up in progression of grits, 150, 220, 320, until you’re satisfied. You can try the edge sander but it is aggressive. You could also use a block sander same thing 80, 150, 220 grit. If you have the technique right the hand block would be more precise and is rather quick. If you can find a sharp hand plane.
1 Like
If the table top covers the legs, then I would leave them as they are.
If they will be exposed, then you can certainly go with the sanding method.
However, if you use an orbital sander, there is a higher risk of them not staying parallel (flat) to the table top. Orbital sanders will round and/or pillow the them because of the small surface area. Hand sanding with a hard sanding block will produce a much better result.
Another option is the use a hand plane and plane the tops. Because of have a rounded bevel, blowout will be prevented. The best hand plane technique is to plane from two opposite sides towards the middle. If you’re worried about the hardness of the end grain, there are ways to temporarily soften it while hand planing it.
And finally, you can use a file; a 10 inch bastard file will will give you a stunning finish.
2 Likes
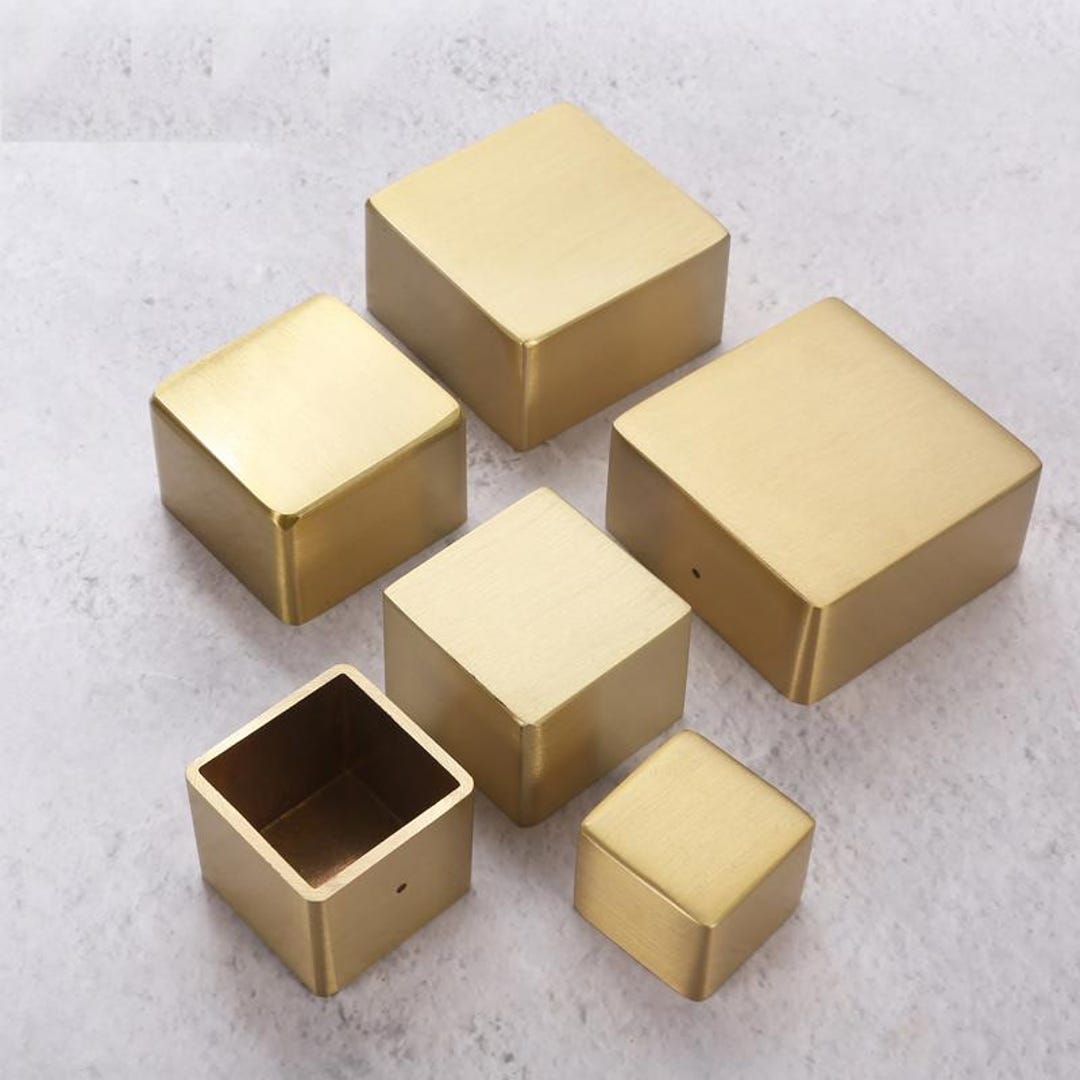
If you want to be creative, laser some kind of pattern on thin square wood pieces and glue them on top. You could fabricate a brass piece to cap it. Find a good size metal concho or “clavo.” last, you could gold plate the tops.
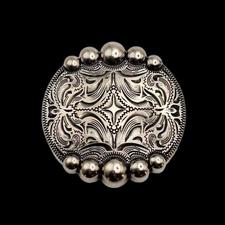
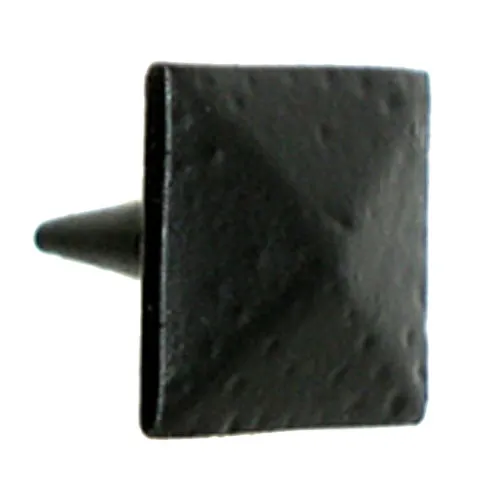
2 Likes
Actually the tops are not covered by the table. I don’t know how I can separate the glued tenon/mortise joints, so I’m going to try to sand them. Thanks for all the advice, y’all!
If you have any more ideas, keep em coming!
If you don’t want the edges to pillow over from sanding, any way you could sand with the top (or a sacrificial top) in place? Would give you a level surface to keep the ROS flat.
2 Likes
Ooh I like this idea. Definitely a sacrificial top though. The real top is completely finished with hardwax oil.
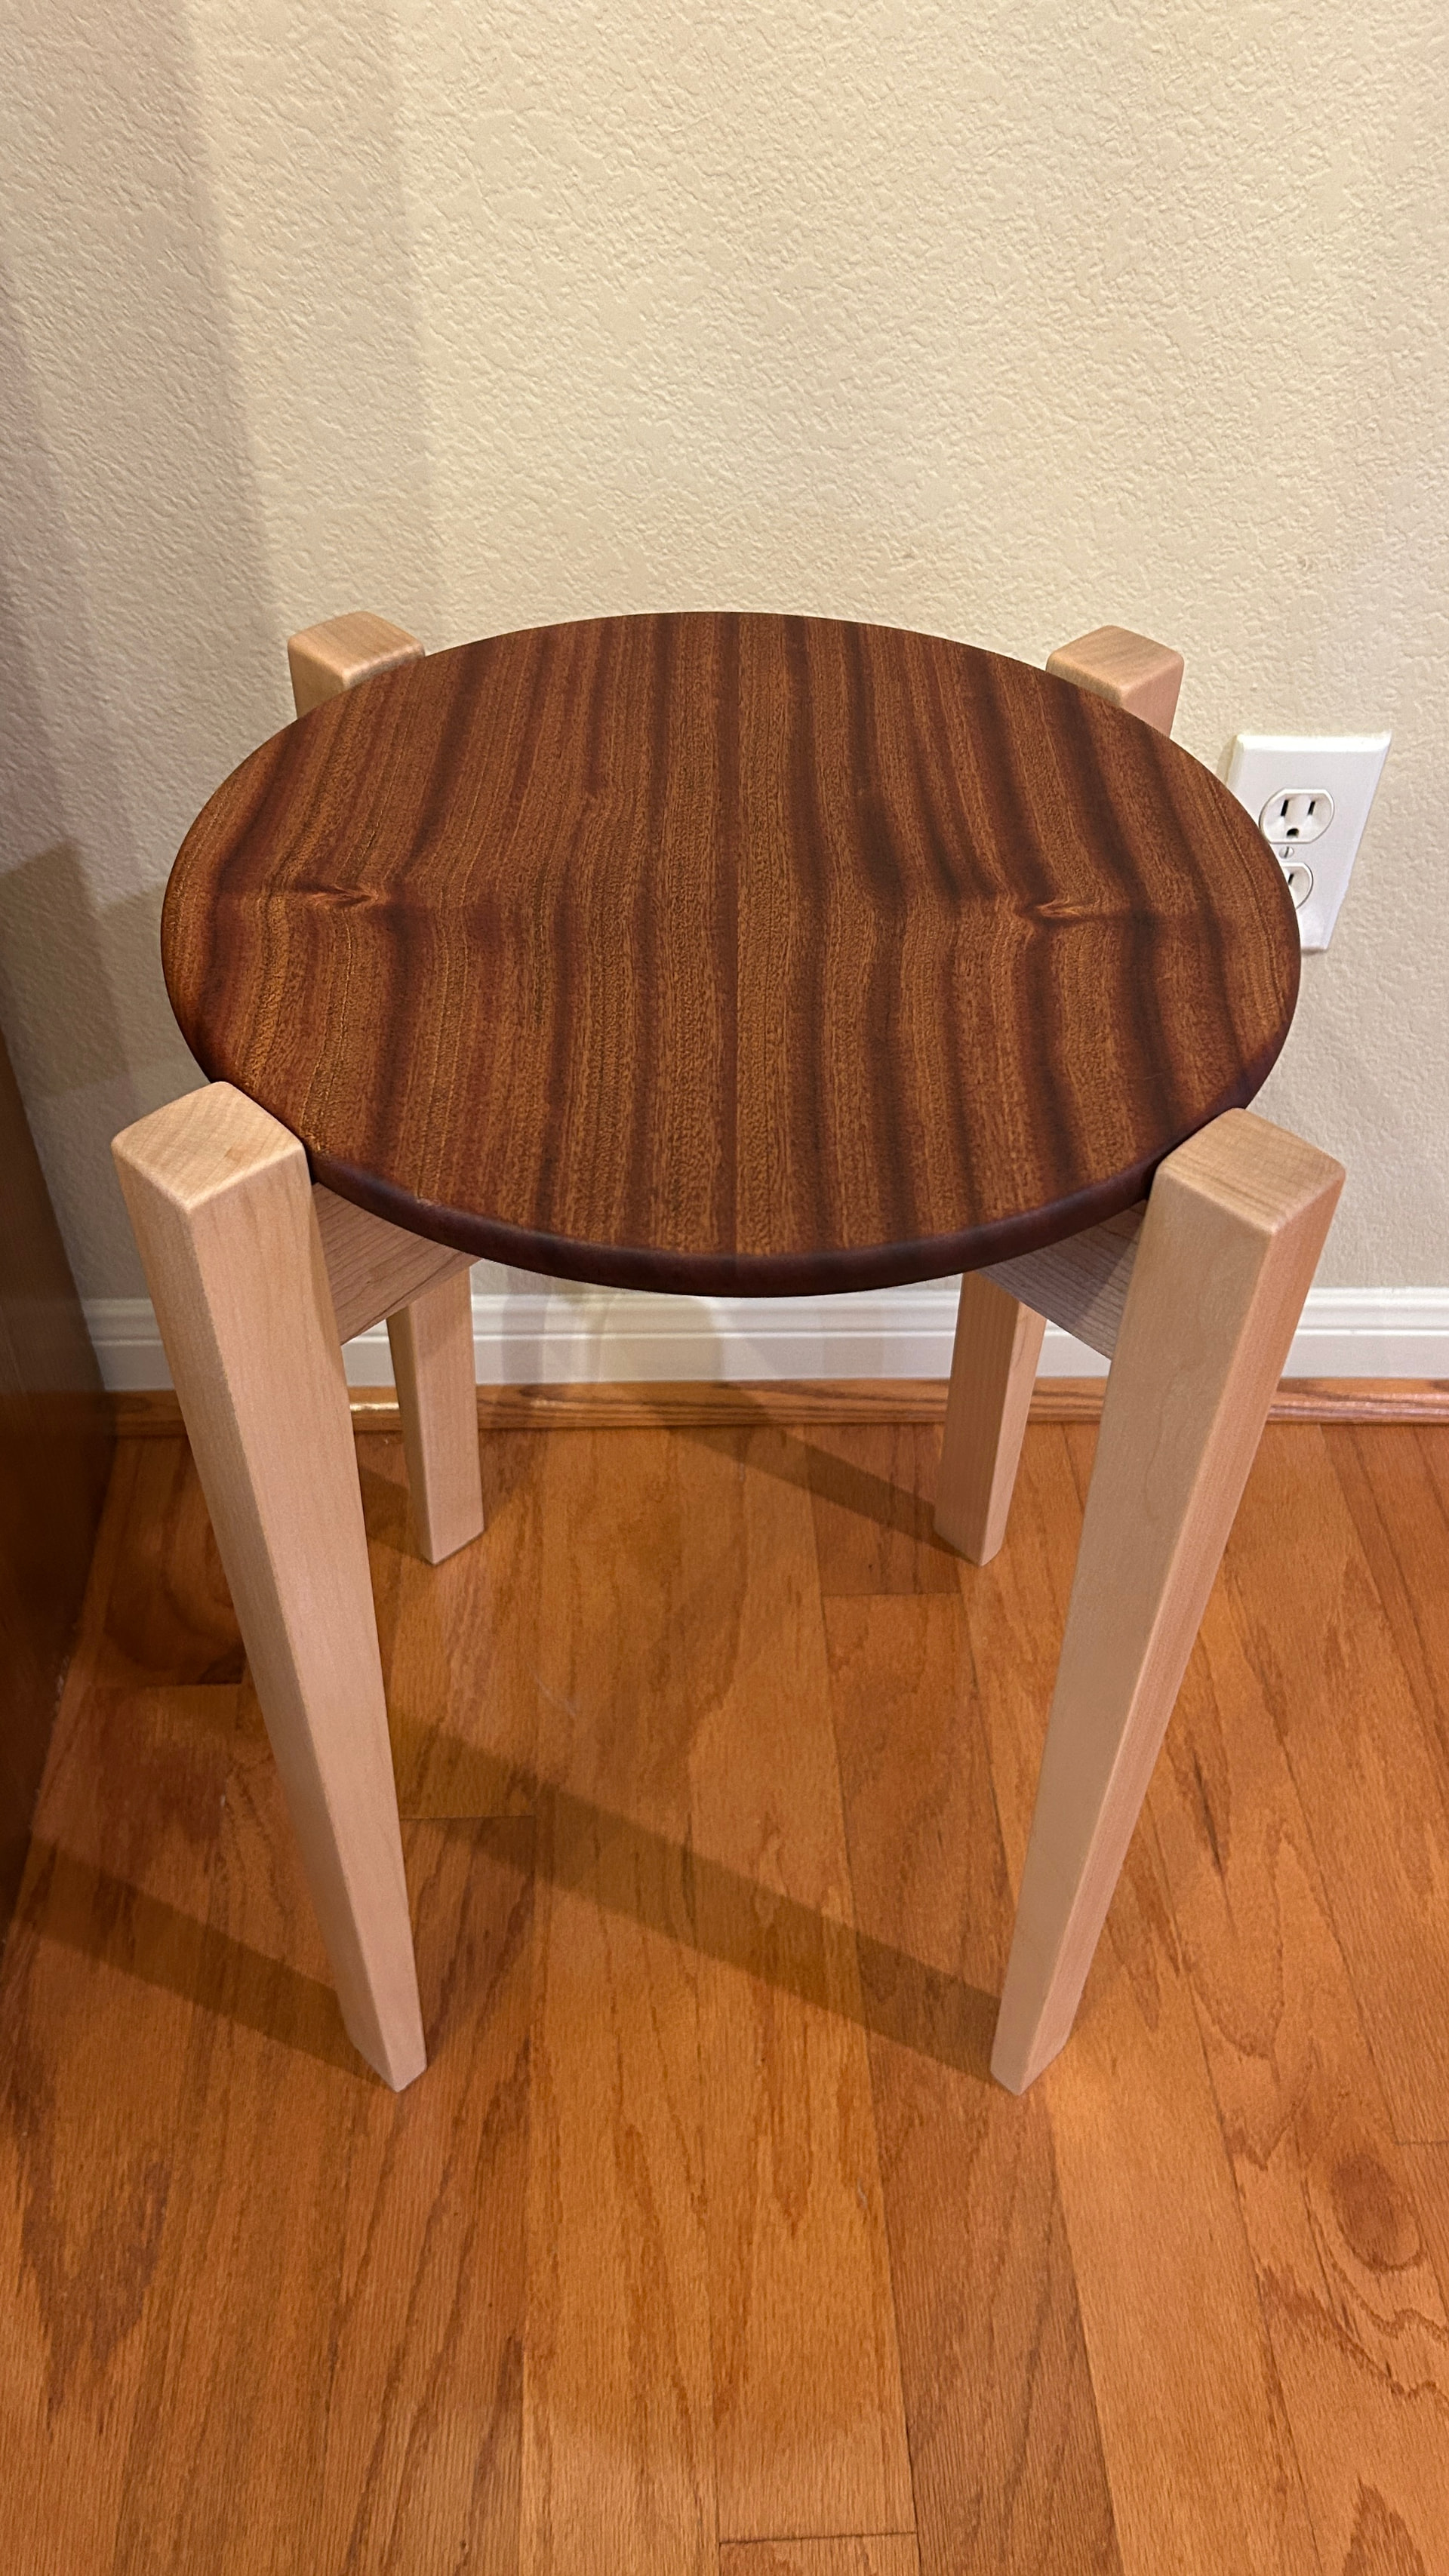
I finished the table. I’m pretty happy with it! Special thanks  to Instructor @daryanr for all the support!
7 Likes
Amazing @Gem !!! That mahogany top really pops!
Sorry I didn’t see the question about the end grain sanding. How did it turn out post finish?
2 Likes
Thanks @daryanr! I used hardwax oil on the top.
The leg end grain turned out pretty good. It was really hard to prevent unenven pillowing with the orbital sander but I’m happy with how it turned out. I ended up making sacrificial cross bars along the rails to help keep the sander level.
I agree, that top really pops! Very good work.
1 Like