@Julie and I spent a couple of hours troubleshooting the spindle sander’s persistent tilting issues. We’ve identified the root cause but haven’t been able to fully resolve it yet.
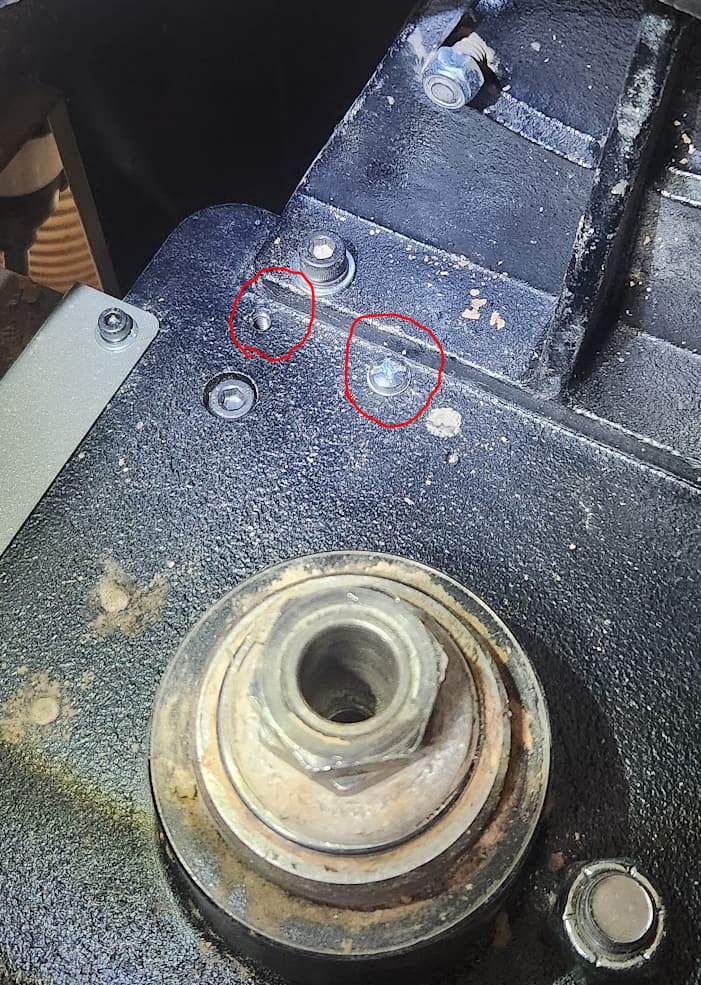
In short: The two screws shown in the sketch below need to be reinstalled so they enter from the bottom instead of the top. The main challenge is accurately aligning the screw holes from underneath. Julie’s original problem report provides additional context.
Here’s a more detailed explanation:
The tilting mechanism relies on an adjustment screw that runs from the adjustment handle, through the machine’s case, and finally connects to the main sanding assembly. This connection should be tight, facilitated by a connecting arm secured with three screws. Currently, the connecting arm is attached with only one loose screw, and two original screws are missing. We’ve found replacement screws, but it’s likely the original ones have been gone for a significant amount of time.
The intermittent nature of the tilting problem stems from the interplay between the main sanding assembly’s orientation, the lead screw’s position, and the connecting arm’s position. Depending on these factors, the tilting mechanism might work correctly or fail entirely.
We also identified a secondary maintenance issue: the tilting adjustment screw is heavily coated with grease and sawdust. This buildup restricts the tilting mechanism’s range of motion. The sander should be able to tilt from 0° to 45°, but currently, it only goes from 0° to approximately 25°.
Fixing this sander would be a great project for someone with a lot of patience and time. Aligning the screw holes from the bottom is proving to be very difficult, and I personally couldn’t manage it. Additionally, cleaning the lead screw requires reaching deep inside the machine and will likely be a messy task.
On a brighter note, Julie successfully cleaned the angle adjustment indicator. Fun fact: it’s actually yellow! I bet you didn’t know that.