Story time: How I burned several holes into the spoilboard 🥴

Gather round y’all, I’ve got a great cnc shame story for you :woman_facepalming:t2:

I’m building a bed frame and toddler tower for my daughter. I’m using furniture bolts so everything can be disassembled easily when we inevitably grow out of them. I needed 1/4 inch holes drilled in a couple spots for the bolts.

While planning my toolpaths I debated between doing a tool change to a 1/8 bit vs just using the 1/4 I was using for all of the other toolpaths. I decided to use the 1/4 inch and do a drill toolpath with one retract to clear chips but not linger long in the hole. I’ve done this before on the old machine and the hole and bit got a tad singed but otherwise fine.

My first mistake was not considering how many of these 1/4 holes I needed. On my first plywood sheet I needed four. When done the wood was slightly singed but bit and spoilboard all fine. On the second sheet, I needed 18…. wayyyy too many to try this. I hadn’t counted or I would have reconsidered.

So of course my bit got very hot by the end of the 18 holes.

I mentioned above that I had done this on the old machine with no problem, just thinking it would be very hard on my bit.

On the new machine I was using the vacuum hold down.

A handful of these 1/4 inch holes happened to be directly above the vacuum holes where suction is the most powerful.

The vacuum pulled air into the tiny, very hot 1/4 inch holes and…… smoldering.

While drilling I could smell the holes singing and kept a close eye on them. But then the smell persisted even after that toolpath was finished and moved on to cuts.

It took probably 5 minutes before enough smoke was visible to signal something was happening.

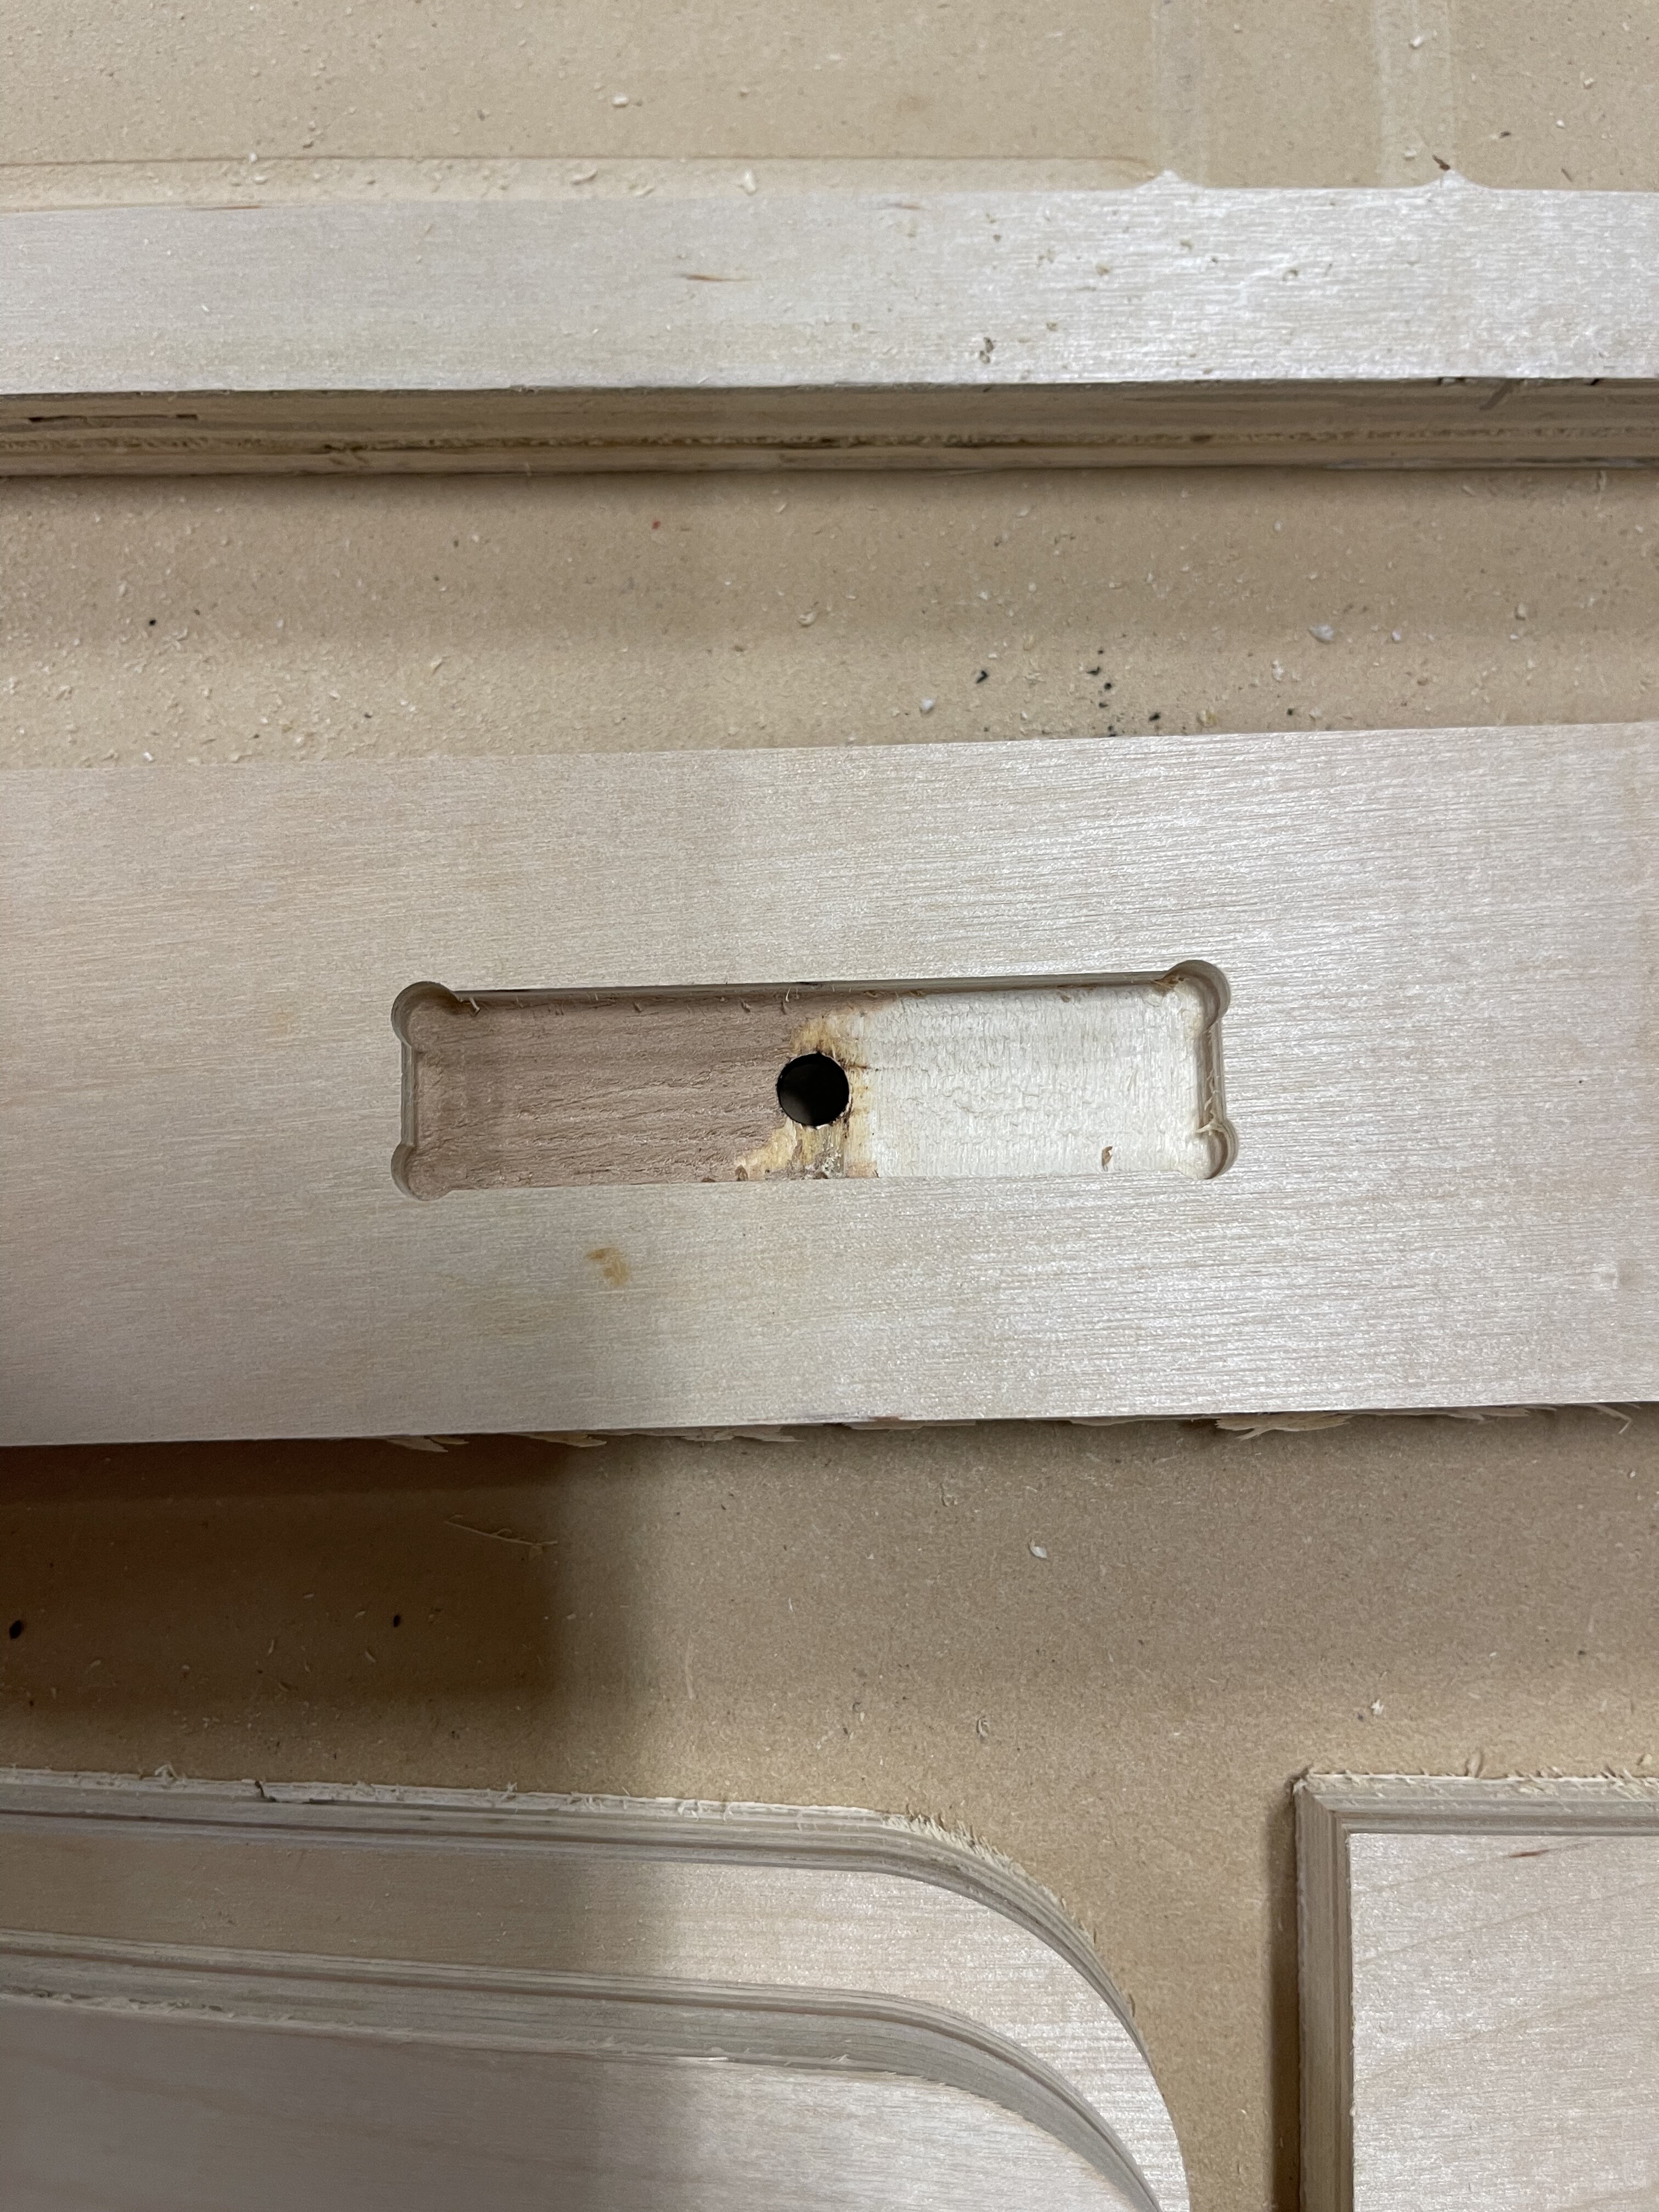
Here is a picture of the top of the plywood, what I saw

Here is what was happening unseen underneath the plywood.

Luckily there were several people in the shop who all jumped to help when I realized what was happening. We pulled the spoilboard off and checked the vacuum bed and it is ok. We reattached the spoilboard and surfaced it since it had swelled from water to put out the embers.

Of the 18 holes about 5 of them smoldered, all ones right above a vacuum port. One hole started smoldering along the very shallow groove on the spoilboard of a previous cut.

Since usually damage to the spoilboard is related to cut depth I’ll address that. These were very shallow cuts that barely touched the spoilboard. This picture shows the singe marks of four 1/4 holes. Two in the back very light, two in the front, one of which was directly over a vacuum port and you can see what happened.

I will be paying toward a new spoilboard and will never again ise a drill path with an endmill. Rookie mistake and I should have known better. I reprogrammed my cuts to use a pocket path with 1/8 endmill and was able to finish my project.

2 Likes

Wow, thanks for the gory pictures and your insights!

Thanks for sharing this, Mollie! Seems like an unfortunate perfect storm of sorts being right over the vacuum holes, but it’s something I could see happened to me. Now I know.

I was just at the space and I saw the giant burn marks.
This is pretty crazy. I’ve actually made hundreds of those same style holes in MDF without issue. I’d like to know what the difference is and why these holes caught on fire.

Did you have the plunge rate real low? Does the material make that much of a difference?

The theory is, the holes were getting a little scorched from drilling a .25in hole with a .25in bit. Normally not a big deal, but when you add the forced air flow of the vacuum table, seems it accelerated the burning.

This is why on the laser once my cut is done I move the nozzle away from the cut immediately

I had a couple instances where the air assist has basically accelerated a fire on me before when trying to cut some thick oak boards

2 Likes

End mills typically only cut along the XY plane.
They have no cutting blade on the bottom to cut Z.
For this reason a smaller bit is used and the cutting
is done with the bit sides using a helical path.

That’s also why I use a Ramp at the start of a Profile or Pocket cut if my depth of cut is even slightly ambitious. Moving to the 1/8” for a 1/4” cut was smart. Sorry your piece was damaged. :disappointed:

Thank you for sharing this story in detail.

Most end mills nowadays are “center cut” type and fine for plunging in Z as far as the cut goes. (I just looked; all of my CNC end mills can center cut.) The heat dissipation is just different using them that way. You could probably manage it with different bit speeds and feed rates.

Though I’m wondering why you would cut a 0.250” through-hole. A dowel hole wouldn’t usually go through, and a standard clearance hole for a 1/4-20 bolt would be 0.266”.

Most endmills I have ever used (metal and wood) have all been center-cut types. I think that lack of center cut only kicks in for larger endmills (3/4" and up).

I had a discussion with @CLeininger today while I was using the CNC earlier. He remarked about this since I was doing a fairly similar kind of operation (I was doing everything with a 1/4" bit). My experience is with metal milling and the issue was that I was moving WAY too slowly and was chewing things into very fine sawdust instead of producing chips and getting out of the hole.

1 Like

On smaller end mills you guys are correct, there is a cutting edge at the end mills tip. It would have been more accurate for me to say that they’re not meant for drilling, even with pecking. They’re just not designed for large volume chip evacuation in Z.

1 Like

Well, I’ve used end mills for drilling many times and my aluminum has never caught fire. :fire: :smiley_cat:

Andrew raises an interesting point. With my metal background, CNC feed rates always feel dangerously fast.

Thinking about this a little last night I came to remember that when I was using an up-cut bit on drill actions, I didn’t see any burning. However, when I switched to a down-cut bit, I would get char on my holes.

It doesn’t take much reasoning to figure out why that would be the case.