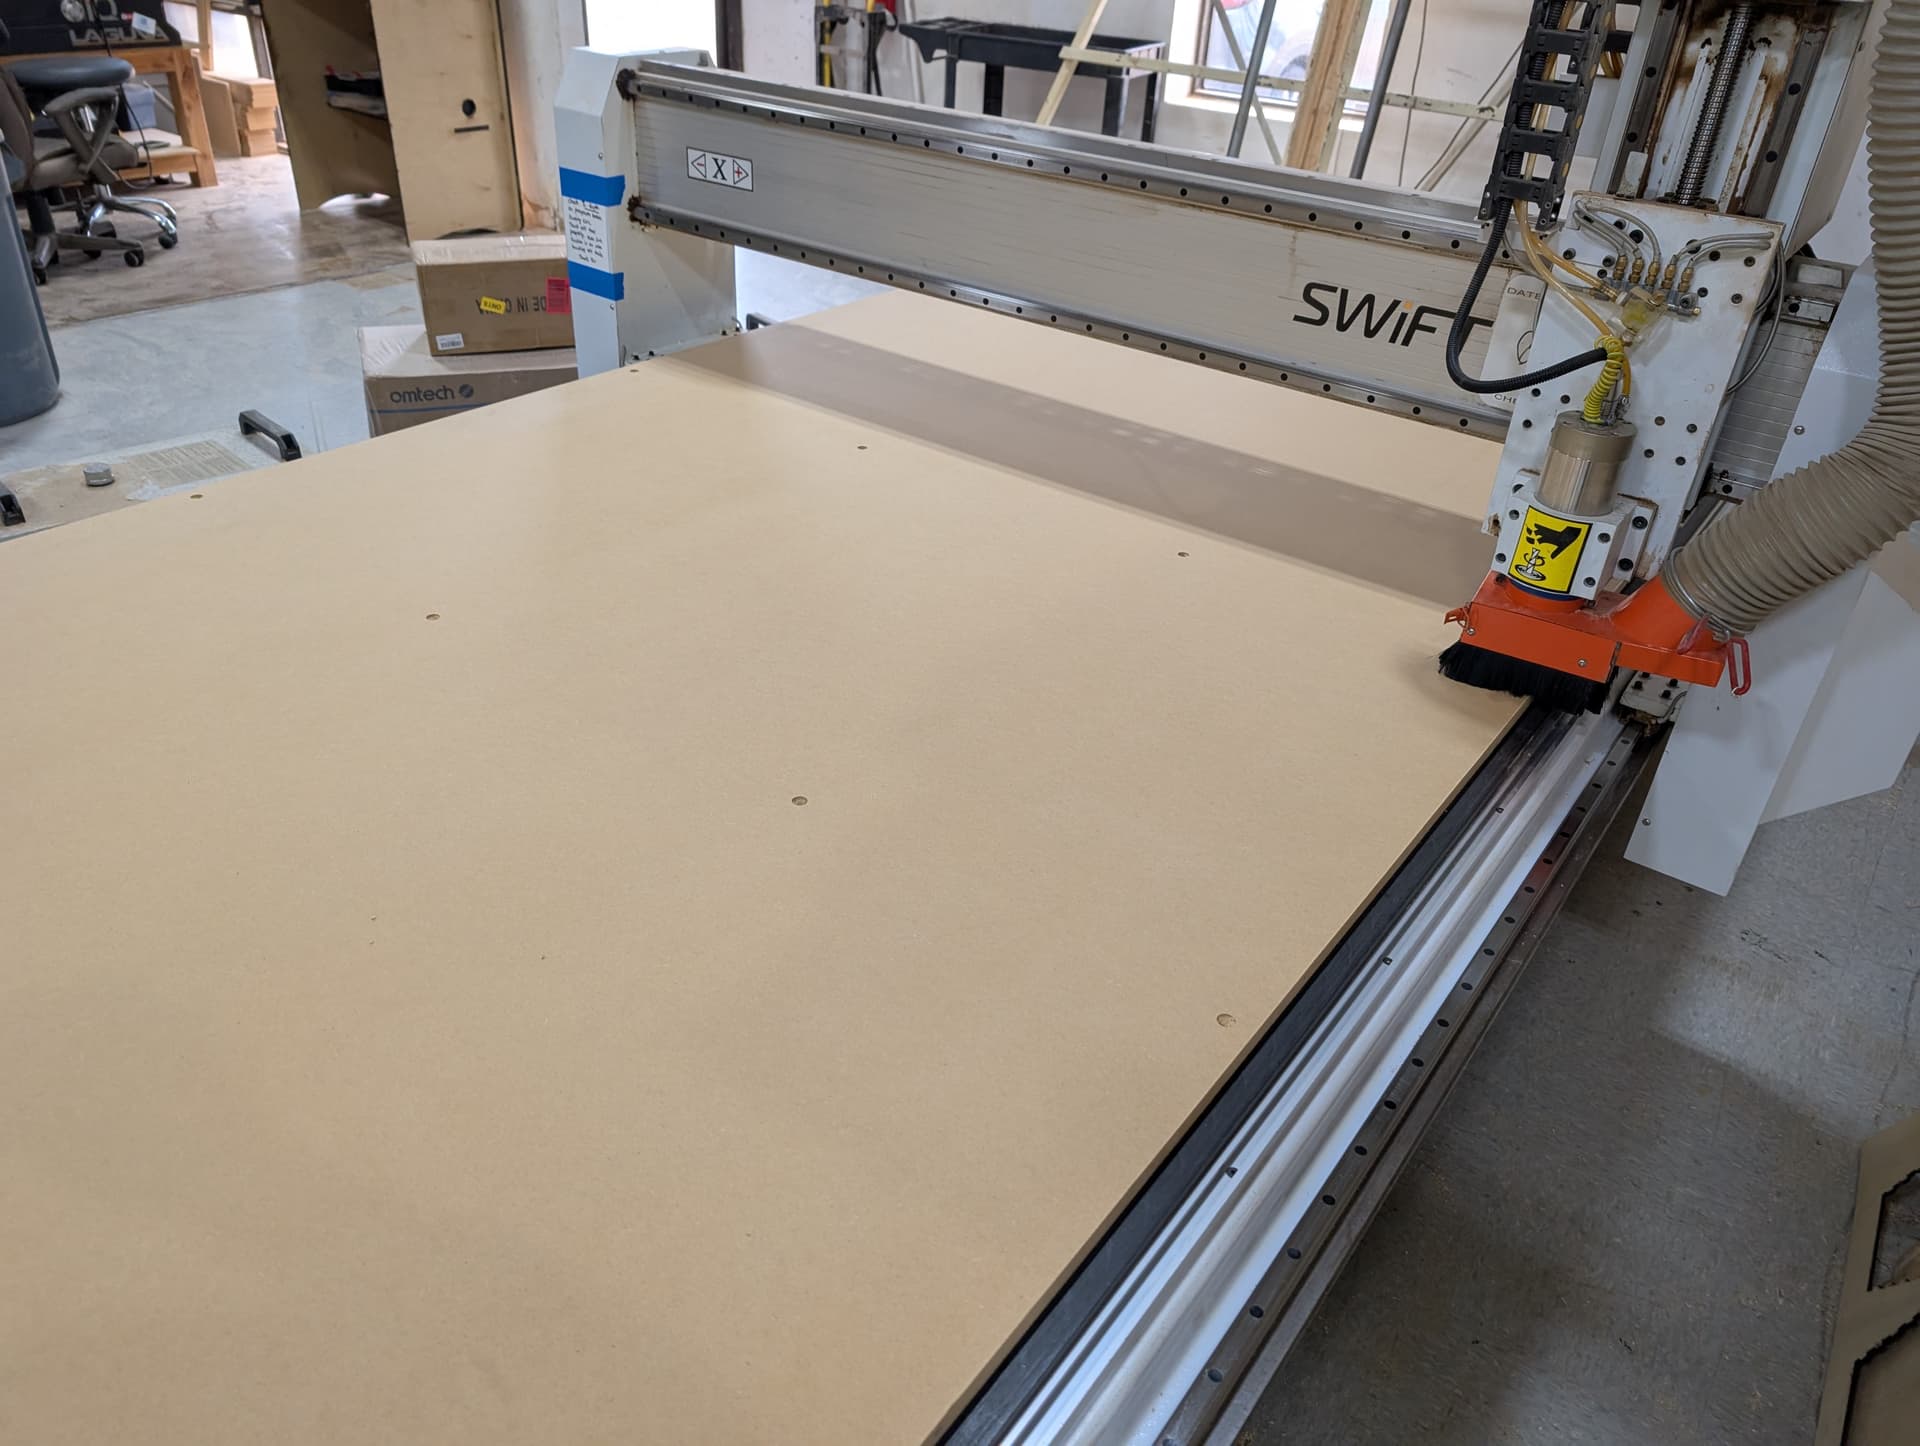
Today the spoil board was replaced on the CNC! This is good news for folks, but also comes with another warning about always checking your depth. The boards lately have been replaced roughly once per month. In the past they have lasted much longer.
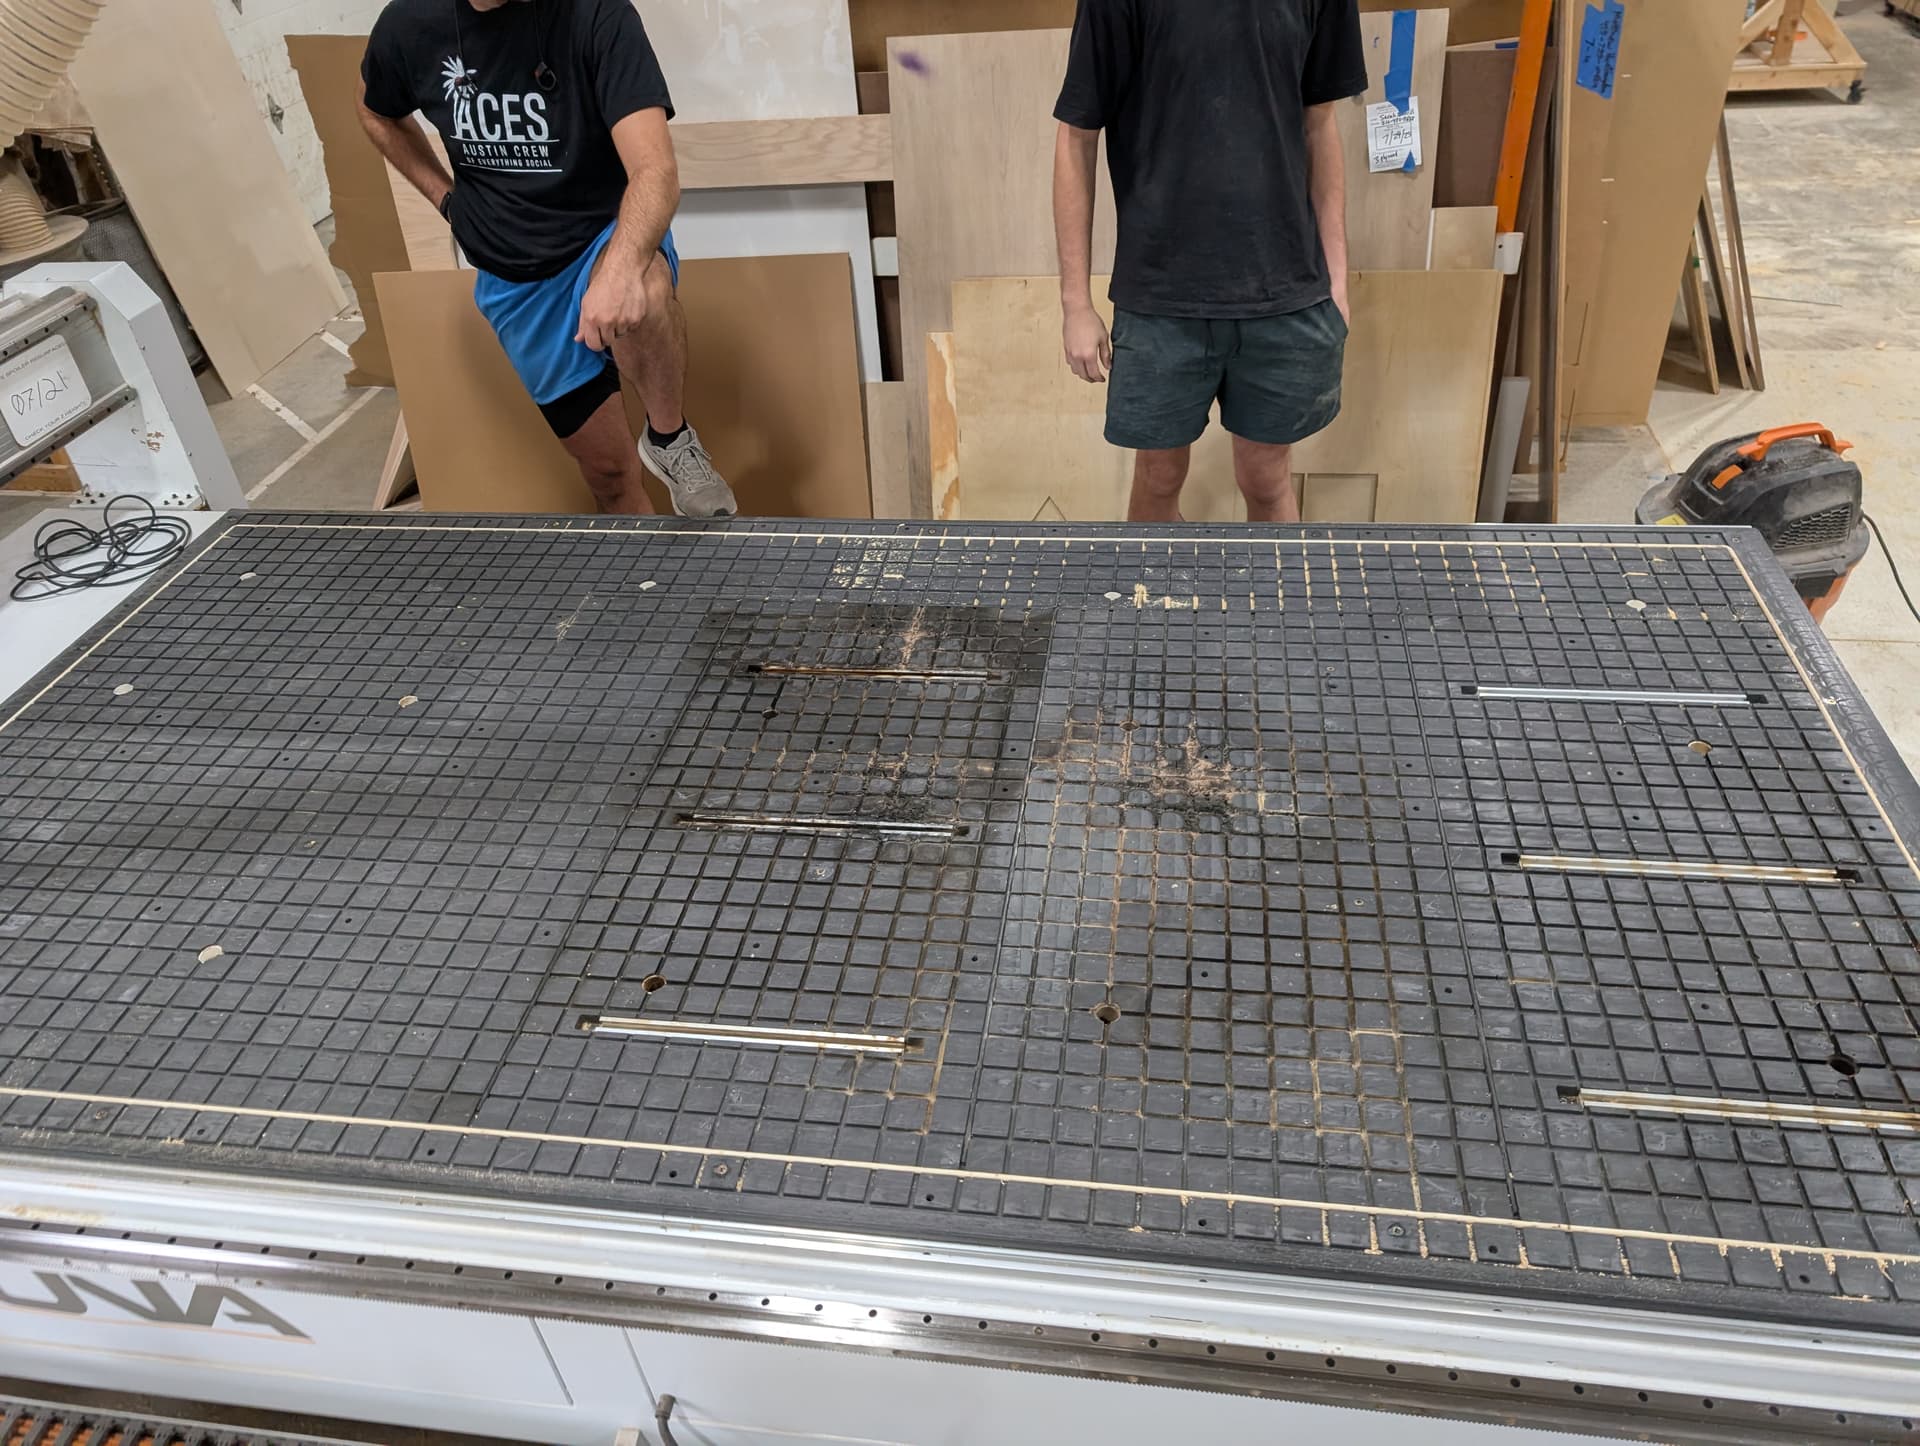
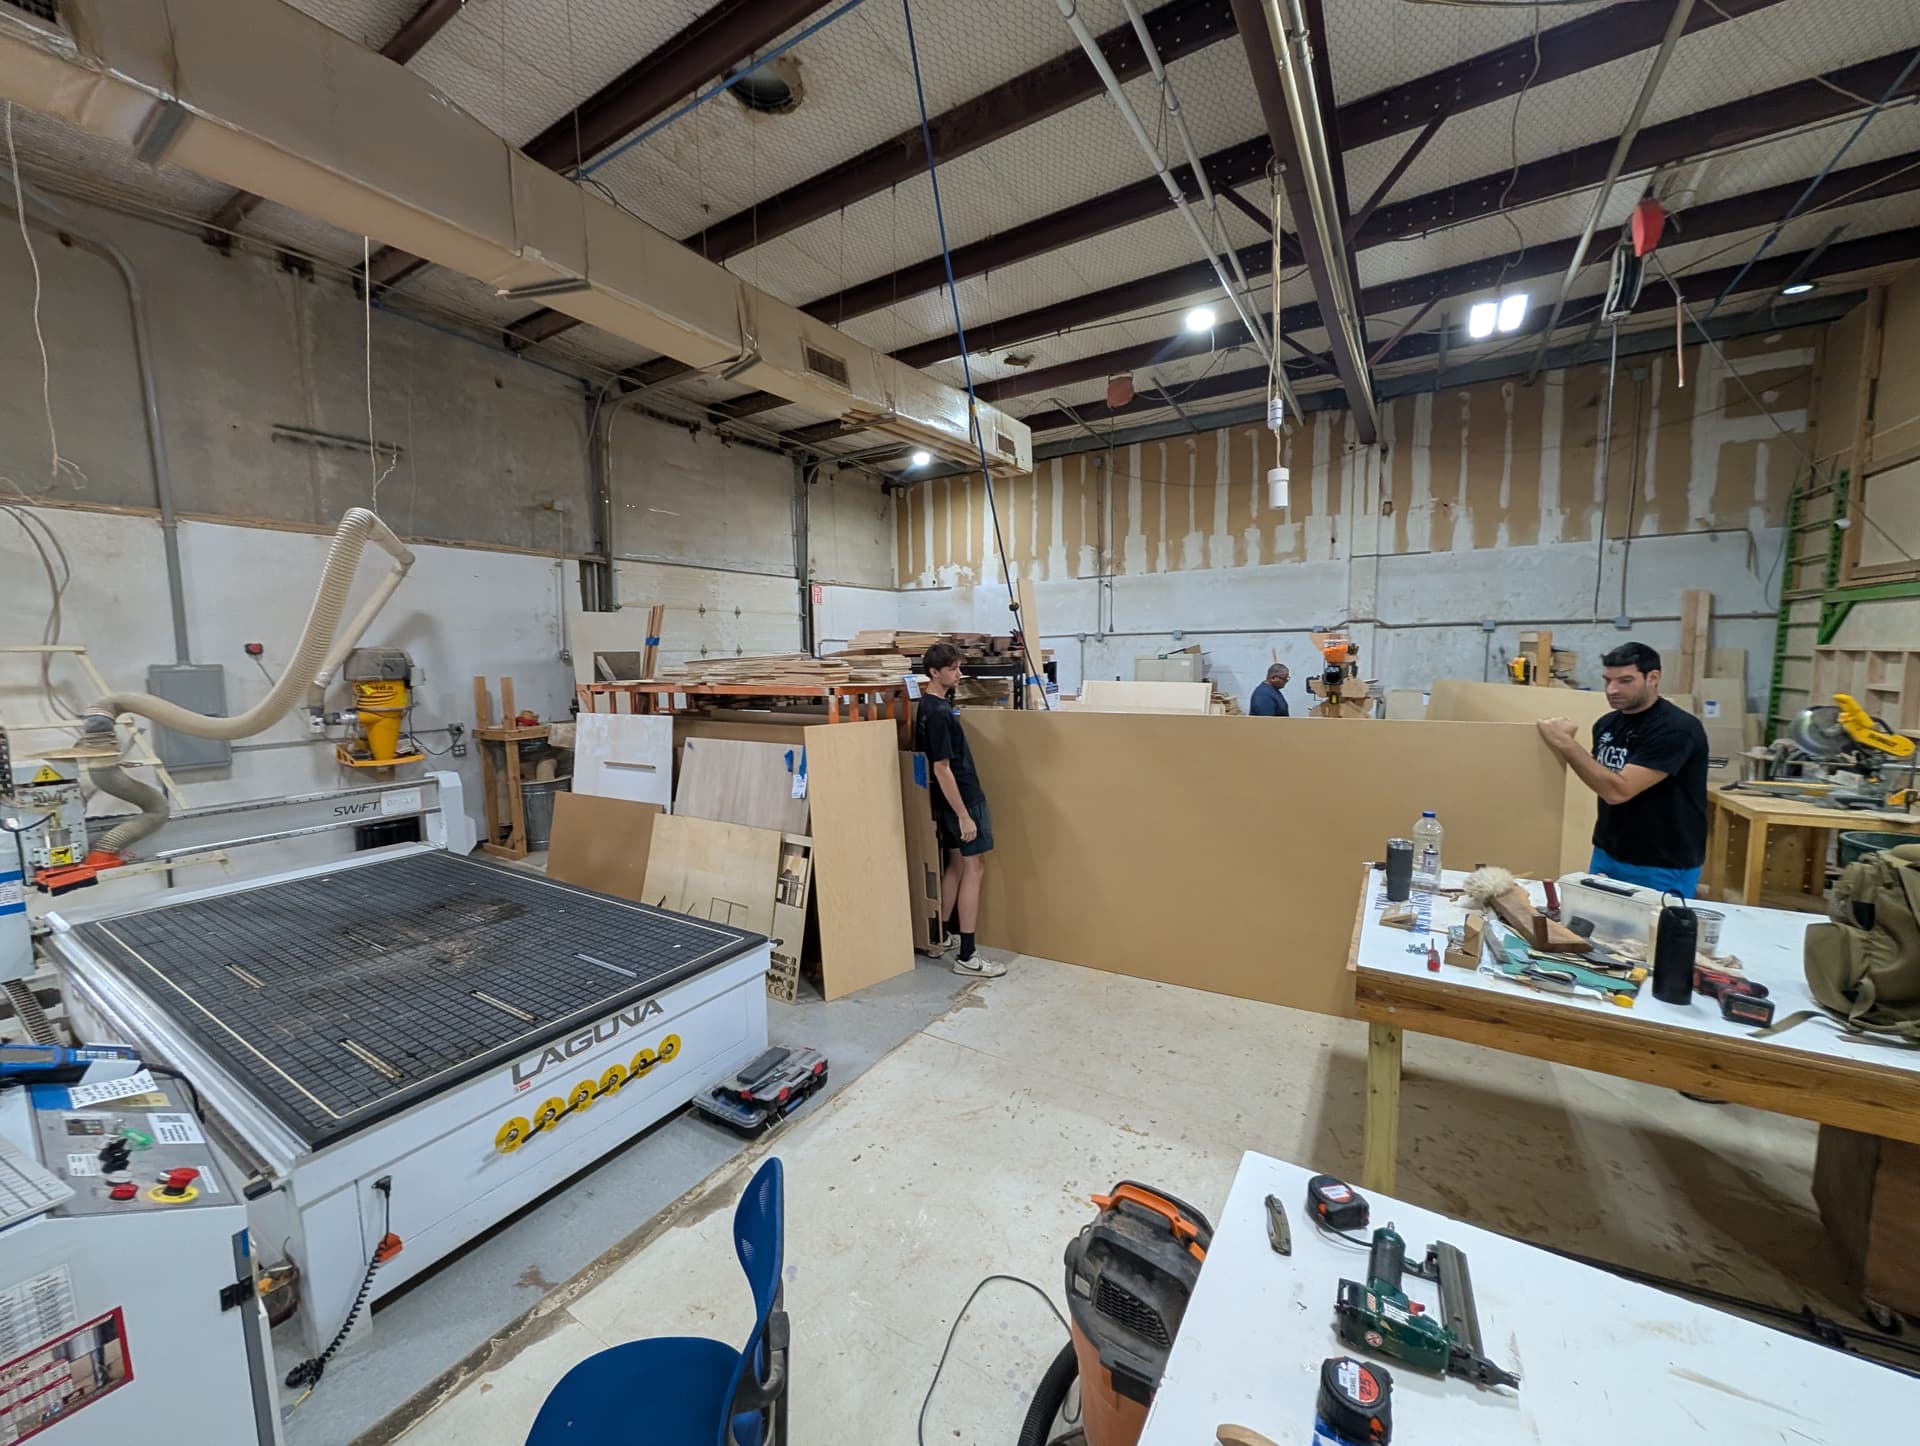
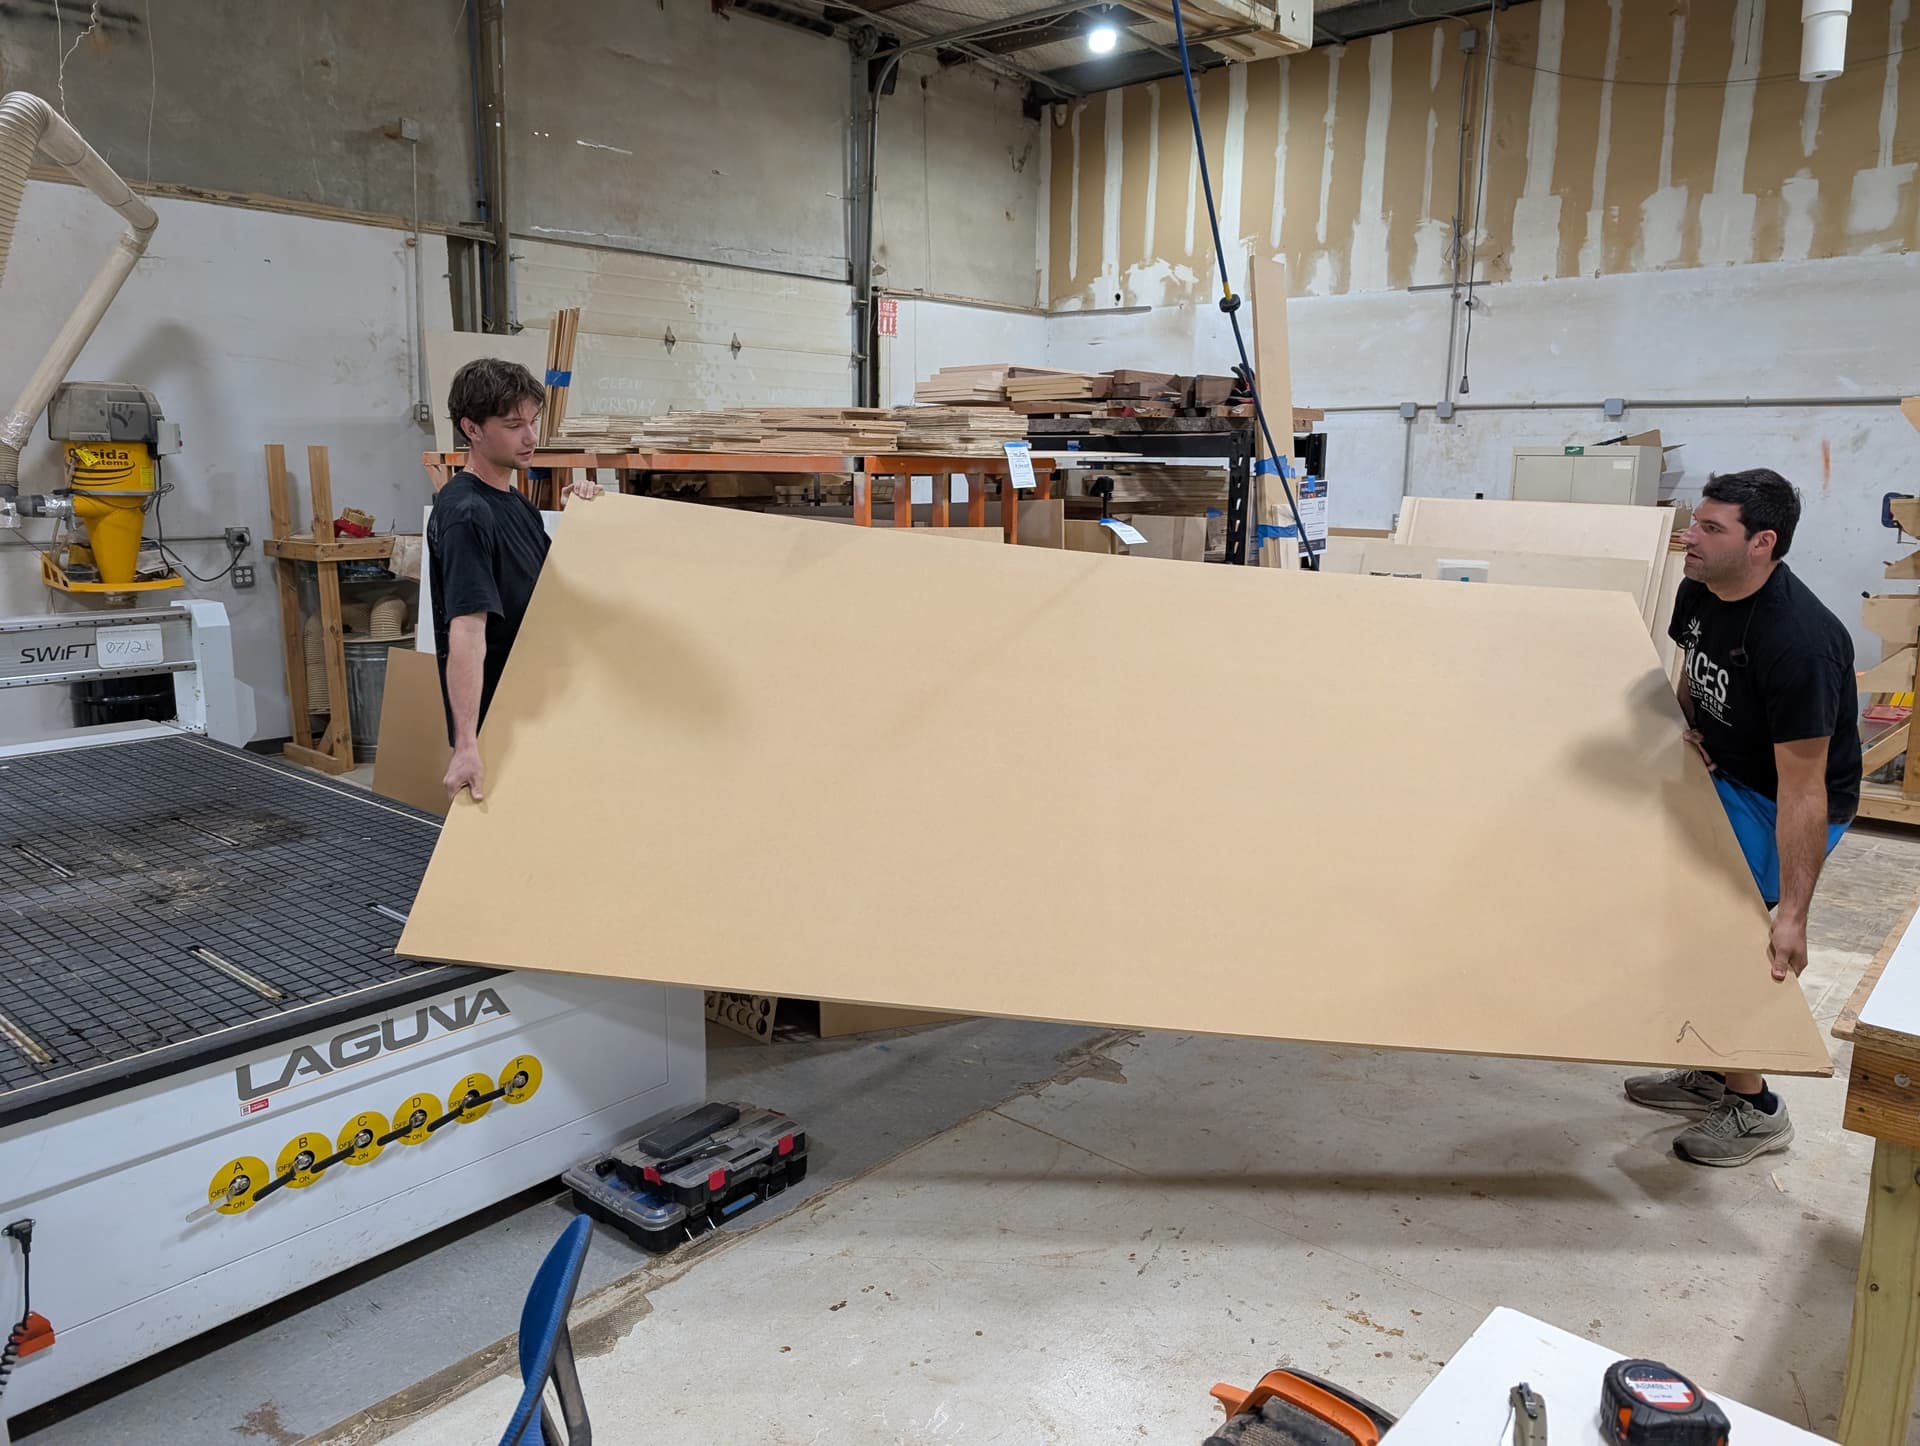
Below is the process of what it takes to replace it. This was done voluntarily but at the cost of their time on the machine as well as the cost of Asmbly for a new spoilboard. This particular change also included a new gasket for a particularly bad gouge into the CNC bed (through the spoilboard).
If you are working here and happen to create a cut, gouge, or damage like this, please consider donating a little bit to help us replace. EIther in time and helping to replace a board or by donating to the cost:
The next few posts will be showing the steps to replace the board.
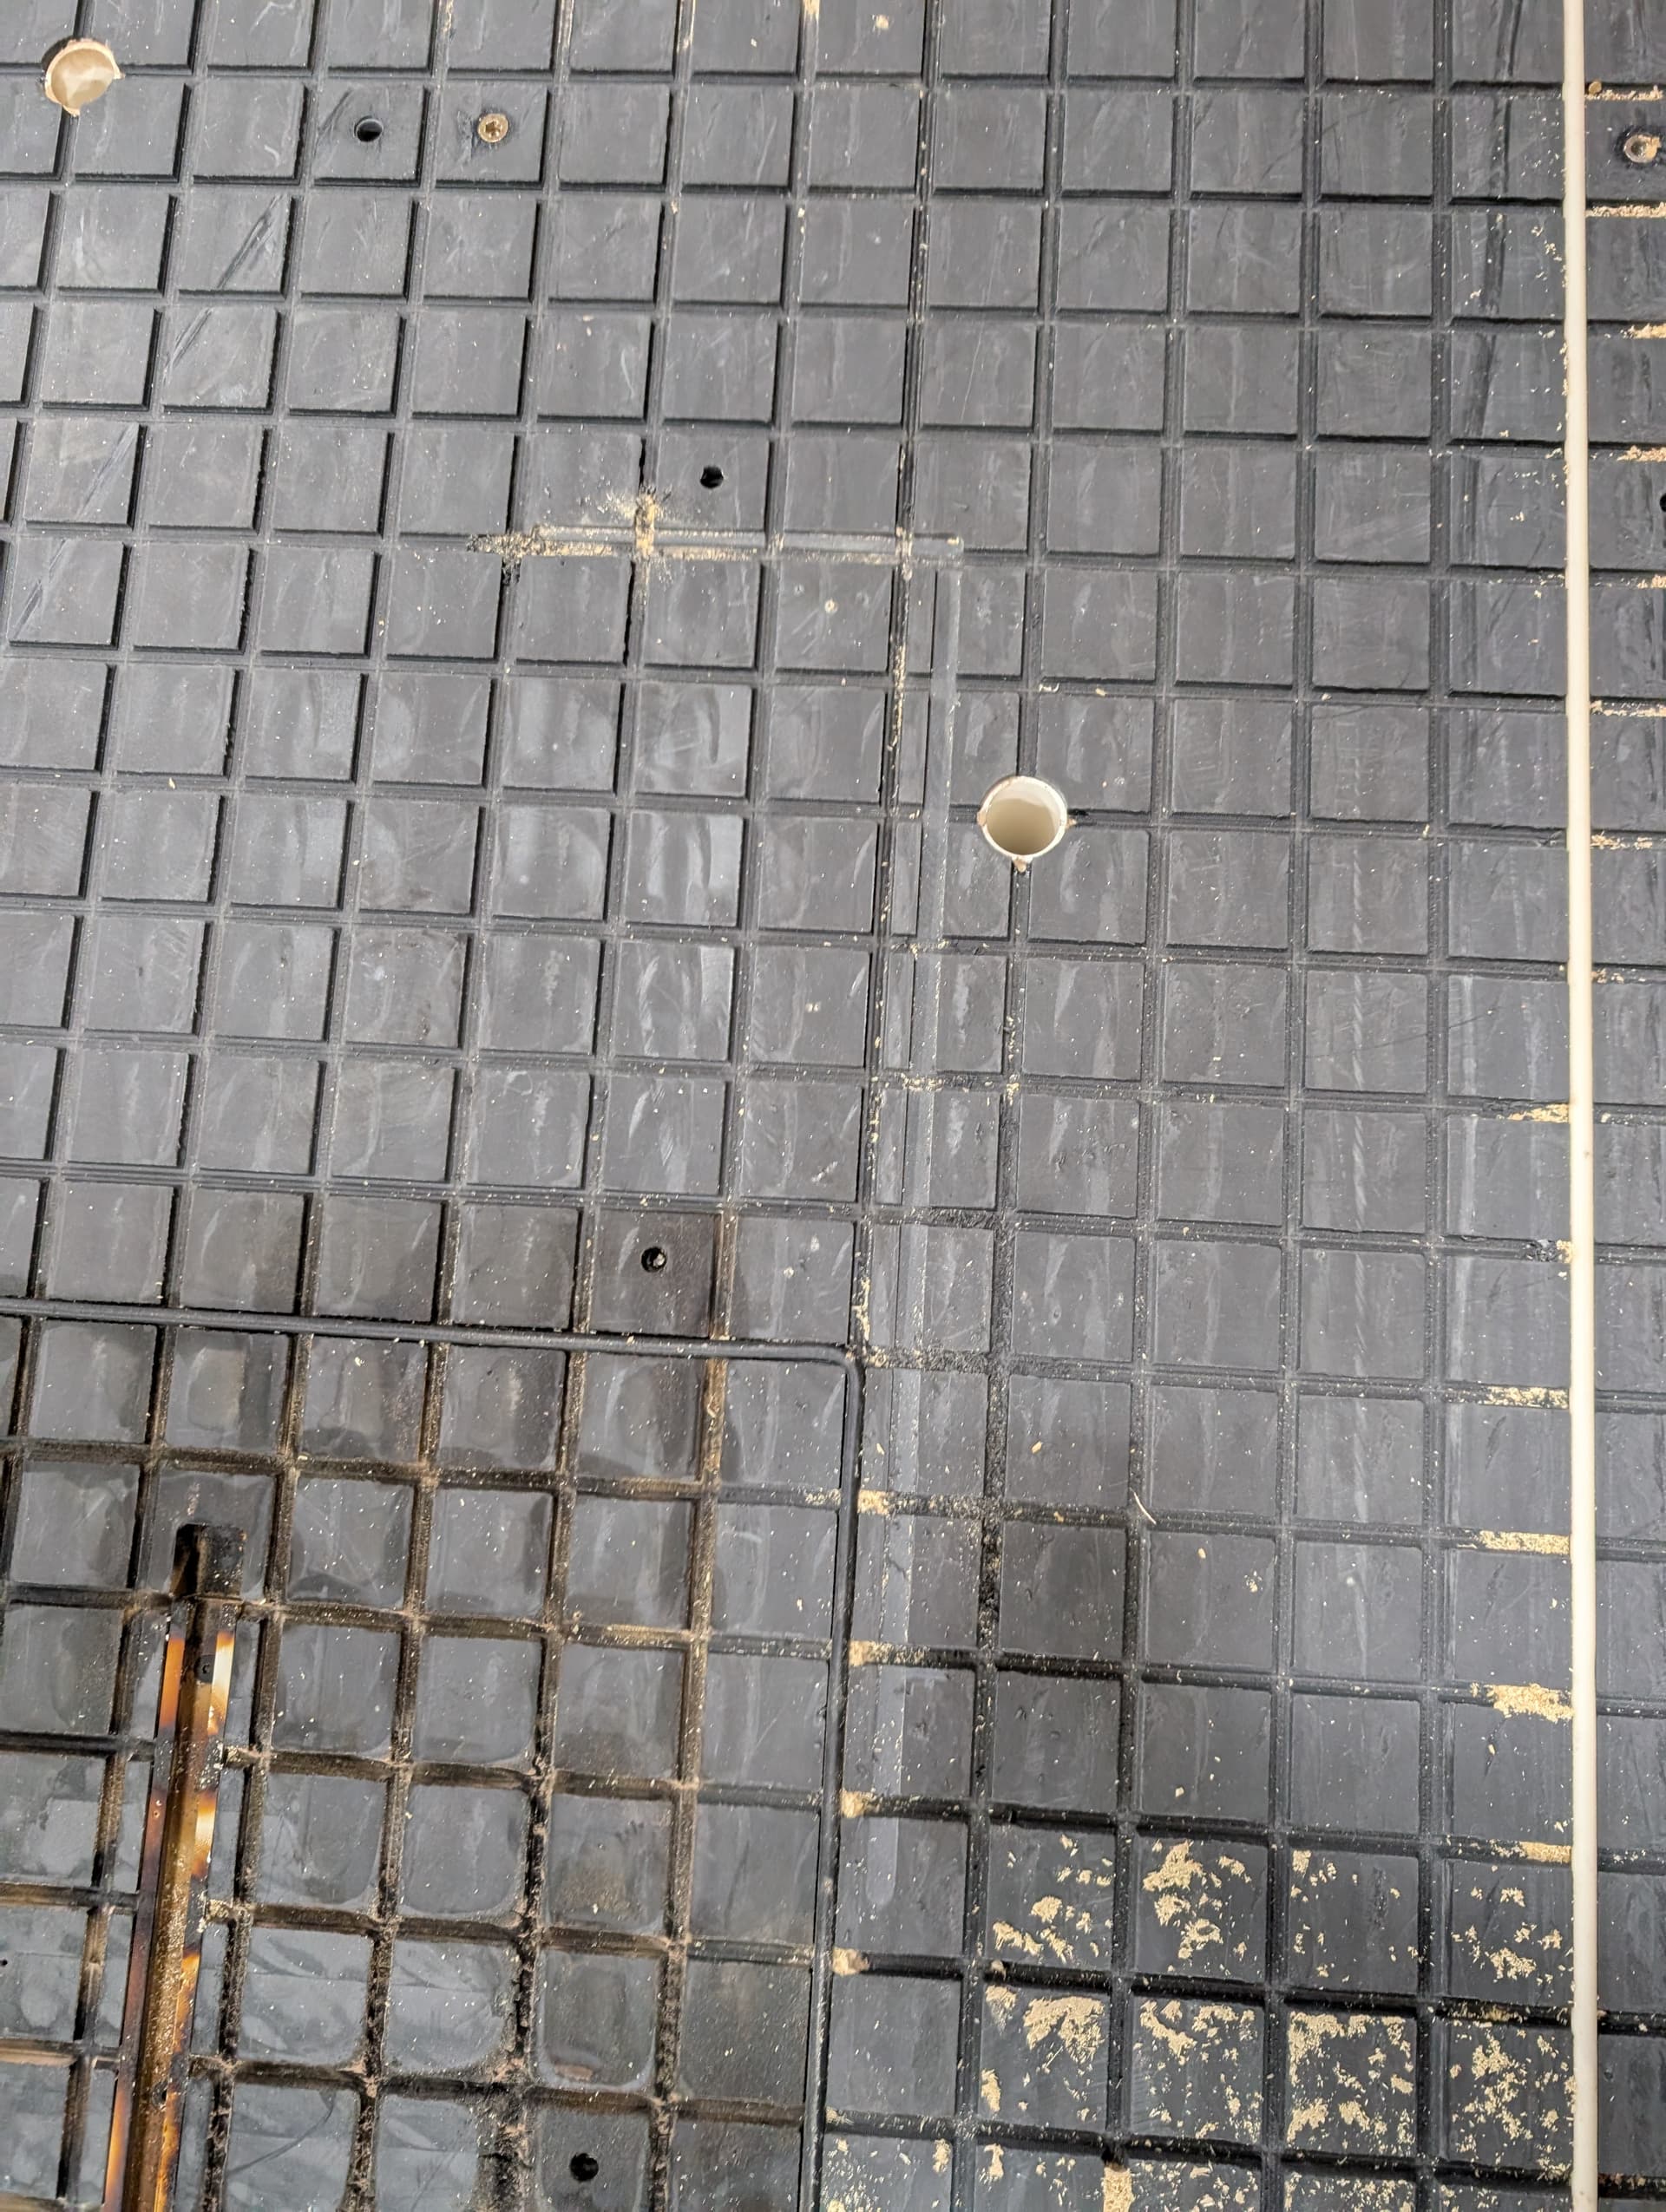
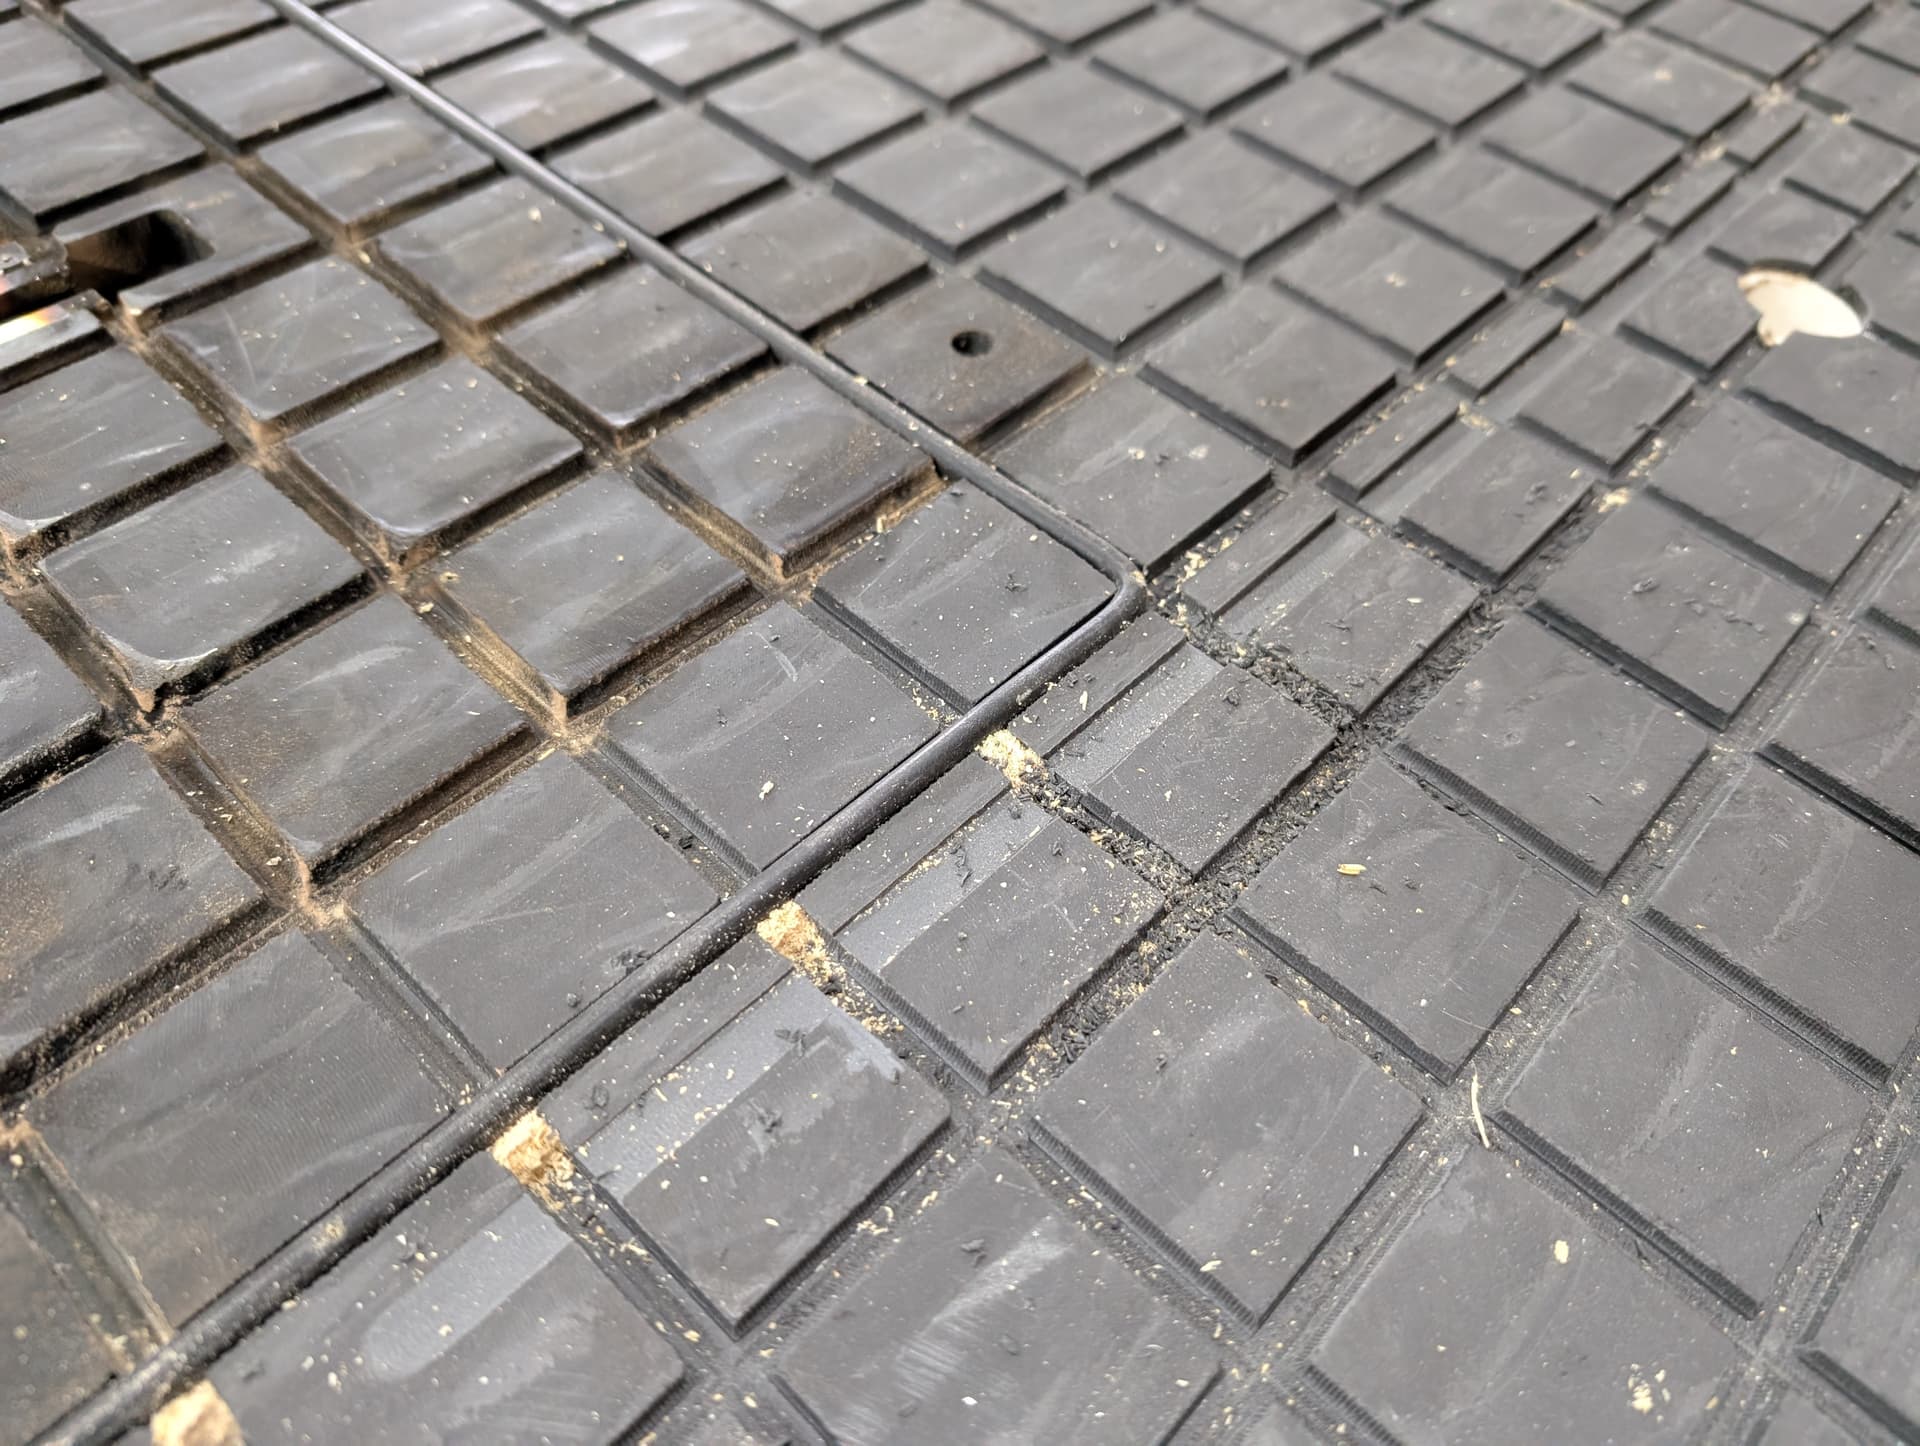
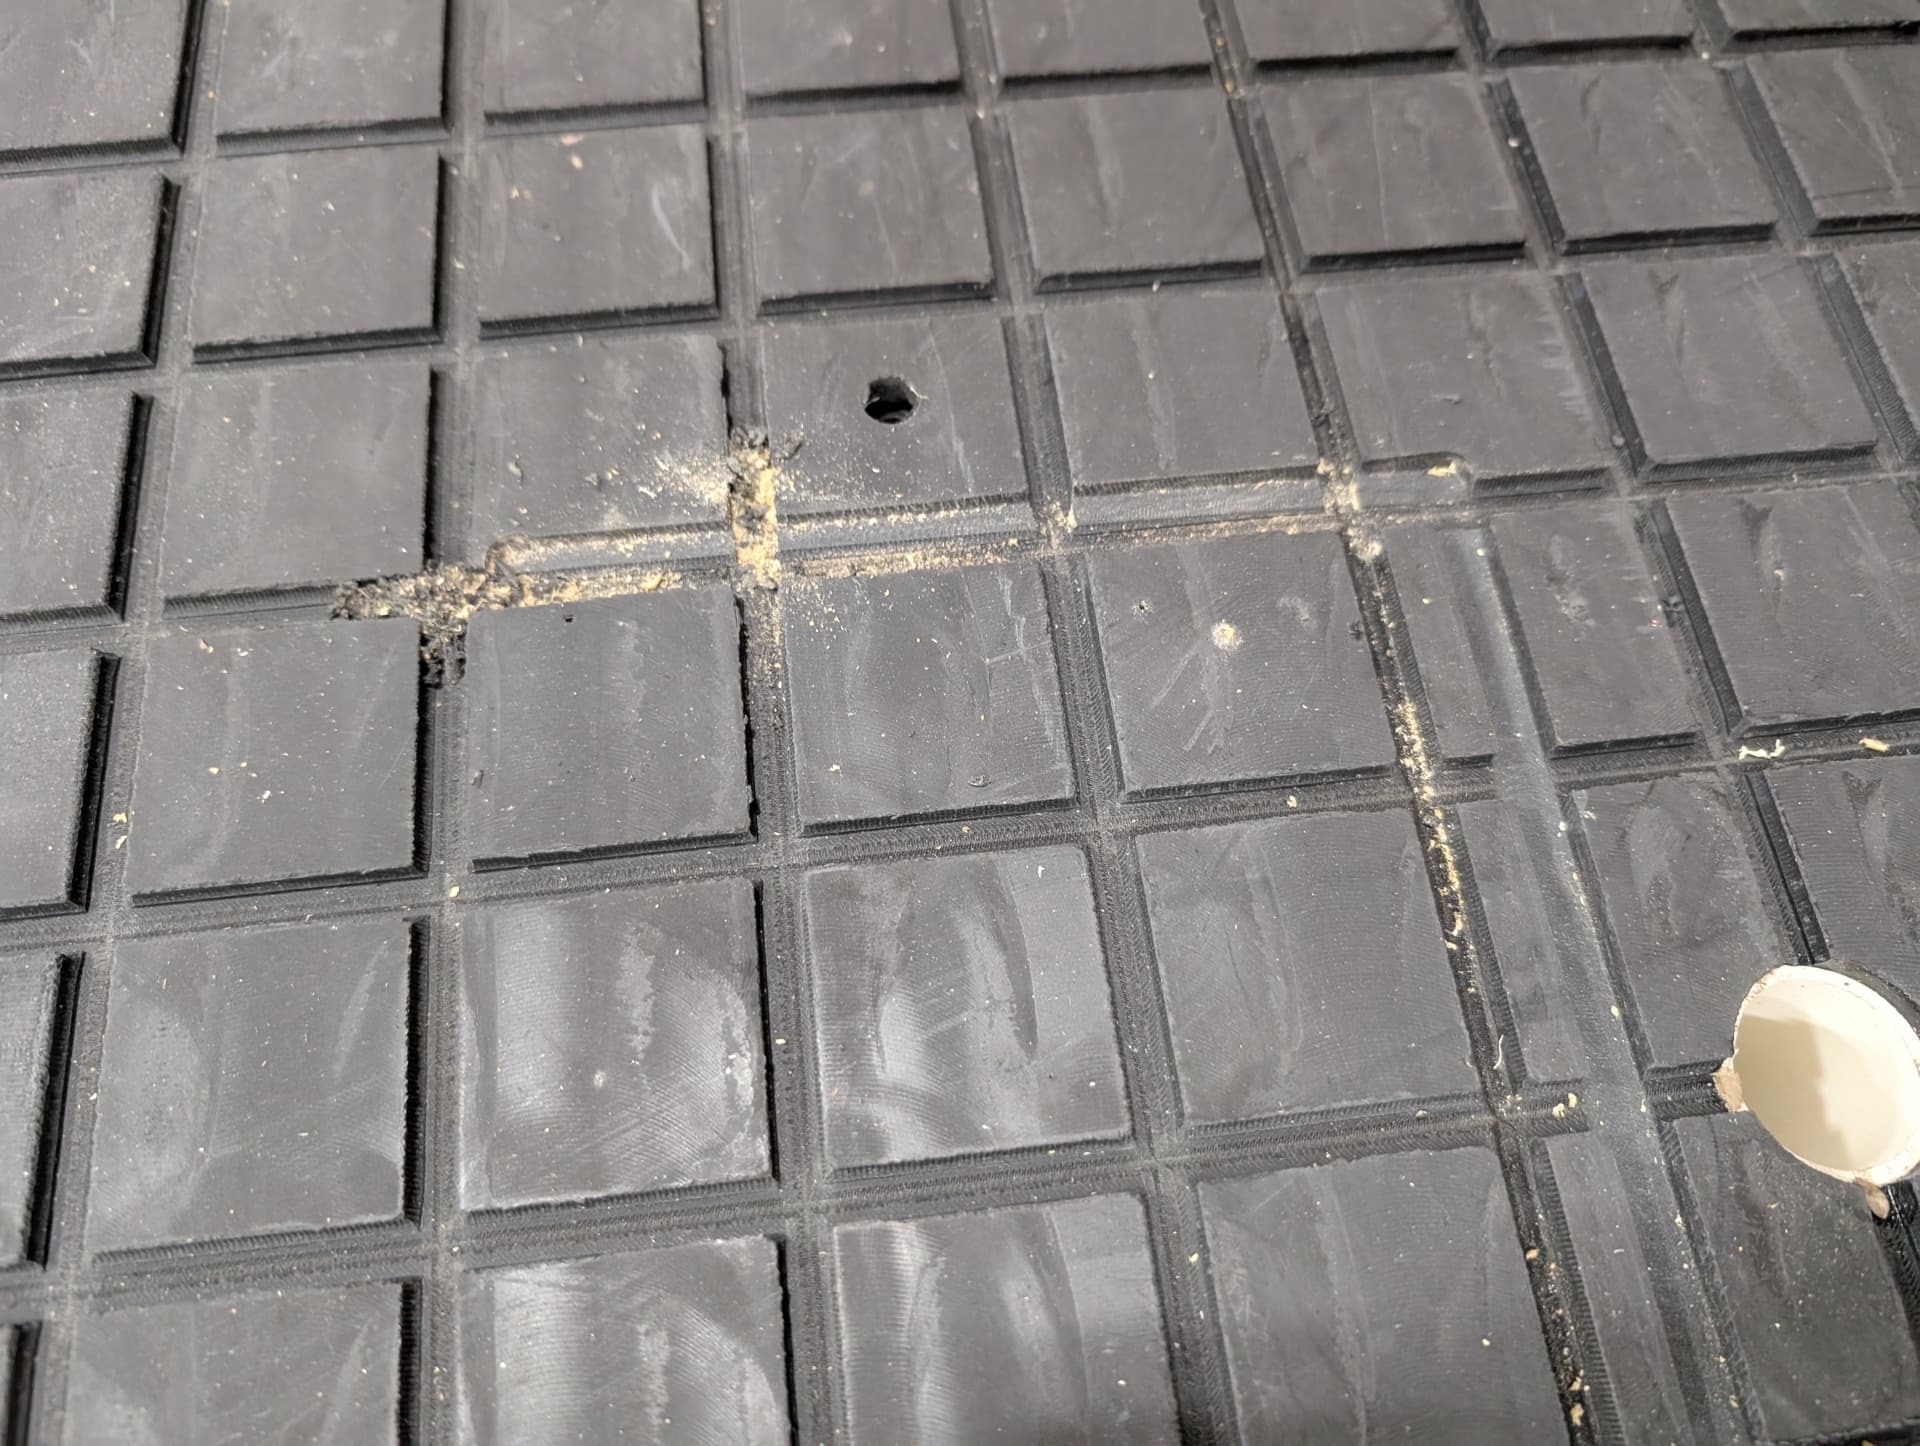
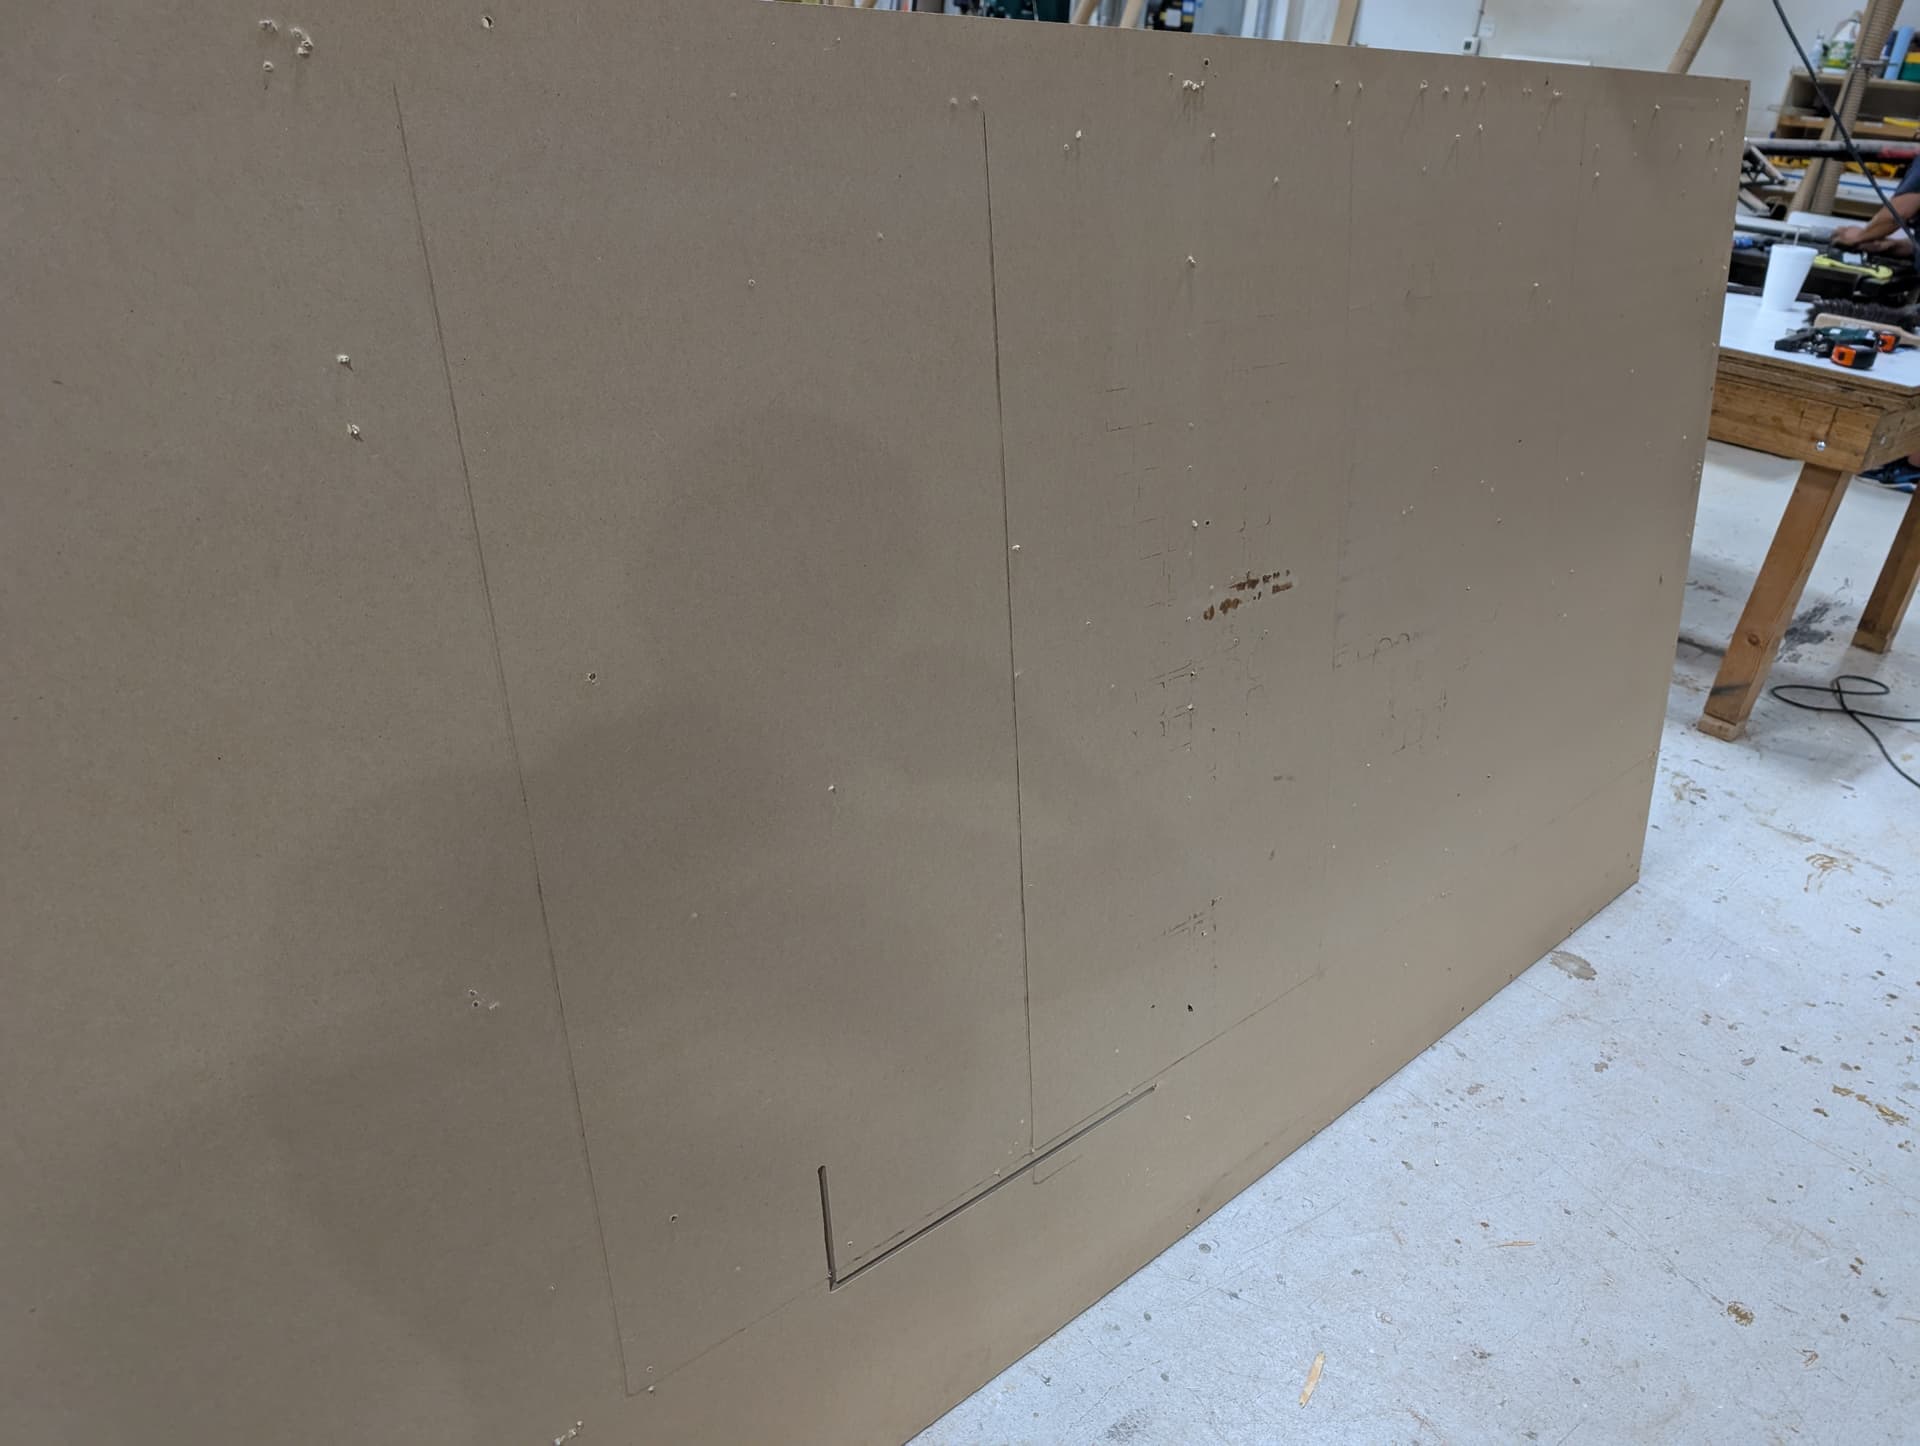
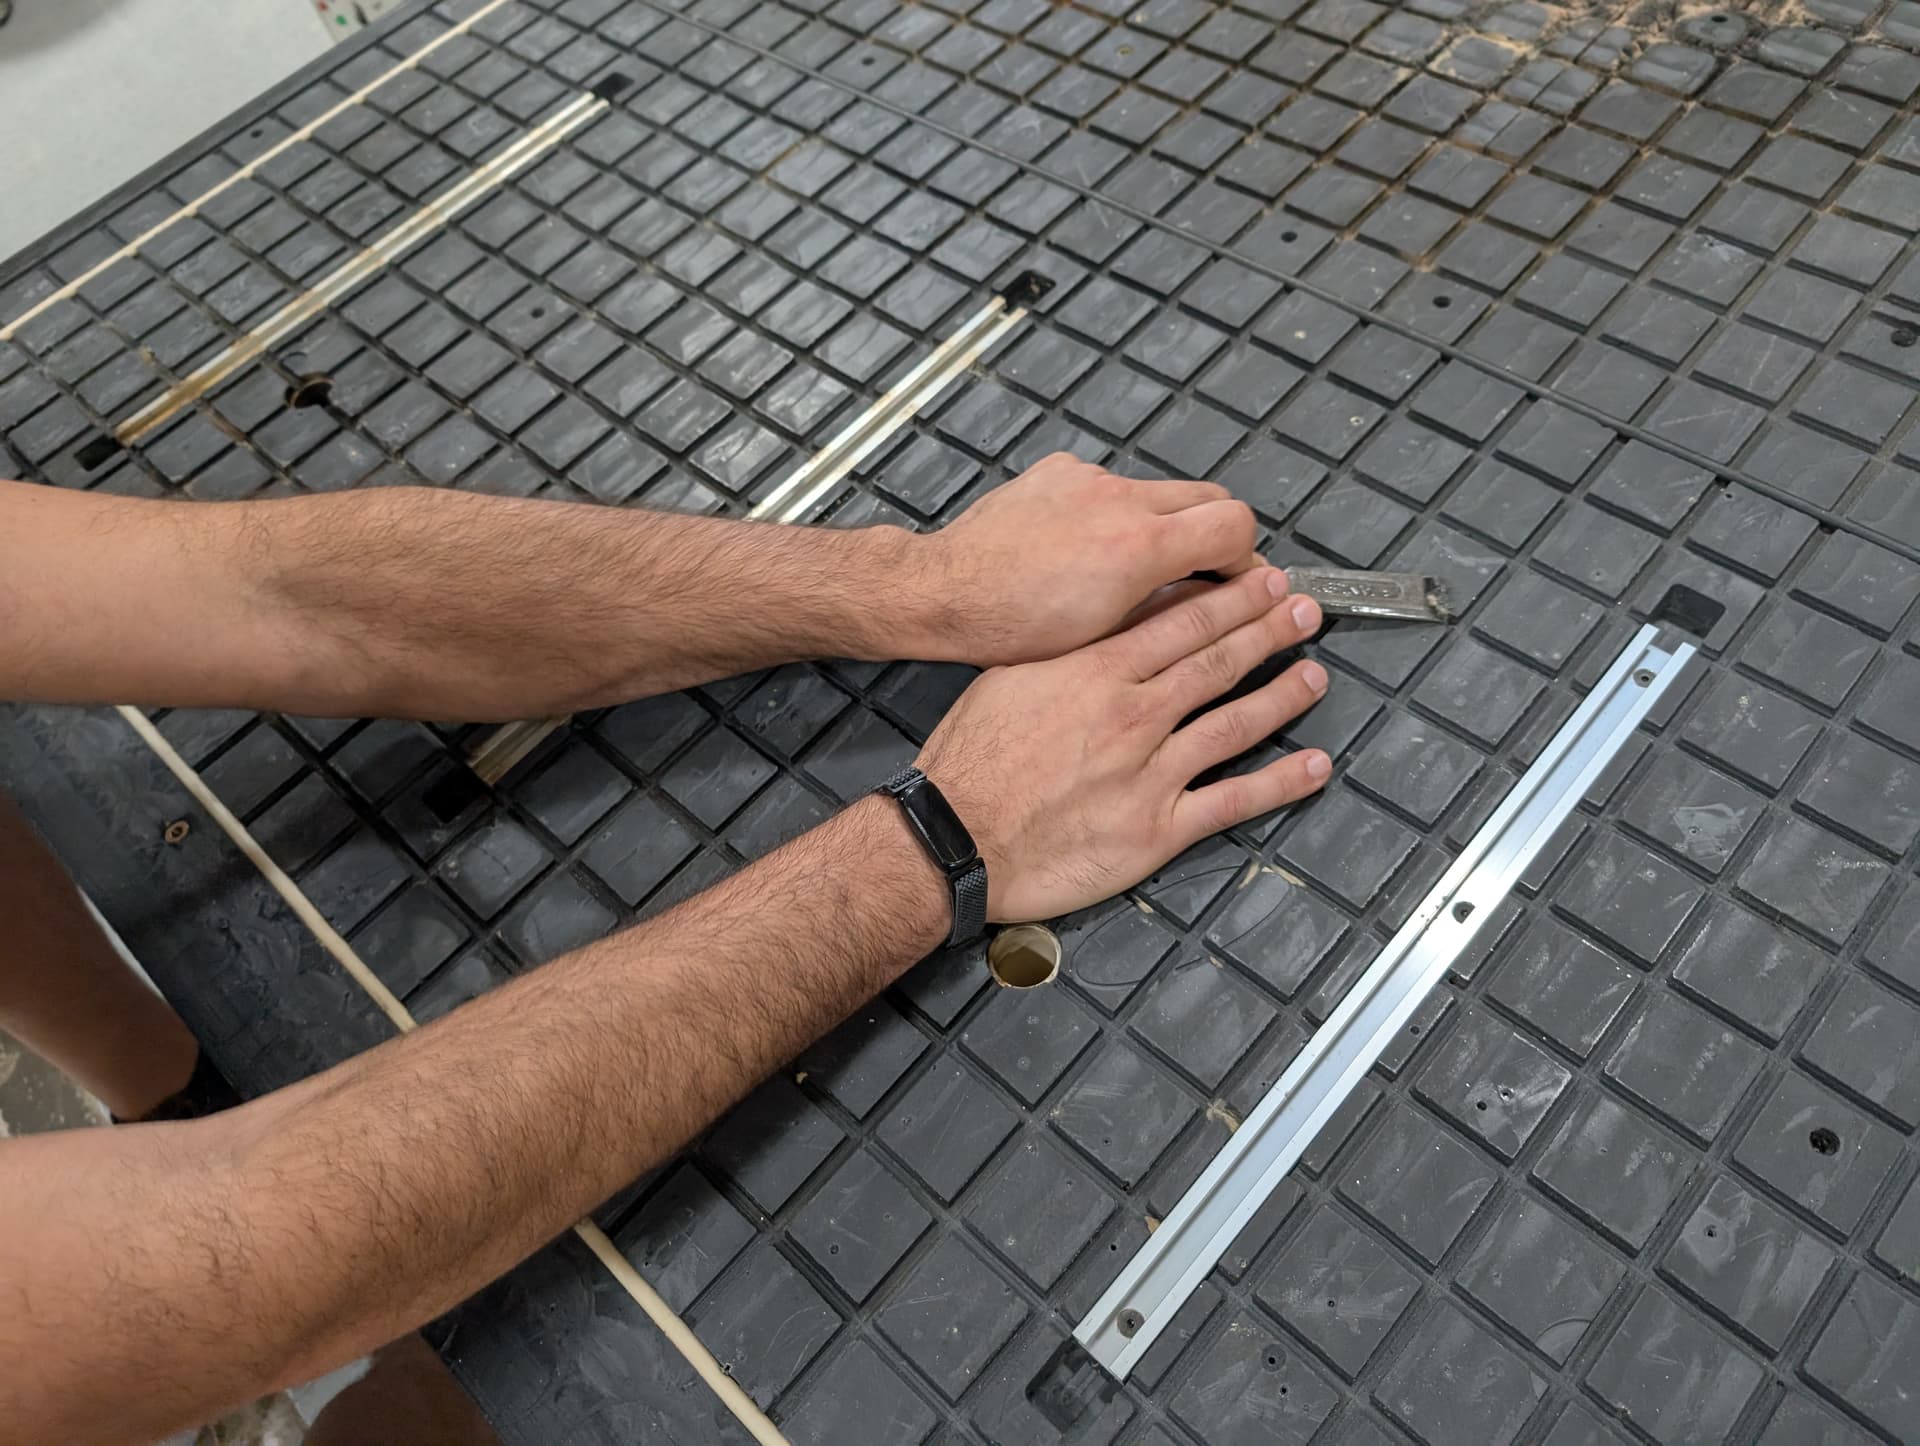
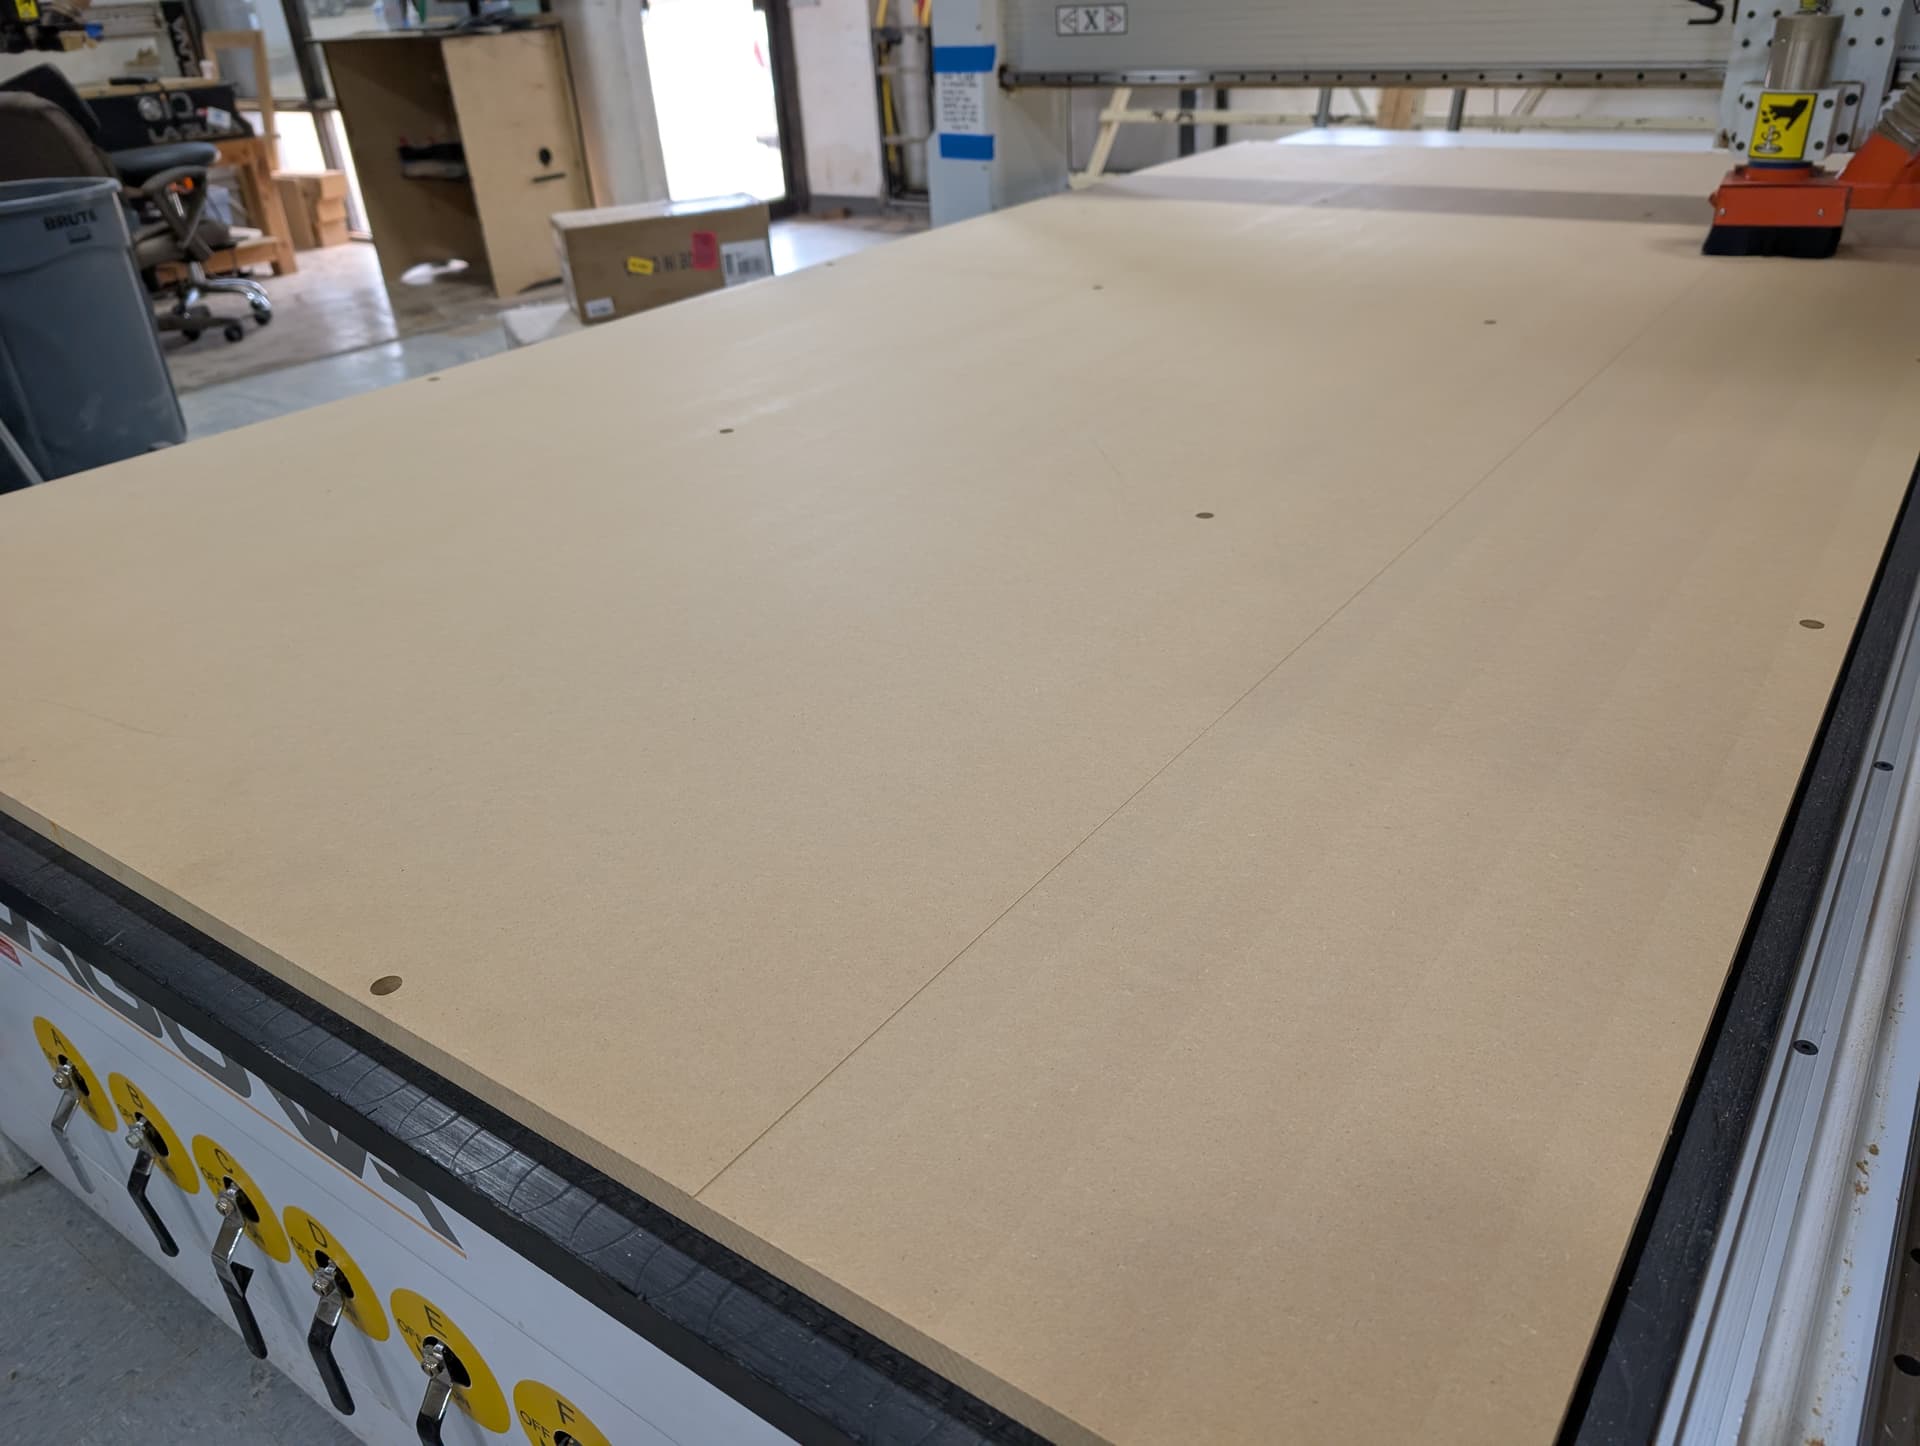
The main cause for this board replacement came from some significant damage that was not reported, but found. This damage cut all the way into the bed, through the spoilboard.
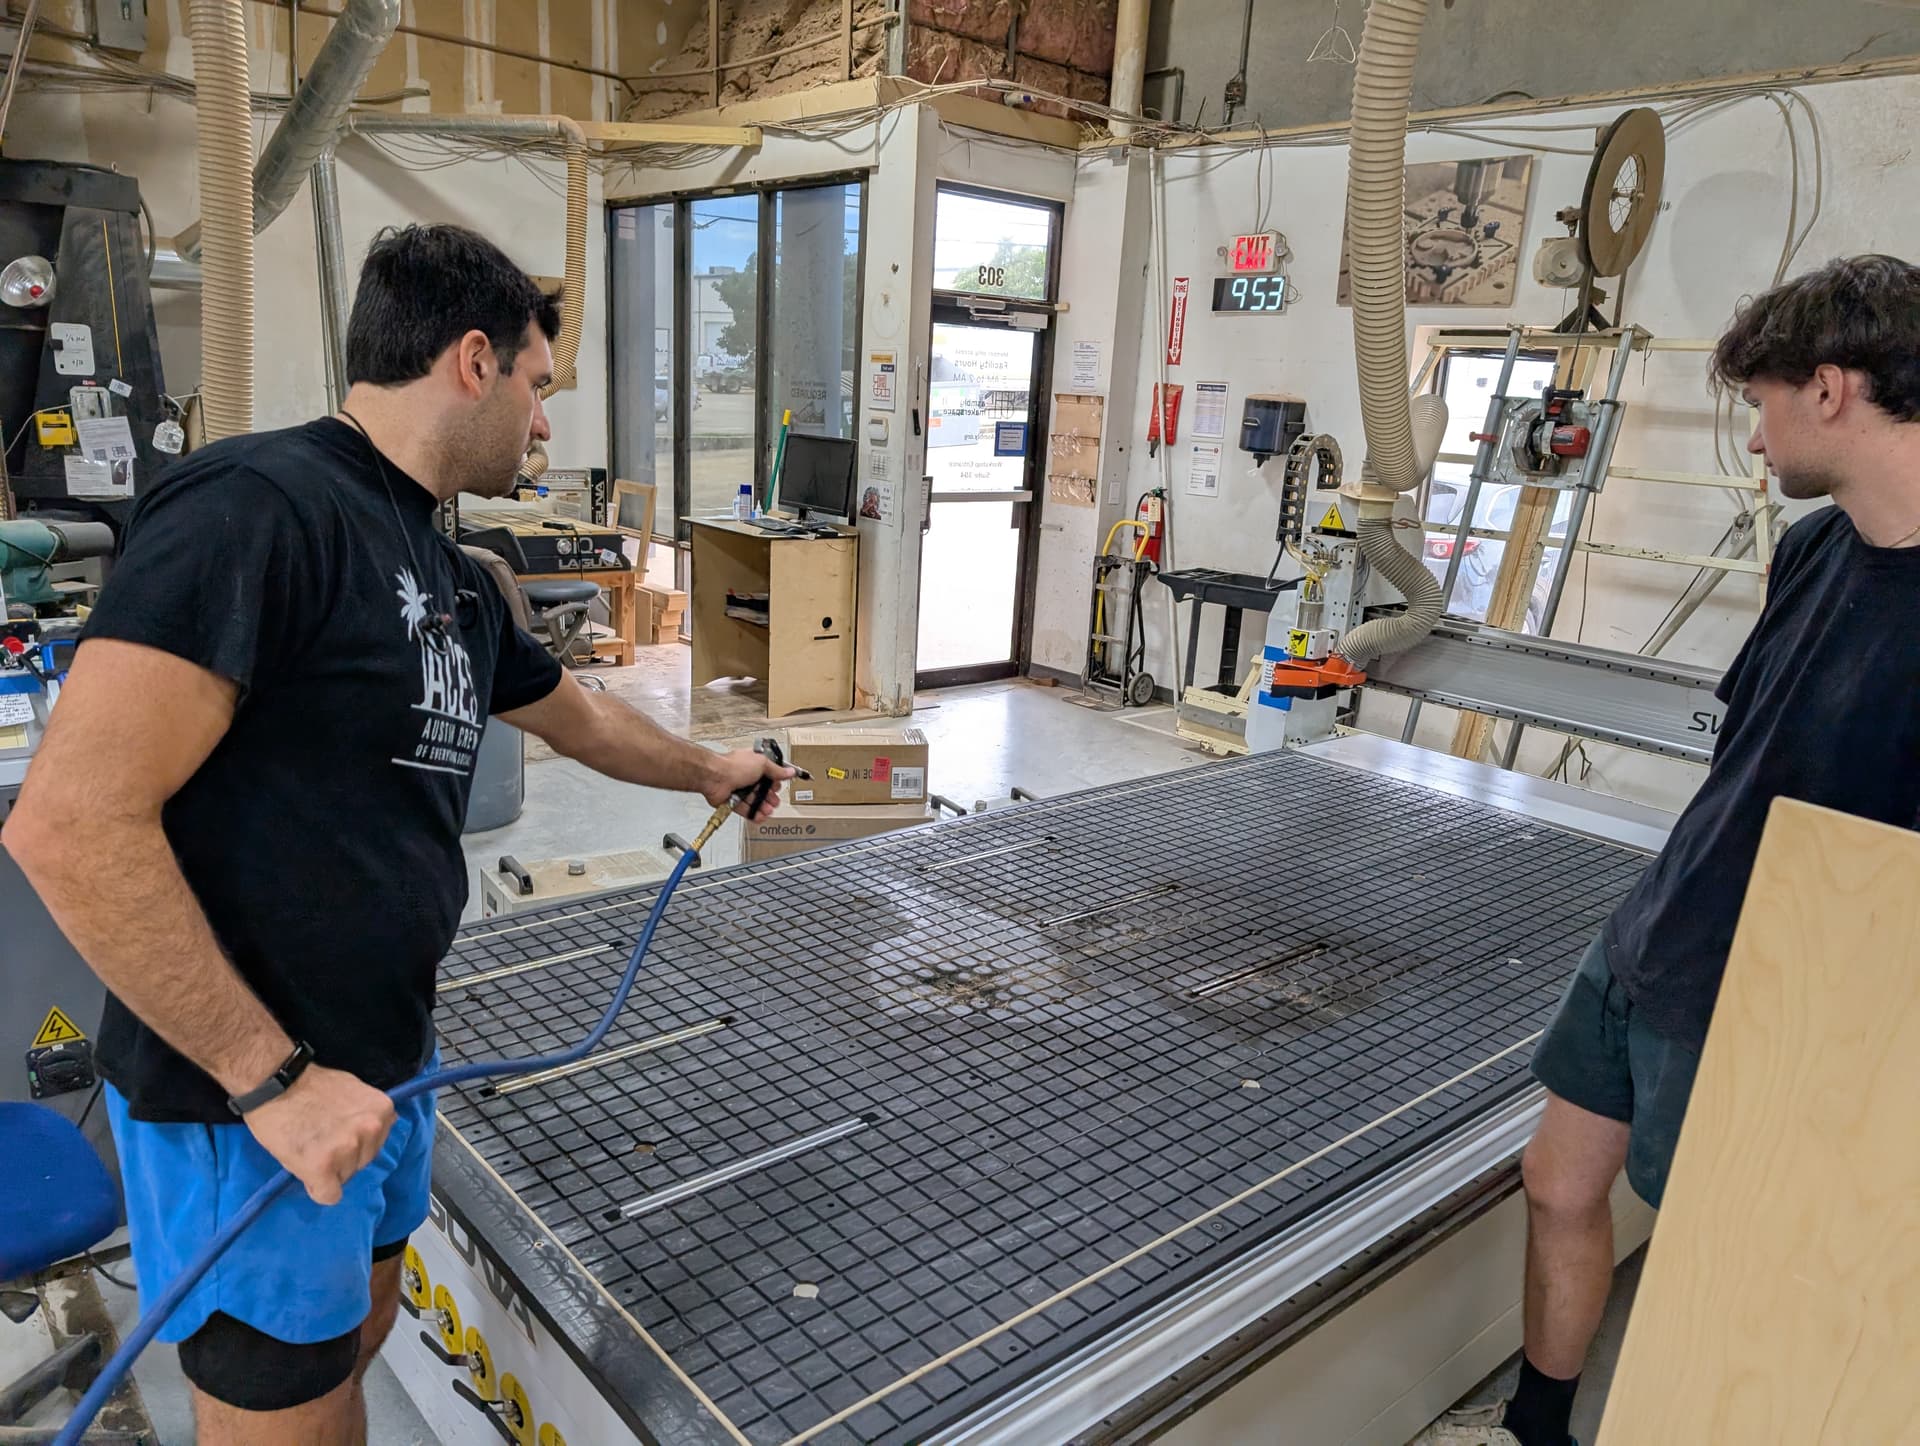
After the board is removed, the bed must be thoroughly cleaned and a gasket installed to cover the tracks of the damaging cut.
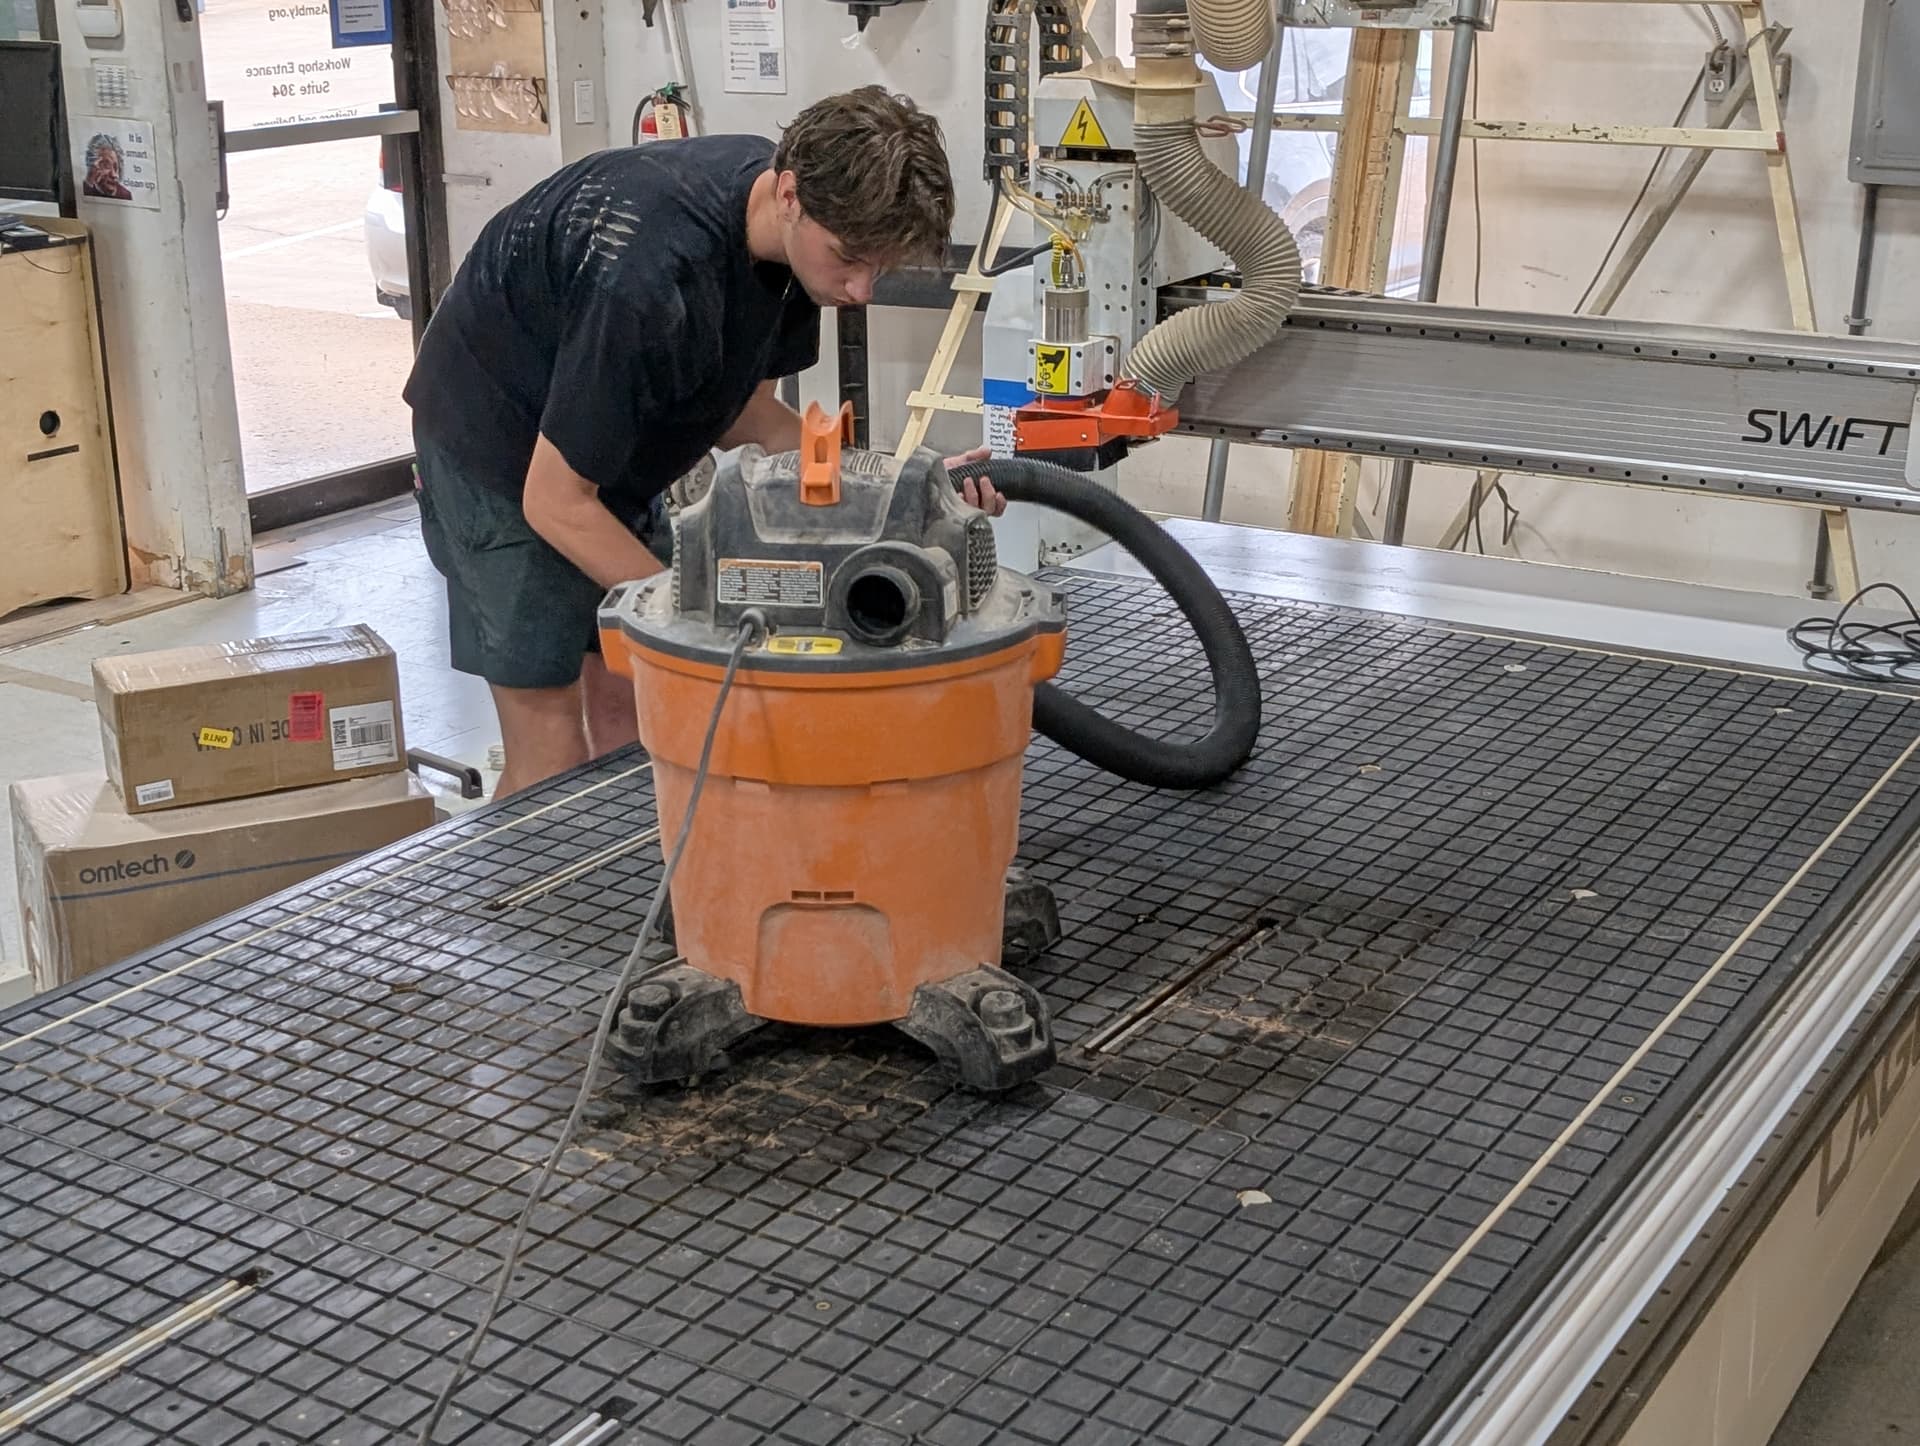
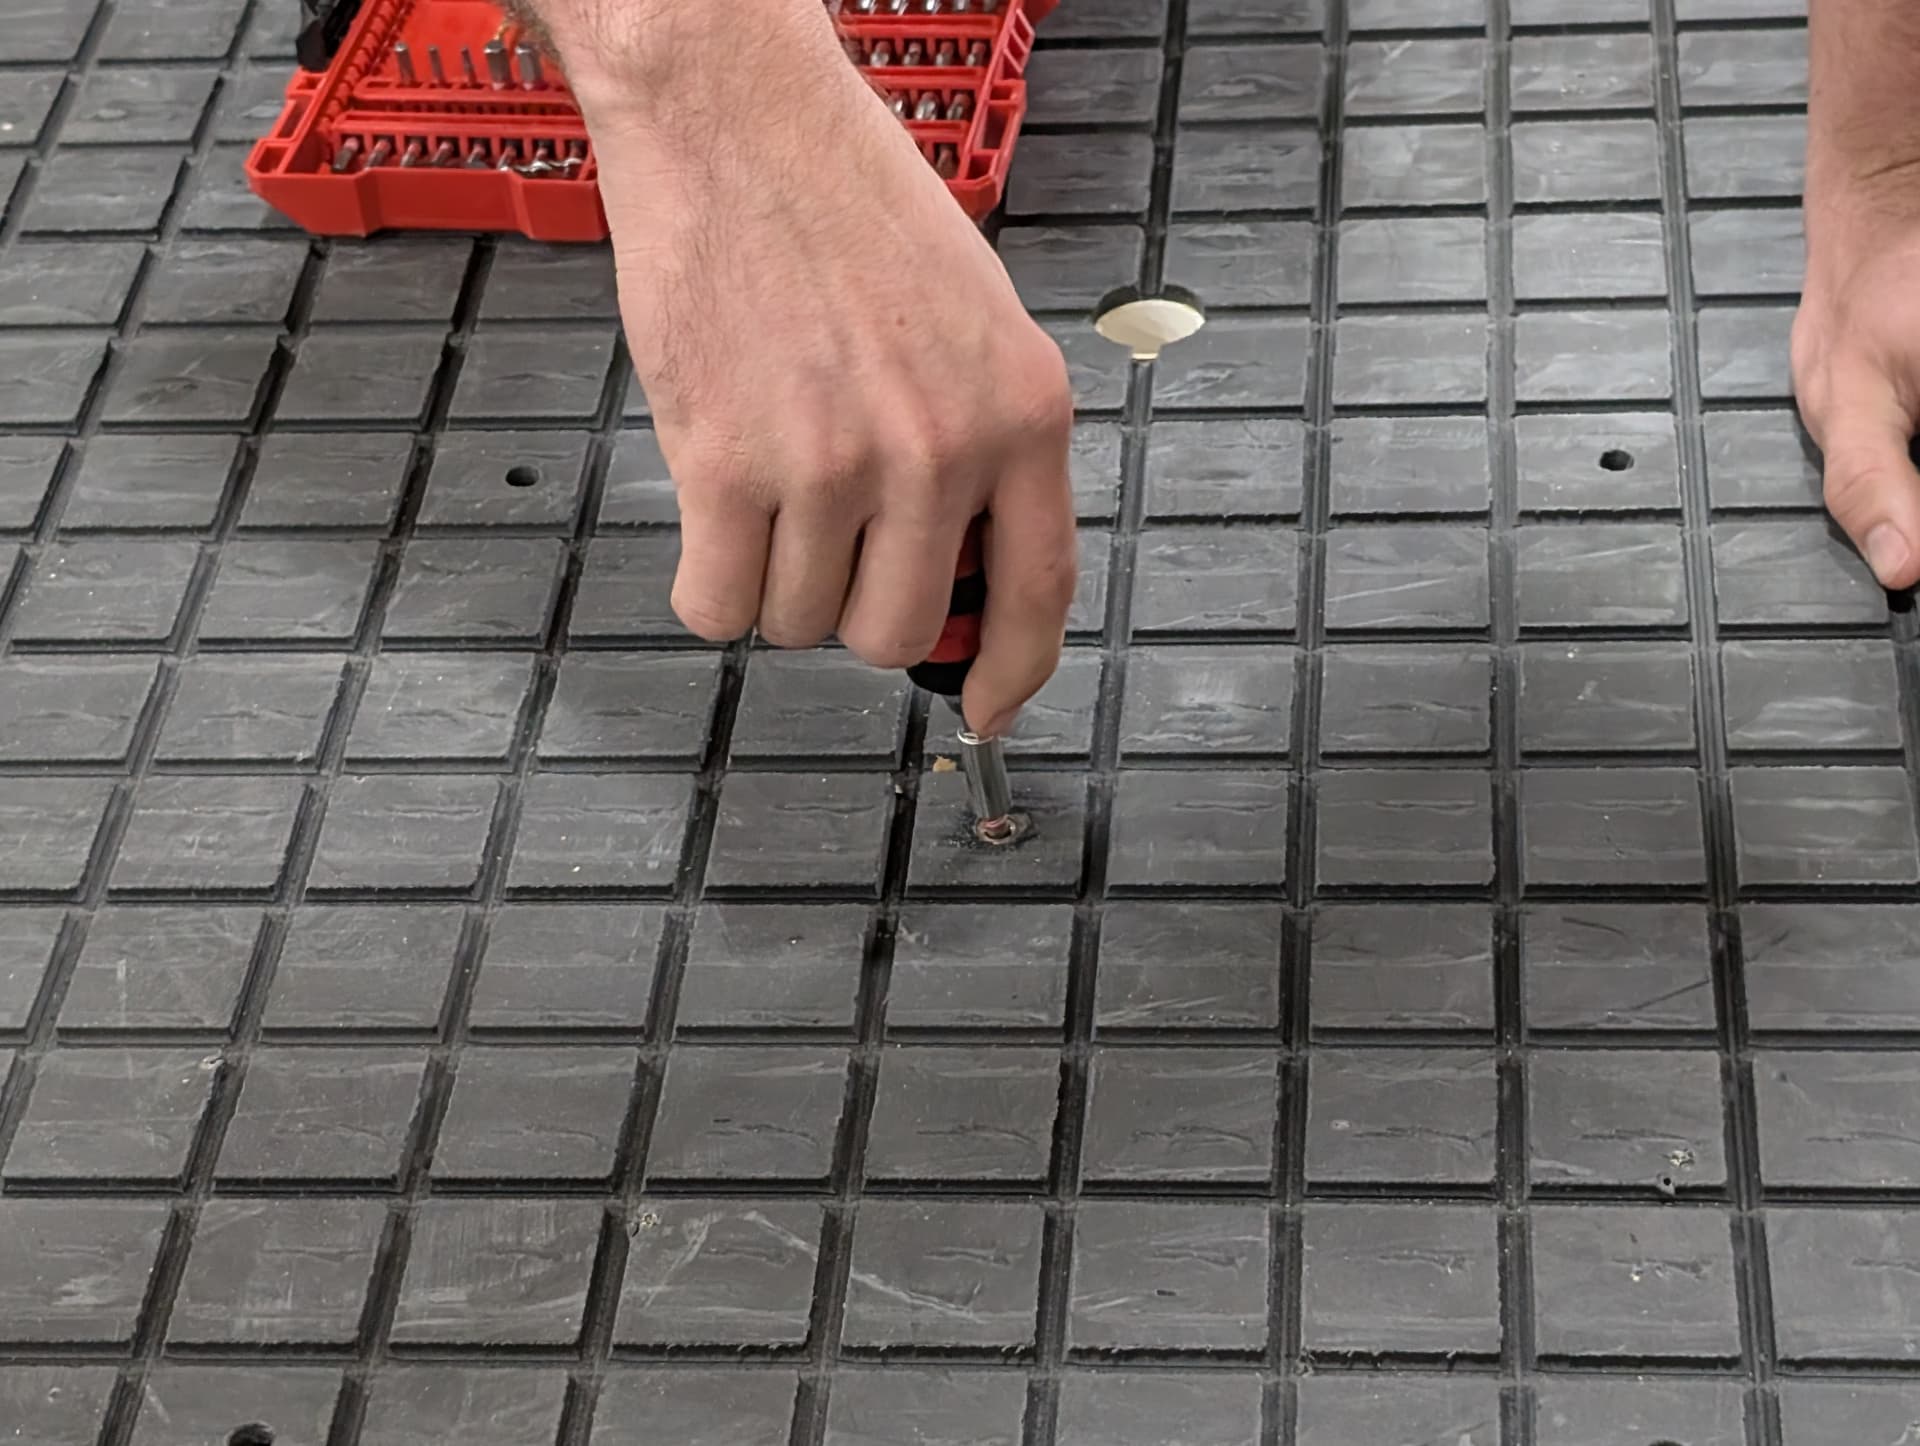
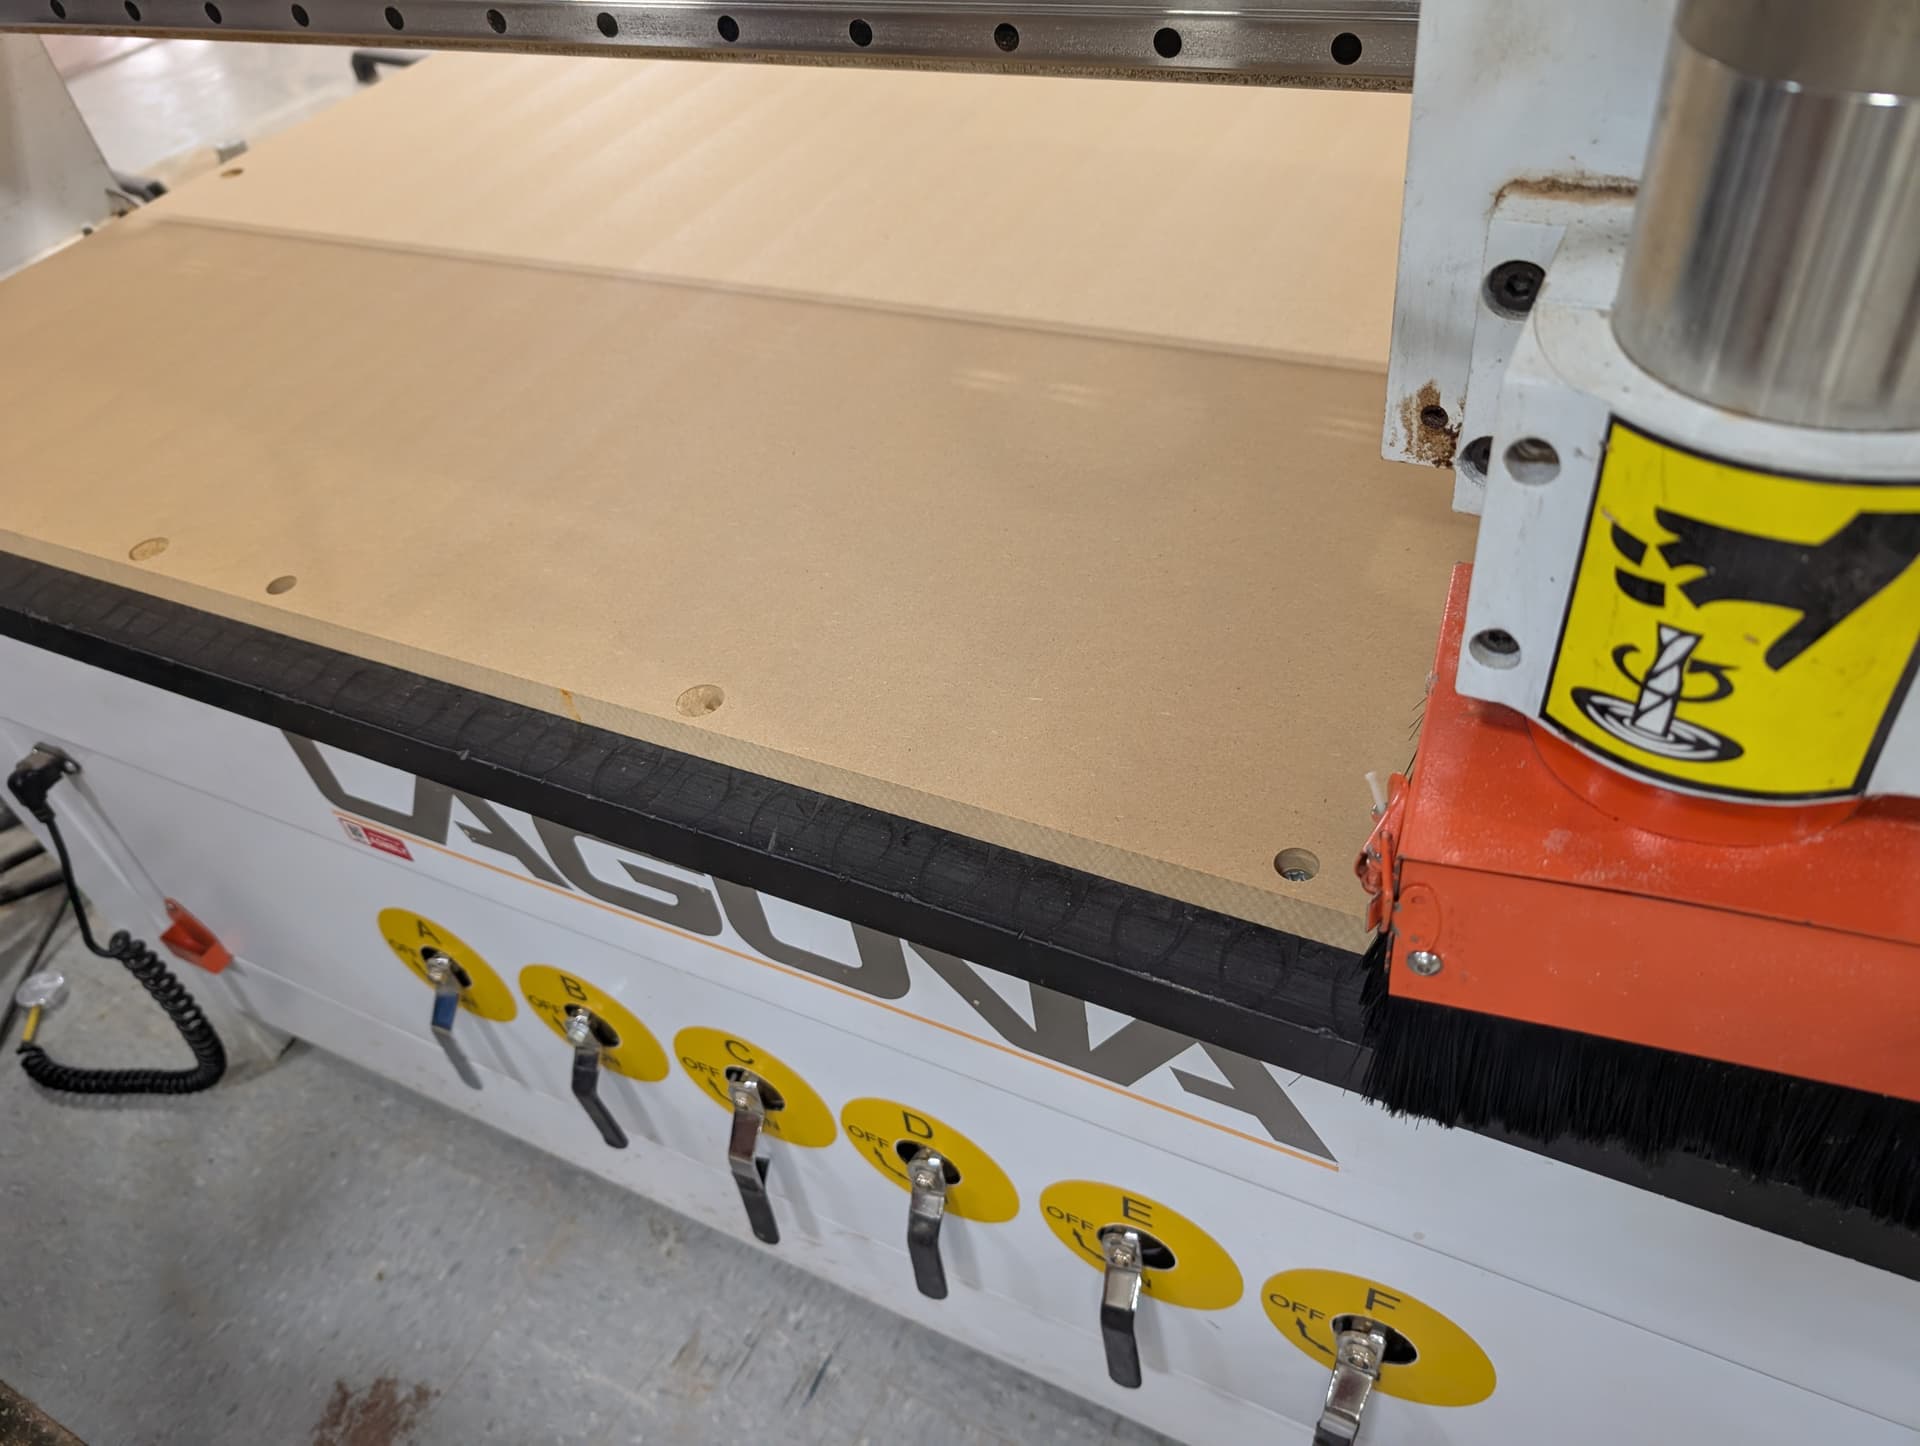
The bed is cleaned by vacumming, scraping any nails that are sticking up, blowing any residual dust out, and finally inspecting and replacing any threaded screws that need to be replaced.
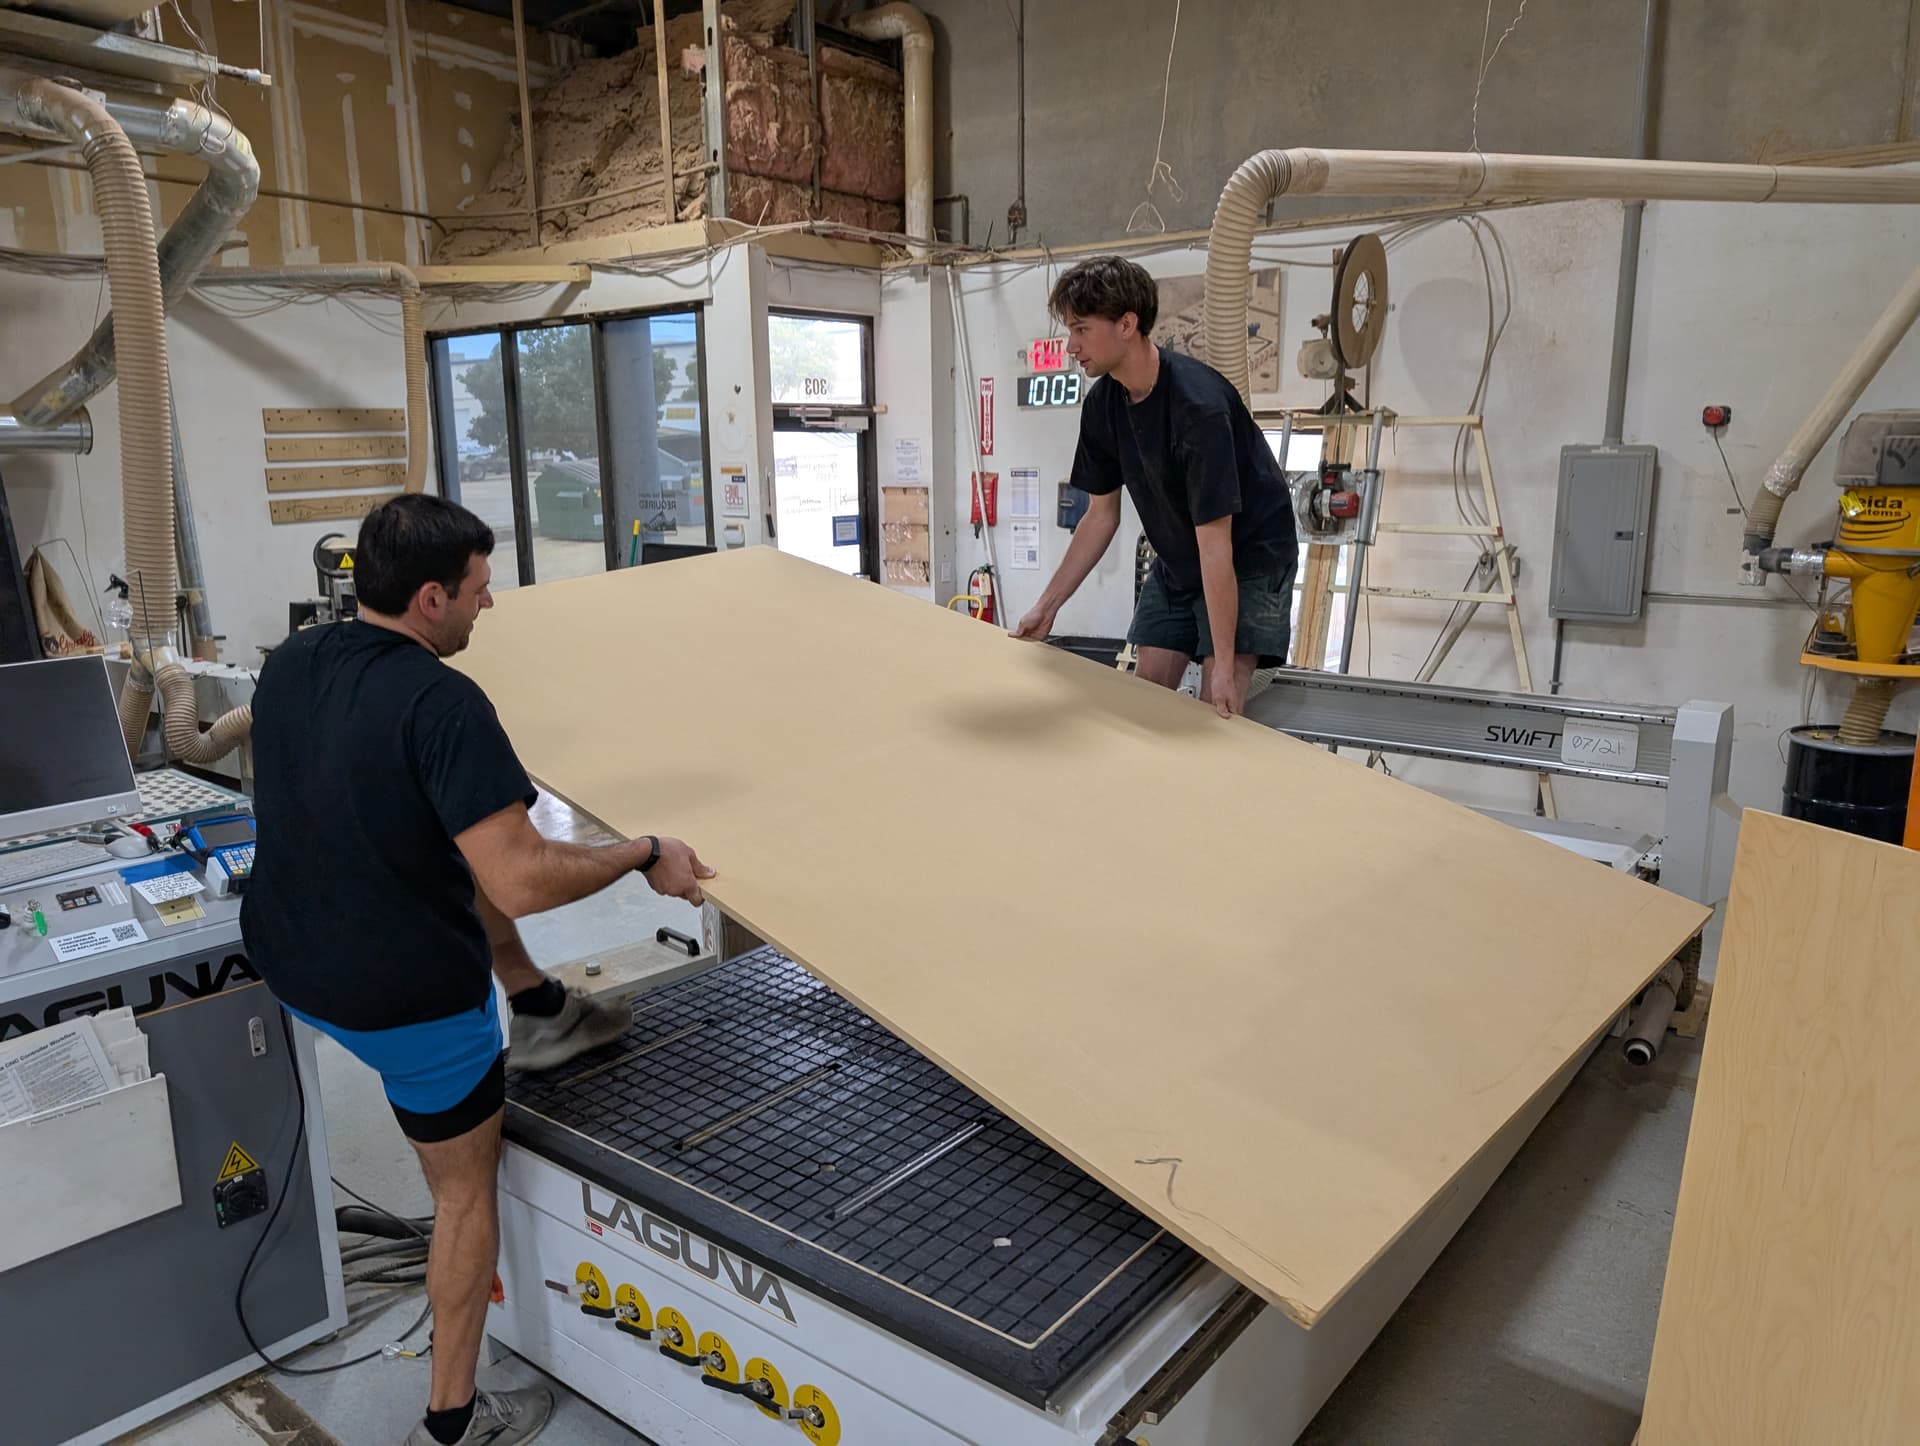
The last step is to drill the holes to secure the board to the bed, drill dogholes, and lastly surface the entire board so it is flat and ready to use.