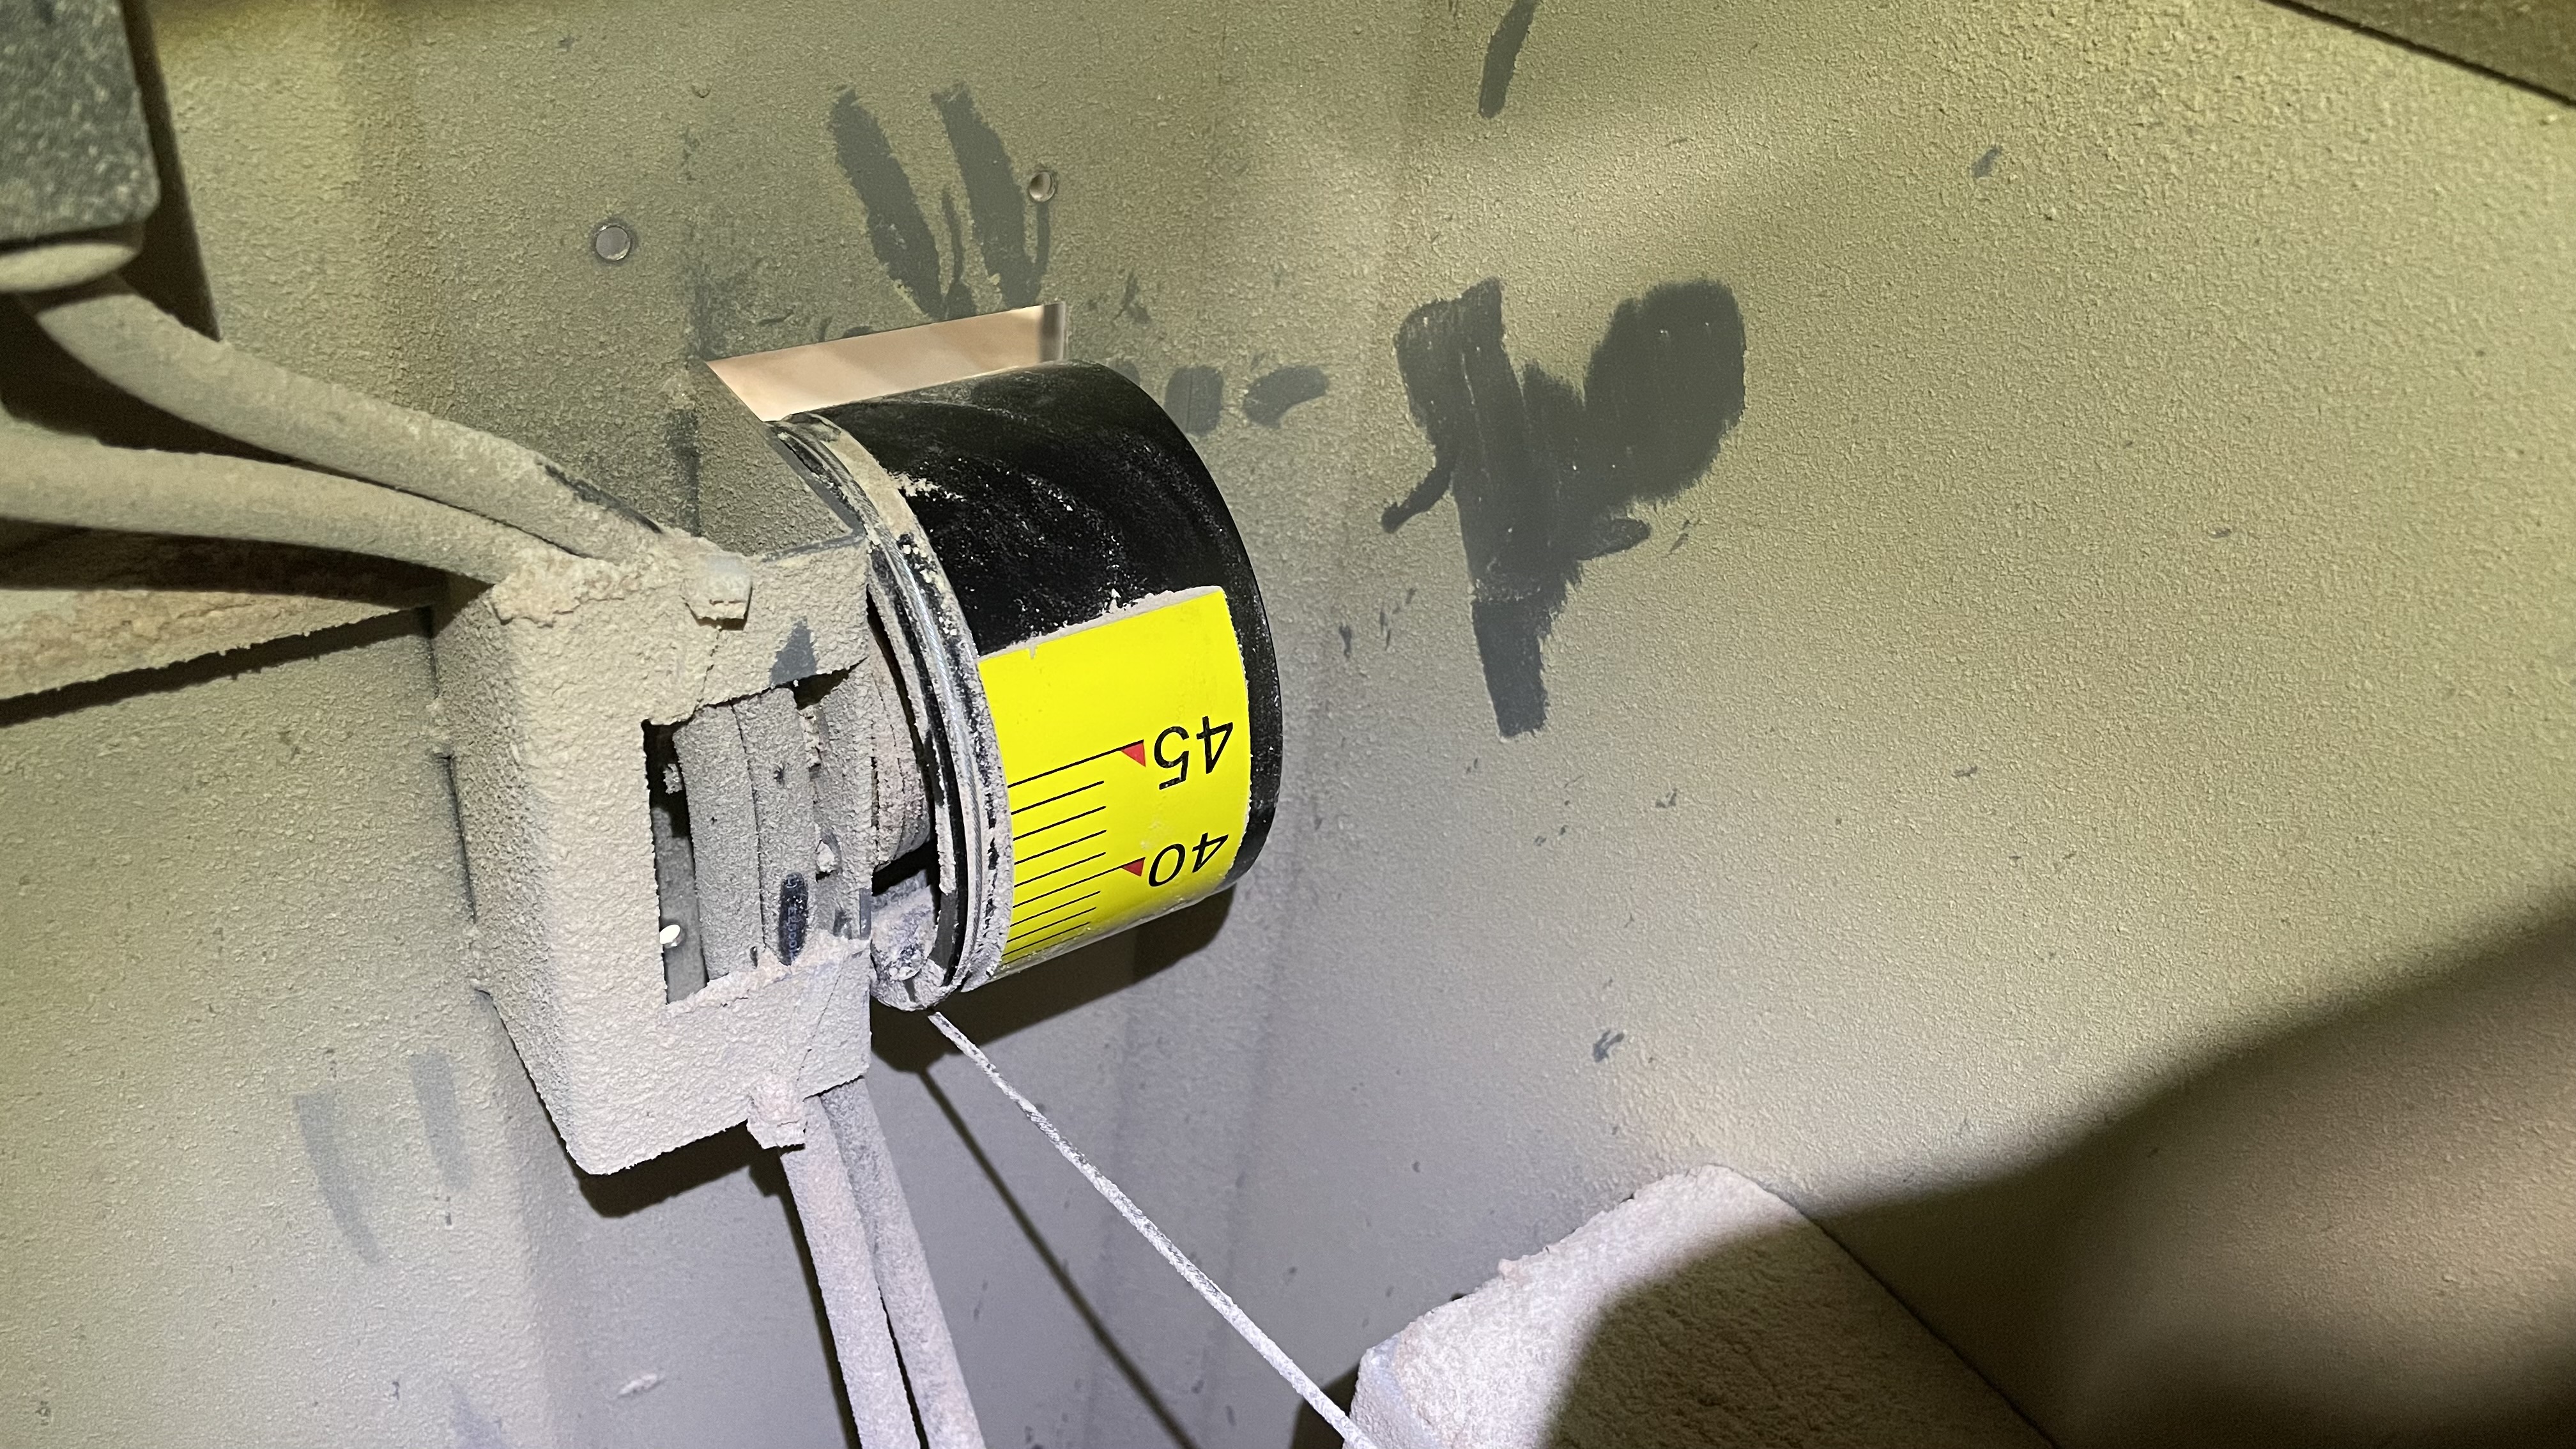
While @Kasper and I were working on the spindle sander last night we found an opportunity for a small quality of life improvement. The current angle adjustment indicator doesn’t have a barrier between the dial and the inside of the machine (read: sawdust). This means sawdust just lands on the dial and can quickly cloud the external window. Cleaning the window was simple but could be improved if someone wants to print a small plastic cover to hang over the dial but still allow the connecting cable a path between the dial and the motor. Photo is post-cleaning since I didn’t think to take one earlier.
2 Likes
I’m certainly interested in helping out! I’ll plan to take a look at some point. If you could show me the machine and what you’re envisioning at some point, that would be super helpful
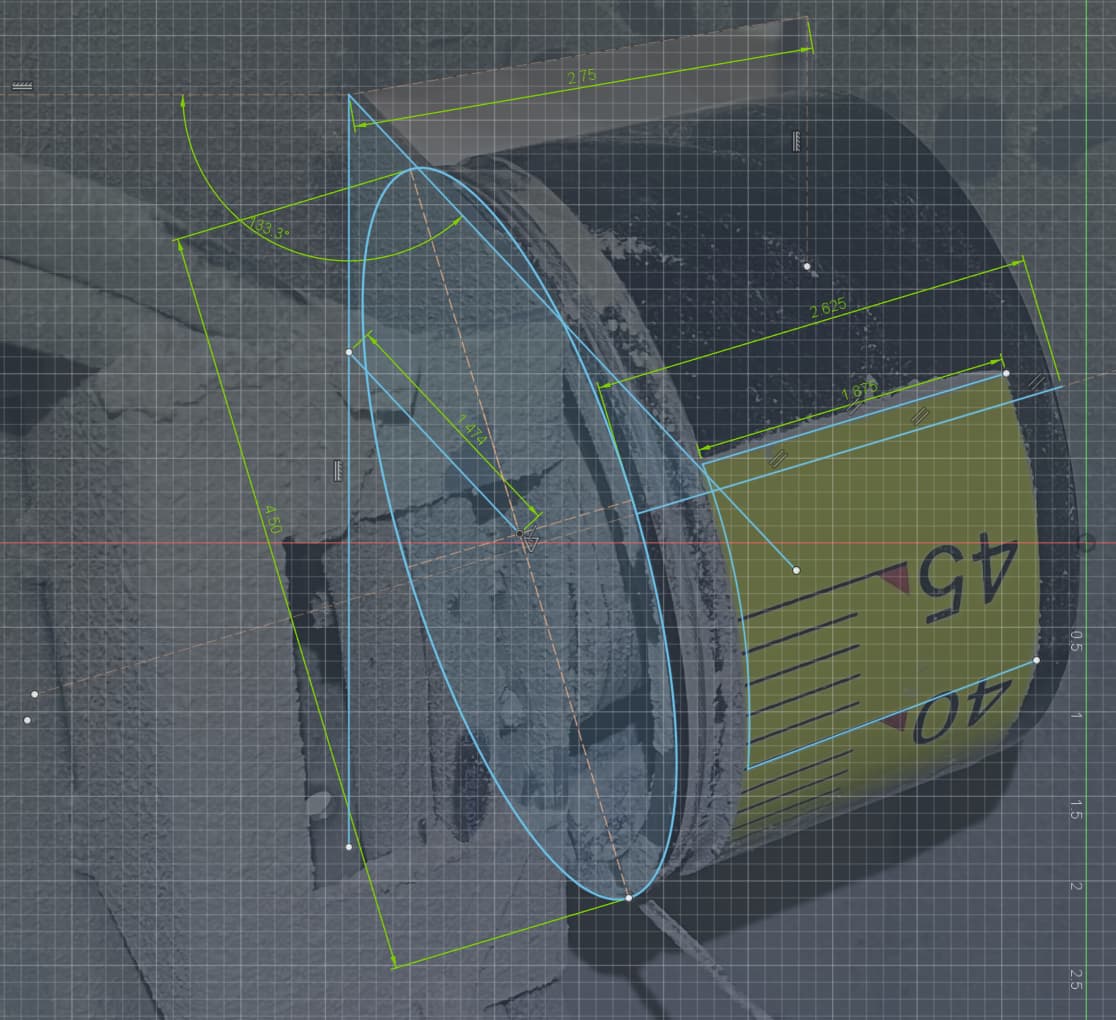
I found that yellow angle sticker from Delta with a size reference online, it’s approximately 1 and 7/8 inch wide. I used that to scale the above image as a canvas in Fusion and get some rough measurements:
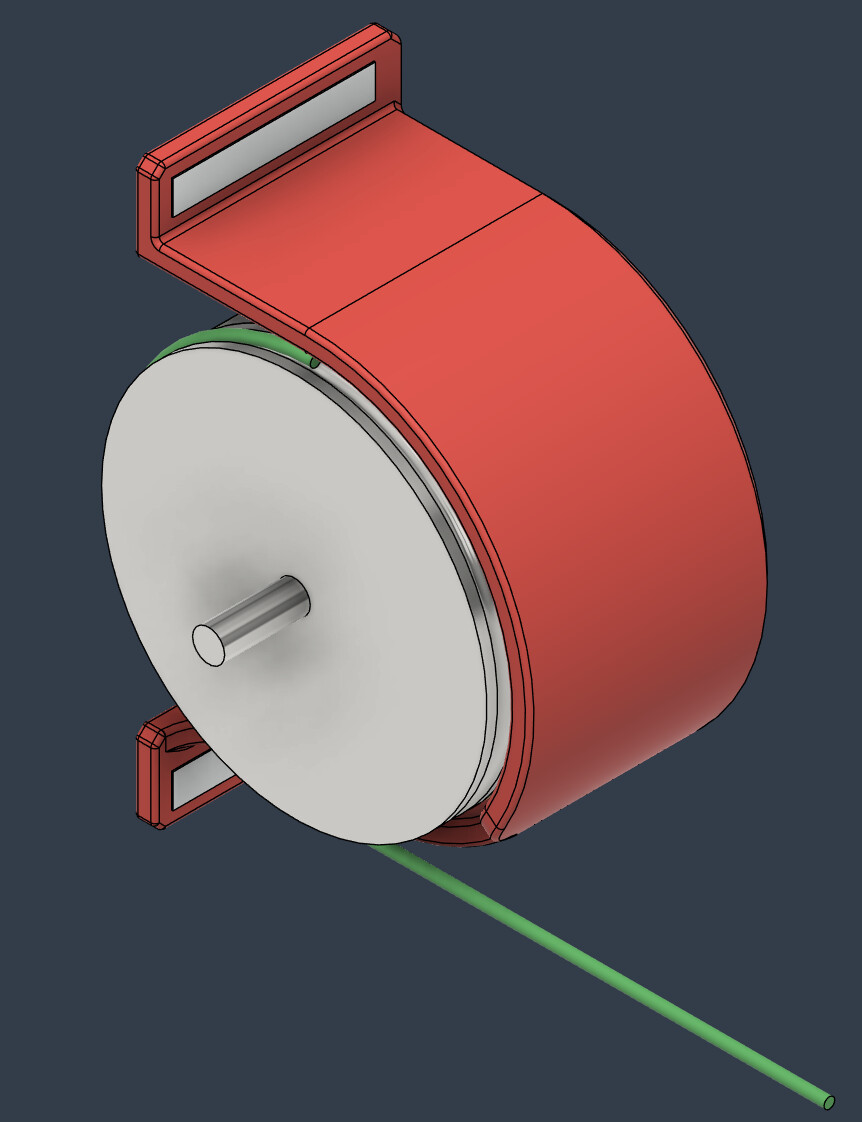
Camera lenses introduce some error, so these aren’t extremely precise, but usually this is a good starting point. I whipped up this model that uses 4x 60mm x 10mm x 3mm magnets to hold a dust shield over the indicator:

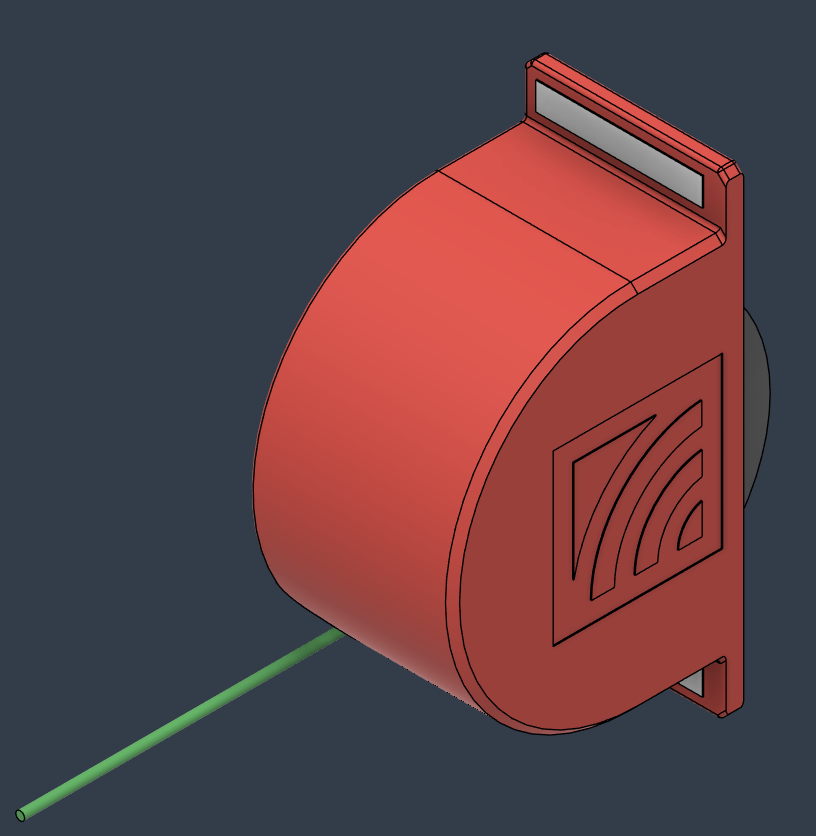
This model was made with a decent amount of assumptions and guesses, so I consider it more of a starting point rather than a ready to go version. Here’s a link to the step file if anyone would like to test or modify this version: Delta 31-484 angle indicator dust shield v1.step - Google Drive
1 Like
If I’d seen this earlier today I would have talked to you about the machine while we were wood shop neighbors this afternoon! Happy to chat later.
@Kenneth nice sleuthing on the dimensions great start on the design! I think we may want an additional piece at the top that overhangs the metal bracket on the left. The light open space above/in front of the dial is completely open to the viewing window at the front of the machine and would be nice to seal that off some.
Good point, I’ll toss a overhang there and print one for a fit test.

I gave this part a test fit today and it’s pretty close, it just needs a bit more space for the cable and instead of using magnets to attach it, I realized it would be easier to use the already in place (aka in the way) screws that attach the front window, possibly swapping with slightly longer screws.
I’ll get a second version going for this soon.
4 Likes