For those willing, please post pictures of your current or recent projects.
Since I rarely am at the space when others are there, I’m missing admiring the work of others. What have y’all been working on?
For those willing, please post pictures of your current or recent projects.
Since I rarely am at the space when others are there, I’m missing admiring the work of others. What have y’all been working on?
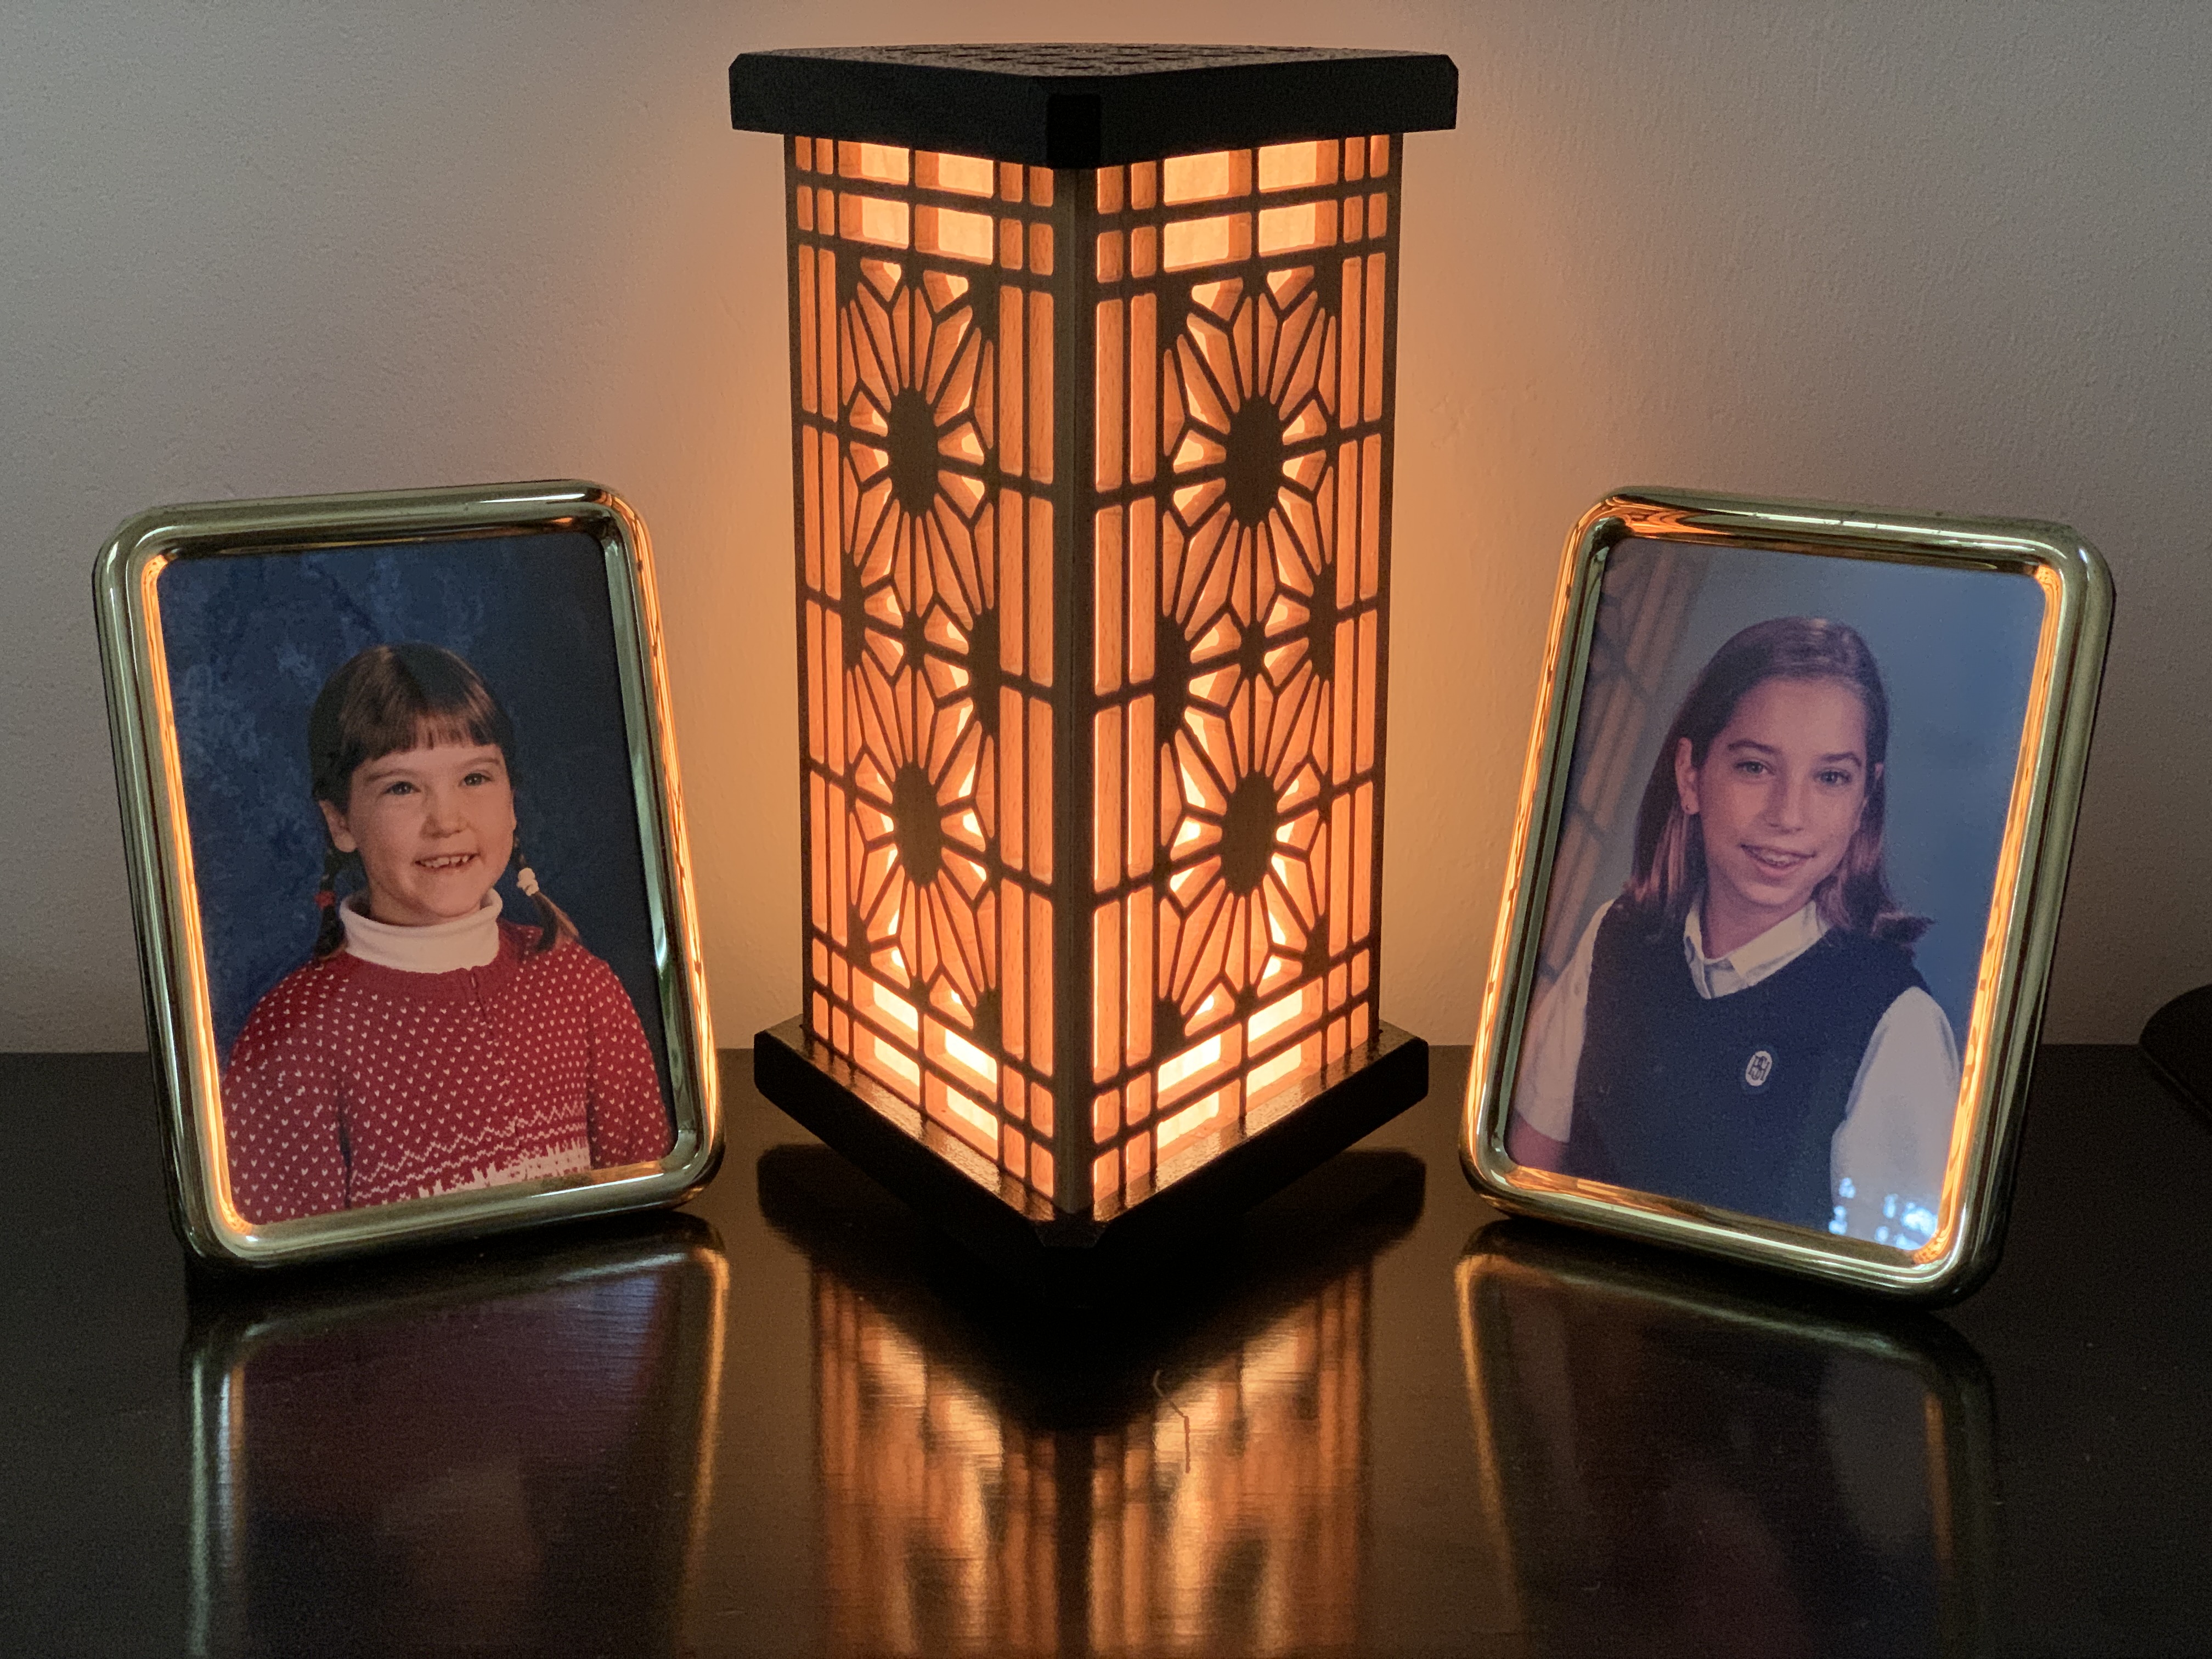
A Japanese woodworking style called Kumiko requires skill with hand tools way beyond what I have the patience for. However, the look is quite cool so I fashioned a lamp in the Kumiko style but made with a CNC. Honestly it was supposed to be square but I damaged the fourth panel and had to improvise.
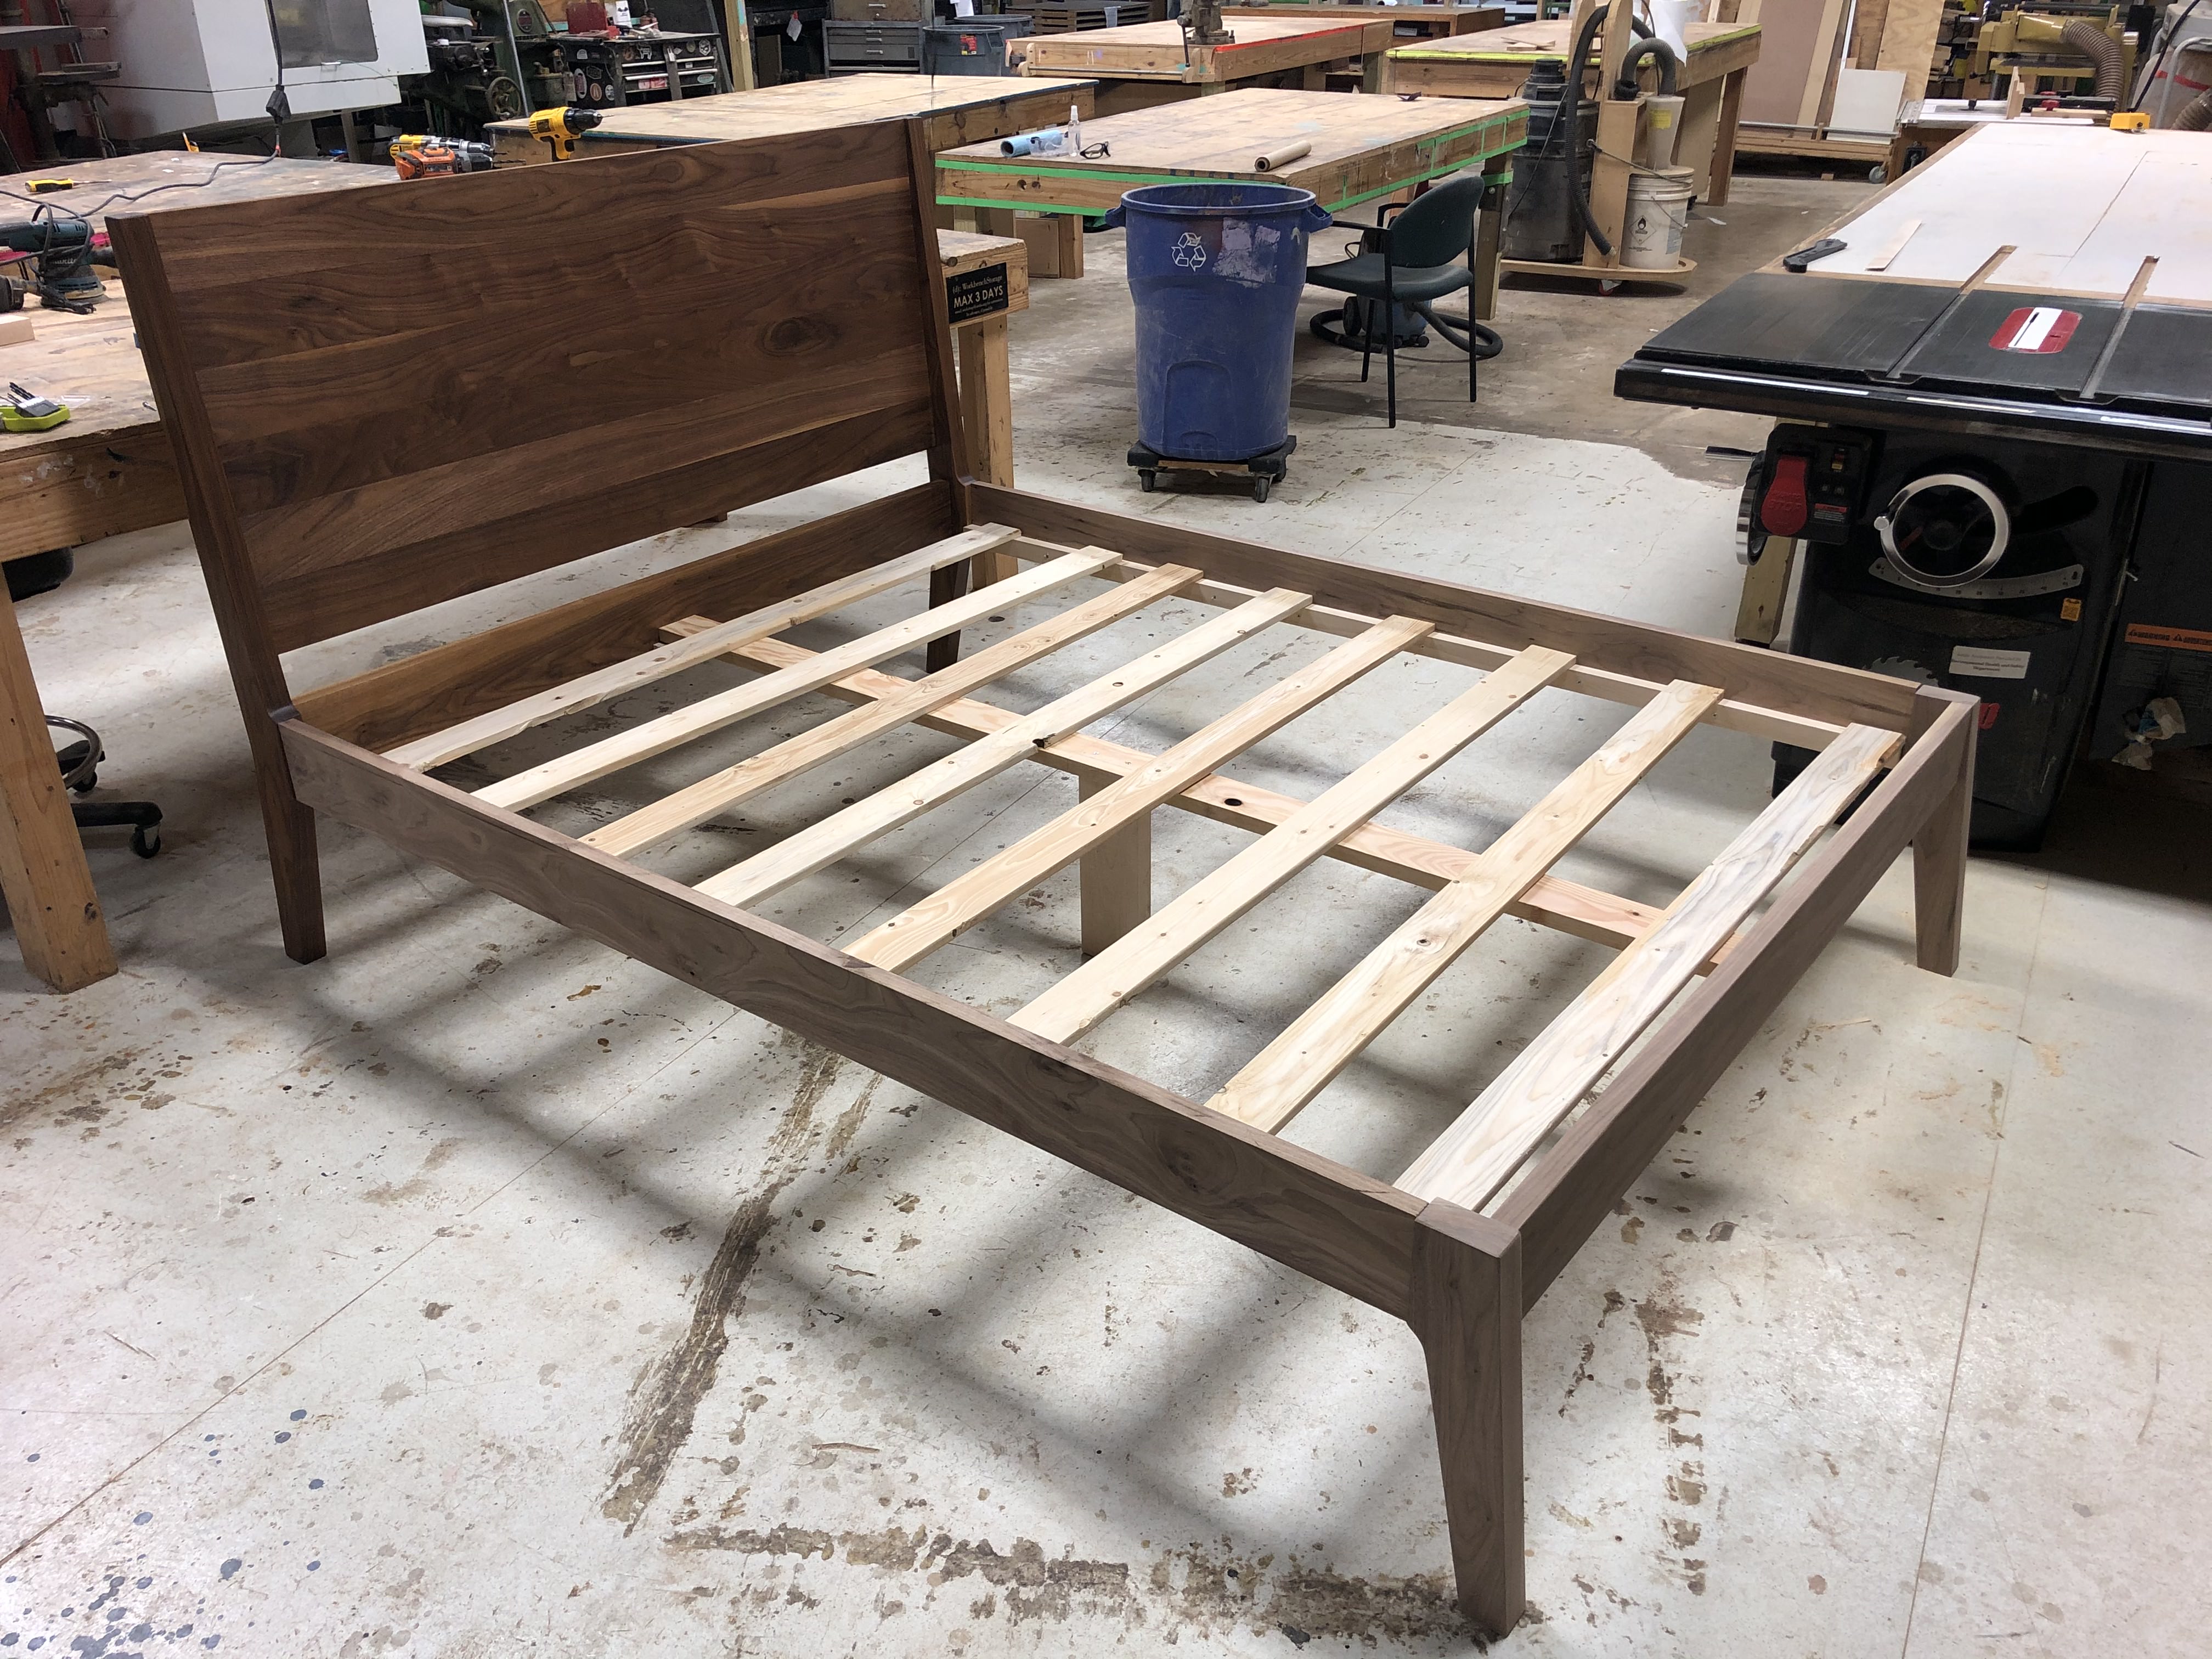
I have a few that I’ve done in the past few months. The largest would be my new bed frame here!
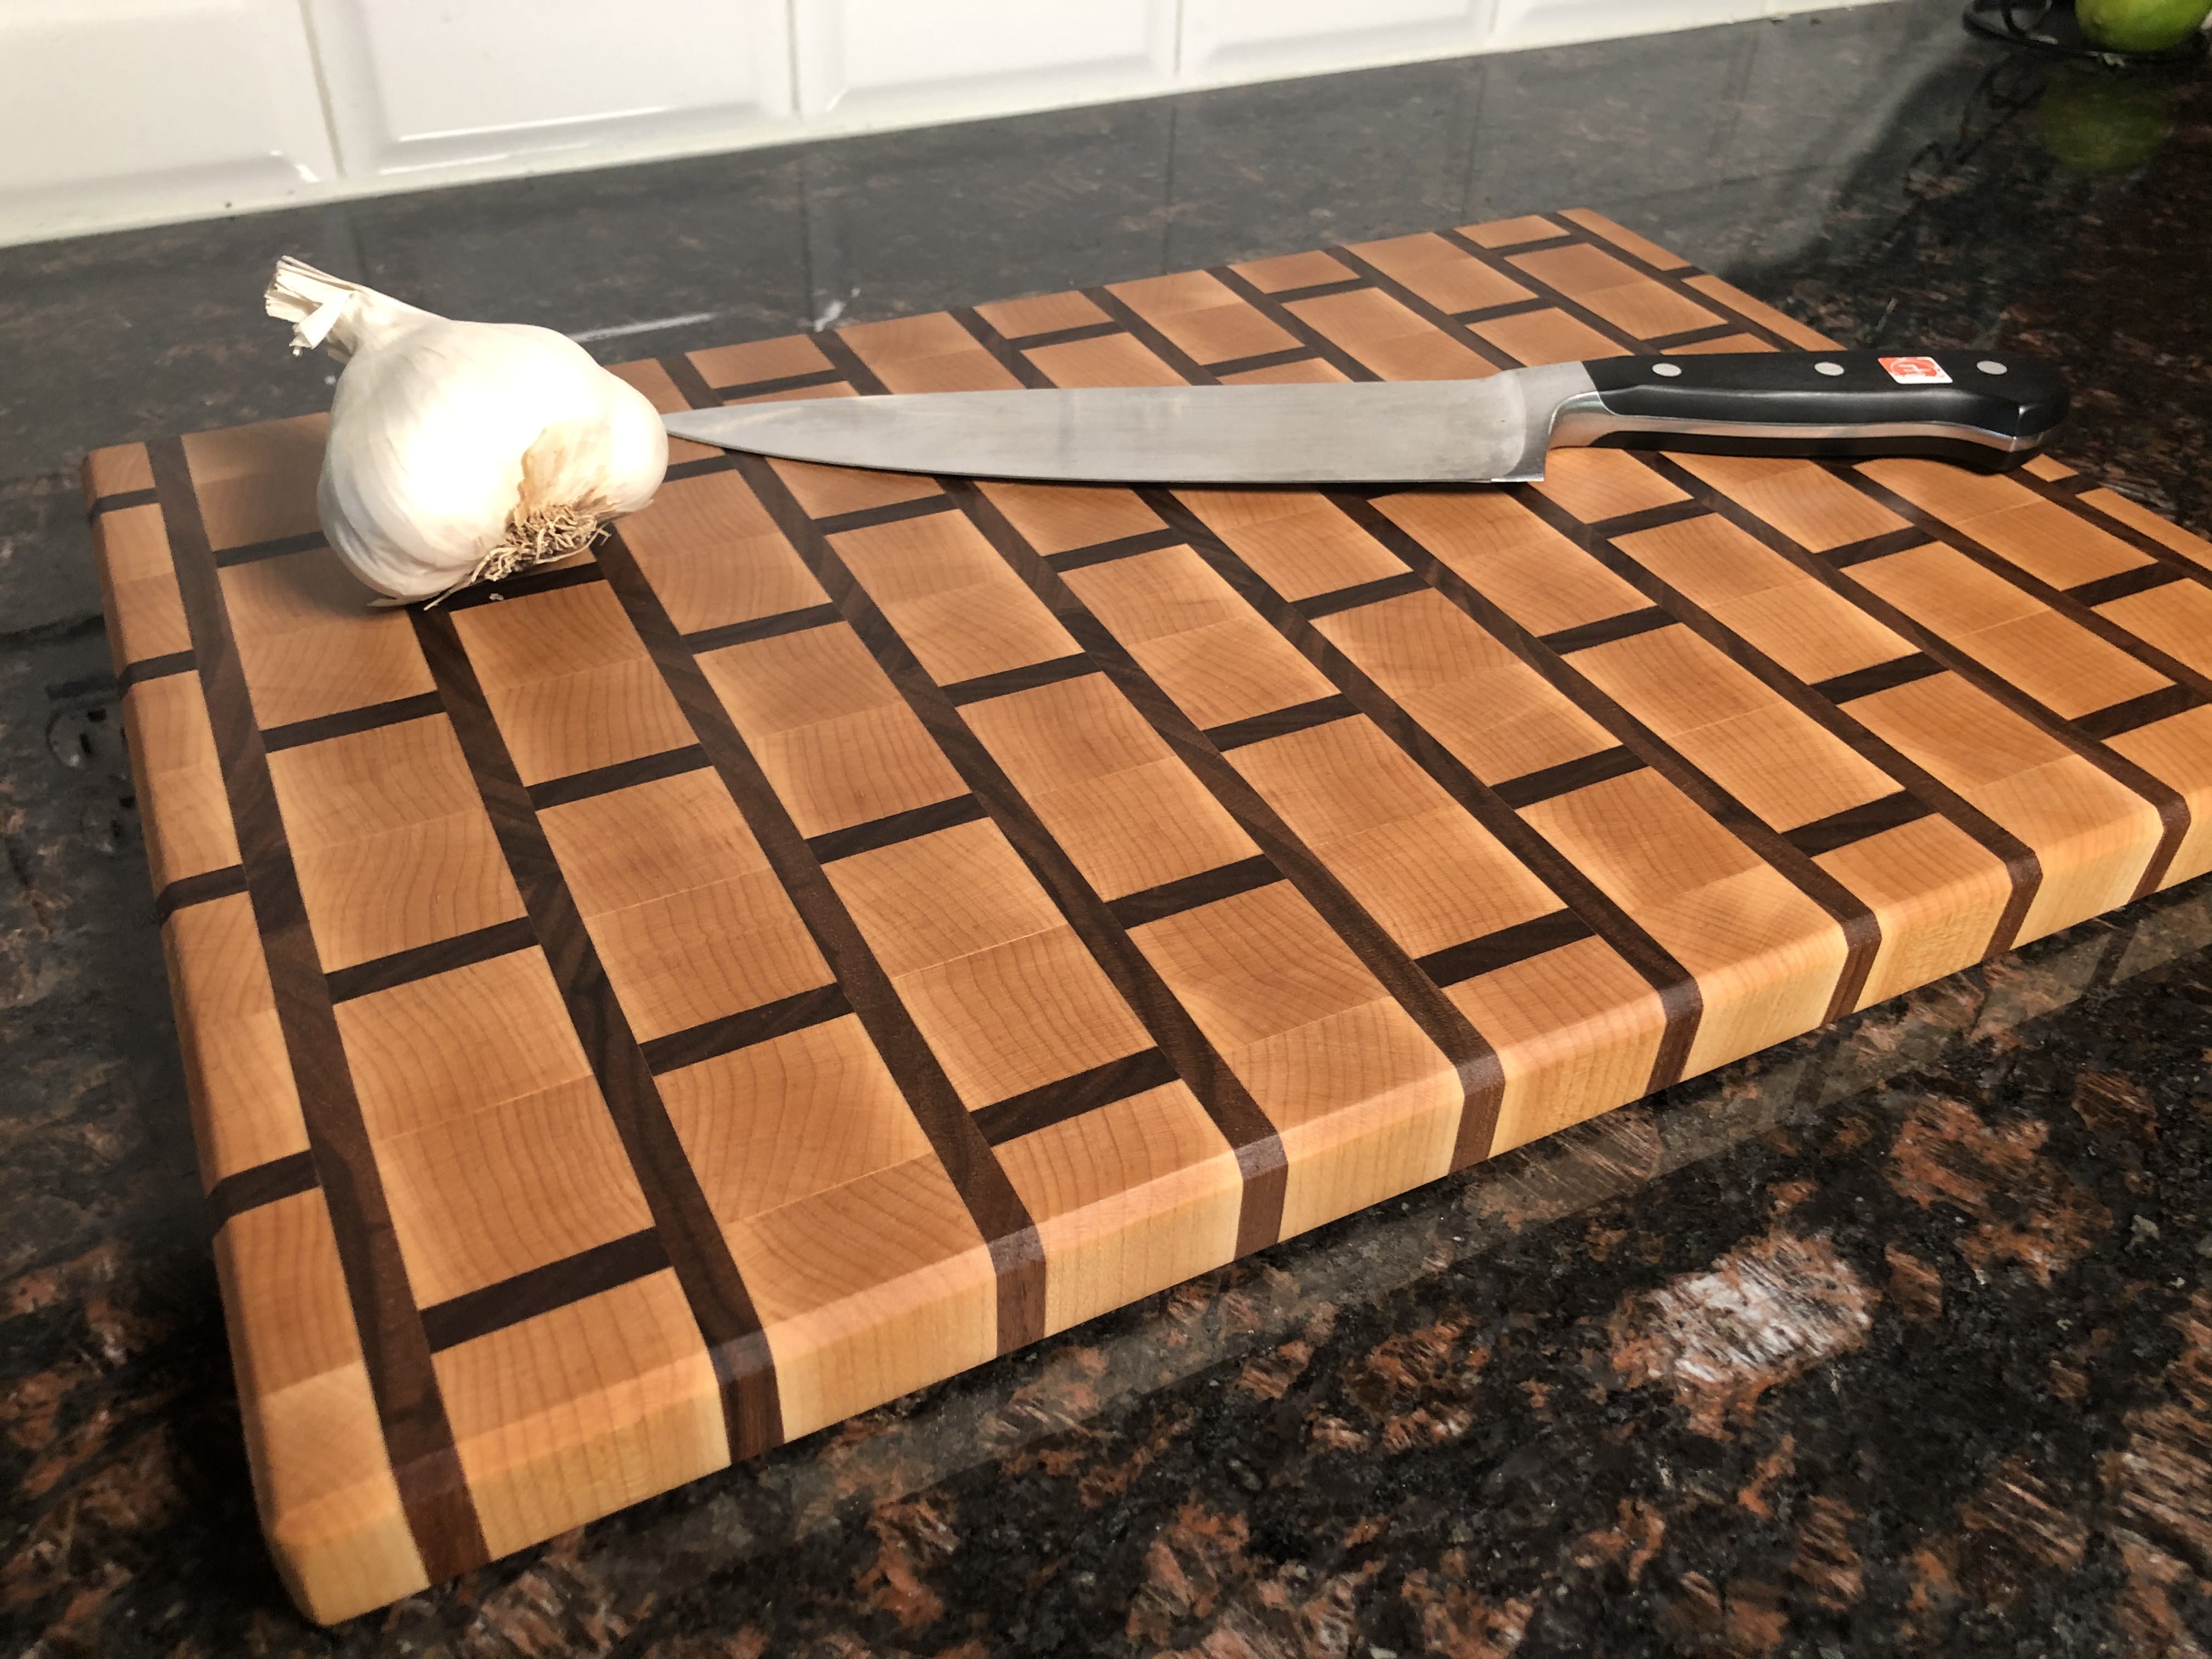
I’ve also made a few cutting boards, and ill include my favorite here
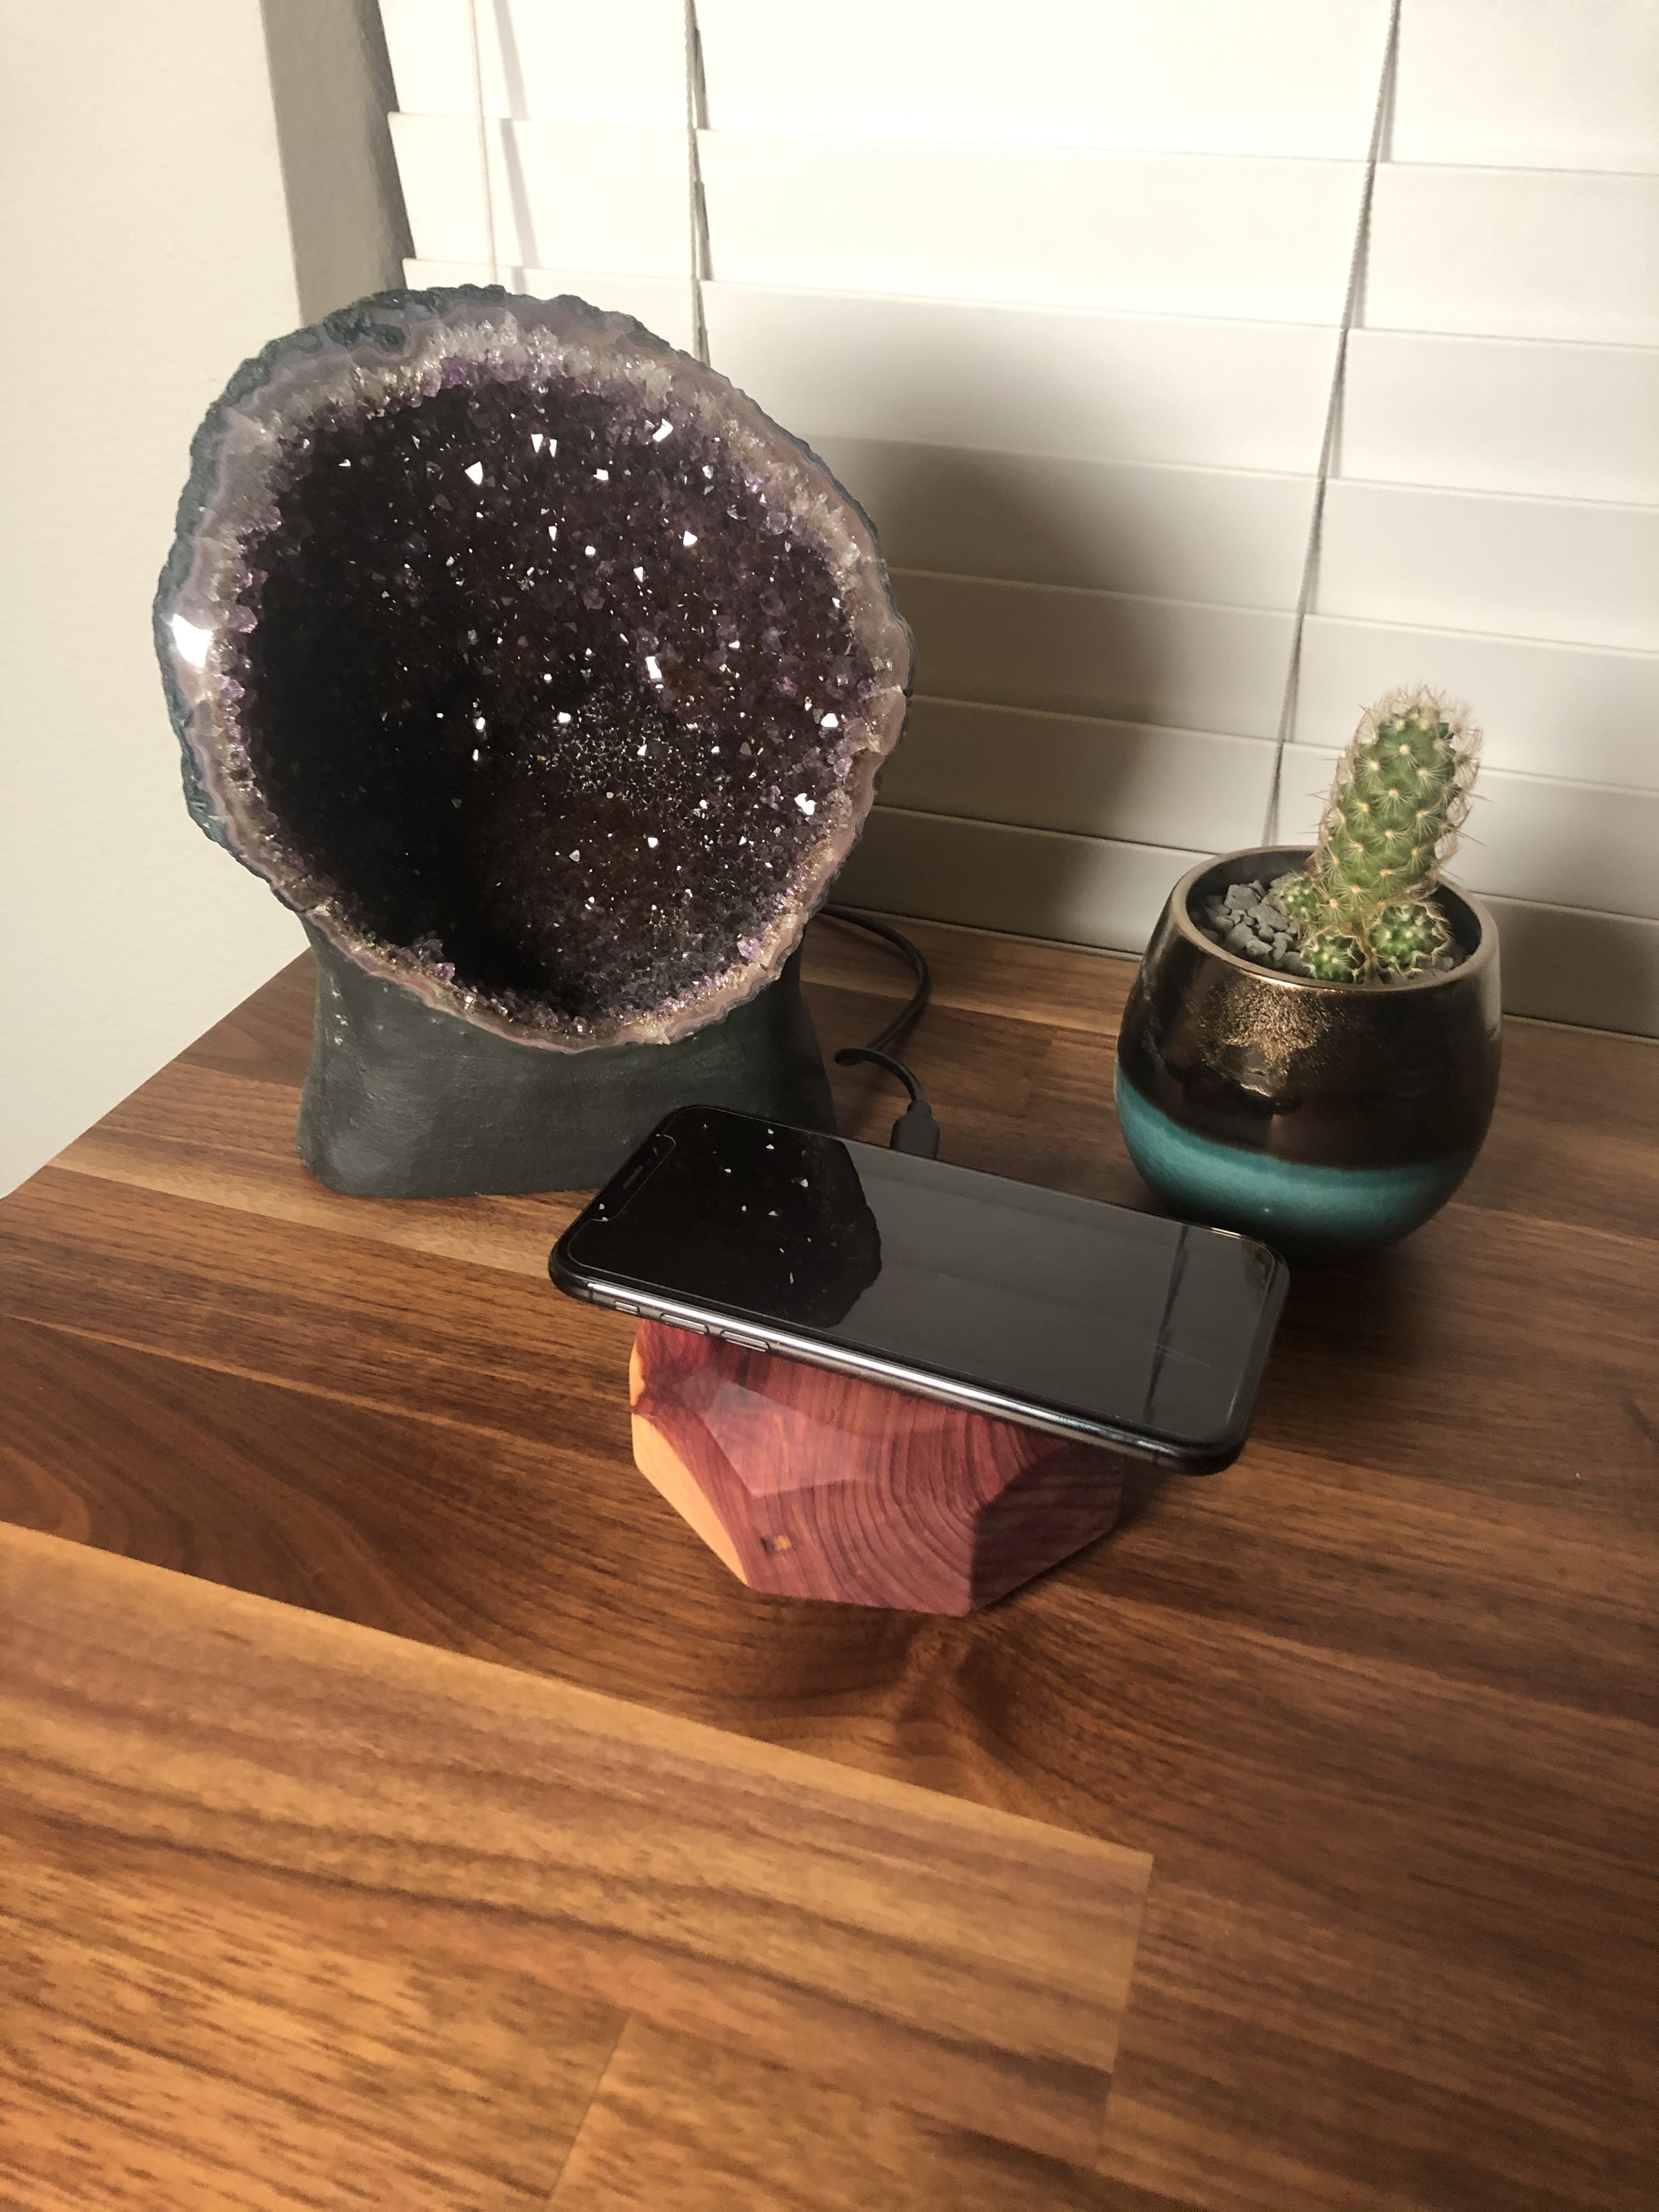
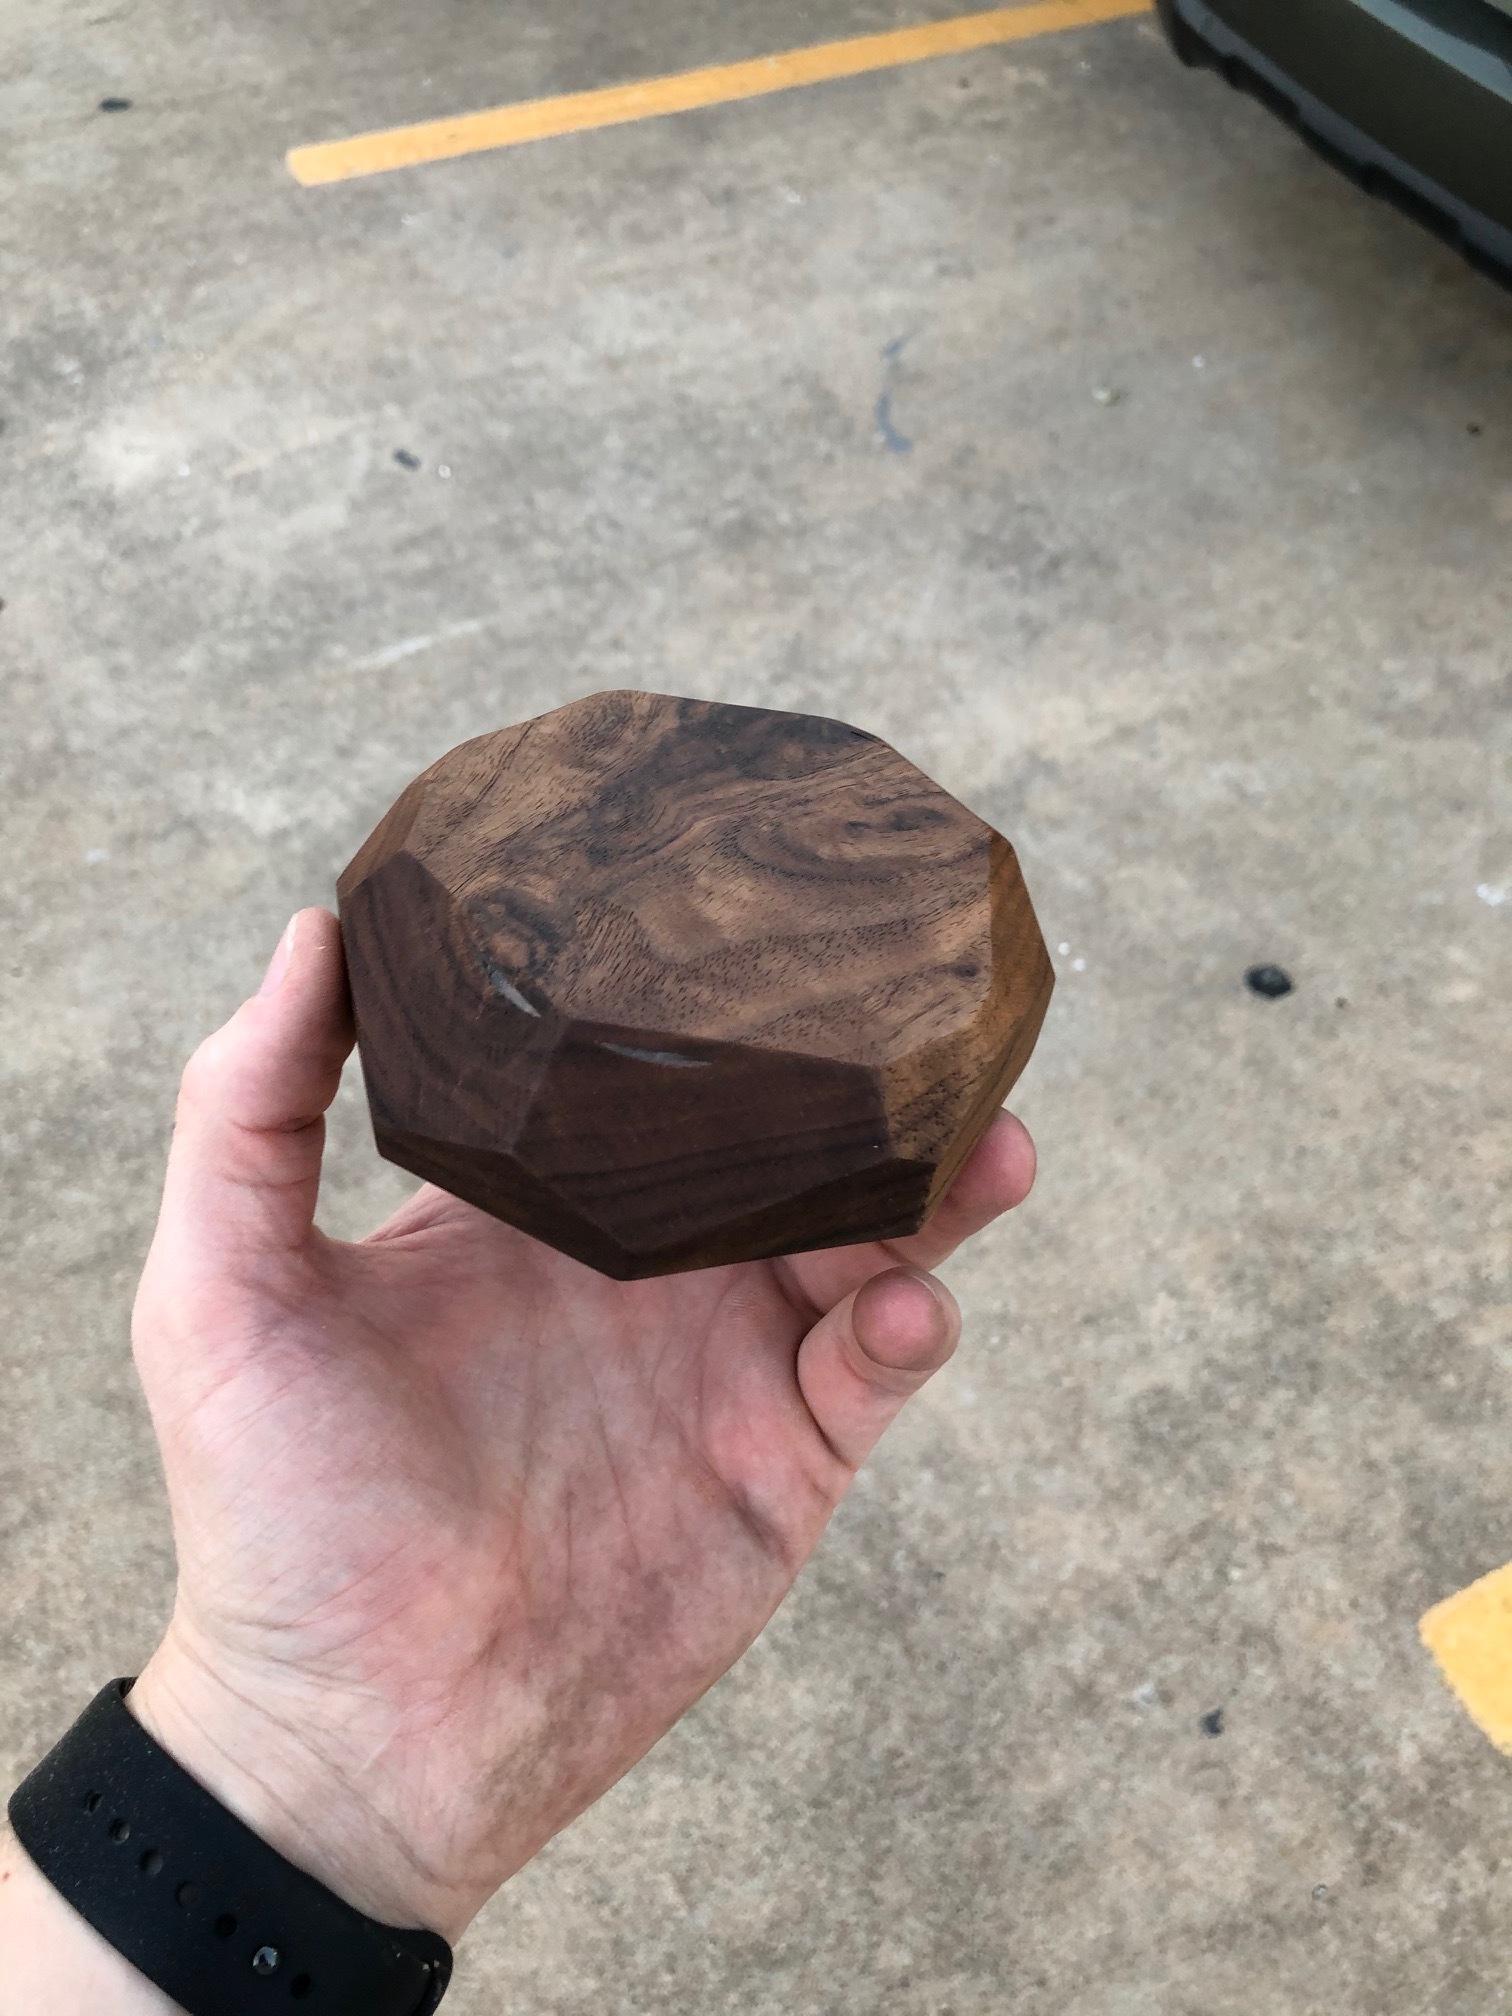
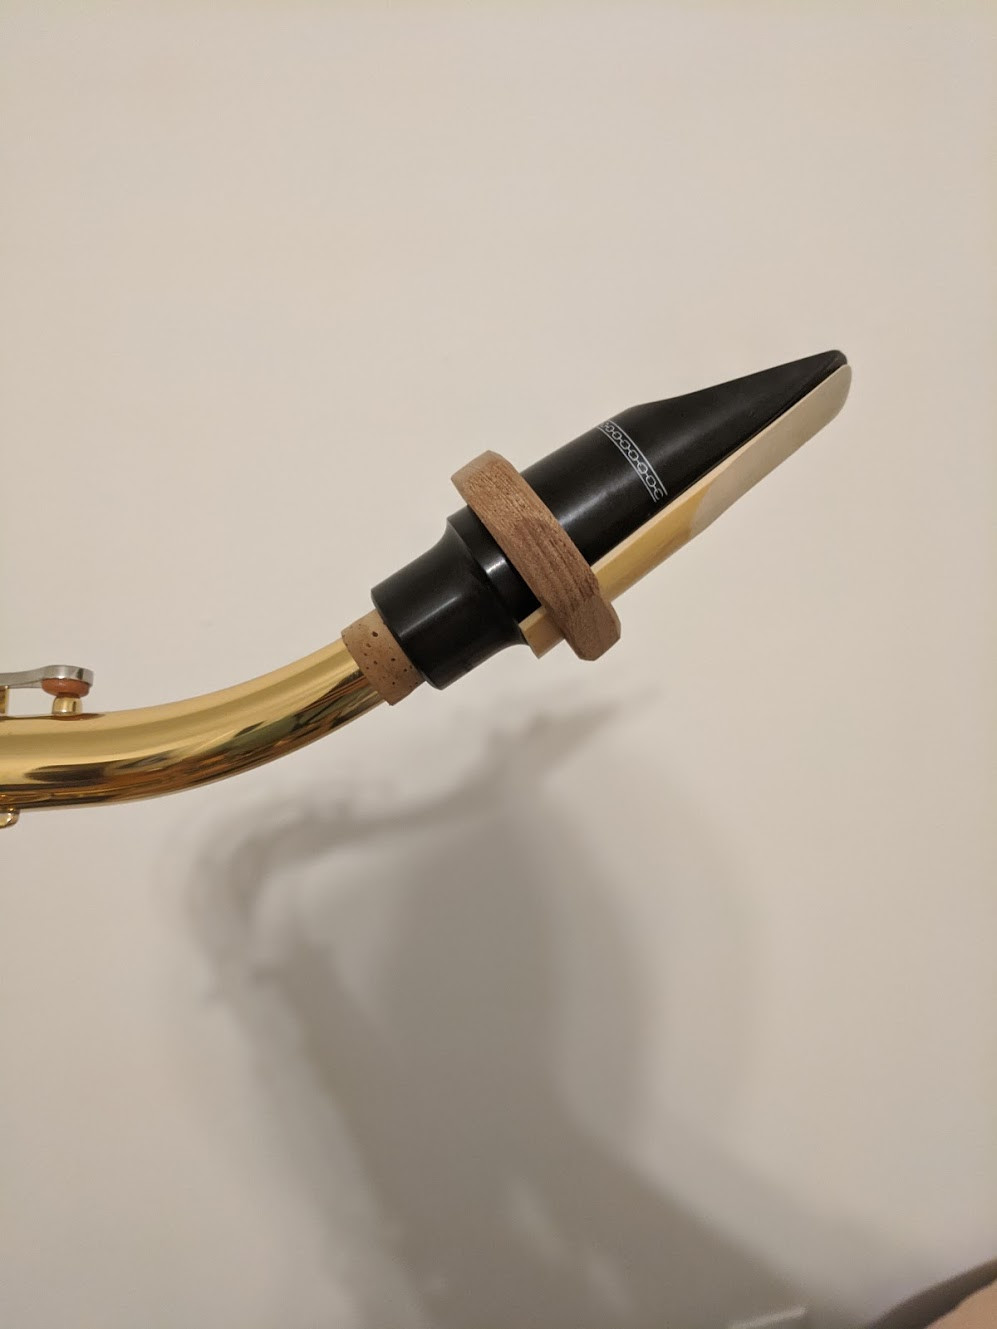
Here’s a much smaller project: a wireless charger made out of a chunk of red cedar I found in the trash here:
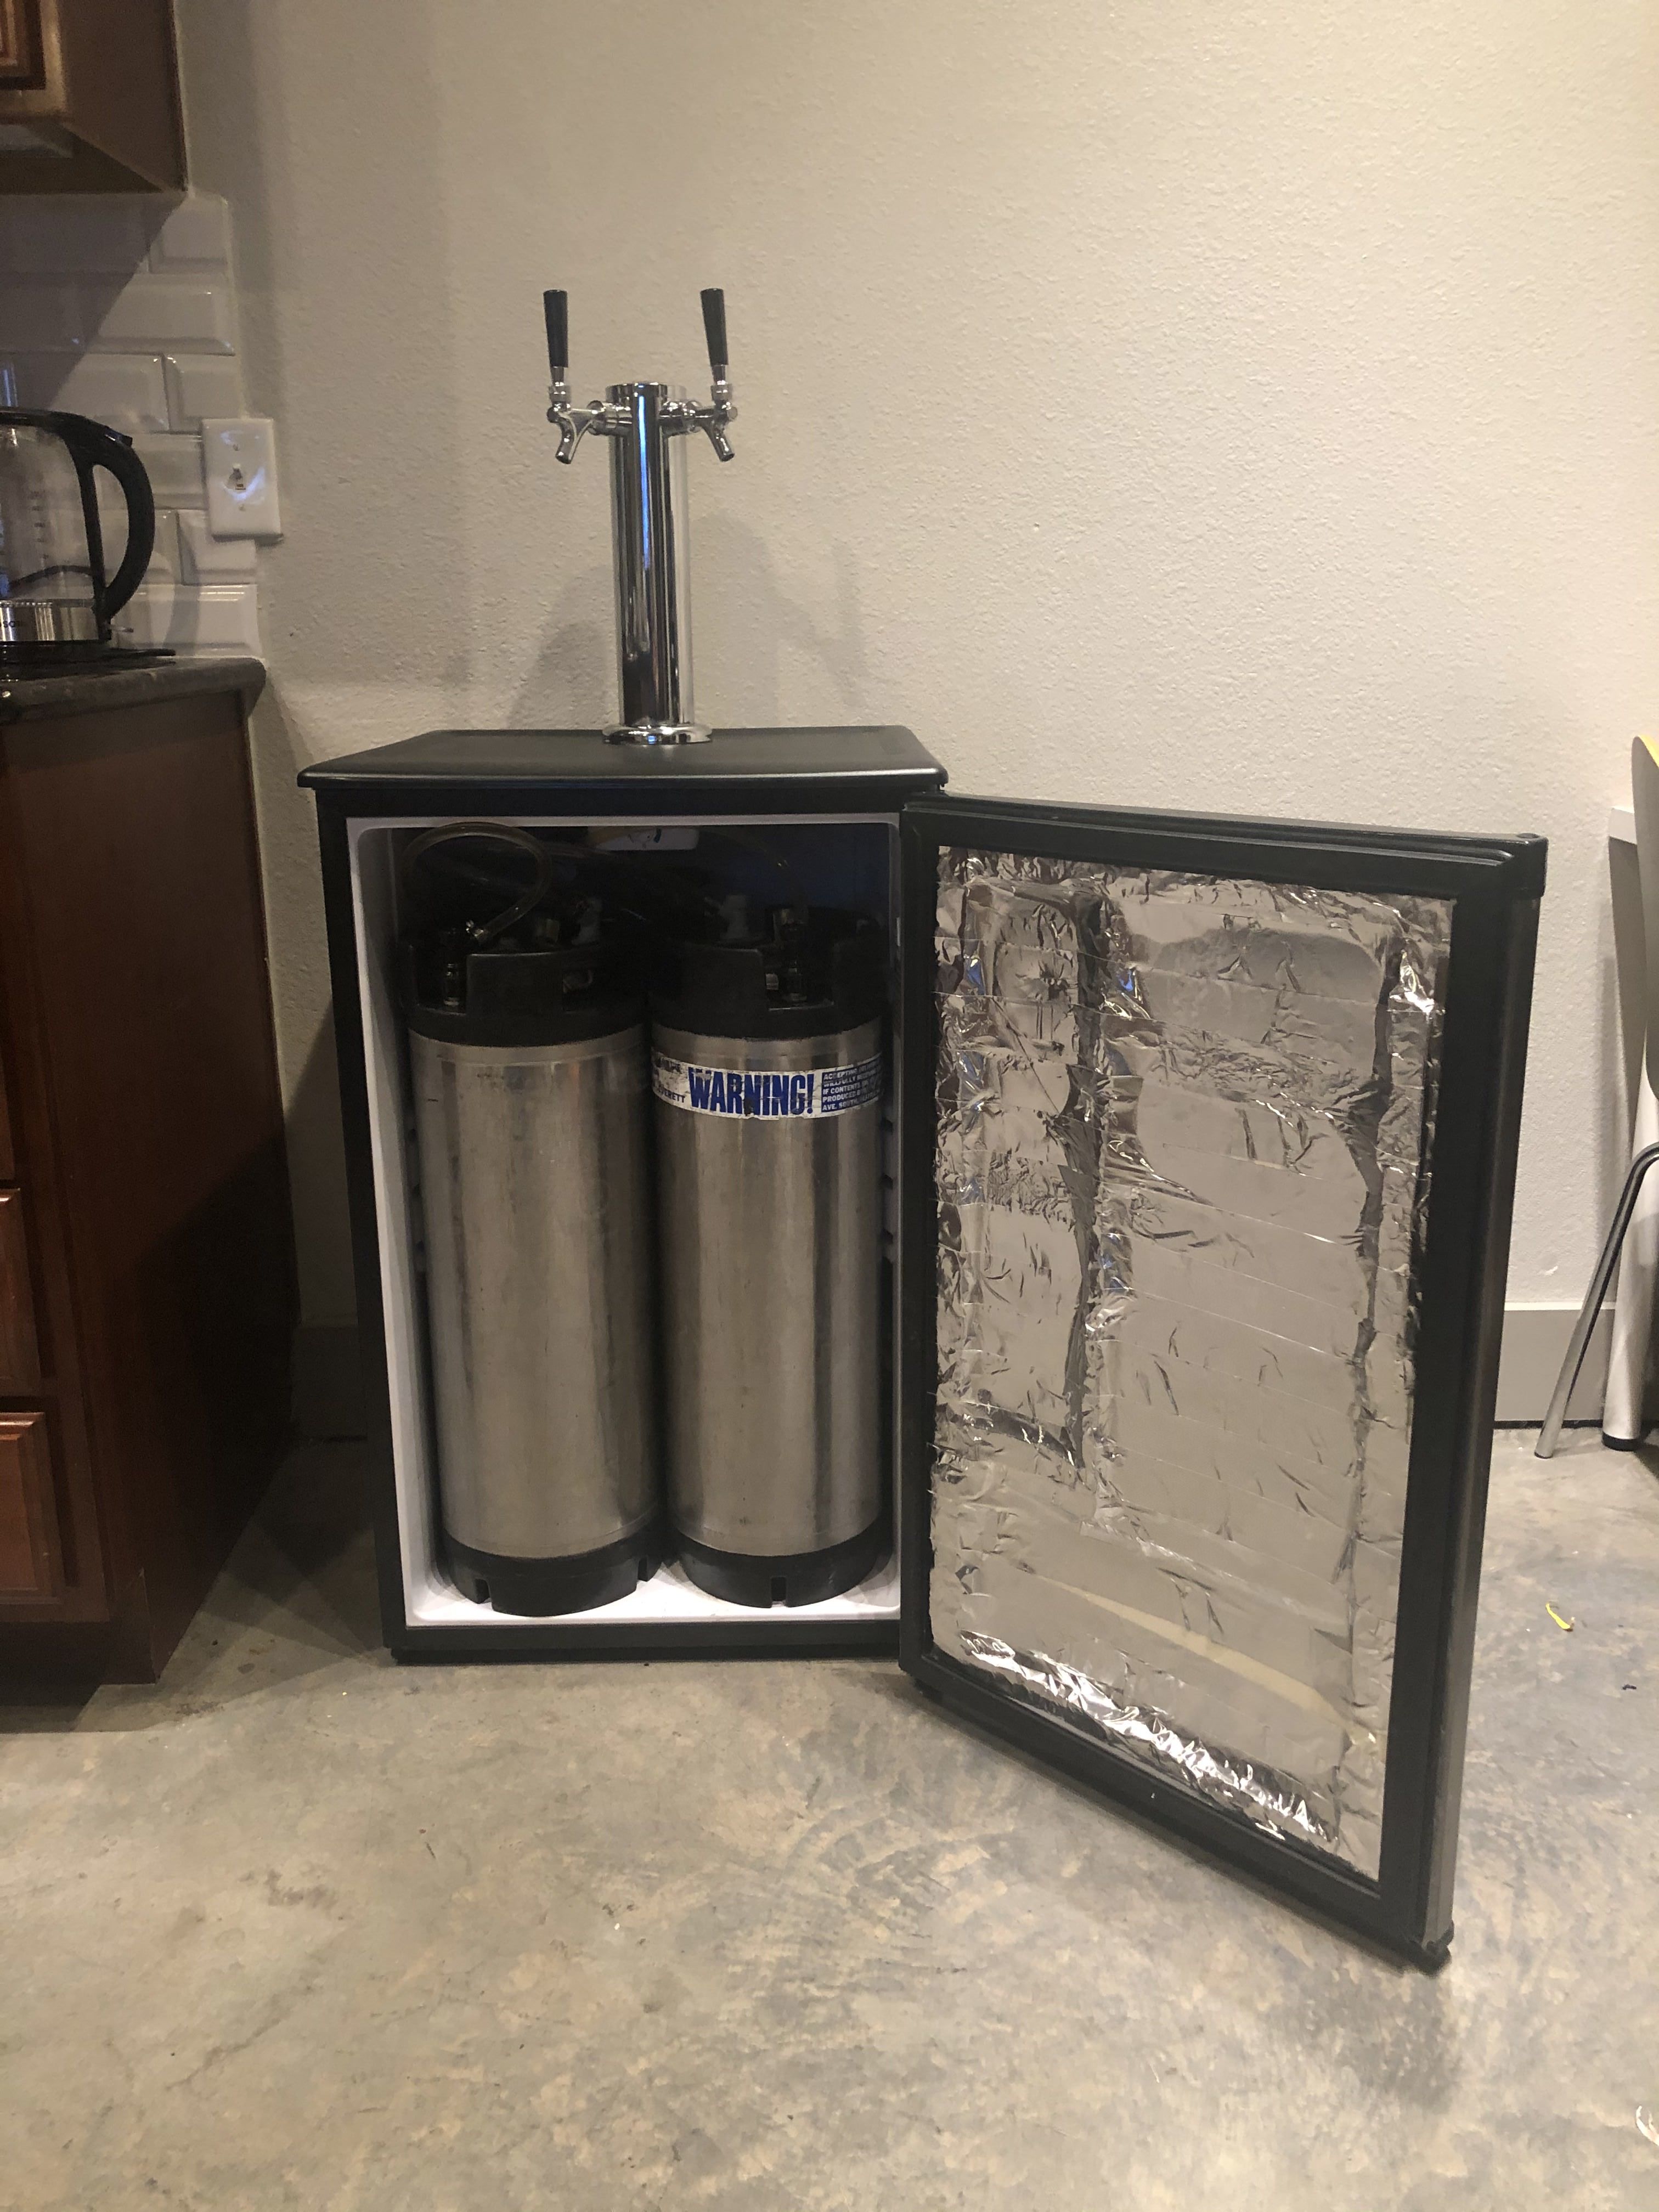
And lastly a kegerator I built this summer with my roomate:
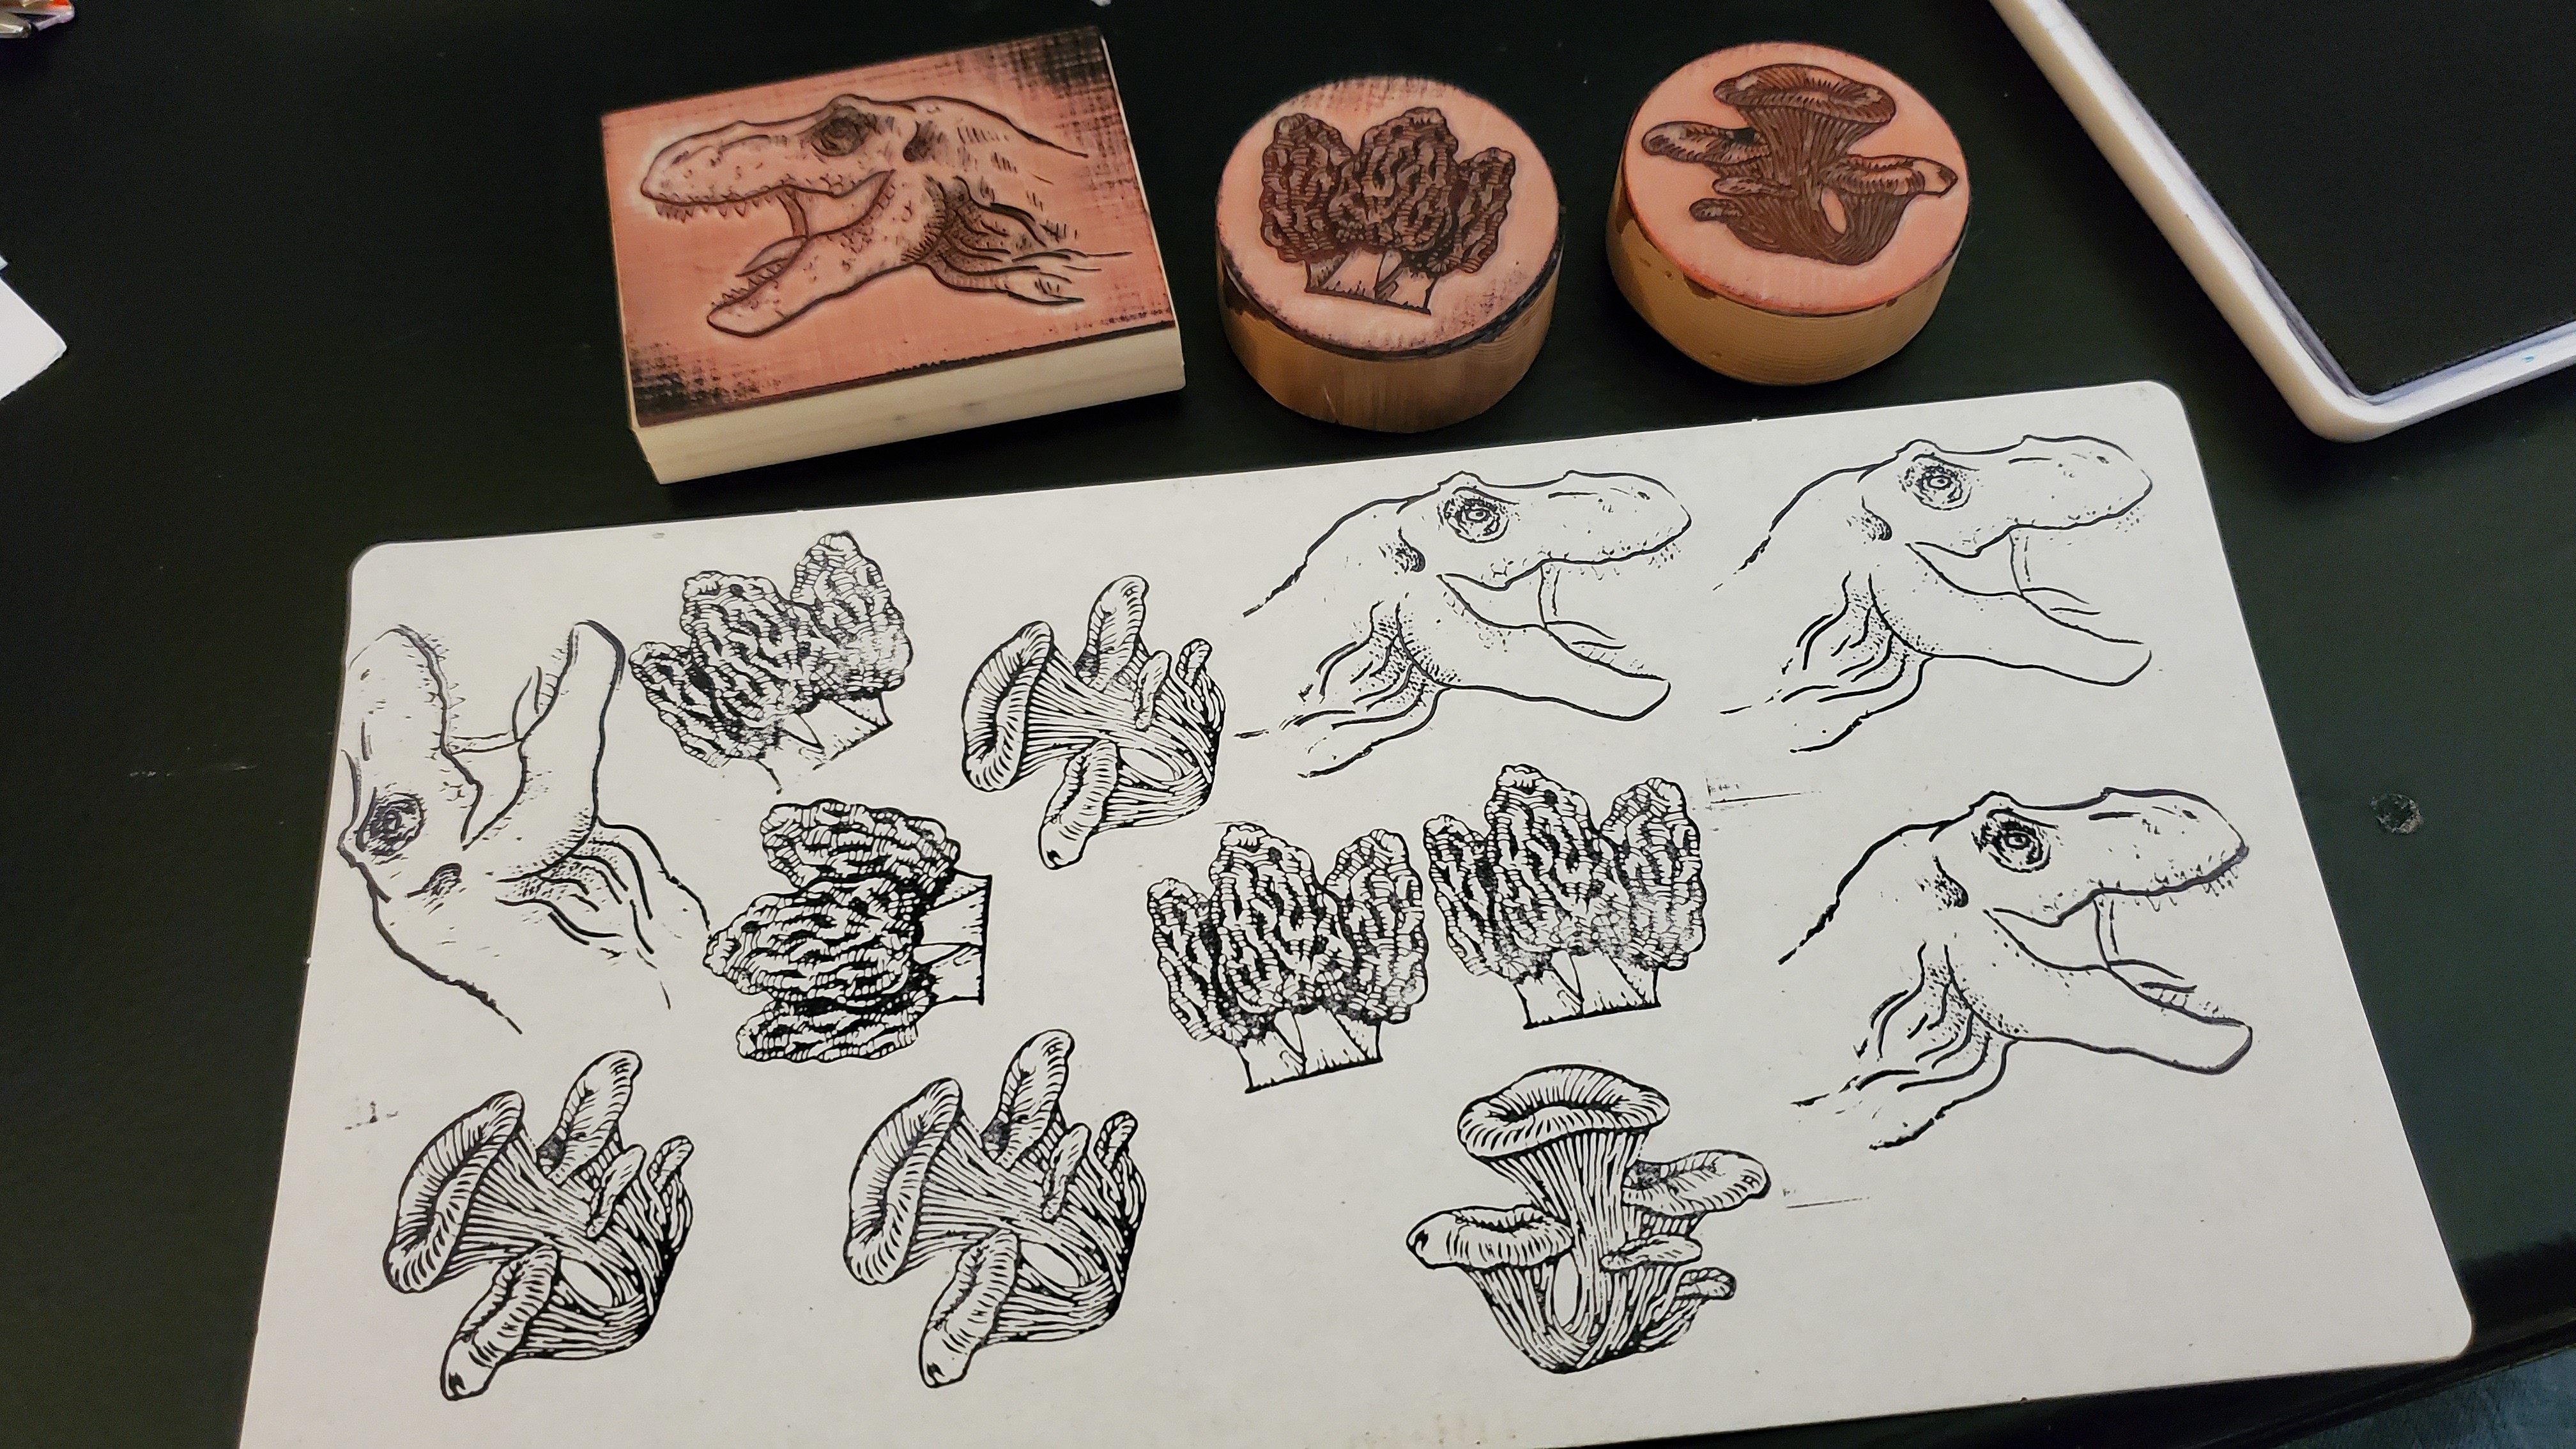
I was wondering if lasering a rubber stamp was possible. After a quick Google search I learned this how most are made today. A quick Amazon search and found some laserable rubber. A few days later I made these 
If you do “laserable” rubber, please use Red, NOT Blue. It throws white residue everywhere and gets on the optics. The air assist on Red protects the lens, Blue does not have that.
@dannym I only use red.
I’ve been watching some Kumiko videos by Pask Makes (https://www.youtube.com/results?search_query=pask+makes+kumiko). It looks like a really fun style to incorporate in projects. Love how you did this lamp!
Beautiful bed frame and clever use of scrap! Love that cutting board!!!
LOVE those mushrooms  ! What a cool idea and thanks @dannym for clarifying which laser this kind of project it good to do on.
There are those Kumiko purists who would say I cheated, and I kind of did. I got the look I wanted but applied different skills, CNC and digital design. Guess I’ll never be invited to be president of the Kumiko Society (if there is such a thing). 
Cool! Can you post how to make the wireless charger?
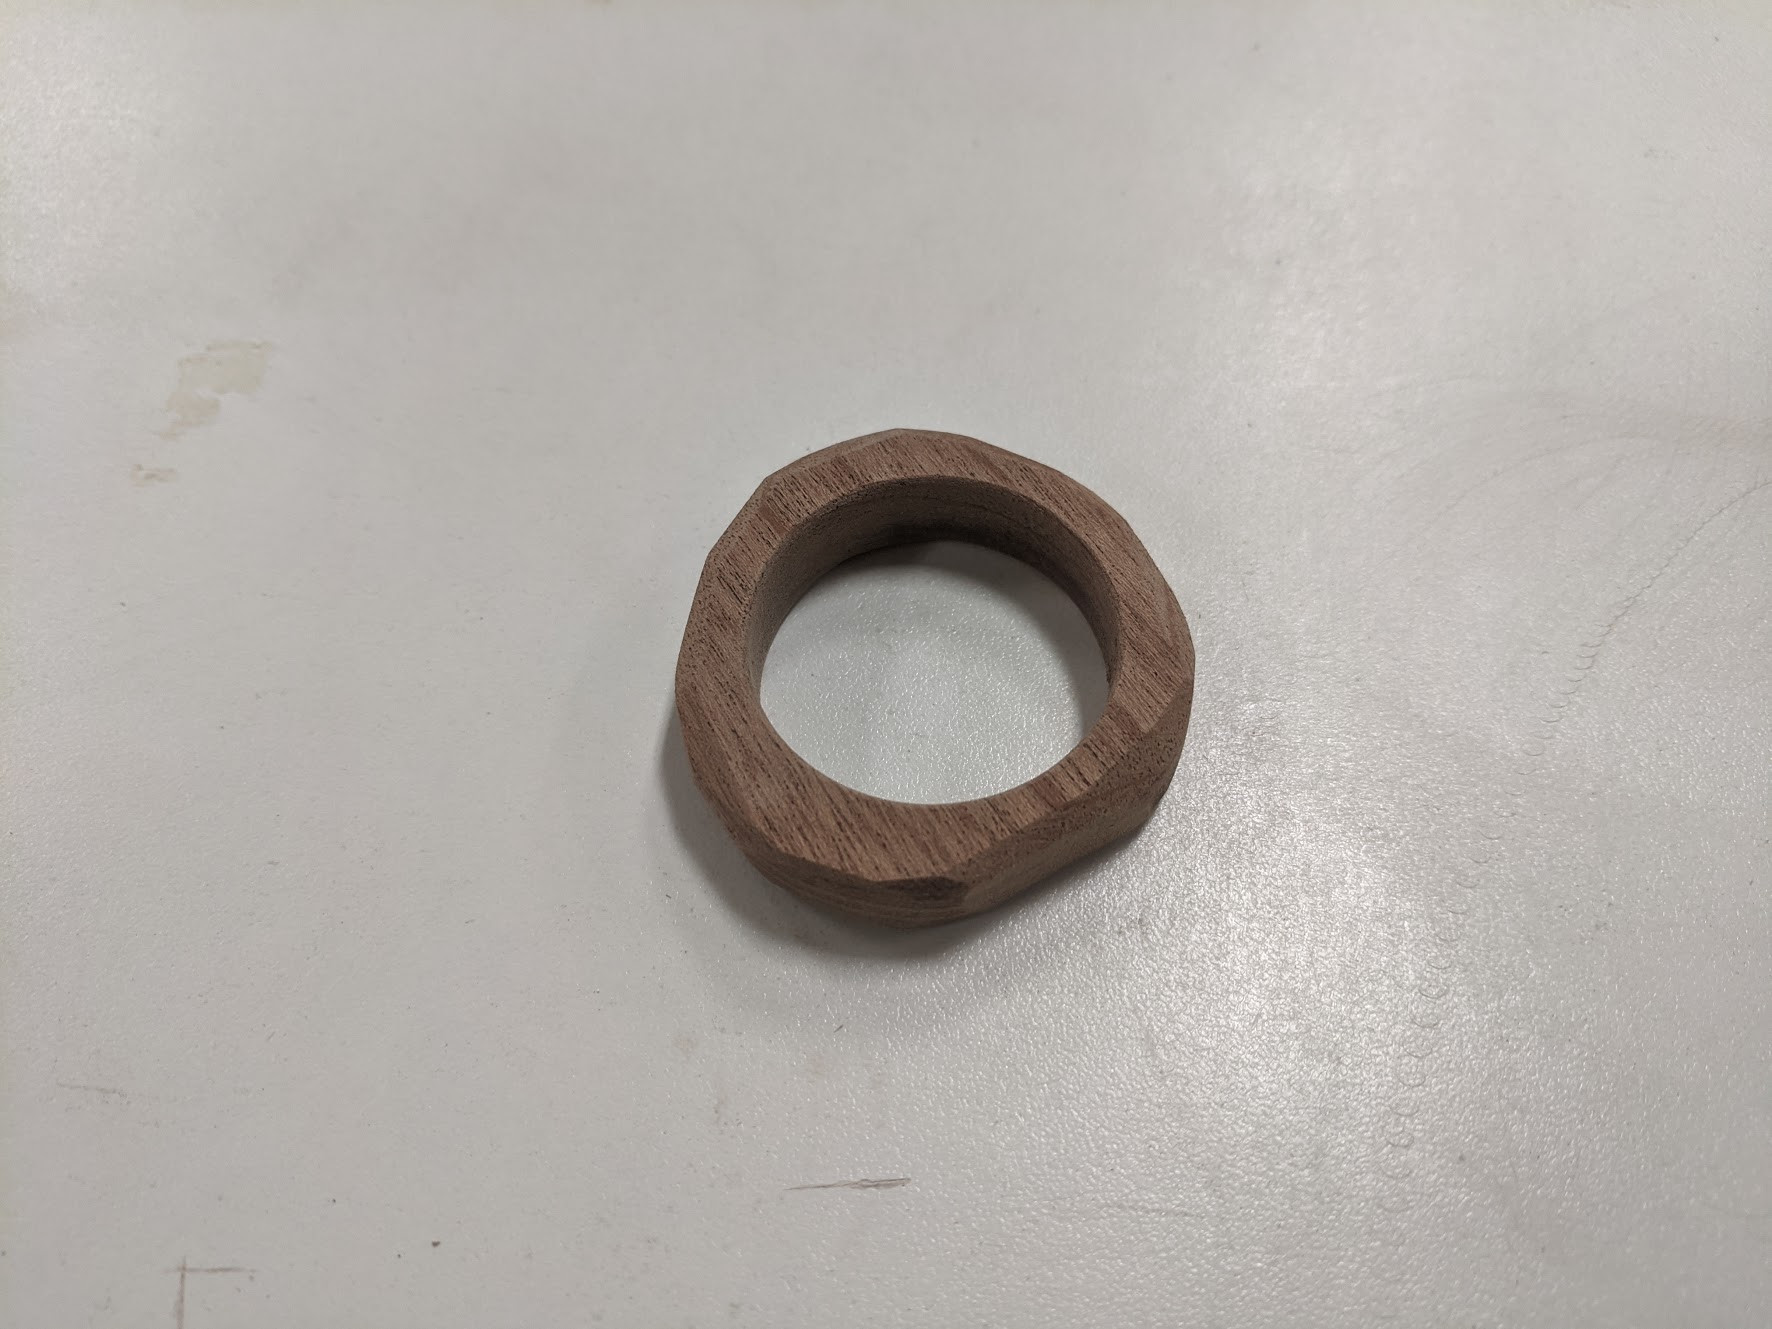
Sure – Start with a chunk of wood, preferably at least 4" by 4". Thickness isn’t as important but I think mine was 1.5" or so. I had made a template from plywood for the wireless charging circuit board I got, and I used that with a flush trim router bit to remove all the material in the cavity up to about 1mm from the top of the wood. You want the charger to sit as close as possible to the surface of the wood to allow the maximum power transfer. After that I glued on a strip of wood (ideally grain-matching with cutoffs from the chunk) to cover up the hole where the router bit entered. Then it’s as simple as drawing your octagon on the chunk and using the table saw to cut bevels.
On this one, the first pass was to cut the octagon using a miter gauge at 45*. Then I set the blade angle to 45* and used a crosscut sled to cut a small chamfer on each edge, top and bottom (could also be accomplised with a chamfer router bit). Lastly I kept the blade at 45* and used a miter gauge at 22.5* to carve some complementary bevels on the top edge.
Last steps are to sand everything and cut out the hole for the USB-C wire that mine used to fit into. This can be difficult as it’s pretty close to the top, but I used the drill press to start it and then some chisels to get it the right size. Then finish with whatever you like and use hot glue to secure the charger inside. Optional additional step is to cover up the big hole in the bottom.
You want to be careful that you don’t cut your bevels too deep, as it can expose the hole that you routed out for the charger. I actually messed my first one up that way but it created a cool effect where the charger has ‘eyes’ that light up due to the LEDs on the circuit board when you set a phone on top.
Apologies if any part of this was unclear – feel free to ask questions. I actually have a video of me making it on Tik Tok if you use that hahaha but its pretty quick and not super clear
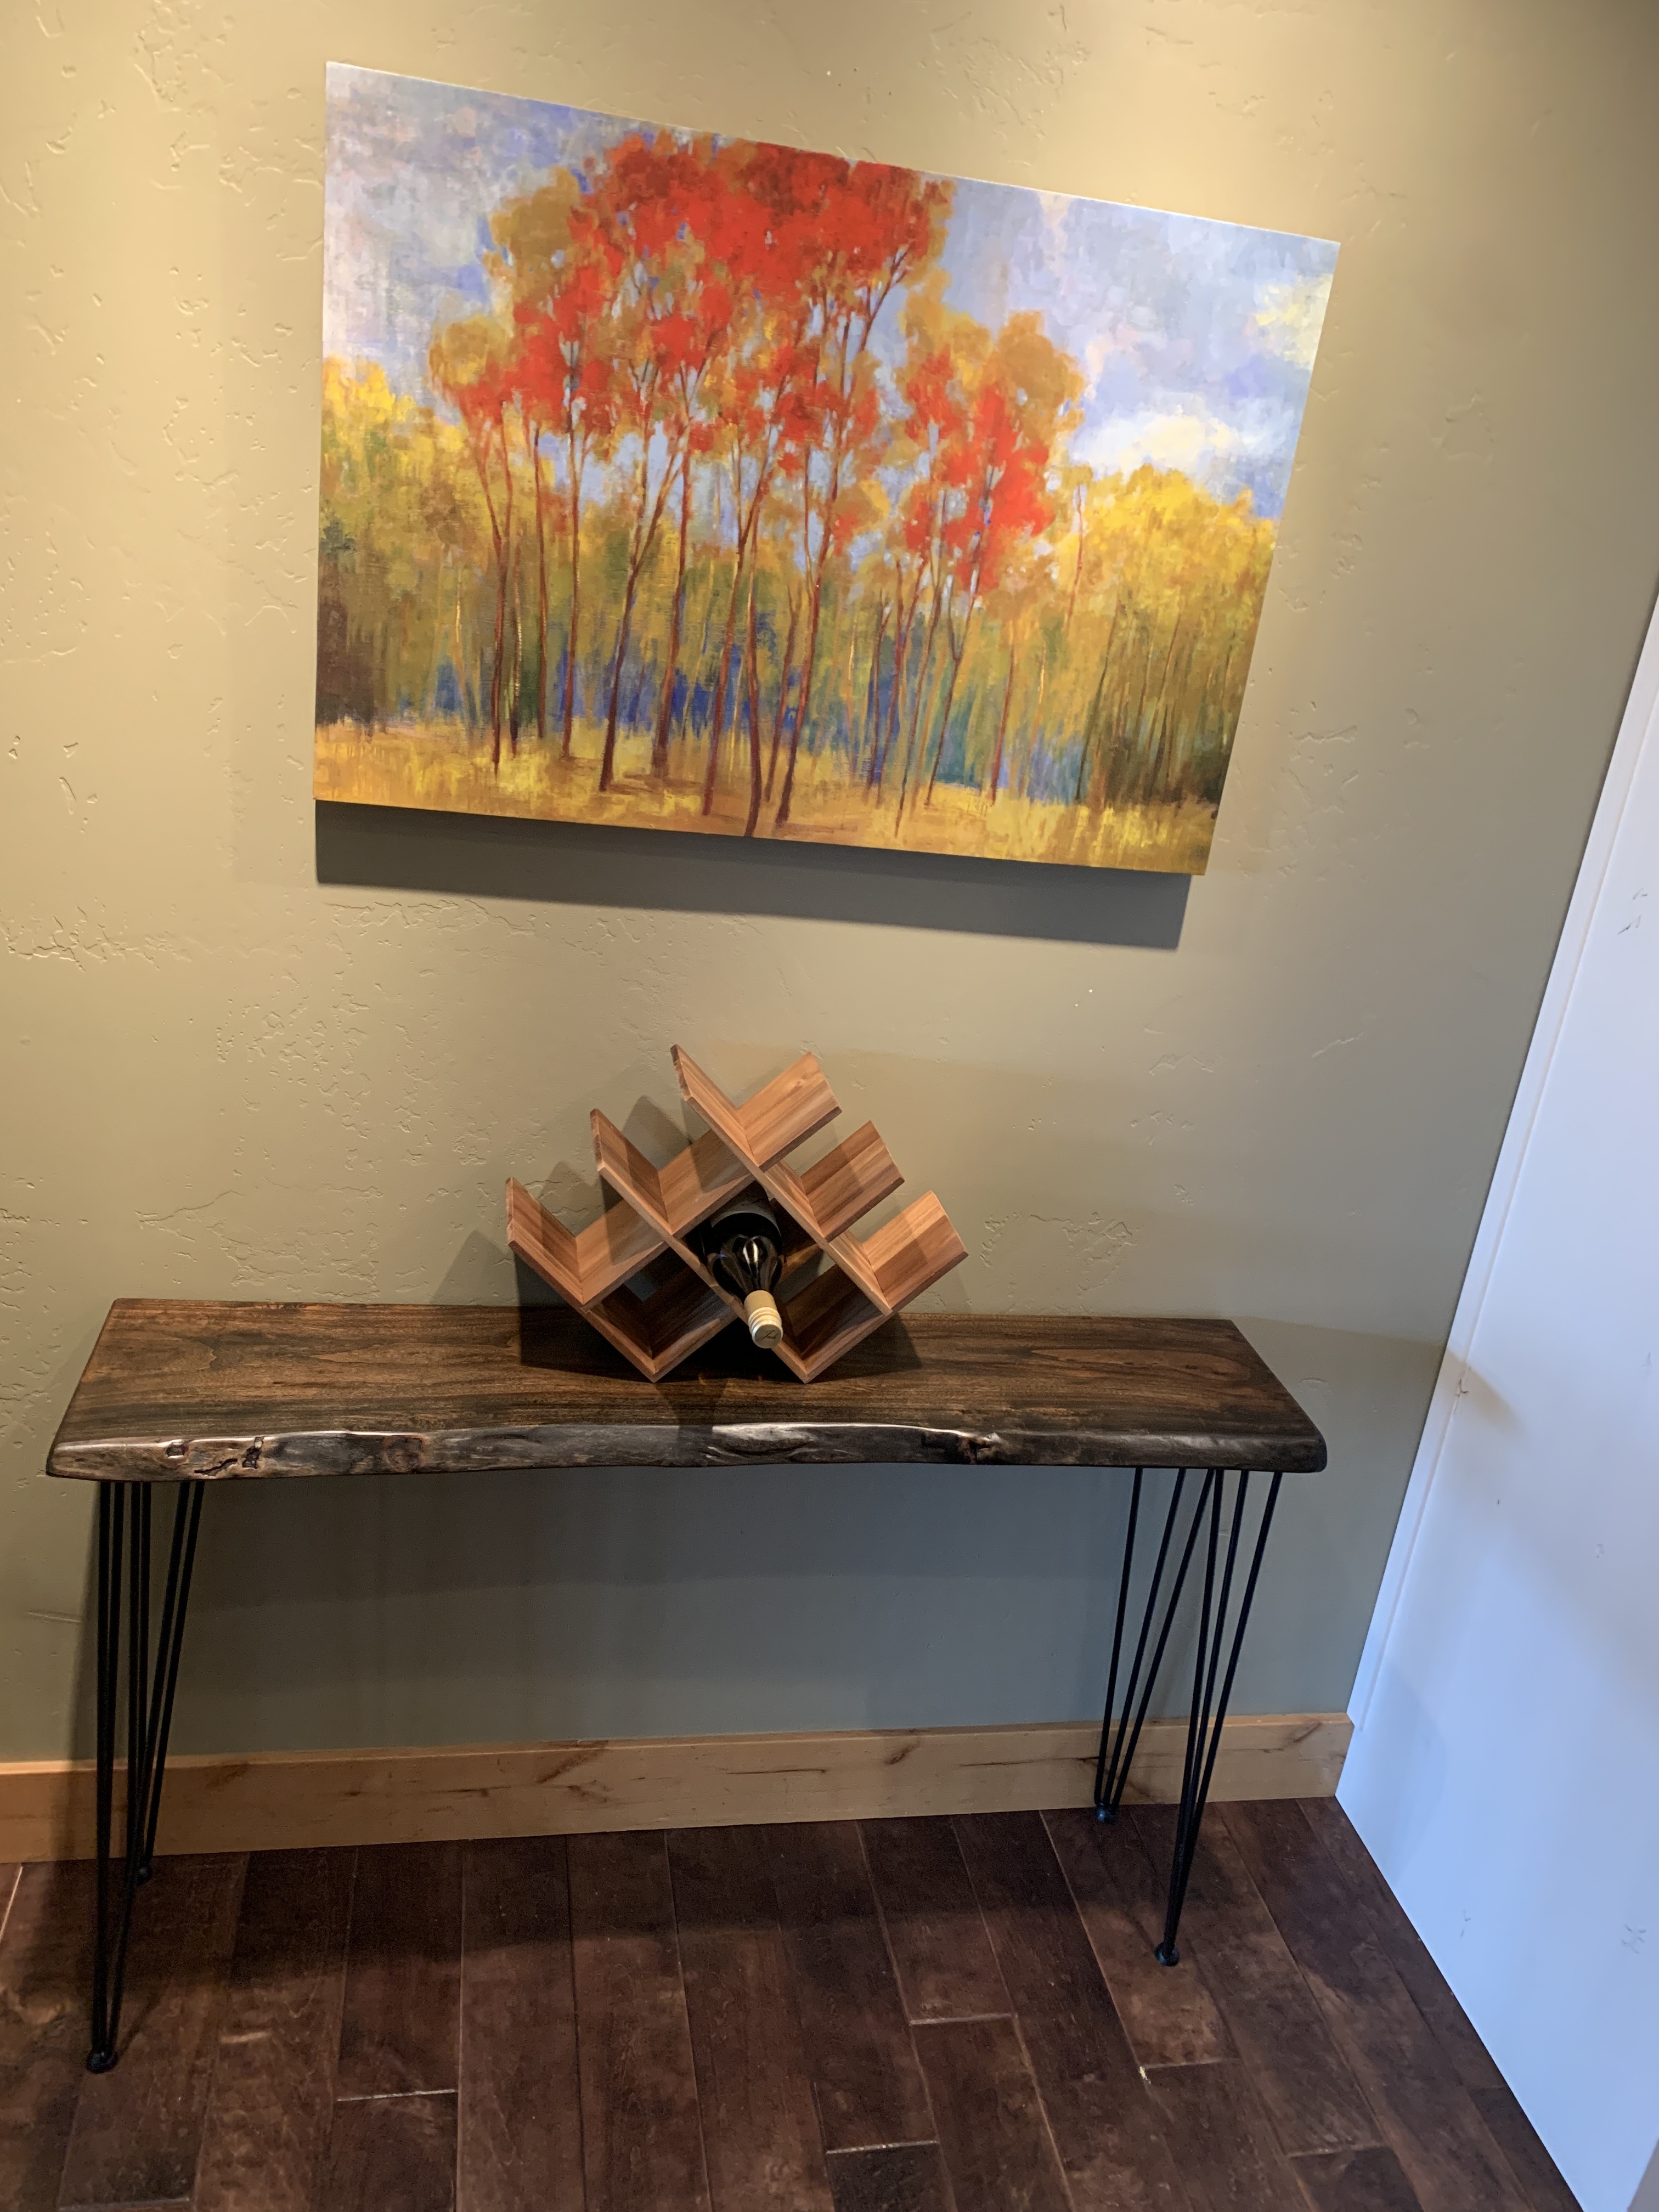
I recently made this 8/4 pecan console table for my wife; it was a “housewarming” present for our new ski house / Airbnb up in Park City, UT.
It is roughly 15-17” deep and 48” wide on 28” hairpin legs.
@JoeN You can use these; my business site is at www.livingontheedgewoodwork.com and I’m on both IG and FB with same handle.
Neat! I’ve never seen that before
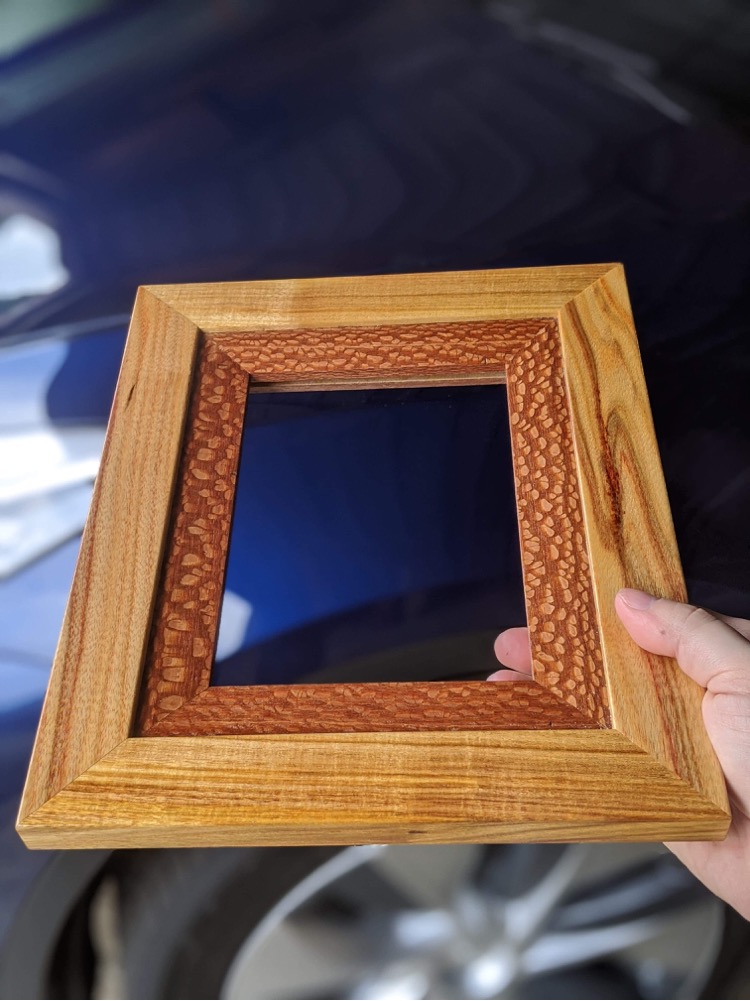
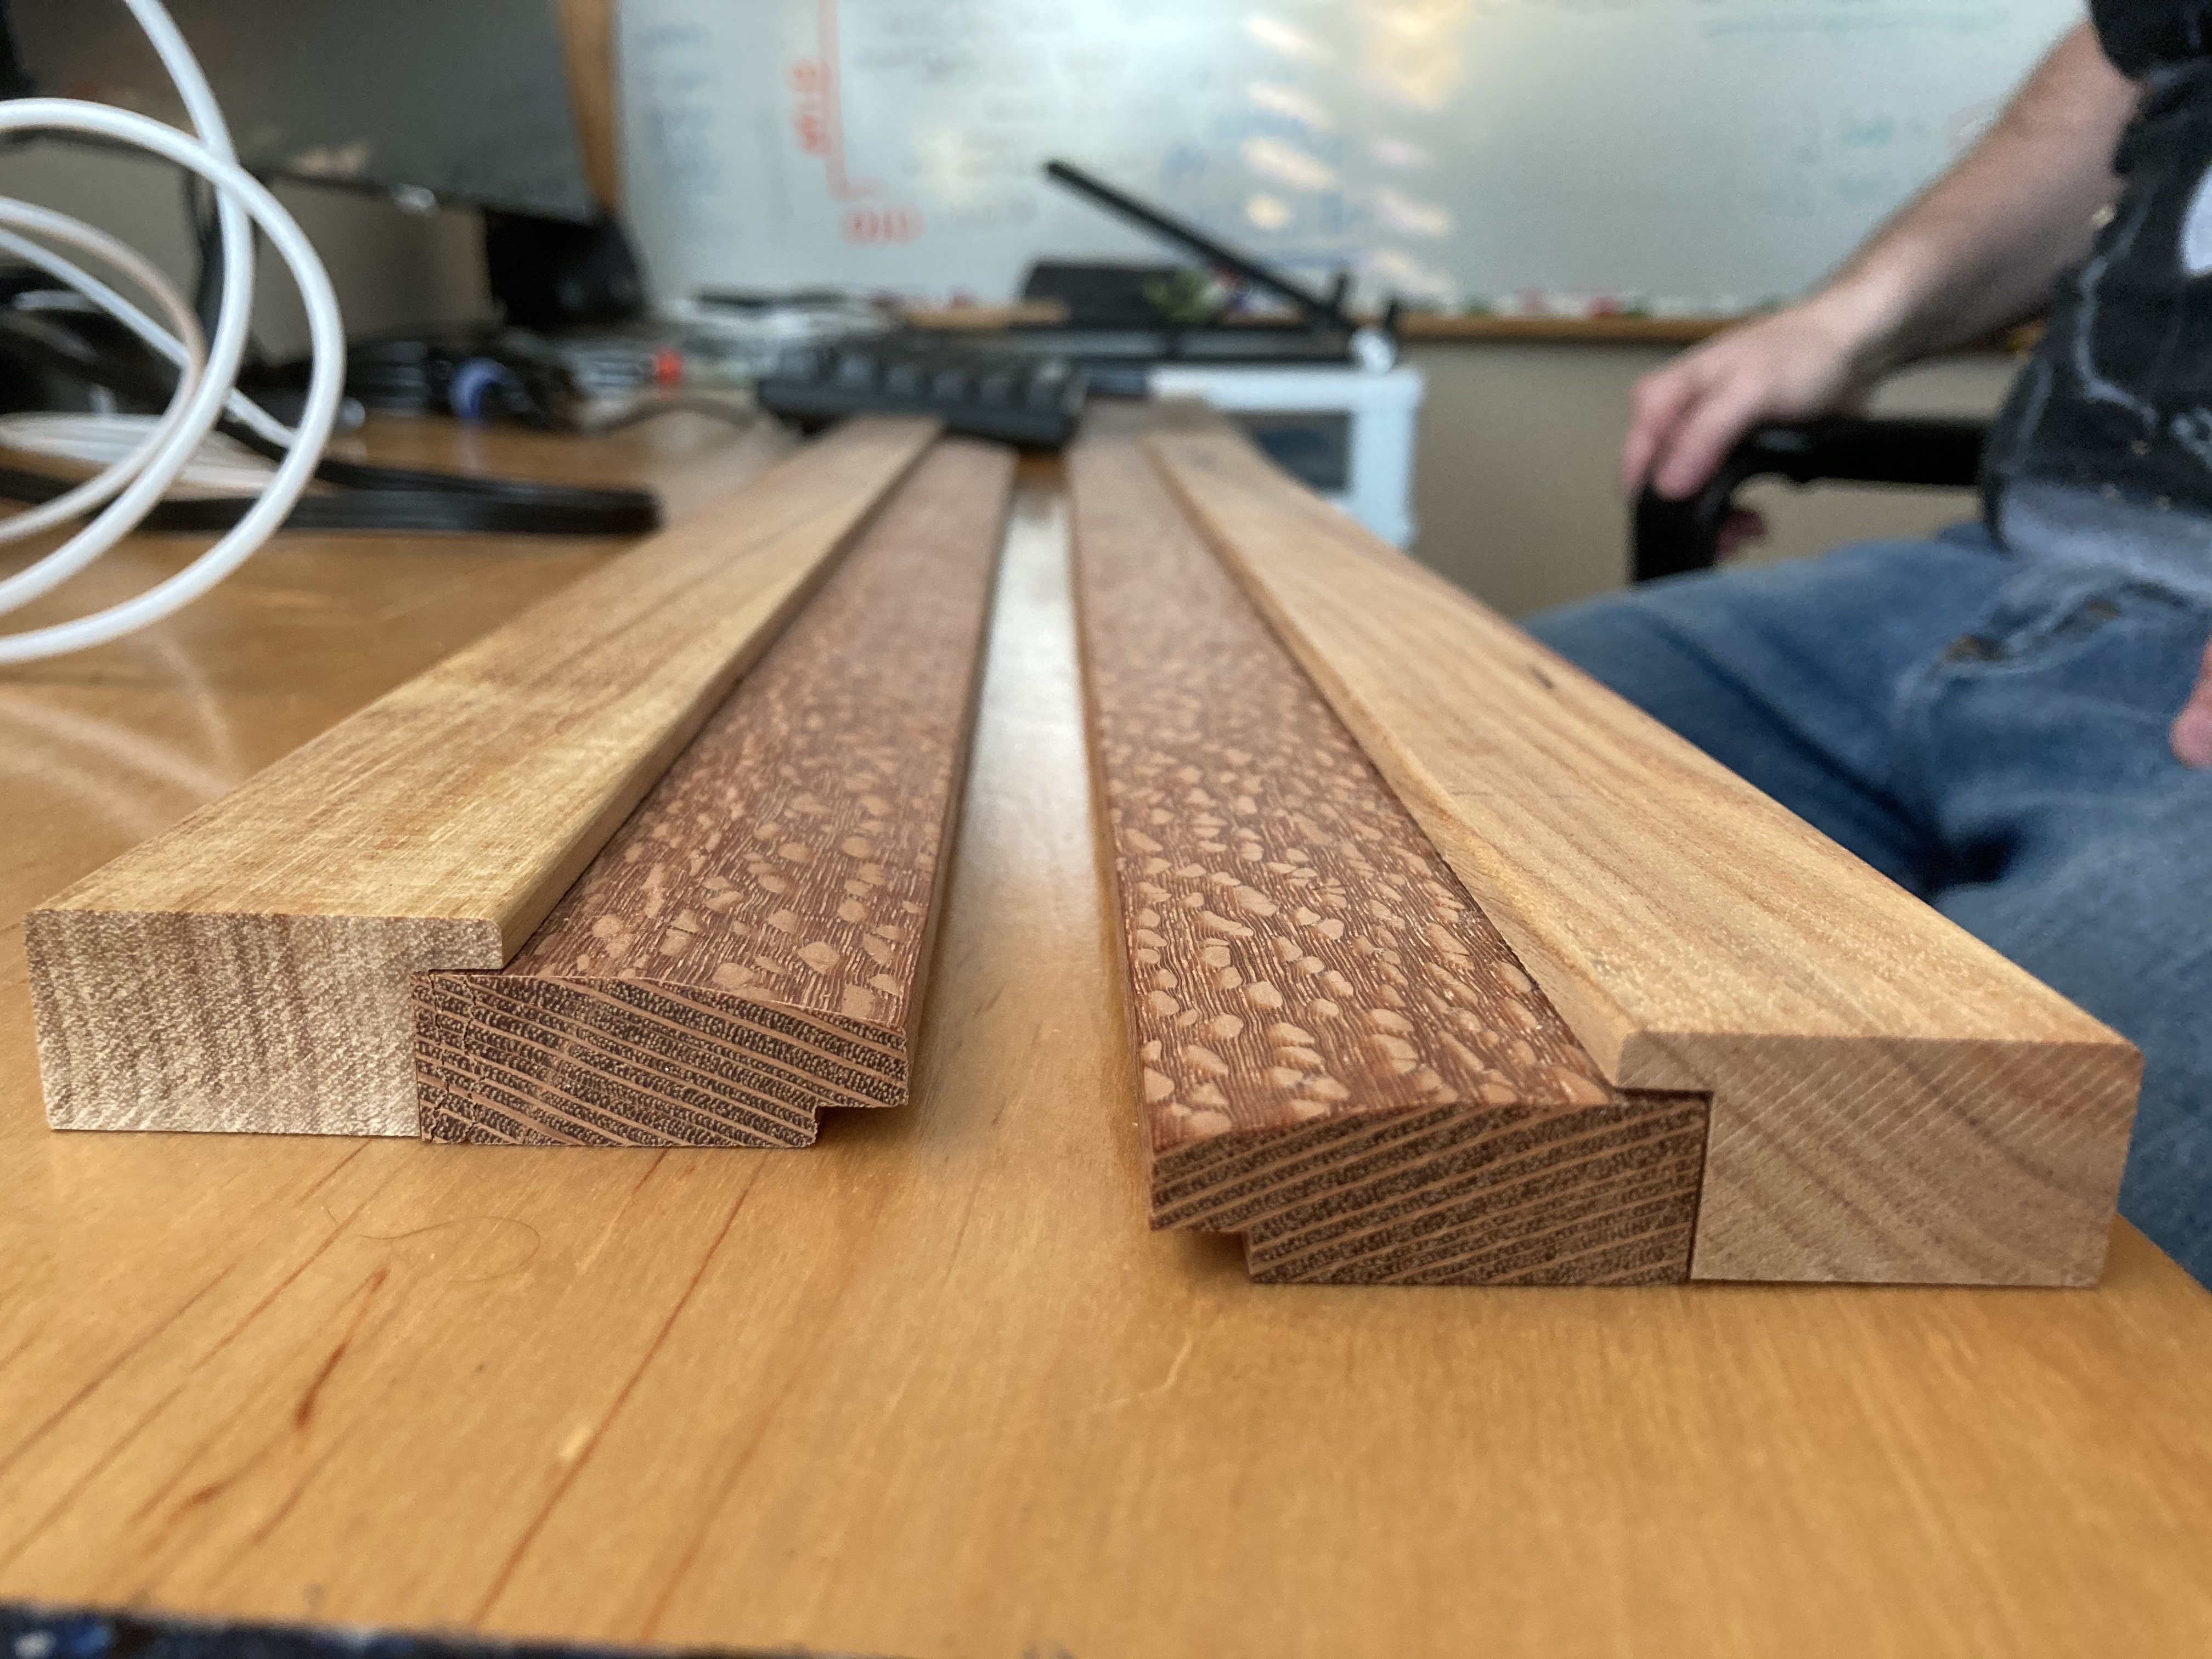
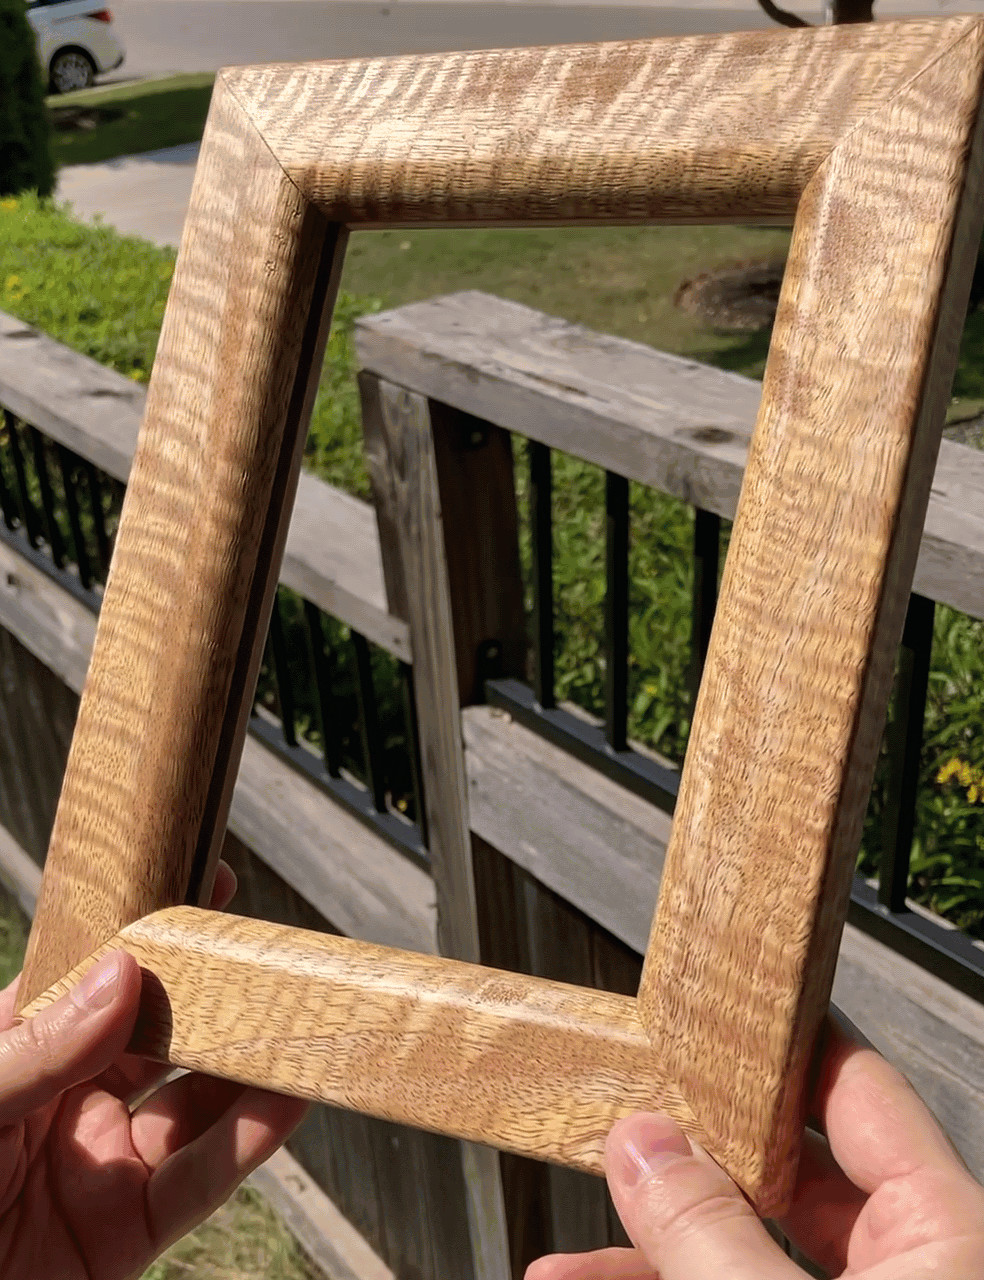
OK adding a few recent projects of mine to the mix here. The past several months have mostly been making gifts for people. @torchedguitar and I have made a lot of really cool picture frames including this two-tone one out of canarywood and leopardwood.

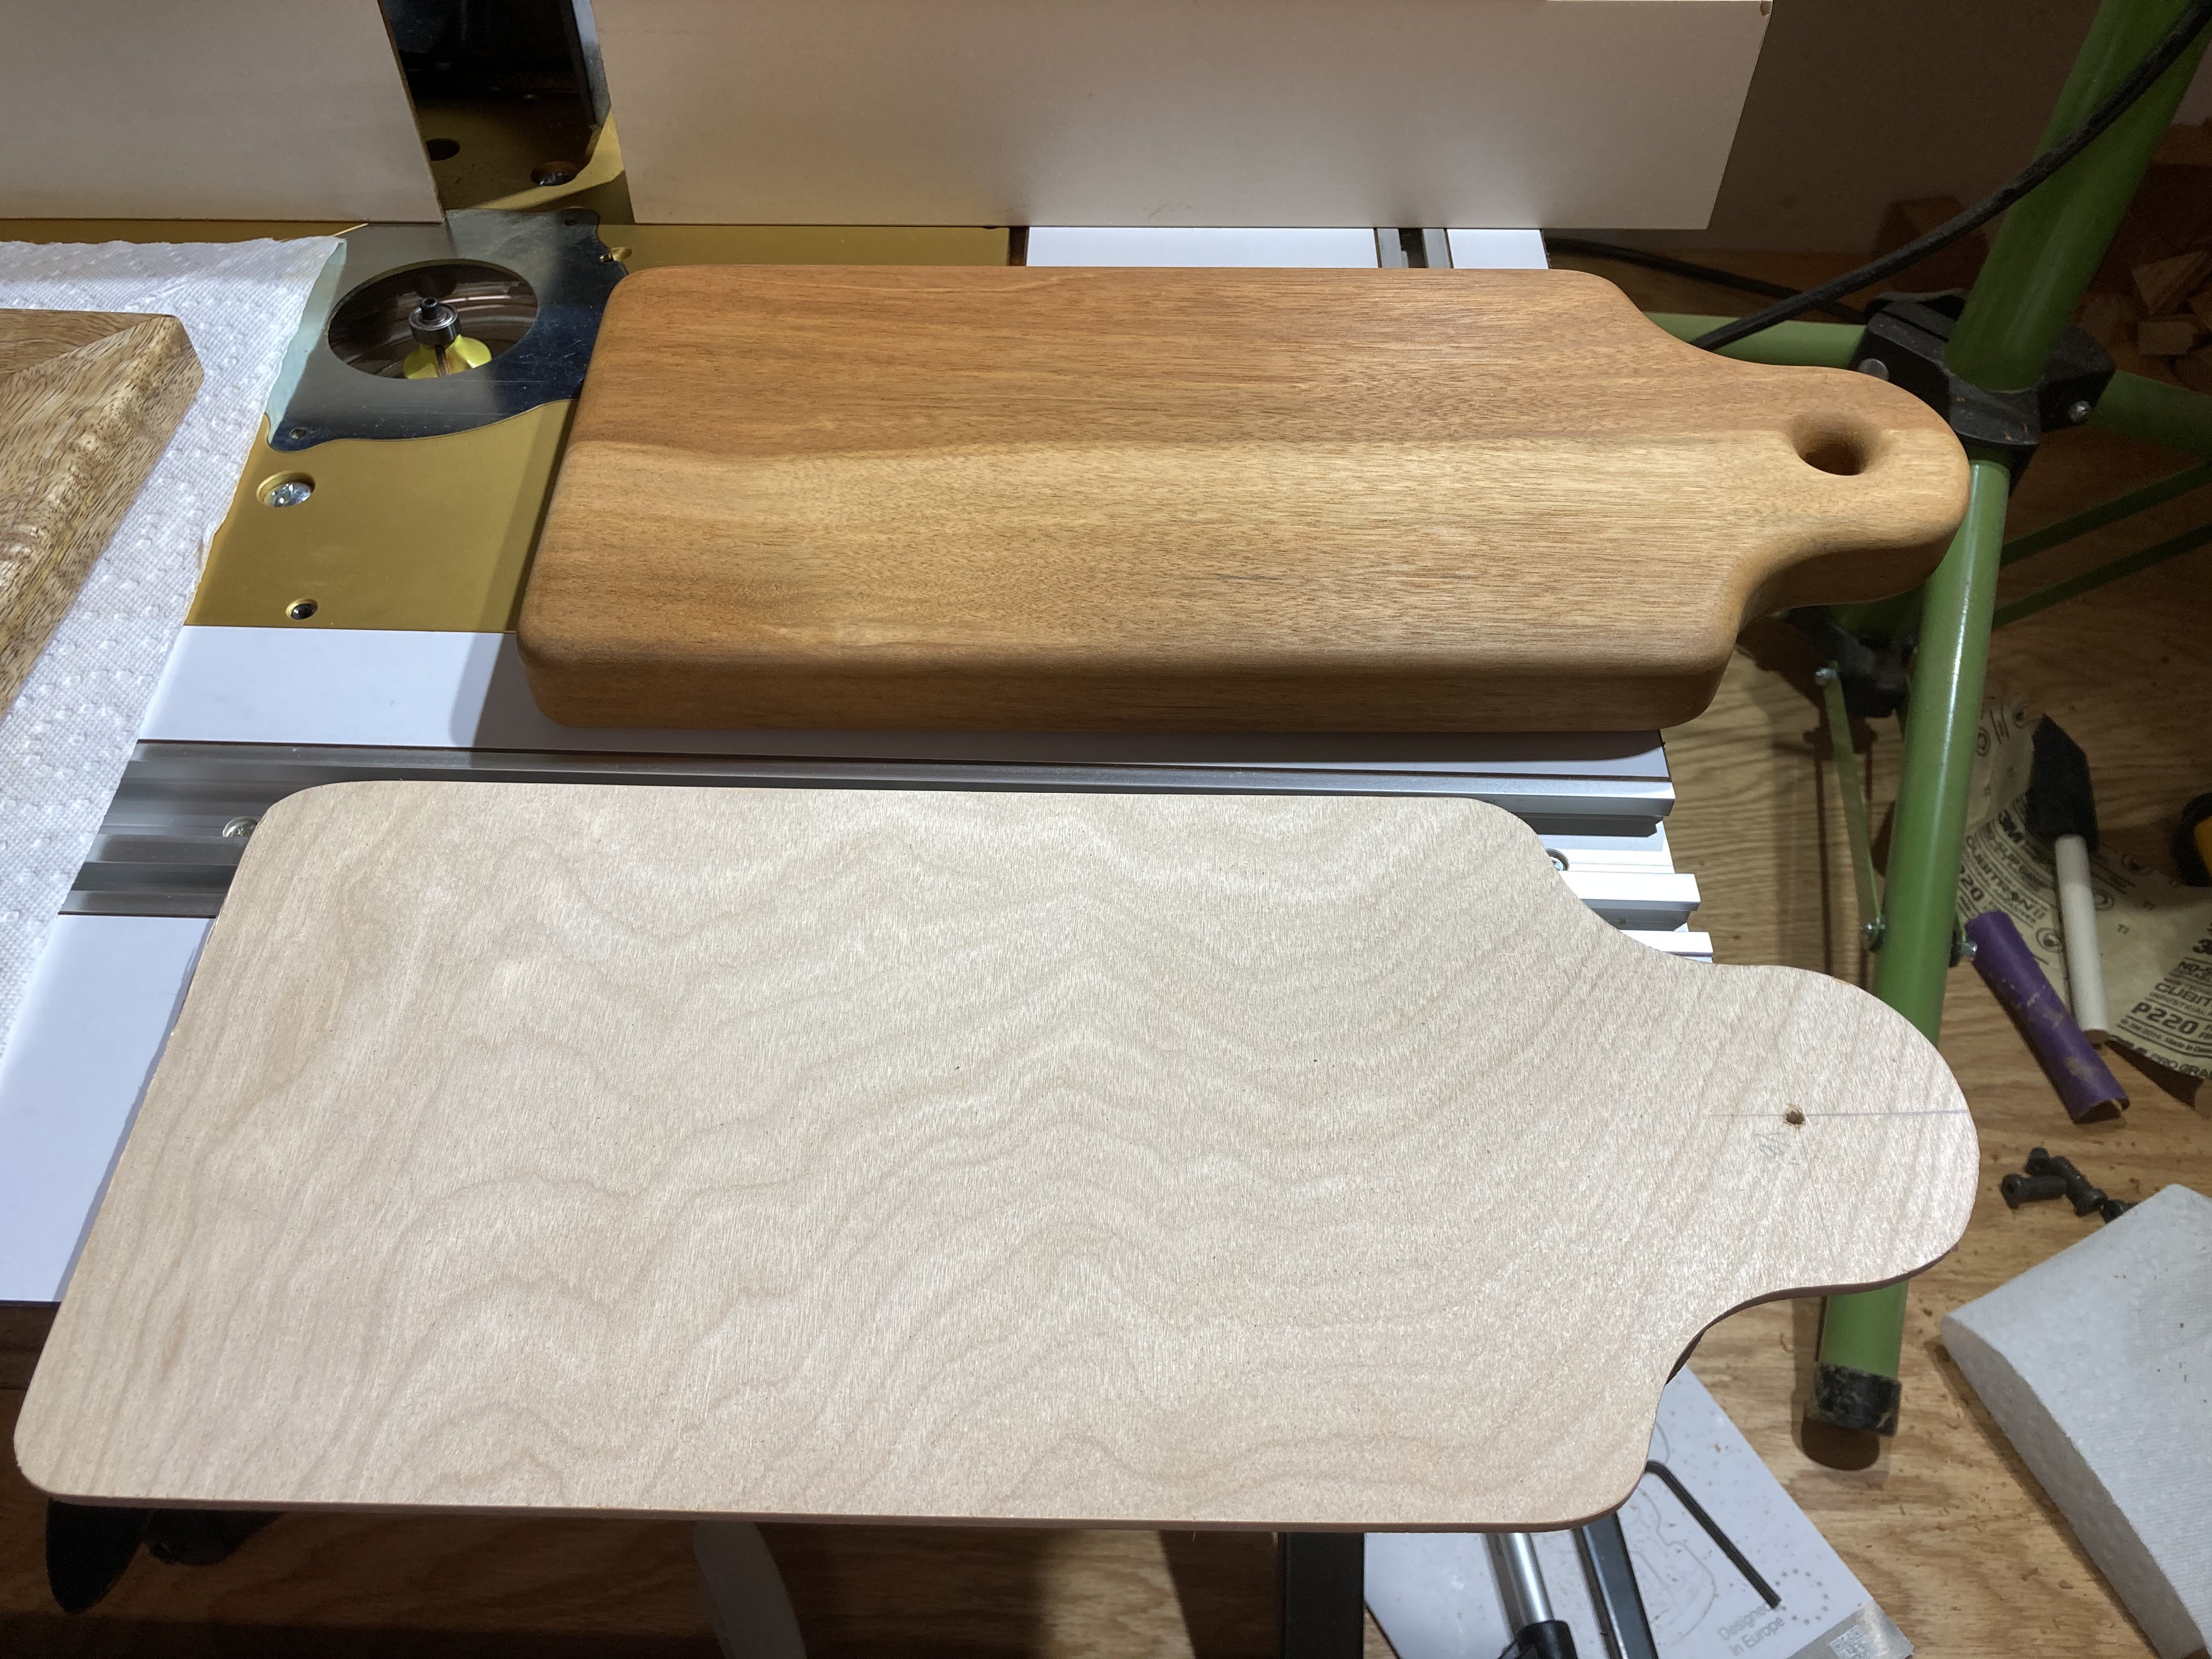
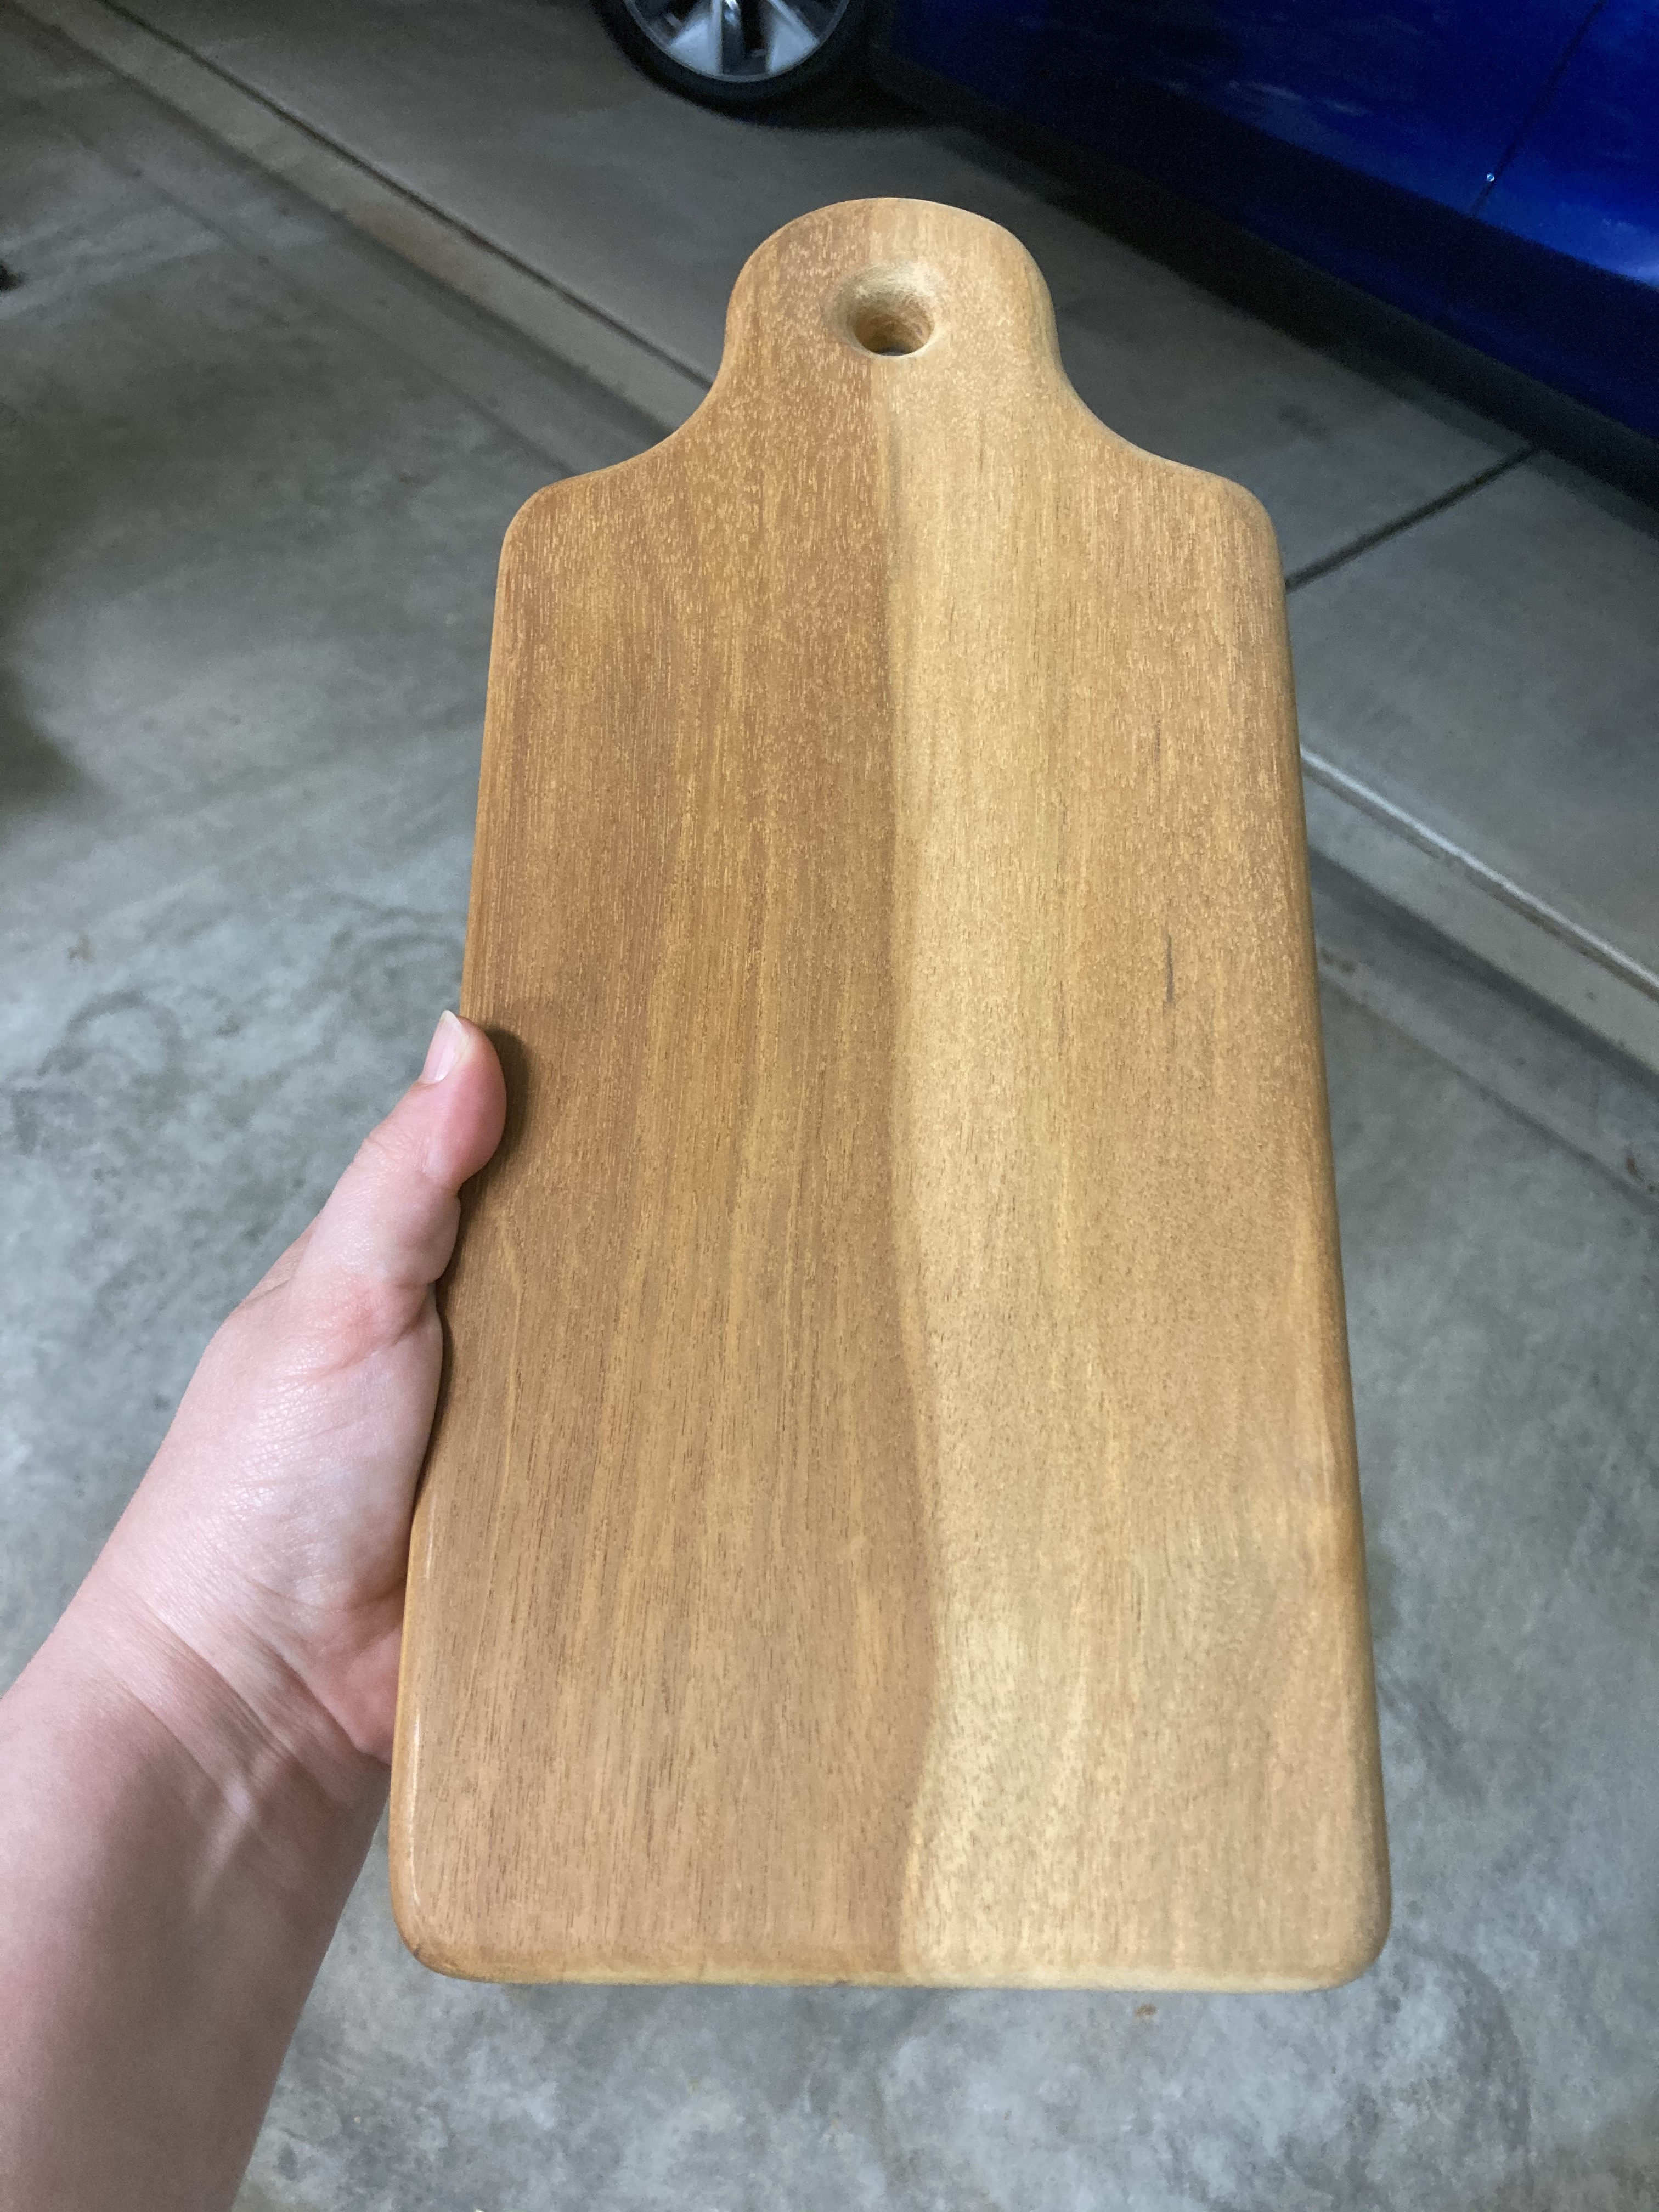
Also did my first router table work and templating project making this niove cheeseboard recently. Didn’t have the ideal template material in my scrap stash (this plywood was a bit thin and slightly warped), but still worked just fine.
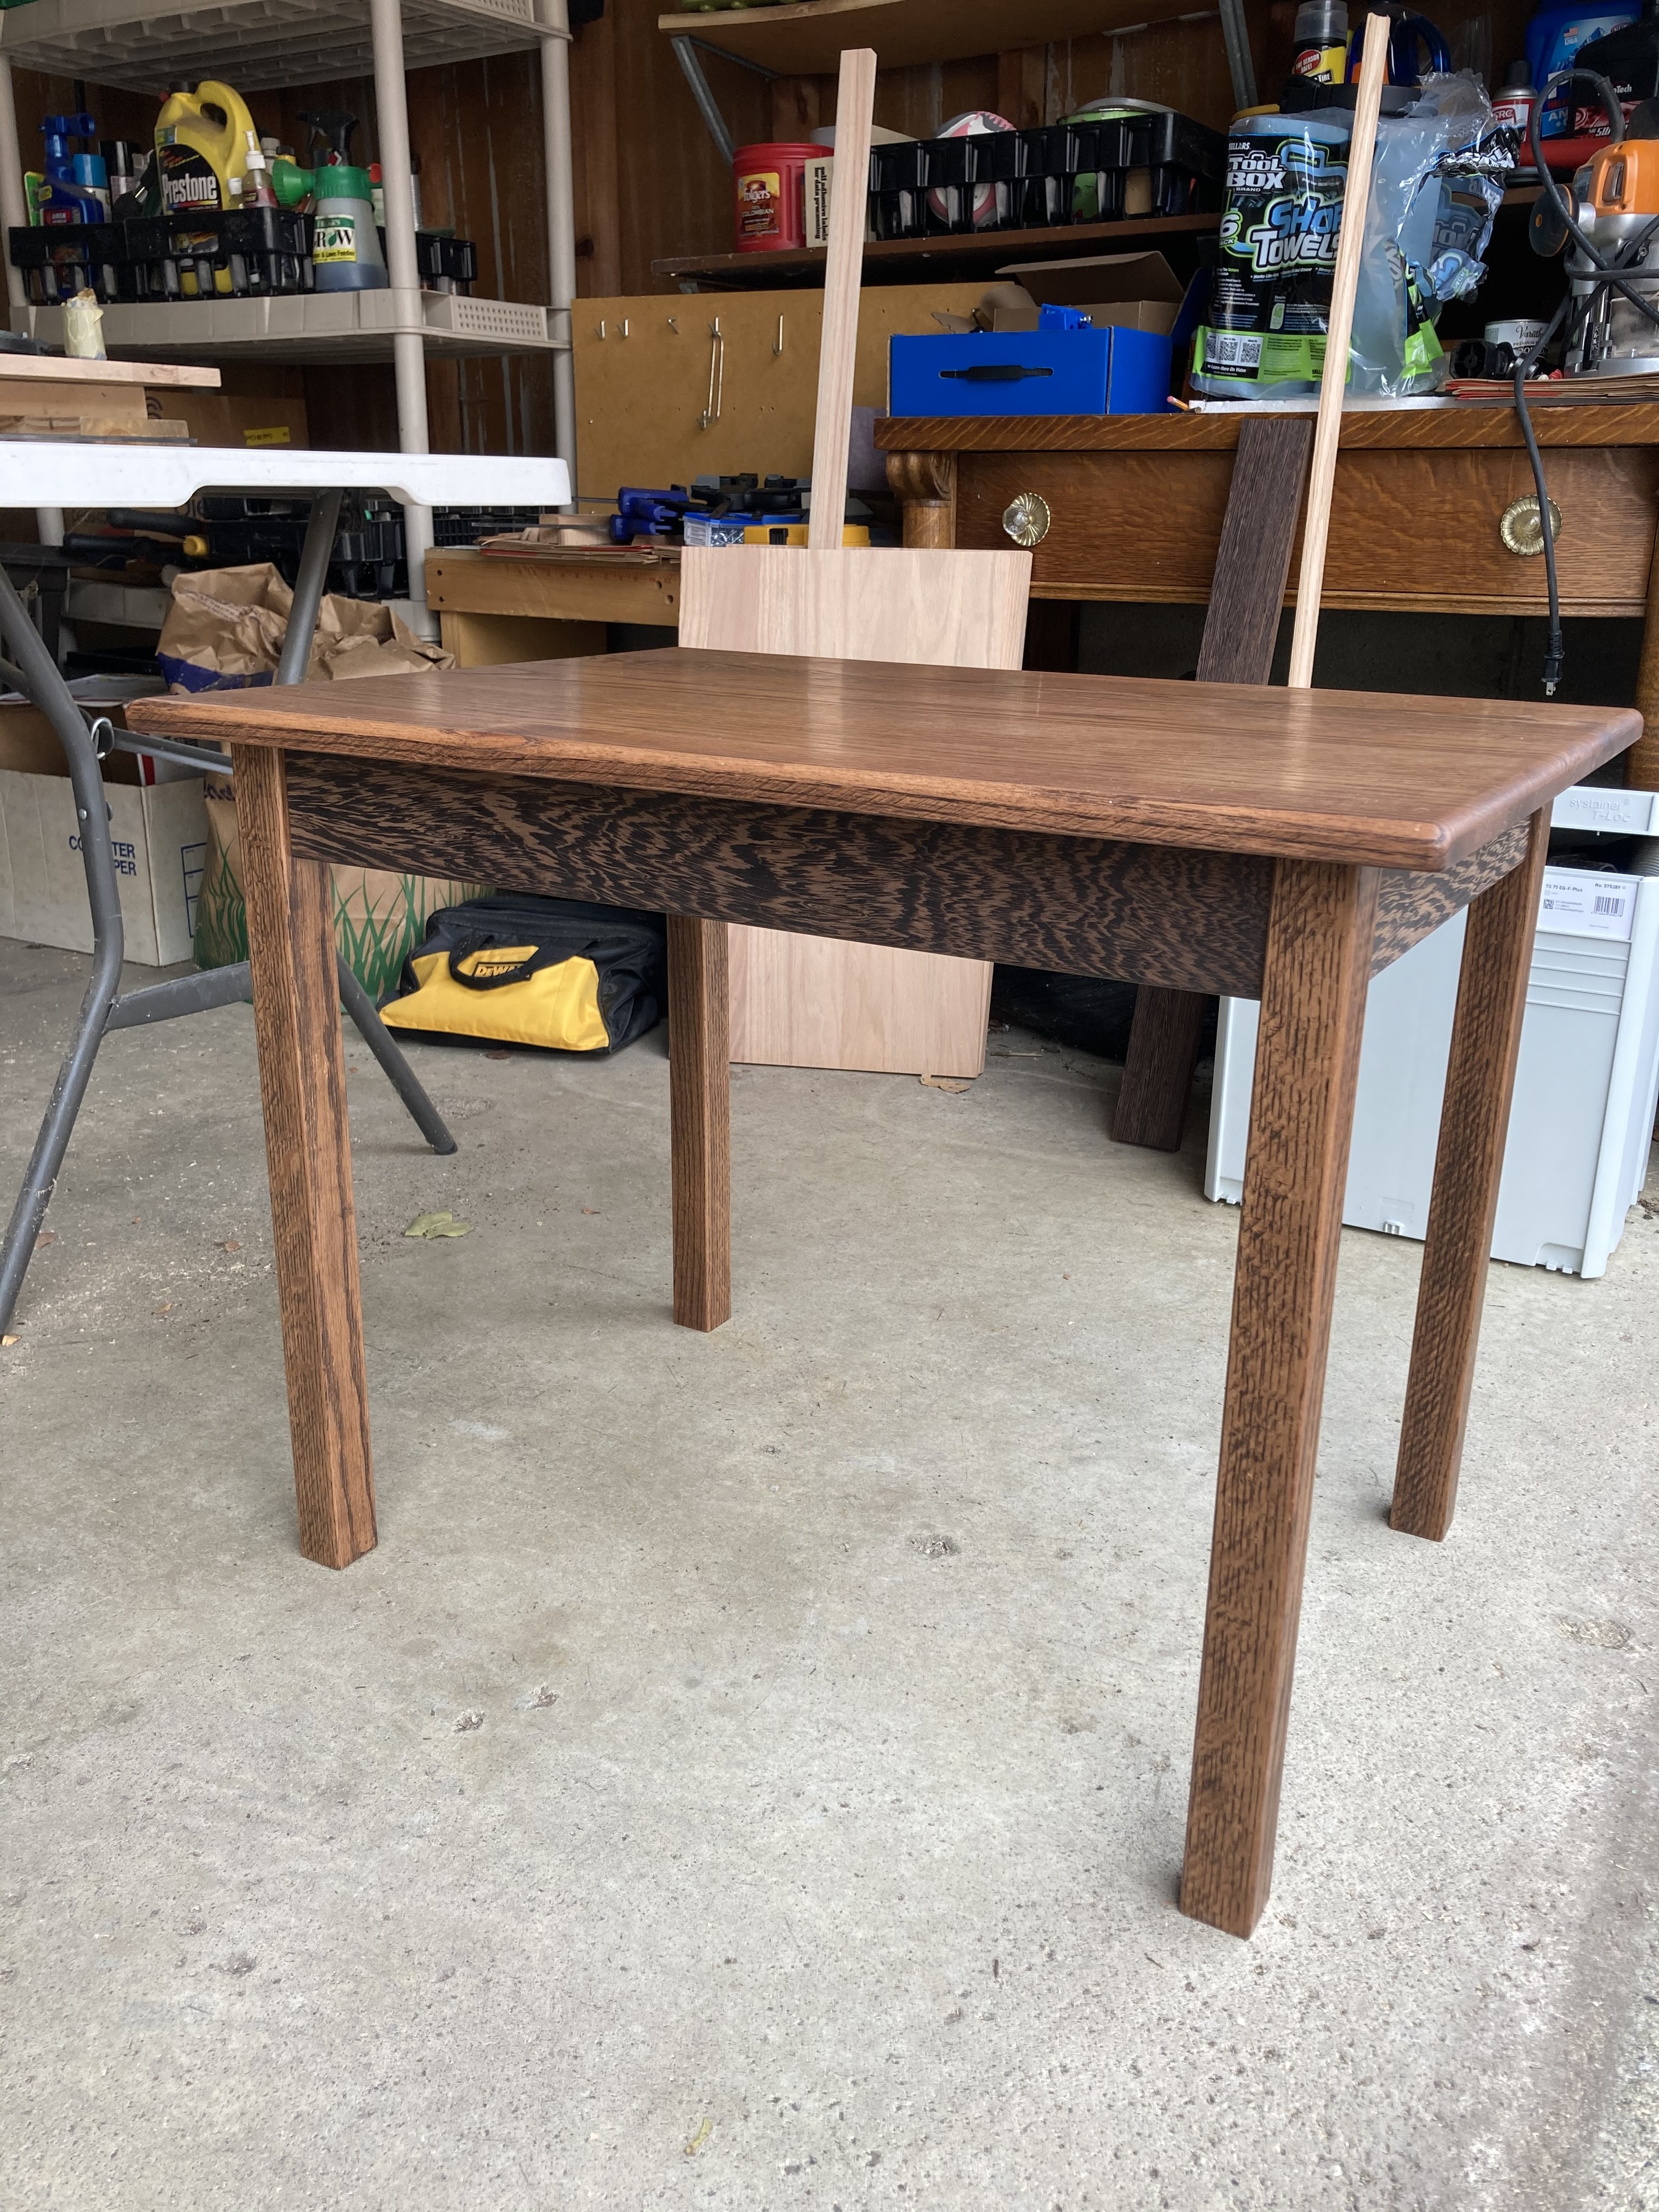
On the larger side, we built some furniture for @torchedguitar’s mom in September that turned out amazing and also made me fall in love with pocket holes (I don’t care what anyone says!!). Two side tables with red oak and a wenge skirt -
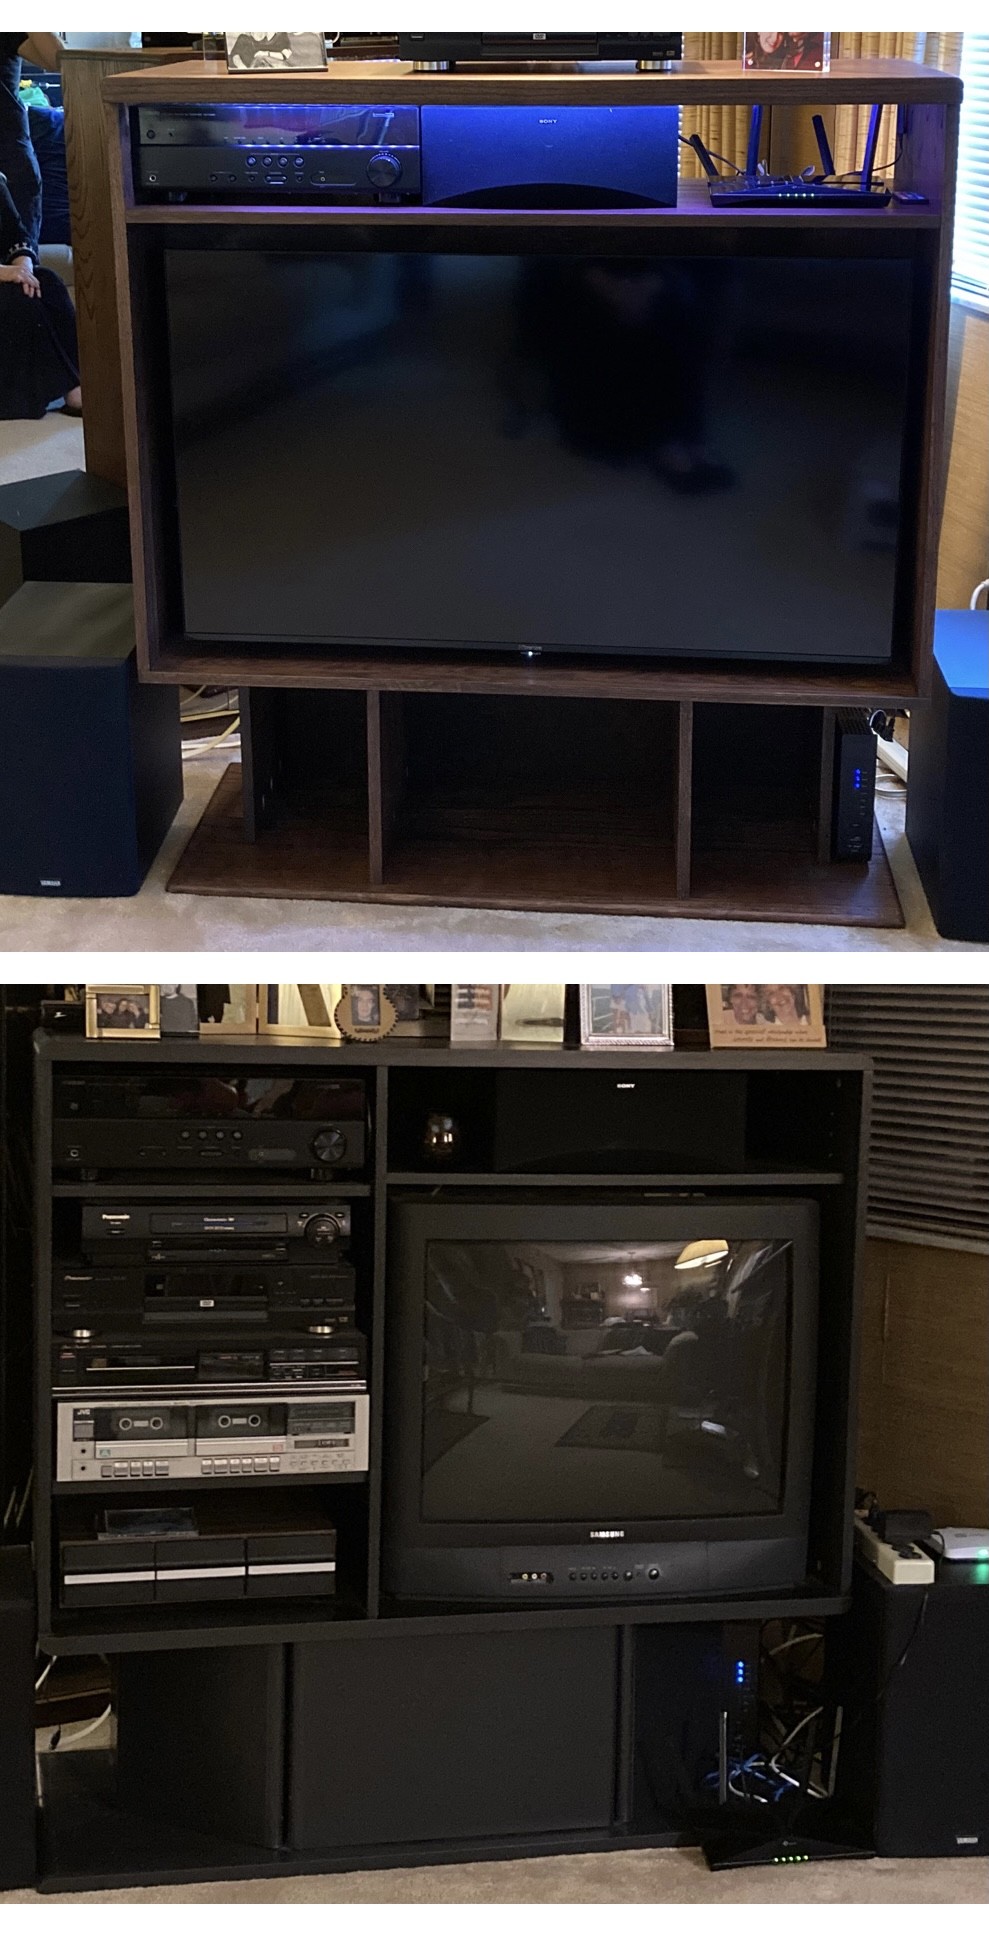
New entertainment center in red oak to keep the look of the previous one while bringing all the tech up to date.
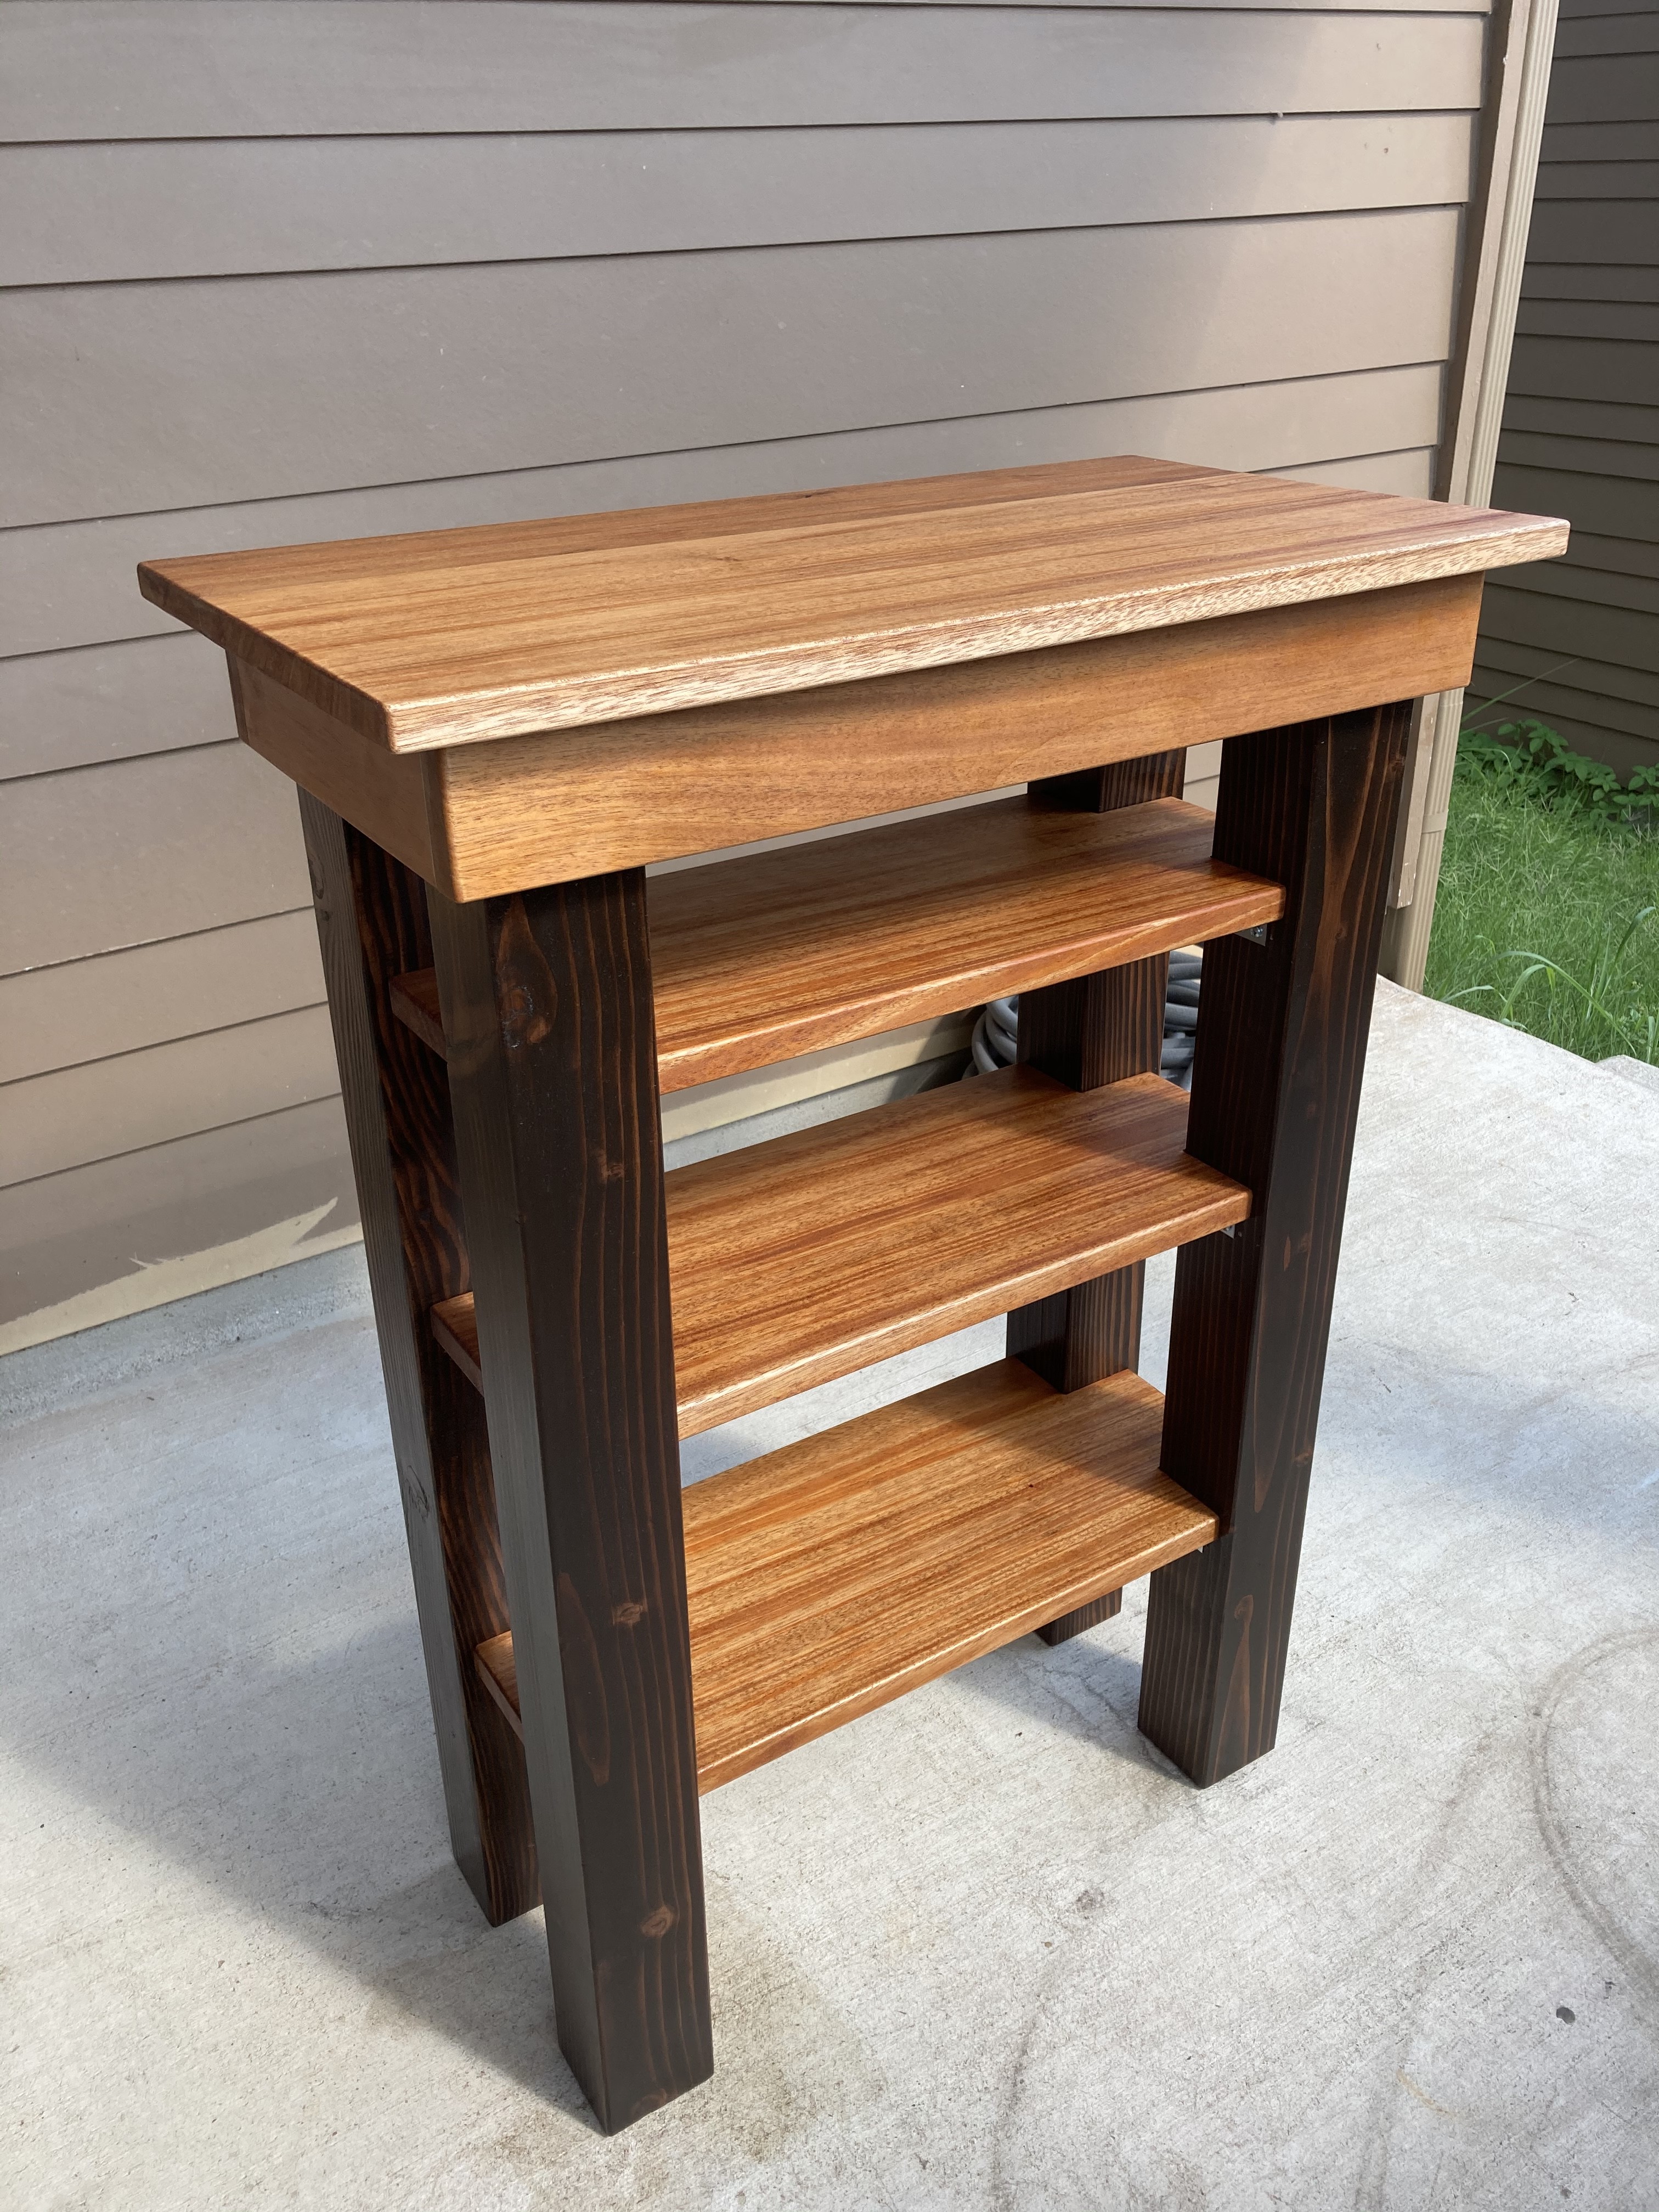
My favorite (and maybe the only thing we’ve made for ourselves lately?) is this African mahogany and pine entry table we made. I could stare at that wood all day
When I finish sewing or quilting projects, I cut the remaining fabric into small pieces, and it collects in a drawer. Over the past few days, I assembled this quilt top from those scraps. (I’m feeling low on inspiration these days, and so it’s a delight to just put something together)
I would like to post your pics of your project. I’m asking permission to do so. Also if you have an instagram channel to tag.
@JoeN Permission granted. No Instagram. Thanks!