My friend Amy is an elementary school librarian and never liked the wire puppet rack that was in her library at St. Elmo Elementary School. She was originally thinking of just putting some dowels into a shelf, but when she asked me to do something like that, I of course went for something a bit fancier.


The shelves were two of the shelving unit’s original shelves (veneer over particle board). Those I cut insets into on the CNCs.
The uprights were made from wood I salvaged when the Austin Opera was throwing out old set pieces while moving into a new, smaller warehouse this spring. They were all 2x4s and 2x6s which I split in half using the resaw bandsaw, then jointed and planed down to 1/2”.
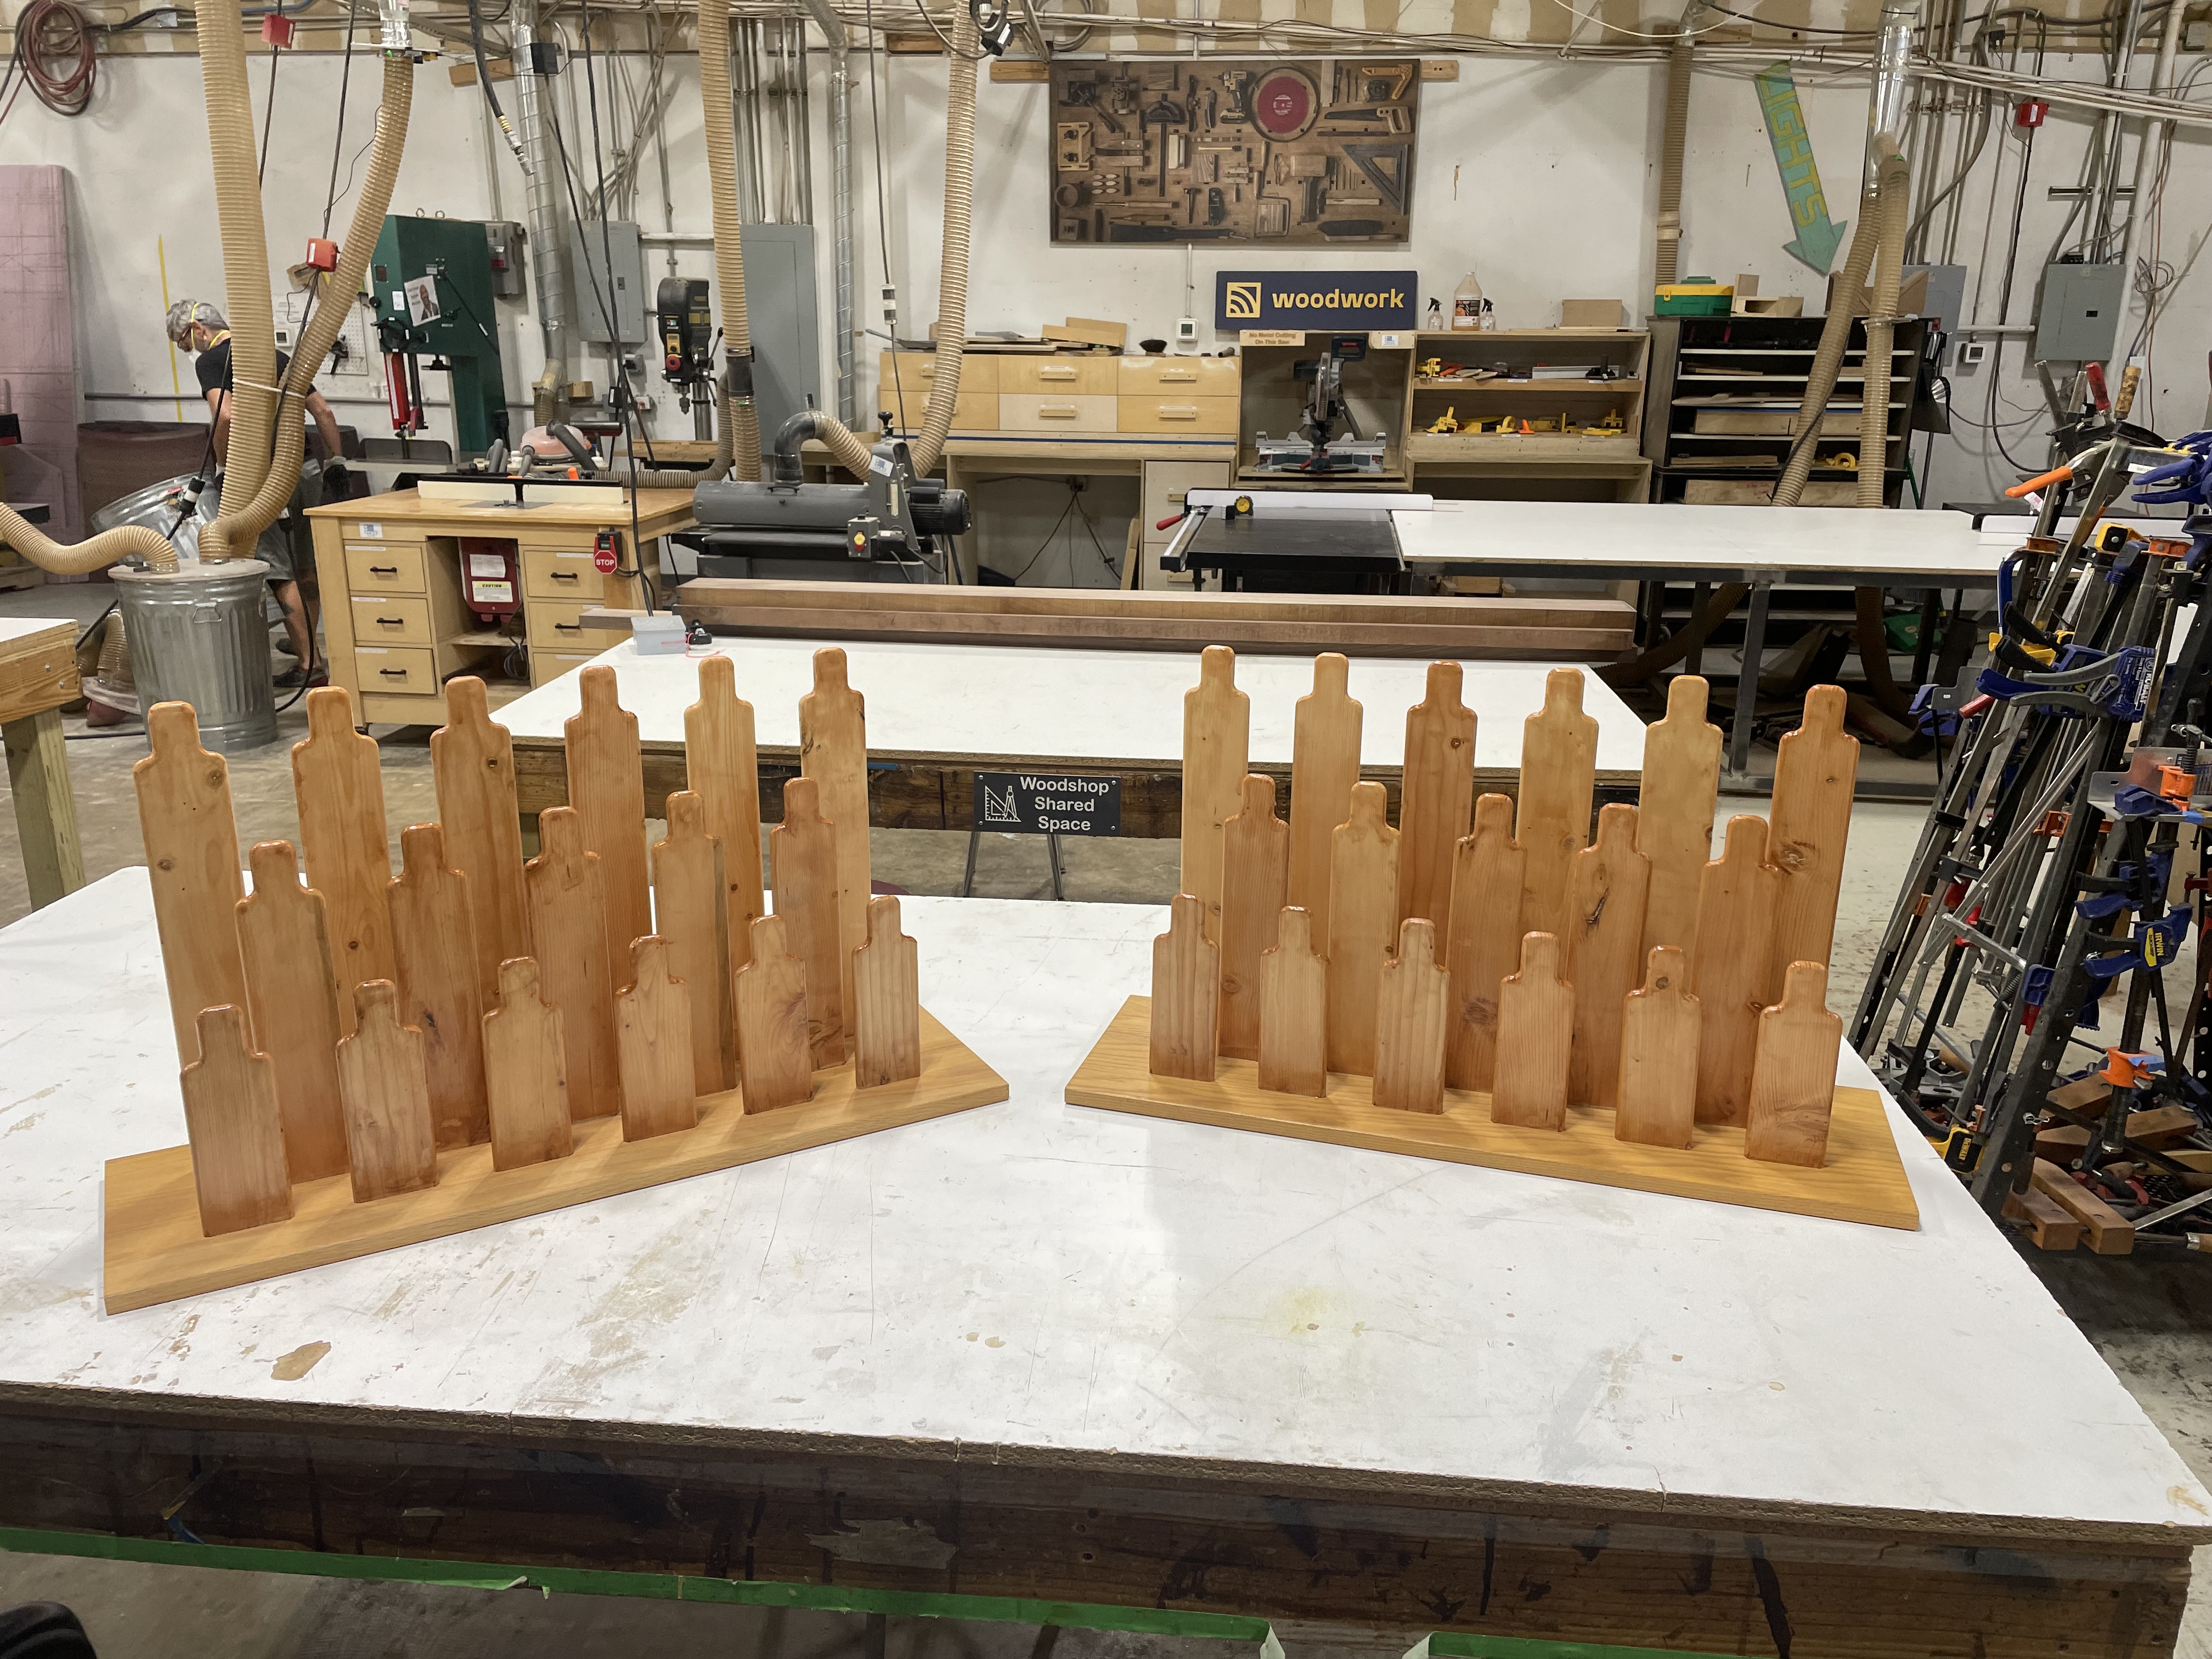
The shape of the uprights was designed to give better support to the heads of the puppets, which are smaller secondary pockets. I cut one upright of each length on the CNC, intending to use a pattern bit on the table router to do the rest. But I was getting terrible tear-out using my old 3/8” standard straight pattern bit. It was ruining most of the pieces, despite many tricks I tried to avoid it. I would likely have had much more success with the nice 1/4” spiral compression pattern bit I got from Amazon in March. But it arrived during the Poe ballet and I put it … somewhere. ![]() I searched the most obvious places to put it without success. I’m sure it will turn up as I clean my place in the next month, but I had a deadline and had to move on. So I ended up cutting all of the uprights on the small CNC. If I’d planned for that in advance I’d have made some sort of hold down jig for the pieces and/or arranged to cut many pieces at once. But I was in a rush at this point and just did them all individually, using a lot of tape, glue, and accelerator.
I searched the most obvious places to put it without success. I’m sure it will turn up as I clean my place in the next month, but I had a deadline and had to move on. So I ended up cutting all of the uprights on the small CNC. If I’d planned for that in advance I’d have made some sort of hold down jig for the pieces and/or arranged to cut many pieces at once. But I was in a rush at this point and just did them all individually, using a lot of tape, glue, and accelerator.
I then rounded the sides over on the table router. Doing a 1/4” round-over on both sides of a 1/2” piece is definitely an advanced technique, especially in the interior corners, but it turned out well.
On a previous project, I’d been very happy with Varathane’s Stain&Polyurethane-in-One. But I wasn’t able to find that locally when last I looked. It turns out that Behr and Minwax’s versions of this are bad and mediocre, respectively. I only learned of the latter’s limitations in doing this. If I’d had another day or two to sand and re-coat them, I’d have been much happier with the results, but I was out of time. I’d have tweaked a few things with the fit and gluing too. But I was able to hide many issues by putting that side facing back, and others just blended into the intended rough look of the reclaimed lumber. And most of it will be covered by puppets normally anyway. One thing I was happy with is how well the stain color blended with the original shelving units.
The deadline I faced was that yesterday was the last day of school for students and the last day my friend would have time to receive it. So I took it to her over lunch yesterday with both the stain and glue still drying. And it couldn’t have waited until next fall, because my friend is retiring! Today is her last day. So she only got to enjoy it herself for one day, but she’s leaving a nice legacy.
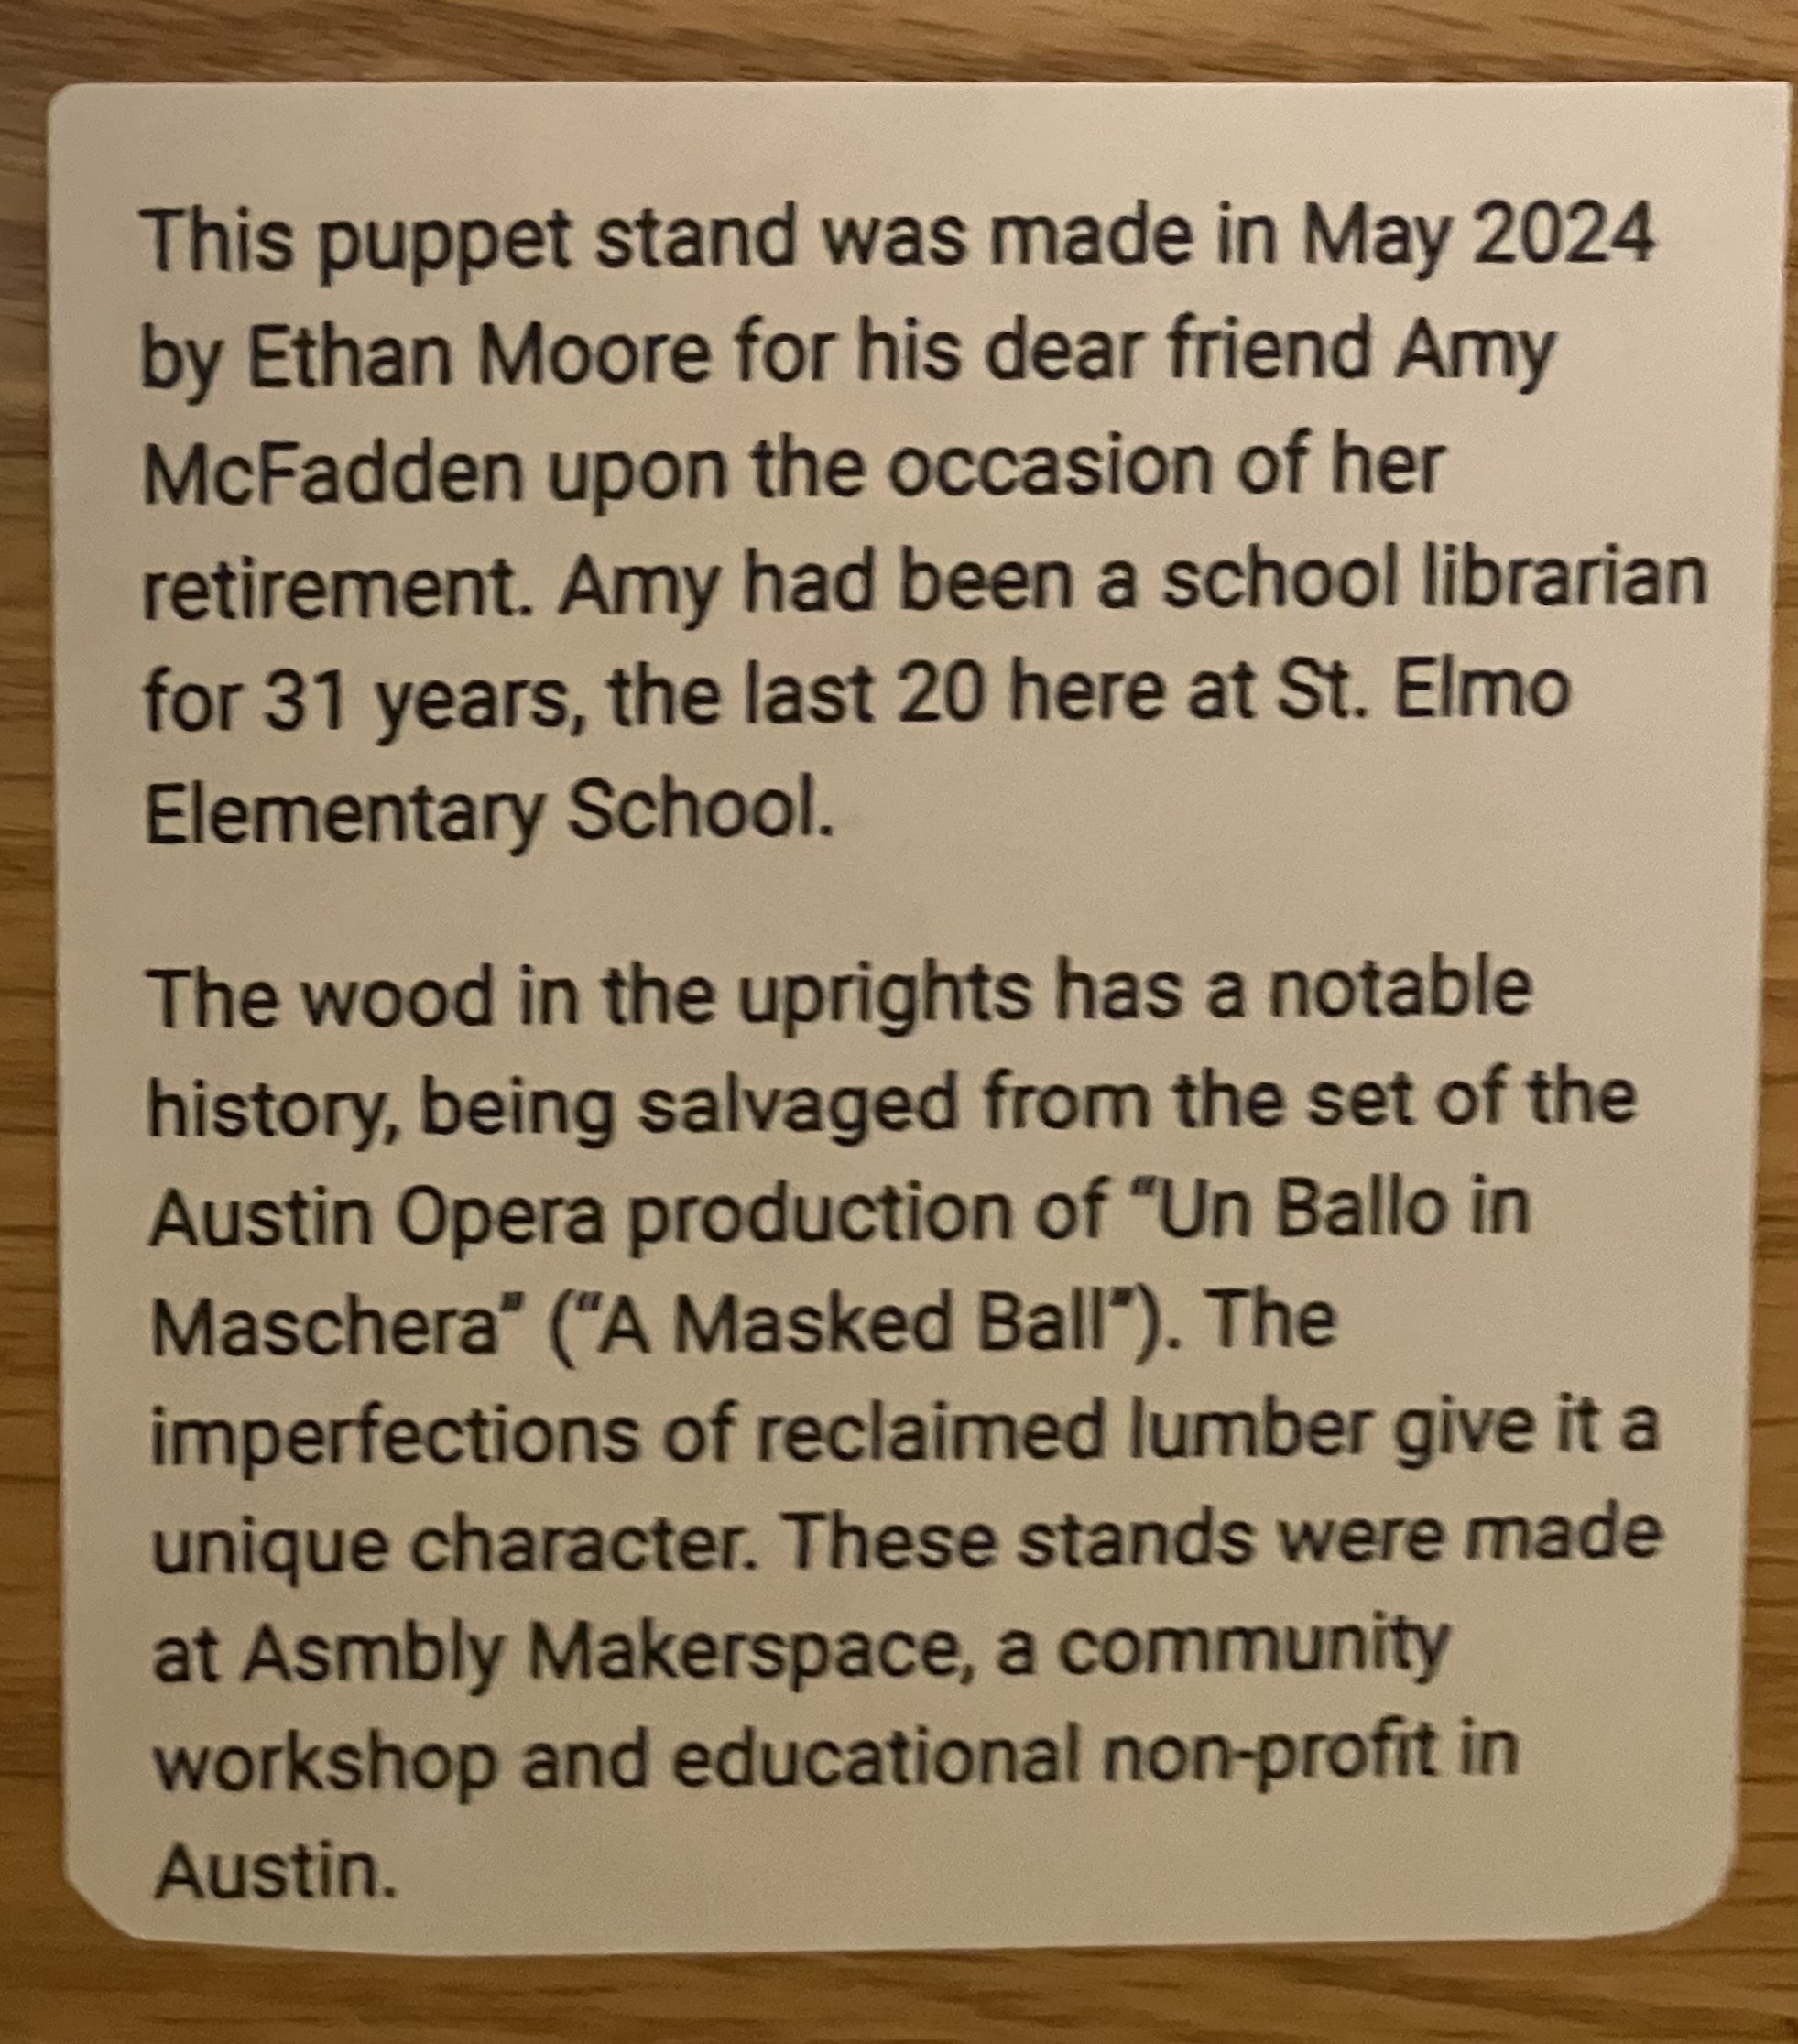
This is the dedication label I put on the bottom of both shelves: