This is a bit open-ended at this point, but I’m exploring our options for a couple different projects…
The core question is this: what are our current tools at ASMBLY for printing / transferring graphics onto wood or fabric? And are there classes required for using them?
Very brief summaries of the projects I’m thinking about:
A poster-size map of a fantasy world. I say “poster-size” just to say on the order of 24 to 36" on a side, but Plan A is to print the map onto wood and mount that into a table/pedestal. Ideally, the end aesthetic looks hand-painted and ancient.
Feathers printed onto either fabric or a very thin plywood (1/8" or less) – or other material of similar rigidity and weight. Thinking of laser-cutting the feather shapes but having the flat surface look like feathers – at least convincing enough for stagecraft prop purposes.
Tagging a couple folks who I’ve either chatted with about printing in the past and/or show up when I search the forums here for dye-sub printing. @stepho@jamesfreeman
At the Space you can use Sublimation printing and the heat press to transfer directly to wood. The heat press is limited to 15" x 15" I believe, so you would have to do multiple presses to get that big. @stepho could give you more insight on the different preps for wood to get different results. I usually just press straight to the wood, and like the results. She teaches the intro to Sublimation class you would need to take. This option also would work for the thinner wood and fabric also.
Another option is to have the wood direct printed at a print shop. I use that option for anything over the heat press size. The shop I use is Quik Print on Crosspark. It’s less than 5 mins from the shop.
You could use the heat press to do your feather print and then print plud cut on the lasers to cut it out.
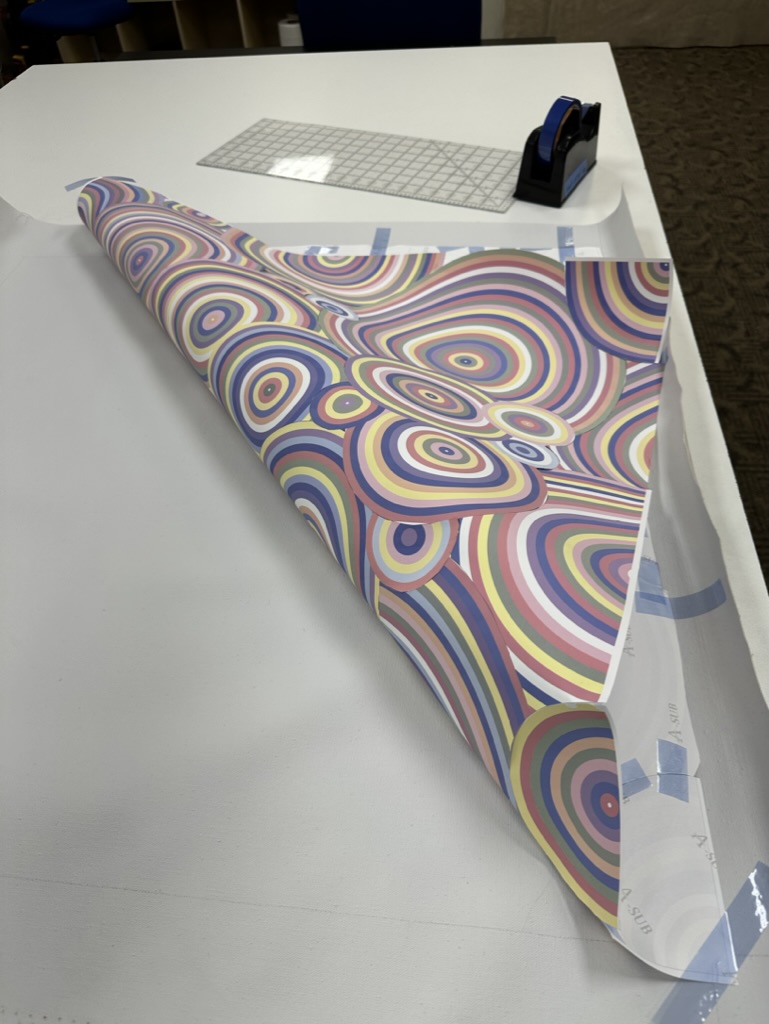
Interesting timing @J-LoM - I tried out a new strategy for sublimating onto a large surface for the first time this week, with reasonable results.
In reverse order - sublimating feathers onto thin wood will be very easy to do with our current setup. I can show you the various experimentation i’ve done with wood scrap to see if any of the options meet your needs.
In regards the map. The large piece I worked on this week is an underpainting layer that I put onto a large piece of canvas. I’m happy to show you the process. I used a Cricut ‘easy press’ which is sort of the love child of a heat press and an iron.
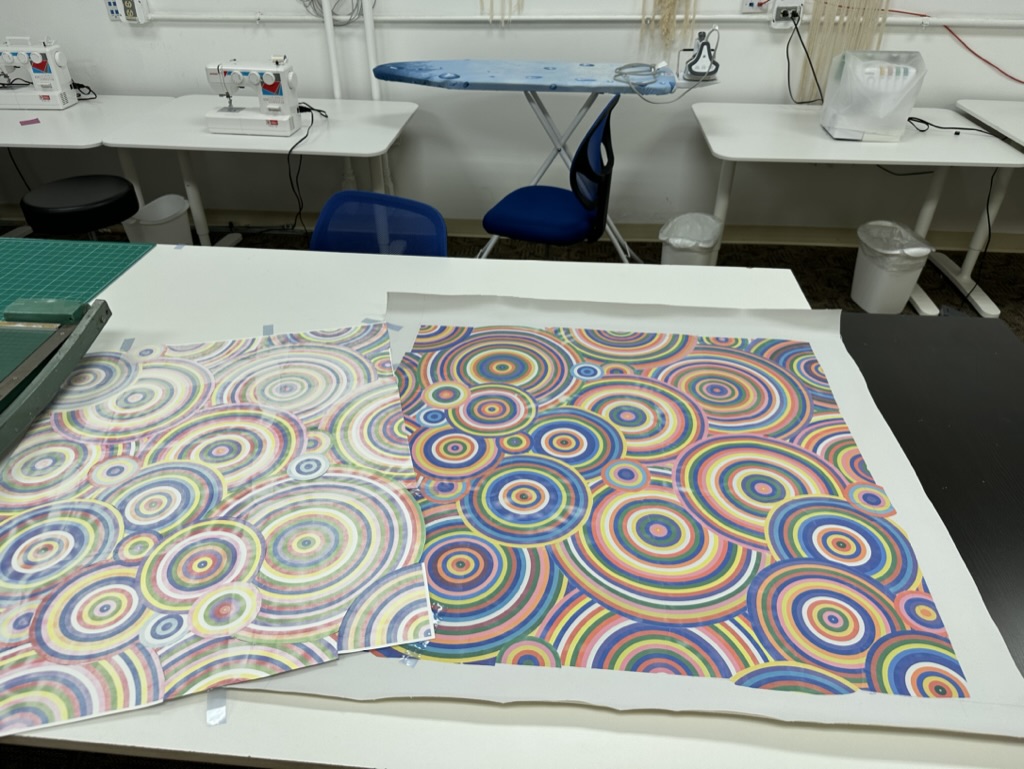
The end result (right) next to the spent sublimation paper. Because I intended this to be painted over, the color saturation wasn’t great - but it was more than adequate for my needs. The design also got sort of wobbly in some areas, but again, fine for my goals here.
Happy to show you my ever-growing set of samples and talk through what I used to achieve the results. I think the sublimation printer and heat press combo will be a great tool to add to your portfolio for stage-building. Fairly quick results for pretty high impact.
@stepho, I see that there’s an intro to sublimation class scheduled for February 5th, but of course I’ll be out of town that weekend. The next one I see is in March, which would be a bit late for our April show. Any other options? Definitely a process I’d like to learn more about in general and would appreciate your expertise.
To be clear about the feather project: we hope that the print-on-wood idea stays a “Plan B” – we found reasonably-priced pre-printed feathers and we think we can combine that with real natural feathers to get the effect we want.
For the map, I definitely like the idea of printing onto wood at a large scale. Stretch goal will be to CNC some very basic relief onto the surface, like maybe cut V-grooves at the rivers and print the rest. I presume I would want to print first (i.e. on completely flat plywood), then do a form of pin registration alignment to cut afterwards.
It’s fairly easy to do this this a laser and registration marks. It’s called Print And Cut and done by putting the red dot pointer on 2 points by visual alignment and correlating them to 2 points in the Lightburn project.
It doesn’t actually require marks- any 2 distinct points can be used, but the further apart the better. You want a corner or an intersection of lines where you can locate that as a specific point. That is, a curved feature or a wider charcoal line would not be a good choice to try to align with.