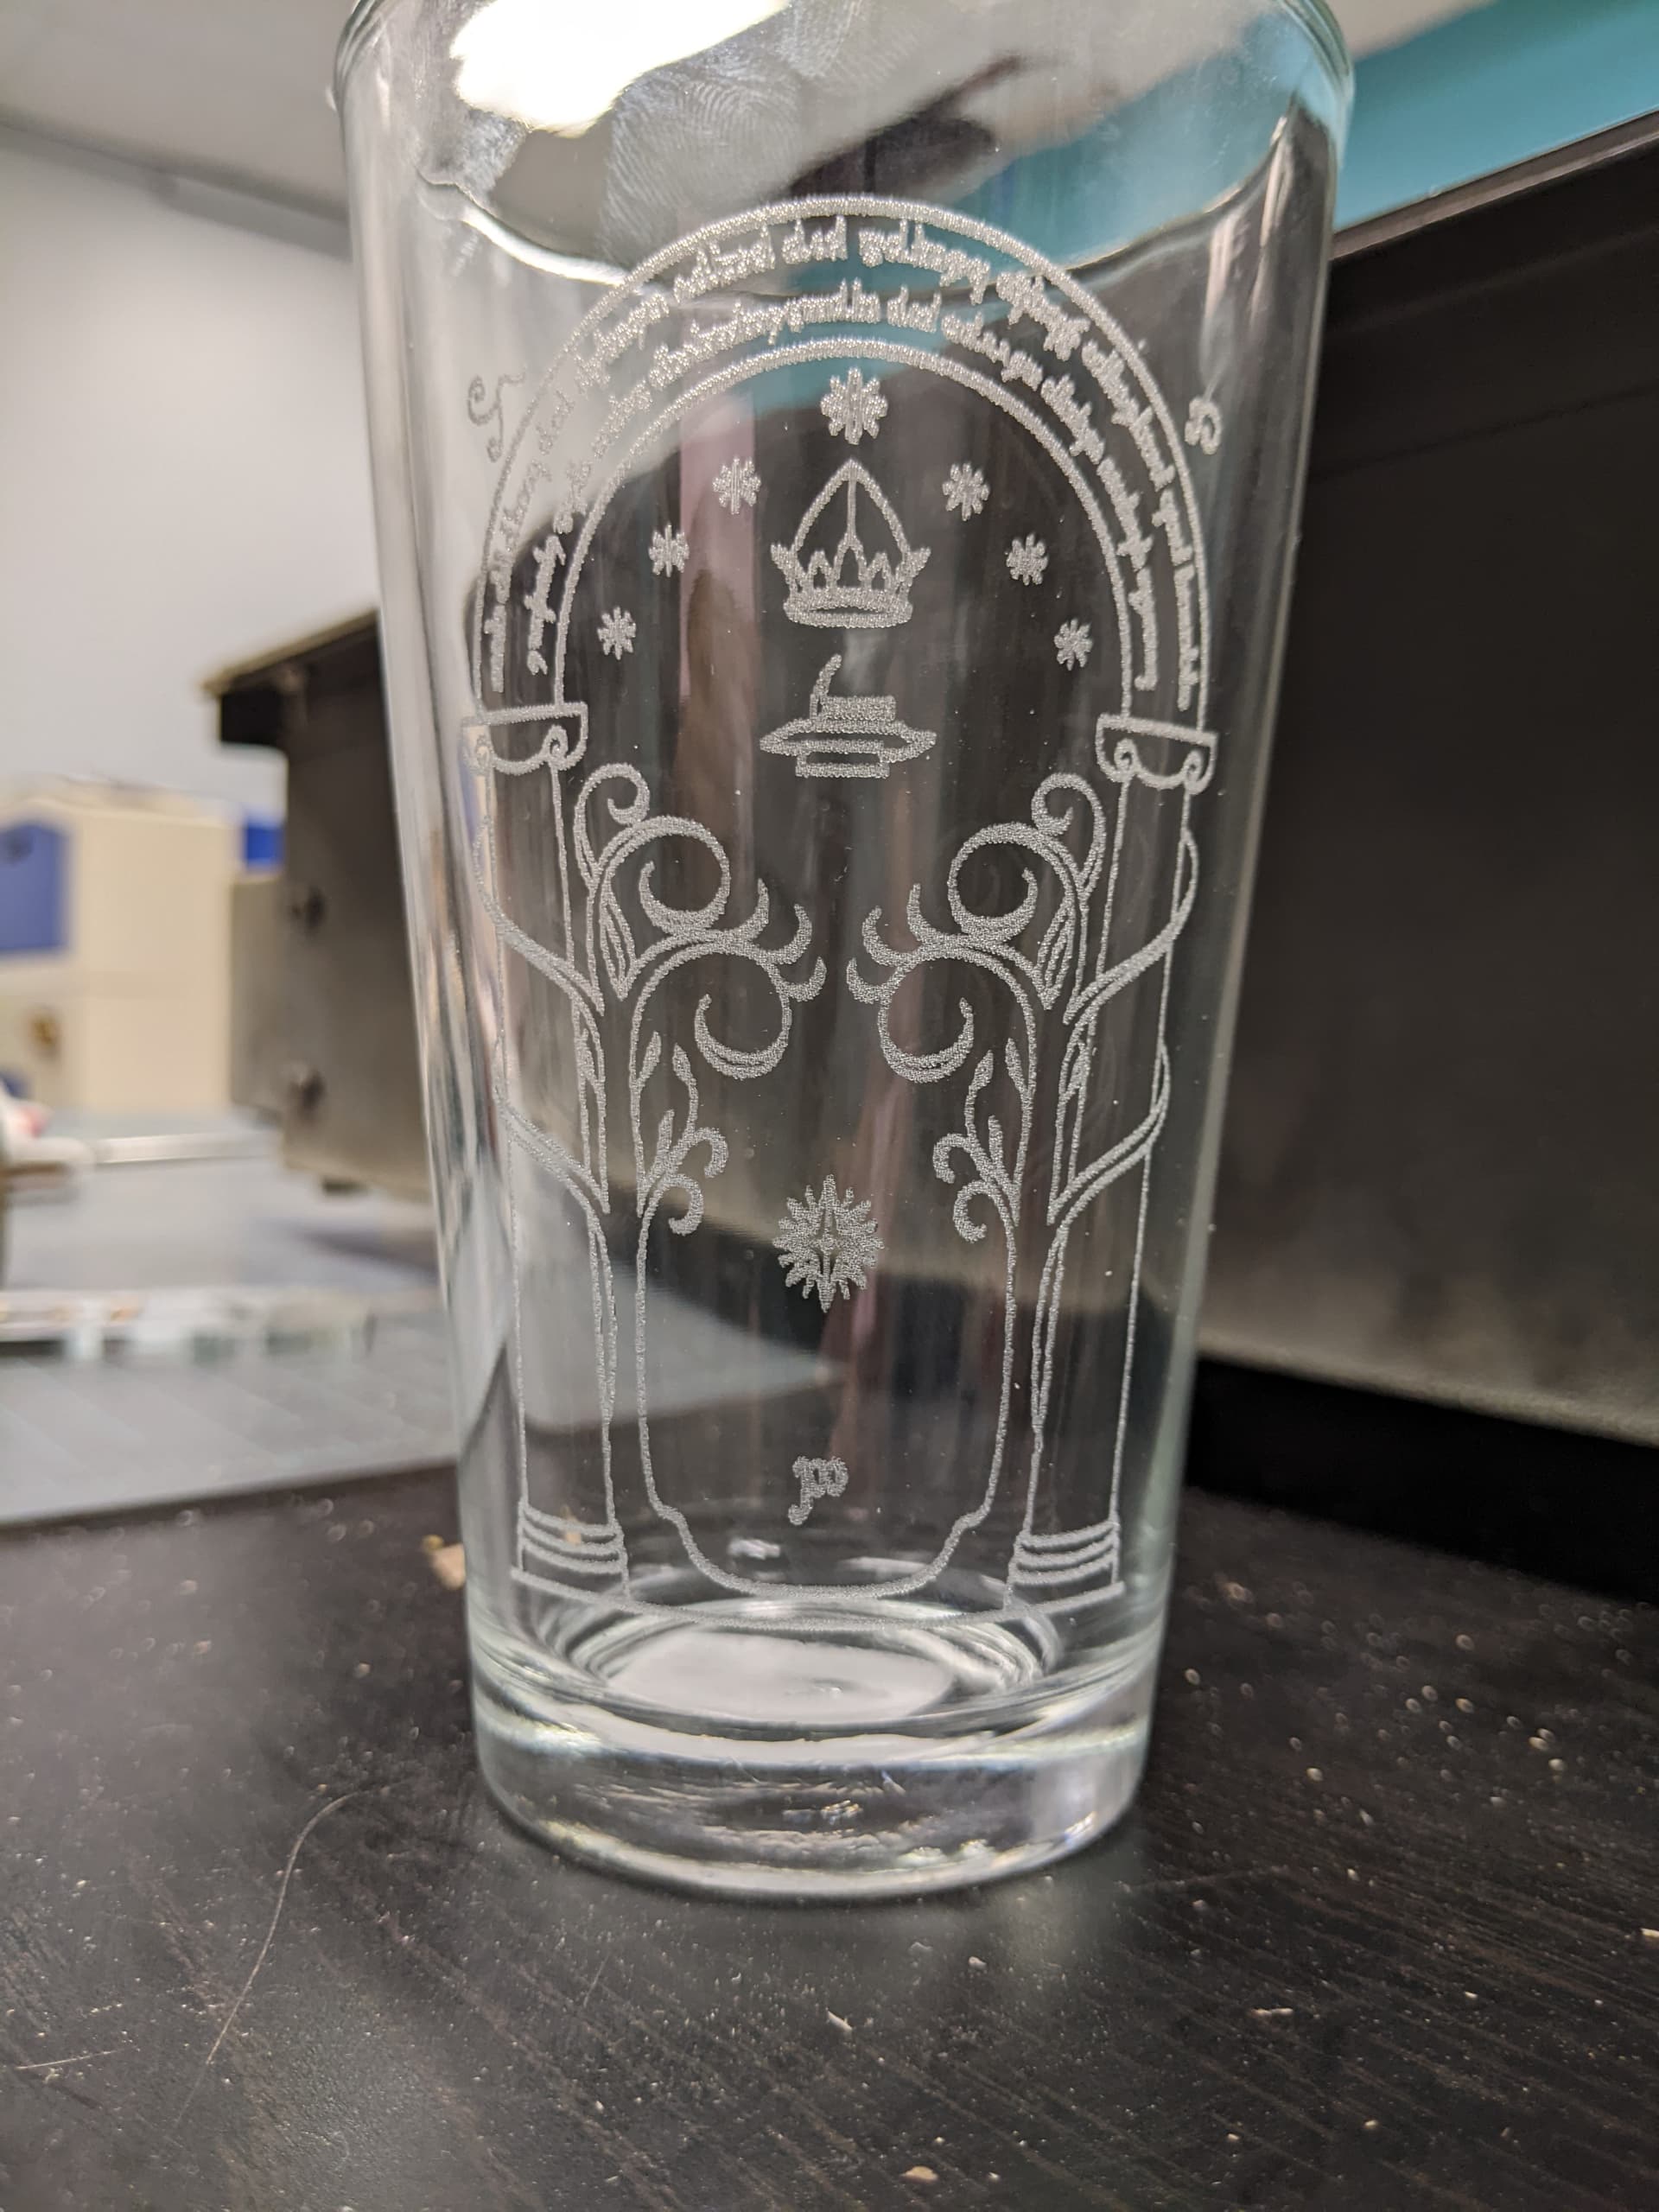
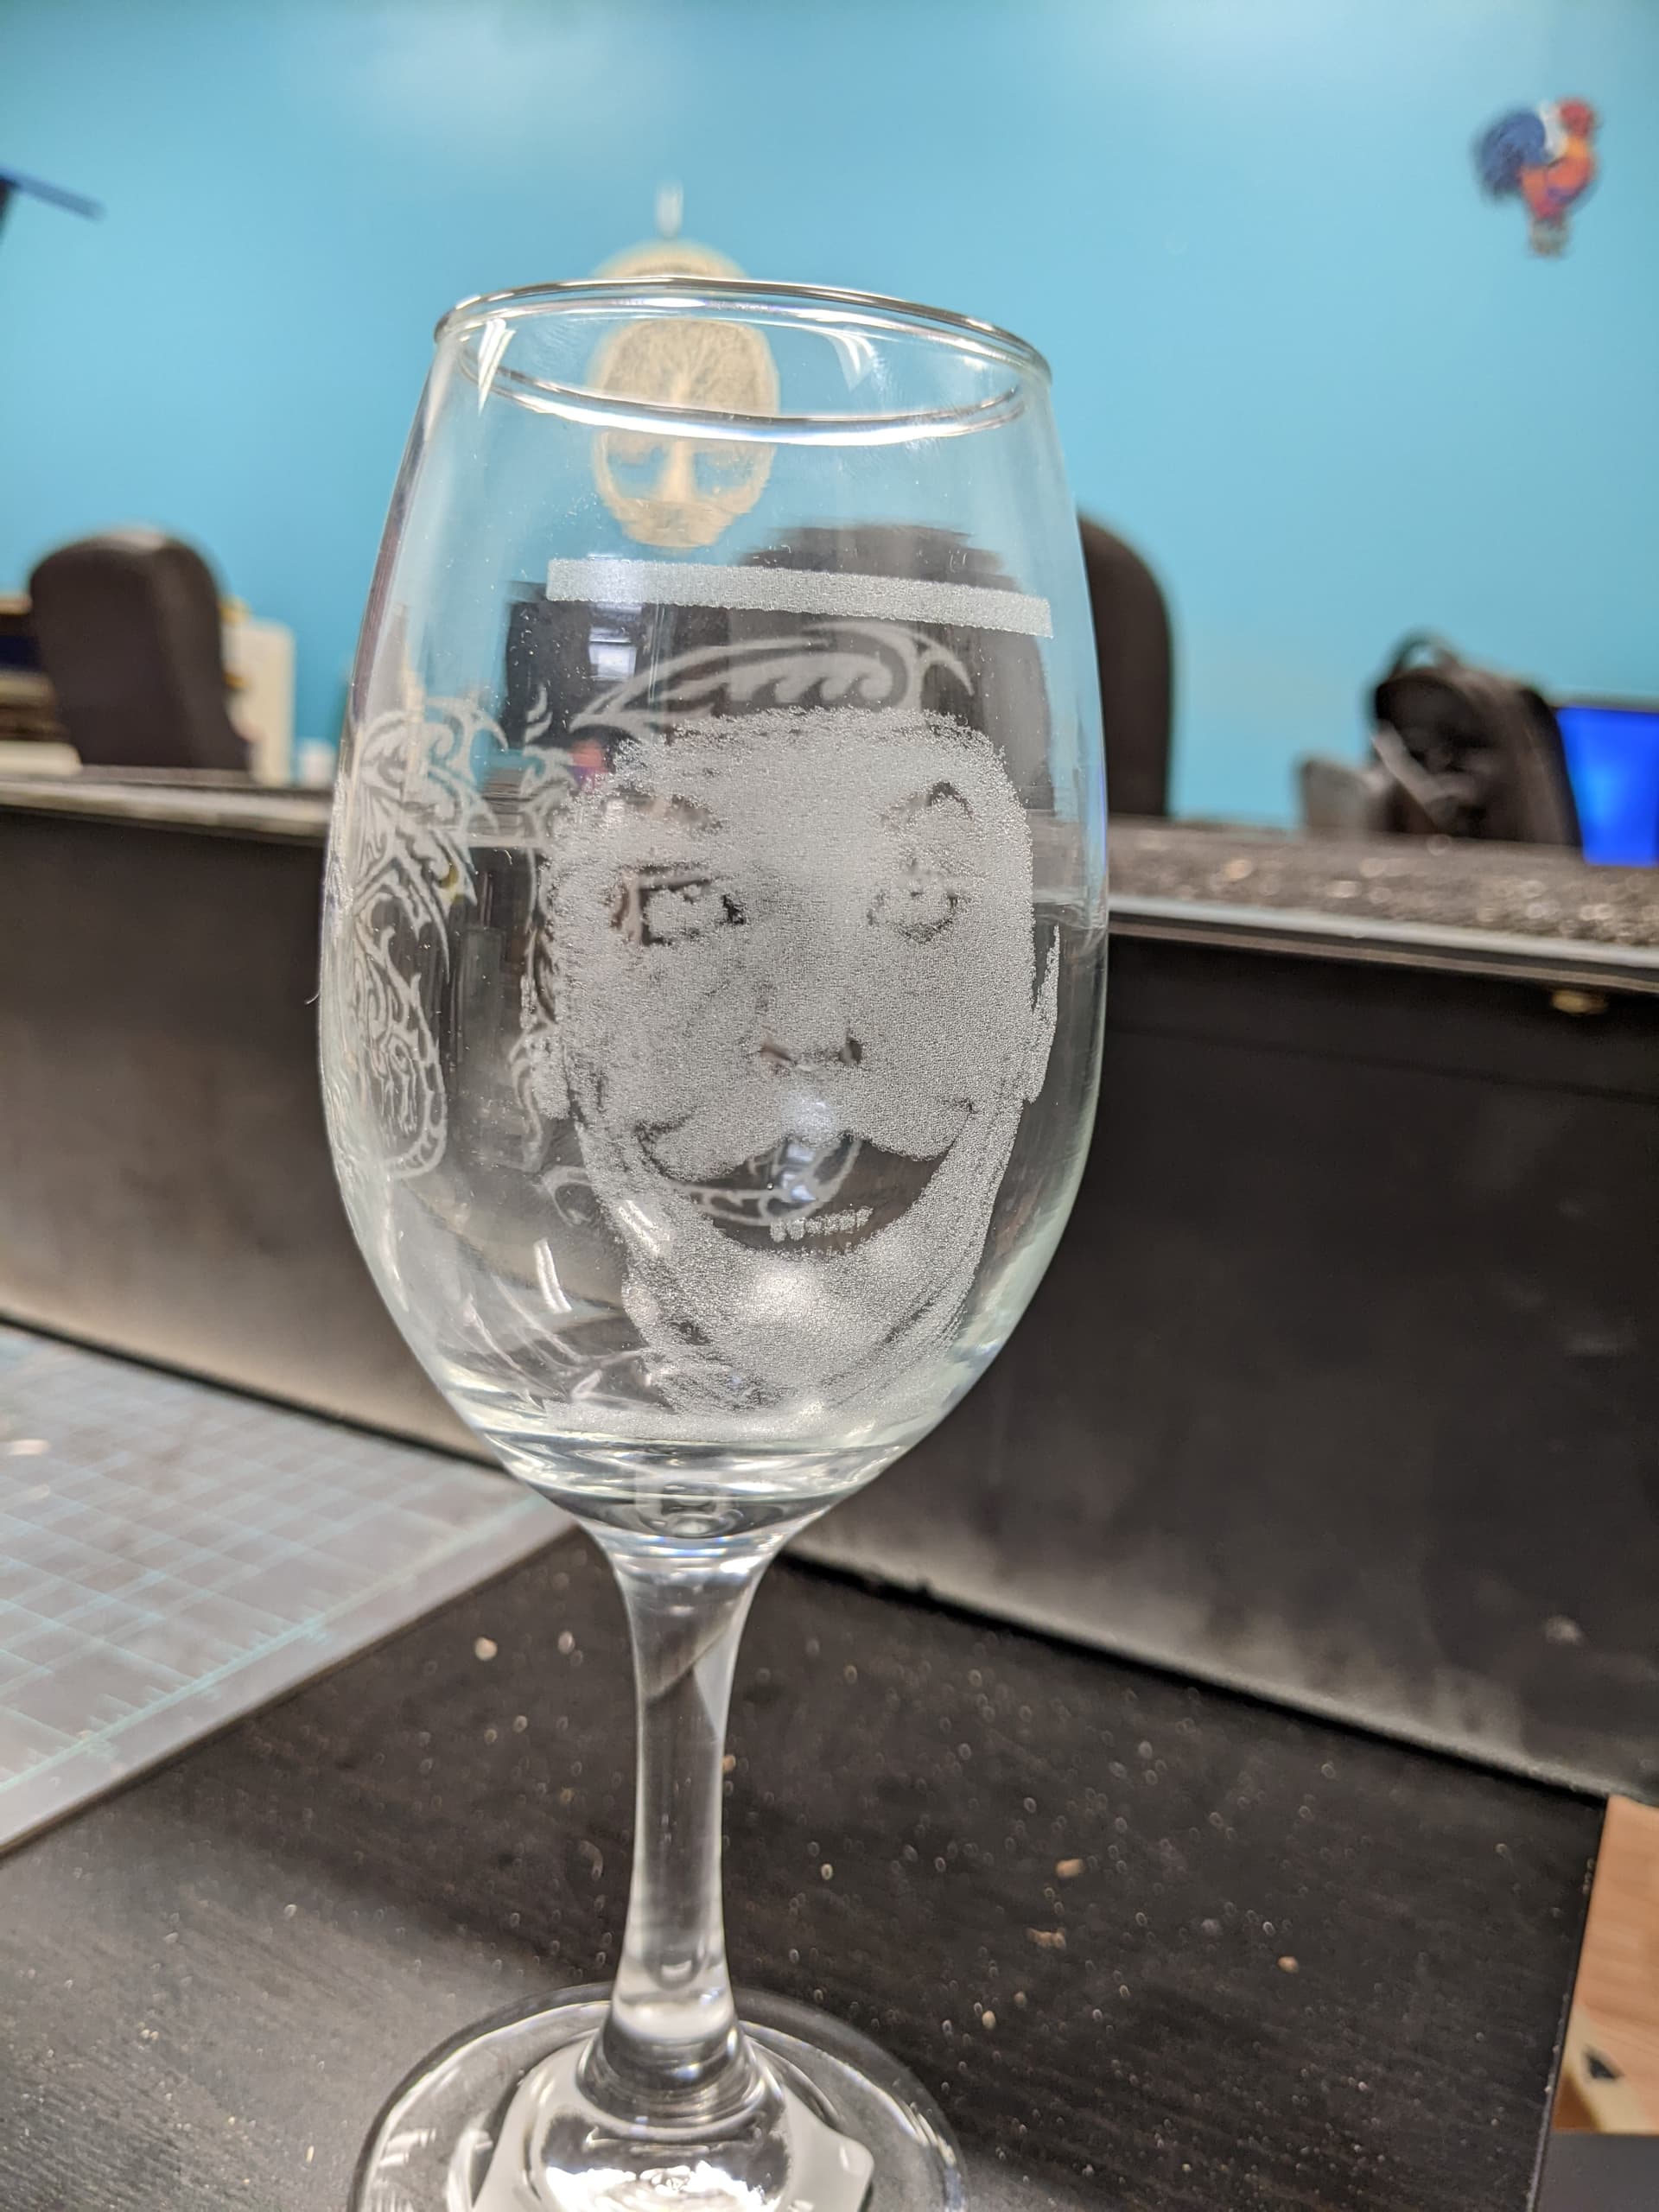
Refamiliarized myself with Pearl’s rotary on glass. Turned out it’s really simple.
100% power 100% speed Image Density -3
Dollar General glassware FTW!
Refamiliarized myself with Pearl’s rotary on glass. Turned out it’s really simple.
100% power 100% speed Image Density -3
Dollar General glassware FTW!
Those turned out great! Can you do some of these with the Asmbly logo for swag at the anniversary party? I can email you the logo if you don’t already have a copy and we’ll obviously reimburse for the glasses.
How many parts would that be?
How about 20? Would that be doable?
They do take a bit longer than you might think, but 20 is fine.
I can also show someone else how to do it if they want to learn the rotary
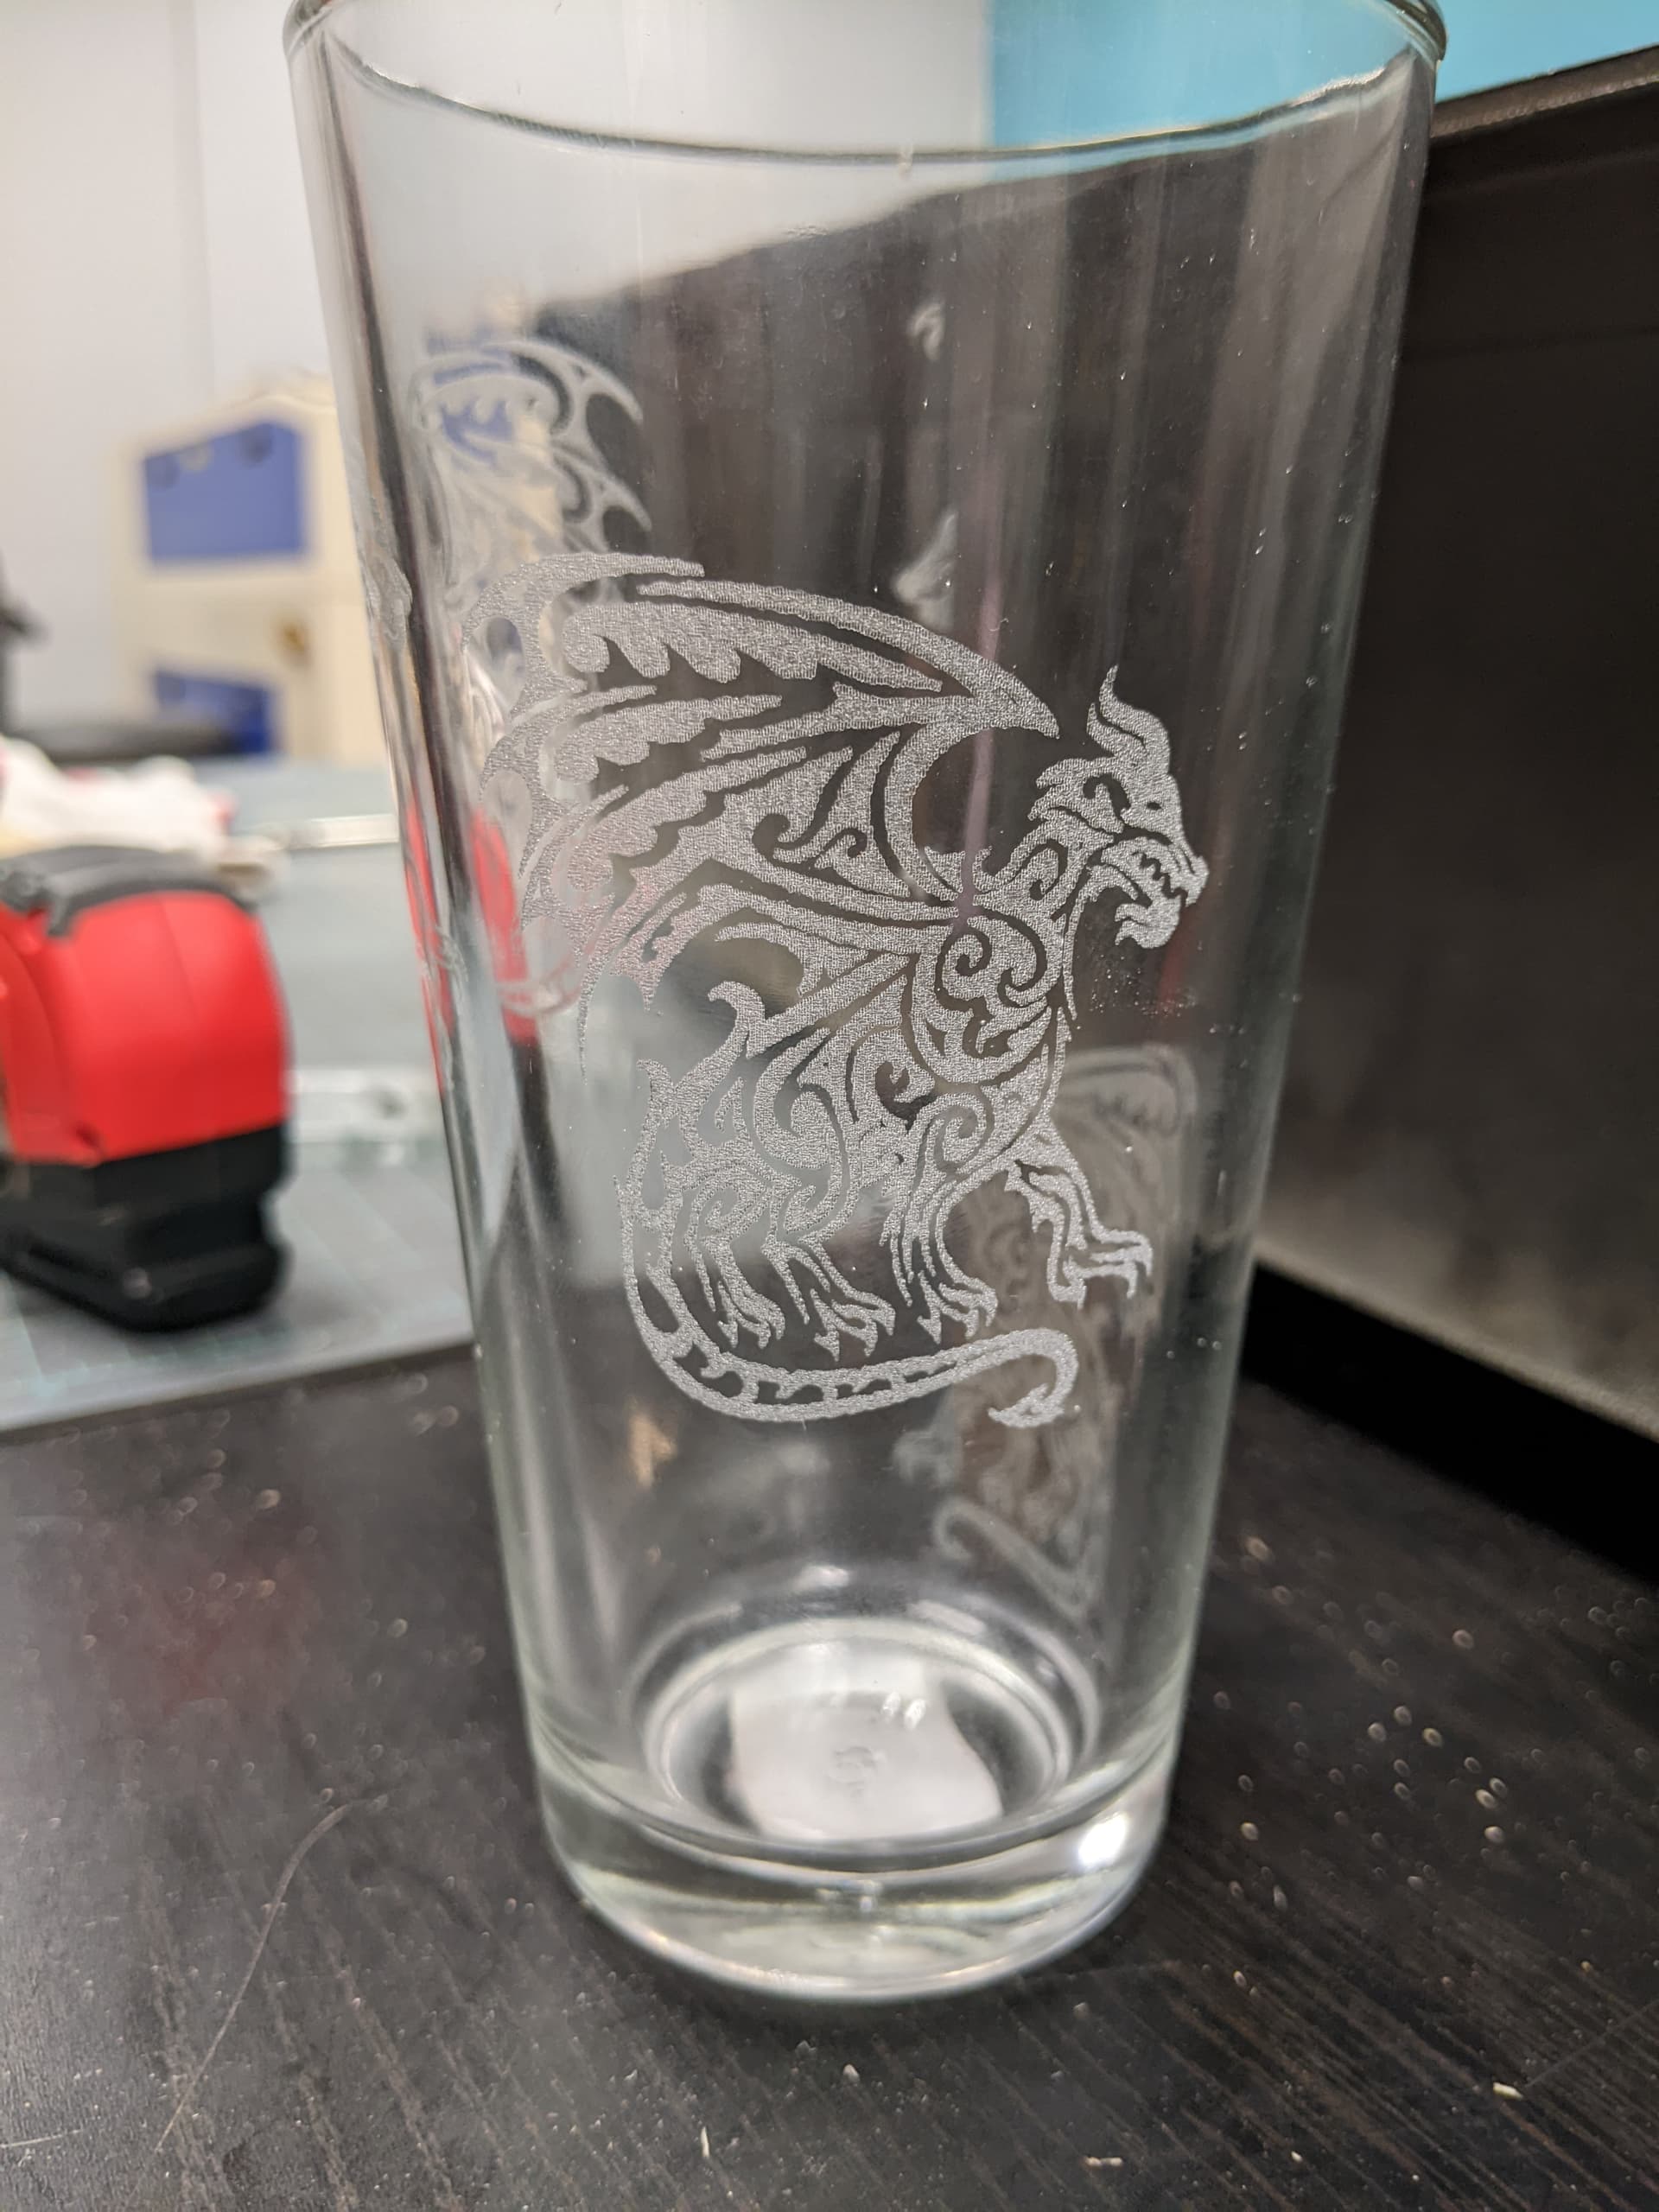
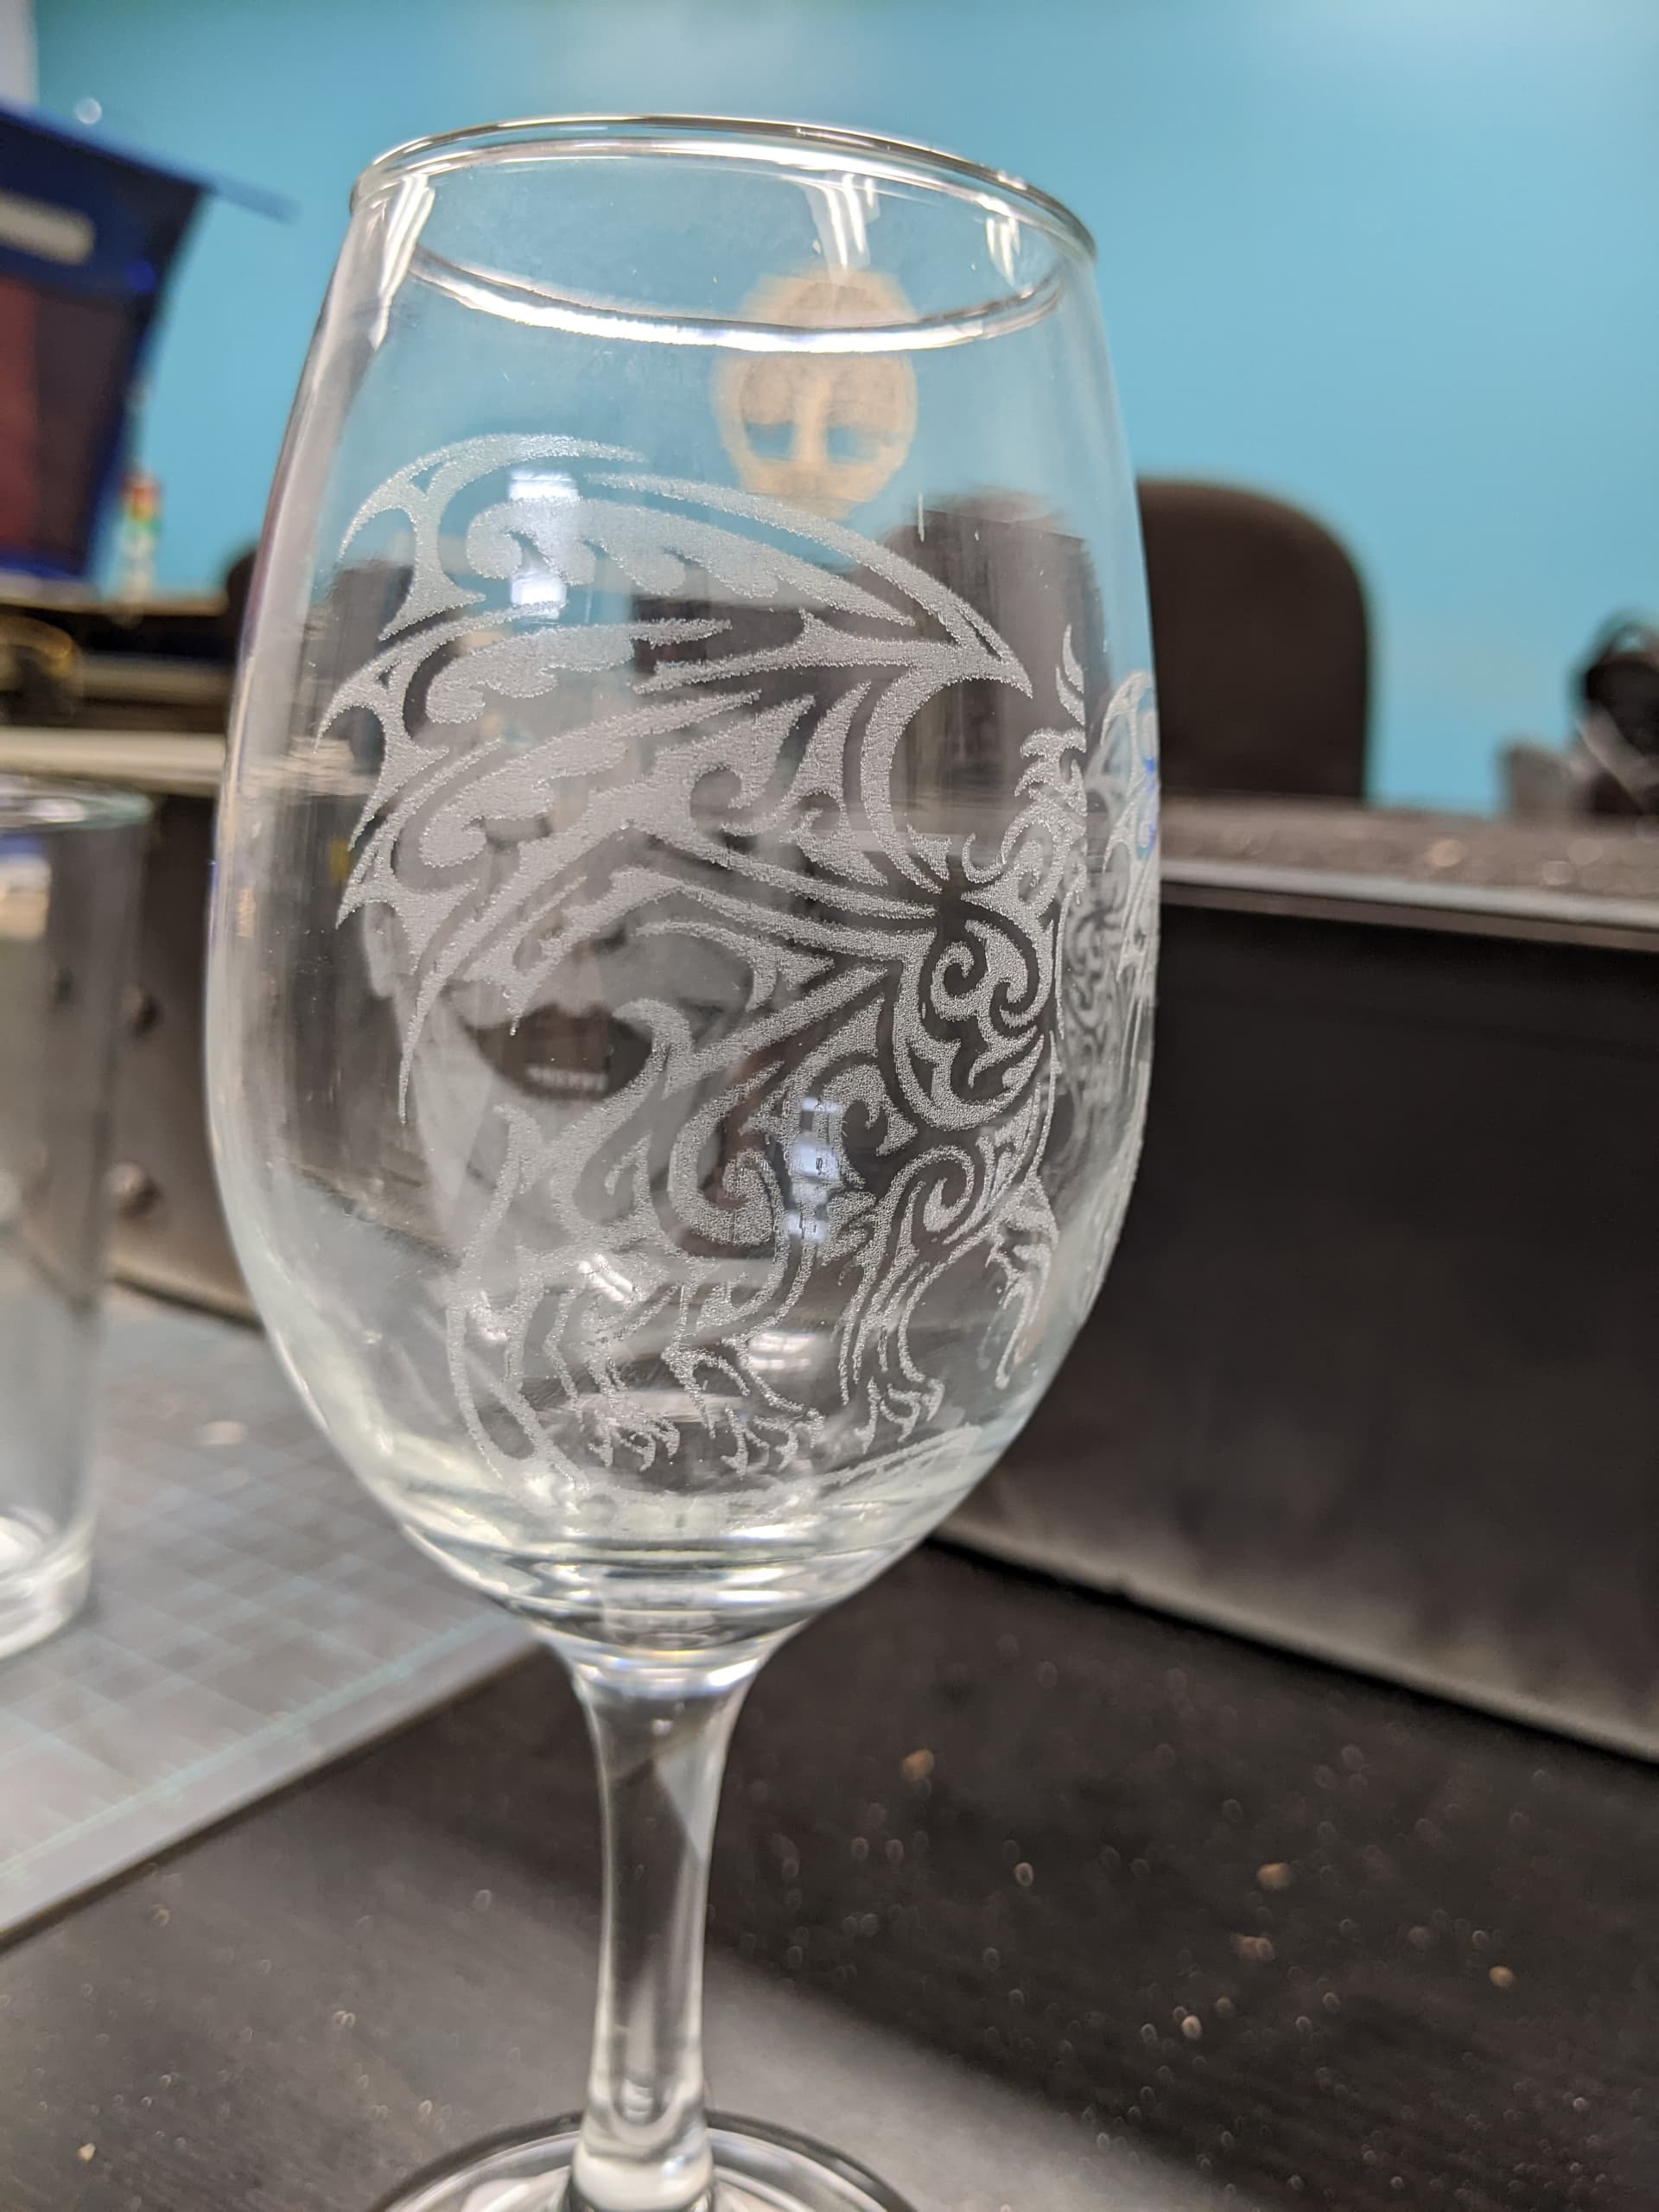
Danny, you may want to tune down the power. If you see shards of glass coming off or dimples in the lasered part, you have too much power. On a 75W laser, 100 speed, 45 power usually has a very good quality frost on low soda content glass (clear non leaded glass, high soda content glass is greenish looking). I’ll make some, if you show me how to set it up on pearl. The dragon graphic is awesome.
I tried it lower. I stepped from 100 power down to 20 and got basically the same cut, I was surprised. Glass seems to etch pretty similar regardless of power. Under a microscope, it still looks the same too, but I definitely changed the power.
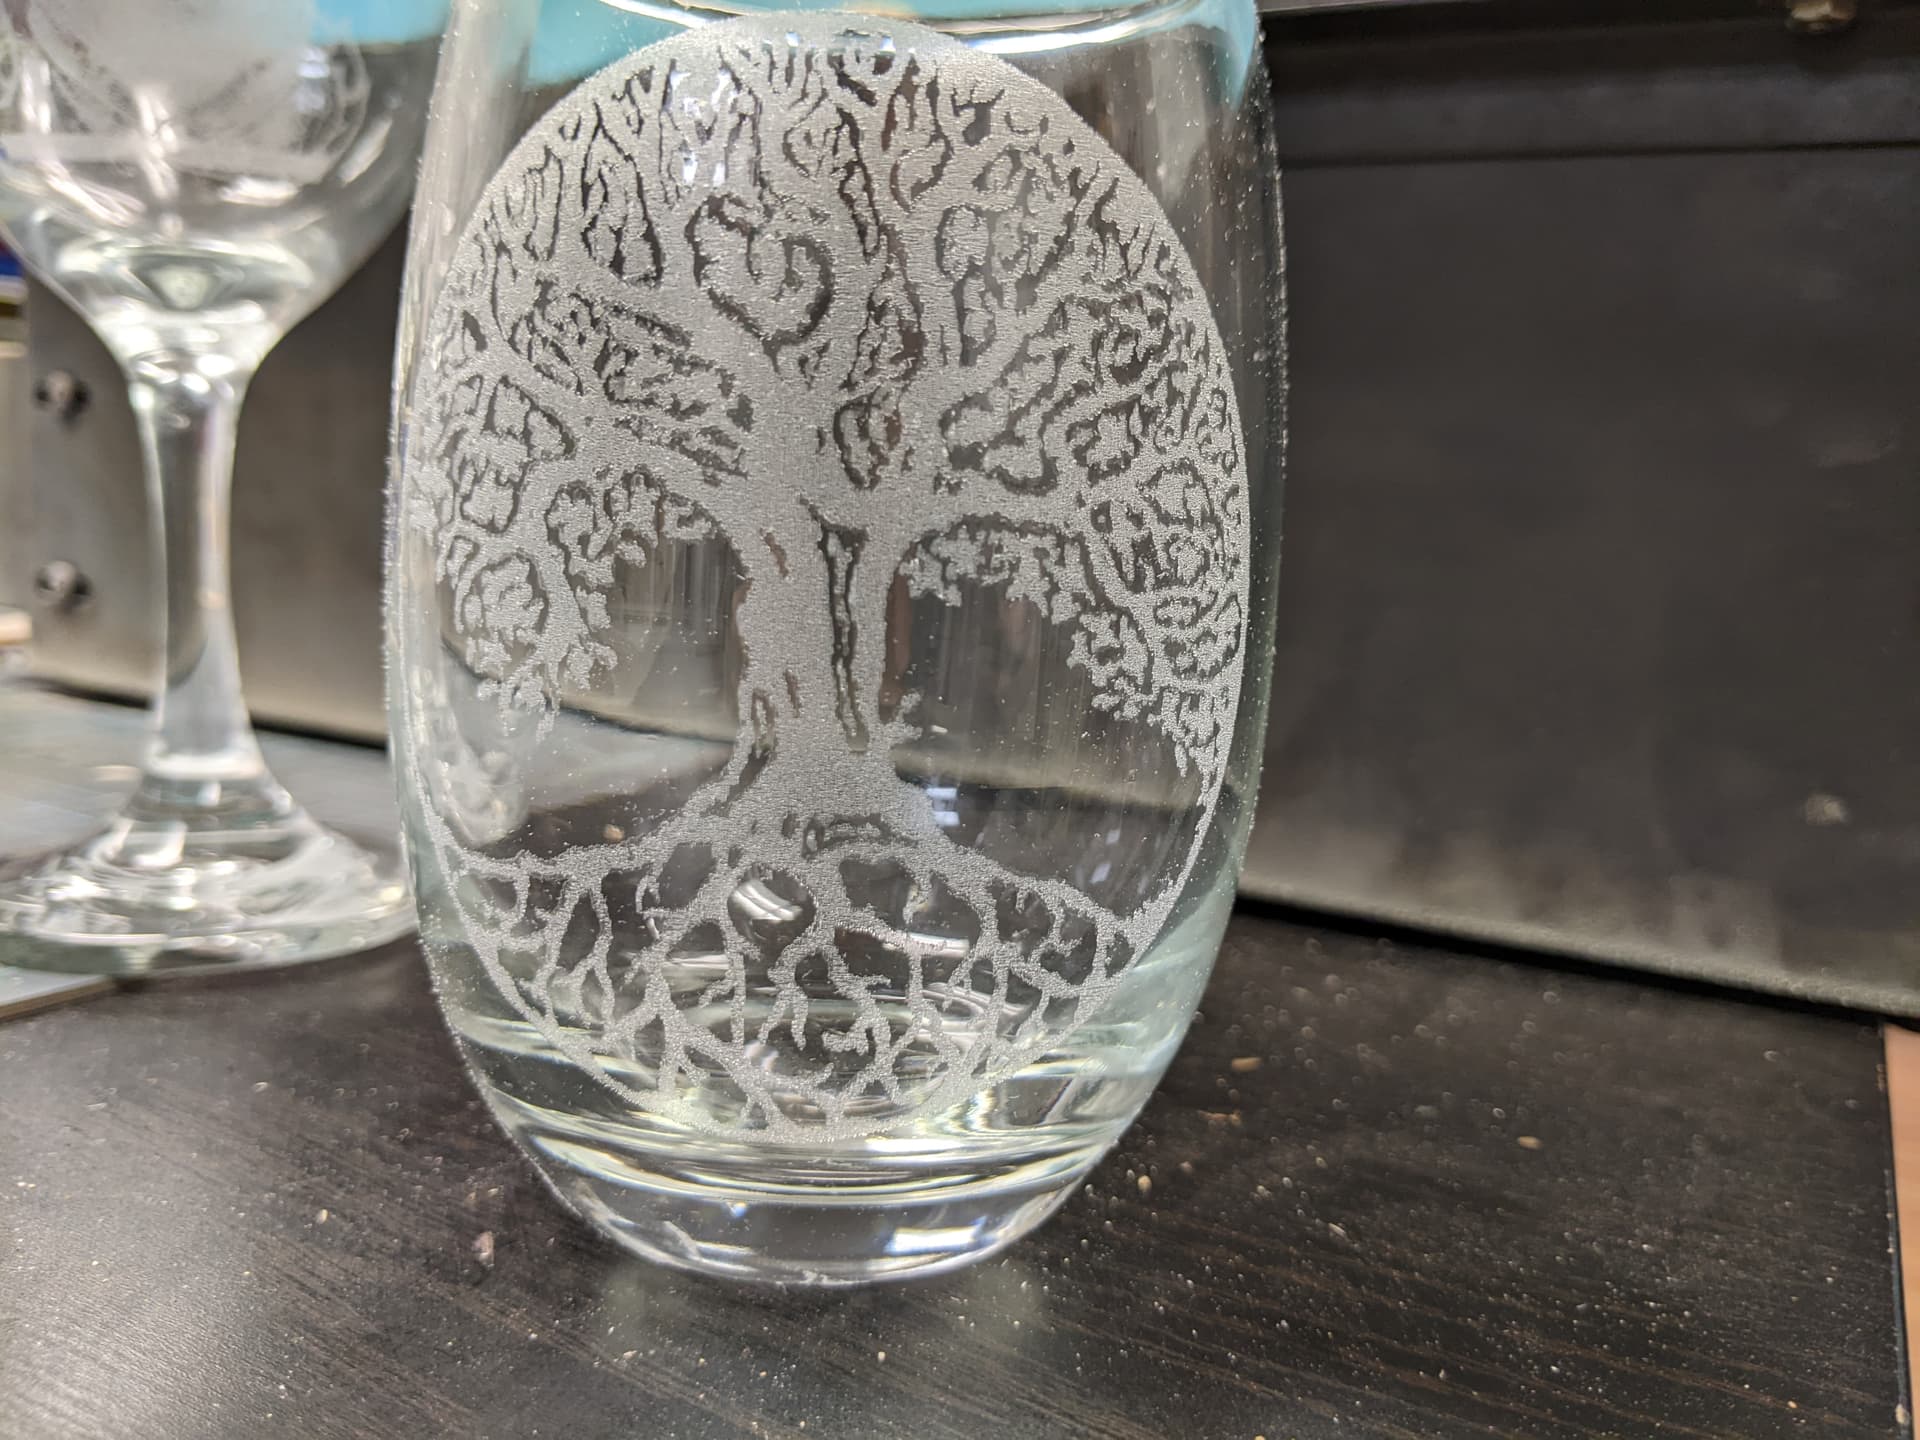
I tried the curved glassware, it went better than expected. When it’s a conical shape, as many glasses like the pint glass are, the rotary jig is hinged on the right so it can be tilted to present the side at the same focal distance all the way down. However it is not possible to keep shapes which are neither cylinders nor cones at a constant focus, so there’s only so far you can go down its length before going out of focus.
I was surprised just how far you CAN go, though. Glass seems to be very forgiving of focal height variations. It only started to fade a bit at the extremes, and I had the power much lower there anyways.
I tried a raster too. Pearl’s ULS controller isn’t as fancy as Tarkin’s for rastering anyways, but it did ok.