All,
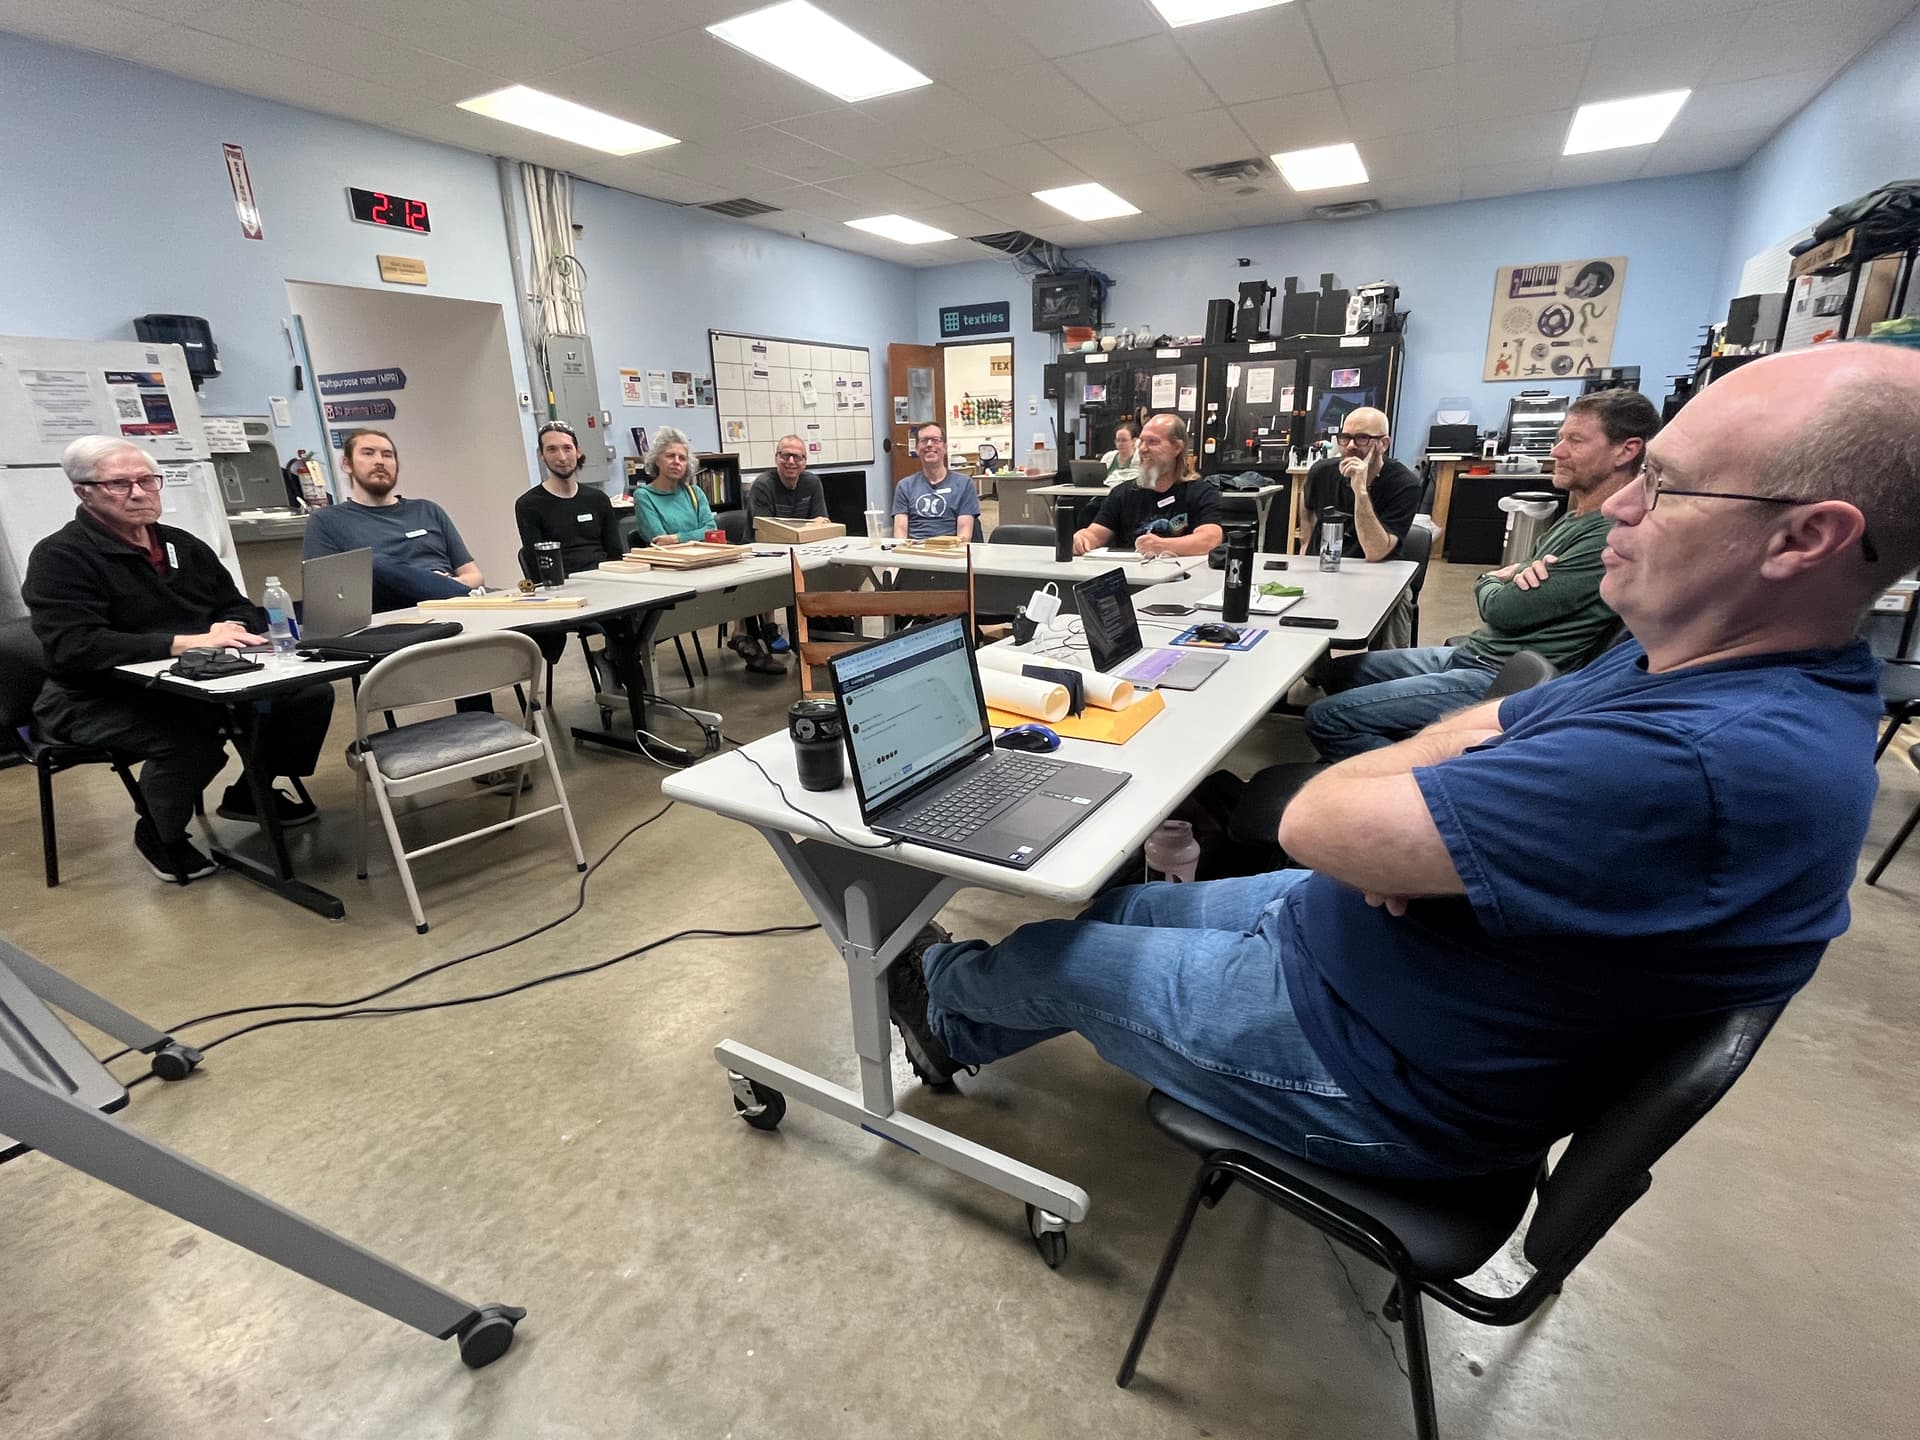
Thank you for joining us for the November CNC SIG! We had quite a group of projects shared! The Zoom recording link is at the end of the post for those who were unable to make it and who want a full breakdown of what we discussed. Without further ado, let’s get into it!
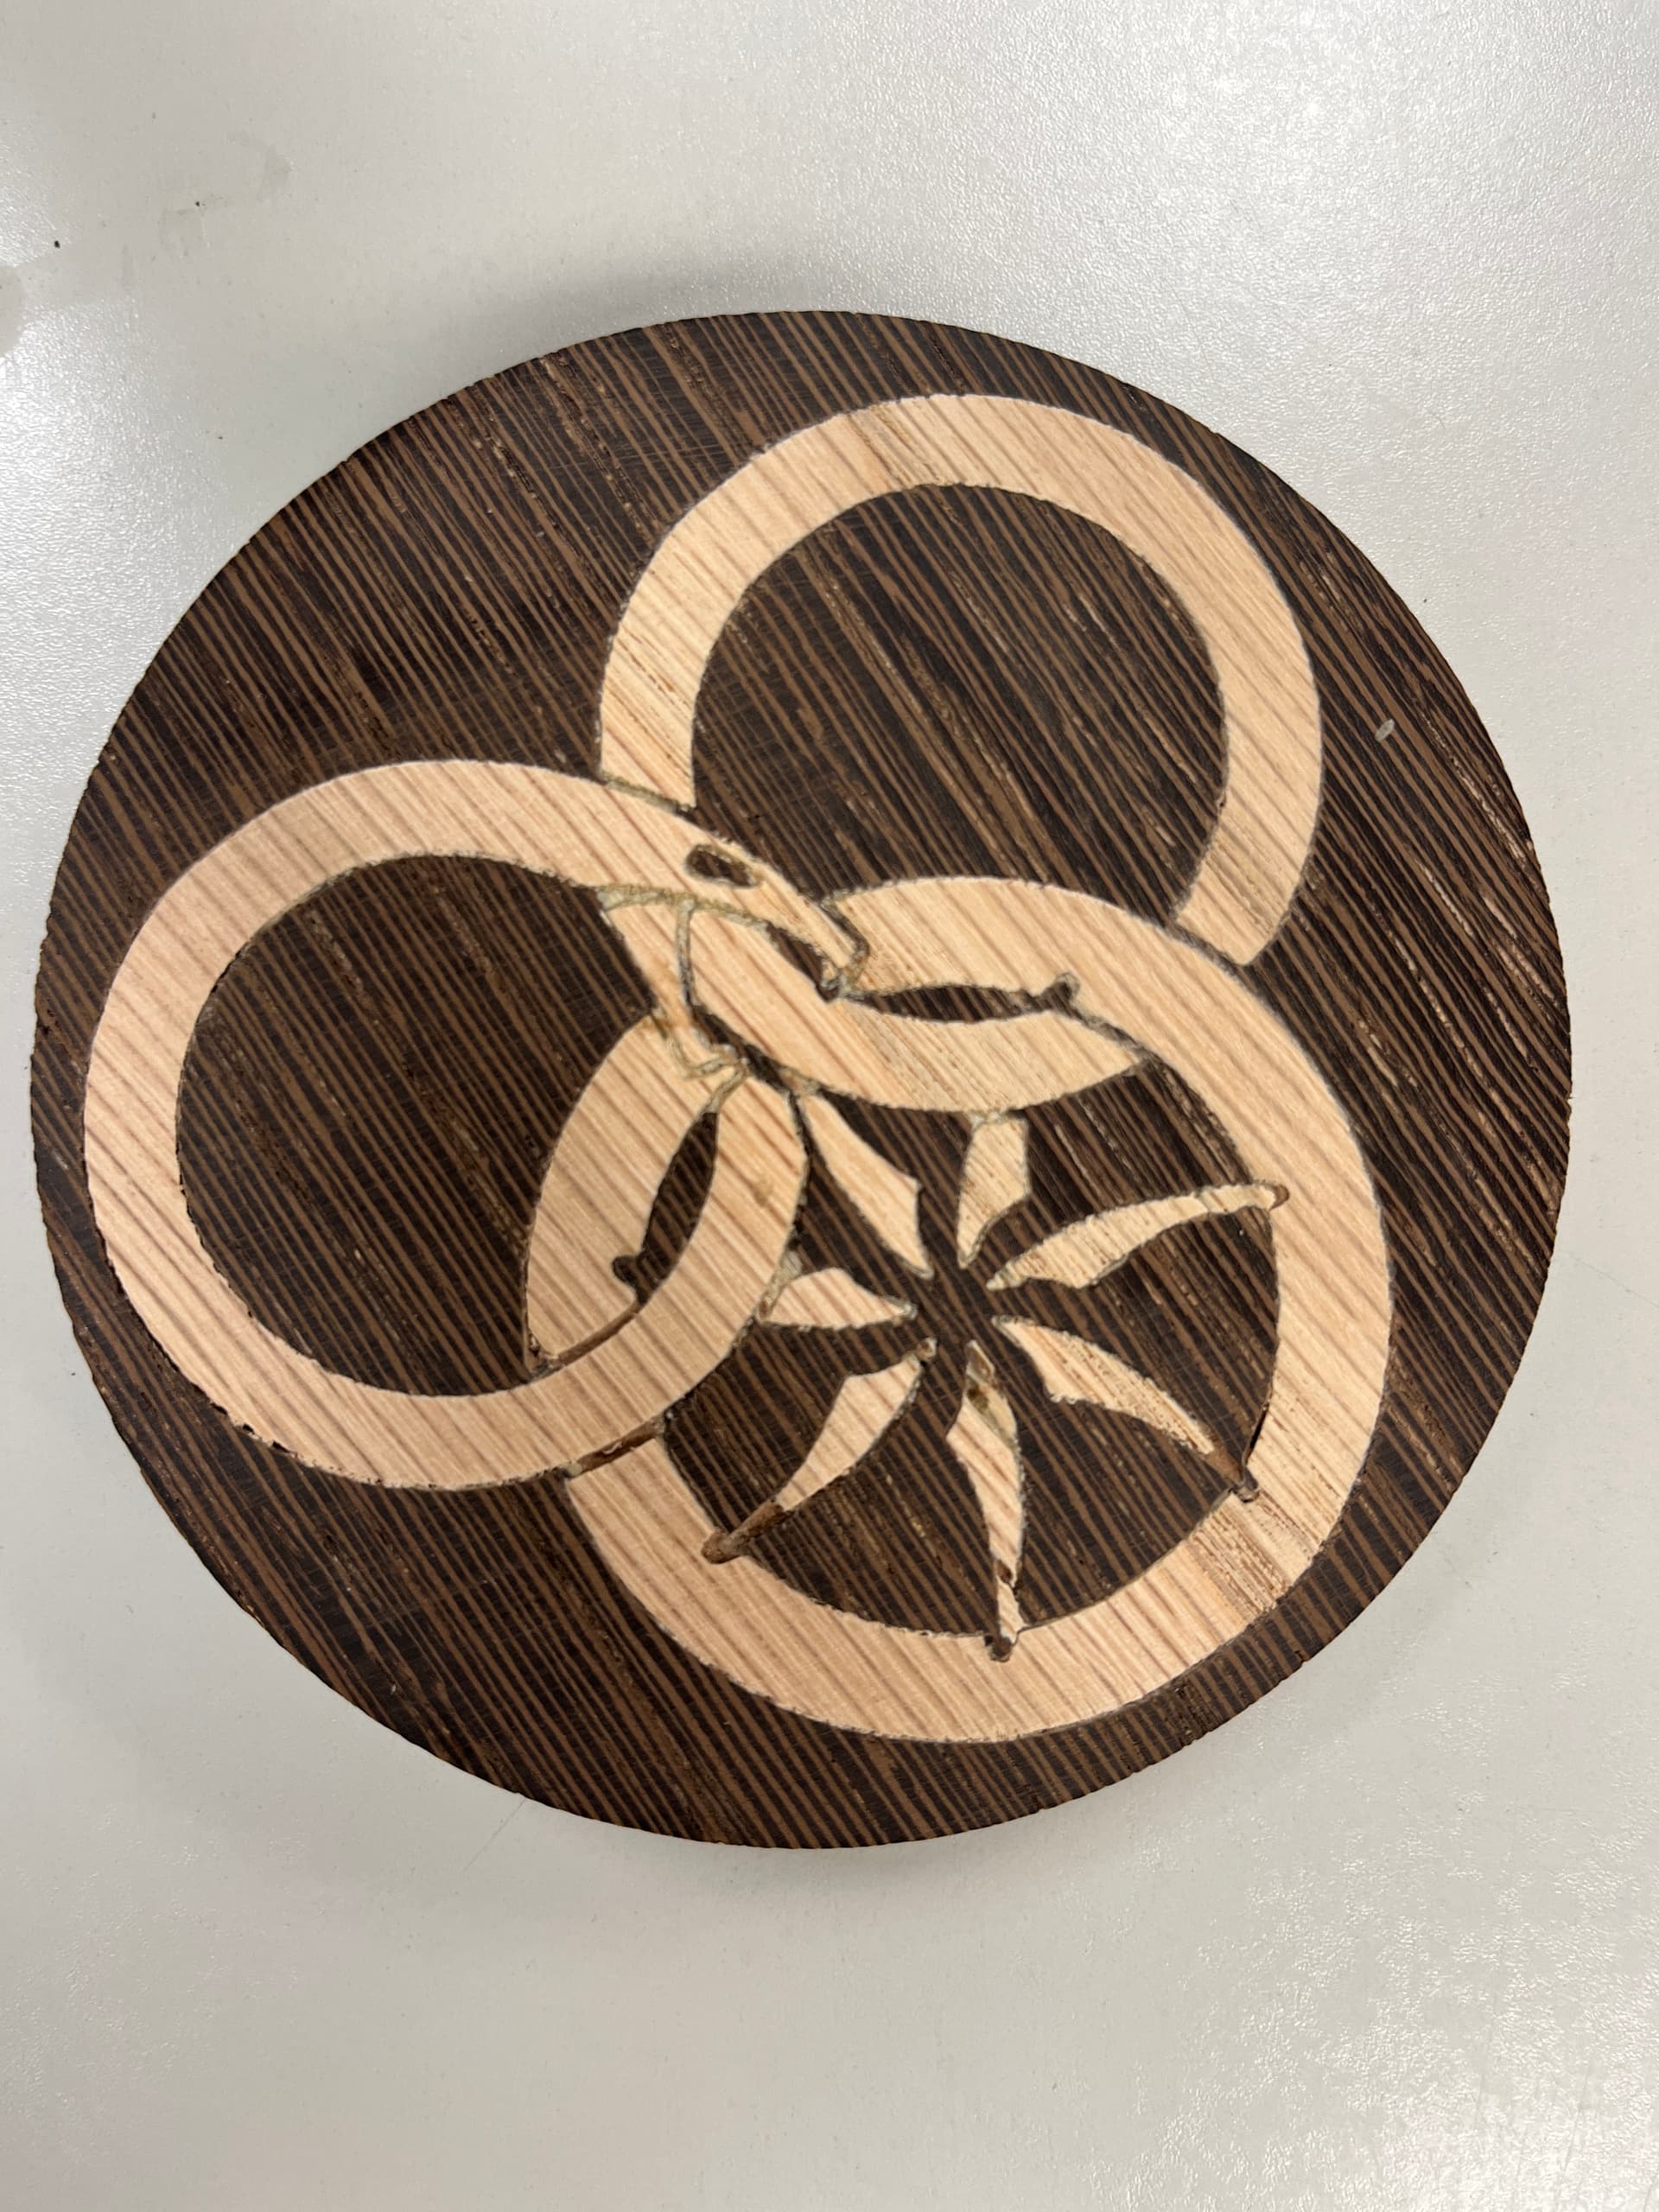
Robby shared with us some inlays he was working on. He did have some questions about how to set it up. In particular, there is a gap needed at the bottom for the glue to fill in. The gap is recommended to be 0.02’‘. Then, you also need a surface gap, or a gap between the female and male surface pieces so there’s an area to slice with the bandsaw. This is recommended to be 0.1’’ The measurements are explained pretty well in this YouTube video, in particular starting at timestamp 14:08: https://www.youtube.com/watch?v=pEN8lhMUNXM&t=995s
I still can’t believe Ryan showed up at Asmbly a little while back–how cool is that?! Inlays are challenging, and I hope to see what Robby’s done with 'em next CNC SIG!
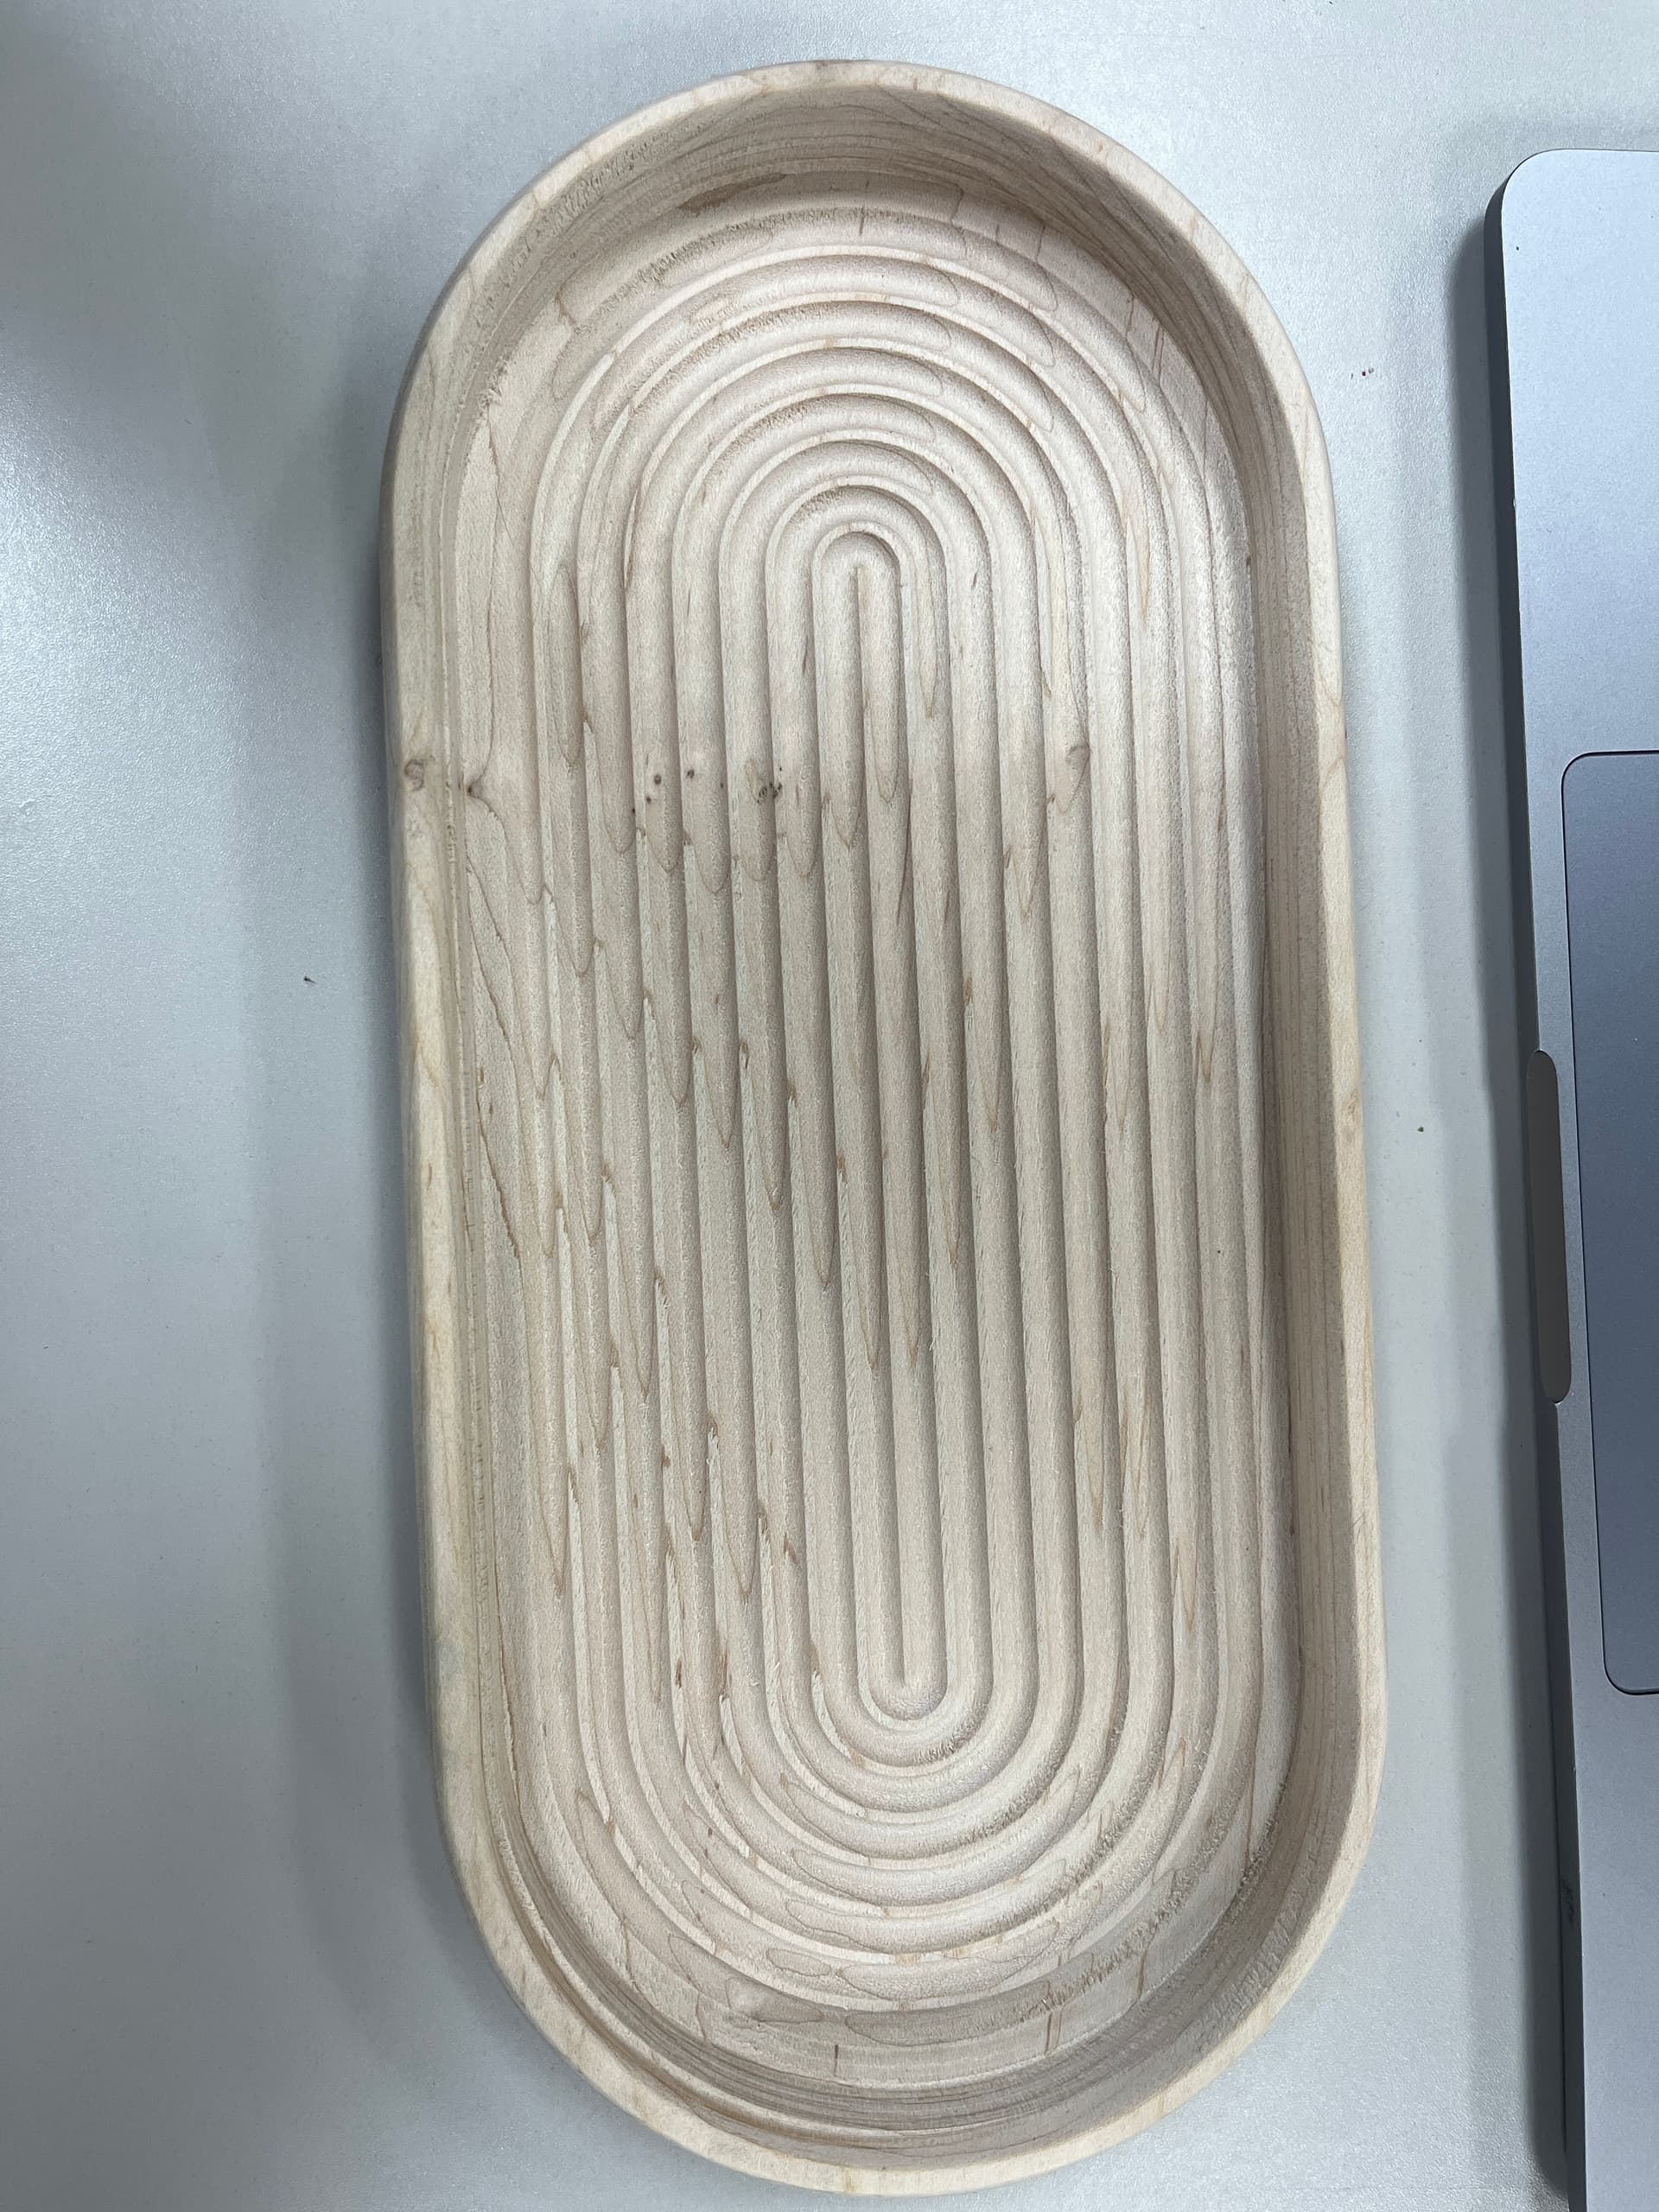
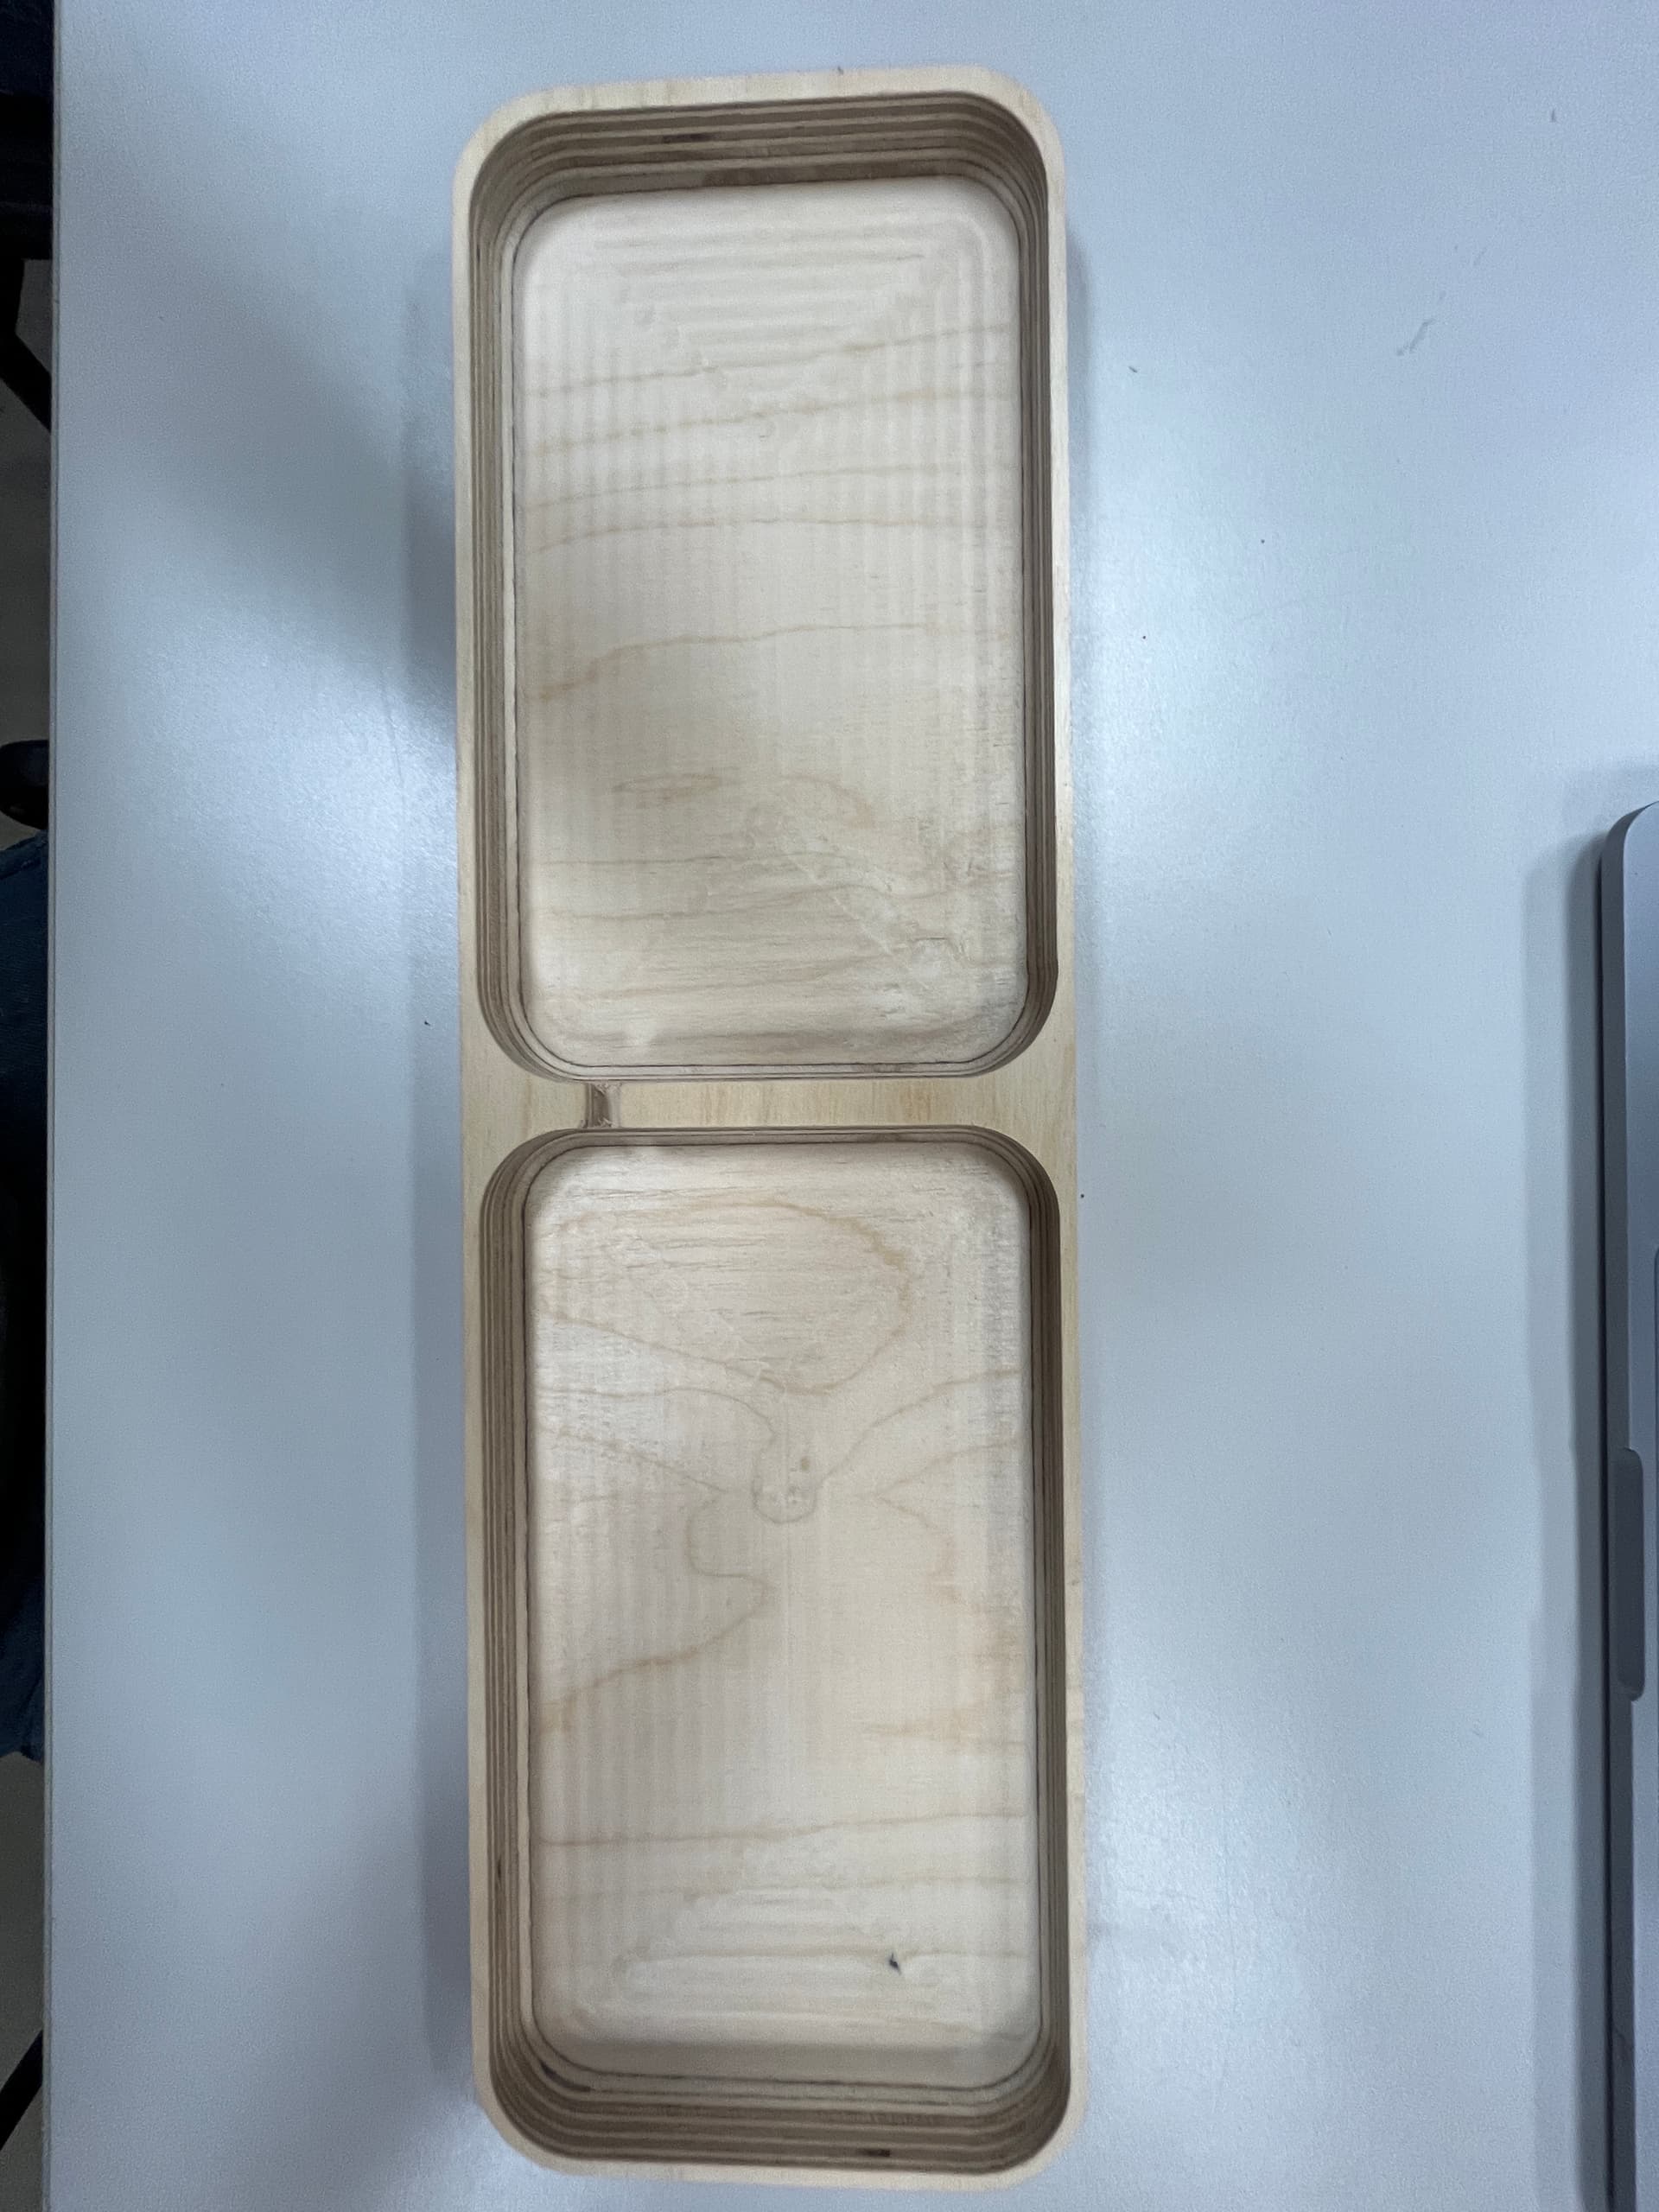
Austin next shared with us his tray, which is in the flatpack theme of this month’s meeting. Tommy astutely reminded us that everything is up to interpretation, and instead of a tray, he saw it as a racing track for fleas!
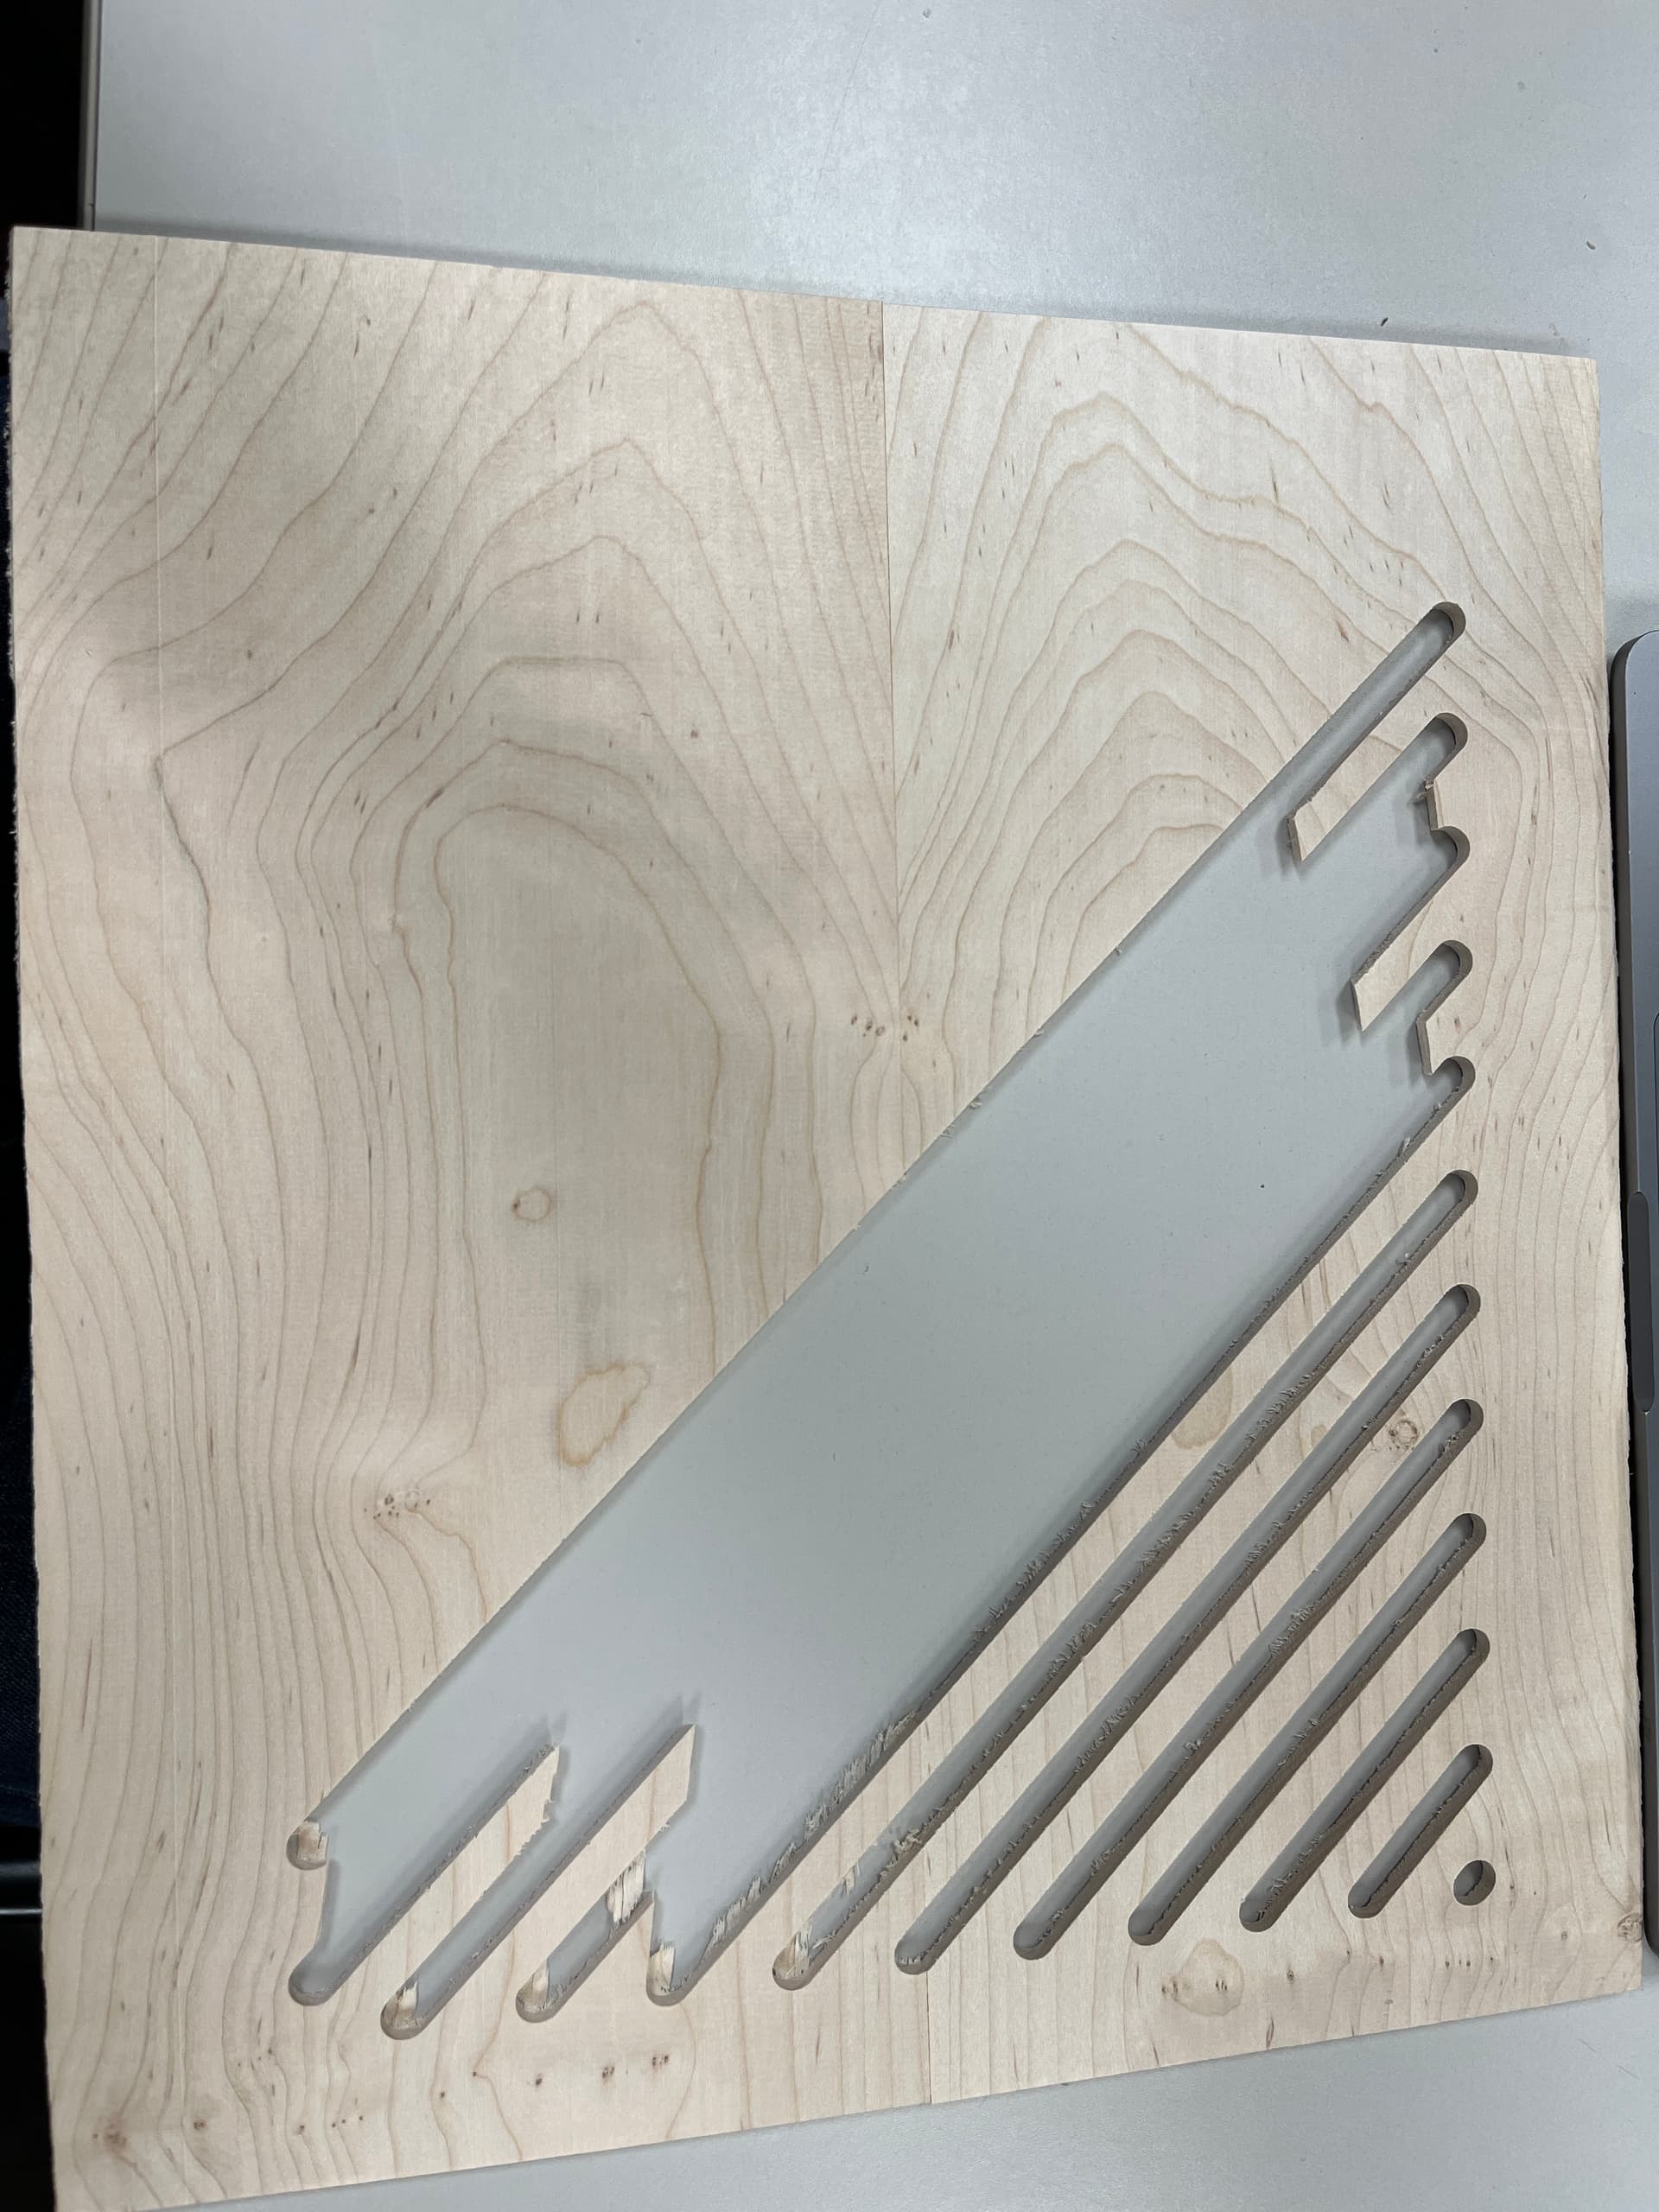
Next, Austin then pointed out something he’s been struggling with–developing a diffuser for his room. When he’s cutting through the wood, it continues to break. Thoughts were to use plywood since Austin’s using hard maple. Also, Christopher recommended that Austin use sharper bits since he’s found that sometimes it’s an older bit which is ruining the project–not the design!
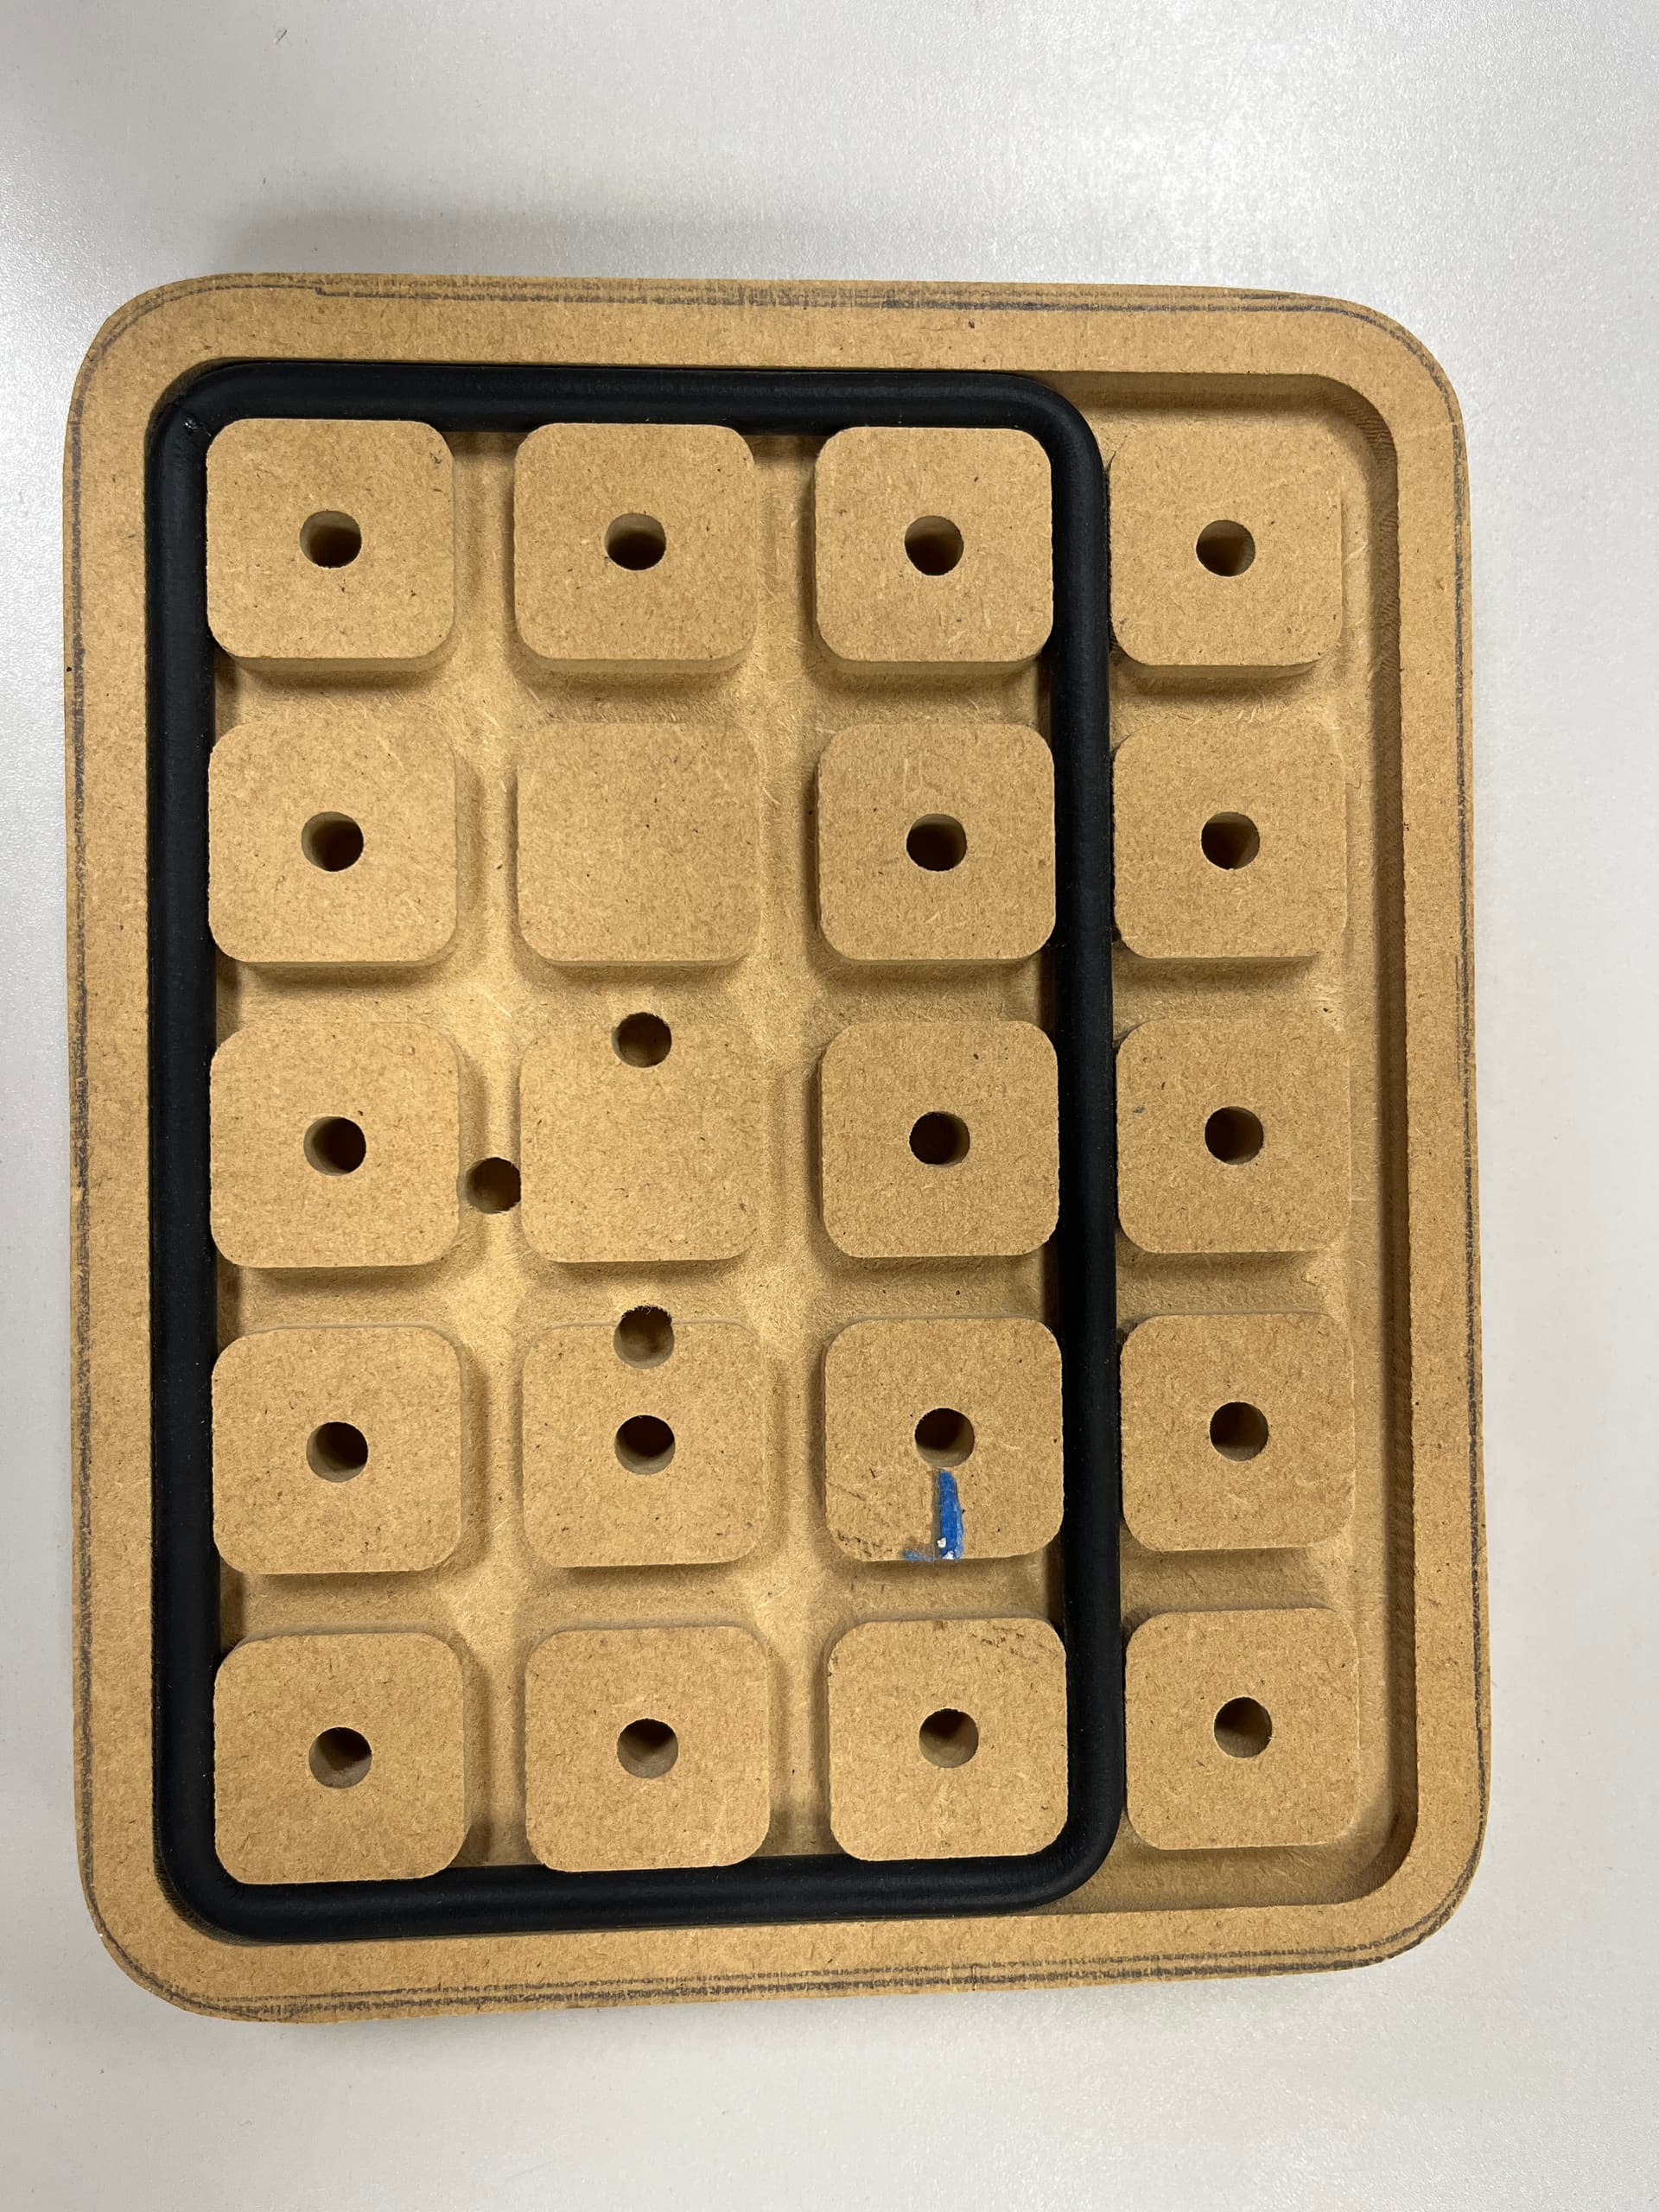
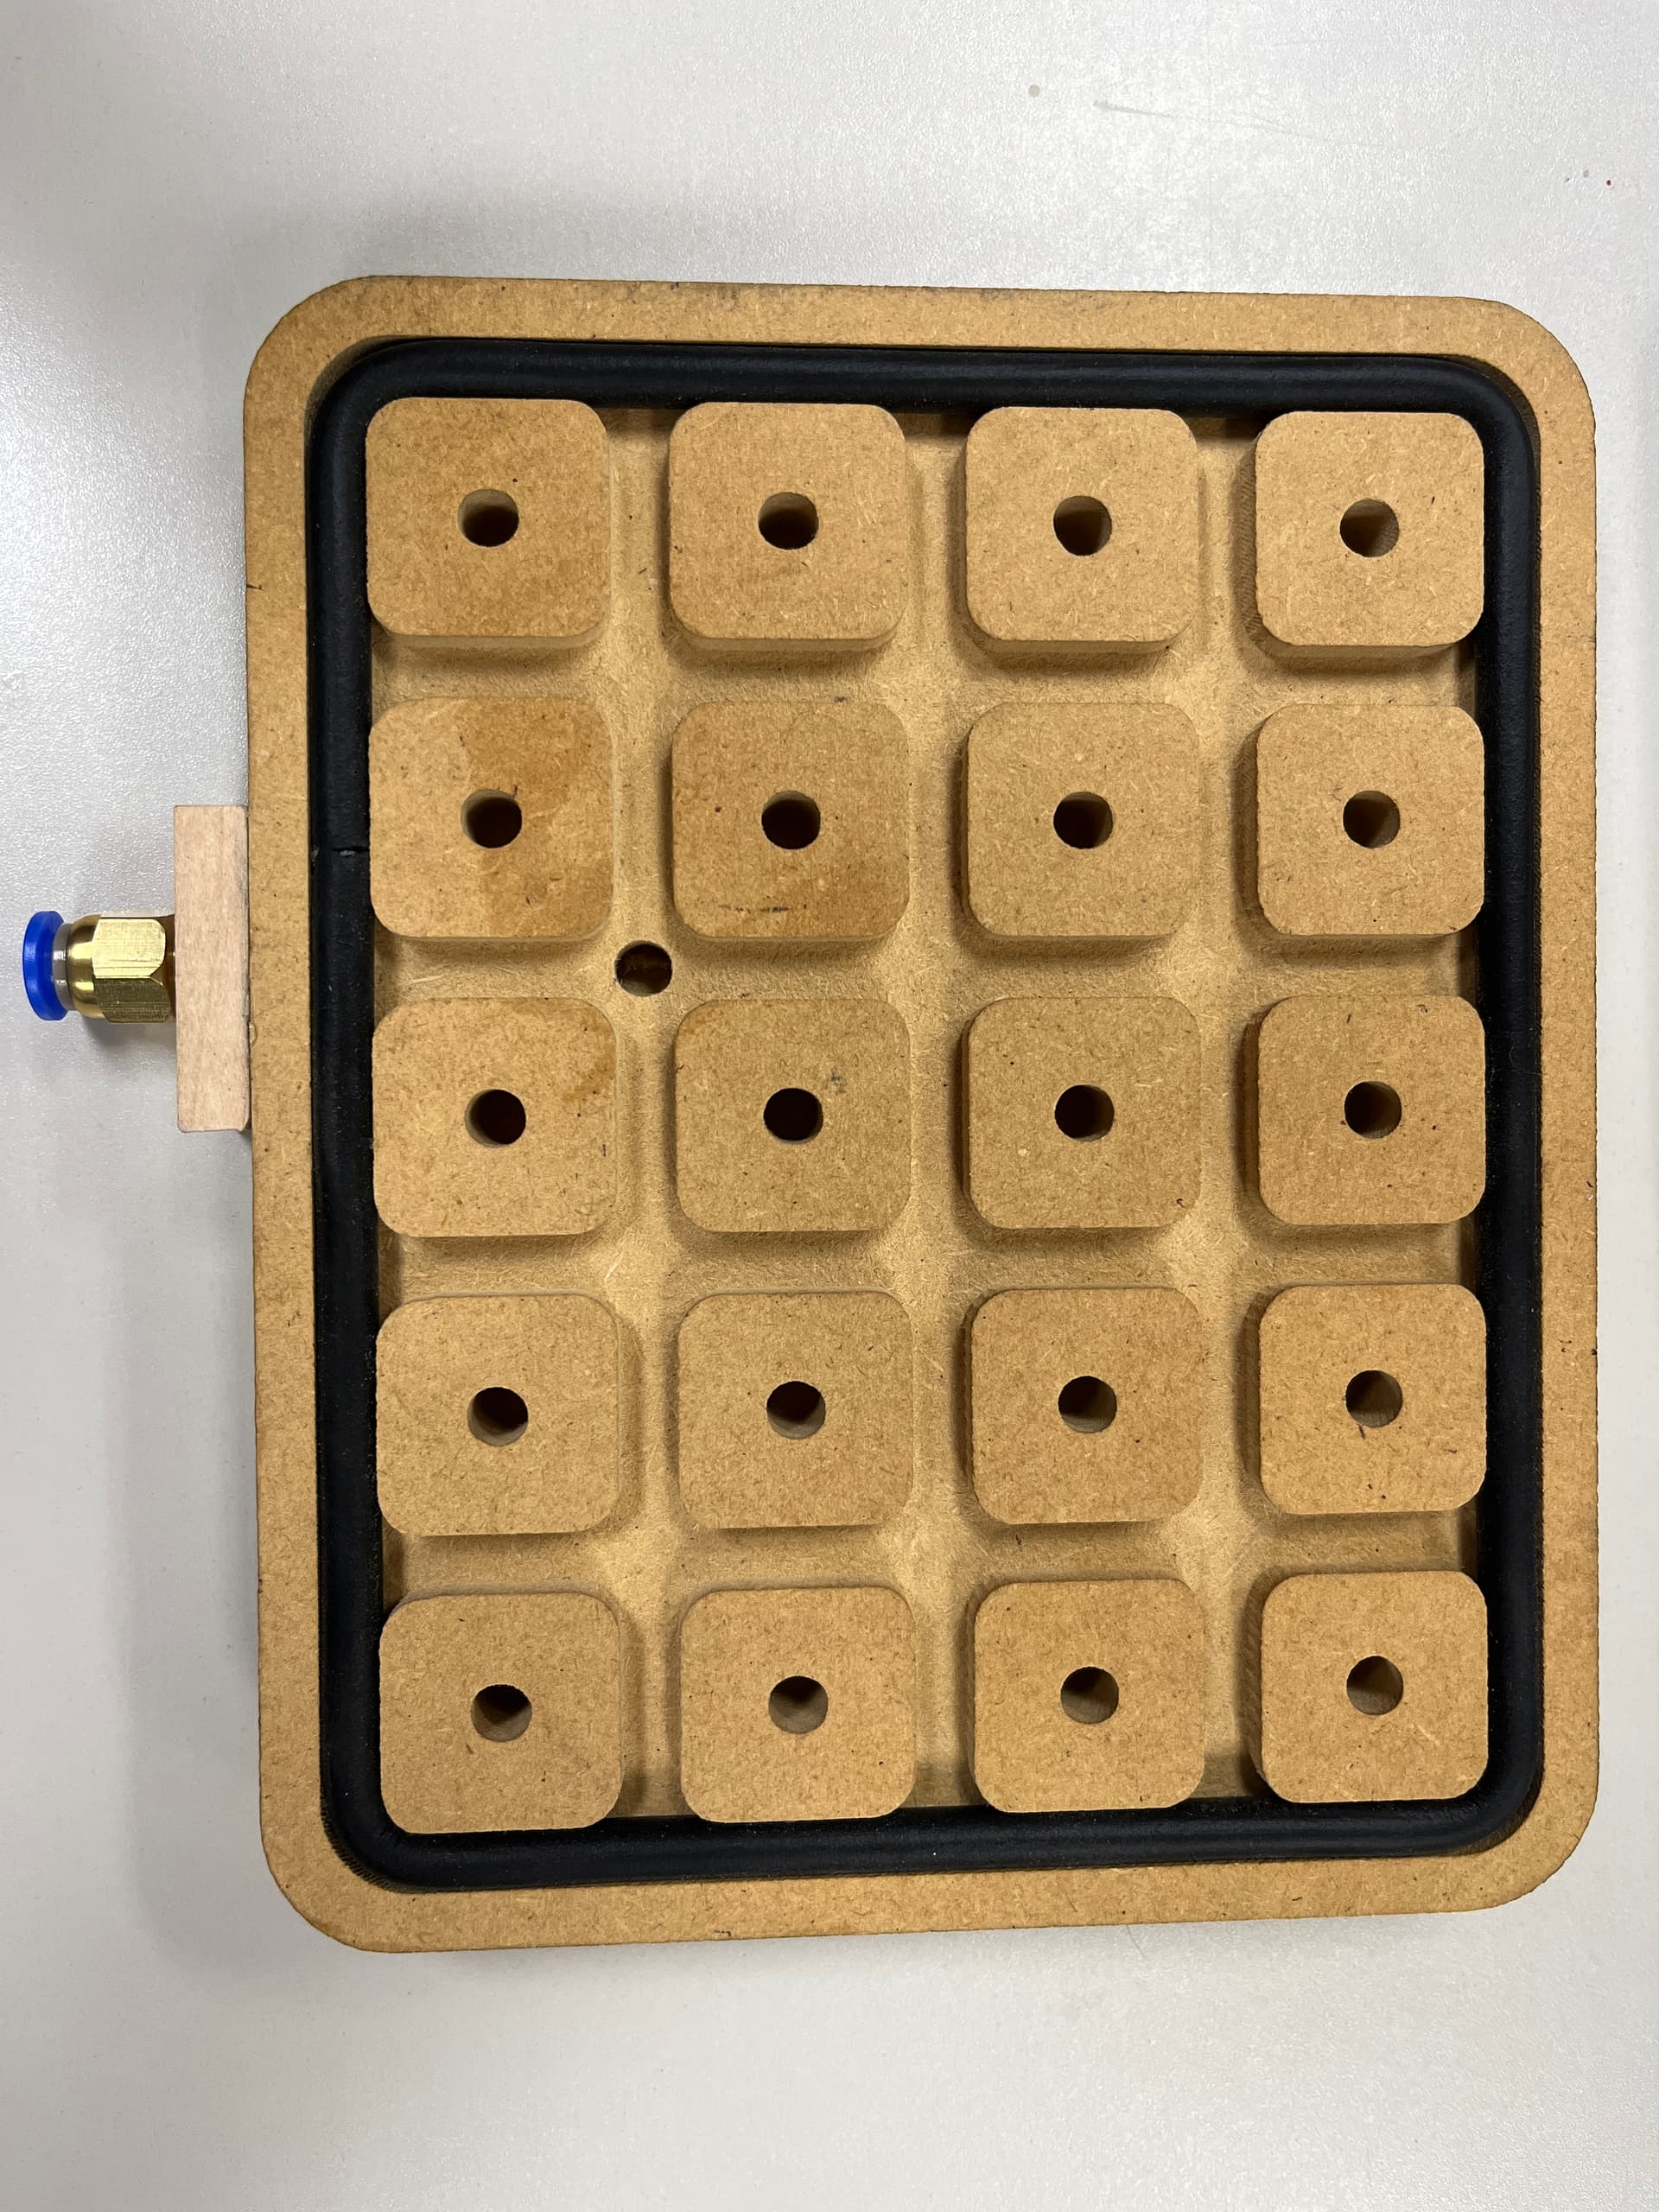
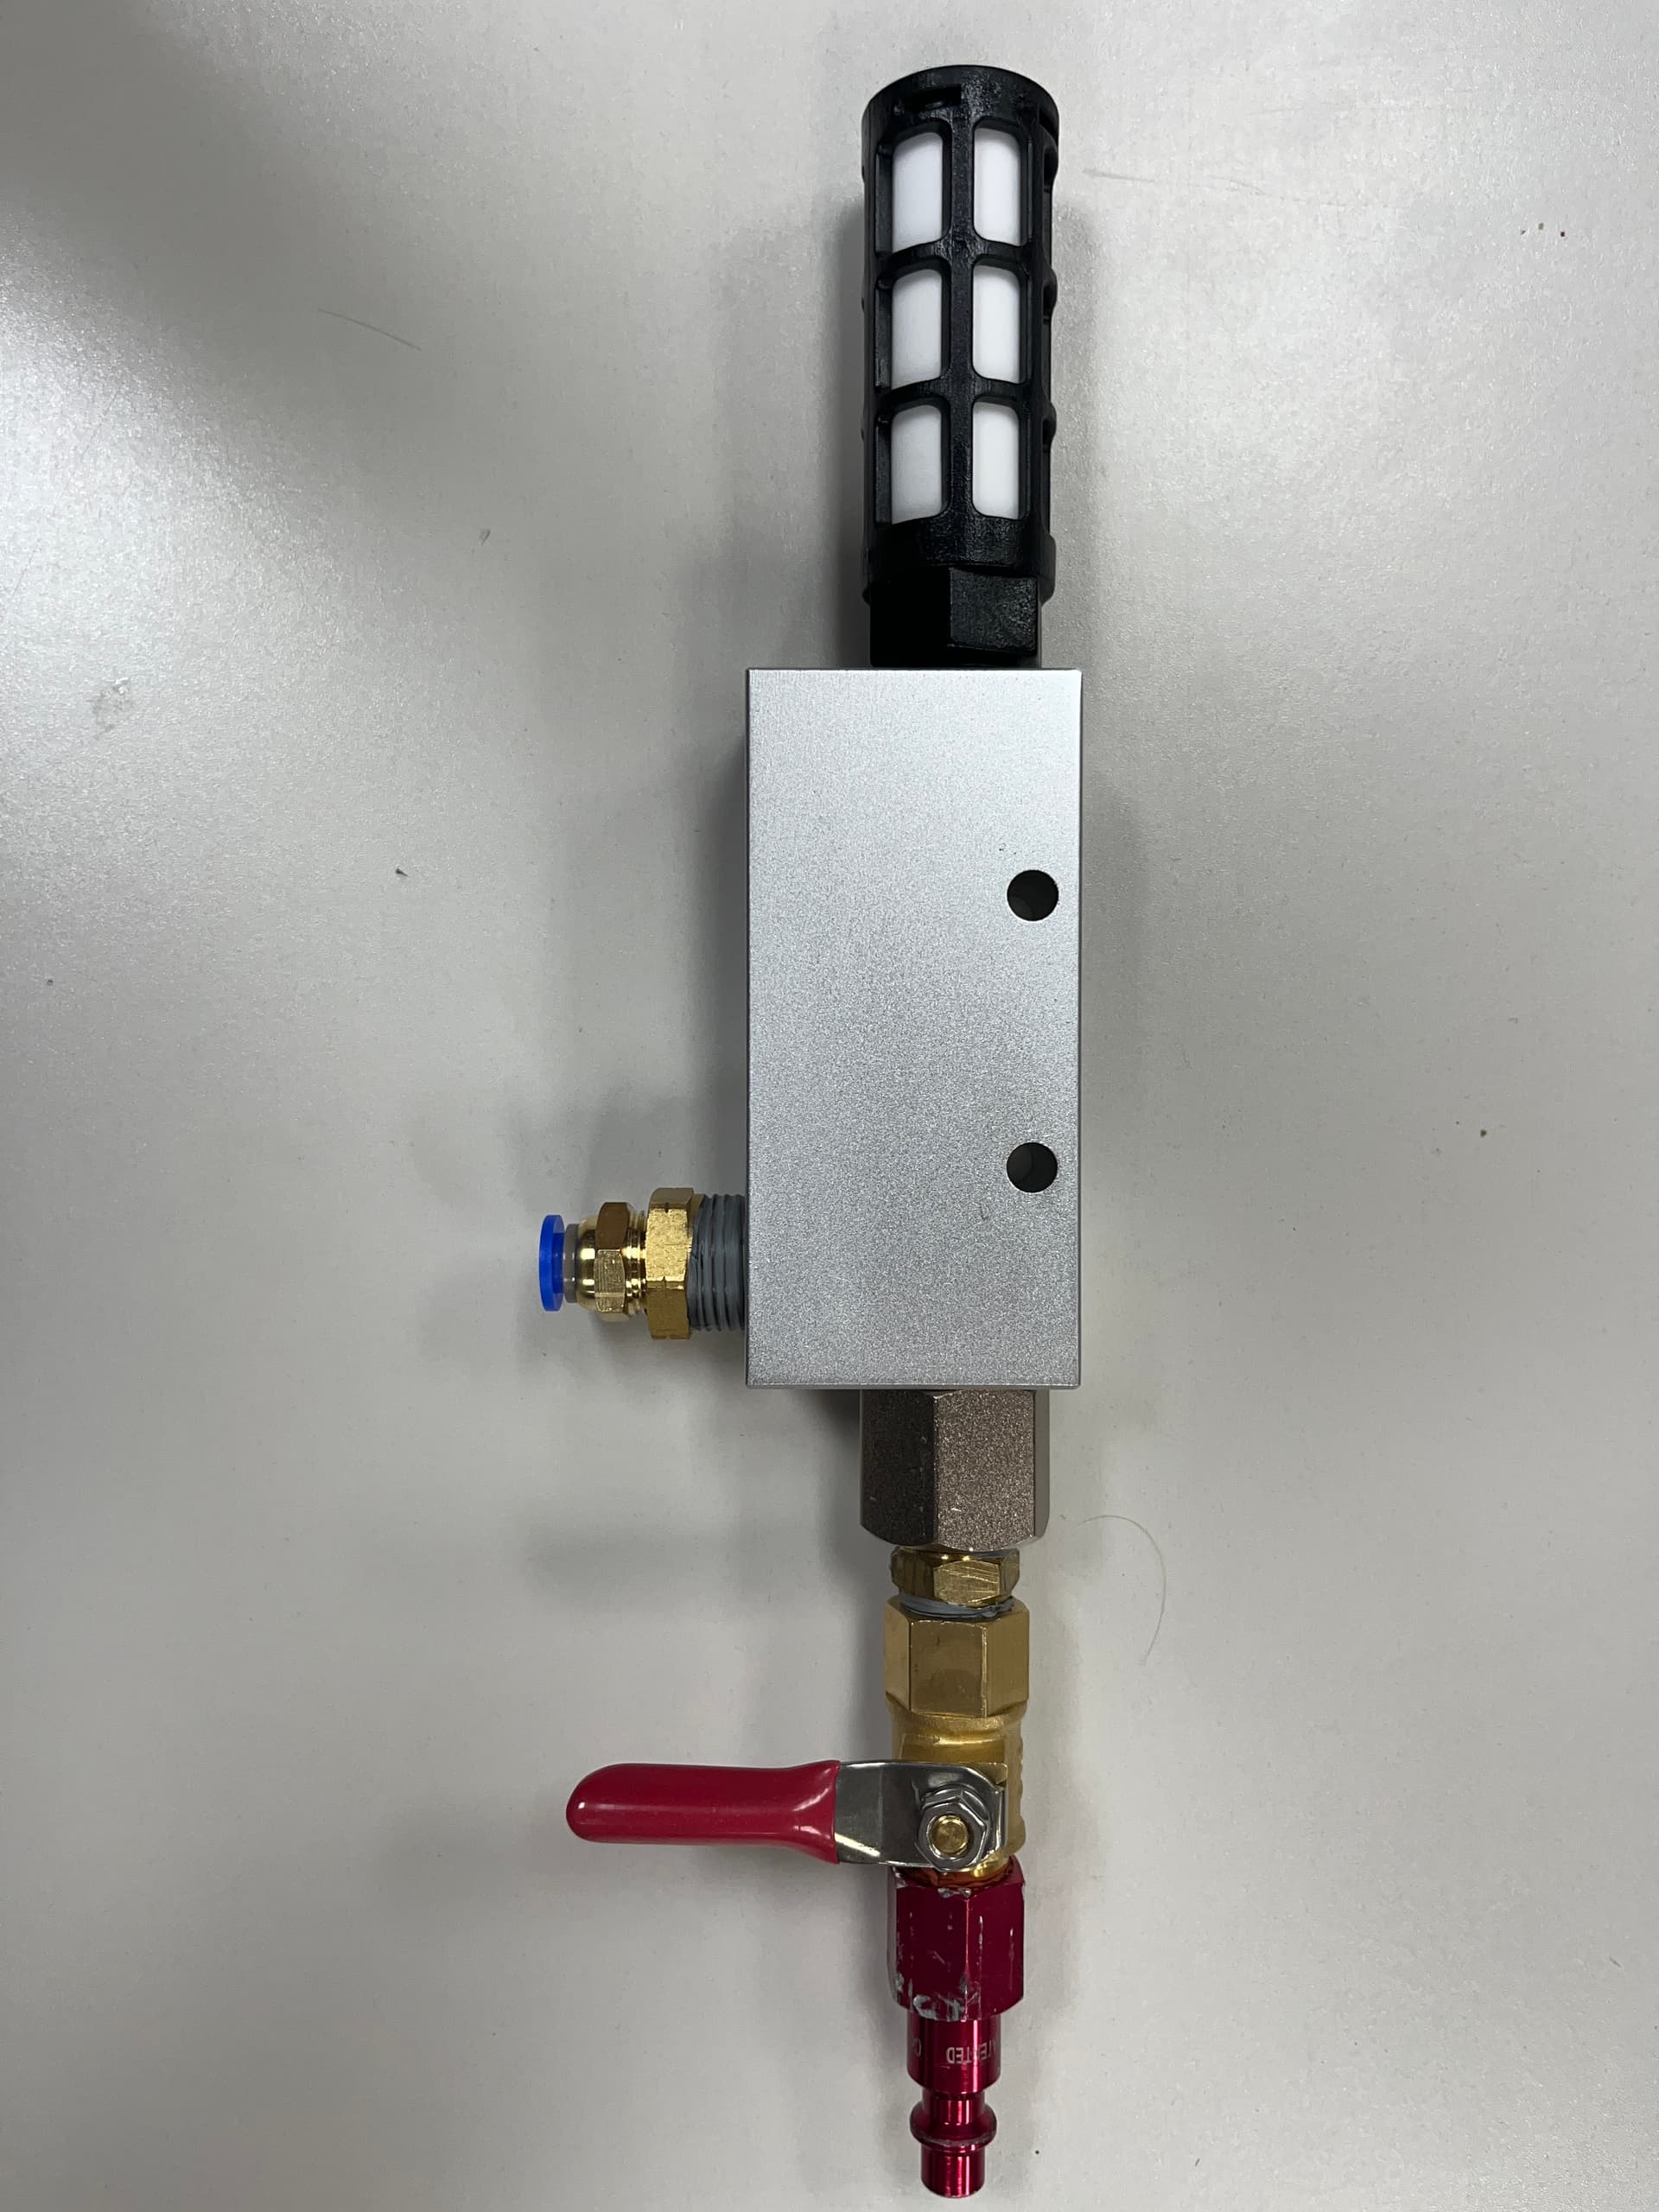
Steve gave us a run for our money by sharing a jig he built for a vacuum on the CNC. It works very well for smaller pieces you want to CNC. The funny thing was, after Steve made the jig, he forgot why he made the damn thing! Lol. Steve found instructions for how to build the jig using this YouTube video: https://www.youtube.com/watch?v=OUJNfhnowog
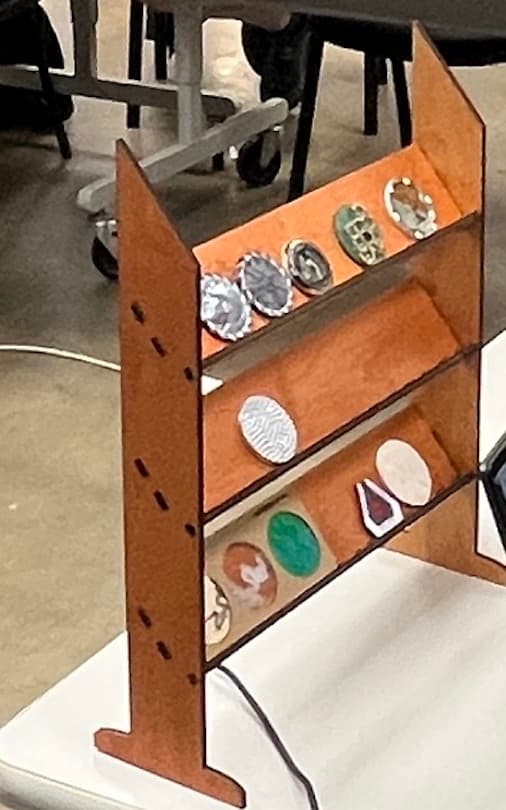
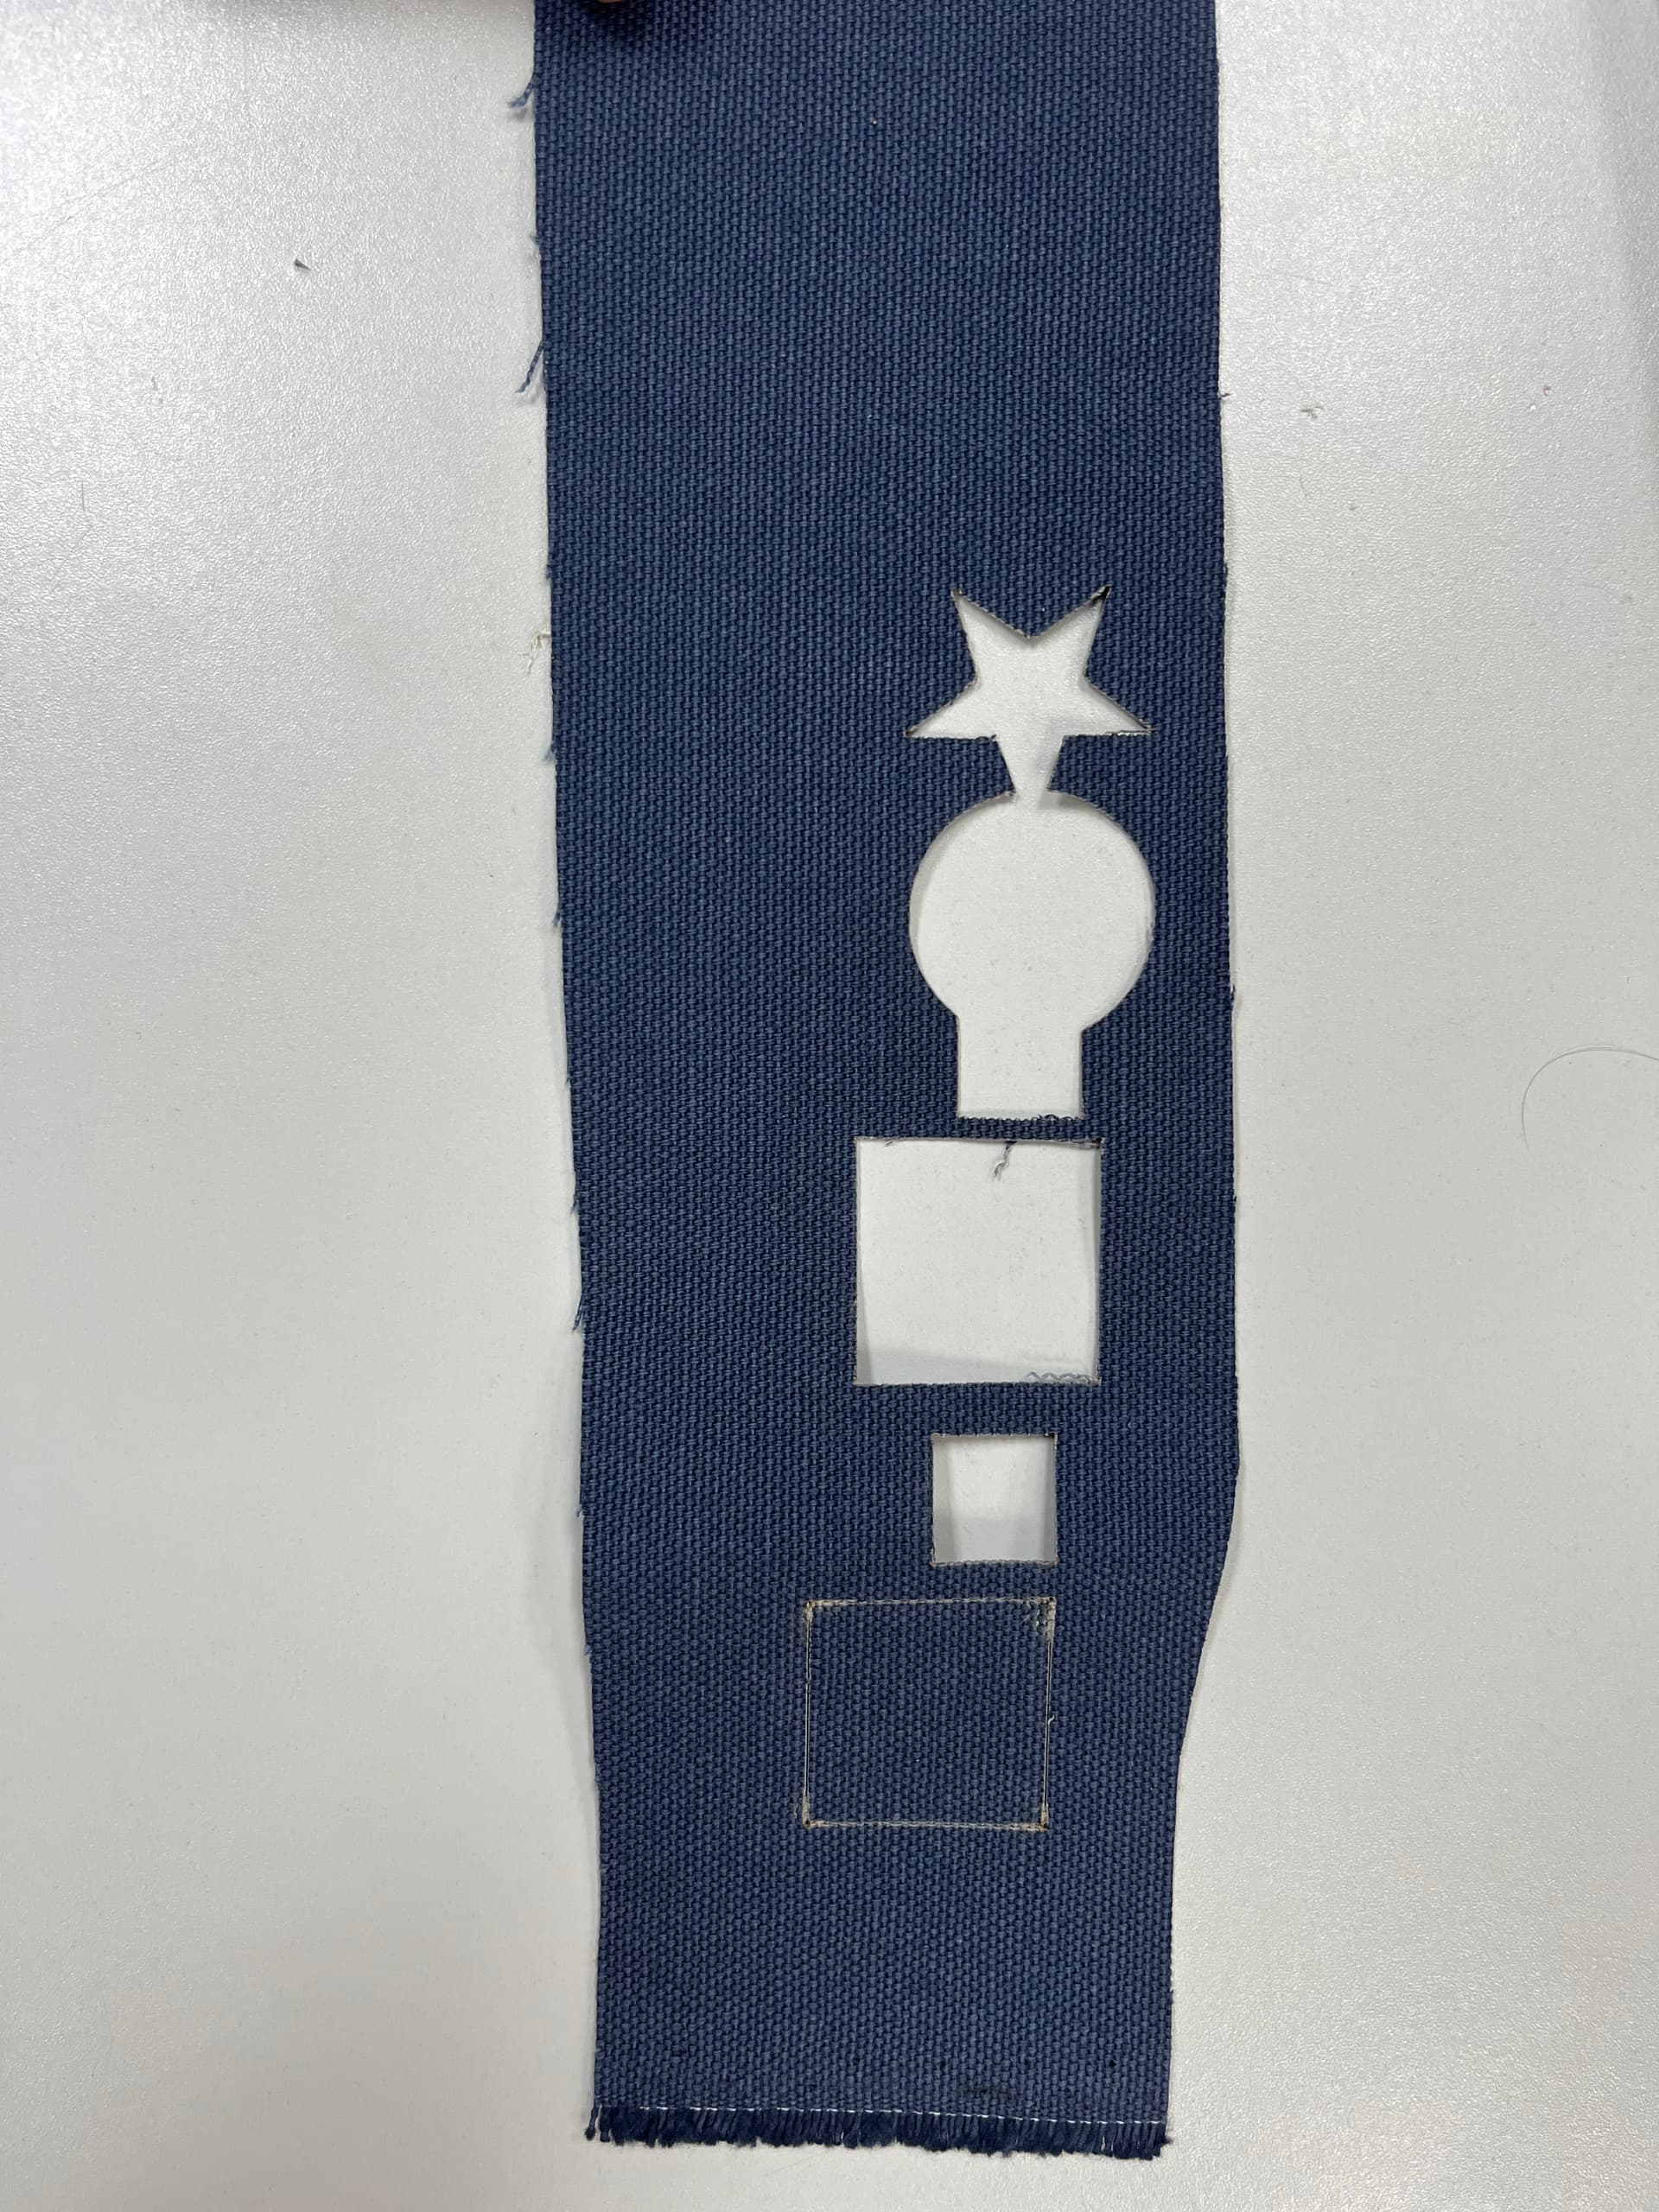
Michael shared with us how he use the laser cutter to build out a flatpak stand–awesome job! Goes to show you that you don’t need to use a CNC for everything–you can use a laser cutter! In terms of the fabric cut, Michael said you’ll have a better result if you wash the fabric before cutting it.
Last but not least, we have Brian sharing with us how he designed letters for James to put into cement at a school. I guess James wants to etch his name into stone wherever he goes!
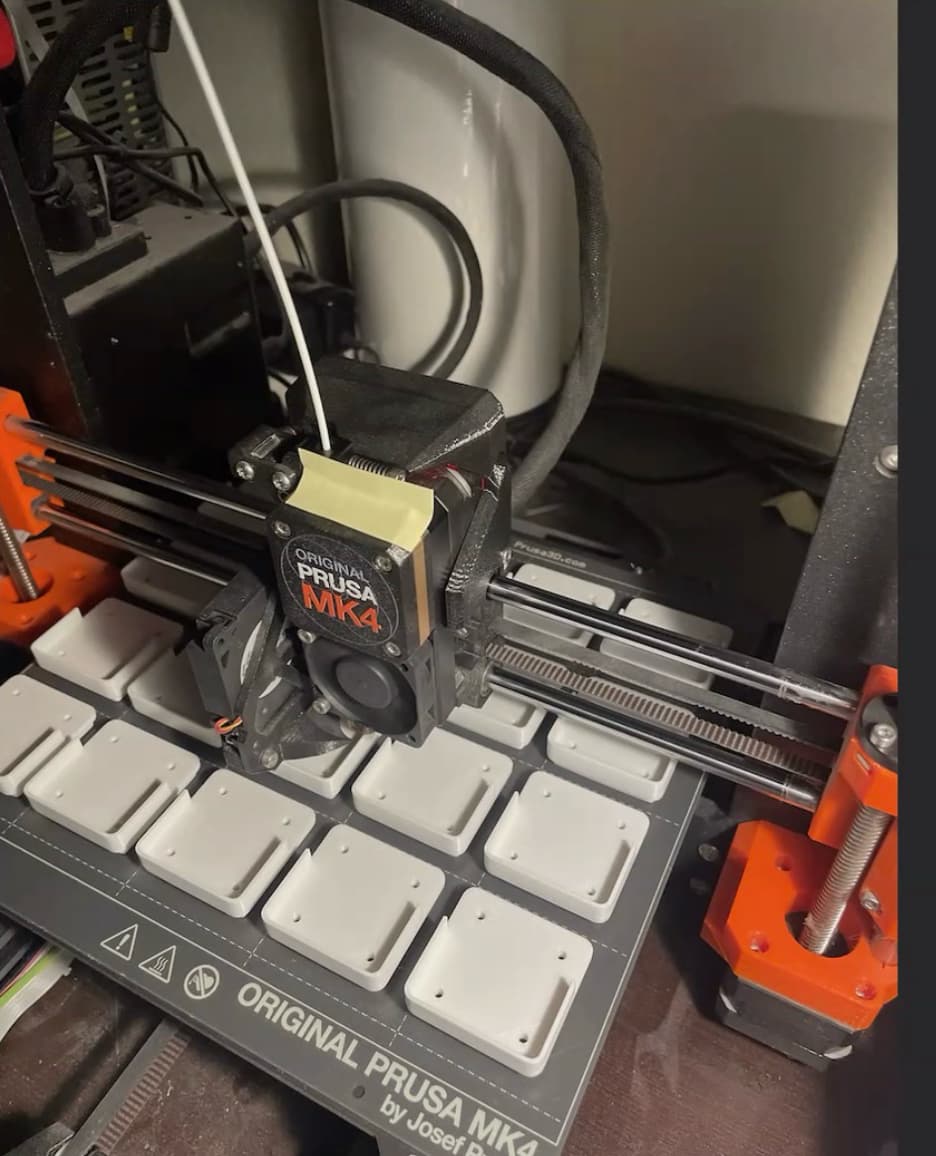
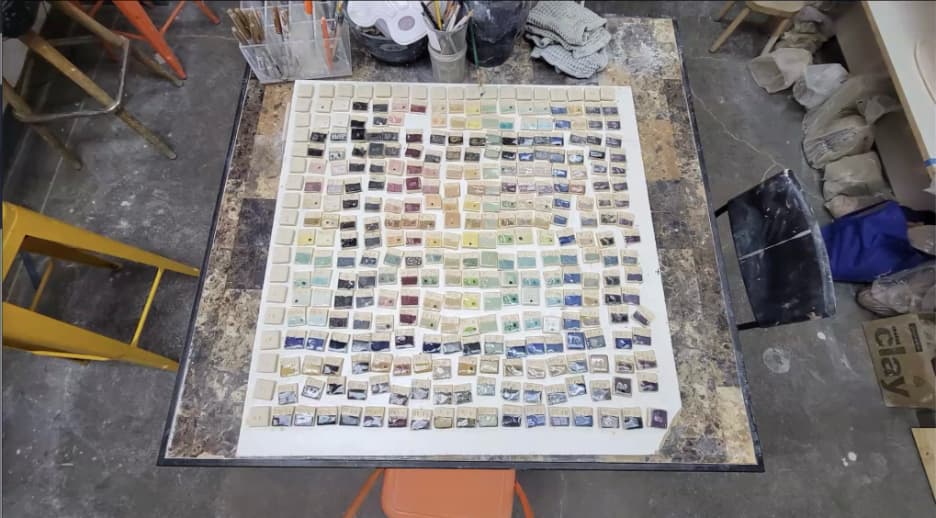
Finally, Brian went full Brian and began processing a ton of letters for some ceramics collage that will be shown in Las Vegas. We don’t know what the end result will be, but this is Brian’s first time testing out production-scale 3D printing, and it’s going great so far!
Other Items
- Some other topics that were brought up were the Laguna iQ sometimes stopping for no apparent reason whatsoever. Thoughts were that this may because the USB drive somehow jostles out of the controller. However, this has happened to more than one person so we’ll see if we learn anything else by next month’s meeting.
- Another bit of interesting info is that Andrew is looking into doing some multi-layer epoxy pours for topographical maps. He uses a Blendr plugin to make a GPS map what he wants to cut out, and now he’s going to experiment with different pours to see if he can make his map pop.
I appreciate everyone joining us for the CNC SIG this past weekend. The link (for anyone who missed the meeting) is shown here: https://drive.google.com/file/d/19qvWg4W_K6oAVyMPcxOcR9F0b5DDWzhz/view?usp=sharing
Next month’s meeting is on December 7th at 12:30pm at Asmbly in the MultiPurpose Room. The theme of next month’s meeting is Santa & Holiday Cheer! Look forward to seeing everyone there!
@TravisGood @SteveW @jamesfreeman @michleon100 @Kasper @bwatt @Christopher
Joaquim