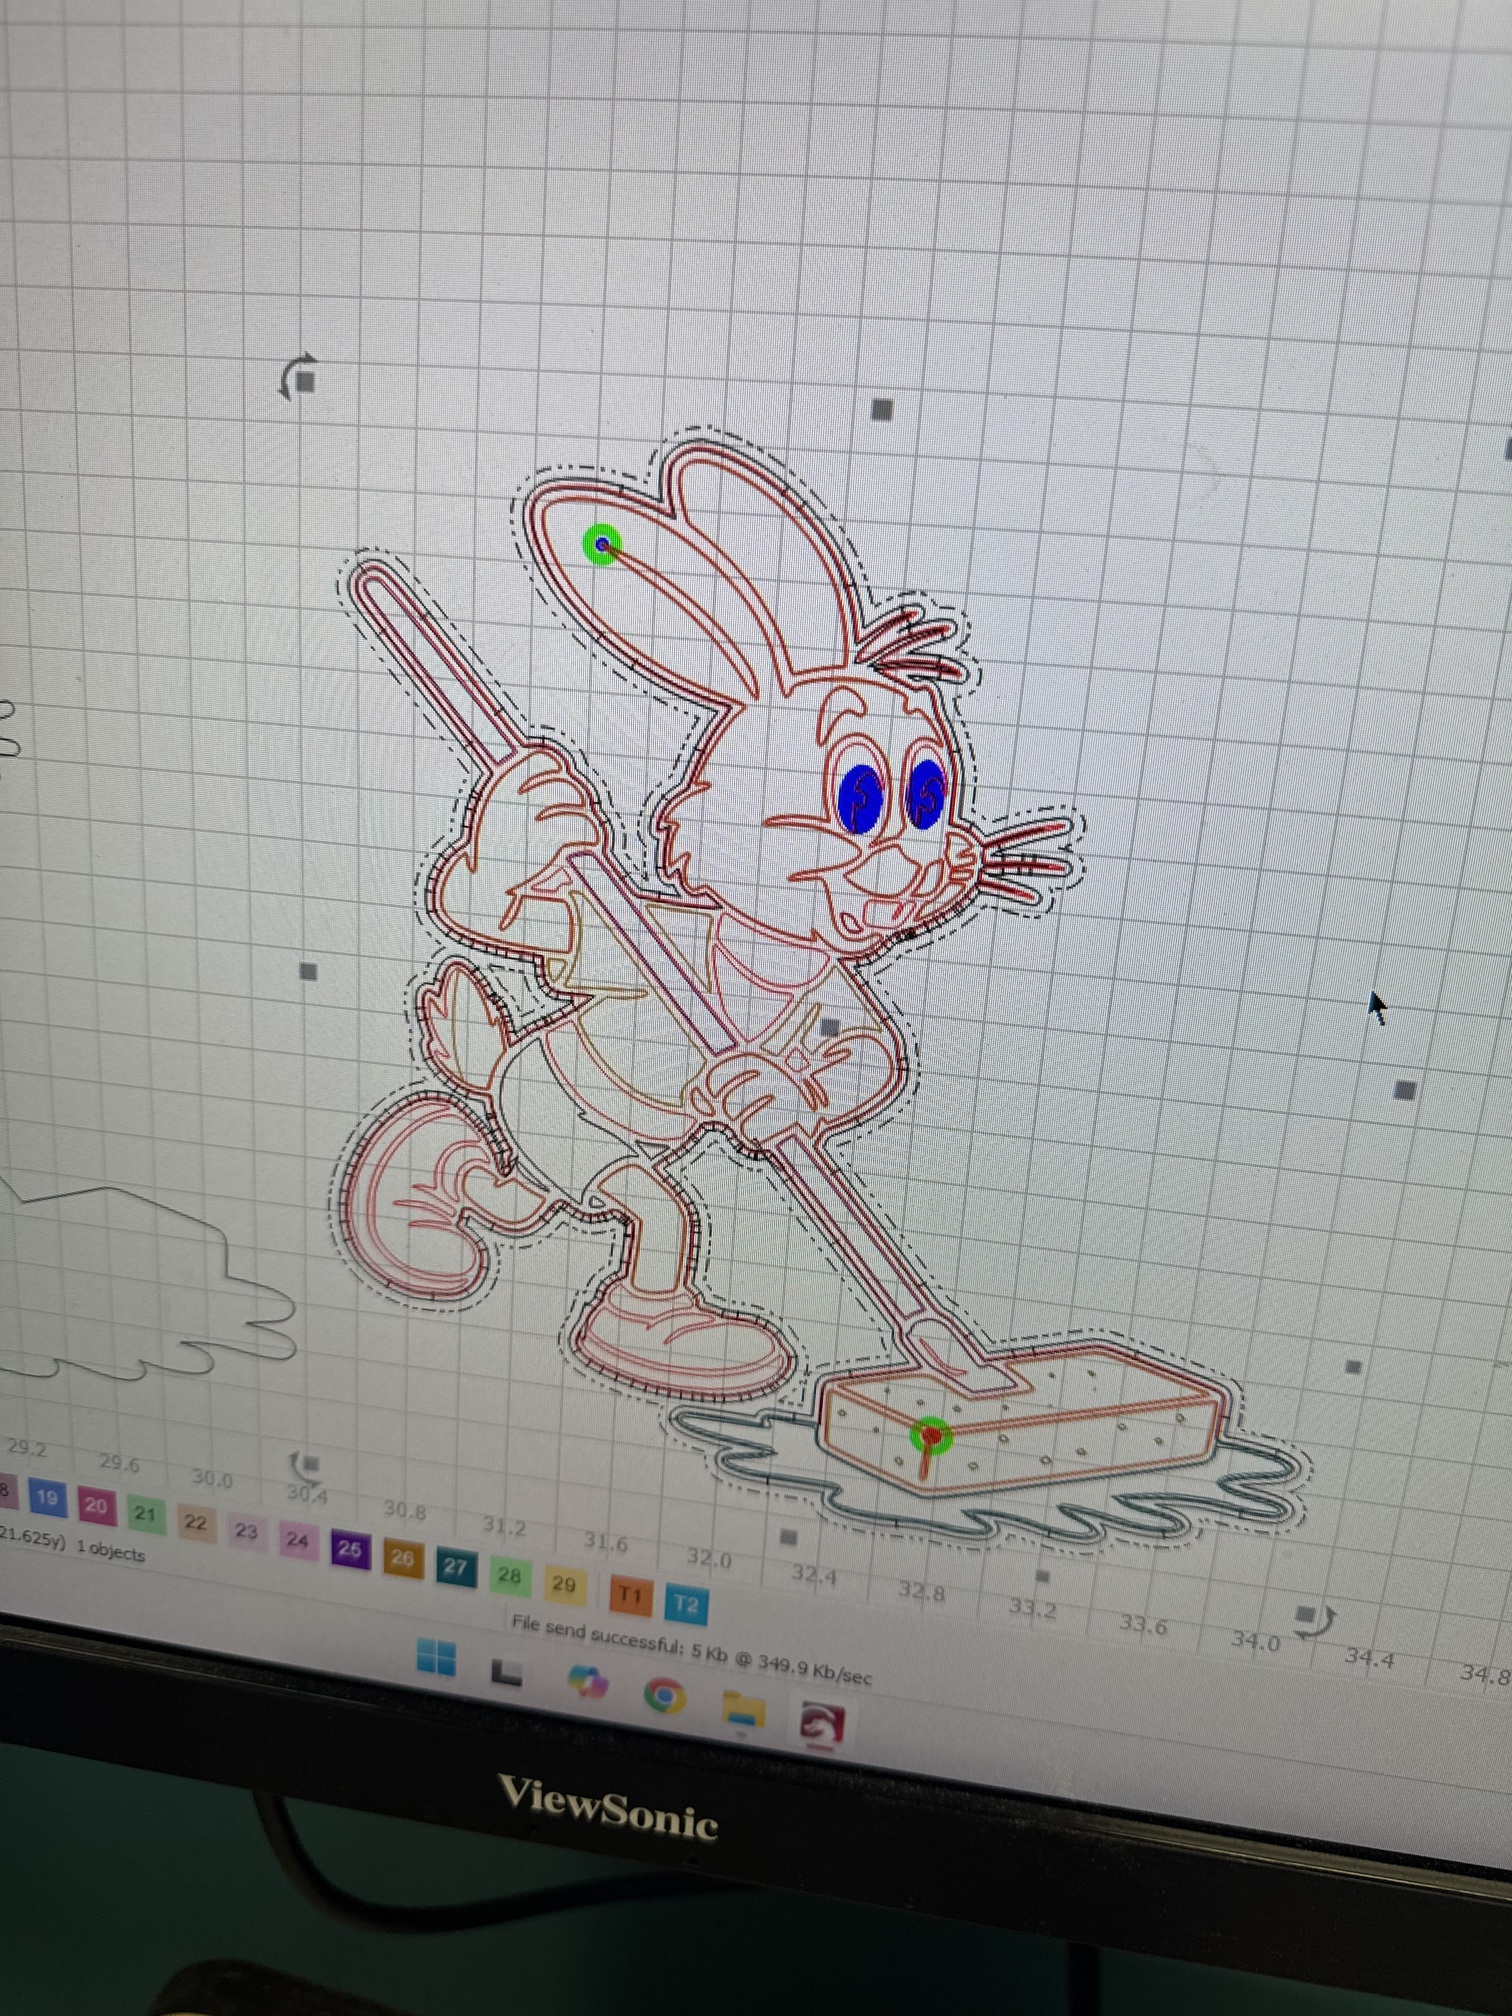
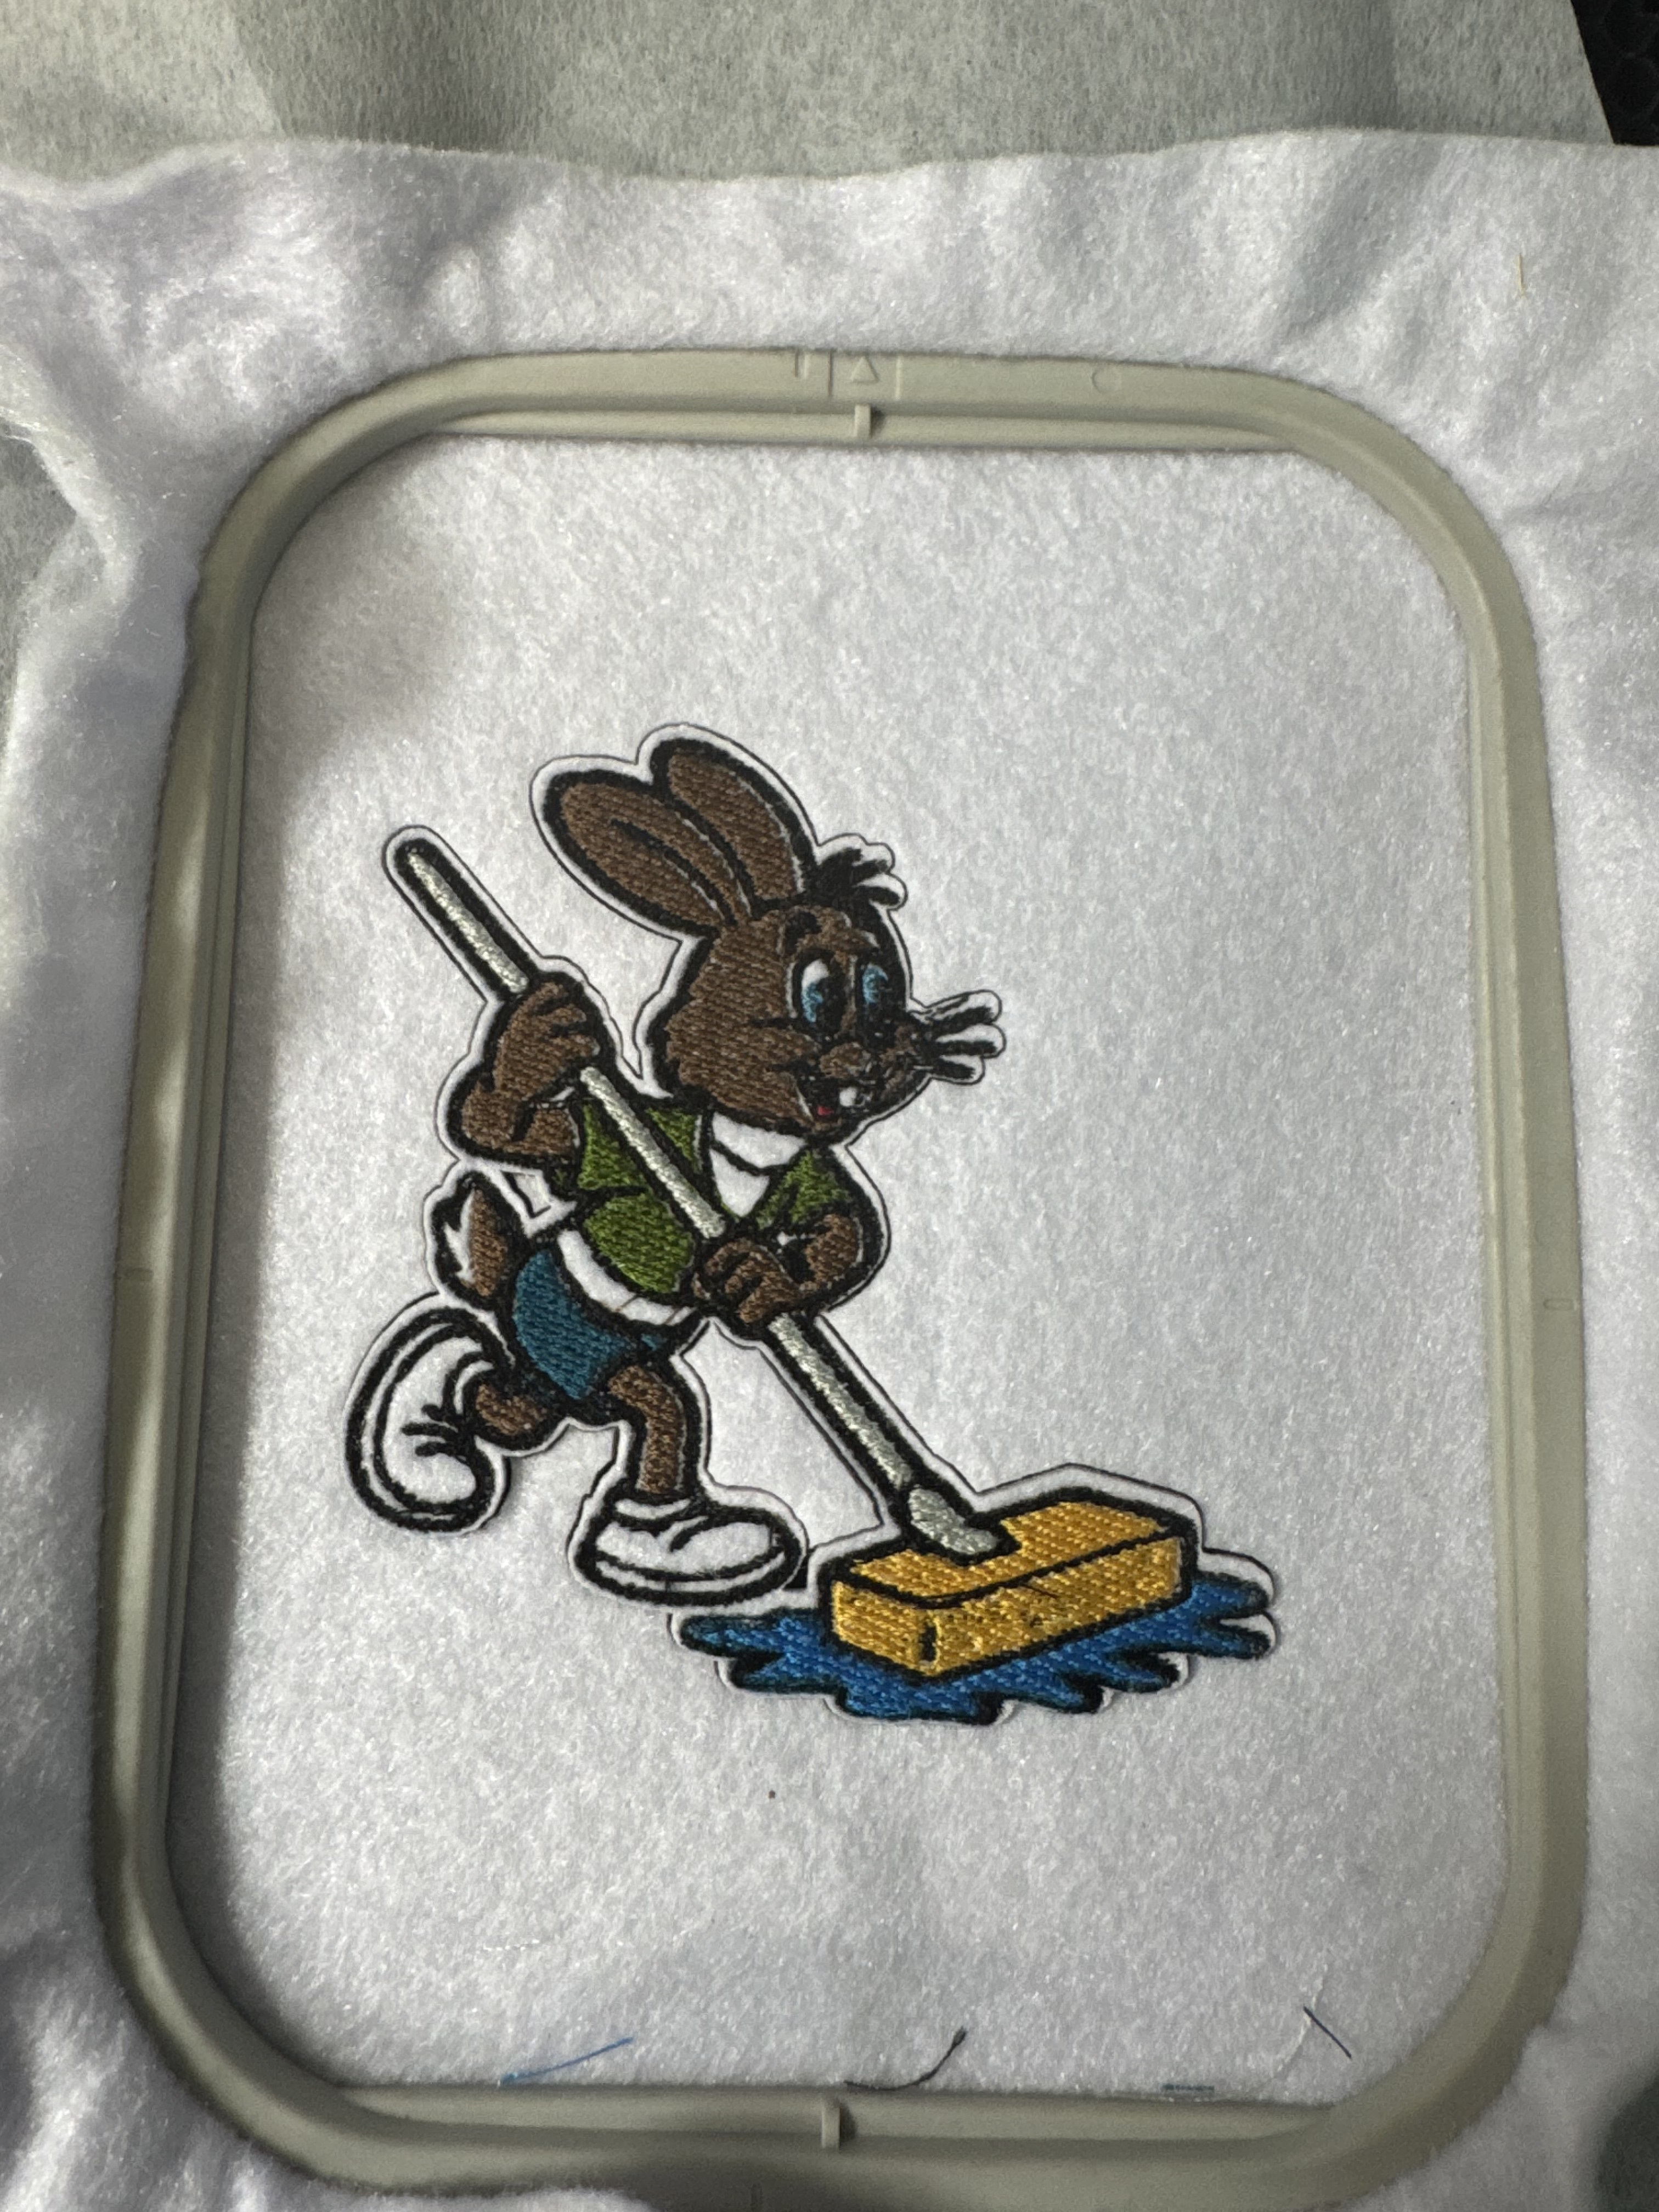
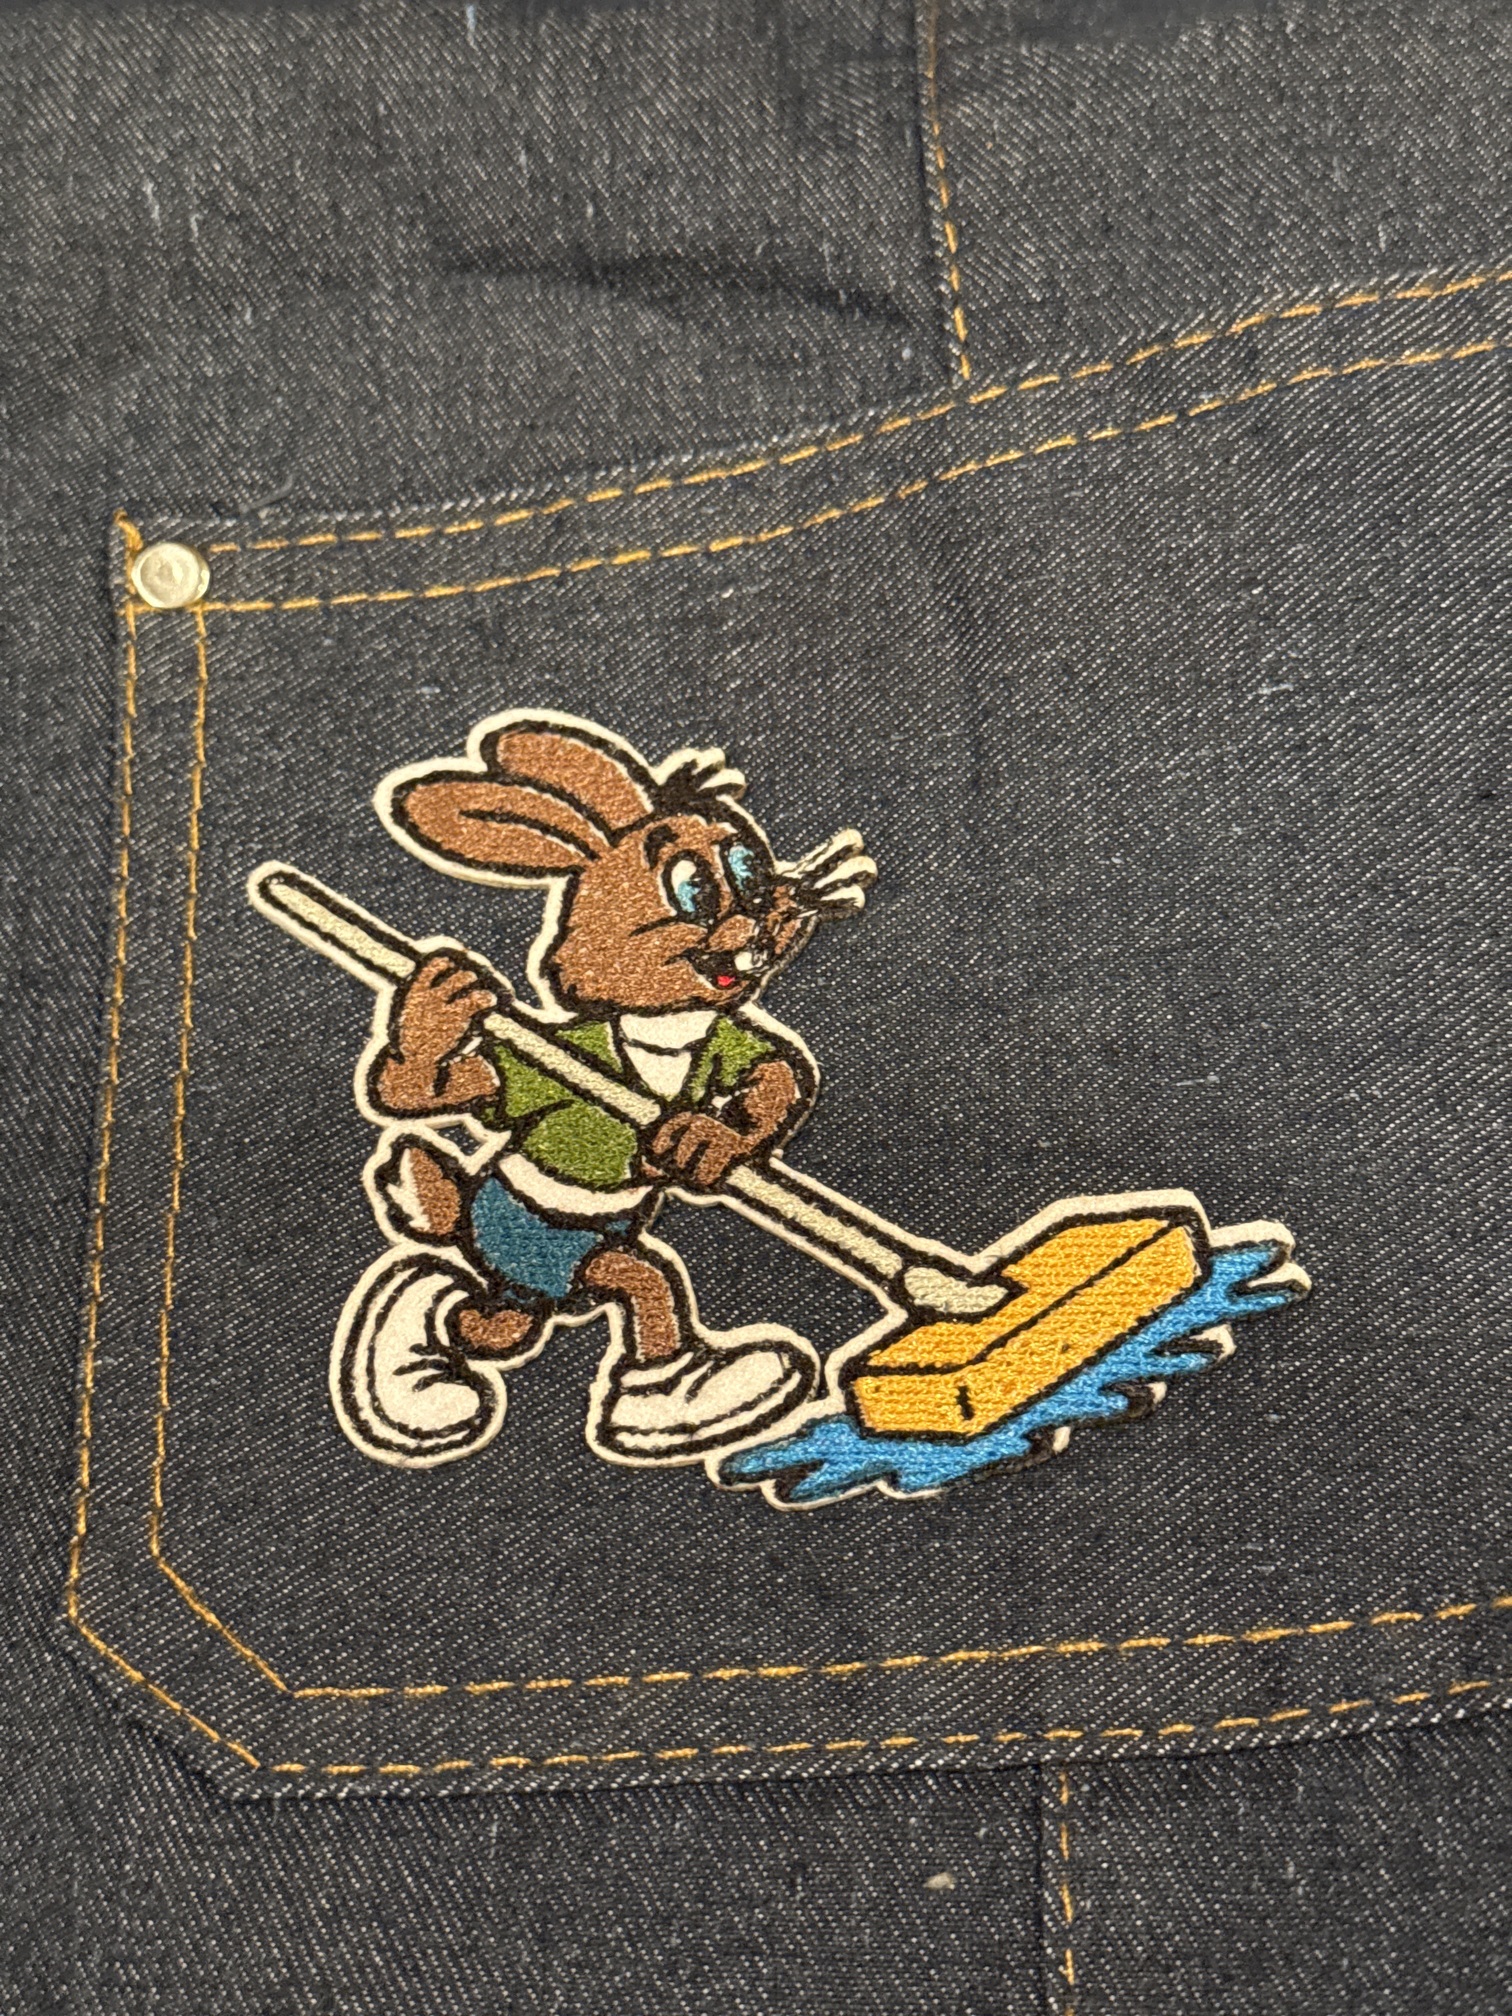
After making a rather complicated patch today, I wasn’t looking forward to painstakingly cutting it out & probably slicing through a few border threads in the process.
I realized: I’ve already made an SVG that includes an outline……
So I threw it in lightburn, added a quick 1mm outside offset:
Awesome, I have been wanting to use the embroidery machine for a while but haven’t been able to get anybody to show me the ropes. Would appreciate a quick tutorial sometime your free
What a great example of Print plus Cut and using it across multiple shops. I too have struggled with the border cuts, and never considered thia. Thanks!
Honestly it’s 99.9% tedious and moderately frustrating vector design work.
Using Inkscape + ink/stitch lets you import (or create) a vector and then apply stitch parameters on a layer by layer basis.
There’s a bit of nuance in that some stitch types can only be rendered on lines and others only on filled areas, but ink/stitch contains utilities to convert paths from one to the other easily.
I started with the wiki page that someone made, and have more or less been consuming the content surrounding ink/stitch since then to get a good idea of what I’m doing.
If you catch me around feel free to ask about it! I’ll also be teaching a class on the whole process shortly.