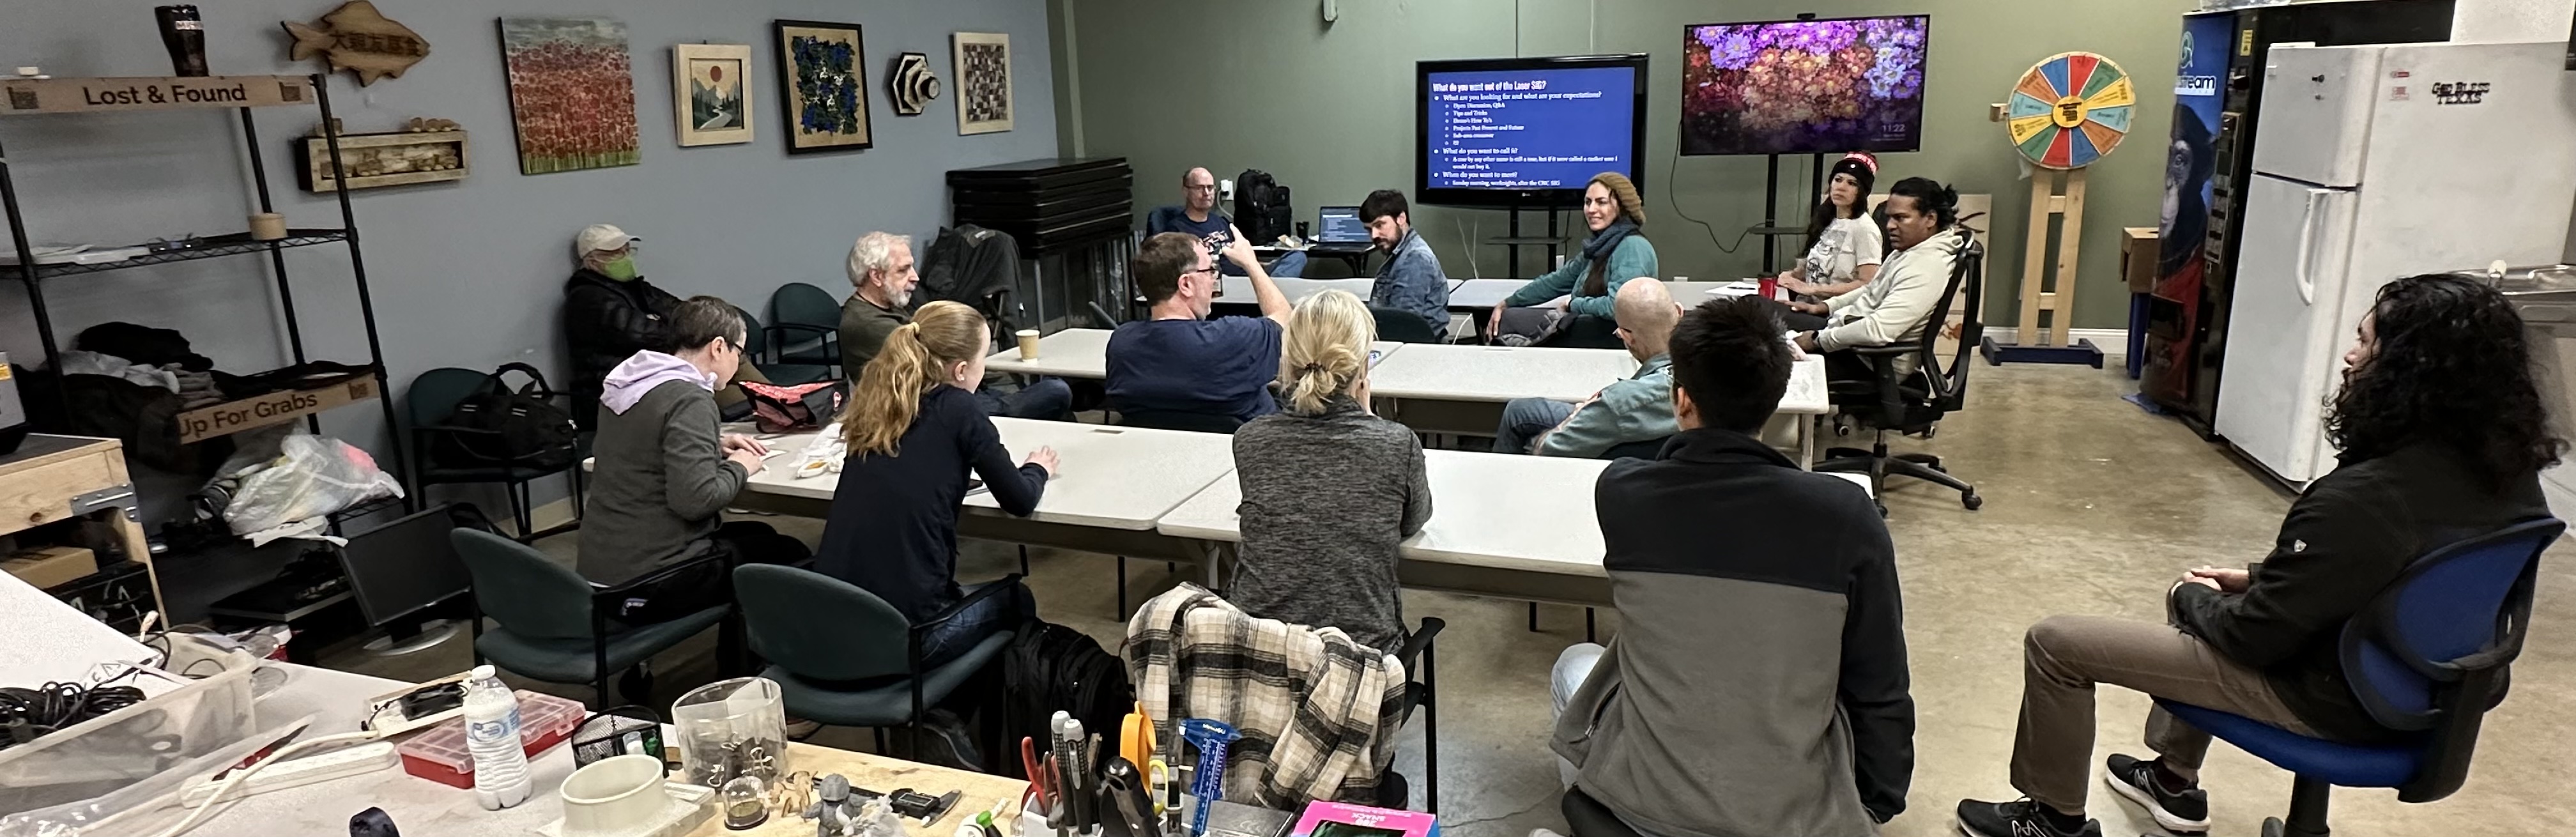
Hi all! Just sharing the notes I took during the first meeting of the Laser SIG:
- Good Material Source: Houston Acrylic, $100+ = free shipping, comes the next day.
- Material Selection: Cast acrylic is not much more expensive than extruded, but better results from cutting as there are no internal stresses from rolling / unrolling.
- Potential Problem: Liquid acrylic condensate can get welded to surface, but using Dawn soap, no water, spread very thin layer onto it before cutting, and wash away afterwards.
- Note on Etsy files - Often handy to purchase a file from Etsy, especially with the intricacies of Living Hinges, but ensure there are not duplicate vector paths. Etsy sellers include these for weaker desktop laser users. In Lightburn, under “Edit” see “Delete Duplicates”
- LED Lighting tip: Edge sanding to 800 grit to help light spread into, single layer works best. Clear silicone optical grease helps light straight through flow
- Tips for Layering: Engraving acrylic on front vs on back - can create a depth effect for multi layer visuals - OR - Grayscale as an optical option. Tarkin is ideal because HVDC excited laser has wider power band. Dorian is RF excited.
- Tip for Captive or “Pocketed” nuts - Shaper origin recommended for nut pocketing, corners being radius creates capture friction. If using the laser, Line Interval is as important (or more) as speed and power for pocketing.
- Discussion point - Power and Speed settings - confusion on book versus Lightburn presets. Software ones known to be good. Book possibly outdated.
Demonstration: Print and Cut - registration marks allow realignment of part, or keying of a template / jig.
Under “Laser Tools”, “Print and Cut”. Use the wizard!
Set Start position = manually move laser onto the first dot
Window - “Move” Tab gets movement controls up, much smaller jog speed possible than using the pendant.
Tip - Burning alignment hole through allows both sides align-able for 2 sided projects
Click on item in Light run, and then on wizard select set second target (after relocating laser)
Next step - scaling or no scaling. Note that Corel put out 3.5", but exported a .png 3.325", slight scaling issue. To fix, ensure sizes
Lightburn will use Absolute coordinates - don’t set an origin
Preview view in Lightburn will show the orientation on the workspace
Frame first, it will still be an XY square so okay if looks too large at first - NOTE Clamps!
Some colors on sublimation printer are offset a bit - this will be fixed
Thanks! Very good meeting.