Edited 11/23/24 for new names of the software
Sawgrass has recently changed to a new software program for printing to our sublimation dye printer called Sawgrass Print Utility. This note is about the changed workflow. This is intended to be a primer, and in no way exhaustive. As always, if you have questions, please respond, and hopefully we can make this thread more informative as time goes on.
So far, I have found that Sawgrass Print Utility is going to be an improvement in overall use. The biggest and best changes are
- You can open Sawgrass Print Utility in the normal way you expect to with any other program - double click the icon, and it will open the program (no more of the open local file from the weird place on the tray nonsense!)
- It makes it possible to re-print the previous job without needing to go through the entire workflow, thereby keeping your settings.
If you install Sawgrass Print Utility on your own computer. Things to know:
- You will need to make an account. This is free. Go here [link]
- Our printer uses Siser EasySubli ink
- Windows installation instructions [video] [link]
- Mac installation instructions [video] [link]
There are not yet a lot of particularly good YouTube videos about using this program. One option is at this [link], and the PrintMate section starts at 10:00 in to the video (there is a chapter link)
Note - Sawgrass Print Manager will still work until February 2025 if you prefer to use that workflow for now. But after that time, everyone will need to change to use the new software. We have removed the old print manager from shop computers.
A few screen shots to get you started.
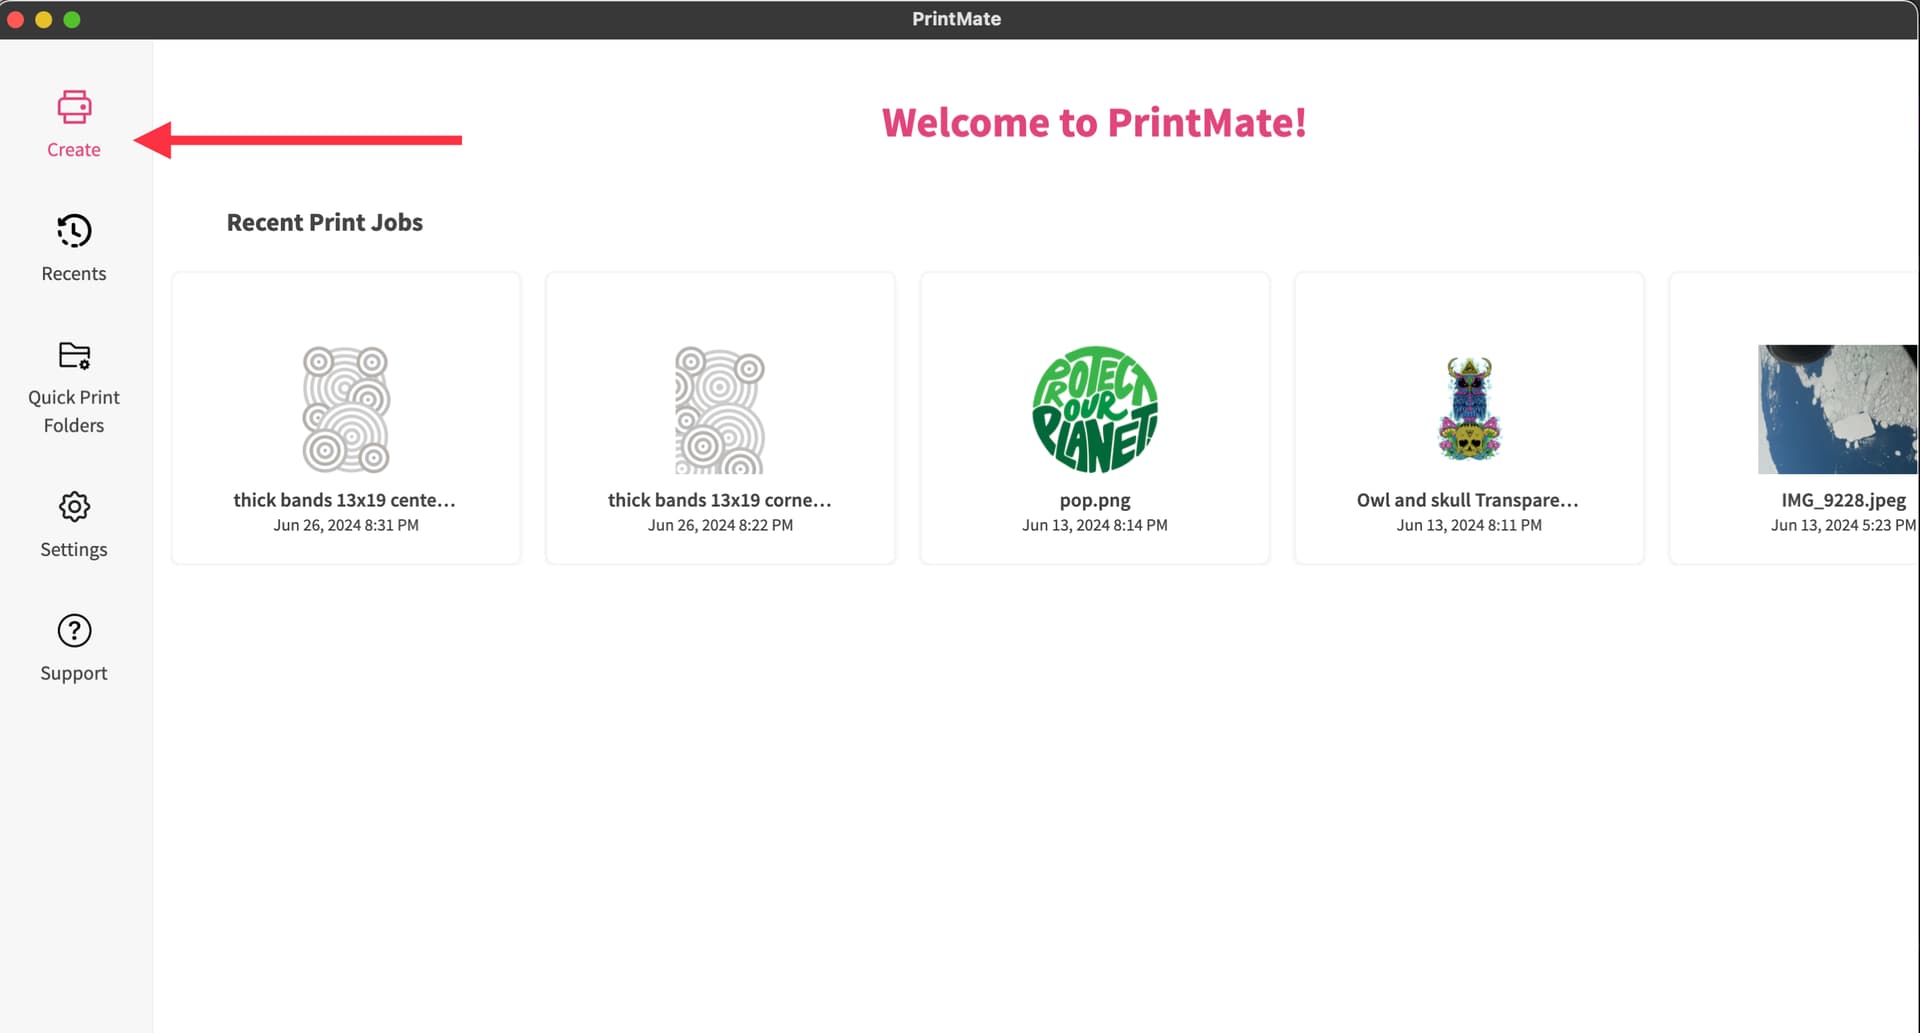
Start by clickling “Create” on the top left
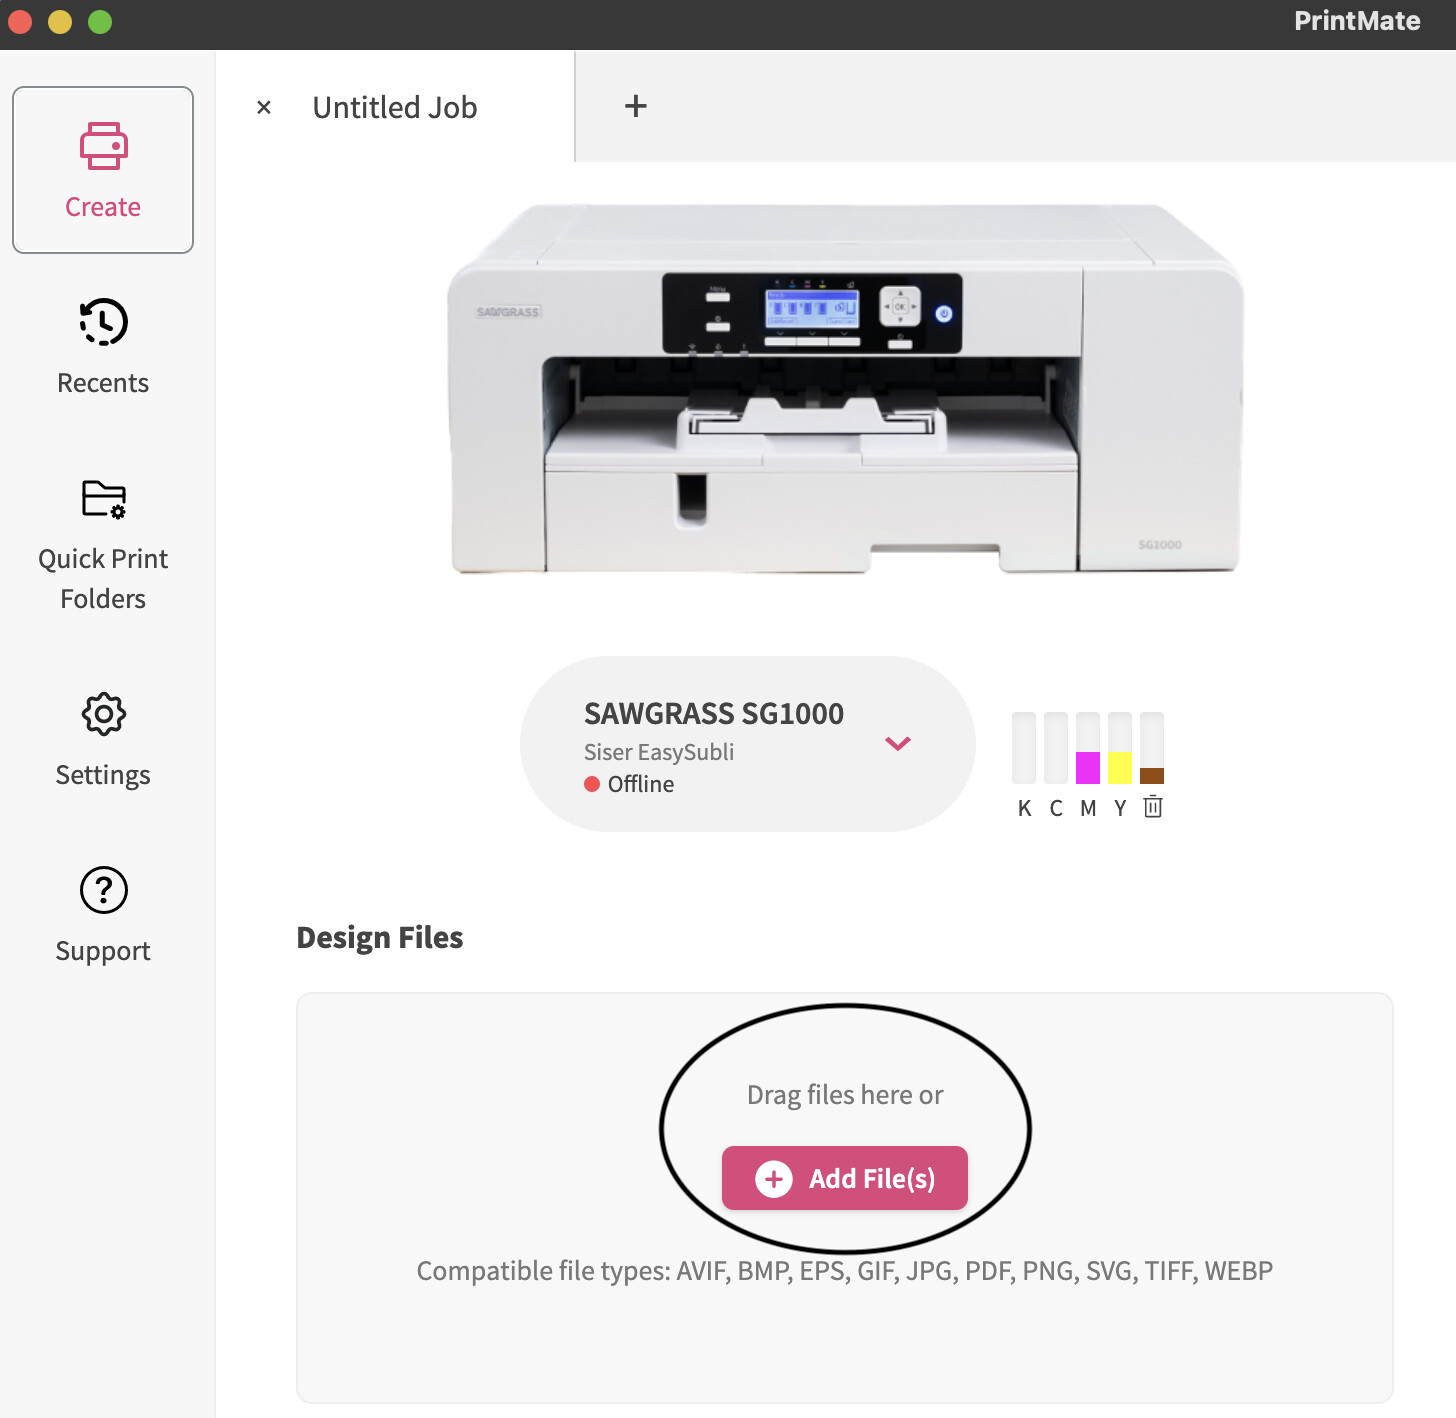
Drag files or select pink +Add File button in the “Design Files” section just below the picture of the printer
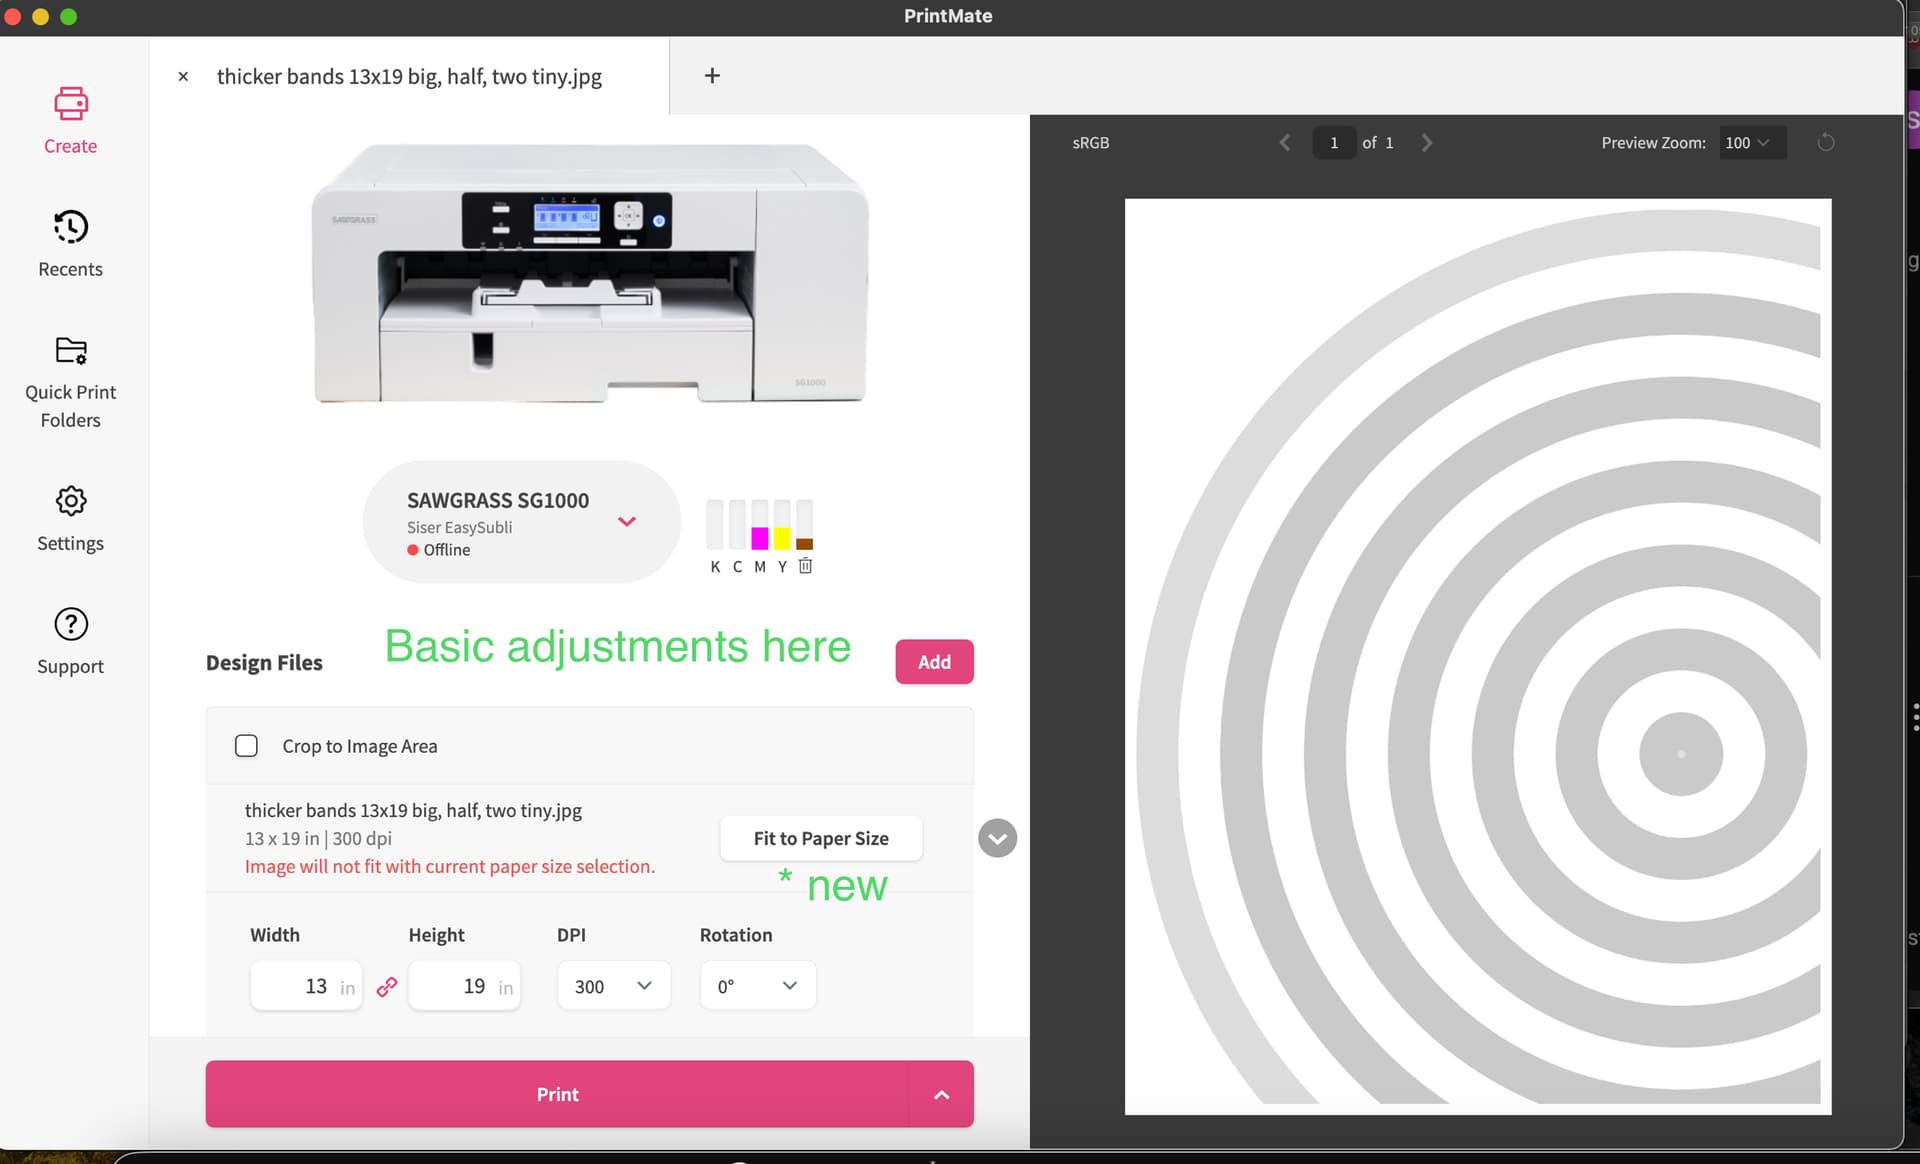
Your image will show up on the right. You can make some basic adjustments within the “Design Files” section. There is a new button to “Fit to Paper Size”.
What is NOT obvious is that there is a whole lot of options below the “Design Files” section that you need to scroll down to find. And the scroll bar disappears when i take the screen shots. When scrolling, it will be just to the right of the picture of the printer
Options that you start to see as you scroll down. These will look familiar to prior users

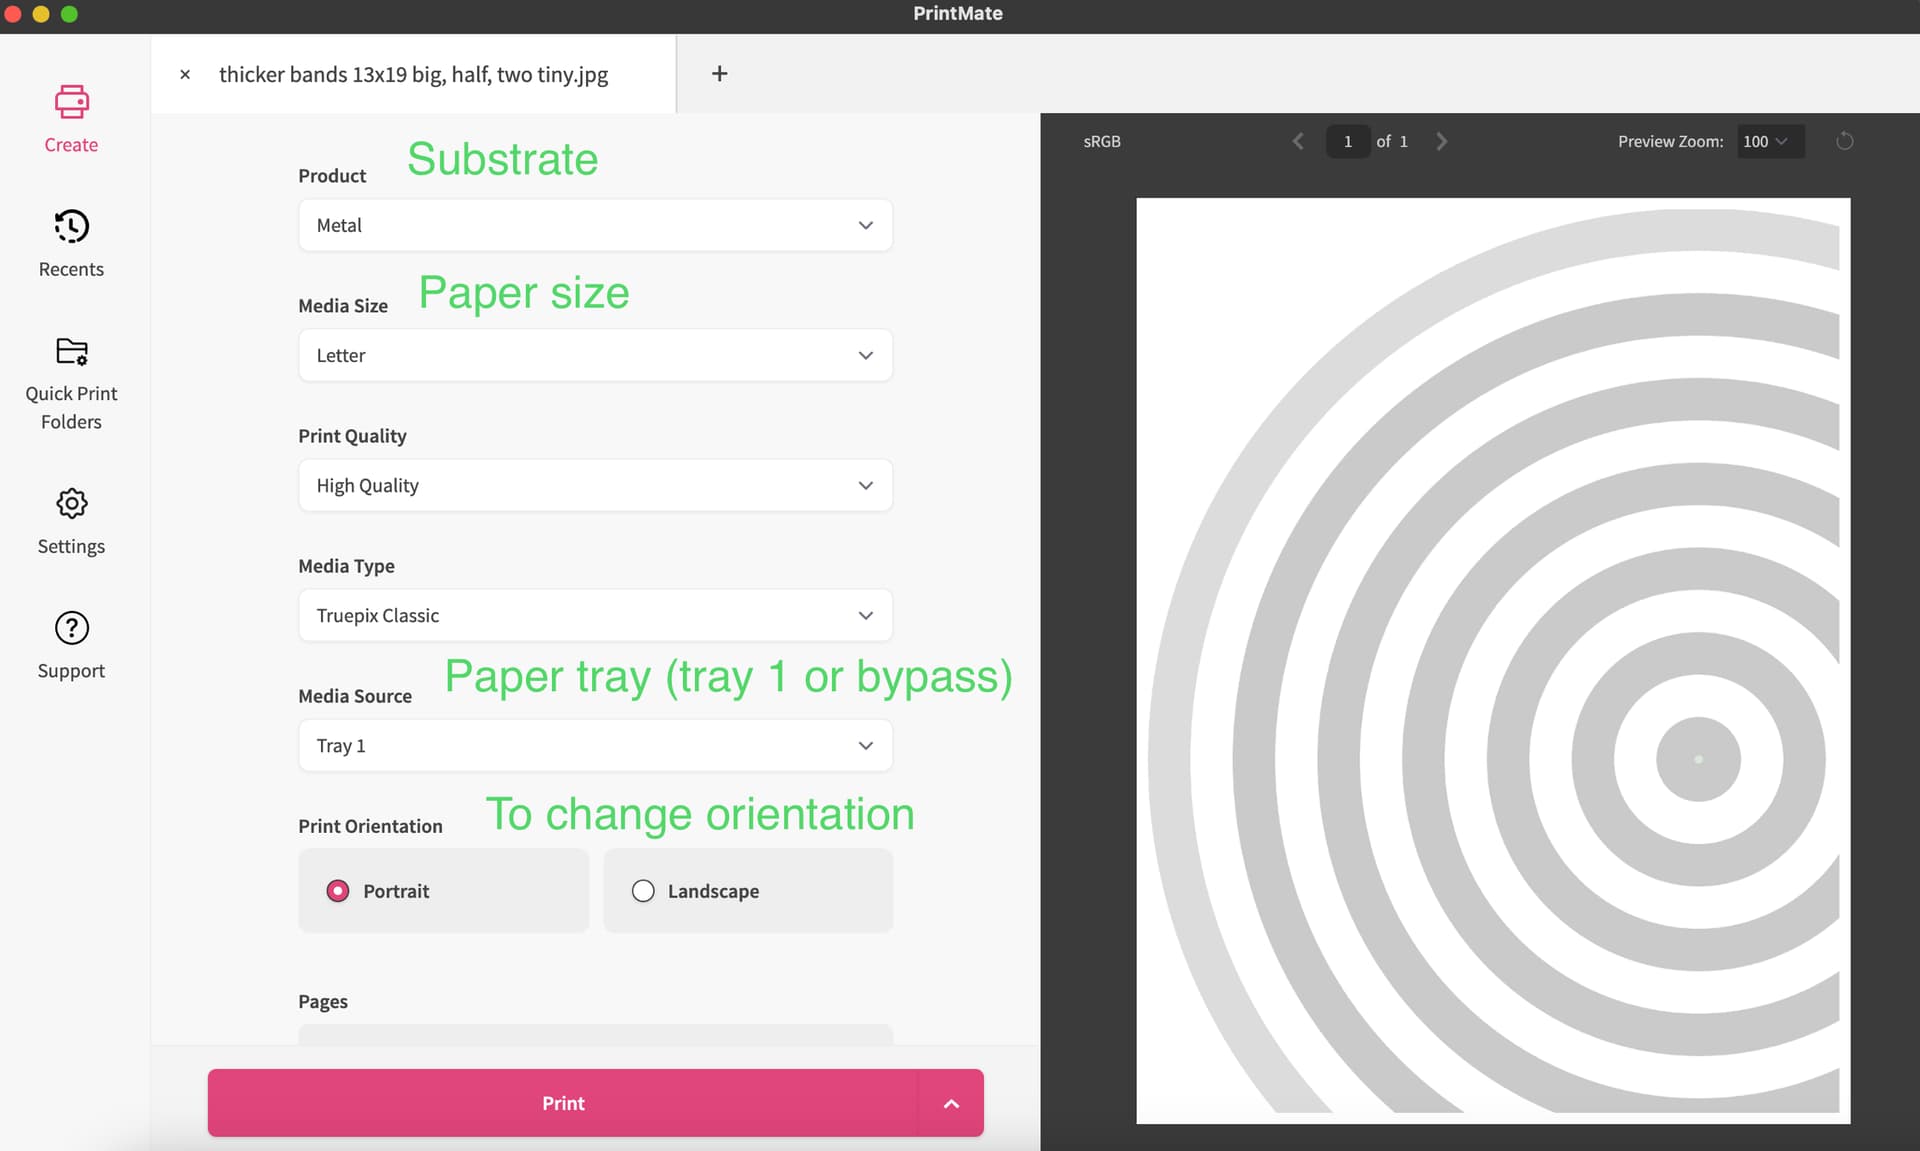
Keep scrolling to get to the options for substrate, paper size, paper tray selection, and portrait/landscape options
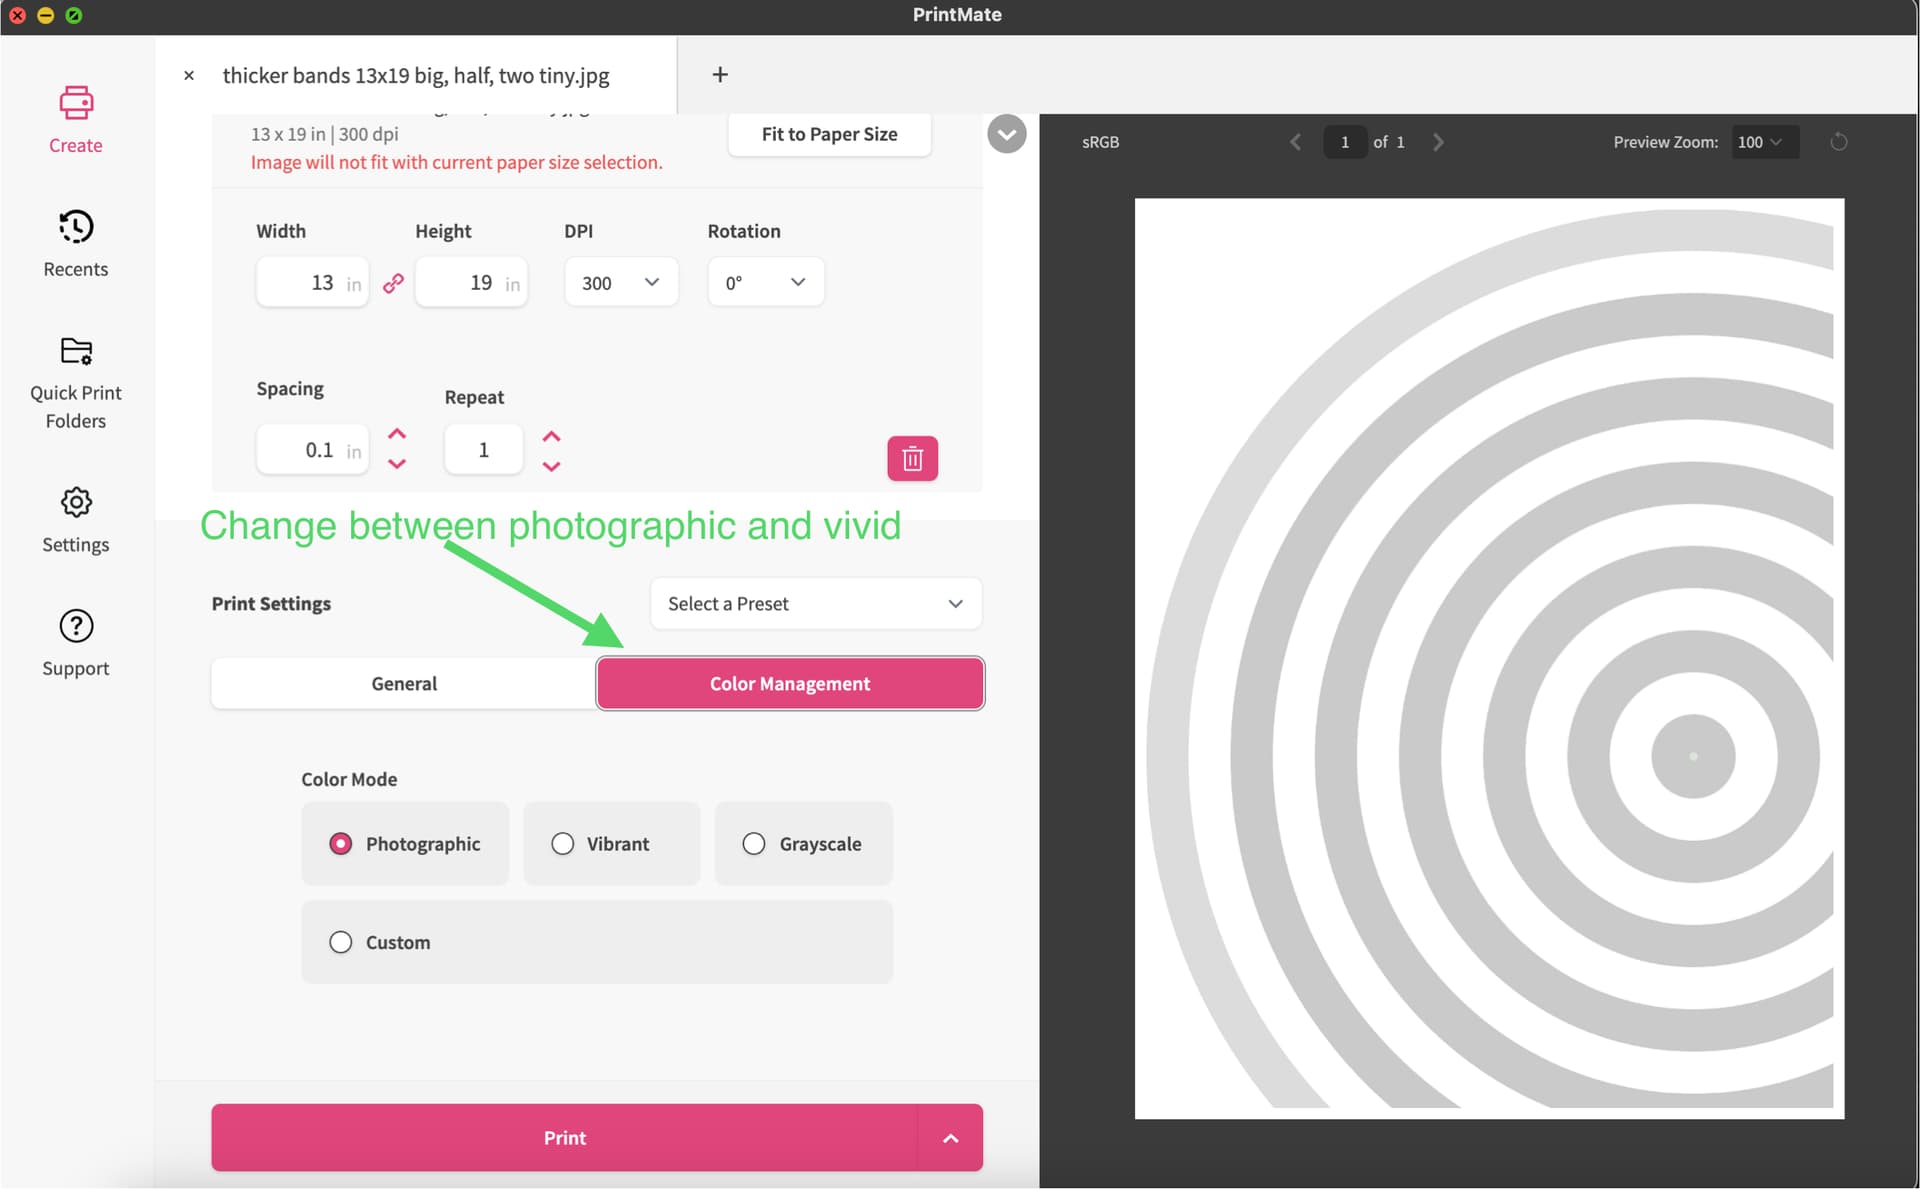
There is a separate button for “Color Management” at the top of the Print Settings section that will allow you to change from Photograpic, Vivid, greyscale and custom. As a reminder, I typically use vibrant for everything except actual photographs.
Along with the addition of Sawgrass Print Utility, they have also released a new design software DesignMate. I have not yet played around with this program, and as such don’t have anything to share on that front. If anyone would like to take on the task of learning more about it, that would be amazing.