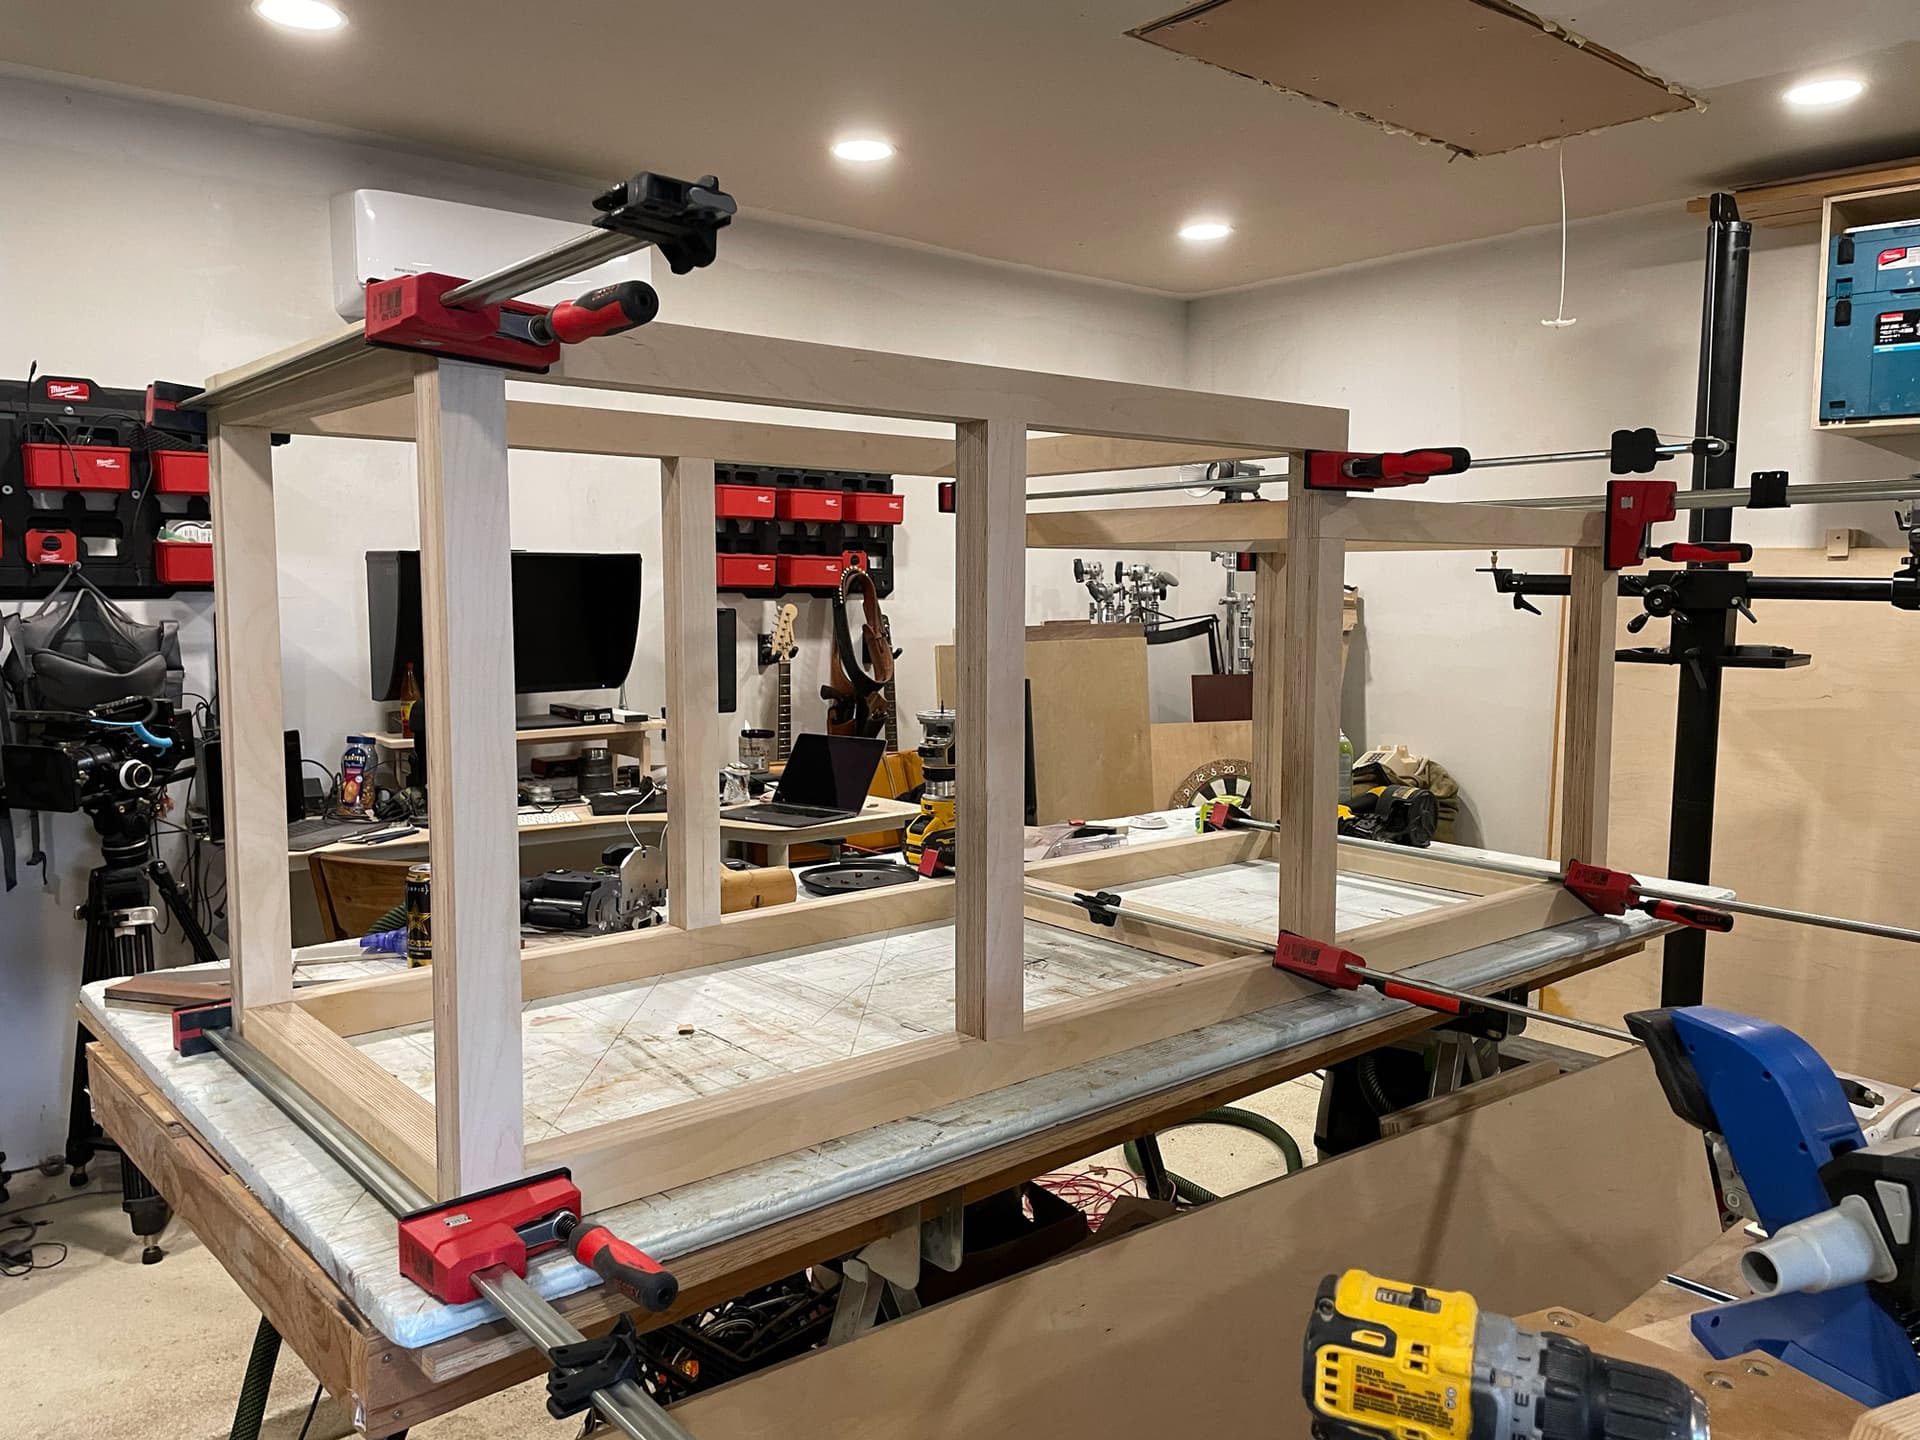
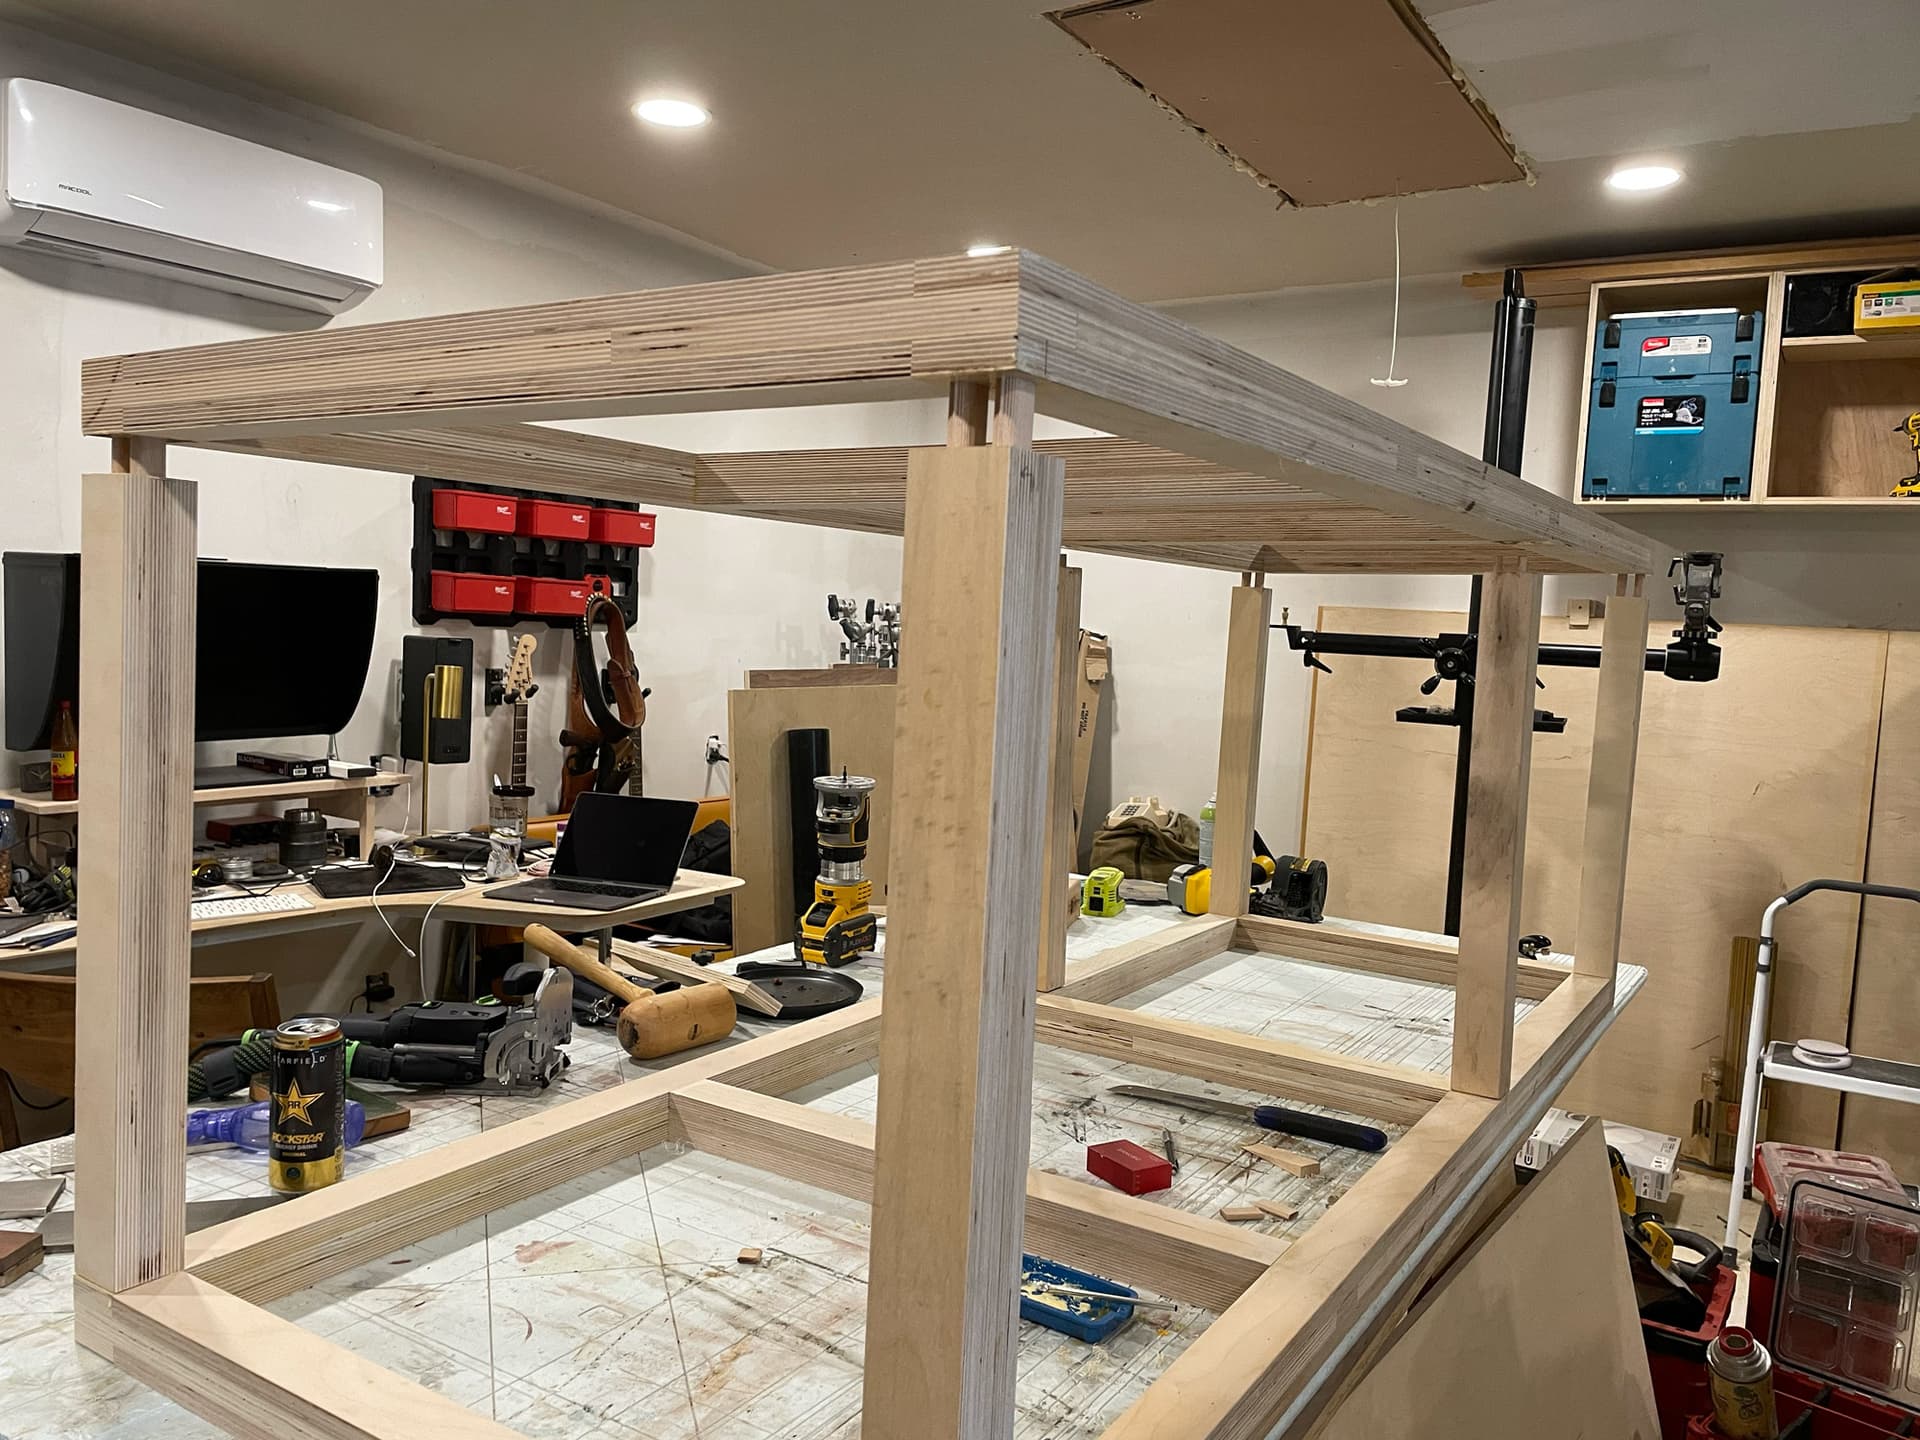
I started building a new miter saw table in the style of the MFT’s, currently at Asmbly. While I no longer think that the laminated plywood is a good option for tables/structure; it does have a huge upside that I think is worth mentioning. There are several CNC cabinet shops around town that have ample scrap that you can collect for free. And since this laminated plywood structure only requires small pieces - you can easily produce the parts you need with almost as much labor as it would take with whole sheets.
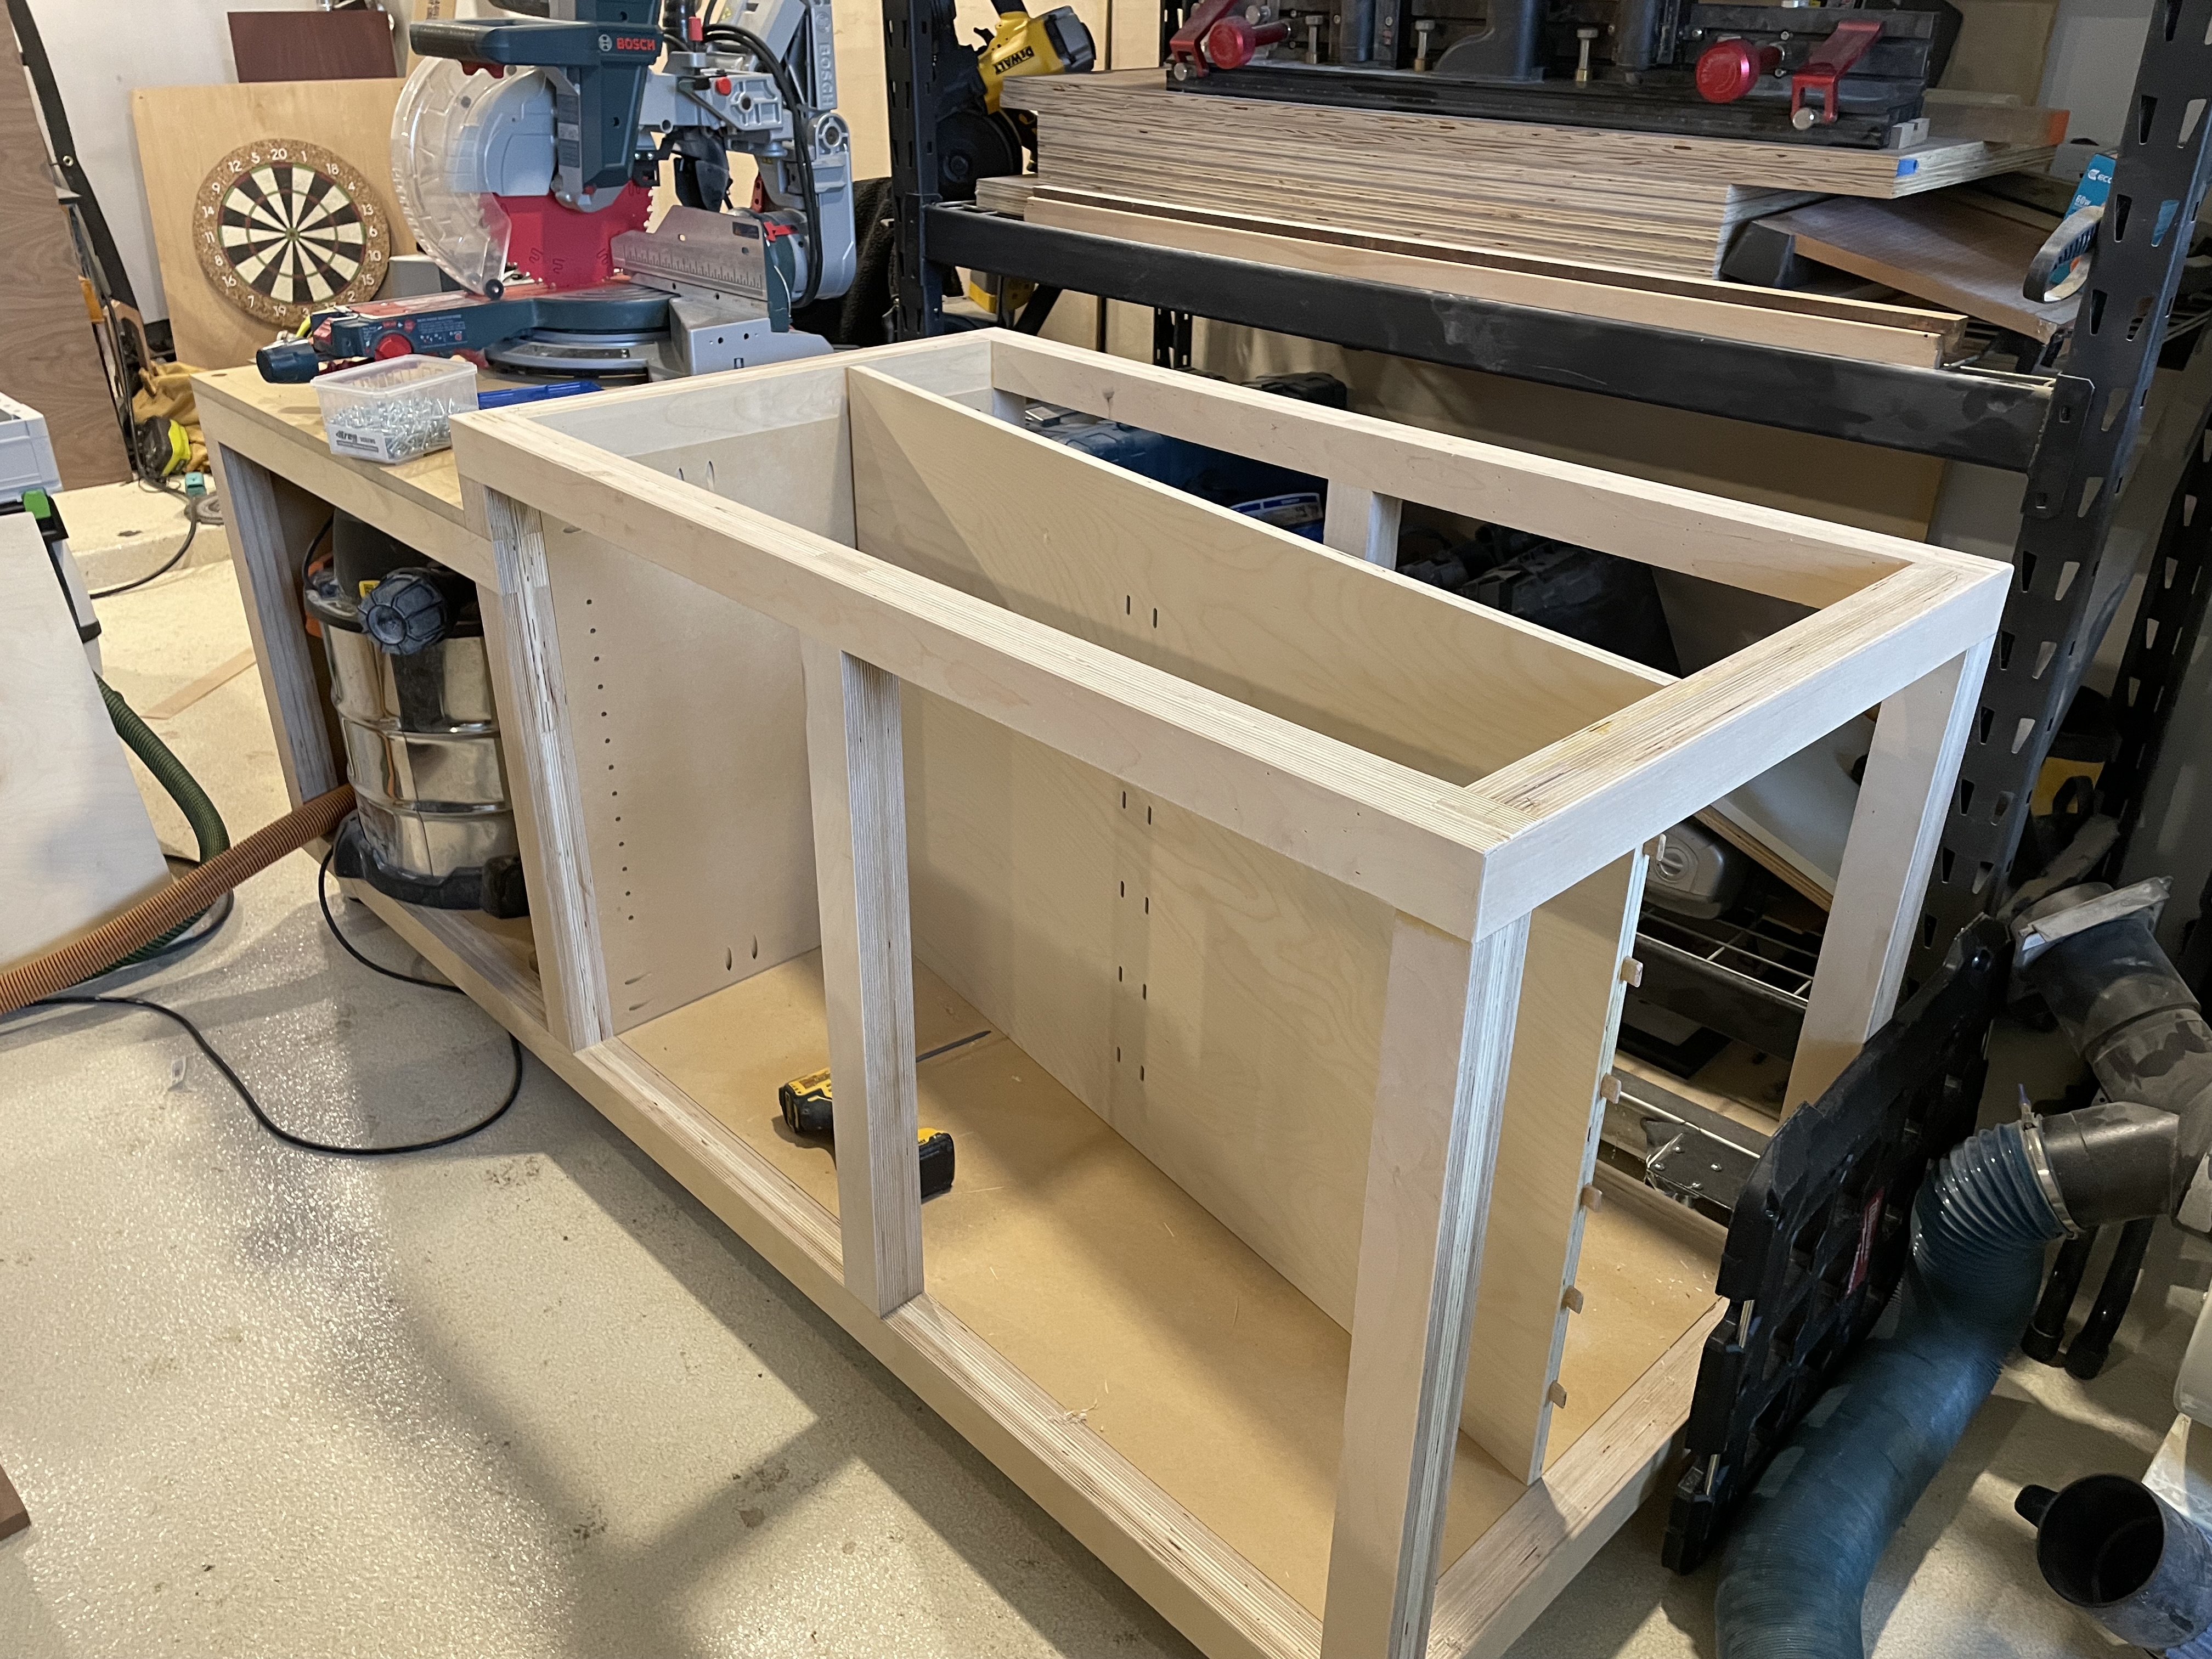
It’s ultimately better to build the structure out of 2" Steel tubing. However, this was a good way to recycle my growing scrap pile. 80% of the material on this table will be from CNC cabinet shop scraps. The laminated plywood does look nice. And I already have several tables made with this type of structure. So there’s a small “Uniformity” bump that I get with keeping it all the same structure.
About the table:
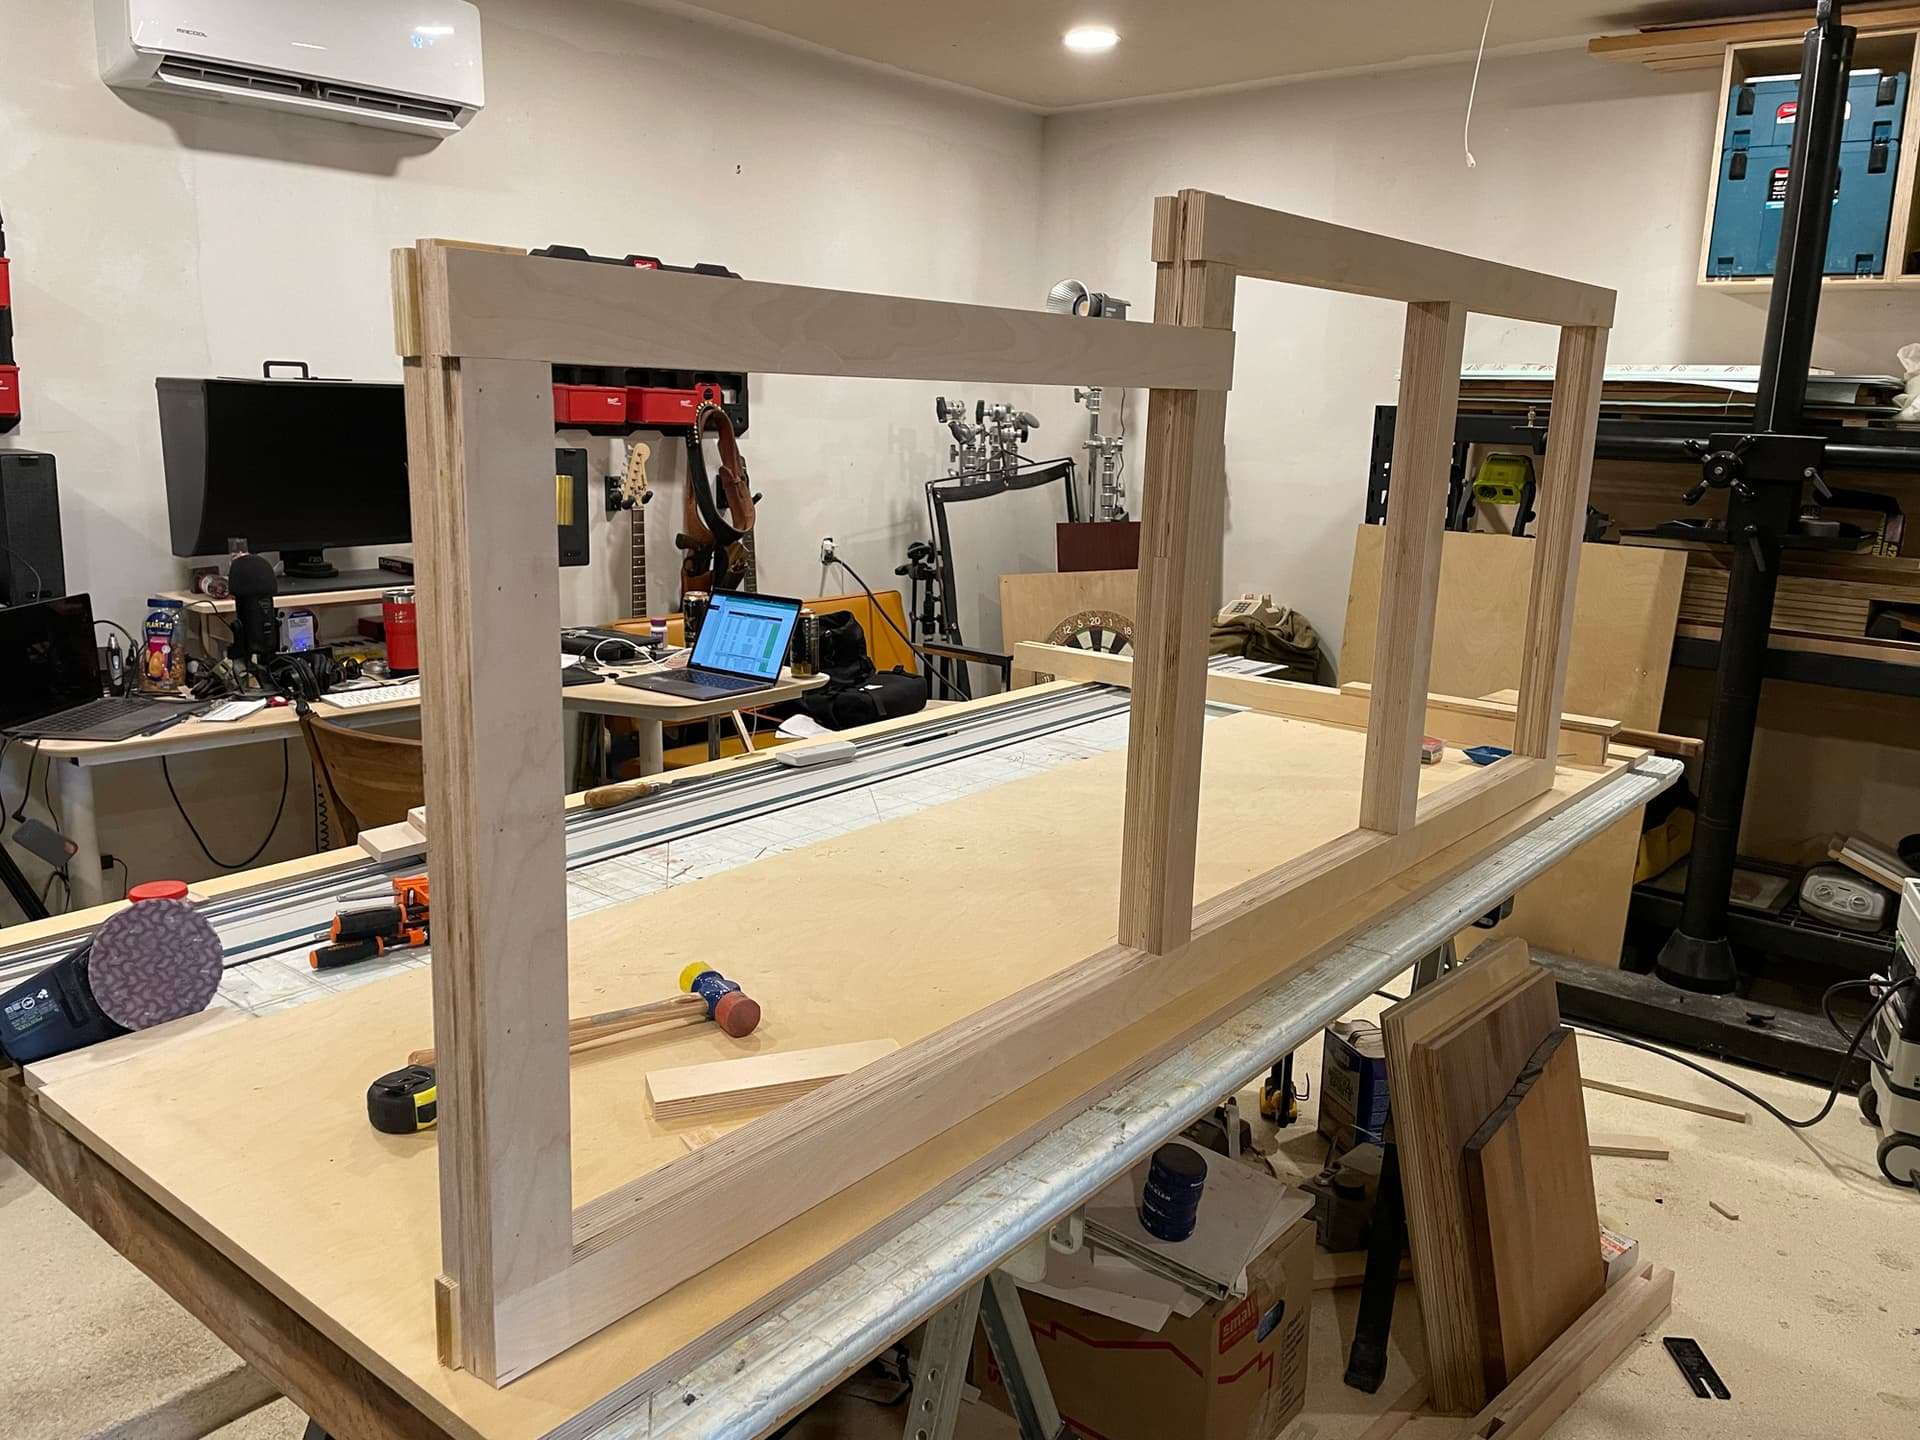
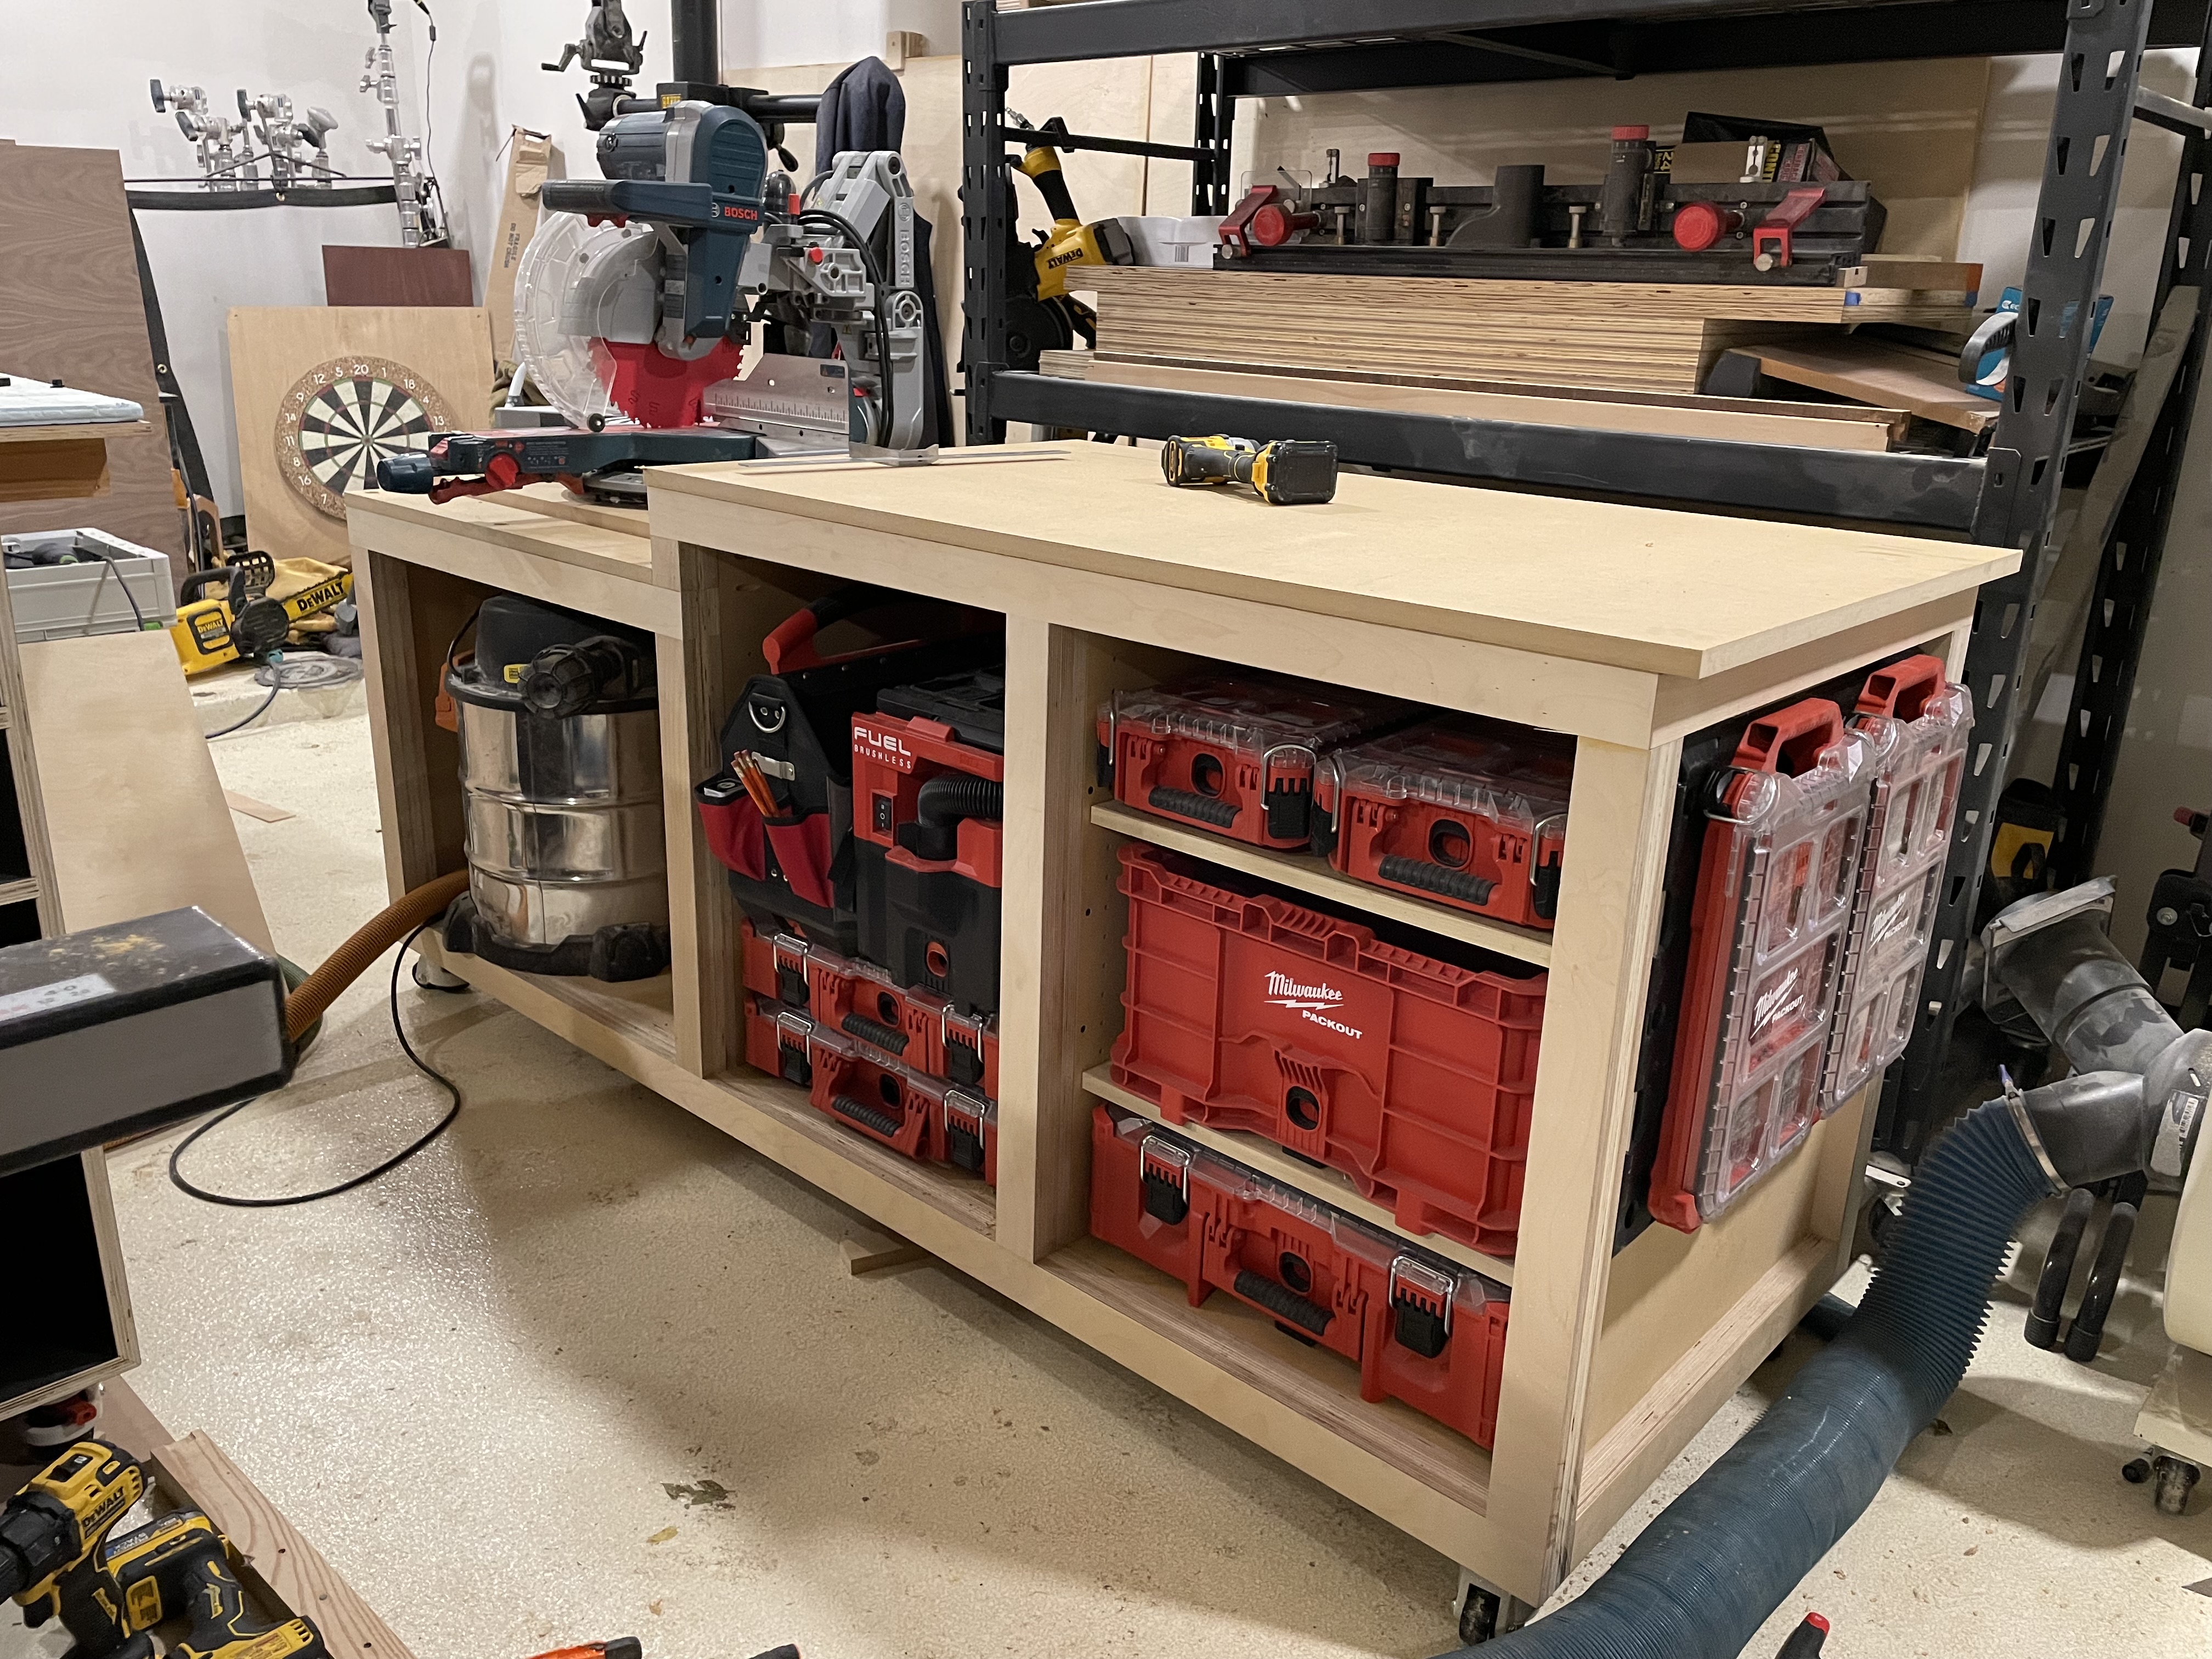
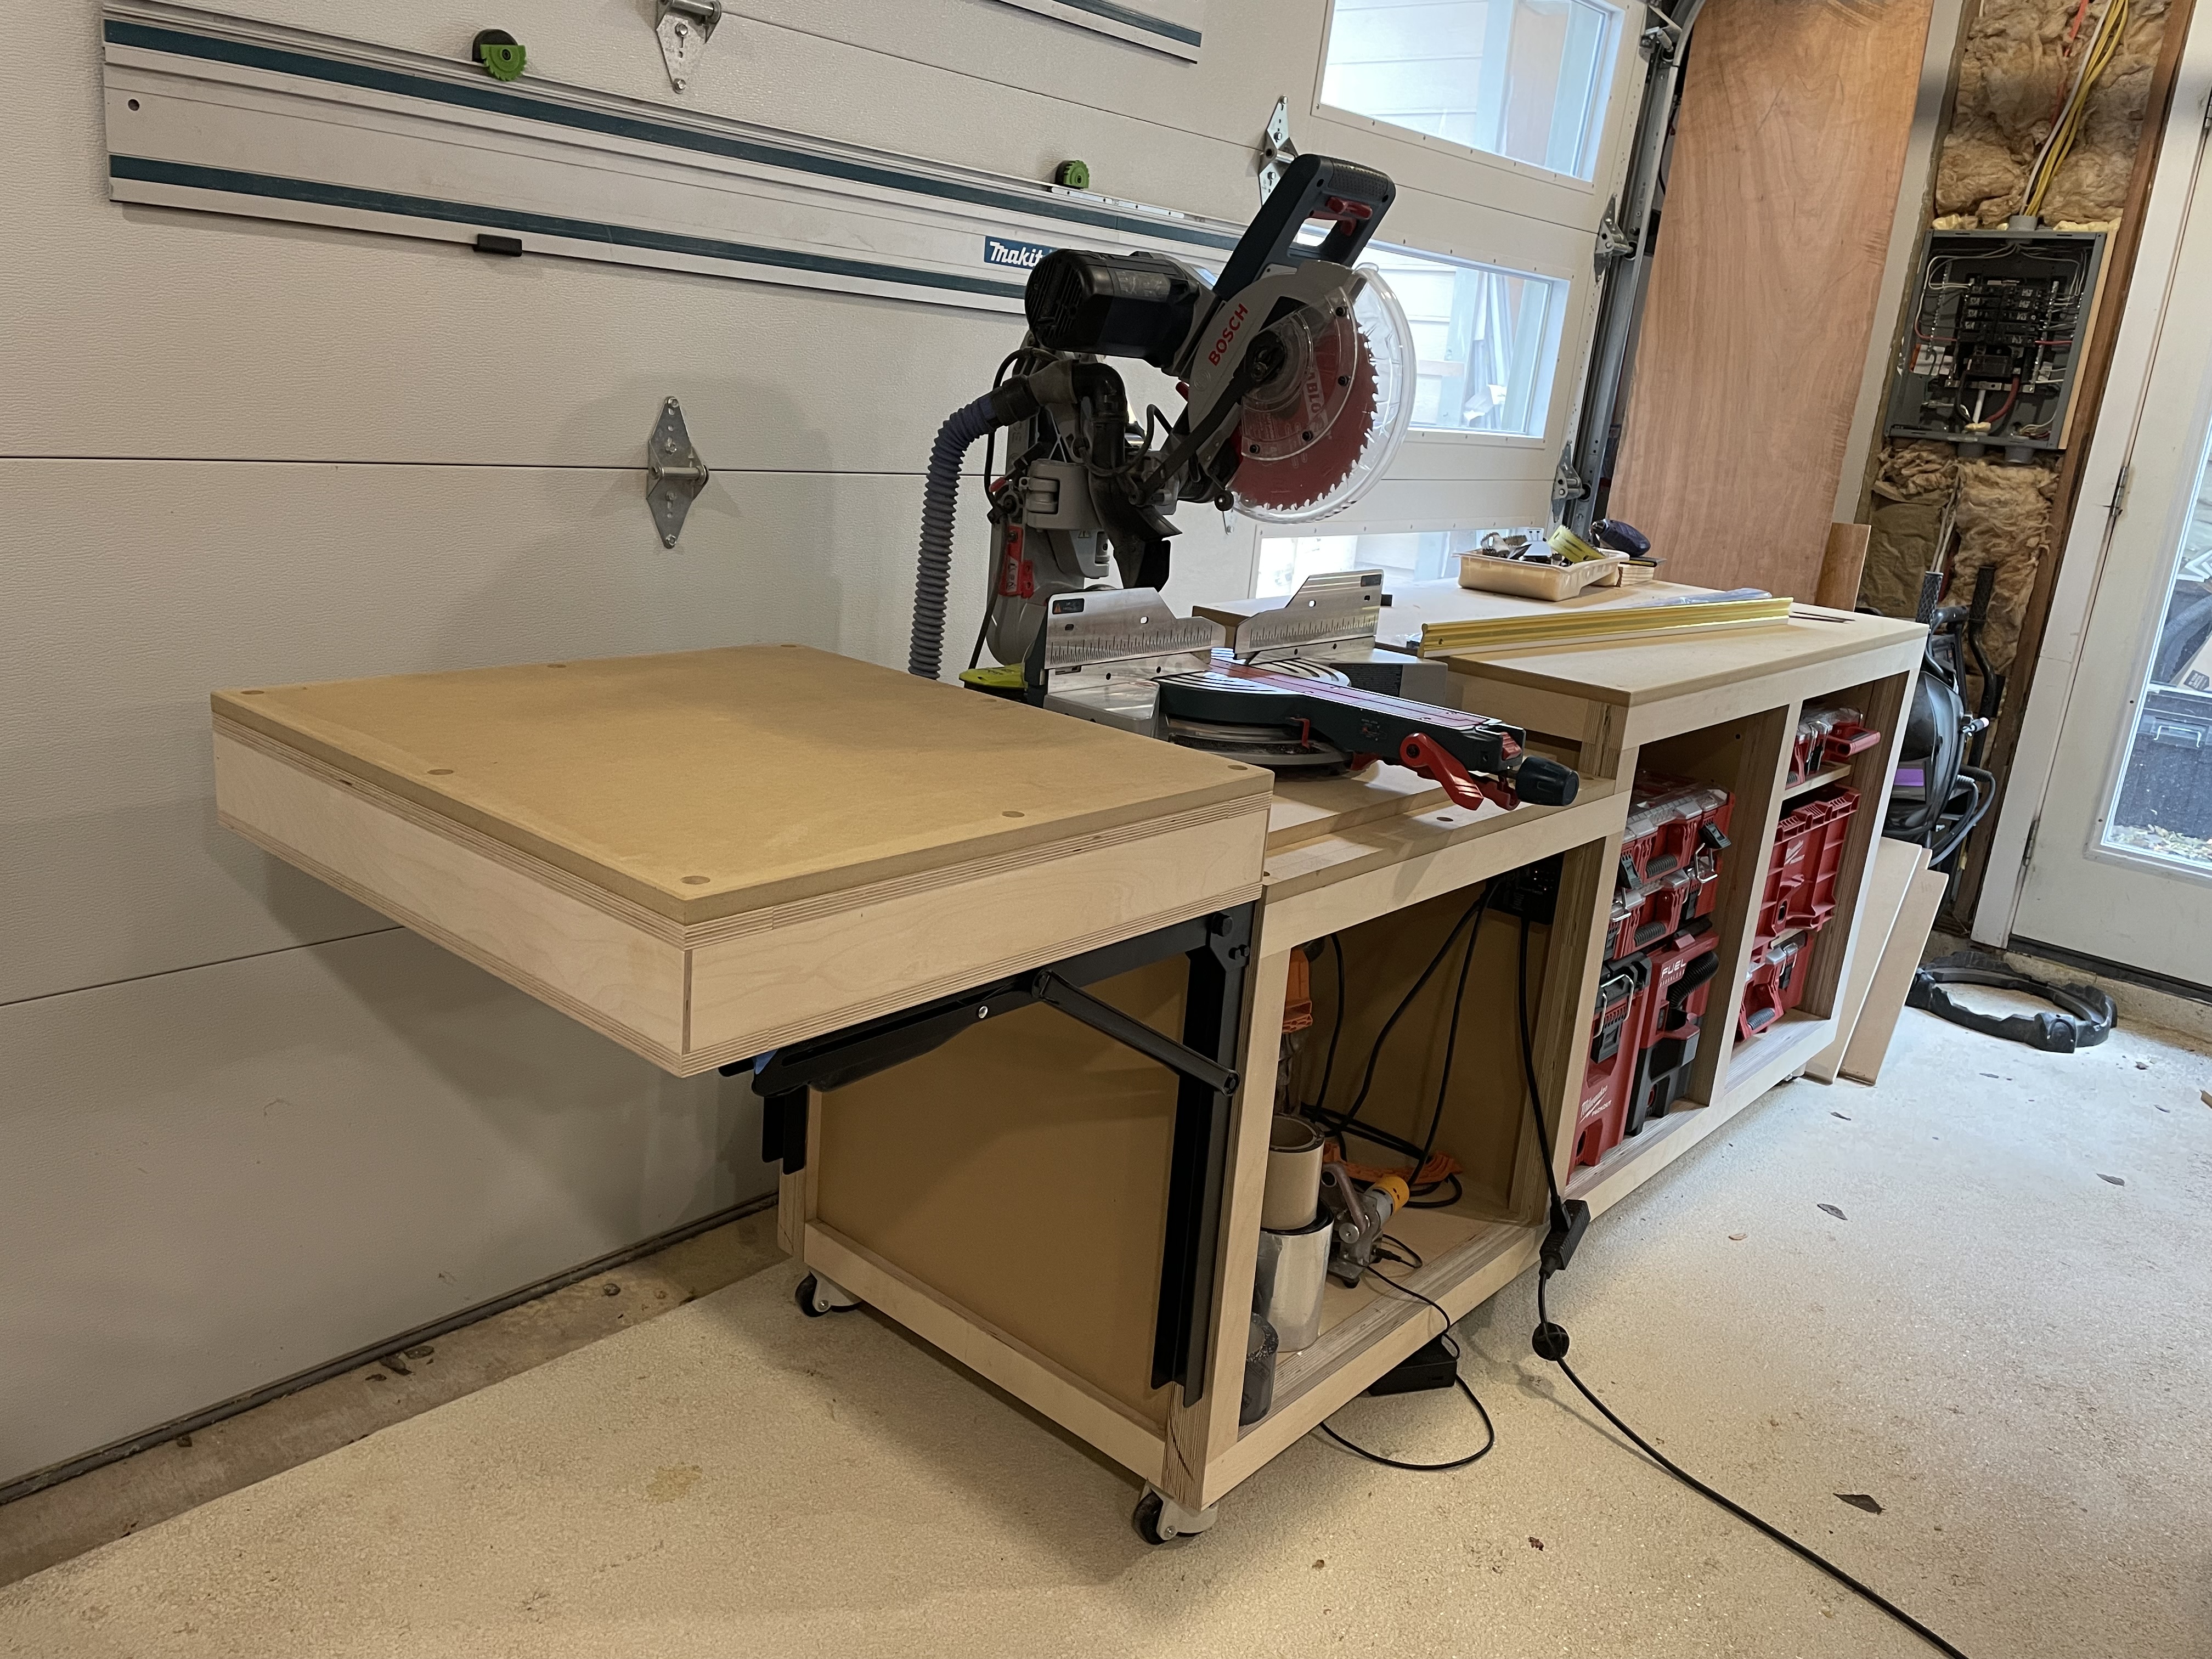
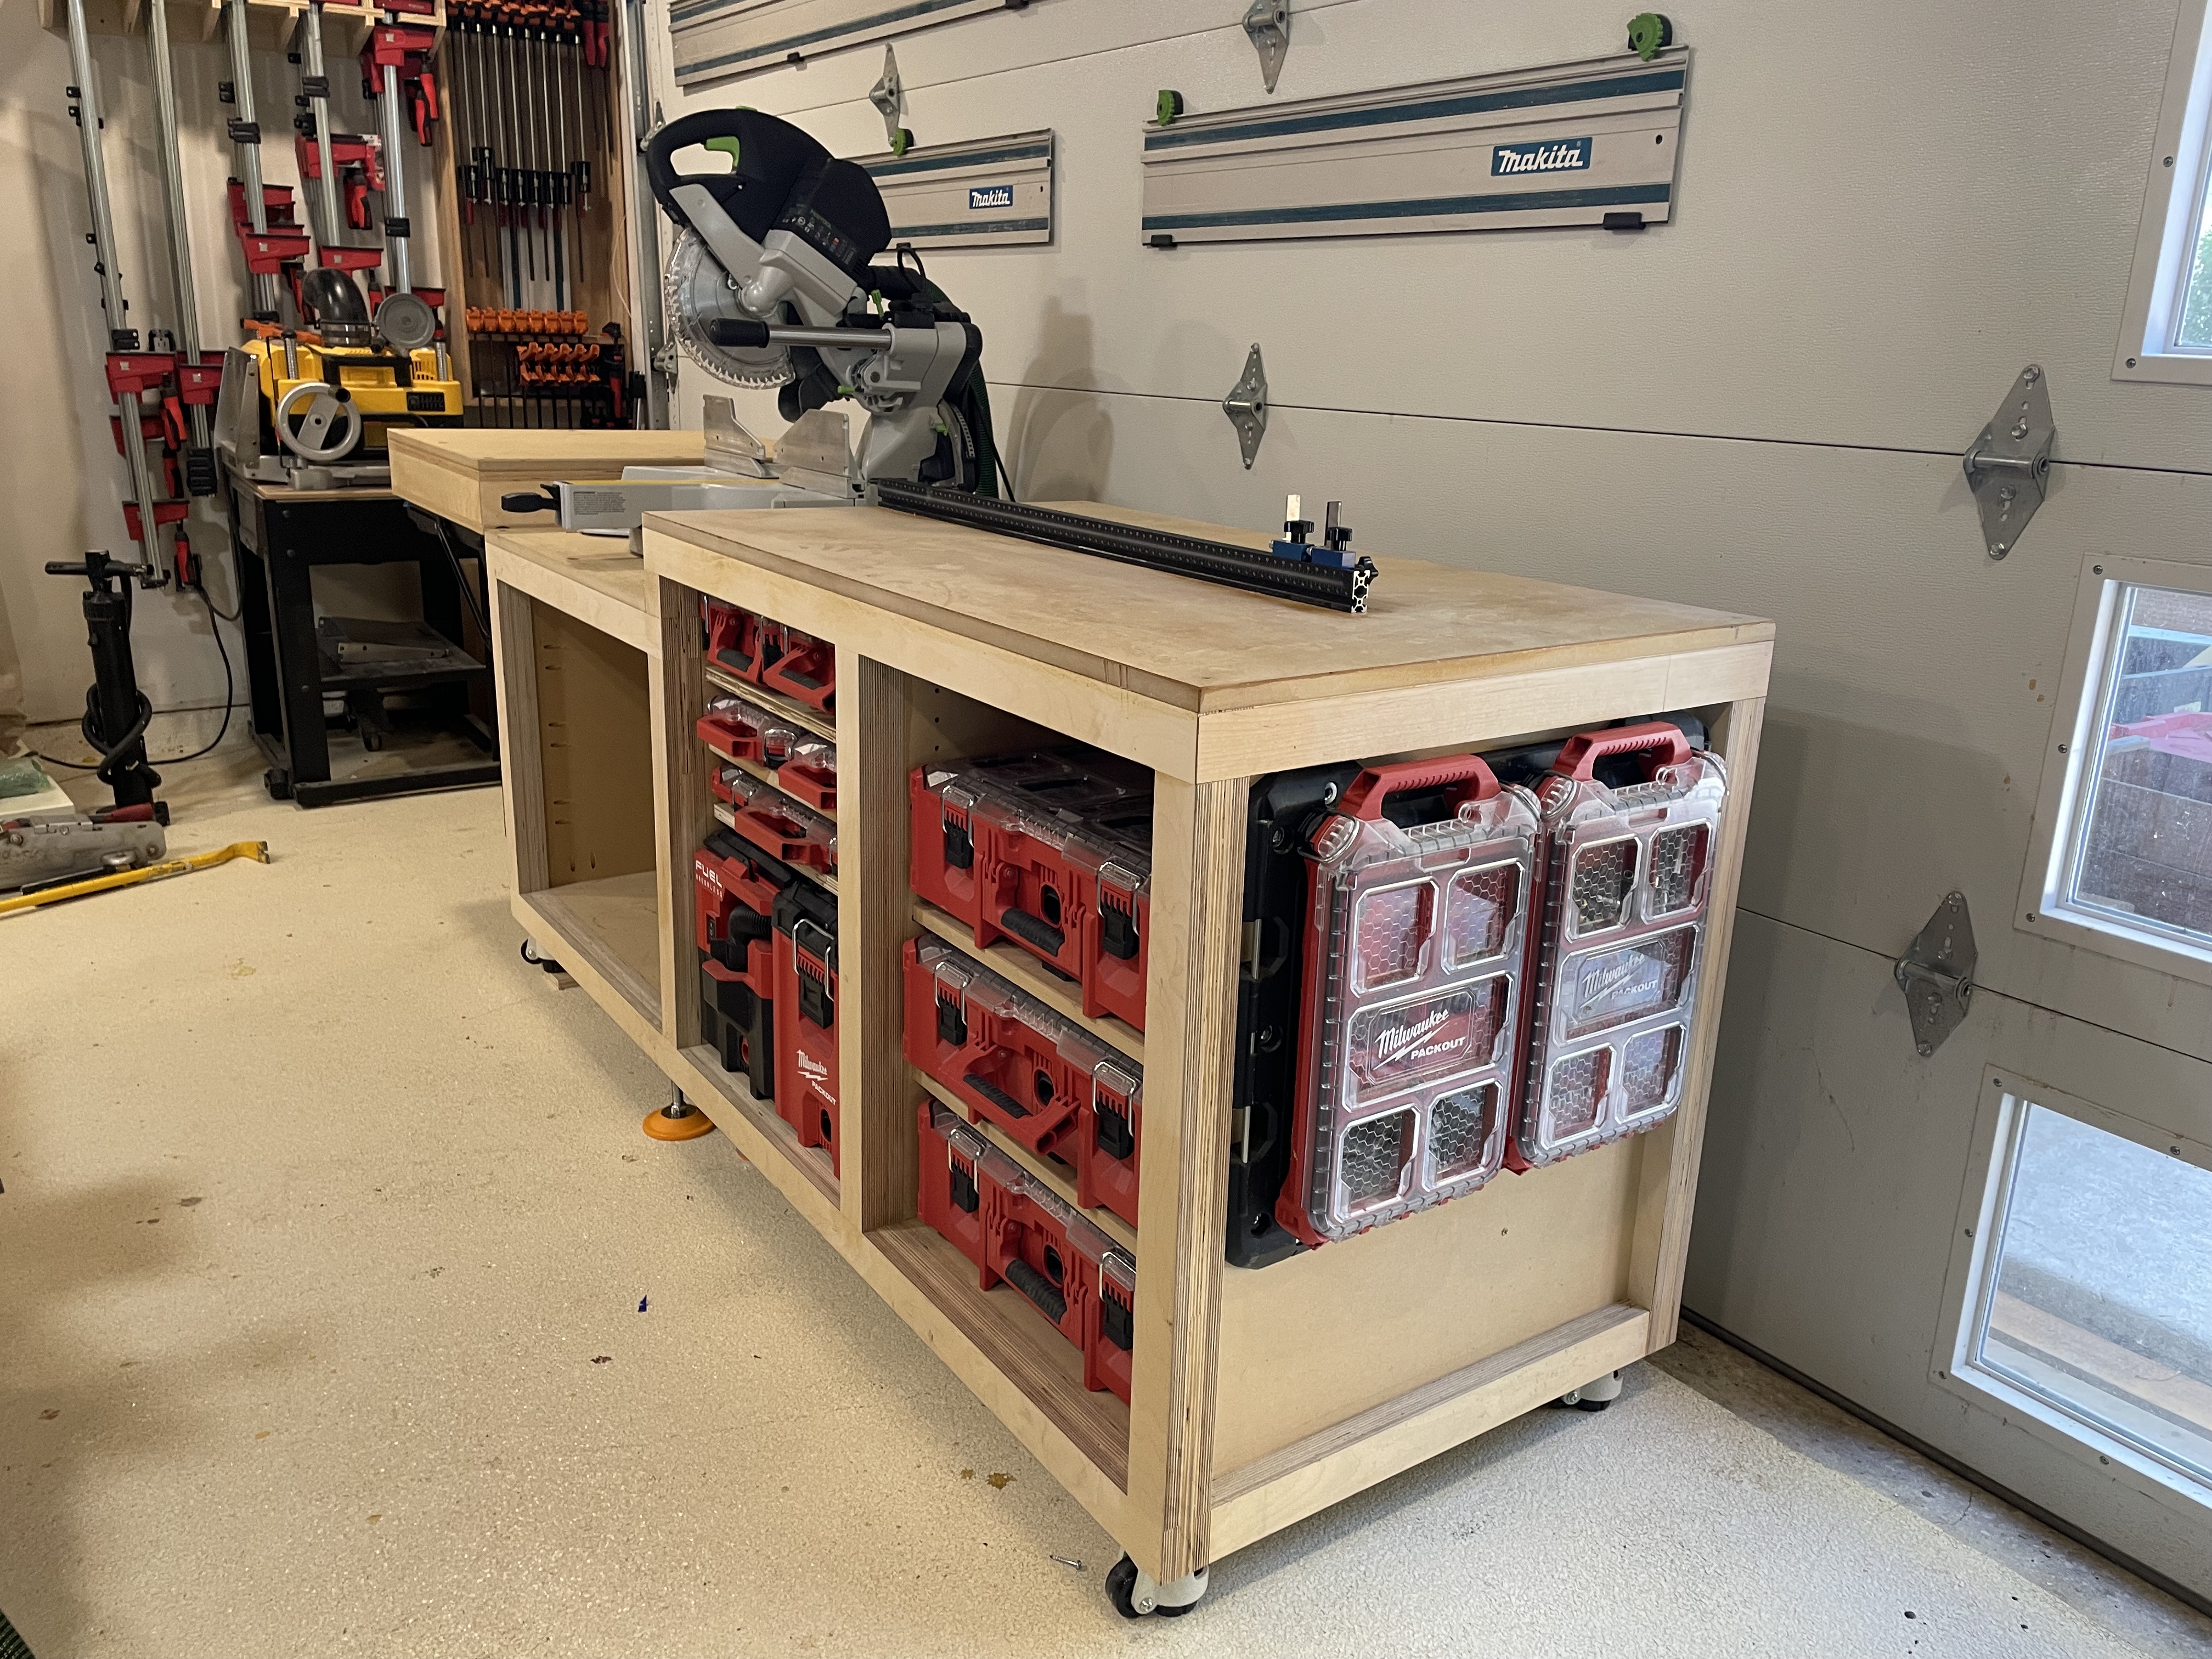
I’m moving to the Milwaukee pack-out system for tool material storage. So I made the spacing of the columns wide enough to support the 20" wide boxes. The taller part is 48" wide, and the saw portion is 30" wide. The depth is the same as the MFT’s. This is because I have two at home, and can situate one for additional outfeed support. This is ultimately a cross-cut station, so the Miter saw paired with the Track-saw hinge makes a lot of sense. TBD how it will work out.
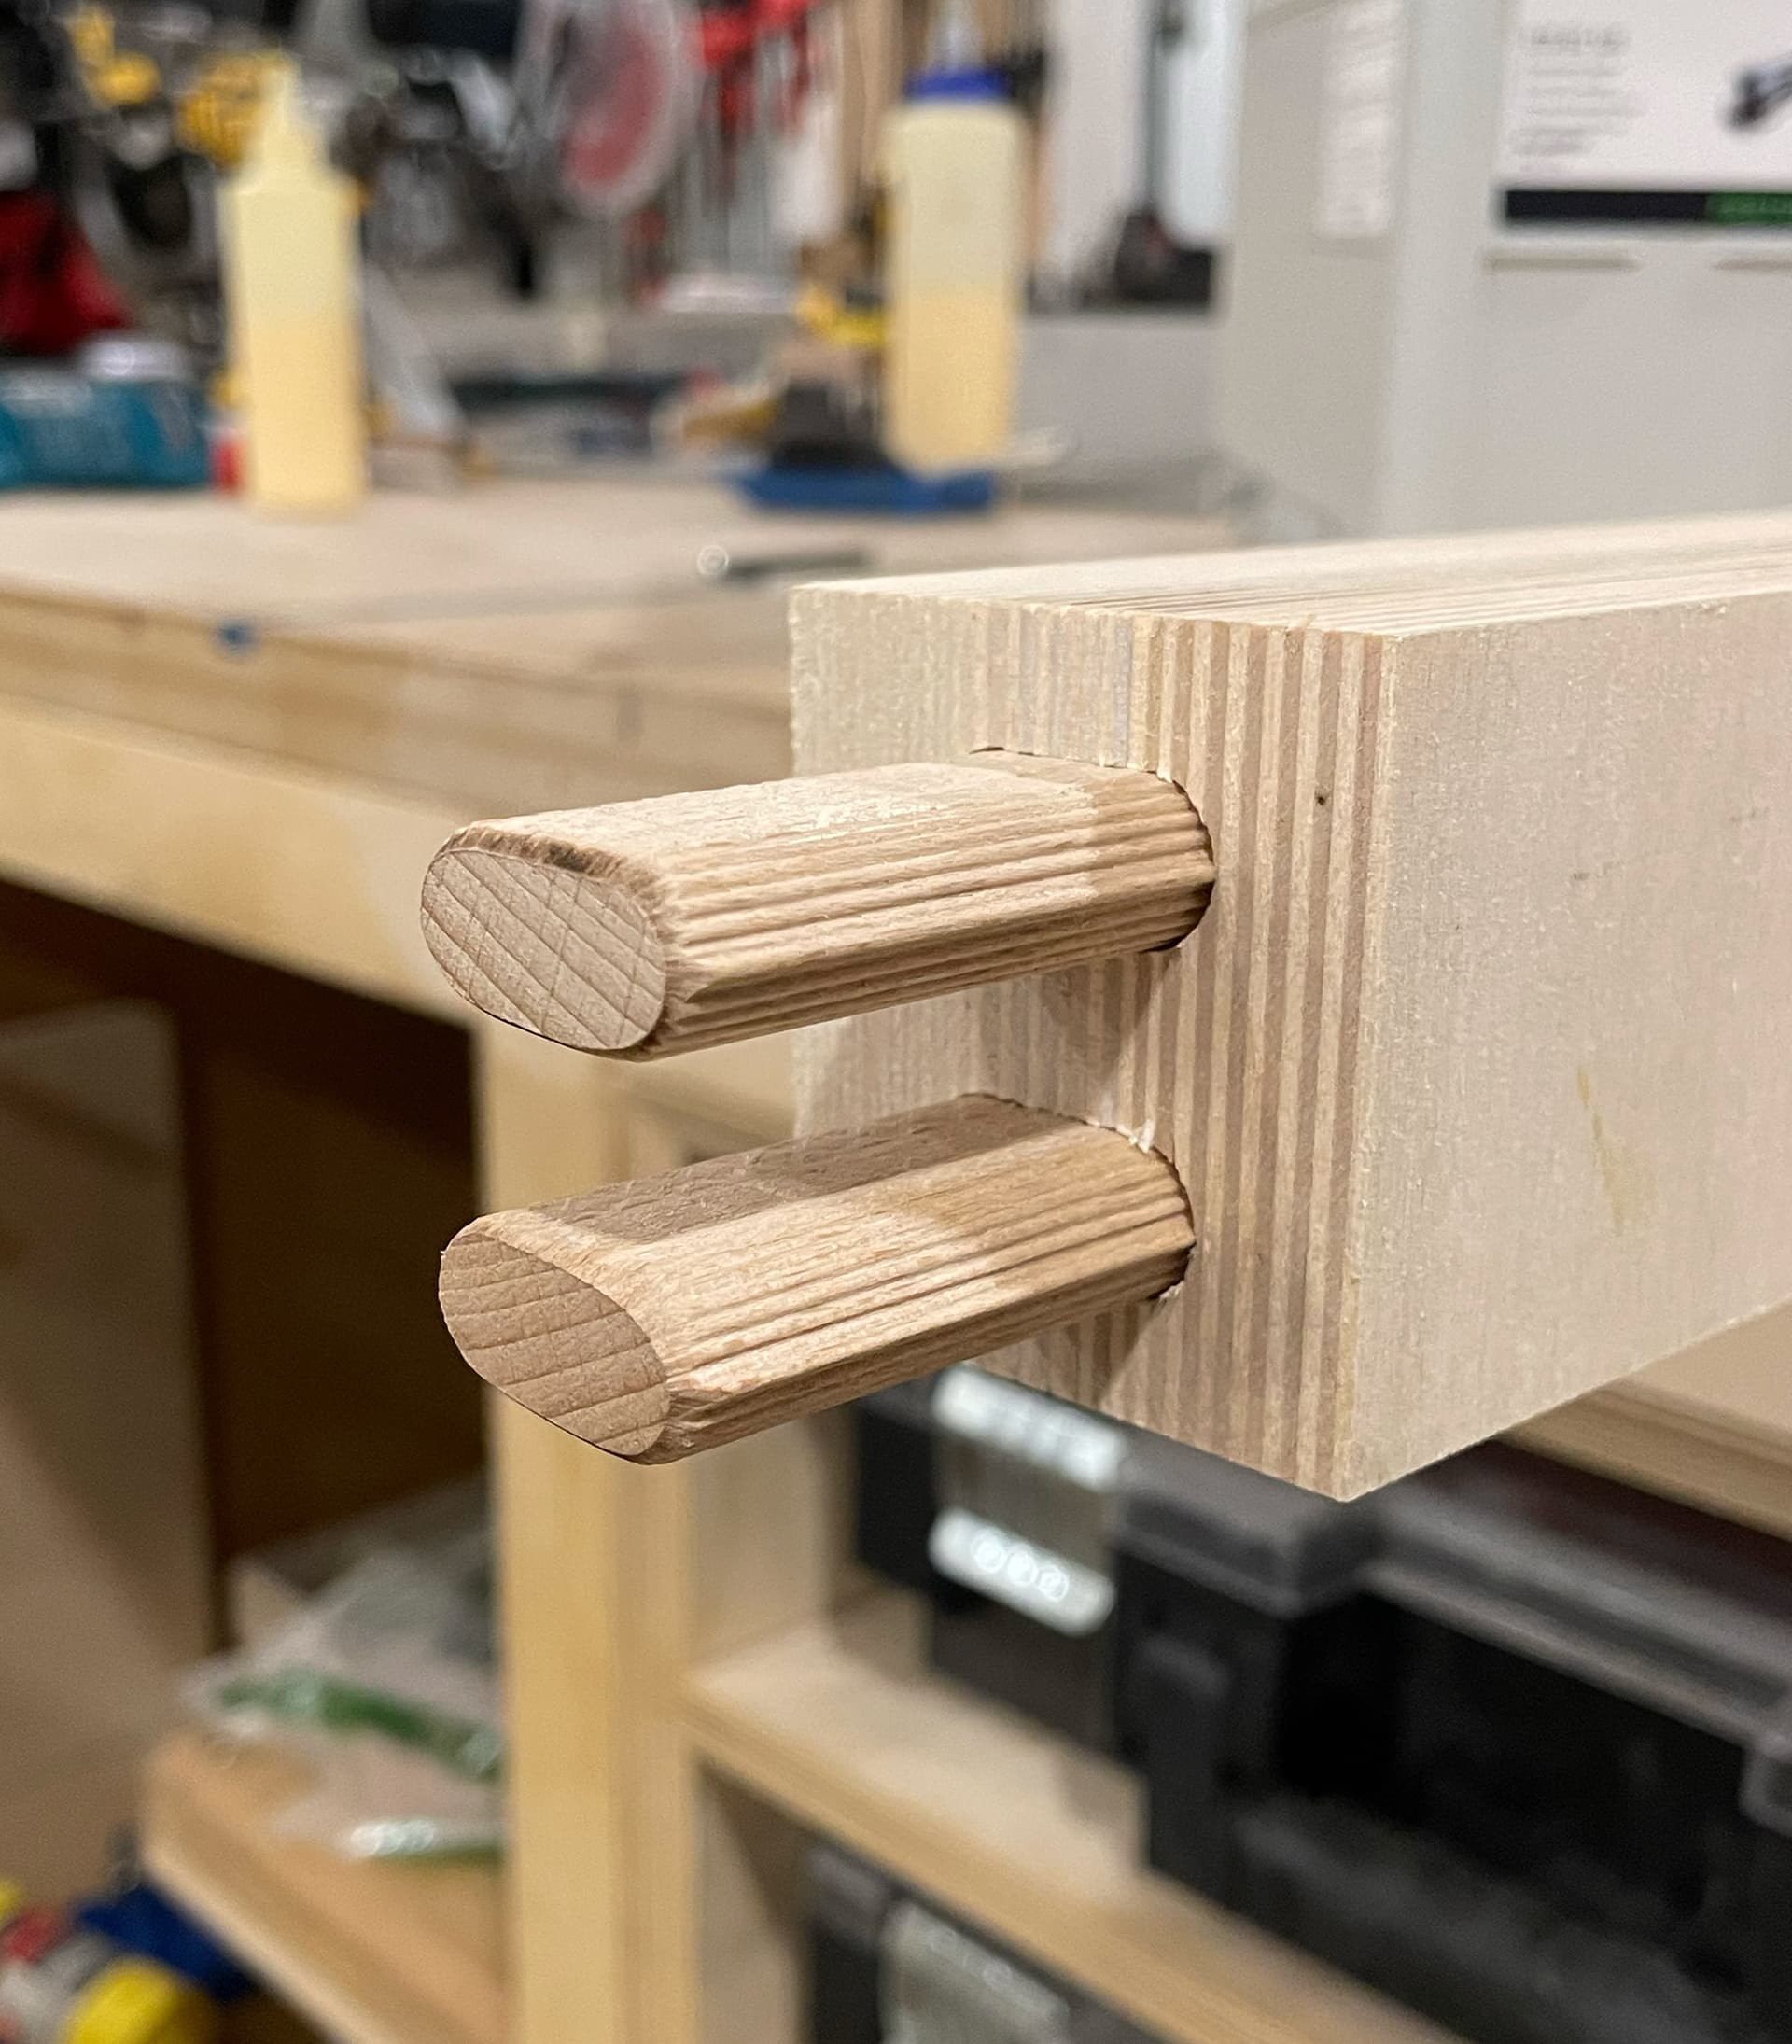
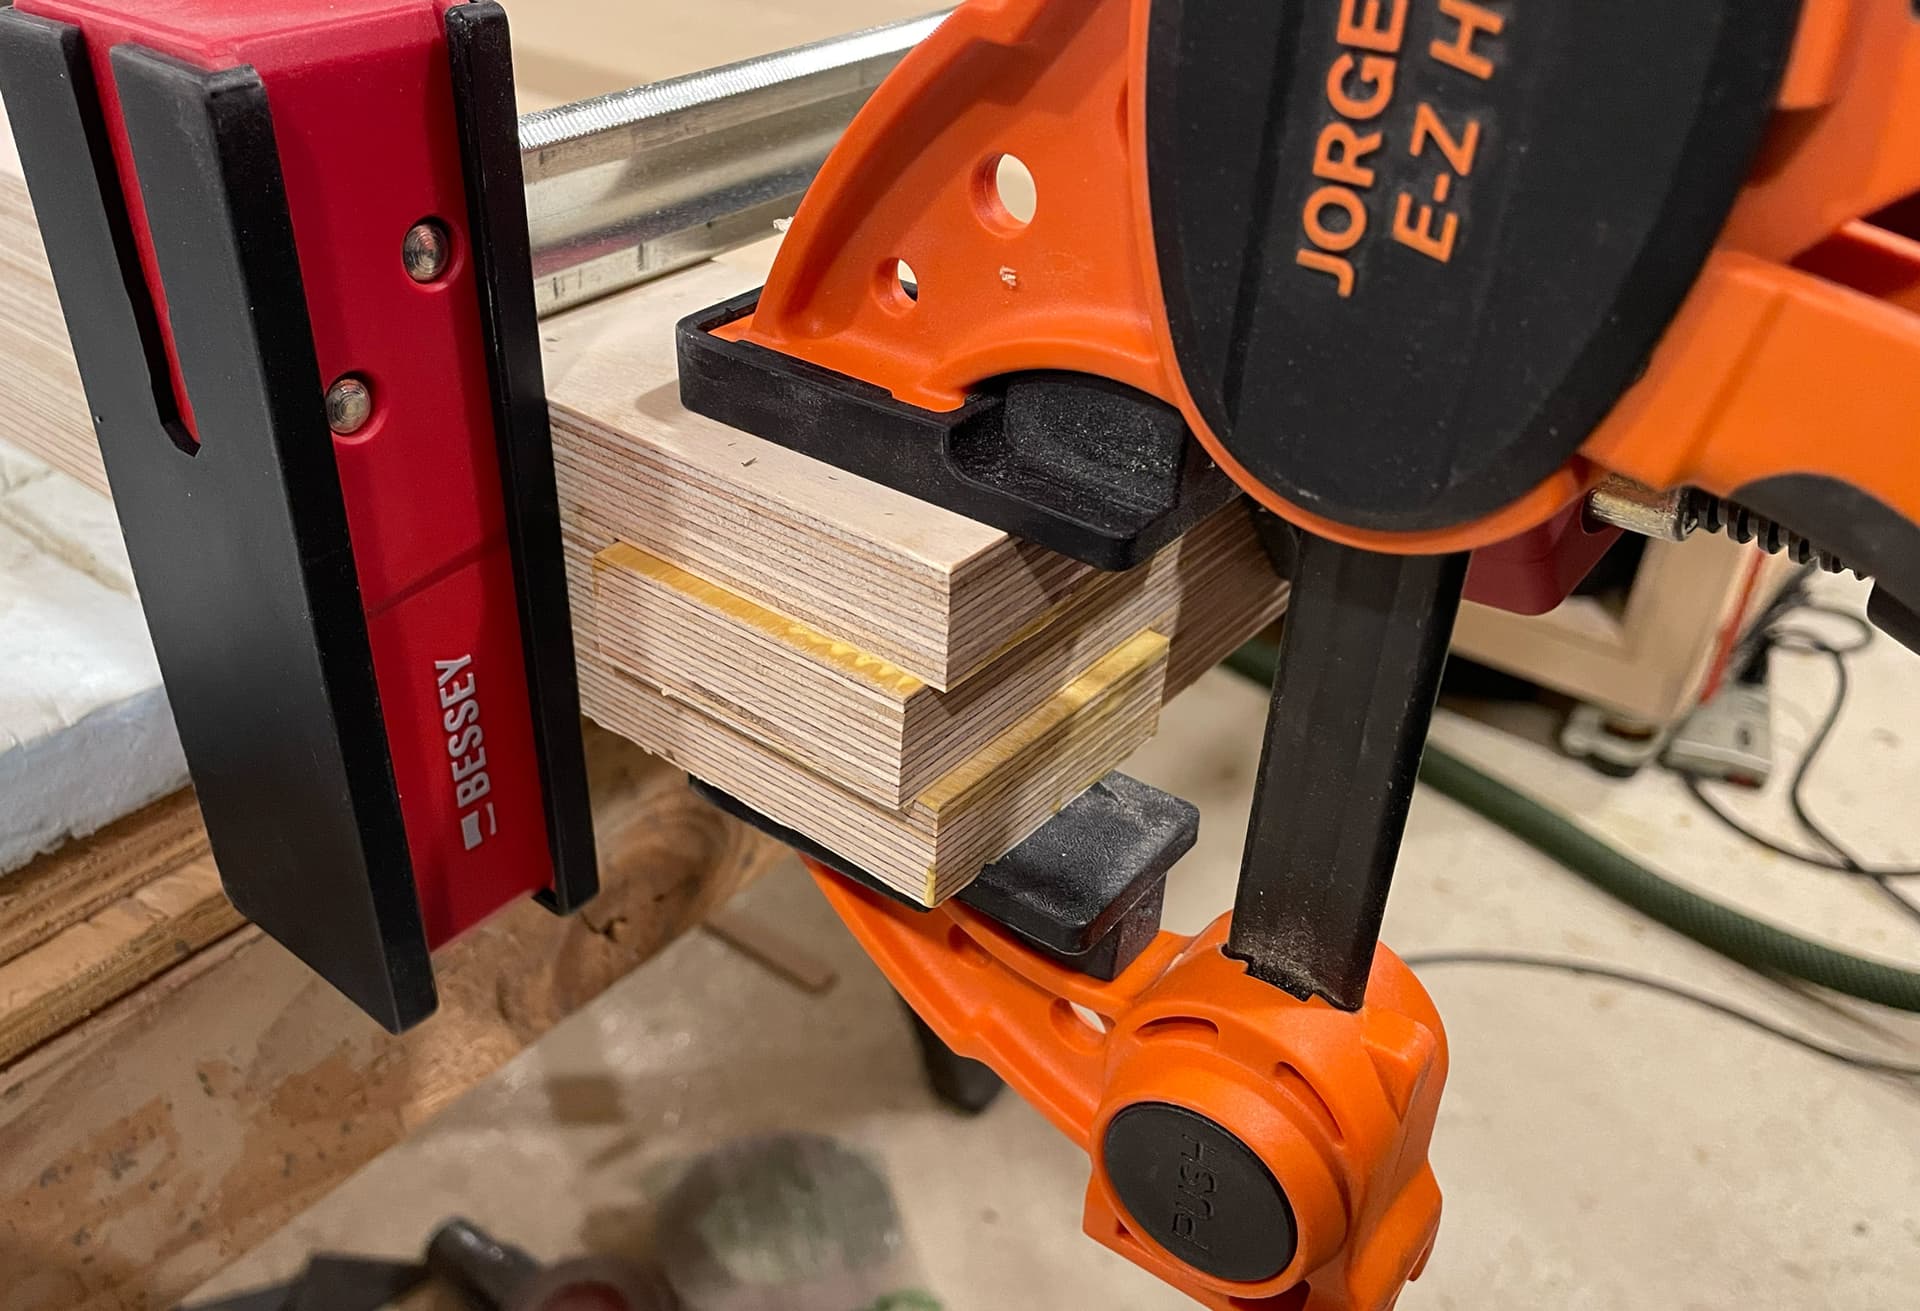
I bought the DF700 domino joiner from FB Marketplace for a steal and figured this was a good time to use the monster dominos for their maiden voyage. And you can see that I keep all the parts long, and then come back with the tracksaw afterwards to trim everything flush. This is a good way to get exact outside dimensions – or to square up the corners as well.
That’s a beast Chase! That table will last many lifetimes. Thank you for sharing and I look forward to seeing more pictures as the project moves forward.
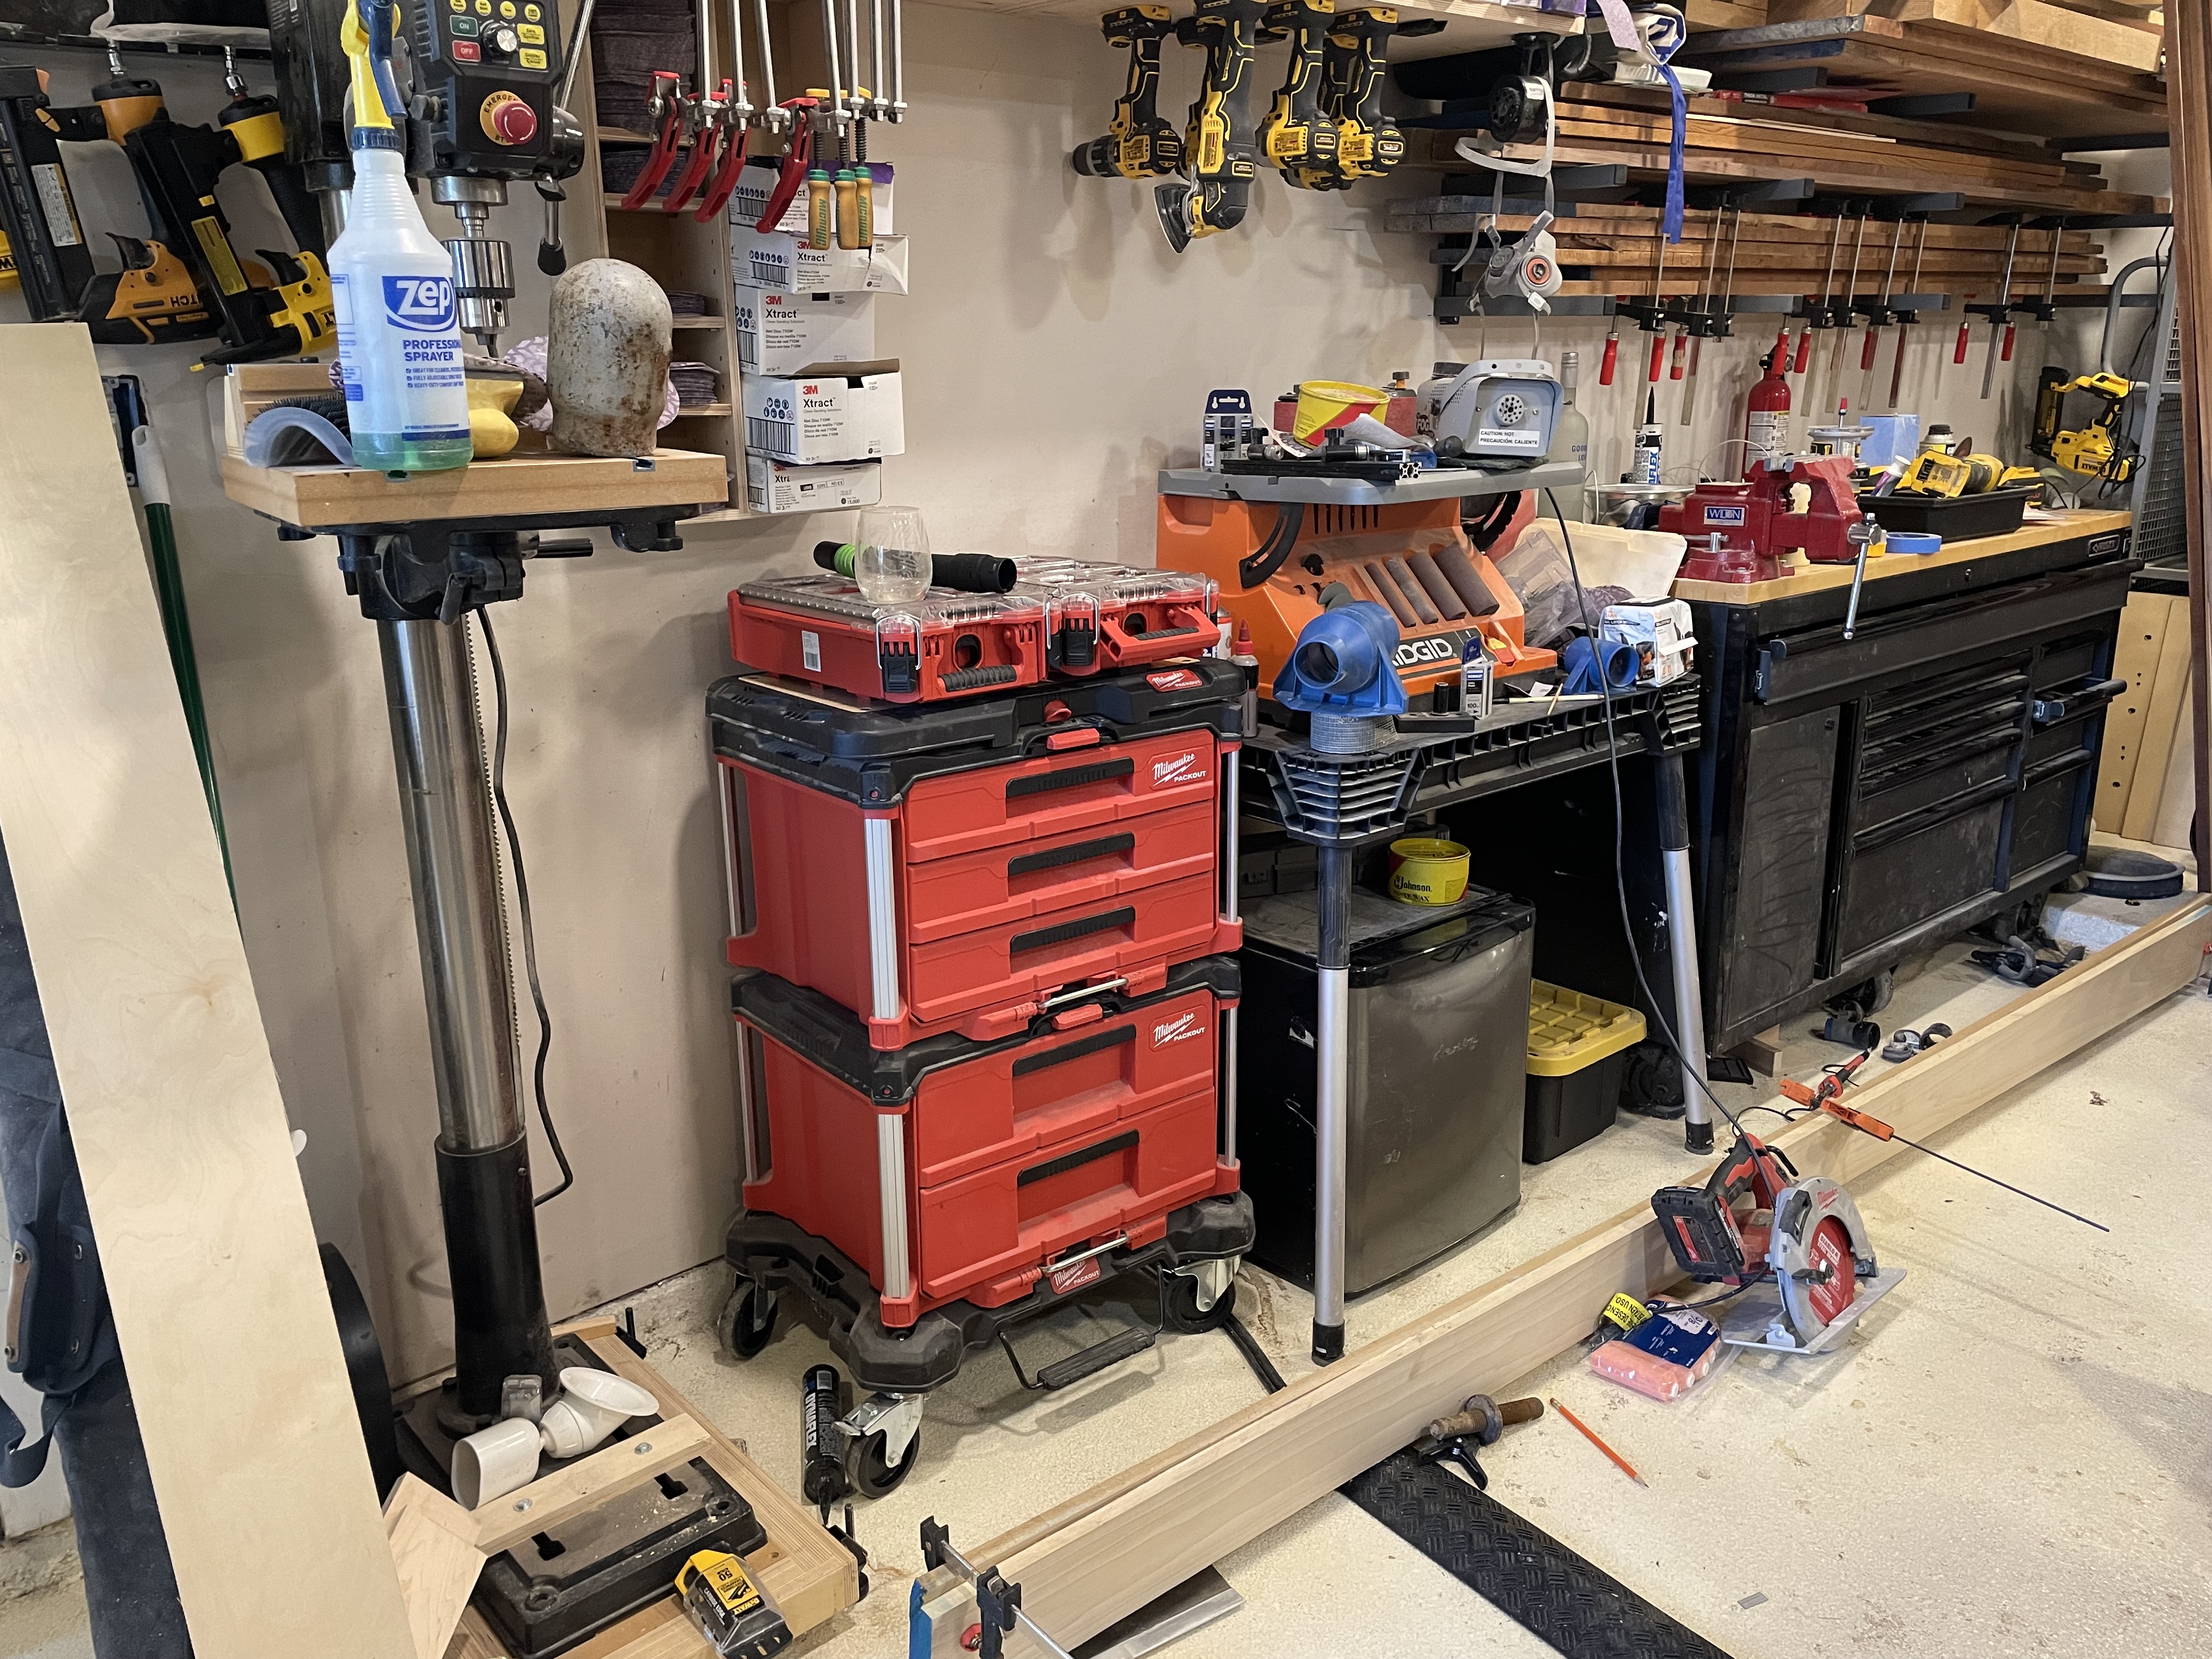
I’ve been working on the saw station/table in between work, but I haven’t really done a good job documenting the process. With that said - here’s what I managed to capture.
Project is really nice! I really am interested in the tracksaw track being held up on the garage door. Never thought of storing anything there. Do they stay in place when the door is open? What is the system?
Forgot to mention, I like that you recycled the plywood into support structures. Shouldn’t have problems with warping or bowing. Entire project is very well done and though out.
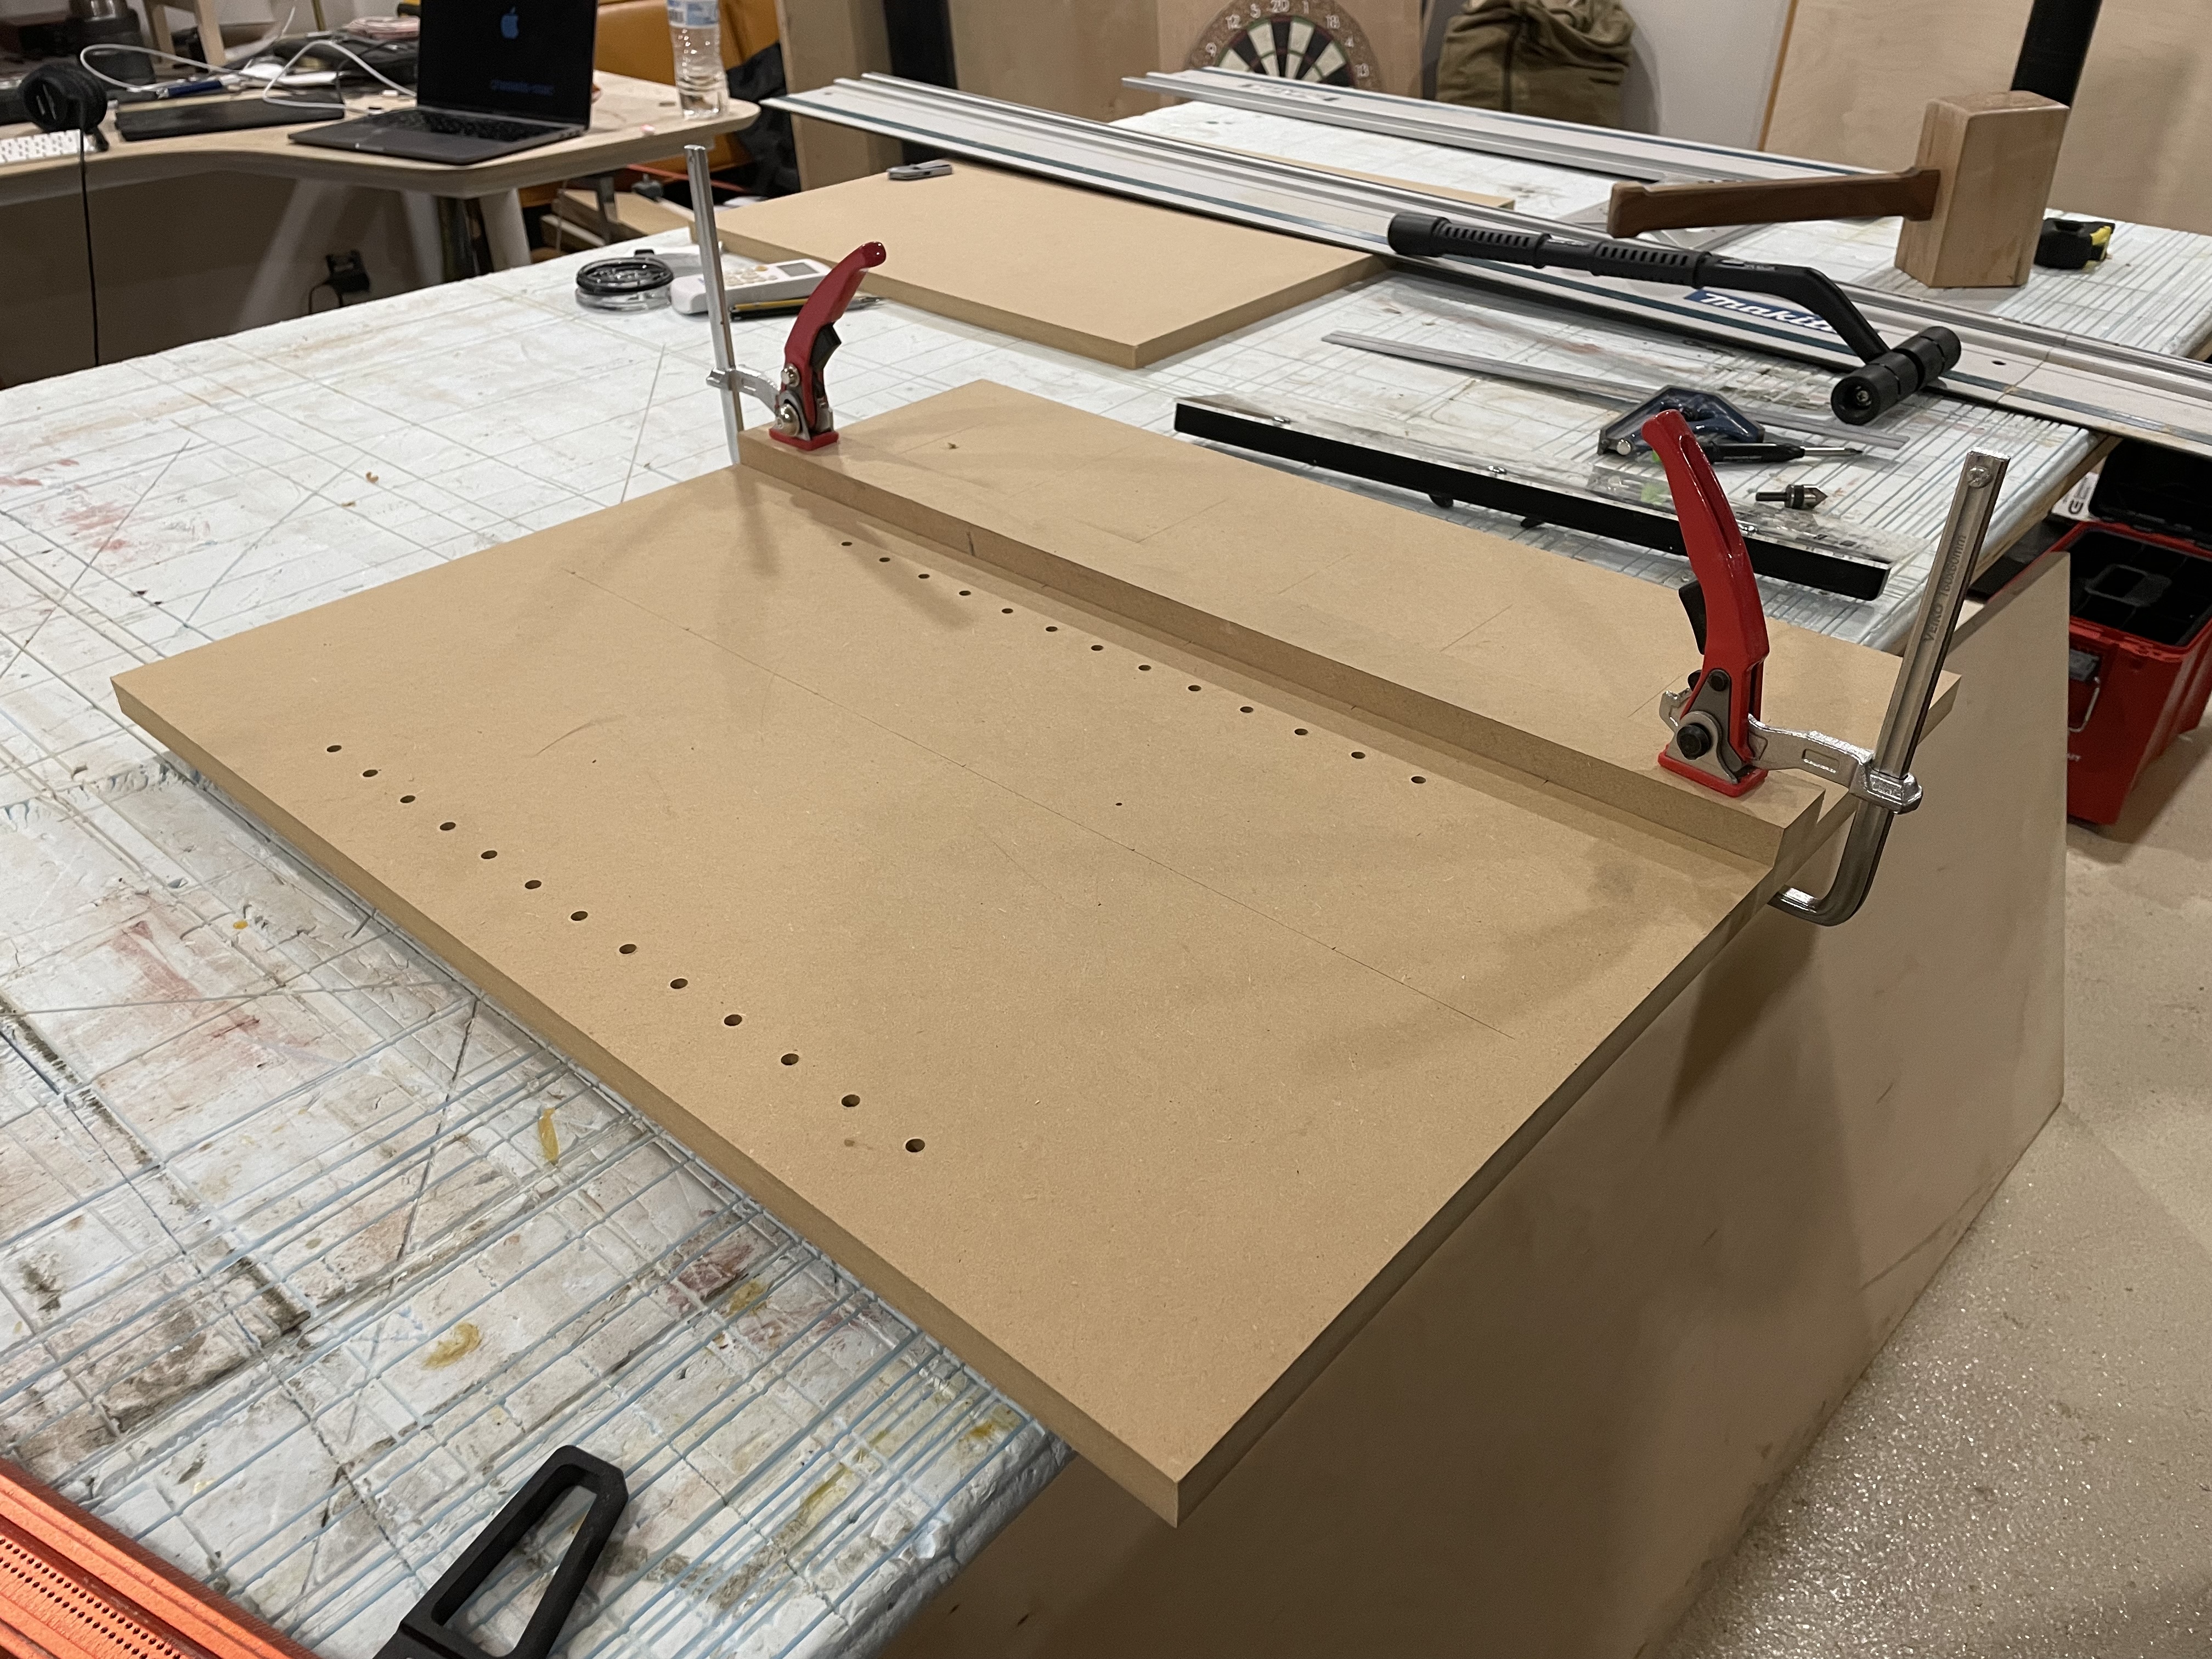
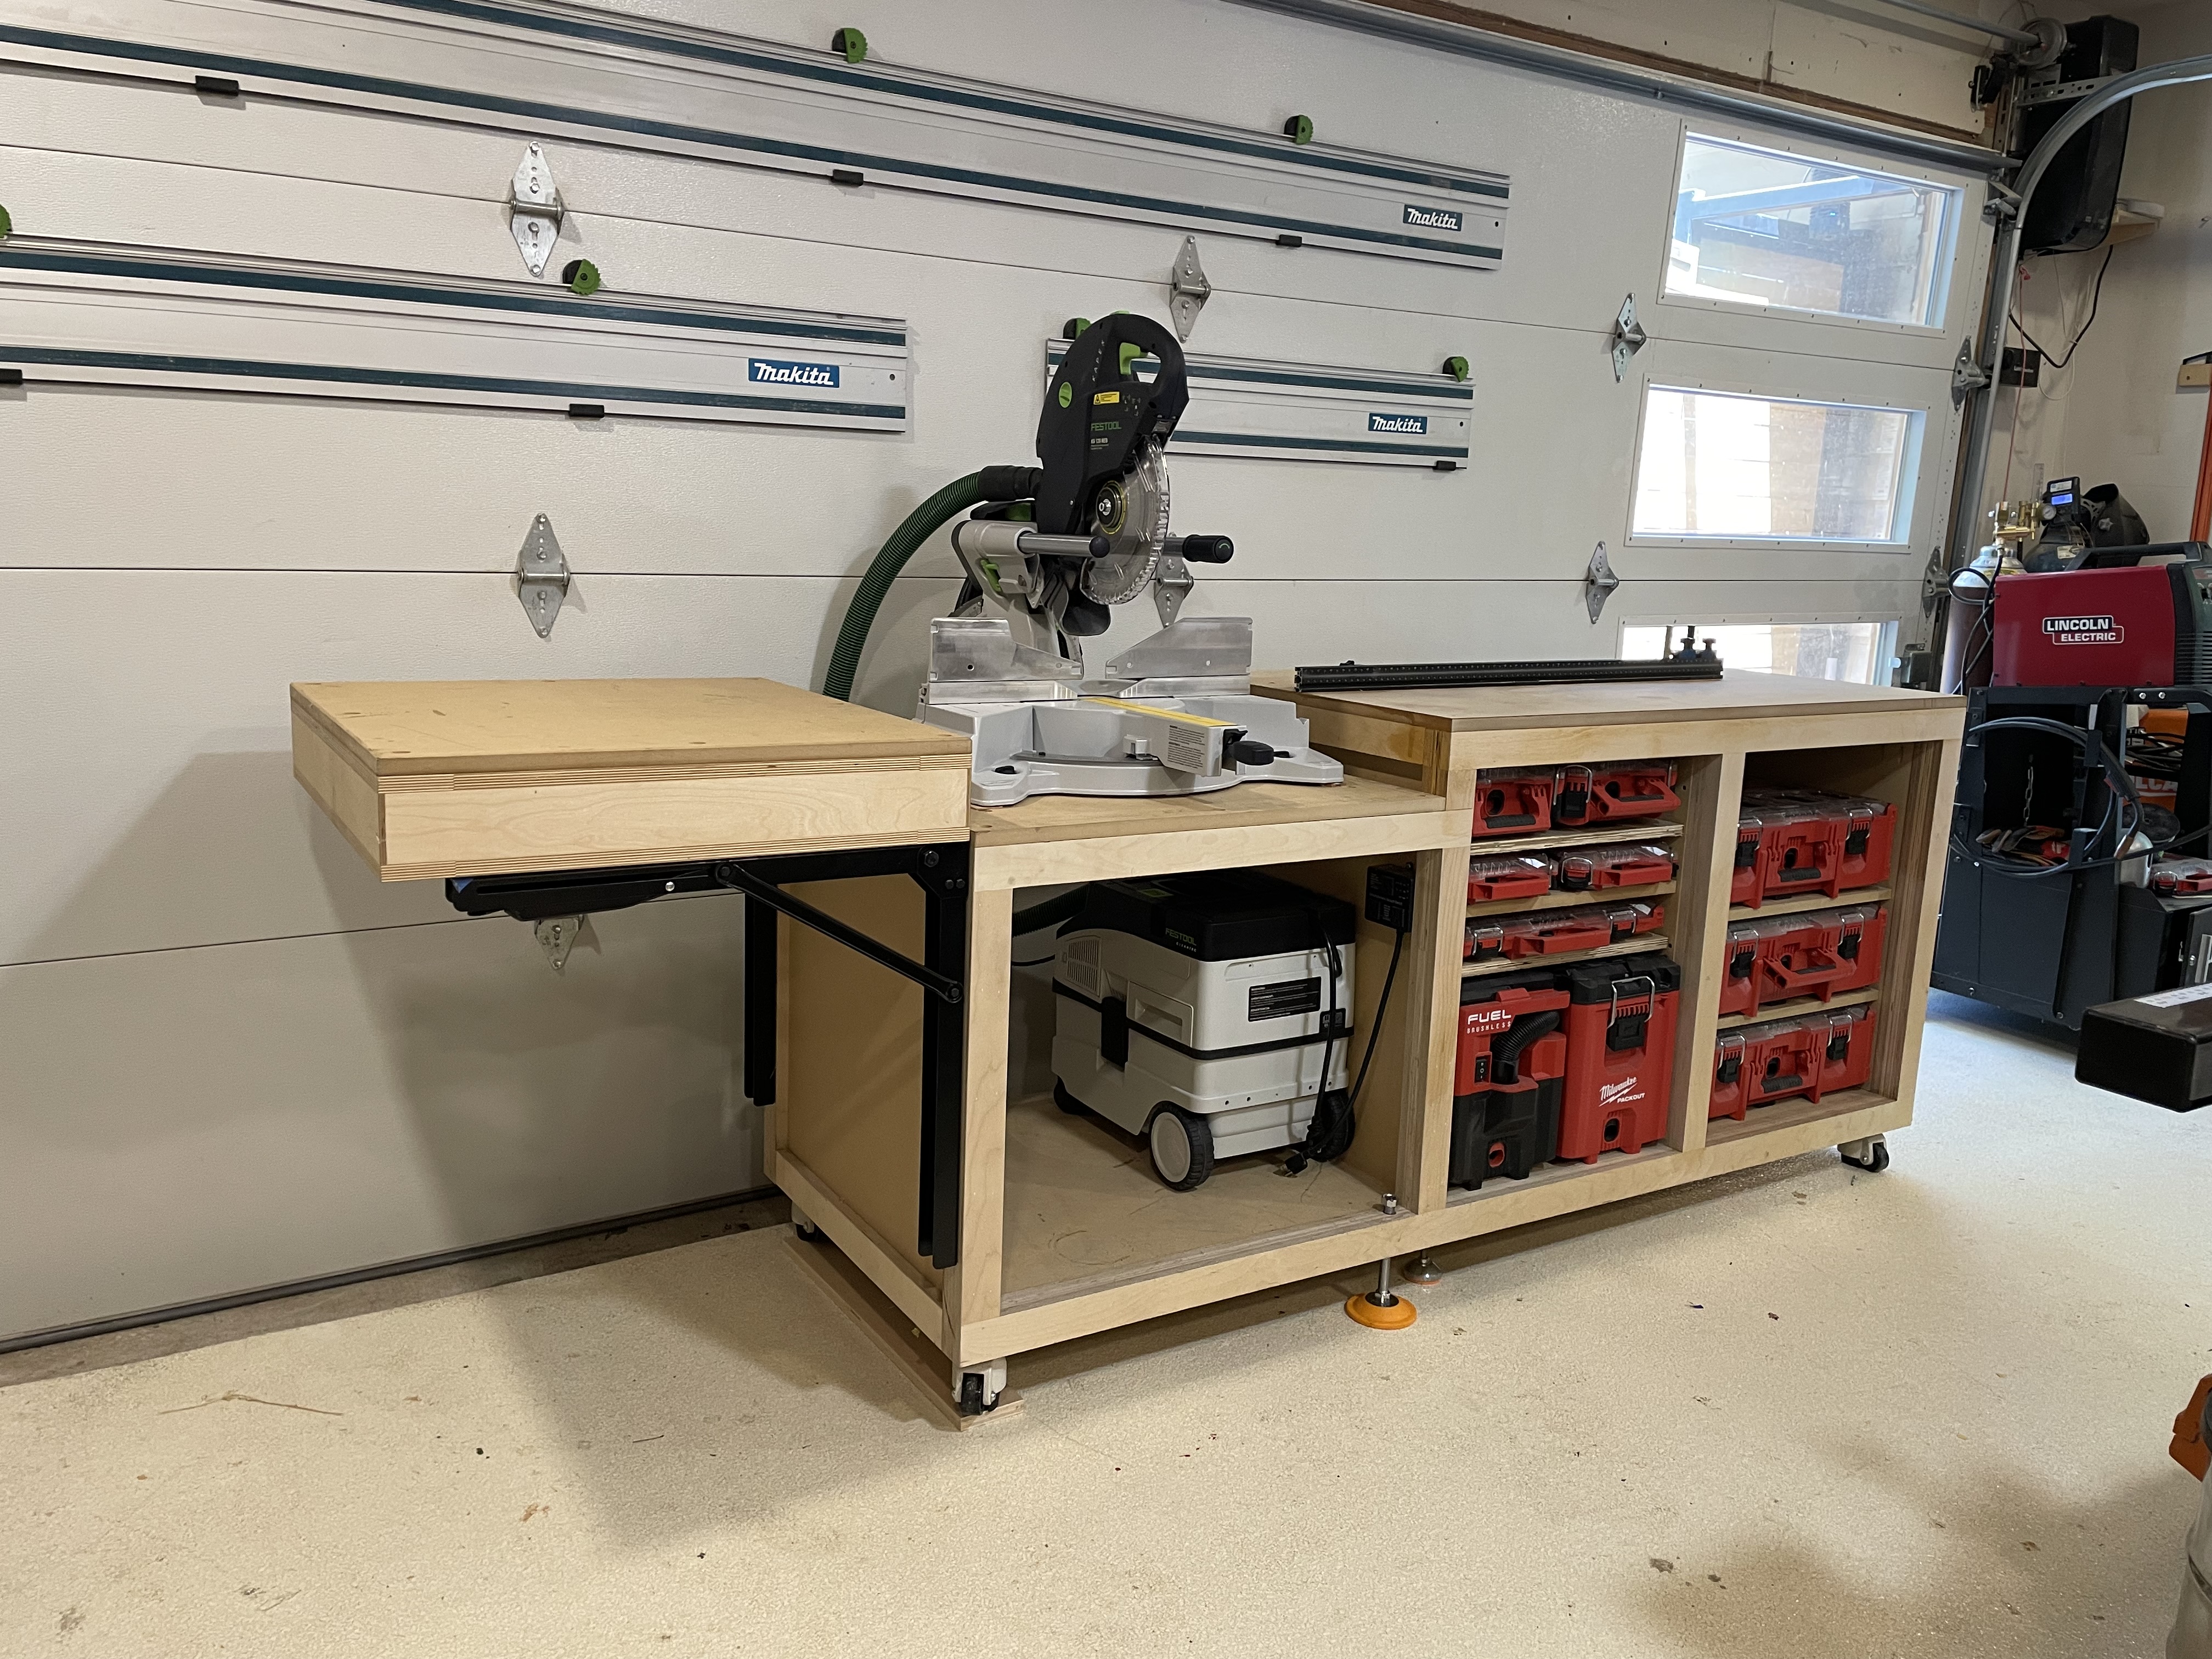
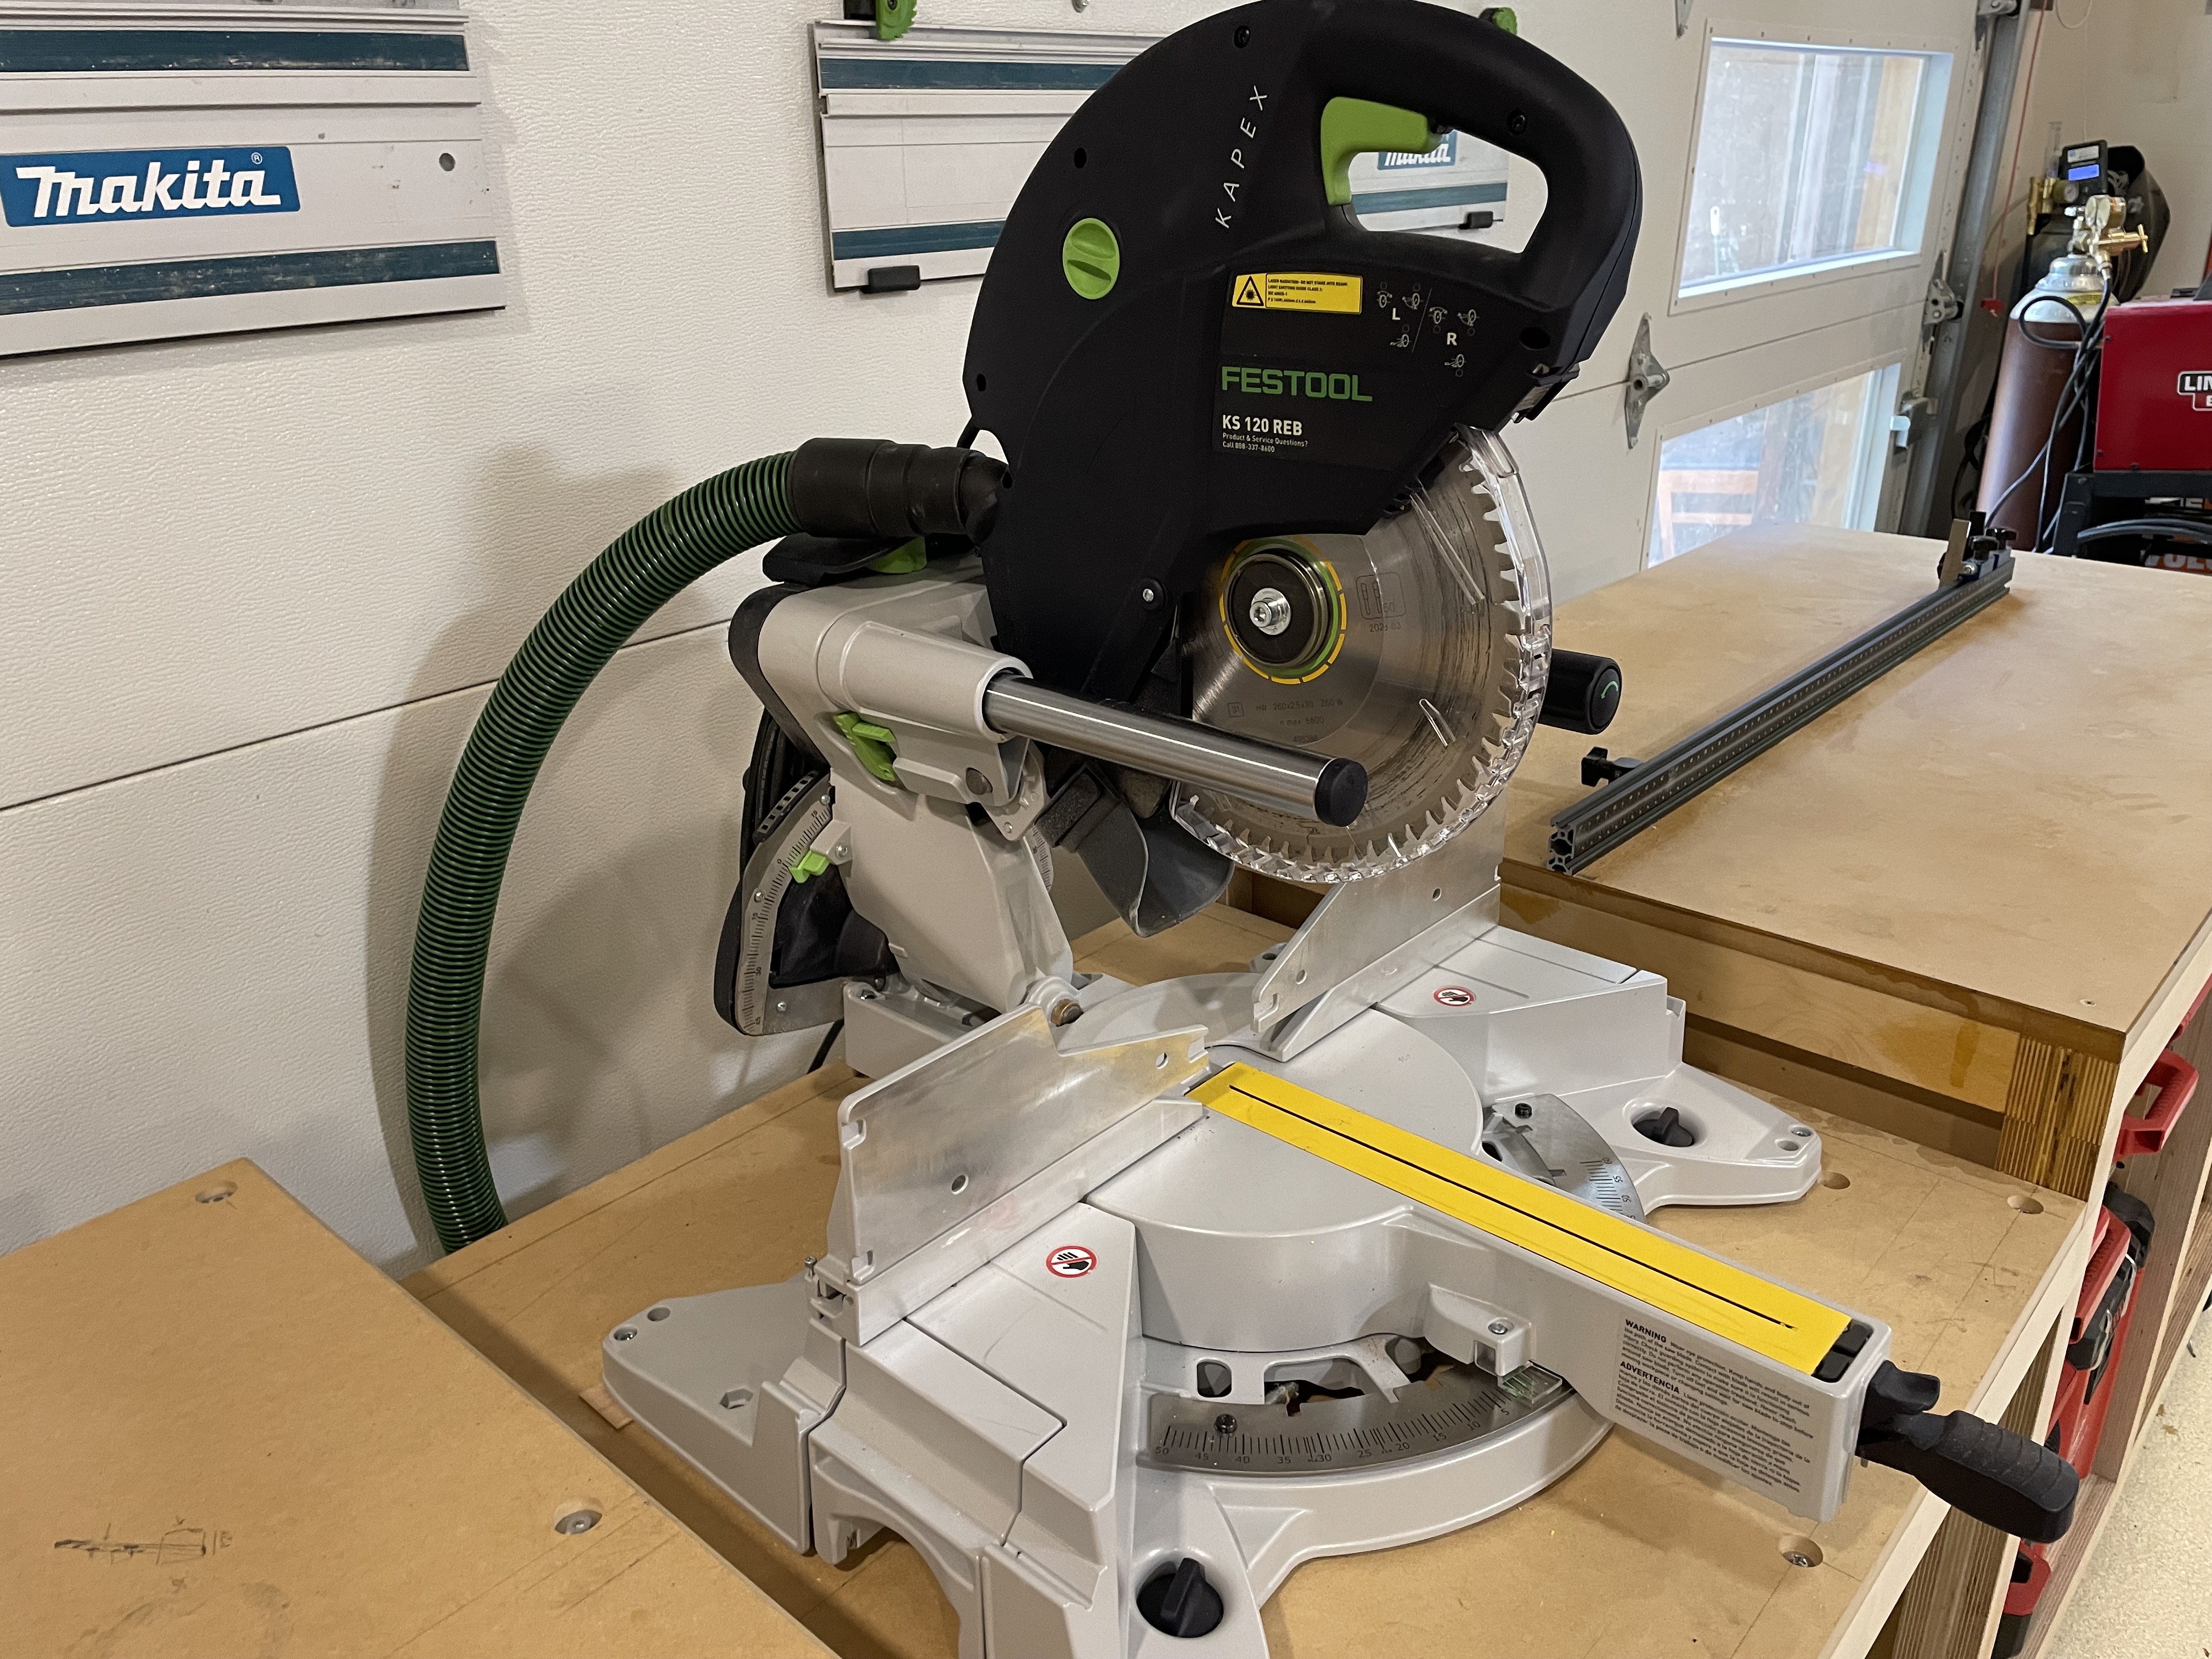
Well I had the opportunity to upgrade the miter saw to a Kapex 120 and I took the plunge. I installed the Bench Dogs fence into the top so I can have a stop block, and additional square support.
The Kapex is a pretty solid saw. I won’t say it’s worth the money, but it is the best miter saw I’ve used. I’ve made 6-picture frames with just the miter saw, and they’ve came out perfectly square. I’ve had several different miter saws in the past, Makita, DeWalt, Bosch, Craftsman?. But this Kapex runs smoother than any of em. Slow start, quiet, no vibration, deflection only if you try, and incredible dust collection.
Wow Chase, this is simply stunning! At the woodshop I used to work at in California, they had 2 Kapex miter saws and I completely agree, they perform beyond the hype. I’m so glad you’re posting the shop upgrades, they keep me motivated to work on my own humble garage setup.