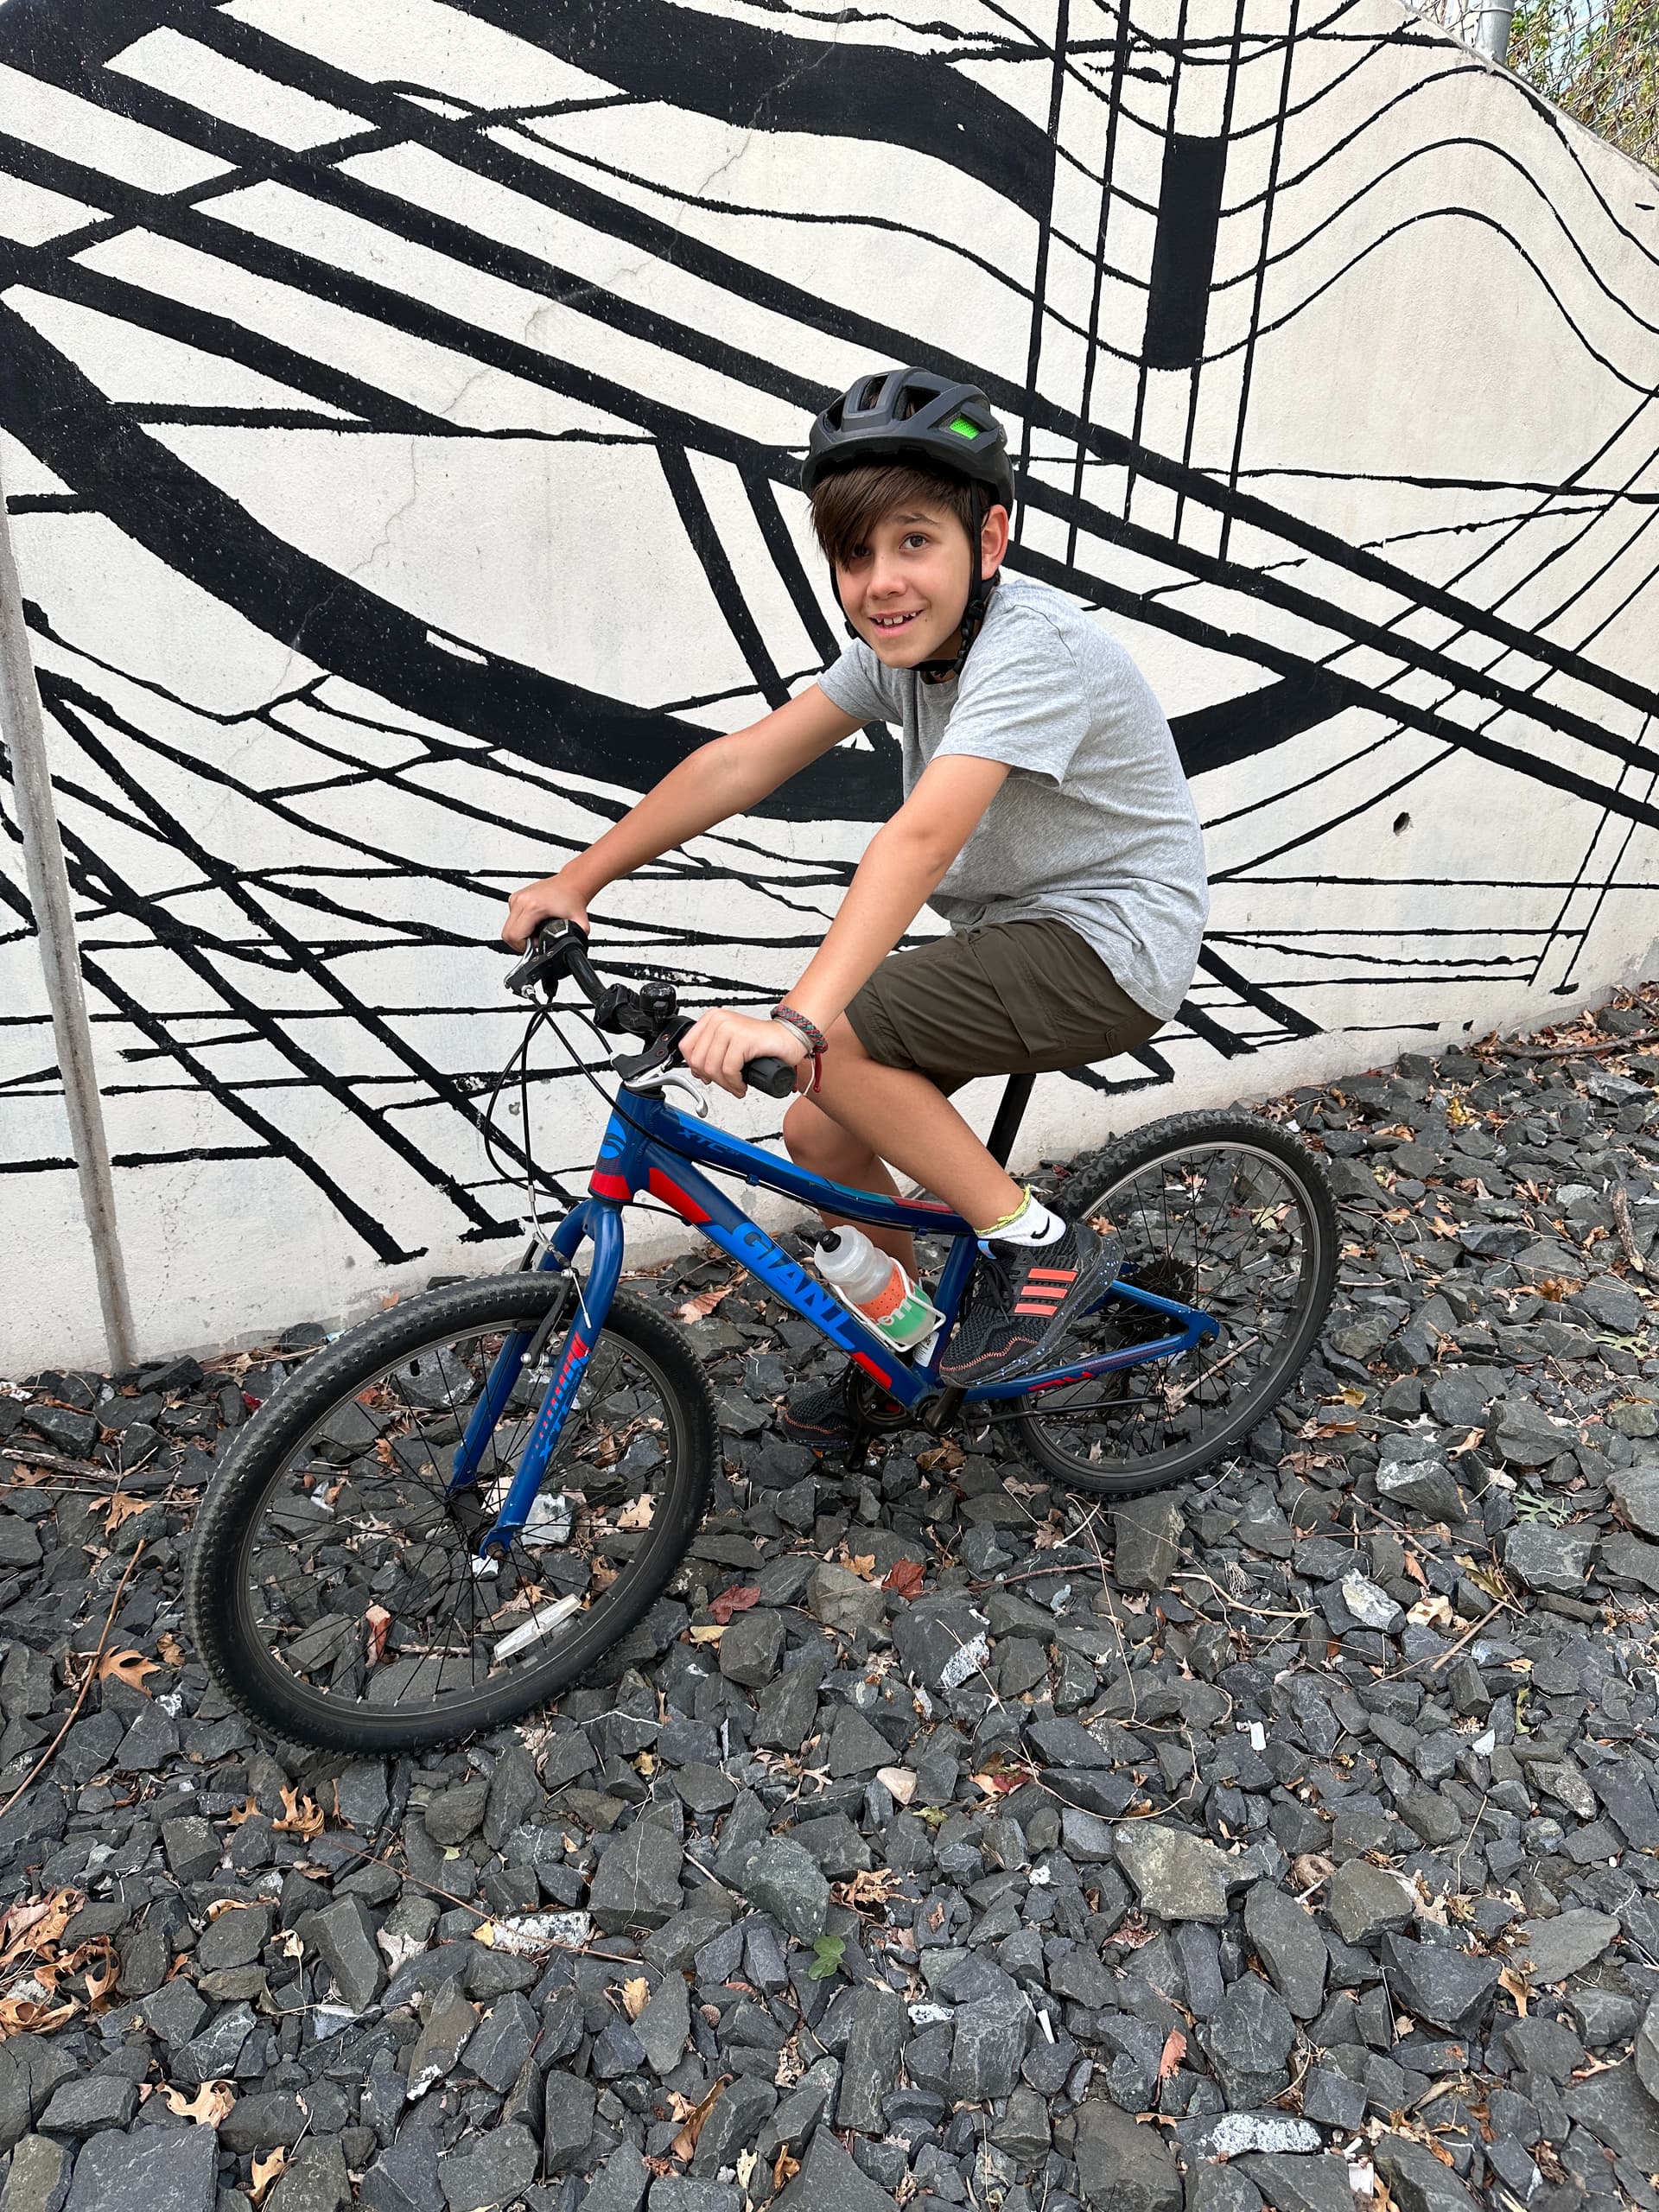
I was on a ride a few weeks ago with my son Joe and noticed that his knees were slapping his lower jaw while pedaling his 24inch wheeled bike. I swear it fit a month ago! (probably not)
We talked about getting him a better fitting bike and I thought this would be a great excuse to show him how bikes go together. I found an old 26" steel Yokota frame and fork at the yelow bike project for about $20. It looked like a grat size for him. I didn’t notice till I got home that the frame had a couple issues that I’d need to sort out.
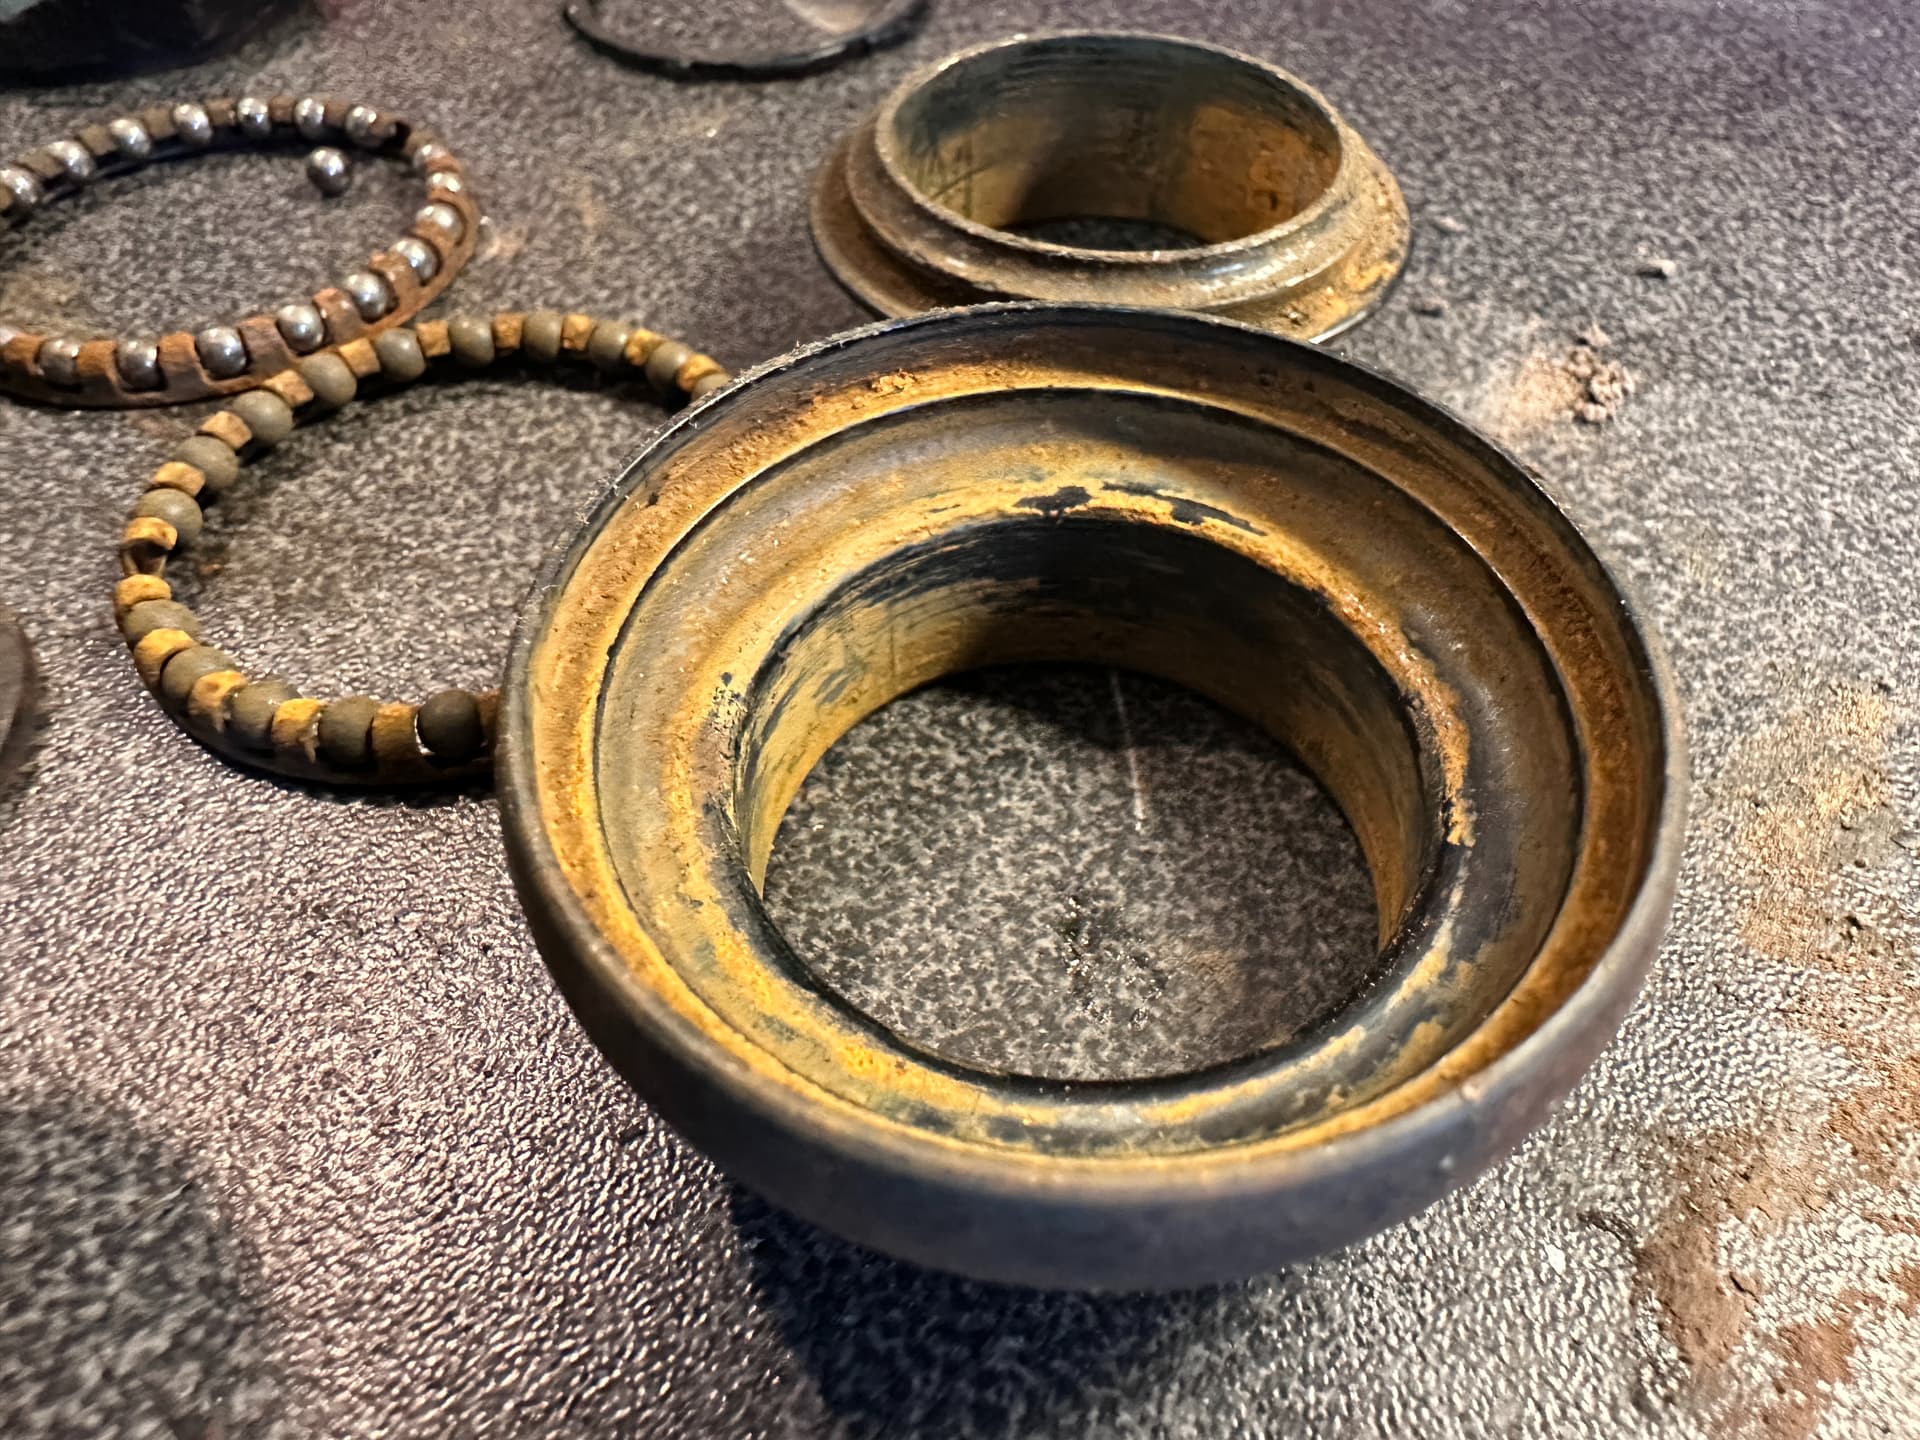
First, the headset size is a non-standard 1 ¼" threaded size. This was even an oddball size when the bike was new (probably early 90s) and the headset that came with the bike has seen better days:
I searched all over the country for a replacement, posted to groups on facebook, called old bike shop friends in Oregon, looked through distributer catalogs, called local shops, dug through bins, but these are almost impossible to find. Ebay had a couple examples that were in the $300 range So I figured, we’d just replace the ball bearings and run the crusty one.
Out of nowhere I get a call from Billy in Florida. He’s a distant relative that heard about my search. He has worked at a shop for 30+ years and lo and behold Billy has a headset for me!
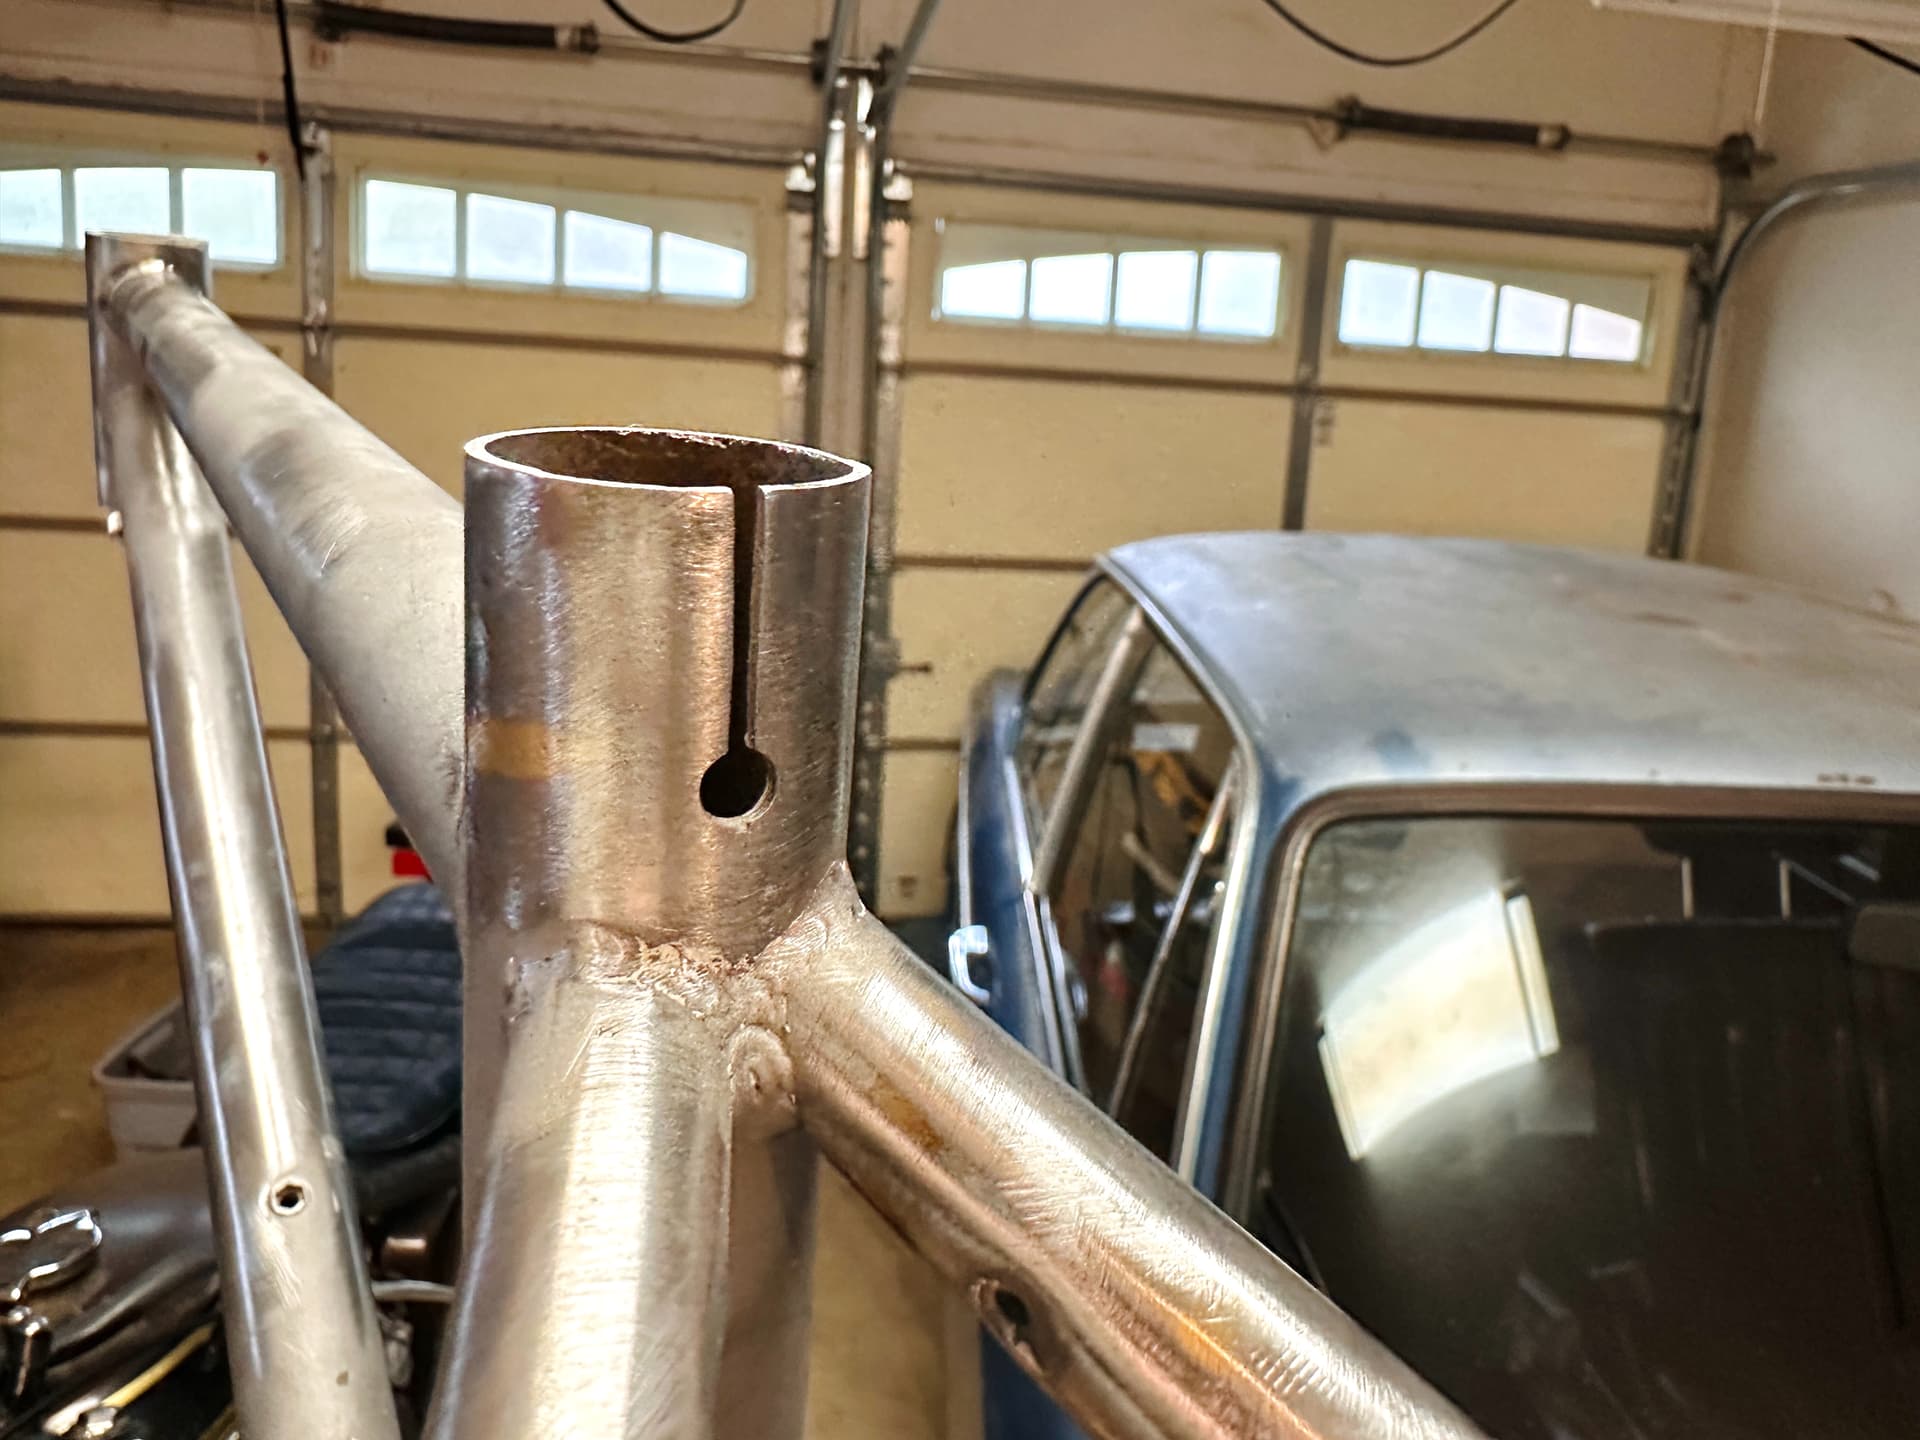
And here’s problem number 2. The seat post clamp (missing) must have had some kind of cam in it that squeezed the post in the frame. I’ve never seen another frame with this method of holding the seatpost in place:
And I carefully cut off the top of the seat tube, drilled a hole in the center of the tube, and slotted down to the hole using a hack saw and two parallel cuts. It’s tricky, but if you work slowly, it’s doable. Here’s how it looks now:
I also took the rear brake “noodle” off the frame. I’ve never liked these, they add drag to the brake and I’m planning on changing the rear cable routing anyway.
Whoa! I literally was just talking to @valerie at the shop yesterday and said it would be cool to see someone build a bike at Asmbly. Talk about a strange coincidence, especially with Calvin being involved with Yellow Bike.
I have a bikes worth of tubing. I can share the process when I’m ready to build it. I have a friend with a jig and tooling that I’ll need, so I doubt any of the work would happen at Asmbly, but it’s something I’d be willing to document and share
to complete the circle, here’s the last video of the bike finally being put together and ridden! It was a really great project to get to do this with Joe and to end up with a really cool bike at the end of it all.