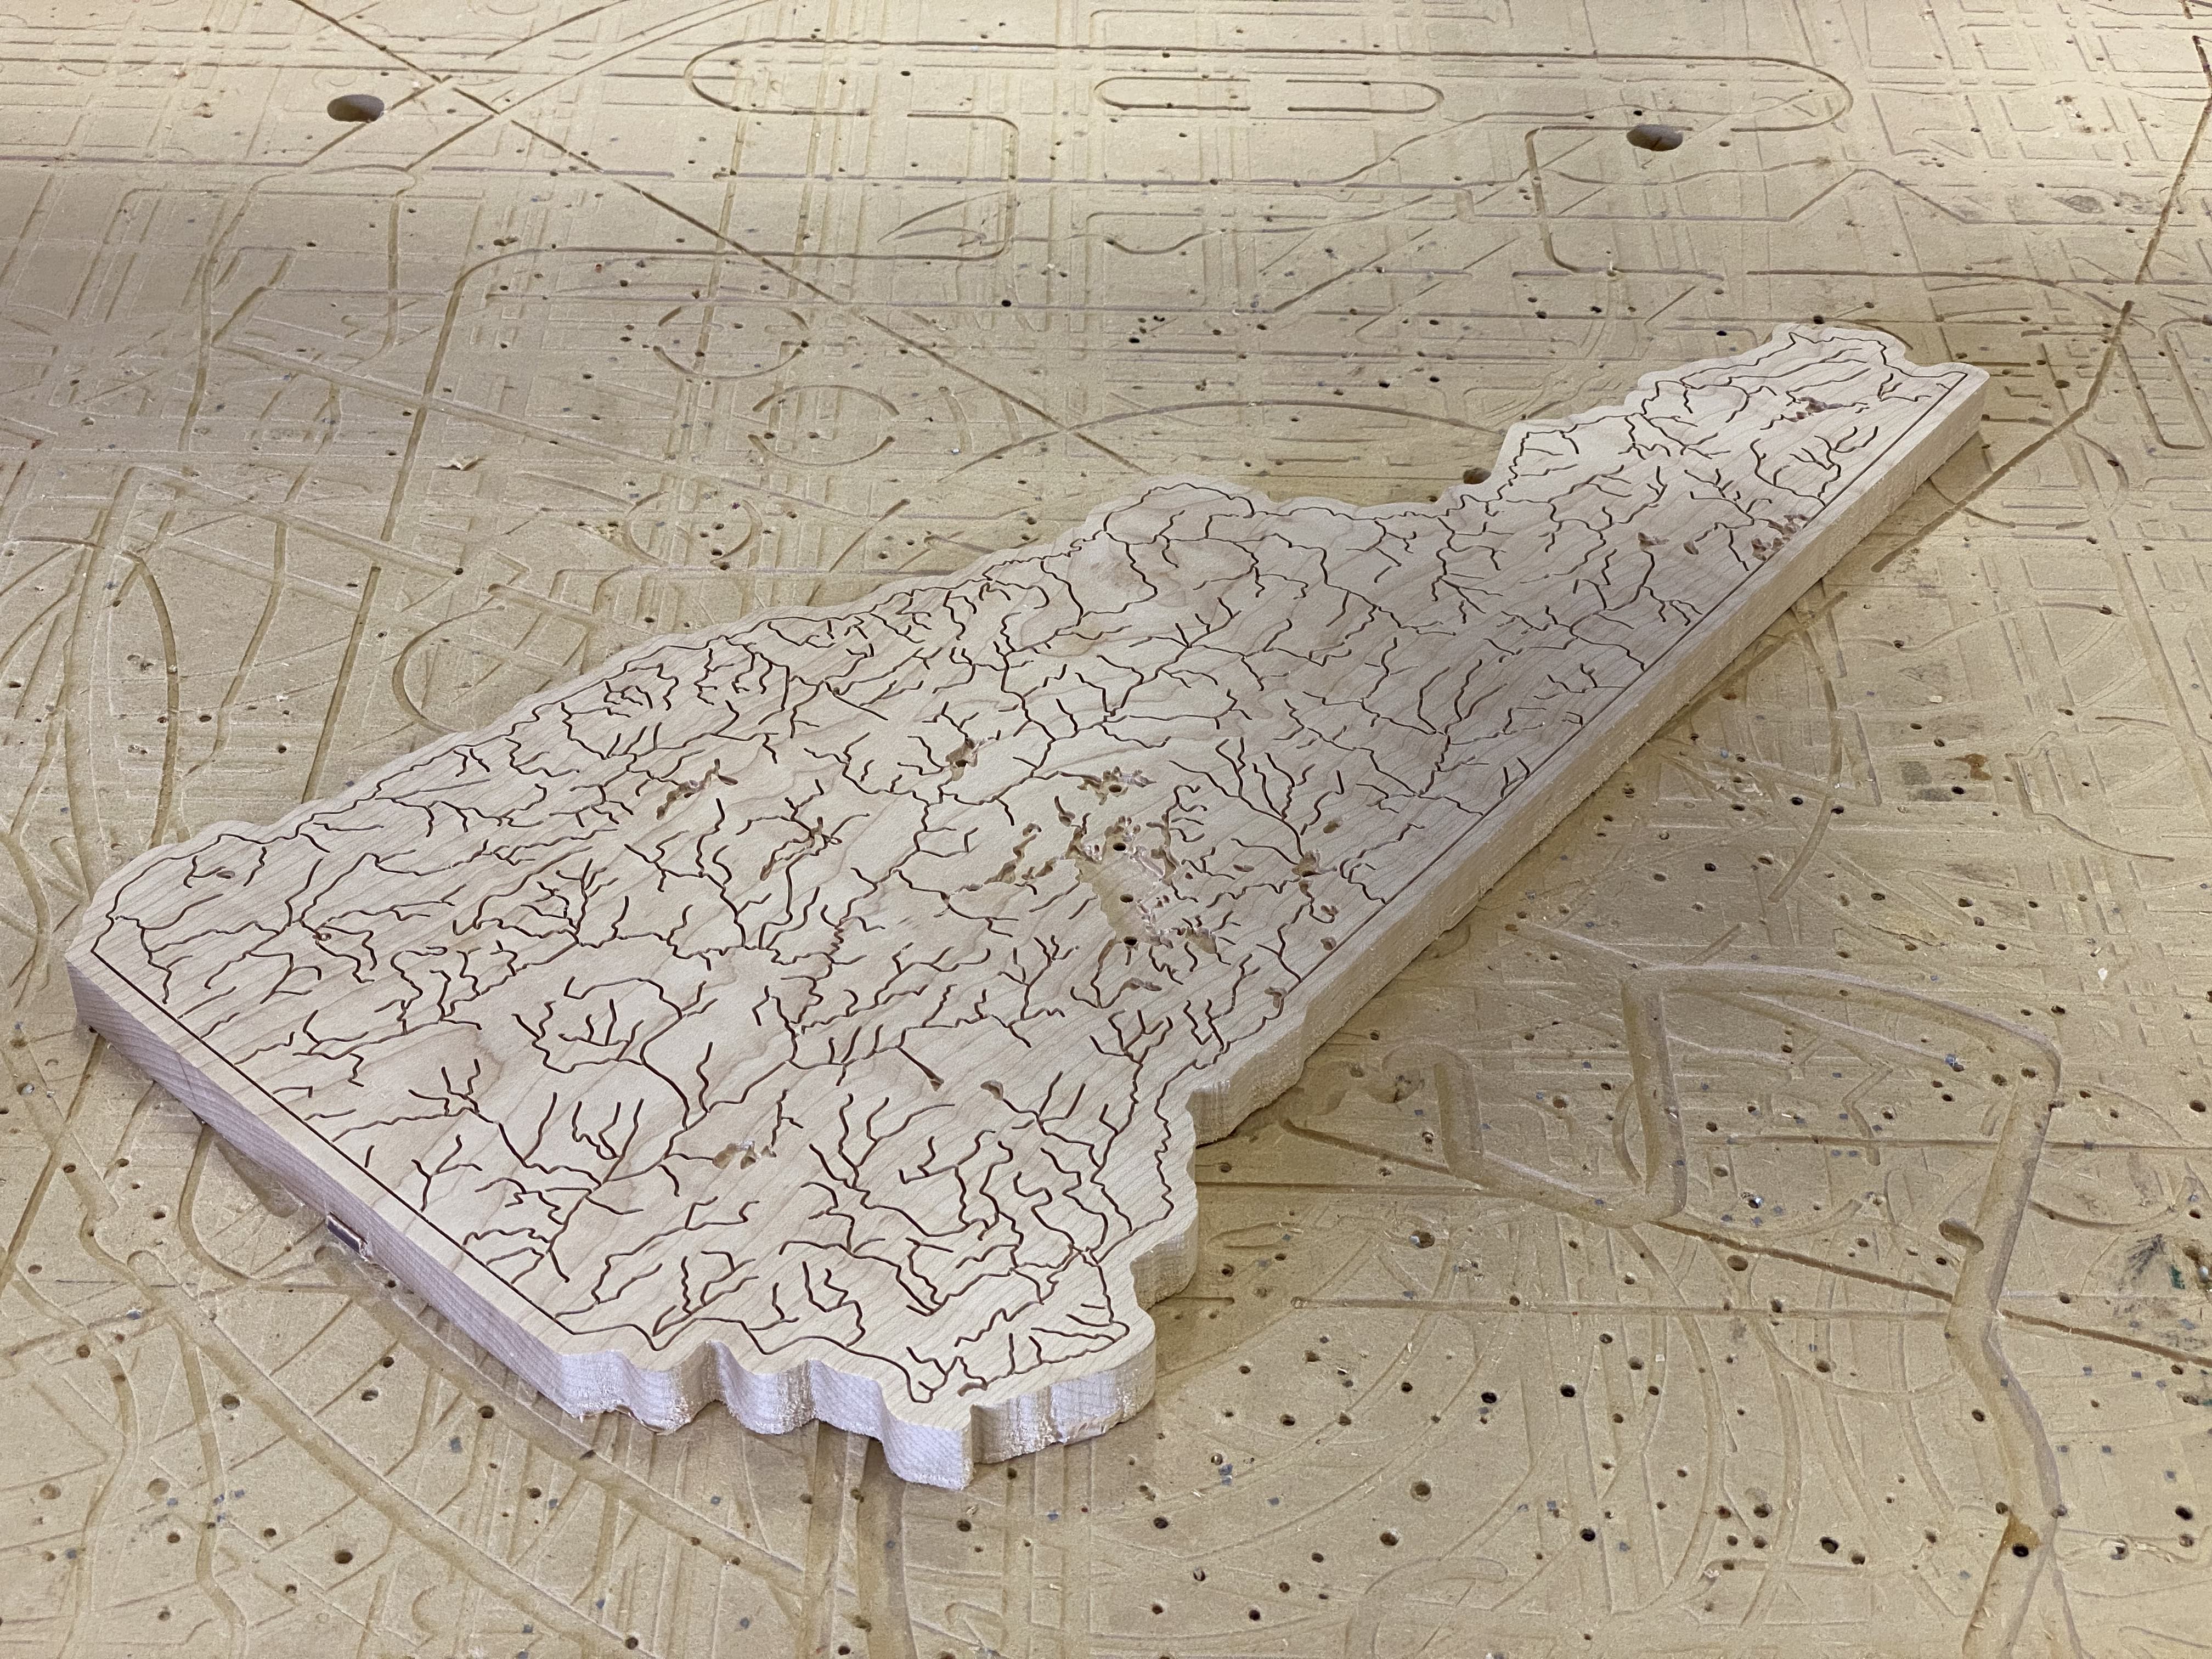
Anyone have tips for doing resin pours with metal powders? Google and YouTube haven’t been super helpful so far.
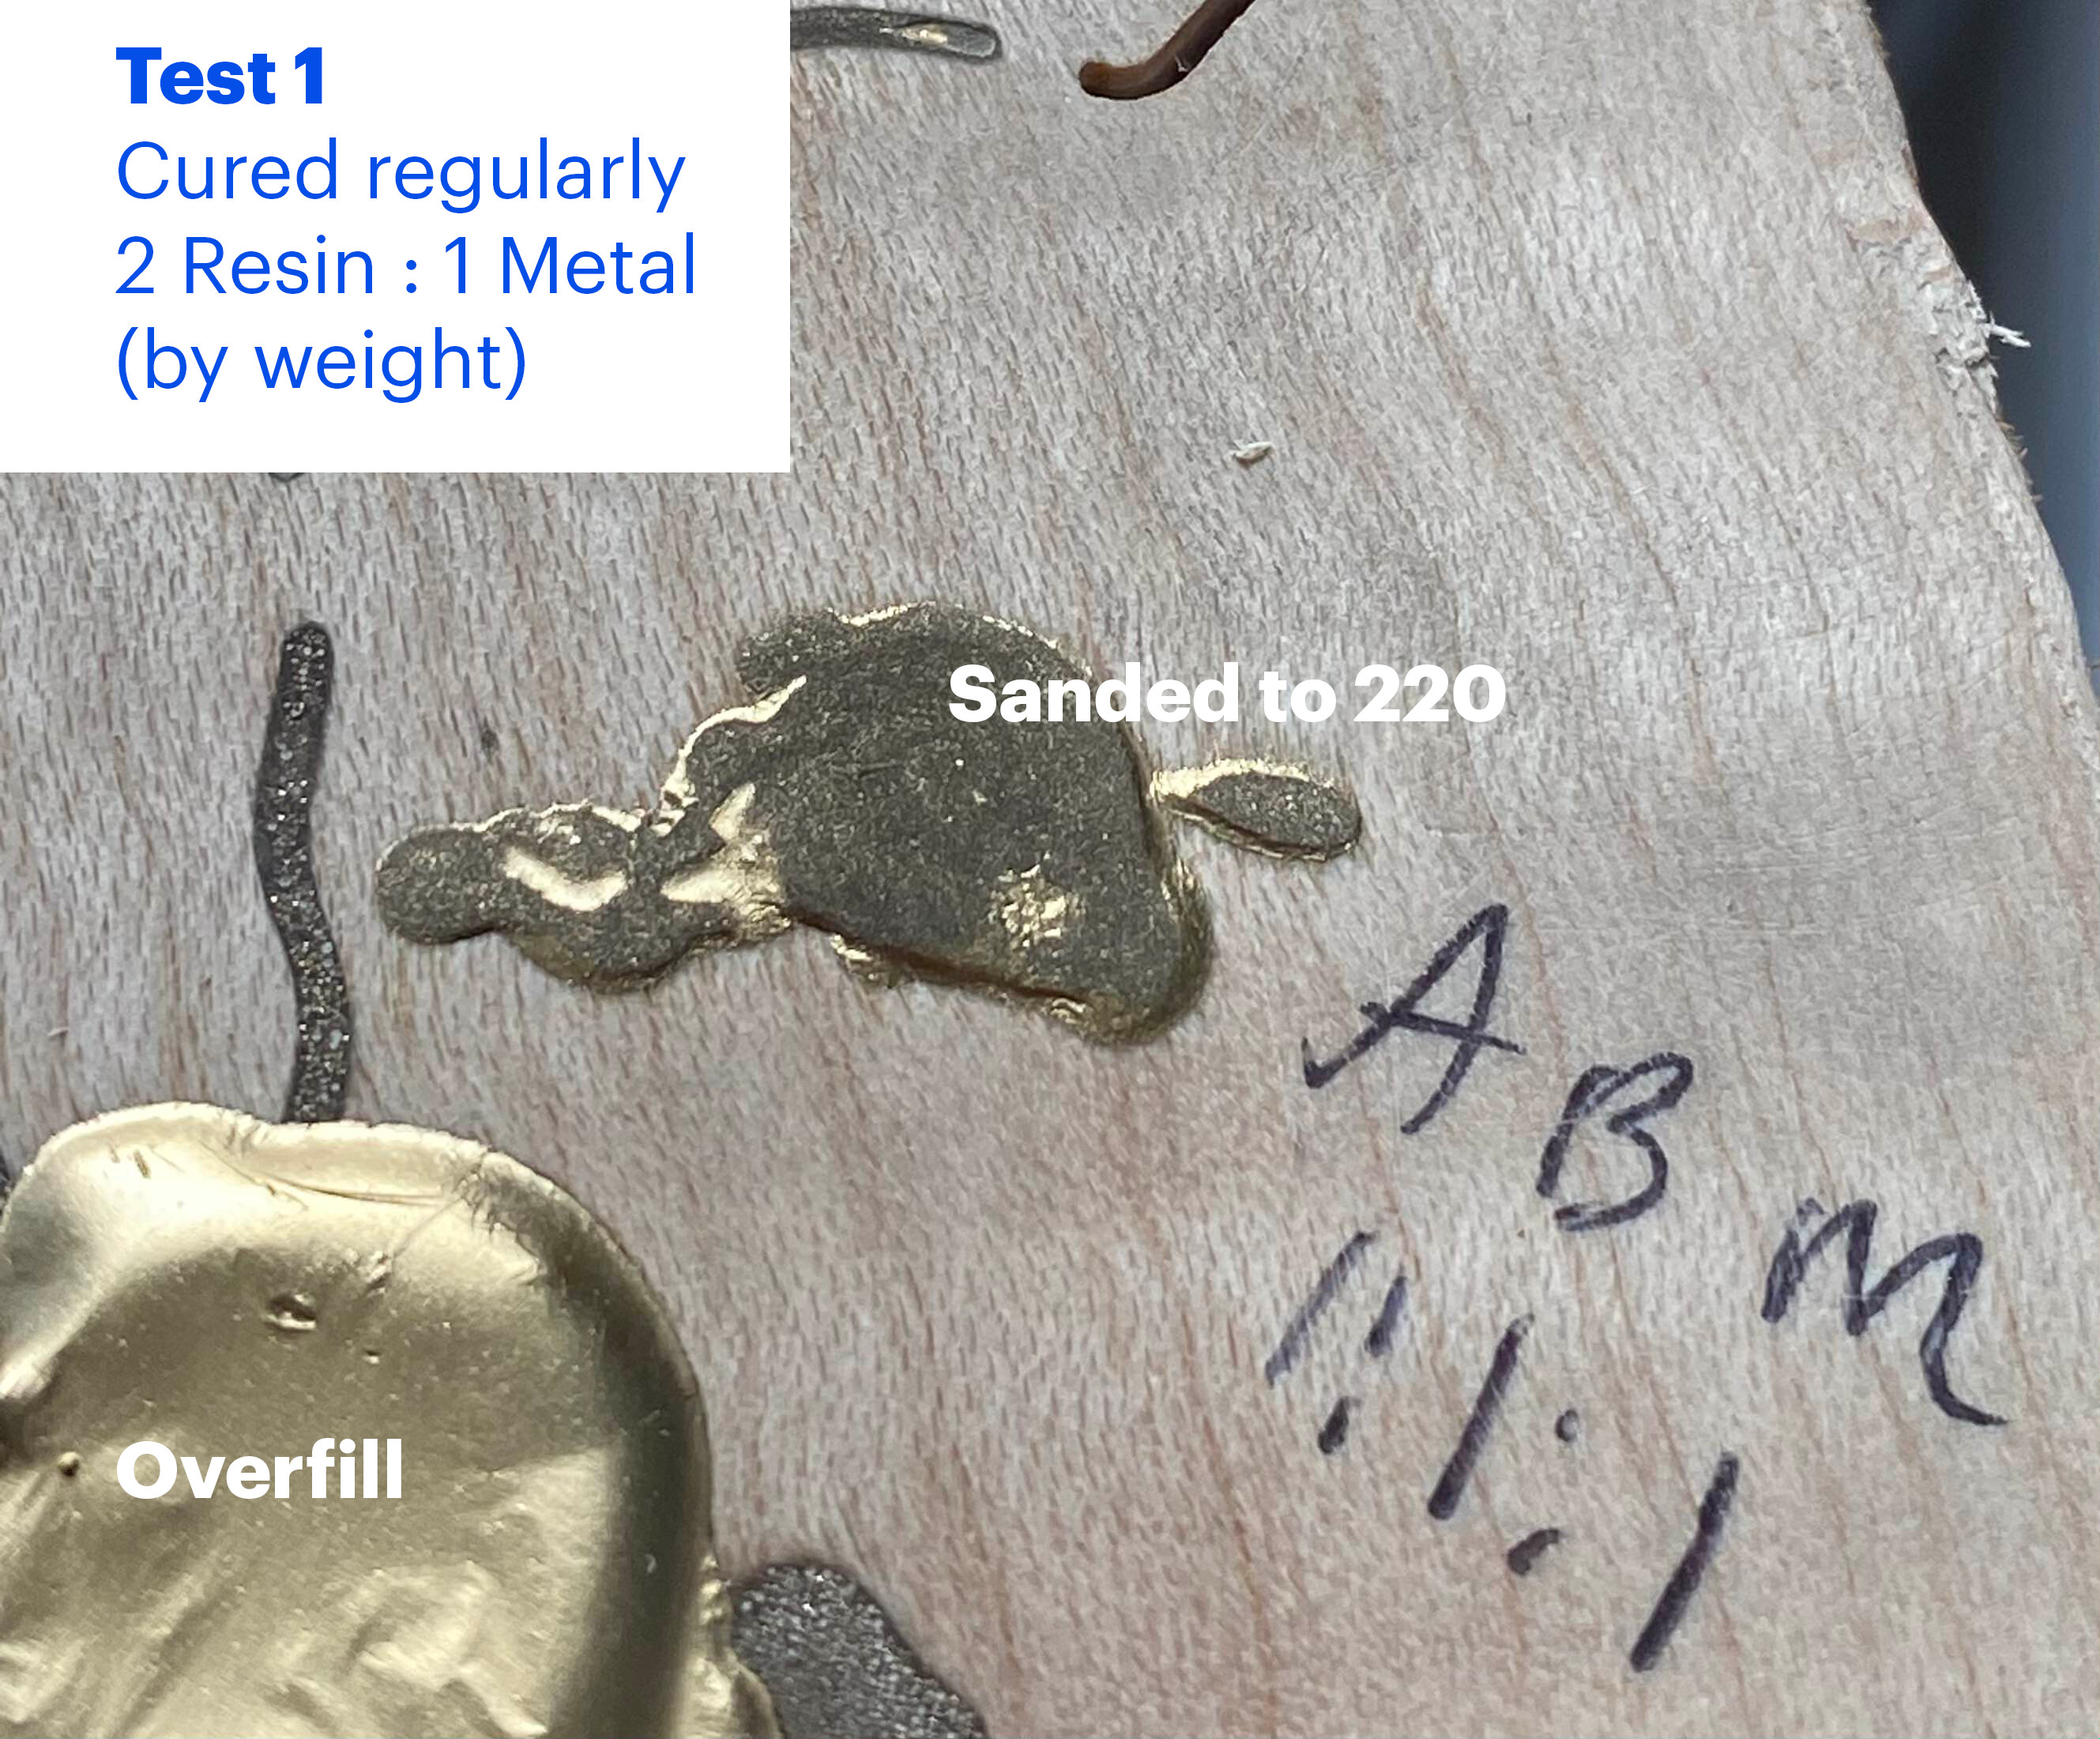
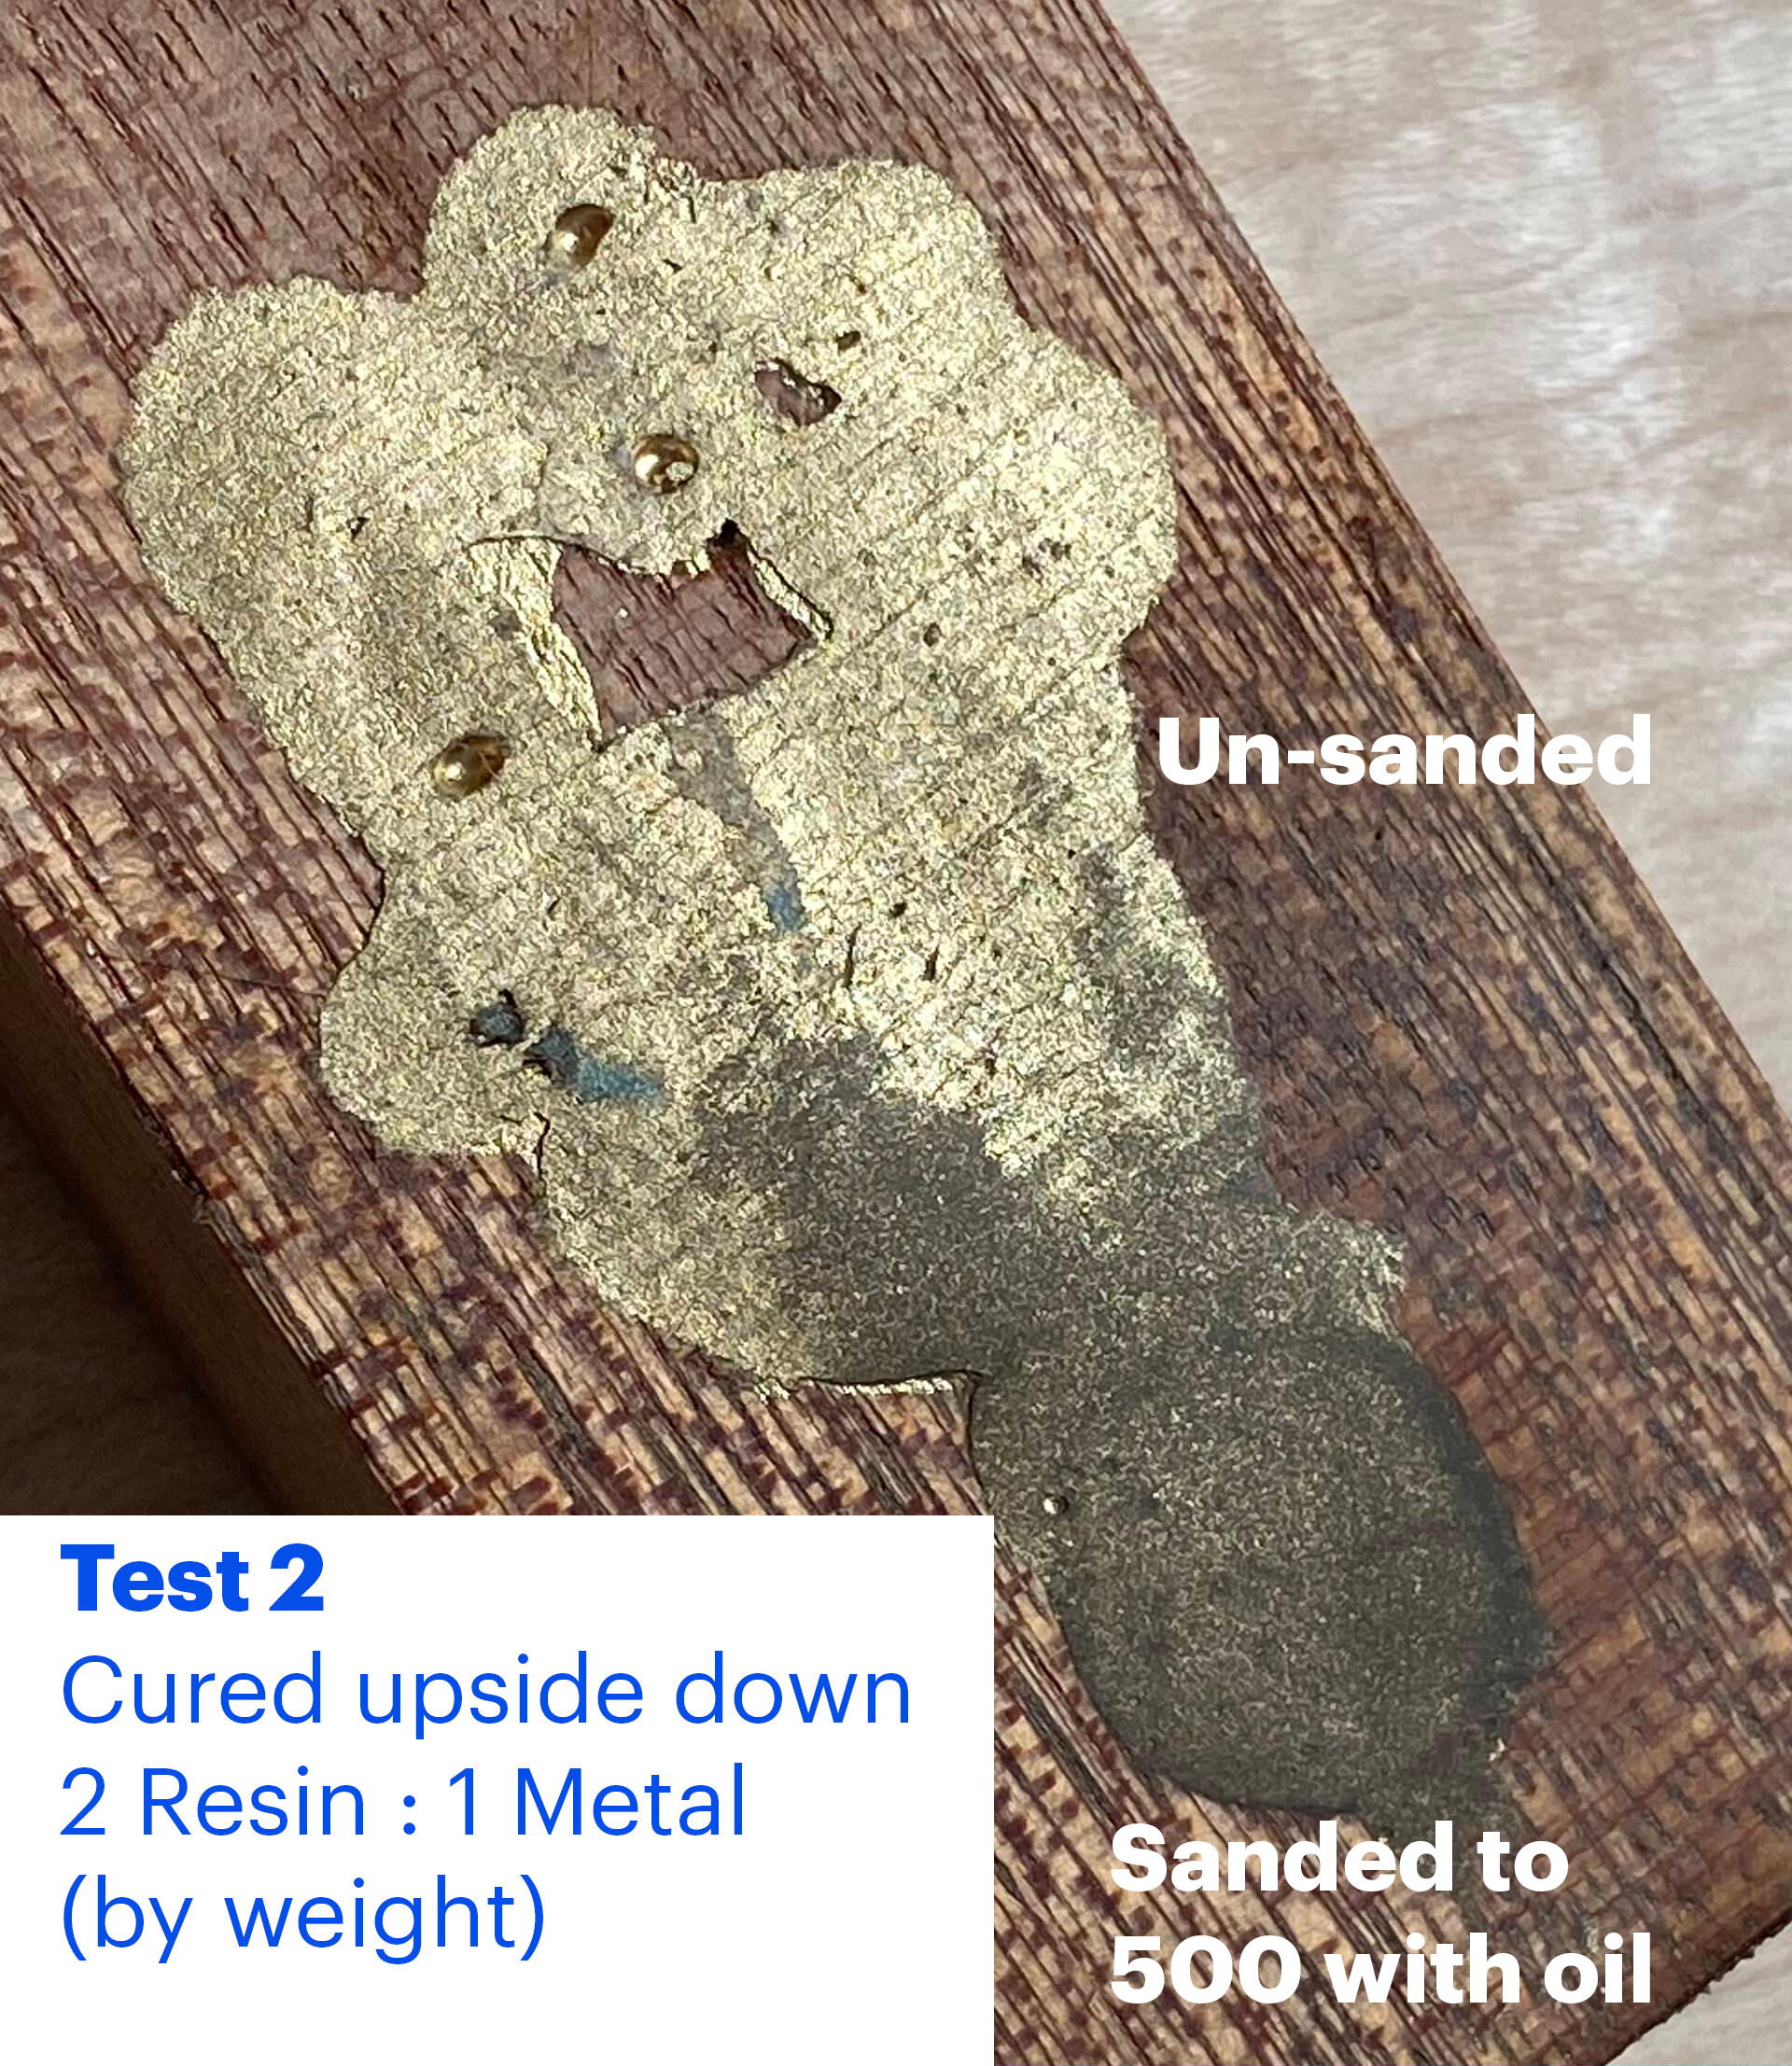
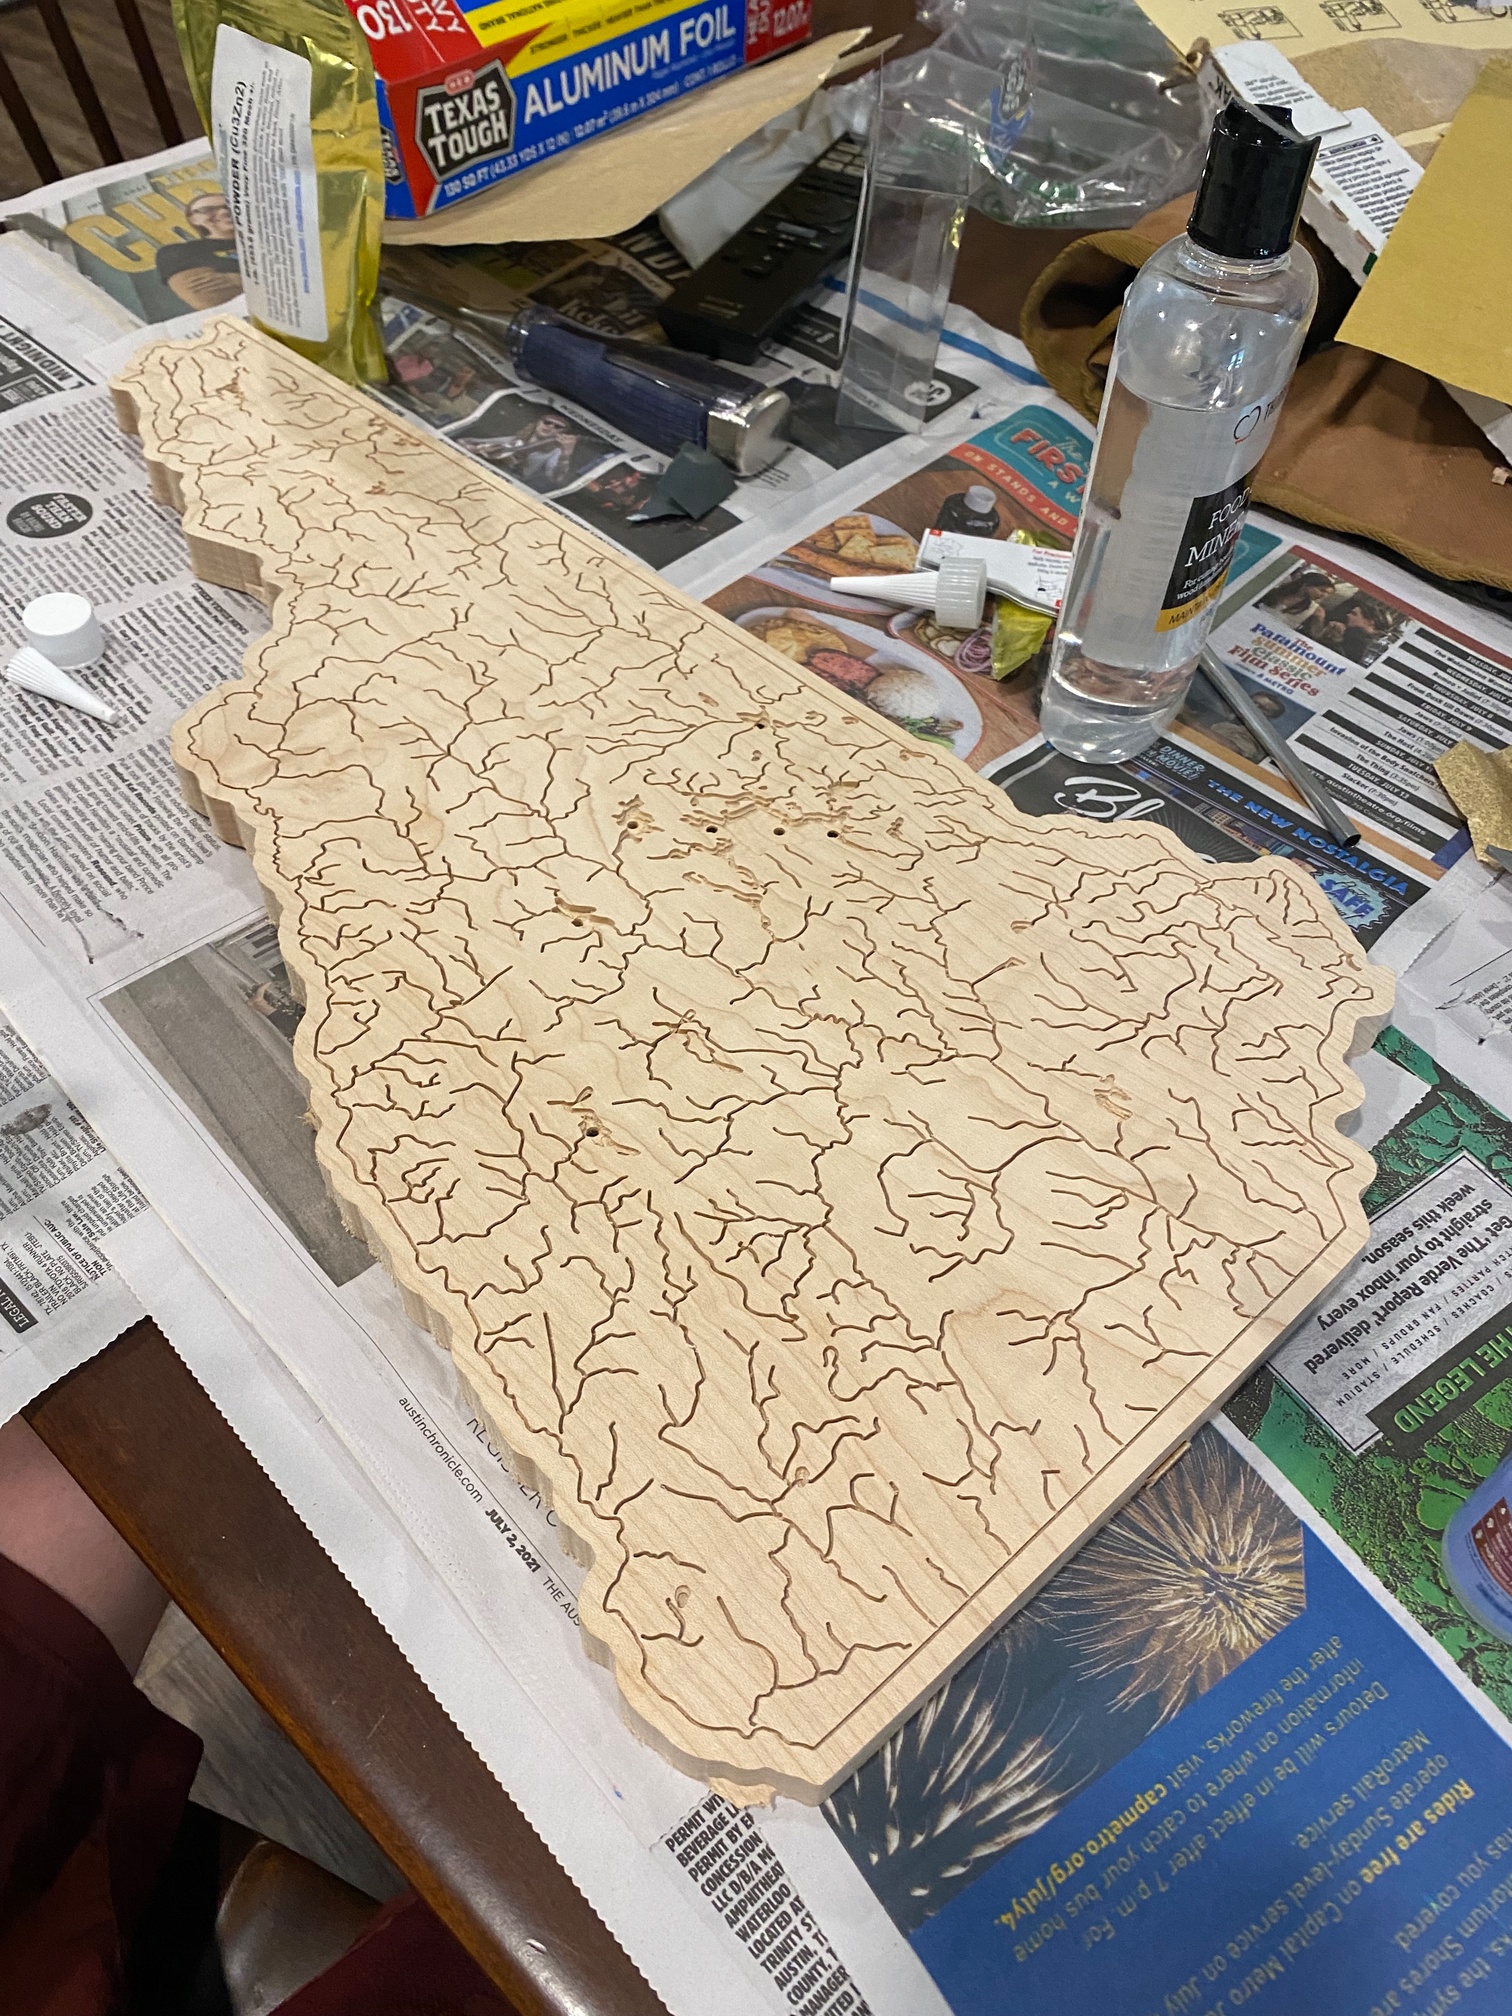
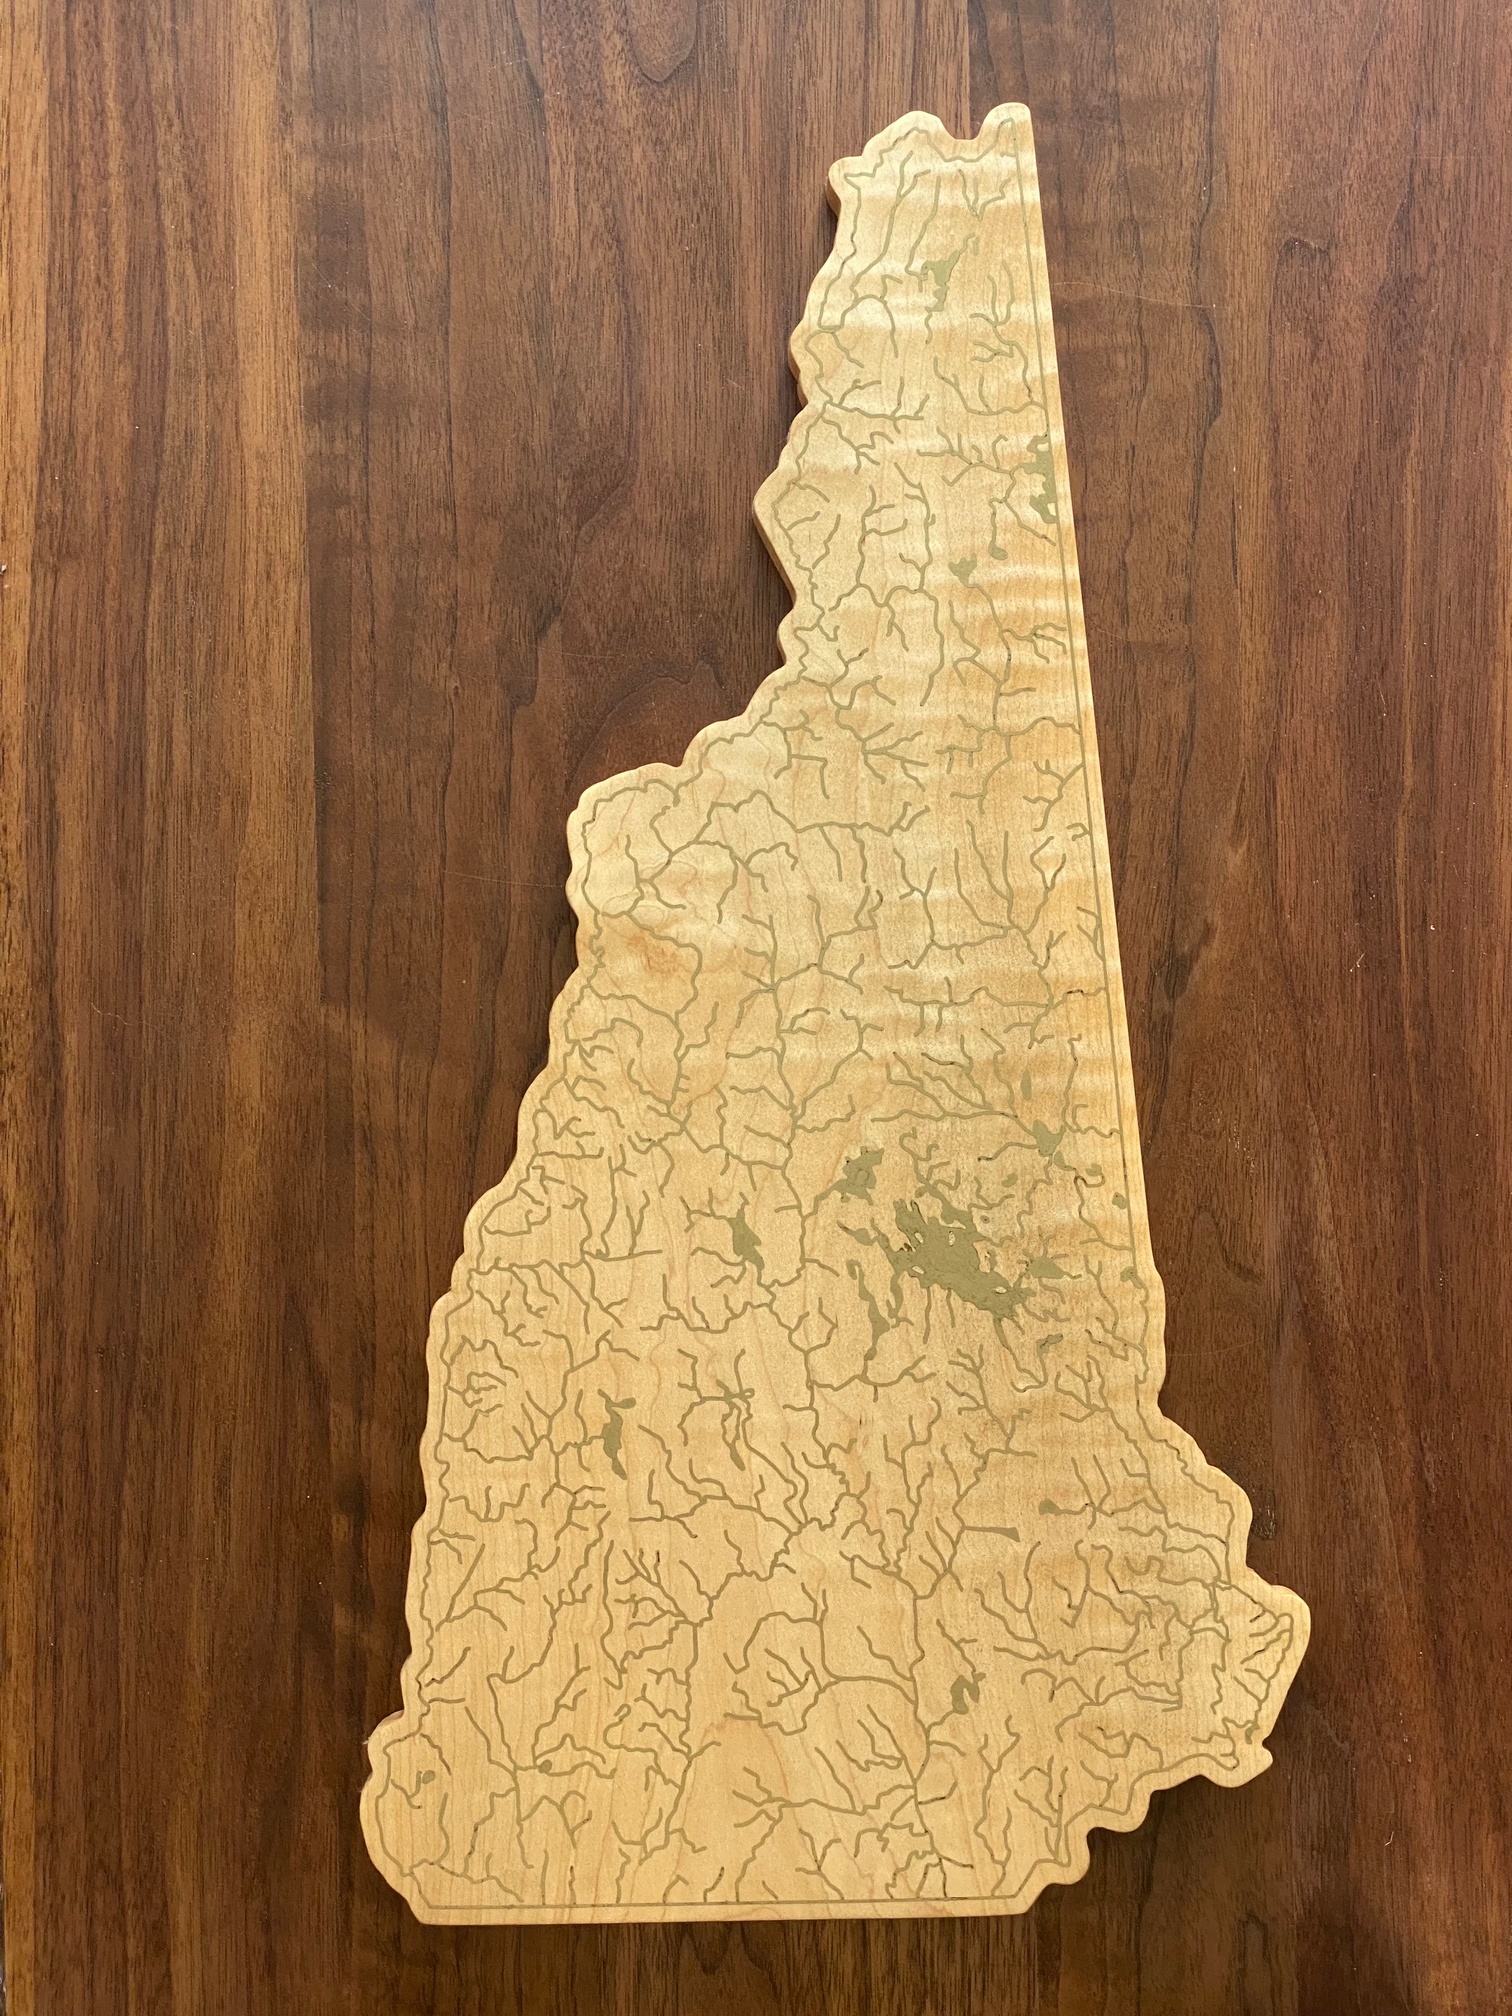
I’ve been doing some test pours that look great at first but turn dark and dull when sanded. Bumping up the metal content helped but I’m at the point where the epoxy is getting pretty thick. I’ve tried curing upside down to allow the particles to sink towards the finish surface but it didn’t make a huge difference. Attached a pic of the final project to be filled with resin along with some of my test results.
I ran a lot of experiments for my cold casting. And none came out like Youtube videos.
Upside down, different load percentages, and different resins, different wood fills, plastic cups, etc… Including rapid cure resins, to avoid the particles sinking. On sanding epoxy, you might be heating the epoxy up. Maybe try a card scraper.
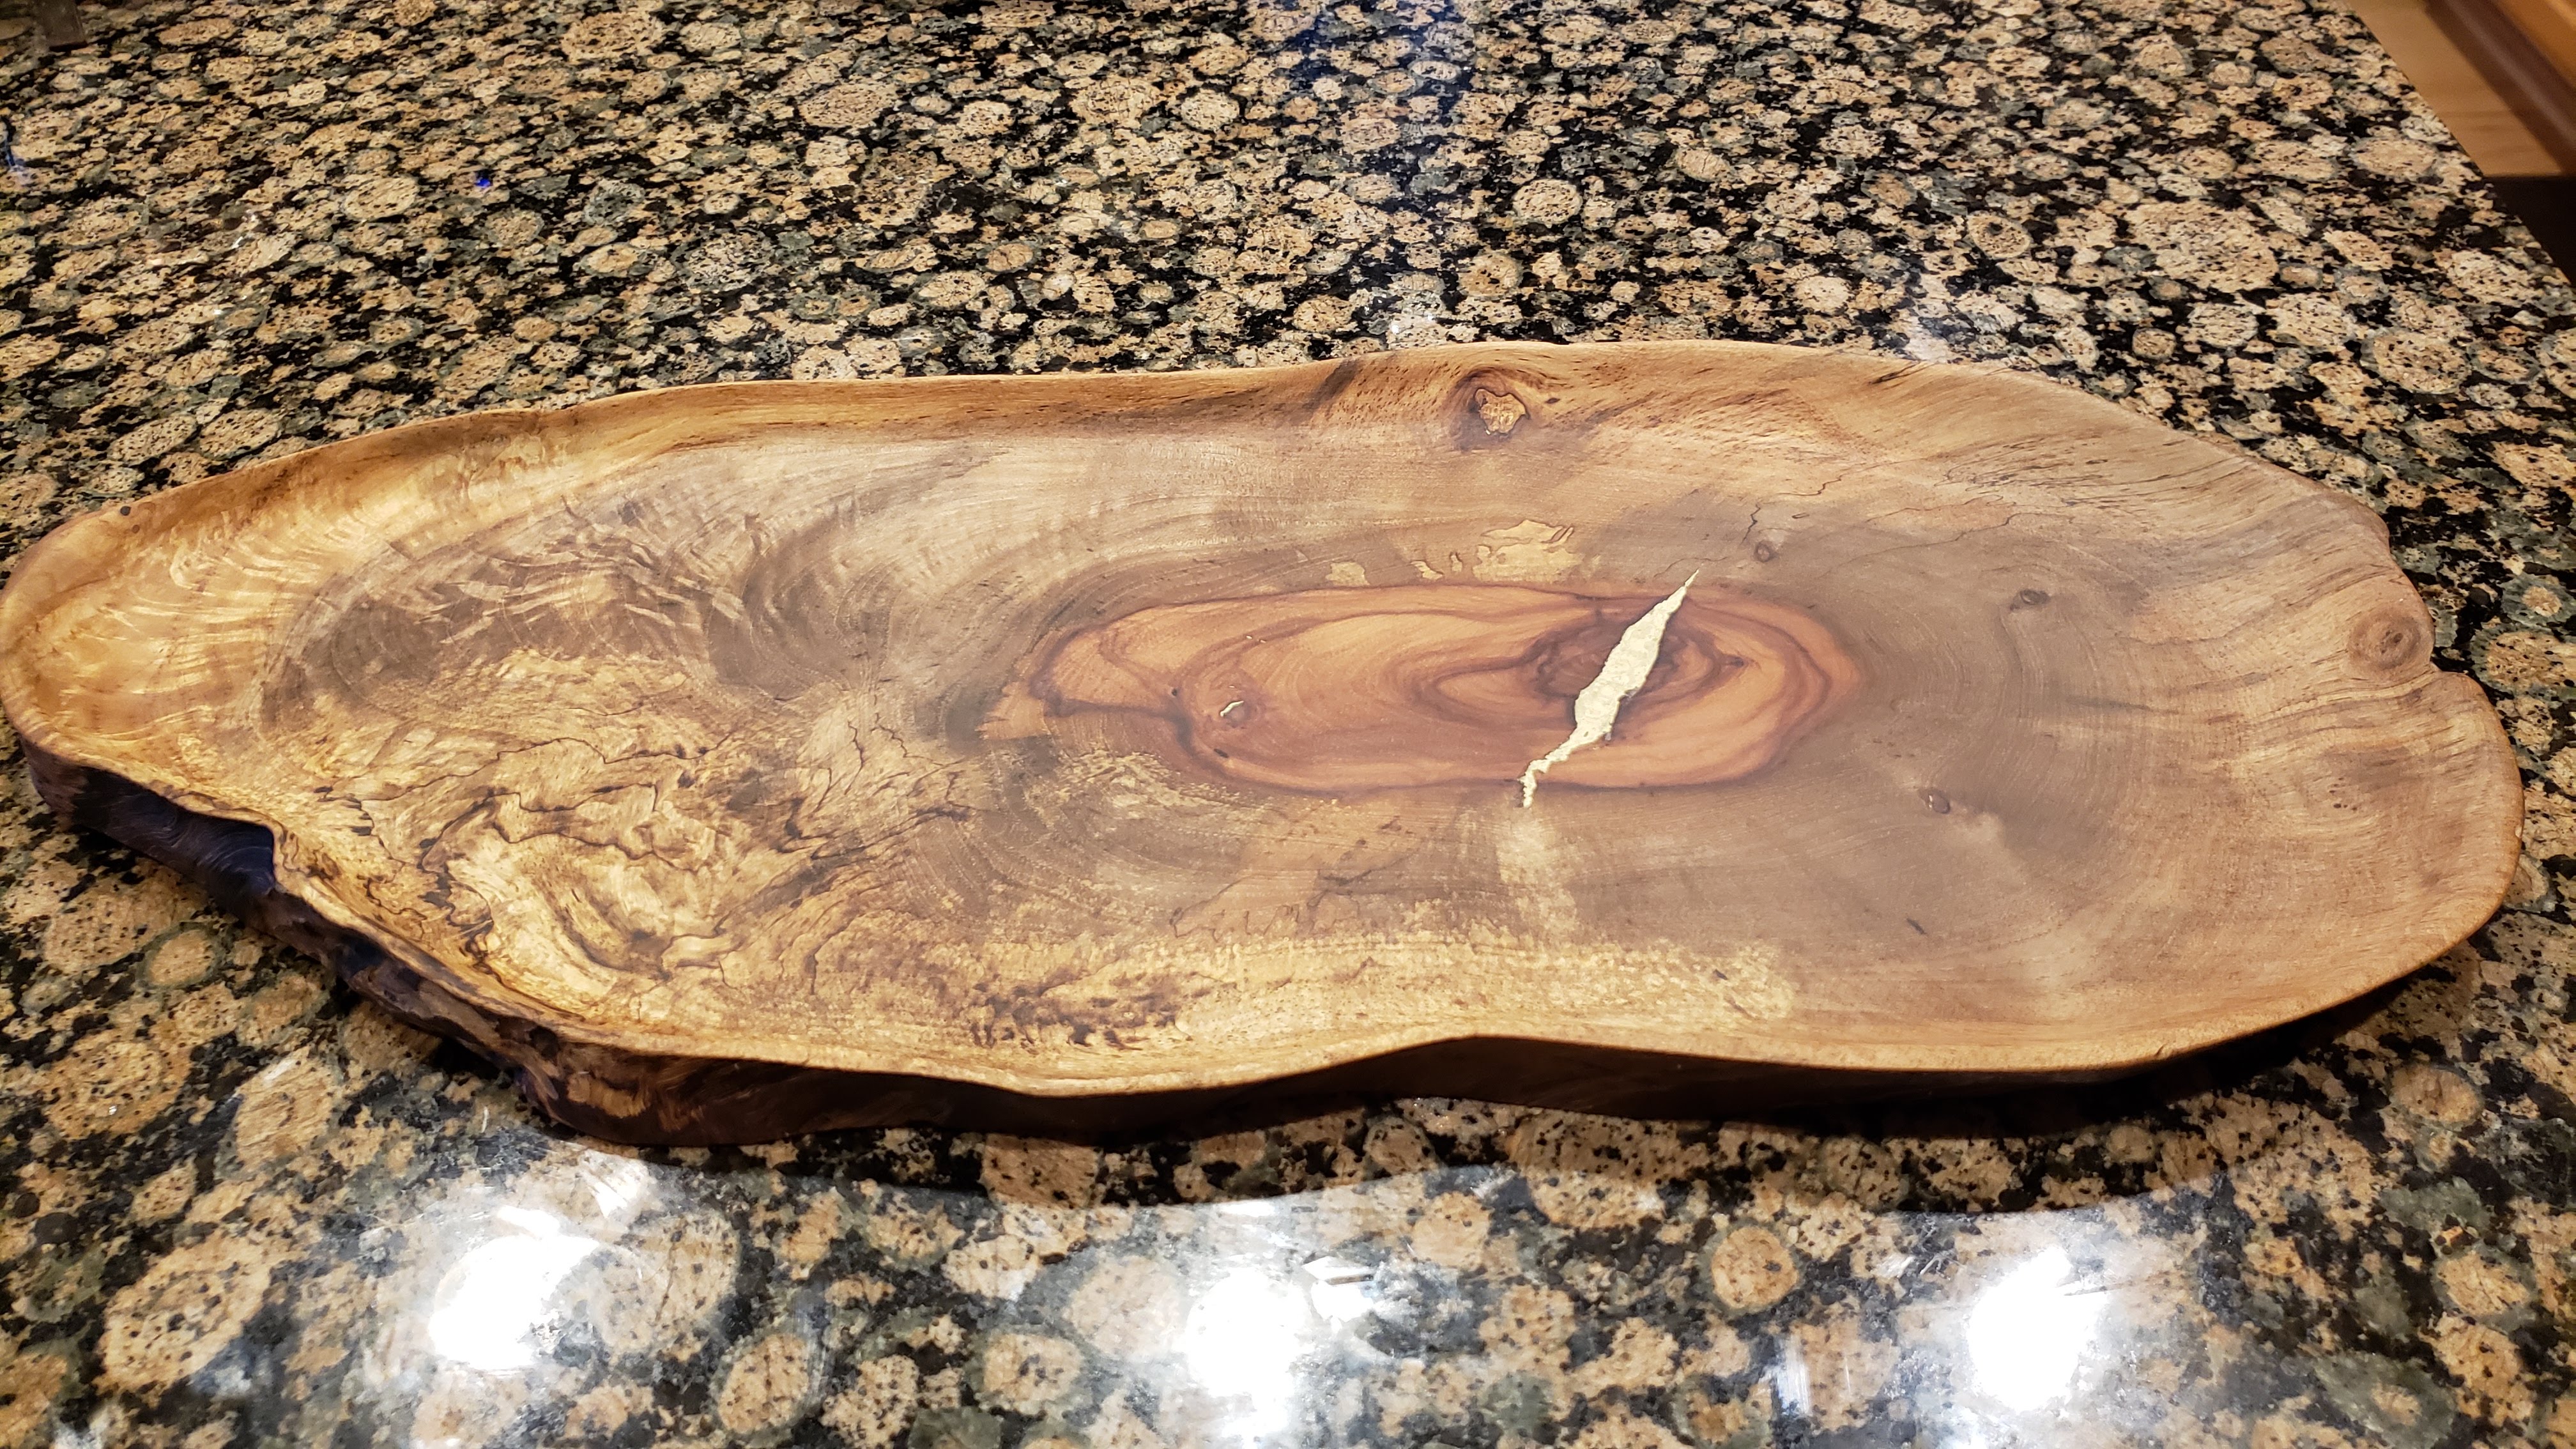
Your fills will be pretty shallow, so you could also try CA. I used that for small areas. Practice with CA and don’t use accelerator, as it can bubble up. Get a very thin CA (Starbond), and don’t oversaturate. Getting the color to be consistent was an issue, and oversaturation then flows the particles, creating waves and color differences in the finish.
This piece still has coloration differences in the fill. The small CA fills are hard to see.
Some good things to think about, thanks @cfstaley - I’m intrigued by CA, haven’t tested that out yet. Could be totally sufficient for the 1/32" rivers. Really like the luster you were able to achieve in your piece!
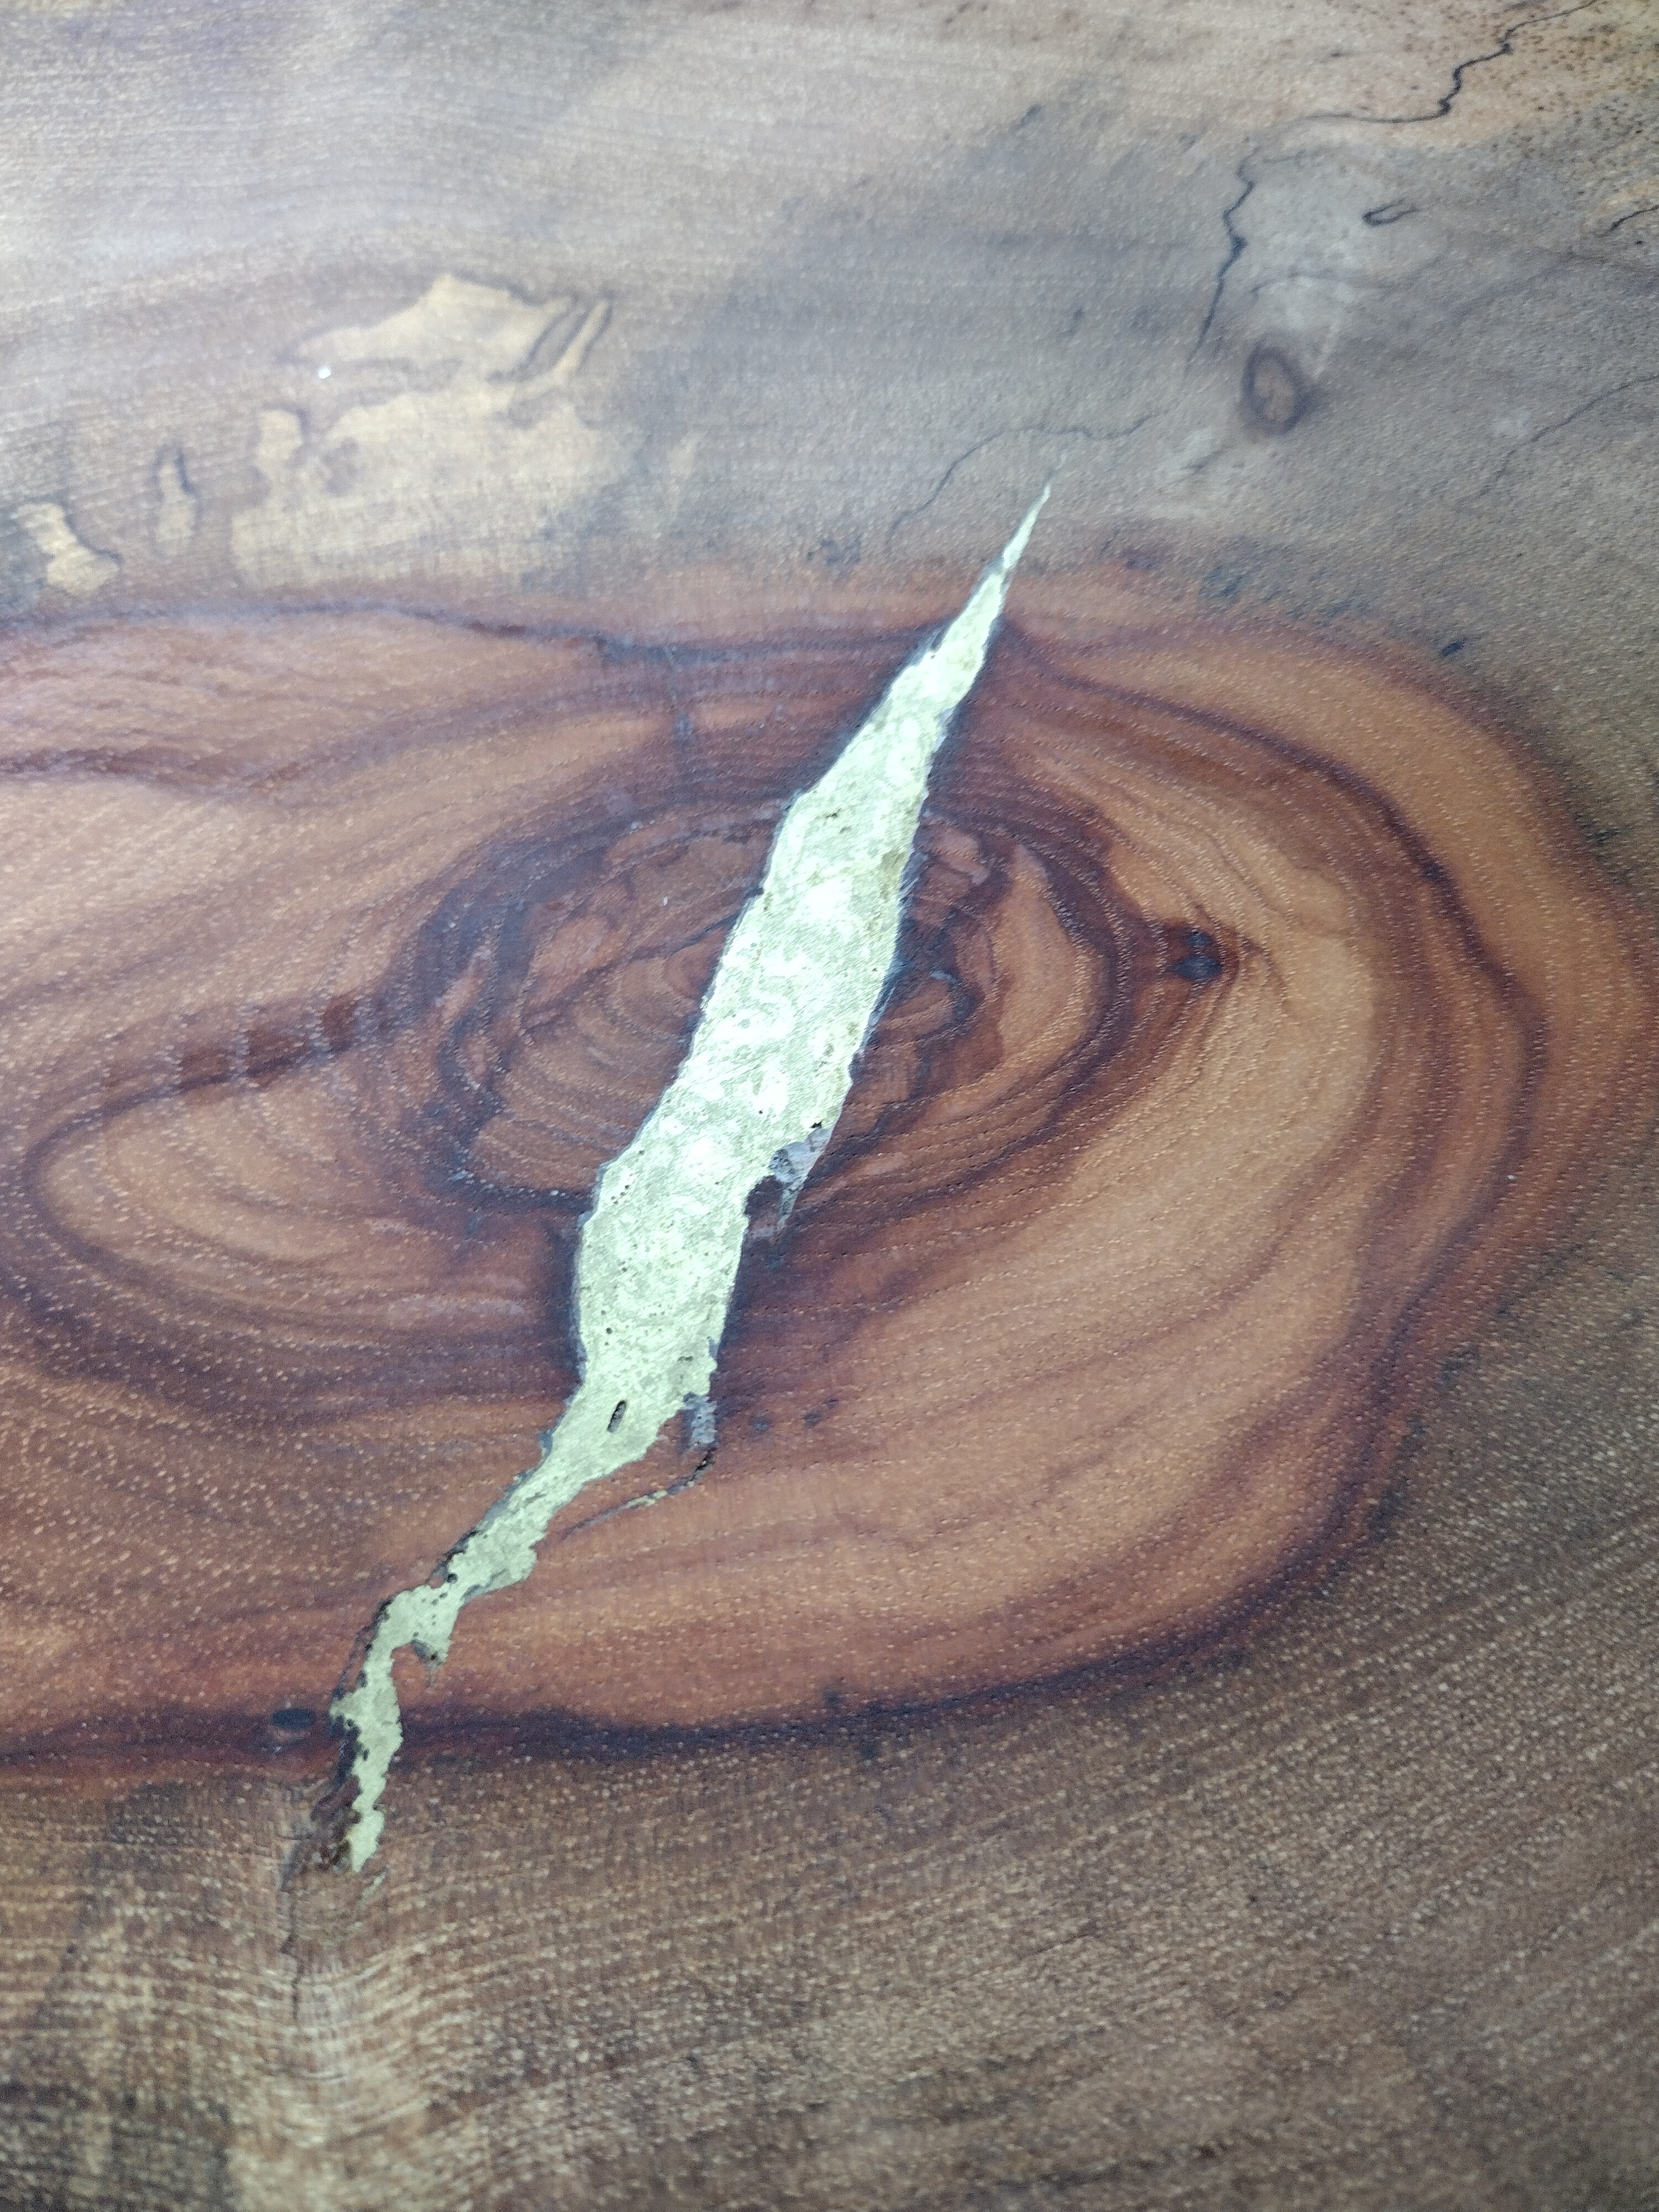
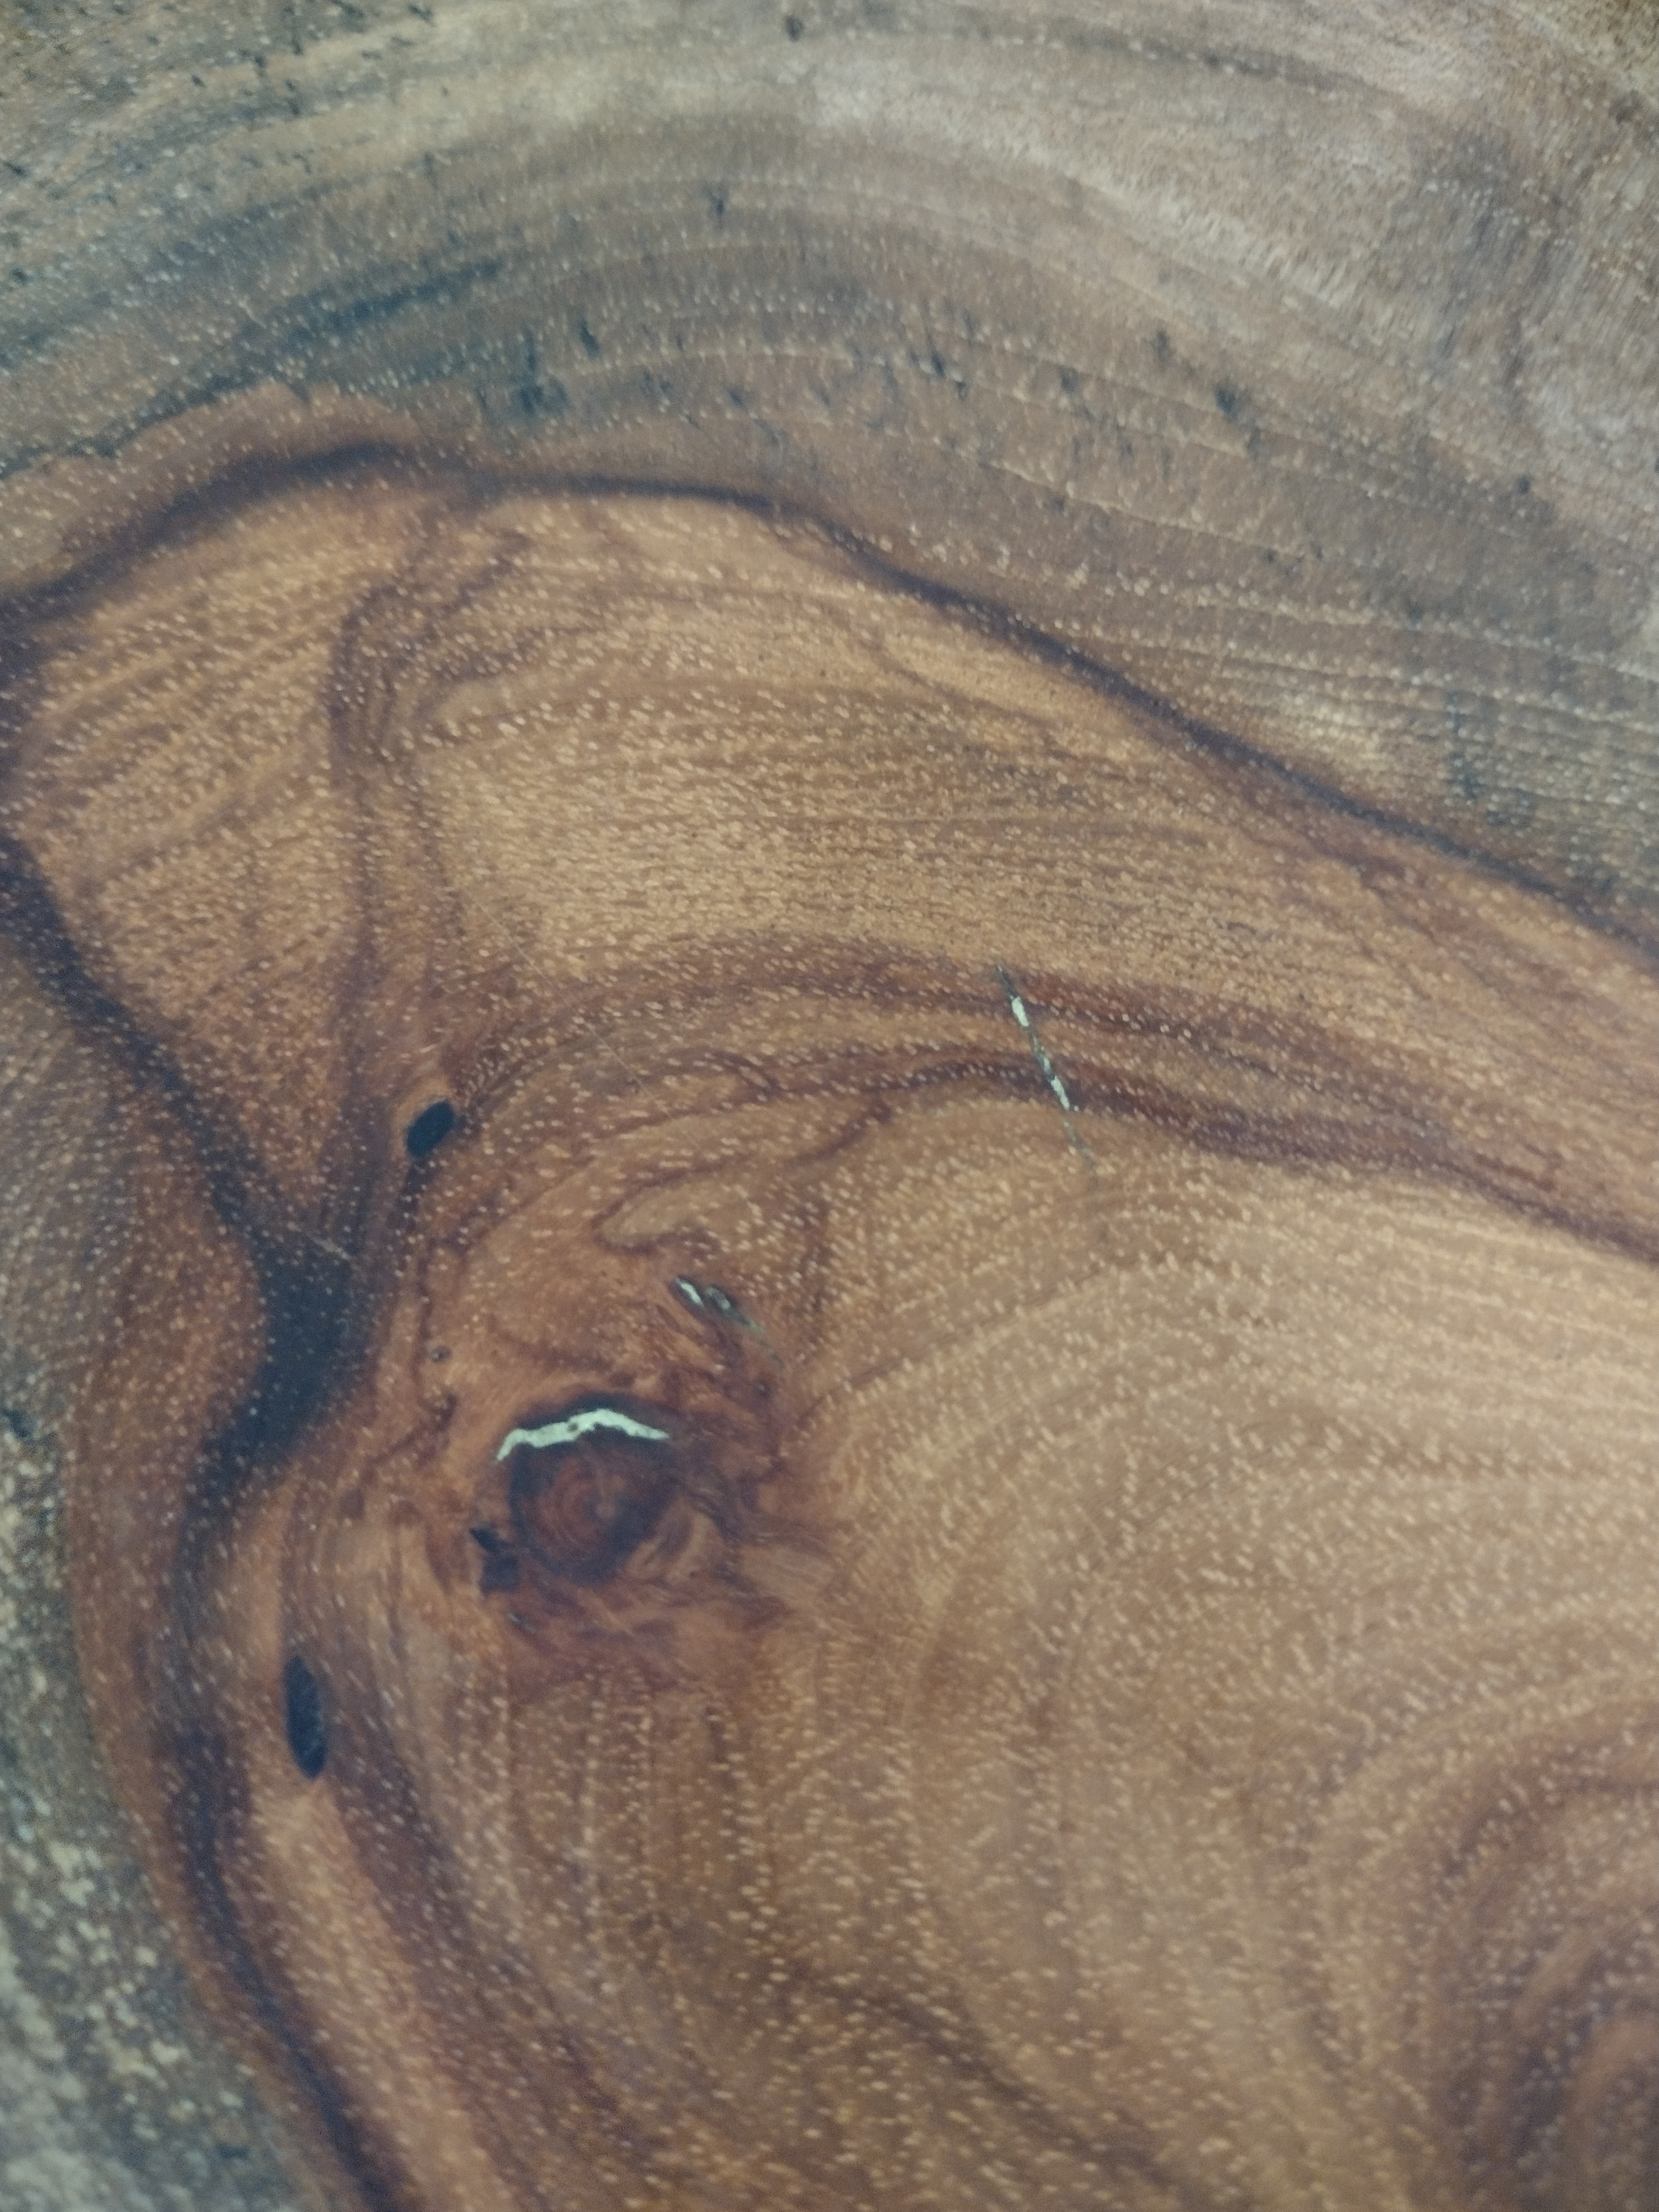
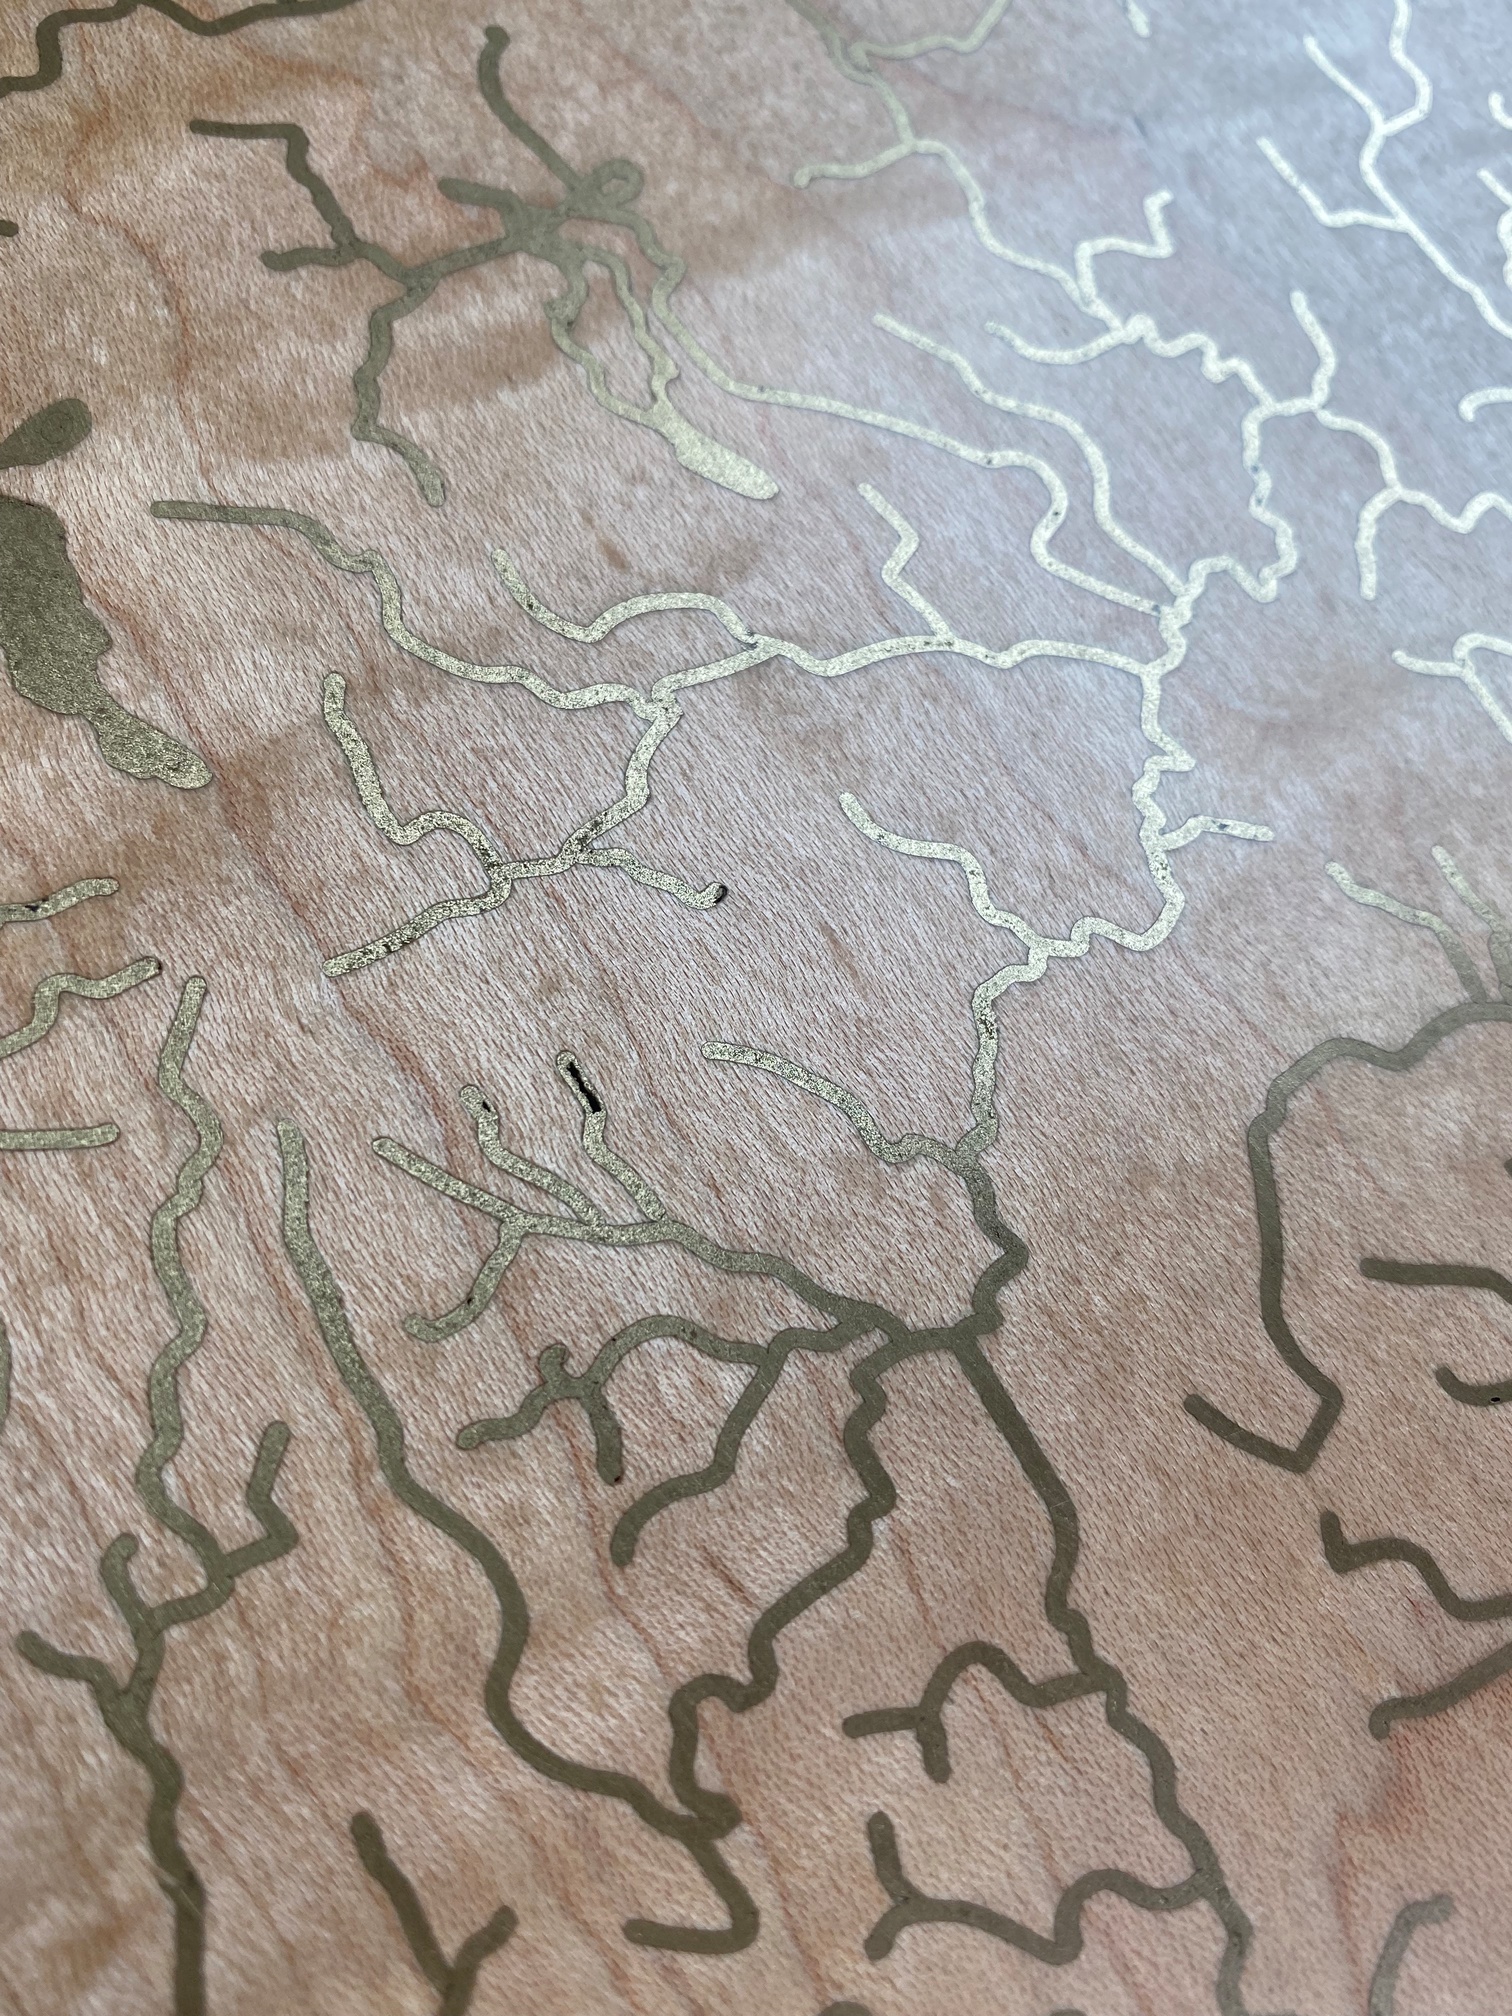
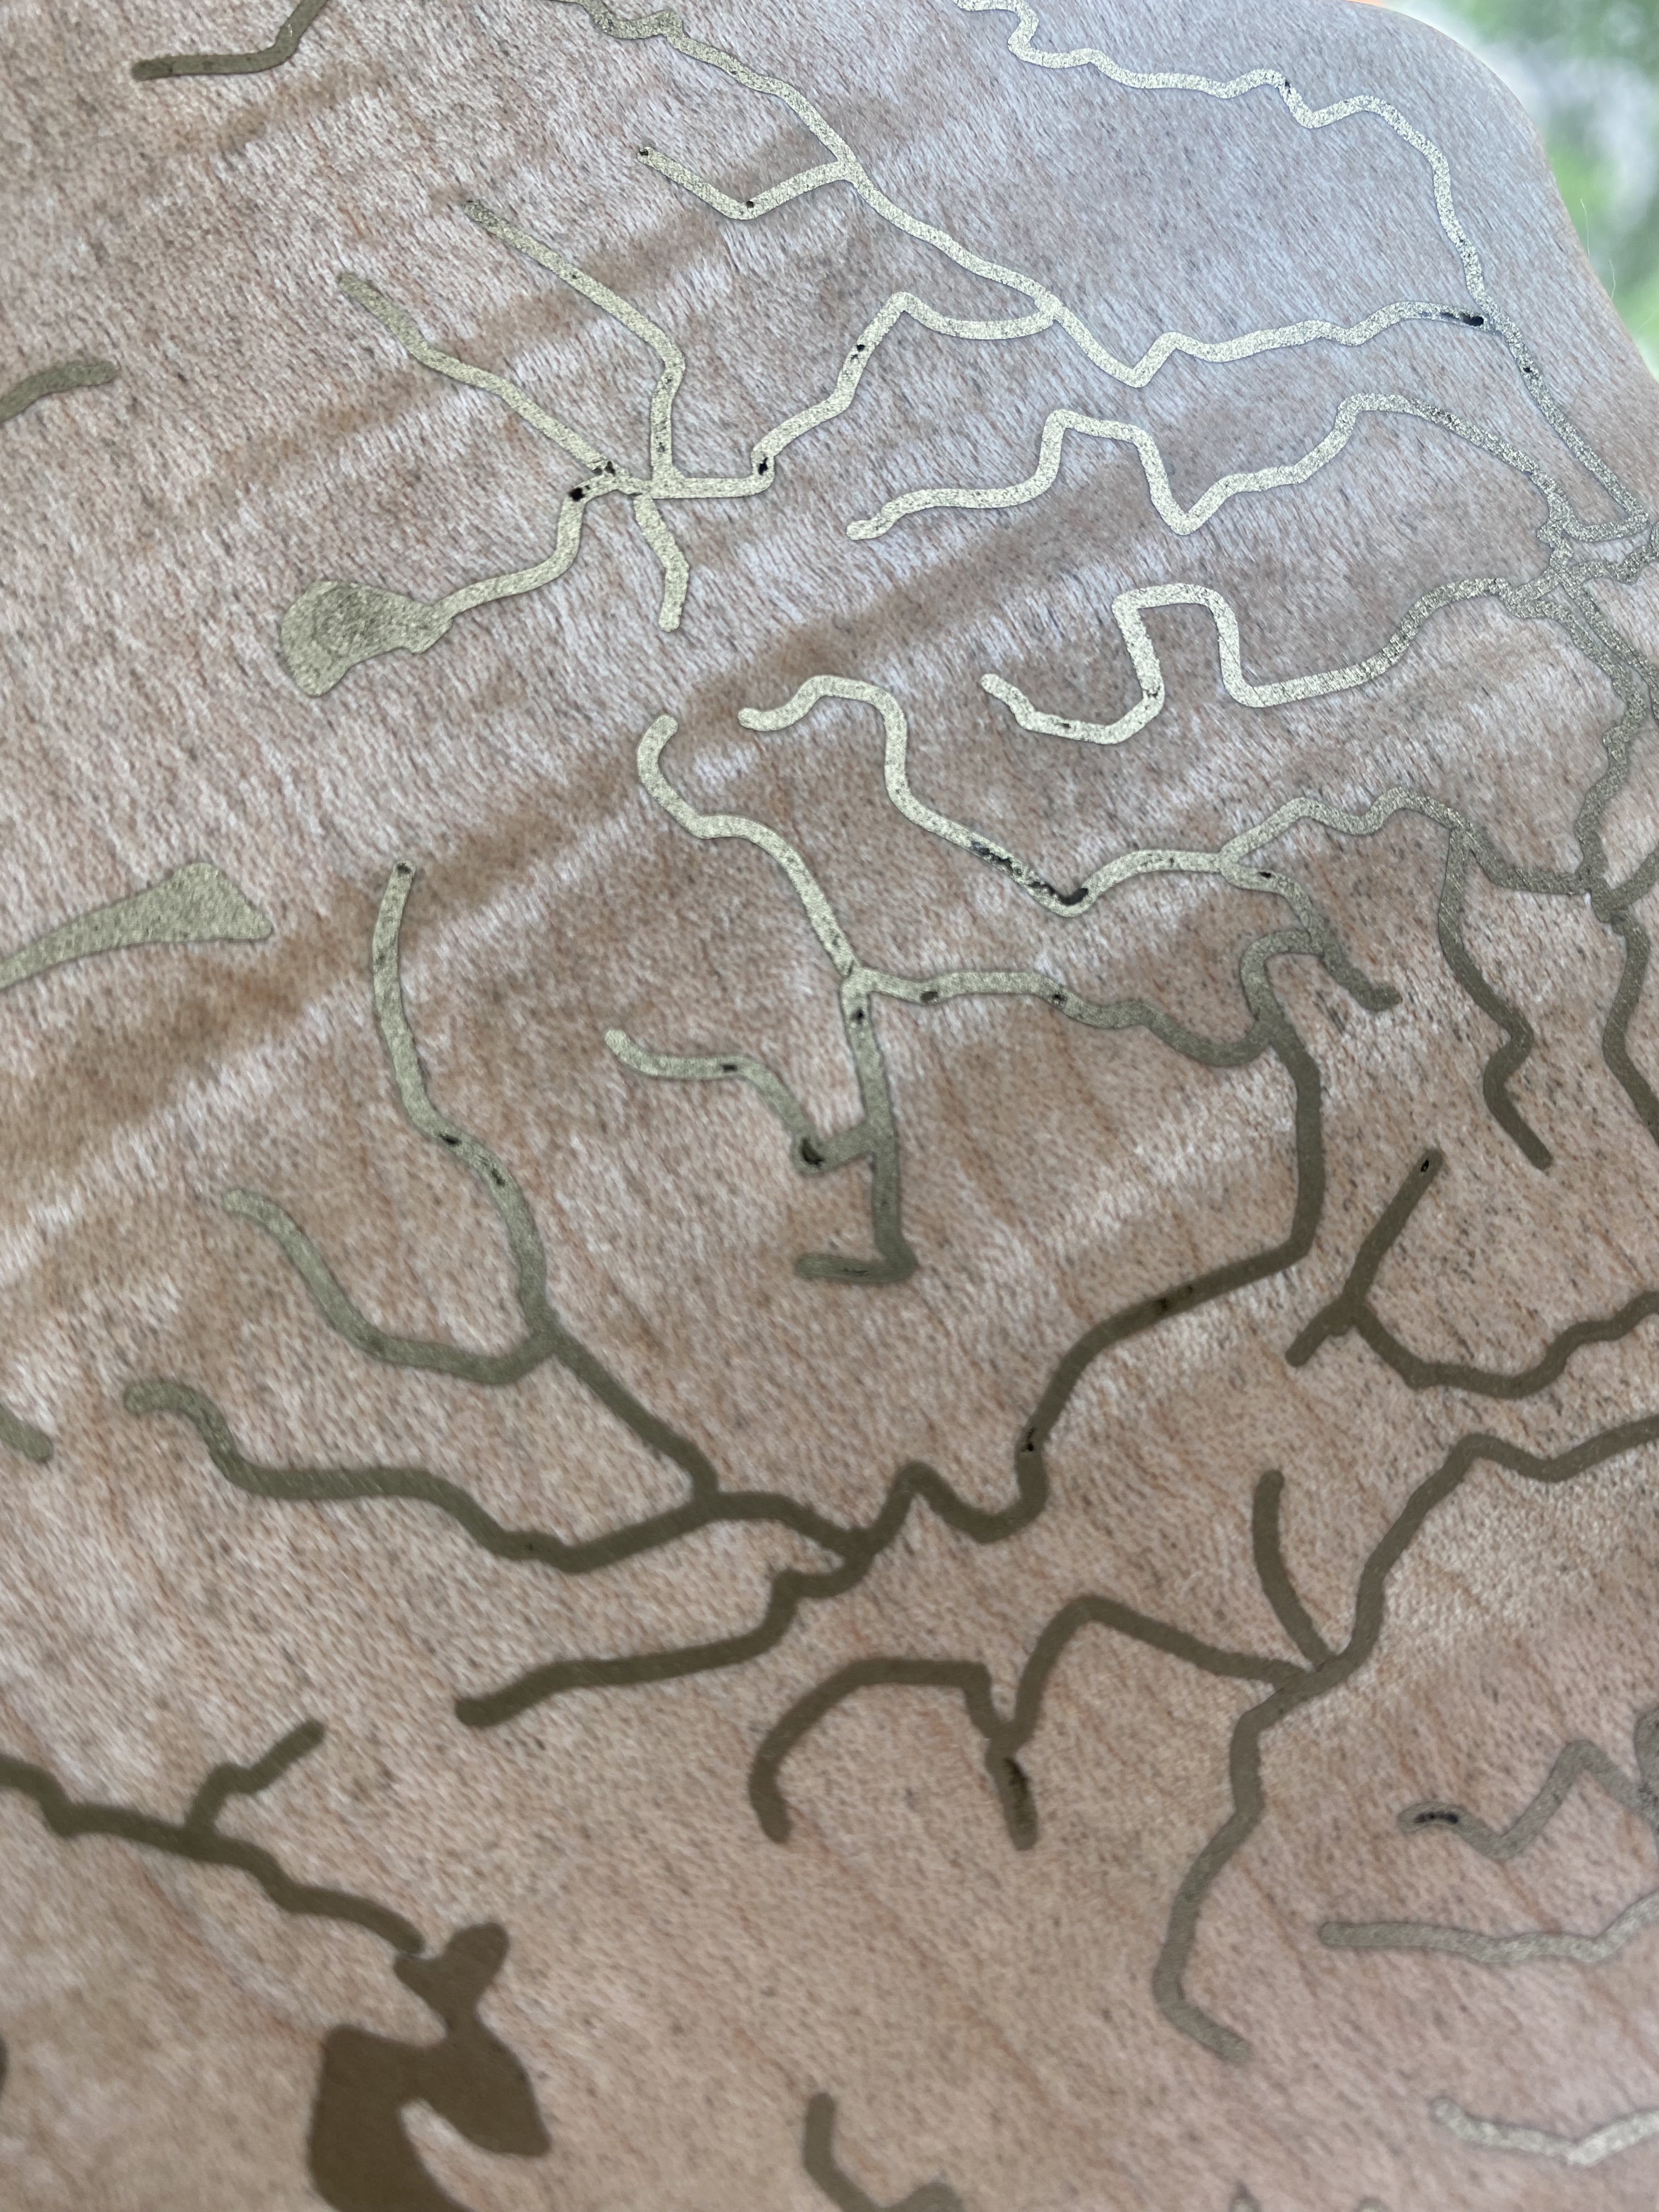
Here are some zoom images I just took. There are some voids, and you can see the differences in color along the big fill. For the voids, I don’t remember whether it was the epoxy pour (unlikely) or CA repairs. Probably CA that flowed in, or washed out the metal. Again, don’t saturate. The voids in the small fills are from using accelerator. I could dig these portions out and re-do it, but if that doesn’t work, does it look worse? I did end up sanding, and didn’t get the smearing you did. The shine on your overfill looks pretty good, actually. A scraper might do fine with that. You could cut it with a chisel to test that out.
For filling small areas you might consider GluBoost.
It tints well, comes in varied viscosities and looks good.
Often it’s used for small luthier repairs or turners’ finishing.
You’ll find some good videos on YouTude describing the product.
Wanted to give an update to this in case it’s helpful to others (and because Charlie and Travis’ thoughts above were really helpful to me). I filled the channels with brass powder and used some thin Starbond CA glue to slowly saturate each feature. This ended up taking forever (3-4 hrs) and making a mess but gave a nice, shiny metal finish when sanded down.
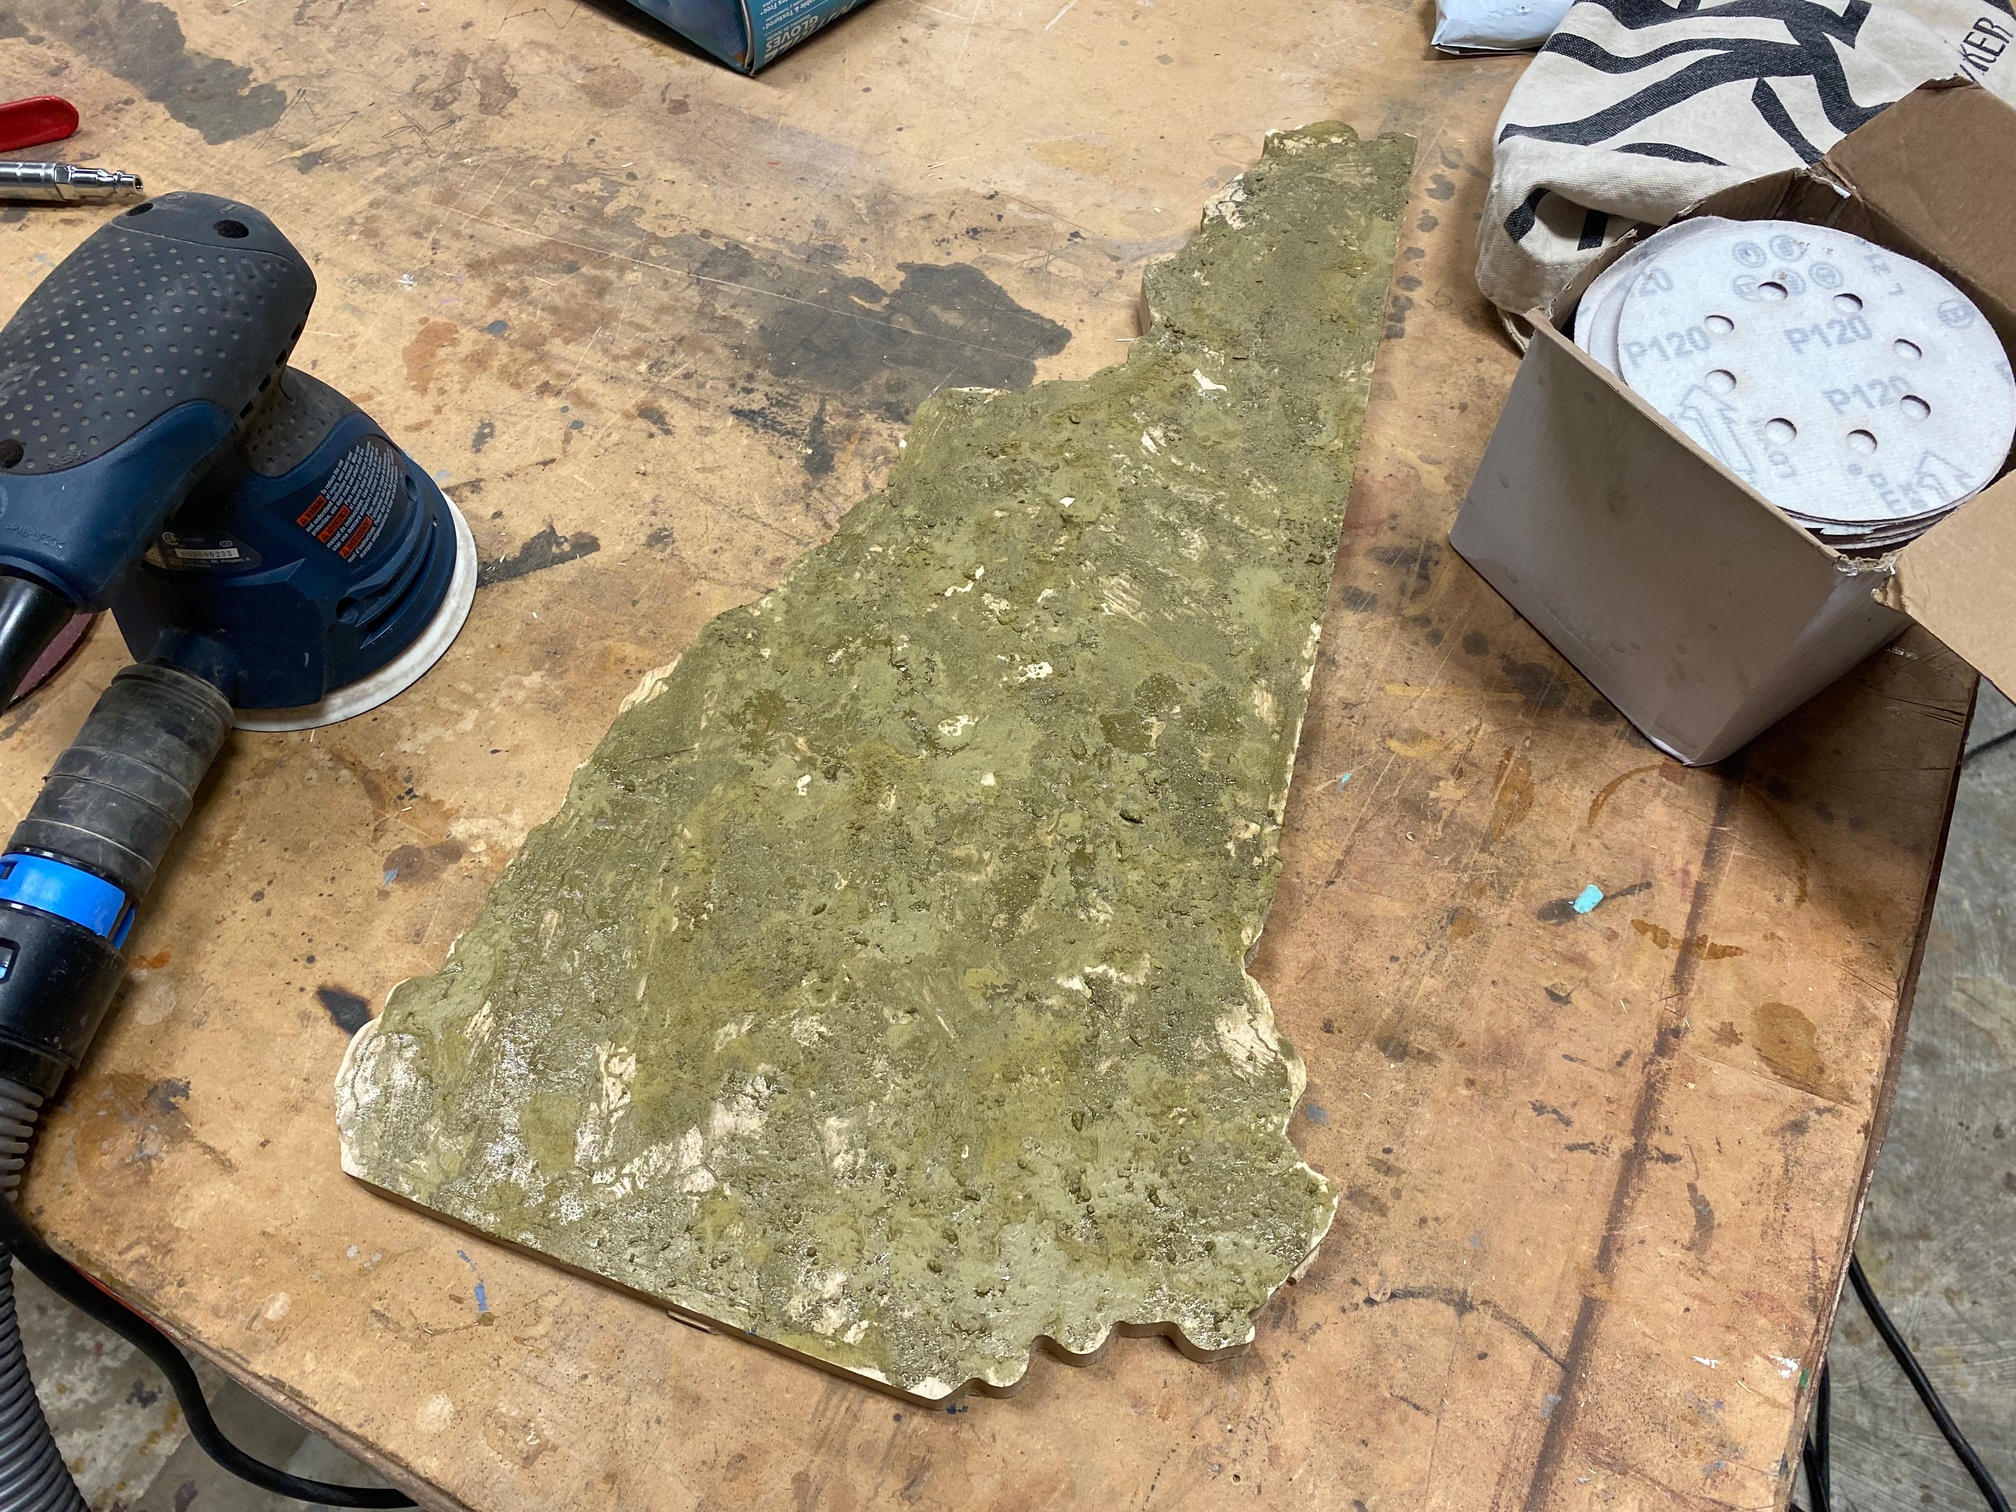
The main problem I had was that sanding down the surface continued to reveal powder voids where the CA glue didn’t penetrate far enough. I probably did 6-8 touch up passes of applying more powder and CA glue before calling it a day and just trying to keep sanding to a minimum and handle the piece gently to avoid more break throughs. At the end of the day, this will hang on a wall/shelf so it’s not gonna see a ton of wear.
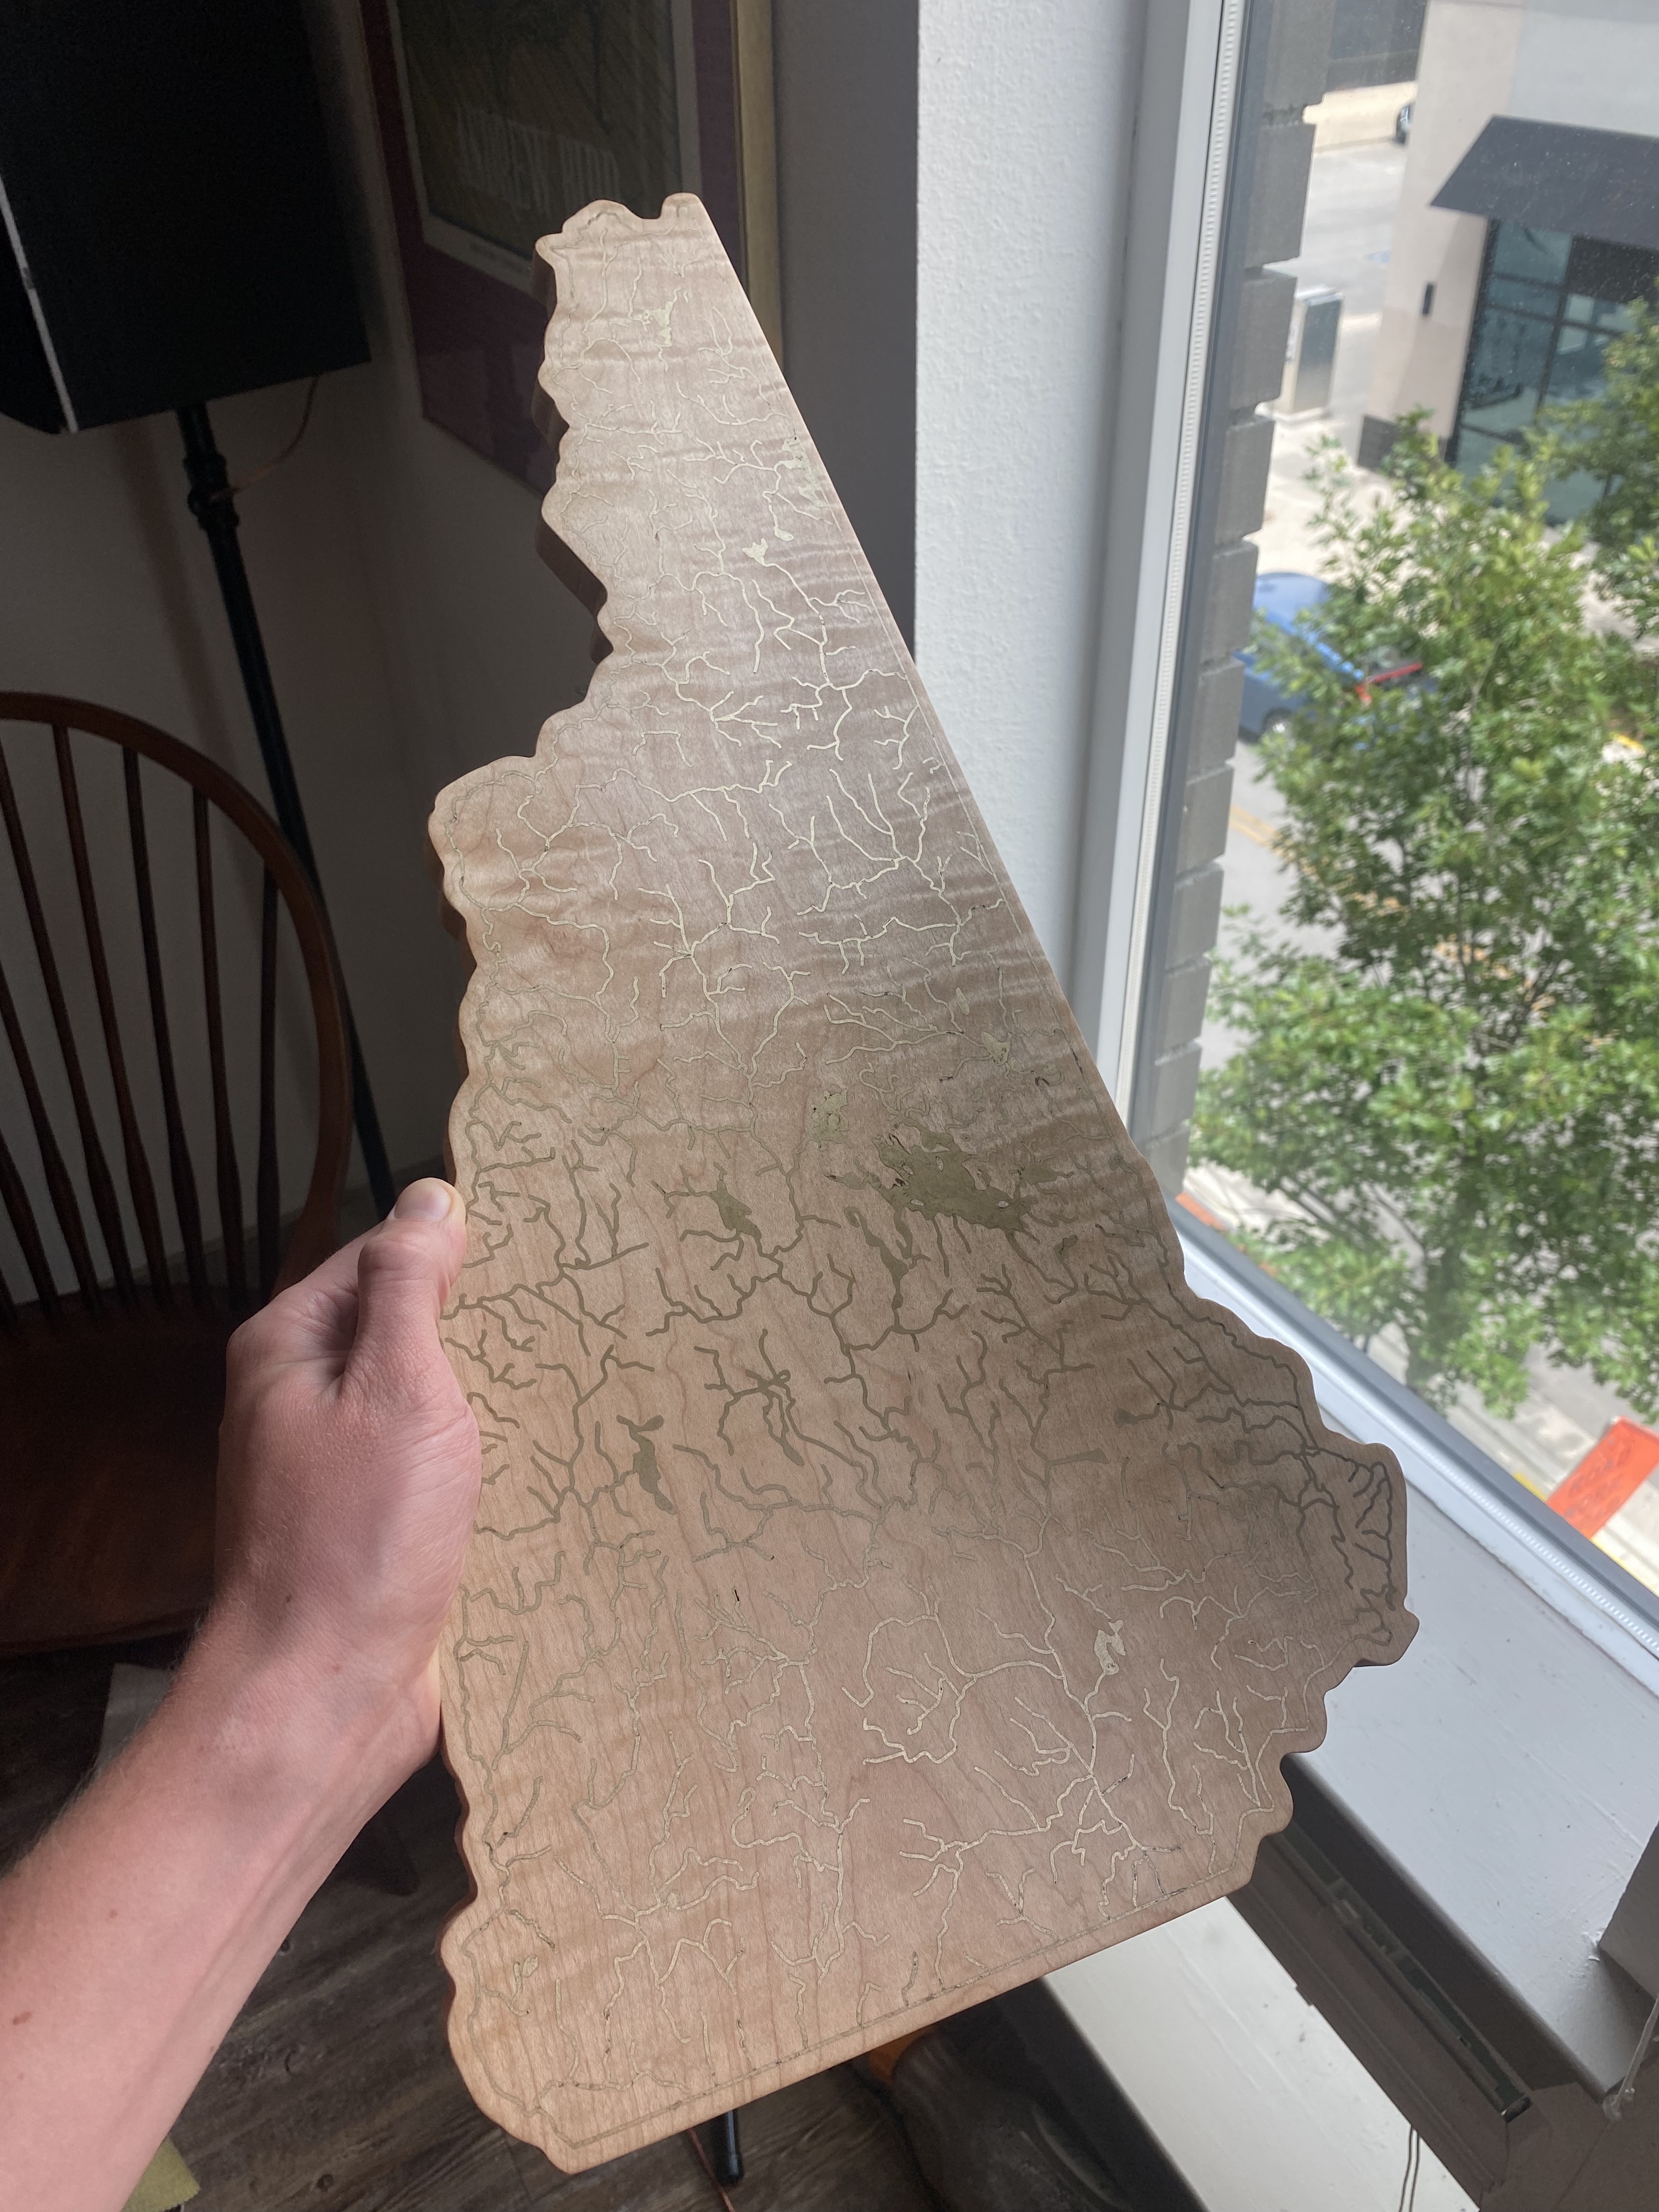
Moving up in sandpaper grits made superfine metal dust that stuck in the pores of the wood and muddied the curly maple a bit. Nothing huge but definitely room for improvement on getting a nice finish on both inlay and base wood.
Overall I’m really happy with this piece and think it’ll make a nice gift. I love the brass luster and how it fades in and out of the curly maple depending on the light.
Two ideas for next time: 1) finding an even thinner CA glue and trying this powder saturation method again, 2) making a superthick sludge of brass powder and epoxy and see how that cures and what kind of finish I can get.