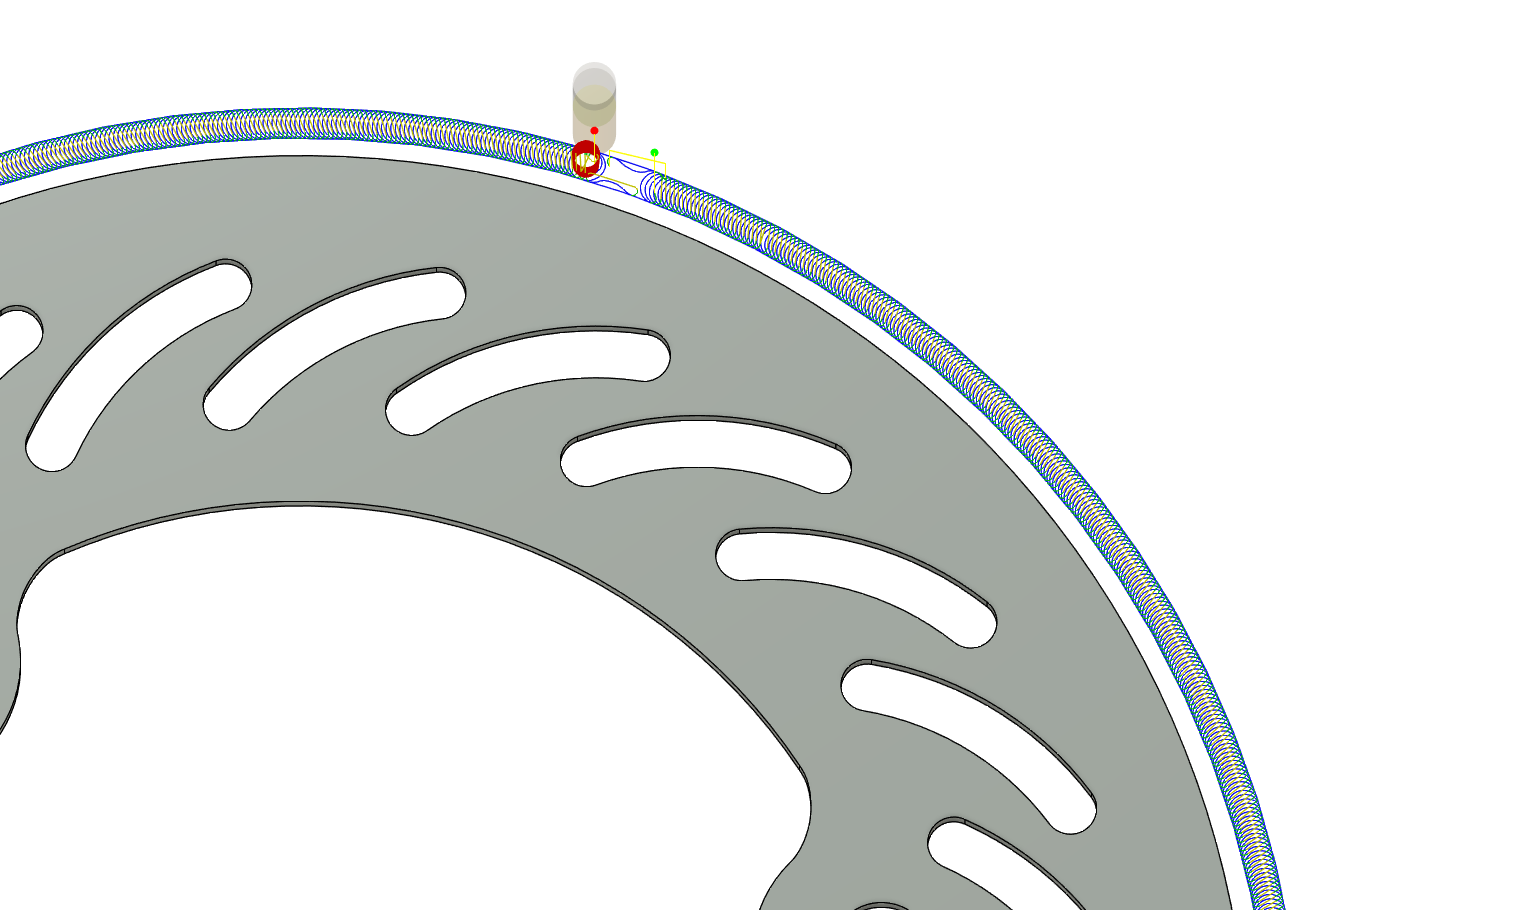
Two 2mm brake rotors for a scooter. For a thin part like this, it’s better just to use an online laser cutting service. I forgot I could do that, and I didn’t want to wait five days to get the parts delivered. I had a bunch of AlTiN 3.5mm carbide endmills, and I had been getting good results with the Fusion 360 adaptive toolpath:

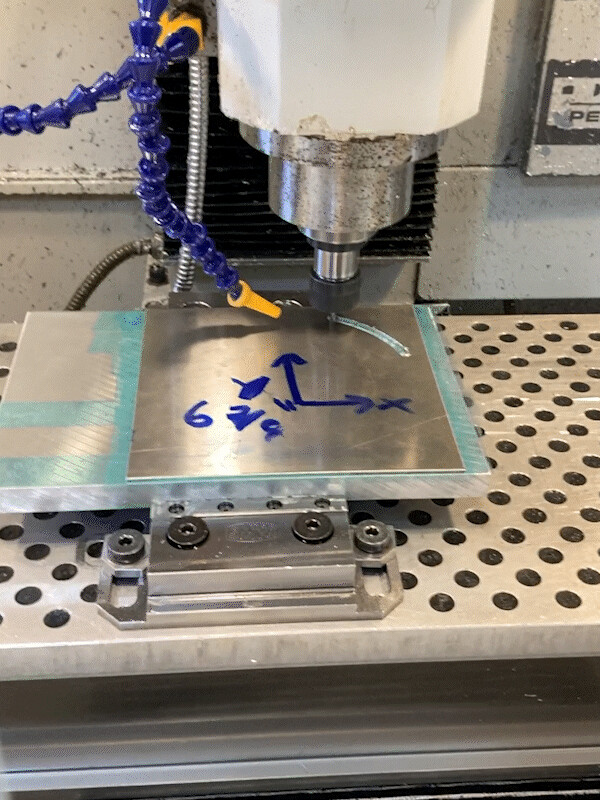
I faced some challenges with the workholding. First the glue bond failed between the two layers of tape. Next, I tried blue masking tape. I thought the superglue would soak into the surface and provide a stronger bond. But the masking tape didn’t stick to the part, and it eventually came loose.
There are two NYC CNC videos on the superglue + tape method. There are some essential tricks. First, you have to burnish the masking tape by pressing a dowel over it. Second, you have to apply clamping force while the superglue dries – it’s not effective just to push down on it by hand. That information from the videos gave me a good starting point and substantially improved the holding power.
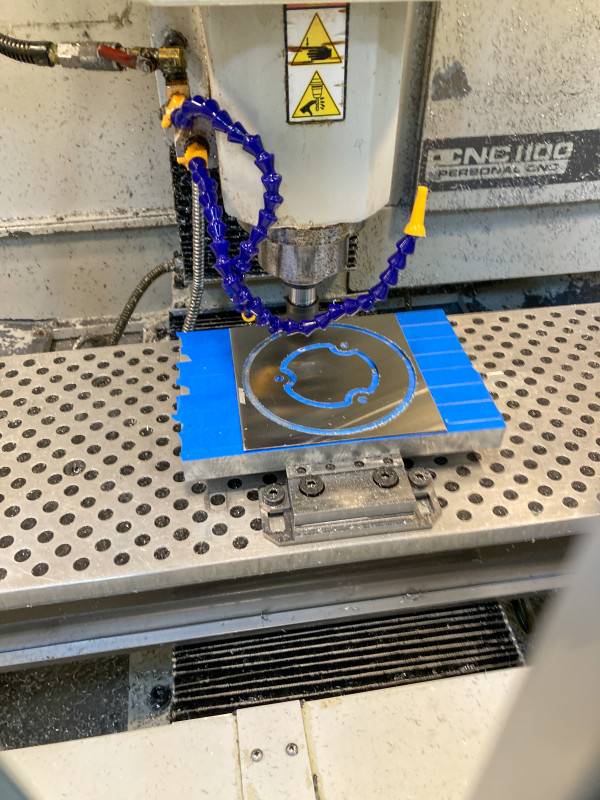
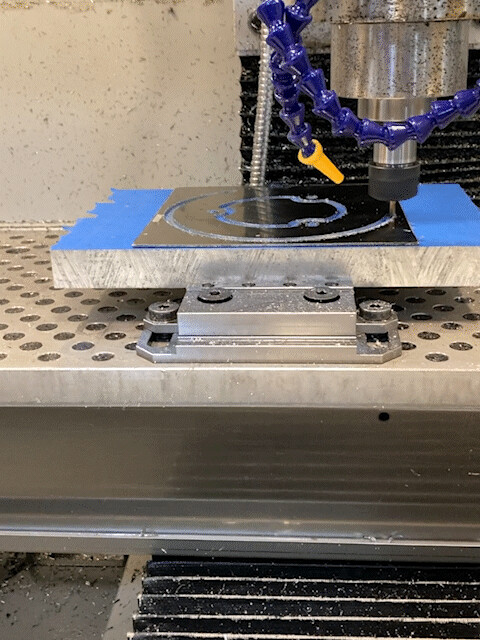
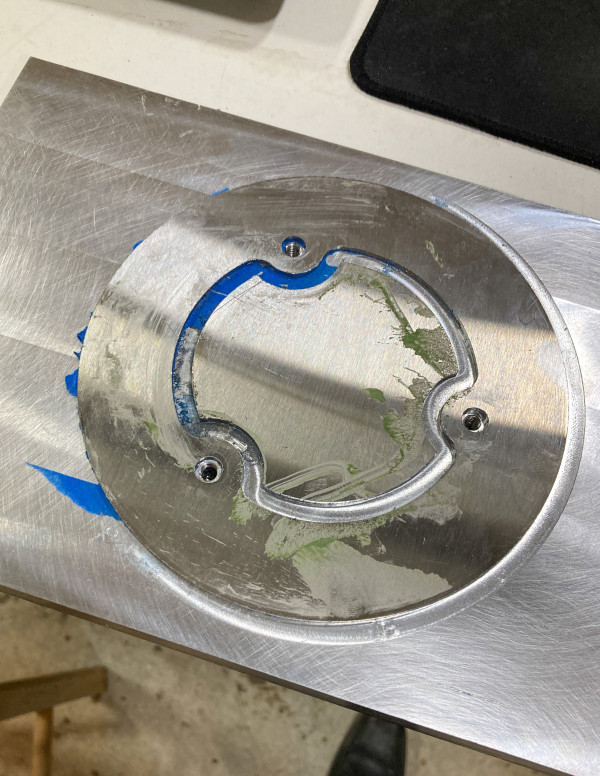
The next day, I was better prepared. I broke two endmills in short order, because I was trying to leave a small amount of material on the bottom. (0.02”) The masking tape acted like a spring and kept the metal pressed against the endmill, generating heat. When I went back to a full-depth op there were no surprises. Actually, the workholding worked a bit too well. Now I have to grab a heat gun and separate my parts from the aluminum block! (I ran out of time before I could machine the slots, but that’s ok – they were just for looks anyway.)
T-304 is the hardest material I’ve machined, and sheet metal has some additional challenges due to the springiness. By doing this, I gained more confidence with this workholding strategy, and I have a good starting point for making other parts in the future. What do you think? Would you use this workholding method to machine sheet metal on the Tormach?
