In the past, the two issues that kept me from being excited about laser marquetry were: smoke staining and kerf (the gap resulting from the laser burning off wood). Our Big Lasers should have better compressed air to clear away smoke and reduce staining. Lightburn now has a Kerf Offset feature to deal with the fit issue associated with kerf.
My home setup already addresses these issues so I thought I’d give it a try.
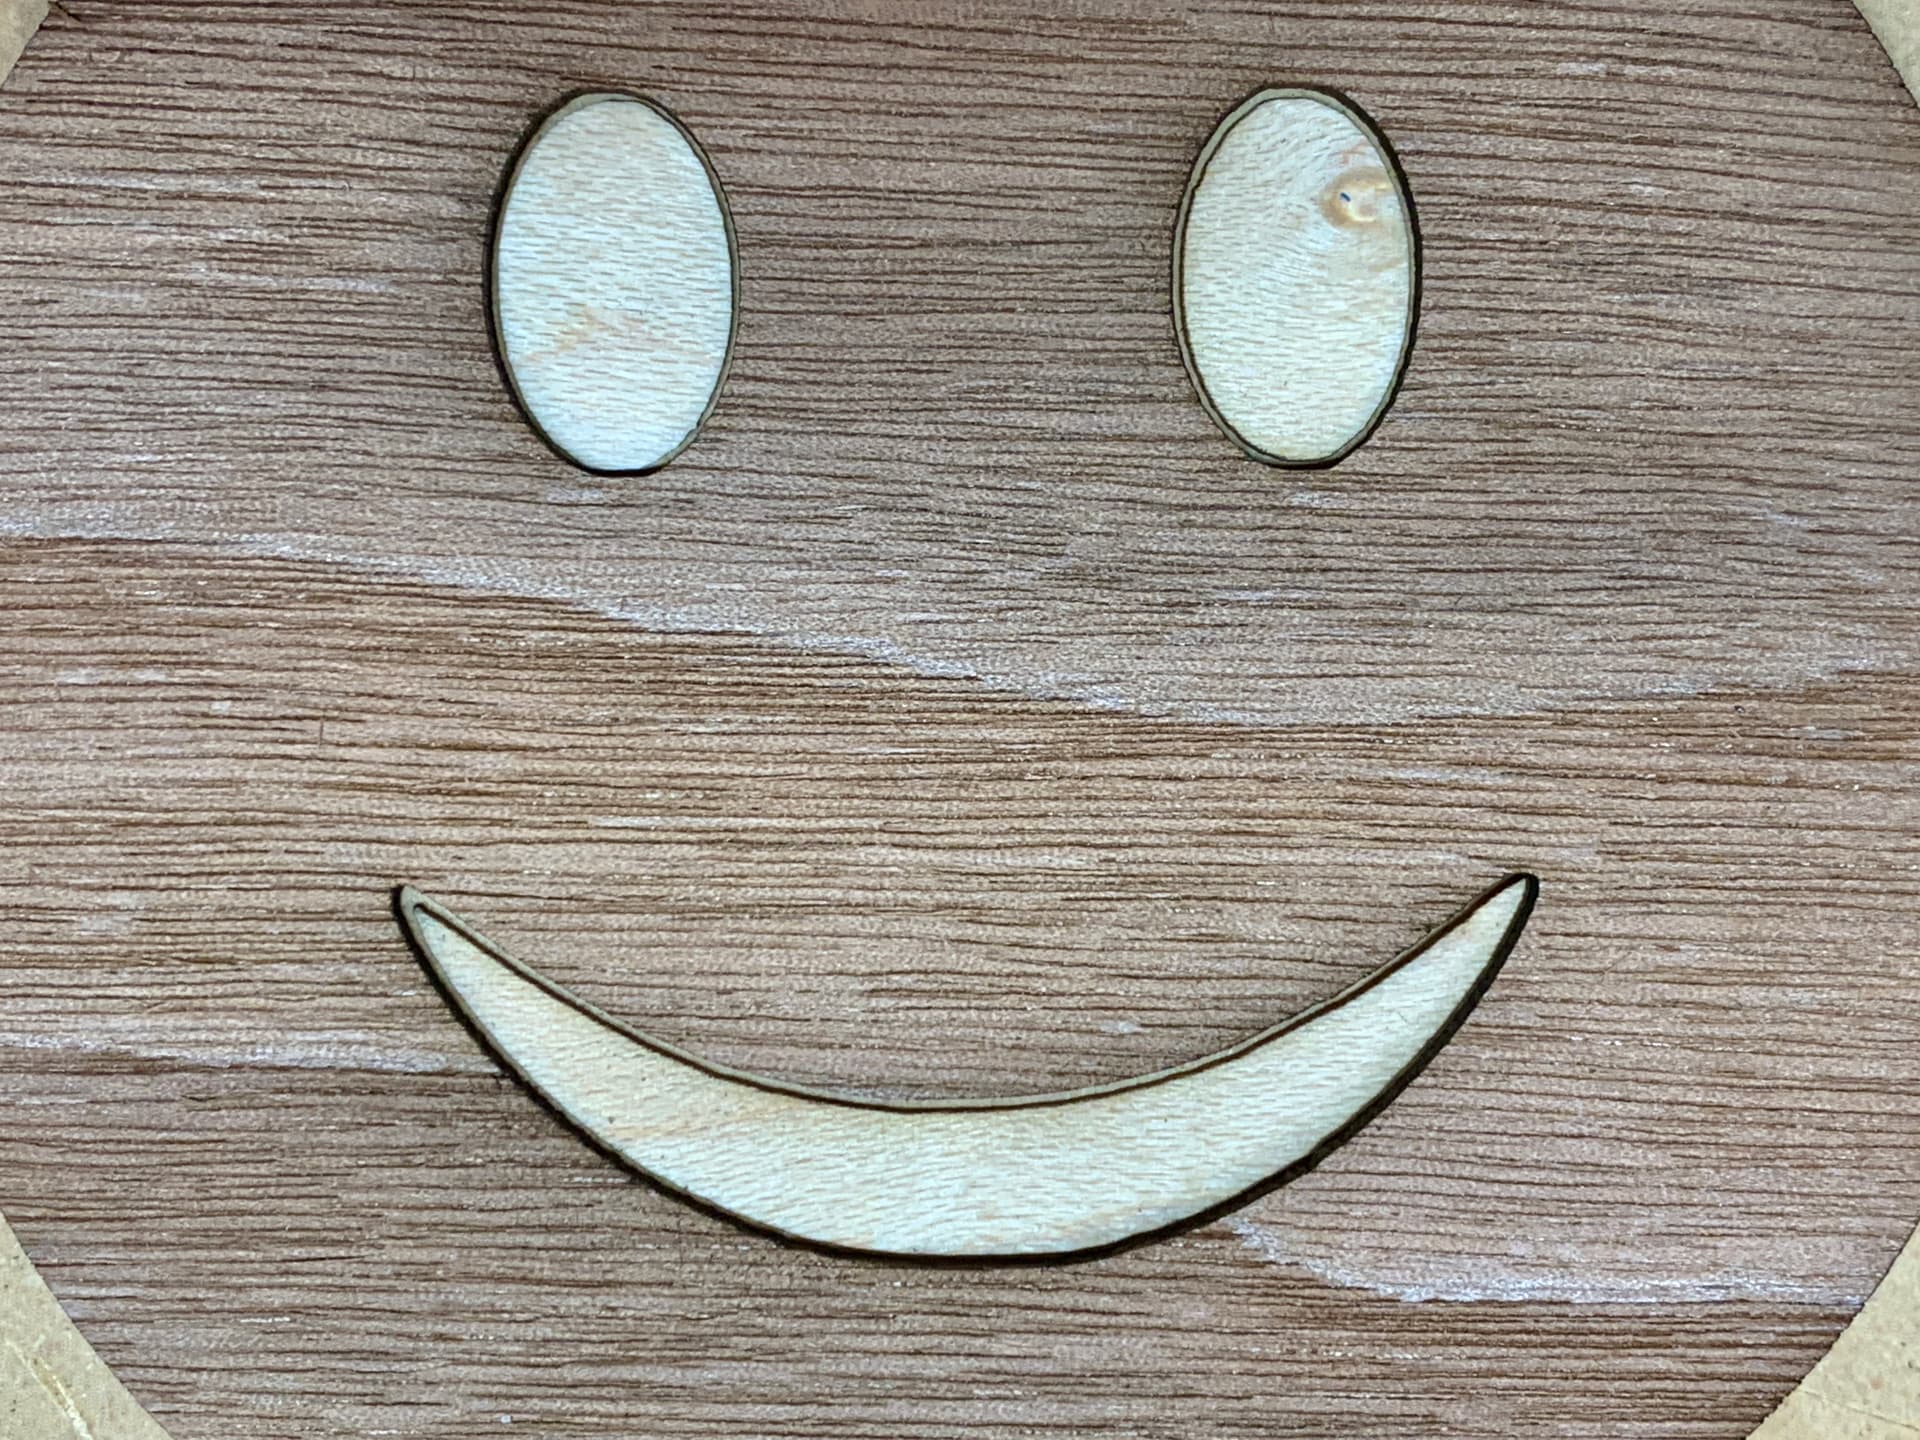
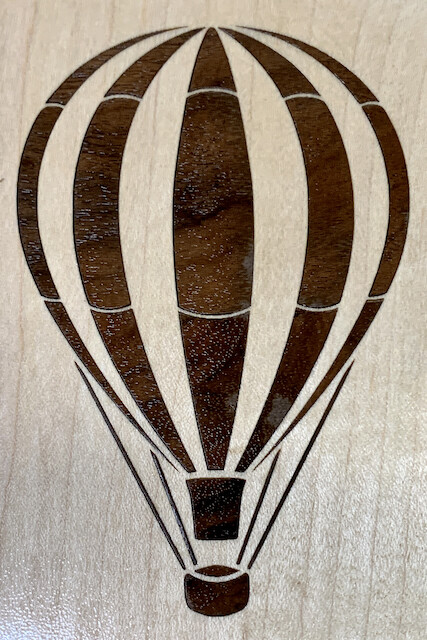
This first picture shows no staining due to compressed air. However, if you look around the eyes mouth you’ll see the gap that results from burning away wood while cutting. This picture shows no adjustment for kerf so it wouldn’t be acceptable.
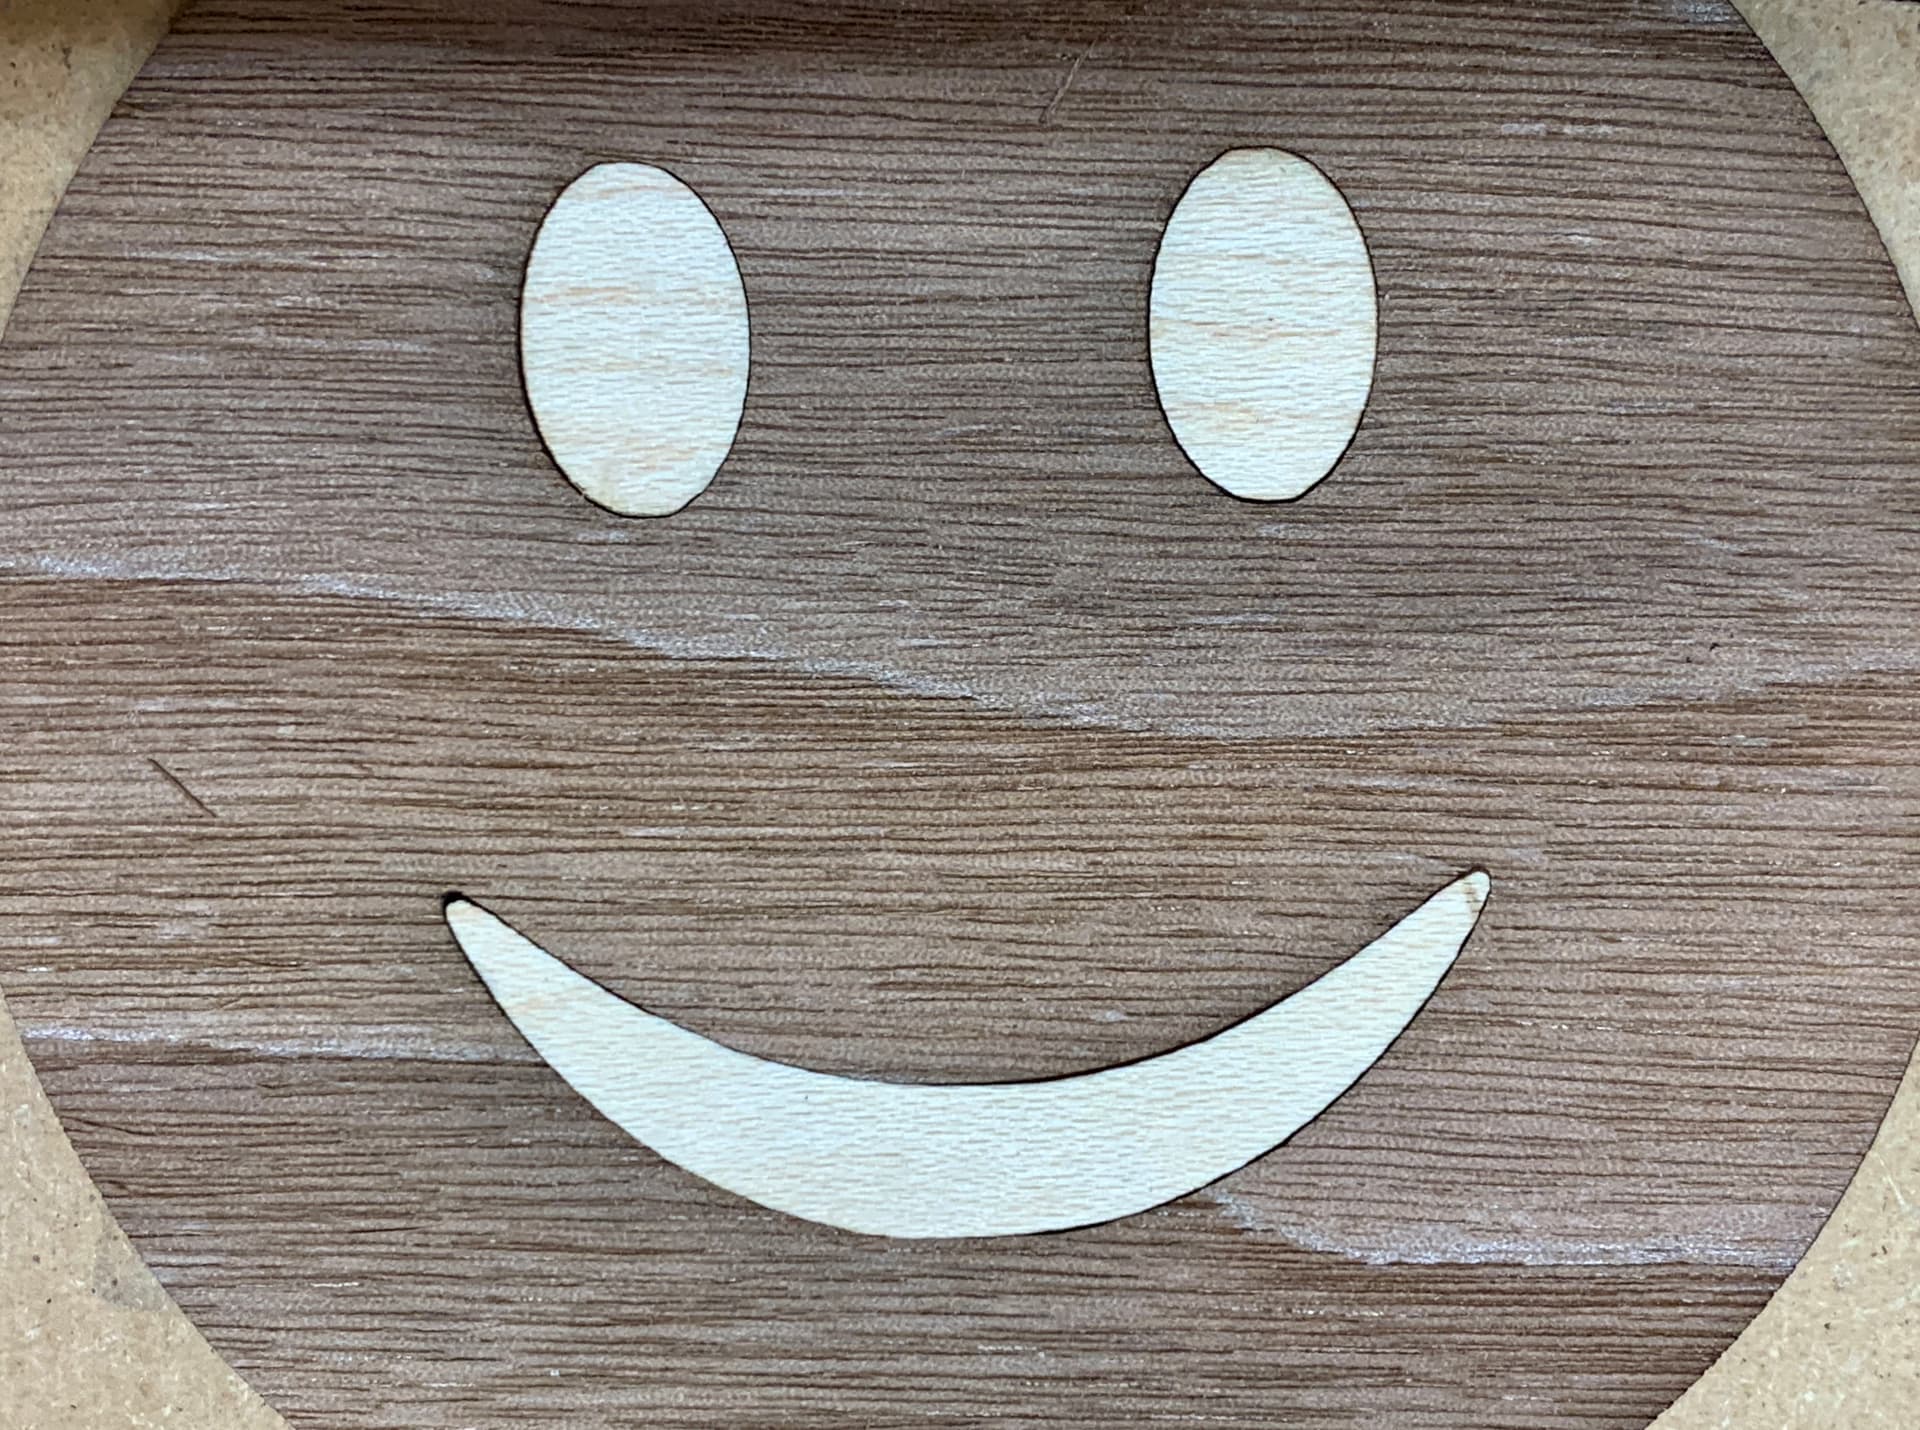
This second picture shows the benefit available from Lightburn’s Kerf Offset tool. After a couple of test cuts I settled in at an offset of 0.035" and, as you can see, the pieces fit perfectly.
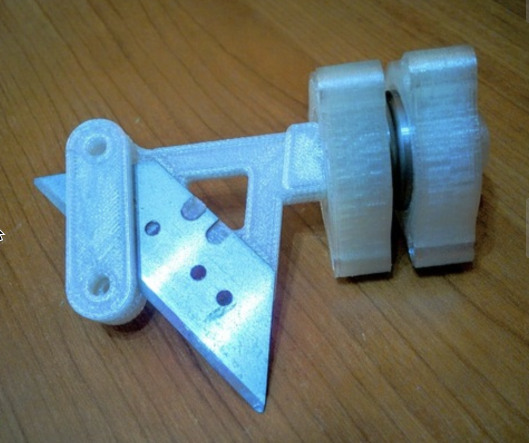
Do we have a drag knife attachment for our CNC? I’m going to try a project on the big lasers first, but the kerf may be an issue, and I care about both sides of the cut, so an offset won’t help.
If not, I’m sure we/I could make such an attachment, but I’m not sure what programming would go into it.
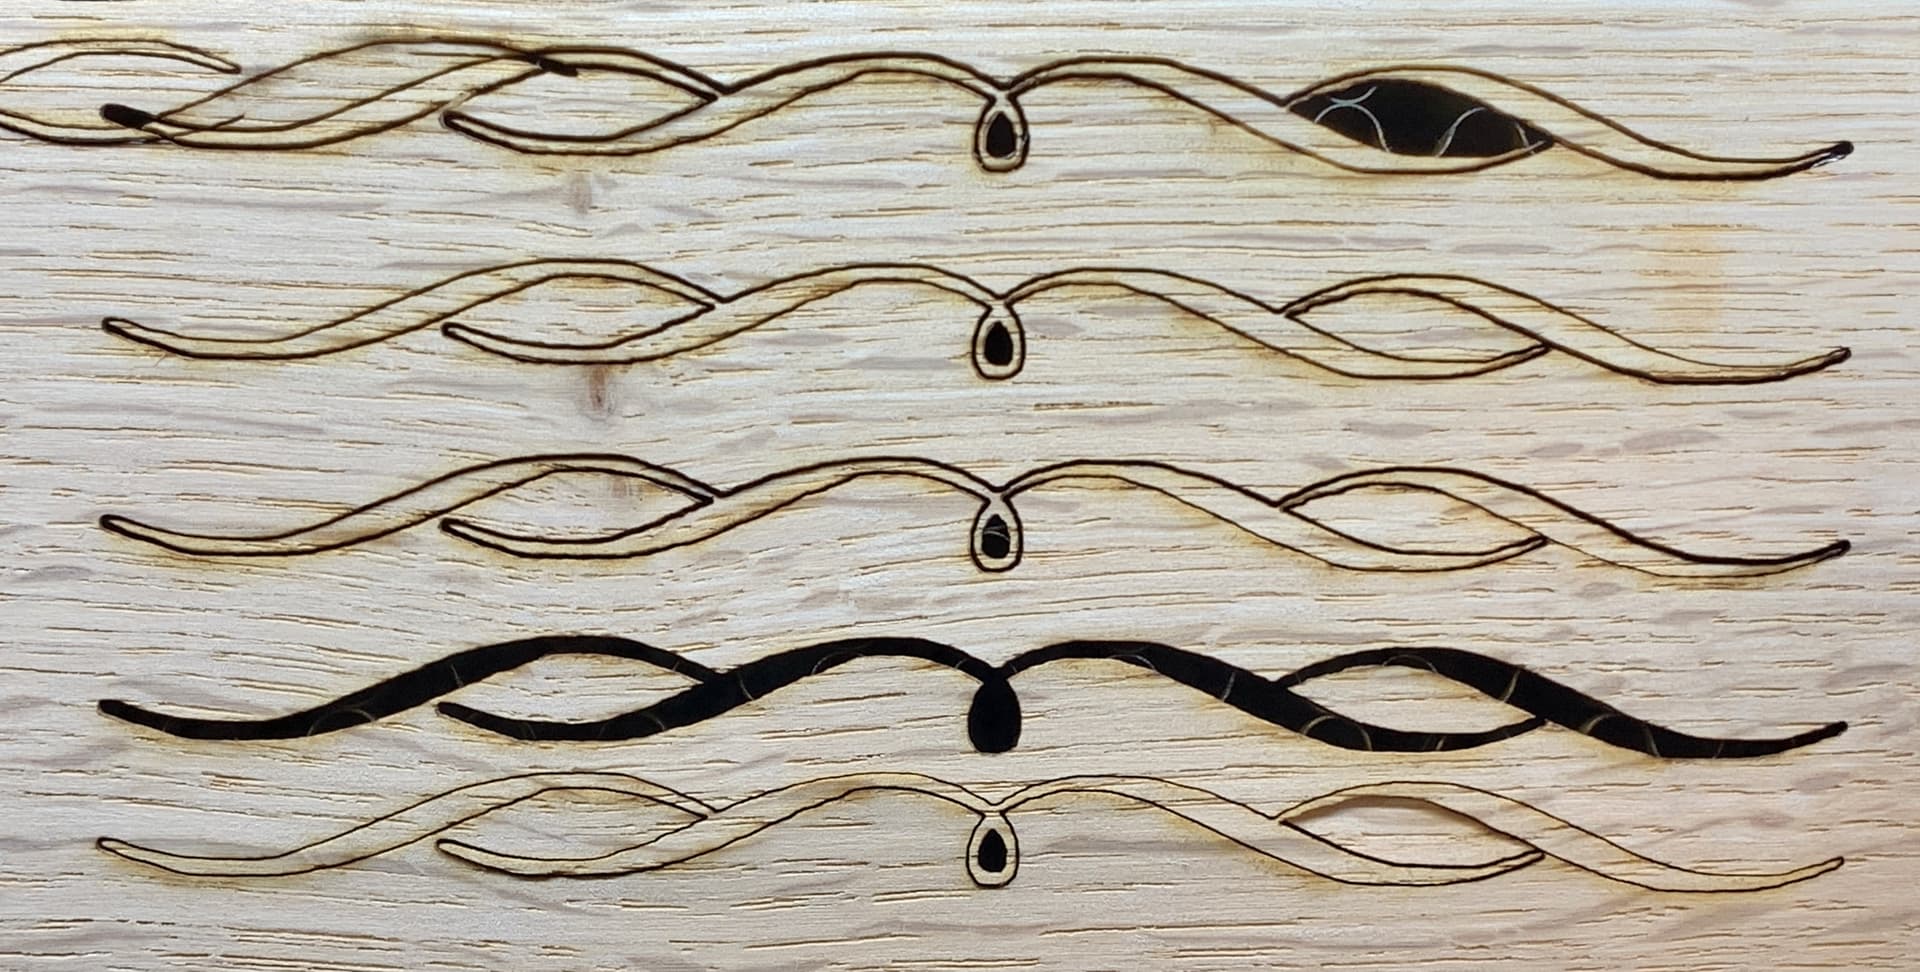
A friend who just won a marquetry award in our fine woodworking exhibit just challenged me to produce smoke-free veneer inlays using the laser. He’s a traditional scroll saw and scalpel guy and doubted that a laser could be an option. I started with a one-pass cutting strategy and the results weren’t good.
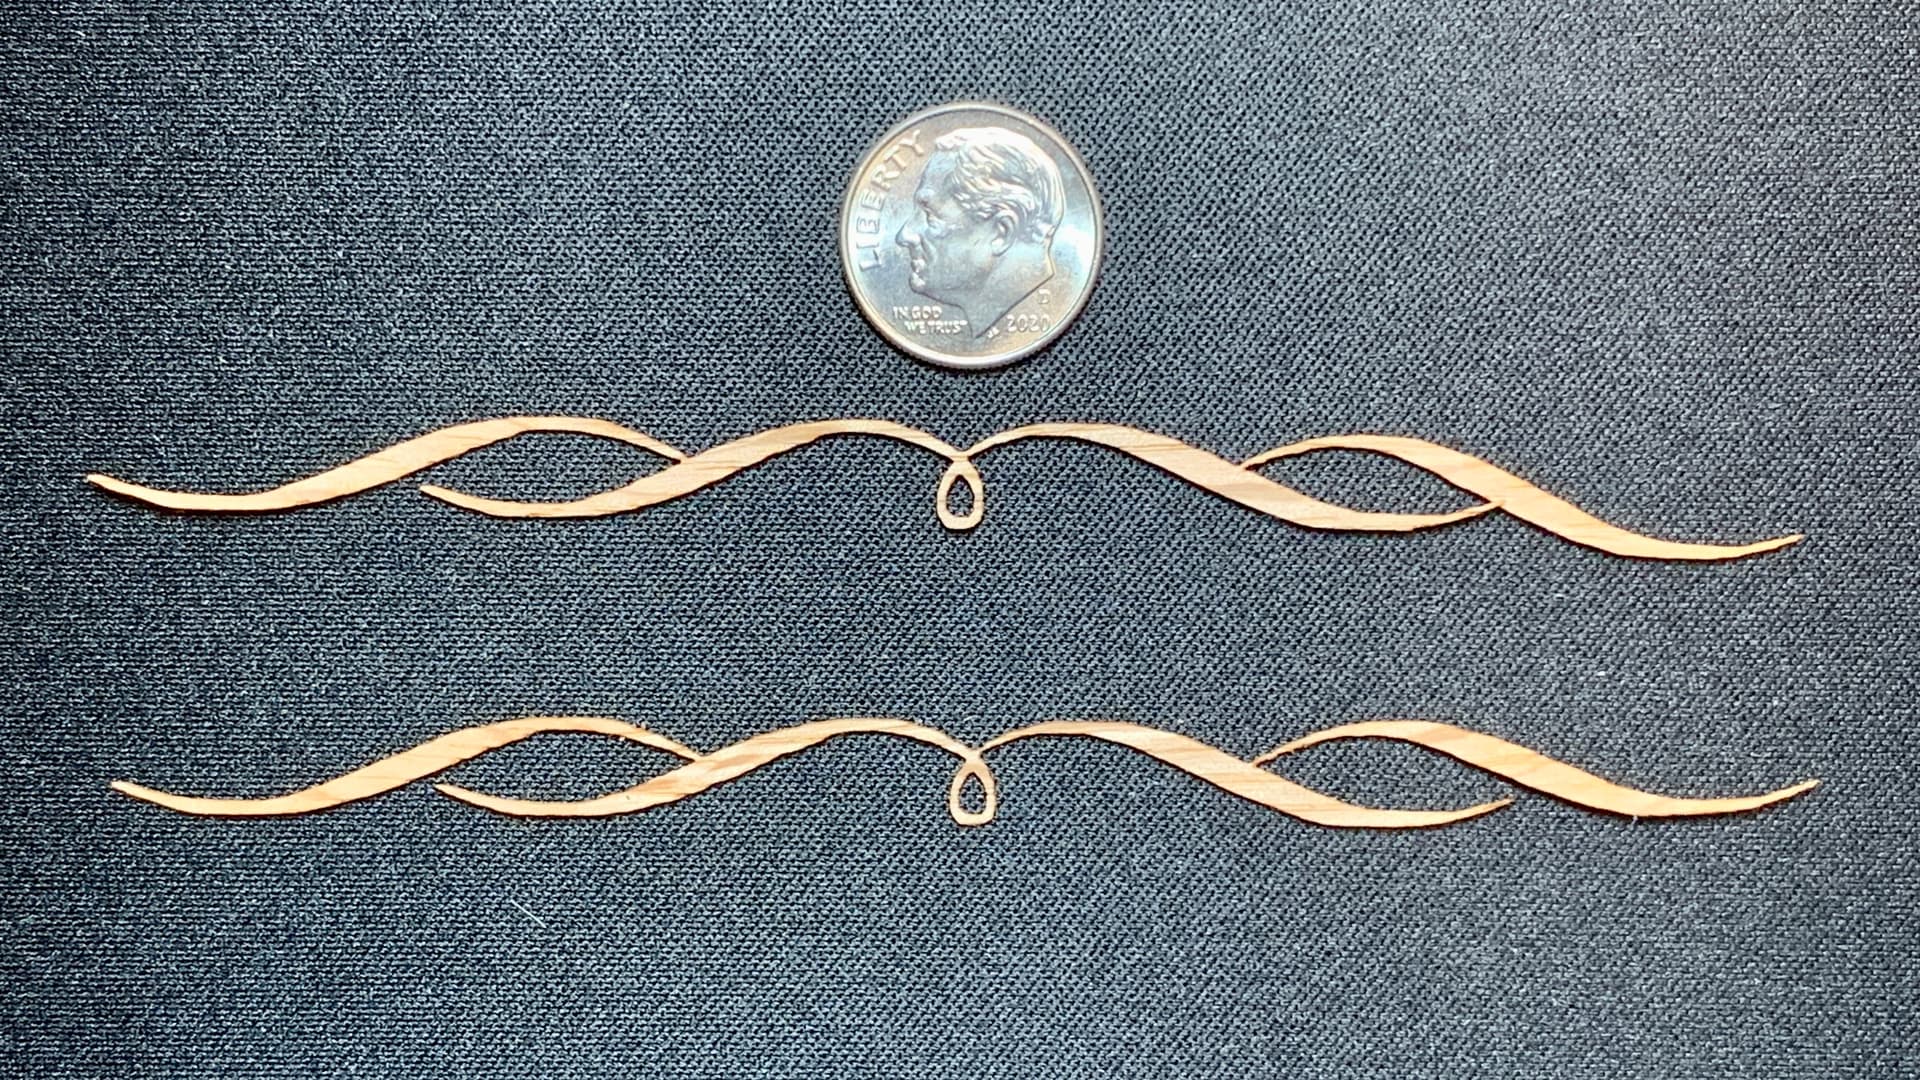
Shifted gears and went to a lighter touch, a multi-pass cut with lower power (and less smoke). While a faint trace could be seen (top) it wasn’t something a little alcohol wipe wouldn’t easily remove (bottom).
I’ll demonstrate this soon at an event to promote a variety of laser techniques. Perhaps I’ll challenge my buddy to demonstrate doing the same thing in the same timeframe with a scalpel.
VERY impressive Travis! I tried something like that for clock numerals and failed with a CNC. Then decided that filling them with glow in the dark impregnated epoxy. Haven’t tried that yet. Wondering if I should go back and burn a pocket to receive a wood insert. Incredibly delicate.
Just get your vectors right and incorporate the correct kerf offset.
The former requires that you have complete vectors for every piece so they can be separately cut. The latter requires that you determine your laser’s kerf (the gap created from cutting) and adjust for it in LightBurn’s cut settings.
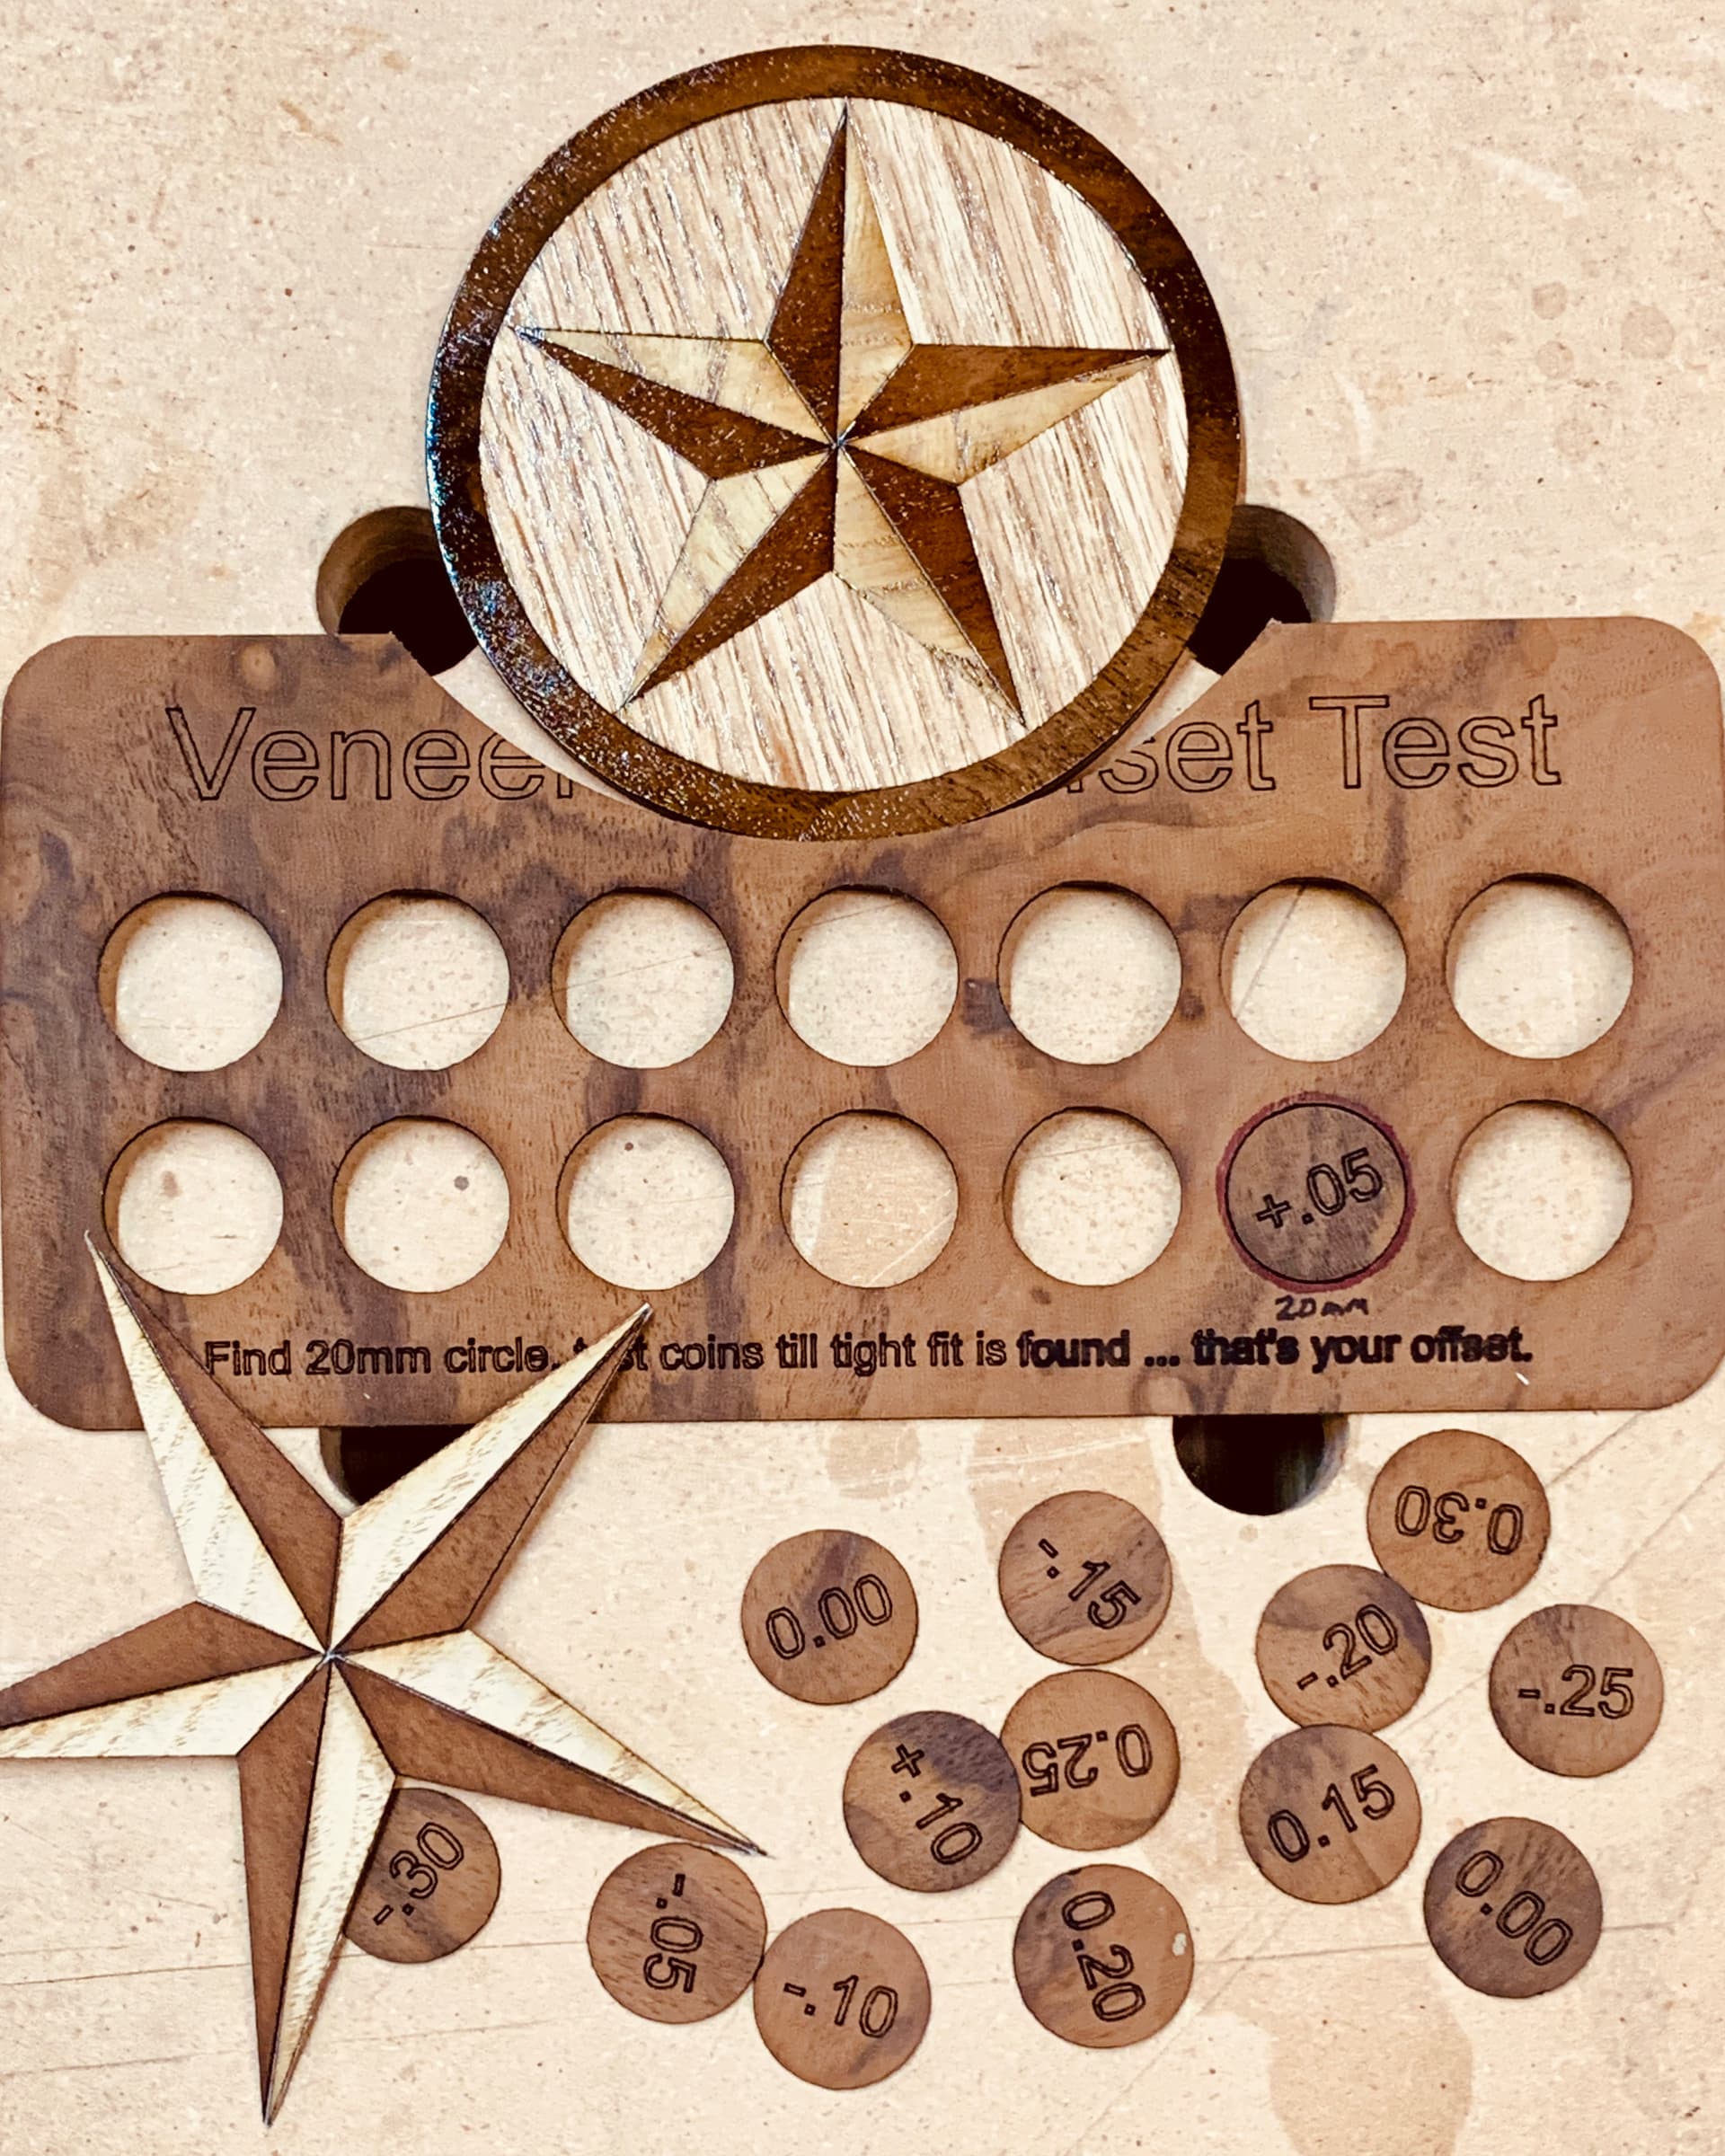
For example, each piece of the star below had to be cut slightly larger to compensate for material lost in cutting. This meant that each piece had to stand alone when cut and that’s only possible if every piece is it’s own separate vector. A vector of a complete star won’t work because you can’t compensate for kerf … any offset would just cut into the adjoining piece.
How much kerf offset is enough? I test each laser by cutting holes with an array of kerf offset values put into a range of LightBurn layers. Then I find the exact size hole I intended, e.g. 20mm here, and test until I find the perfect fit. In this case, with this wood and this laser, the kerf was 0.1mm so each piece needed to be enlarged 0.05mm to perfectly fill the void. That was the correct kerf offset in this case.
Offsetting the kerf is helpful anywhere you need precision. I labeled the kerf on Takin at 0.3mm by the panel, that’s usually the right number.
Kerf can be done with cut settings, or inside the design as Offset Shape.
The prob is kerf is impossible if you don’t have a closed shape- and it’s difficult to see if the offset is going to work on not. If your shape is not considered closed (even though it actually is), it will cut as non-offset lines with no error message and it’s not simple to see if it’s closed or not.
Lightburn was VERY deficient at closing shapes, and it was a critical prob. If you created a factually closed shape but created it out of order, e.g. draw a line from points 1,2,3,4 and then used another Line to go from points 1 to 5,6, then snapped to 4, that’s factually closed but it wasn’t considered closed, and Auto-Join was only trying to join them in their creation order which failed and trying to do it with Tolerance made it try to do a line from 4 to 1, THEN try to take the 1, 5, 6, 4 line and join it with another line. It was pretty broken.
But I’m trying 1.12.00 and this looked fixed, so we’ve got something new and useful.
Having a fix for the basic closed shape problem fixes a lot. Print and Cut is more viable now.
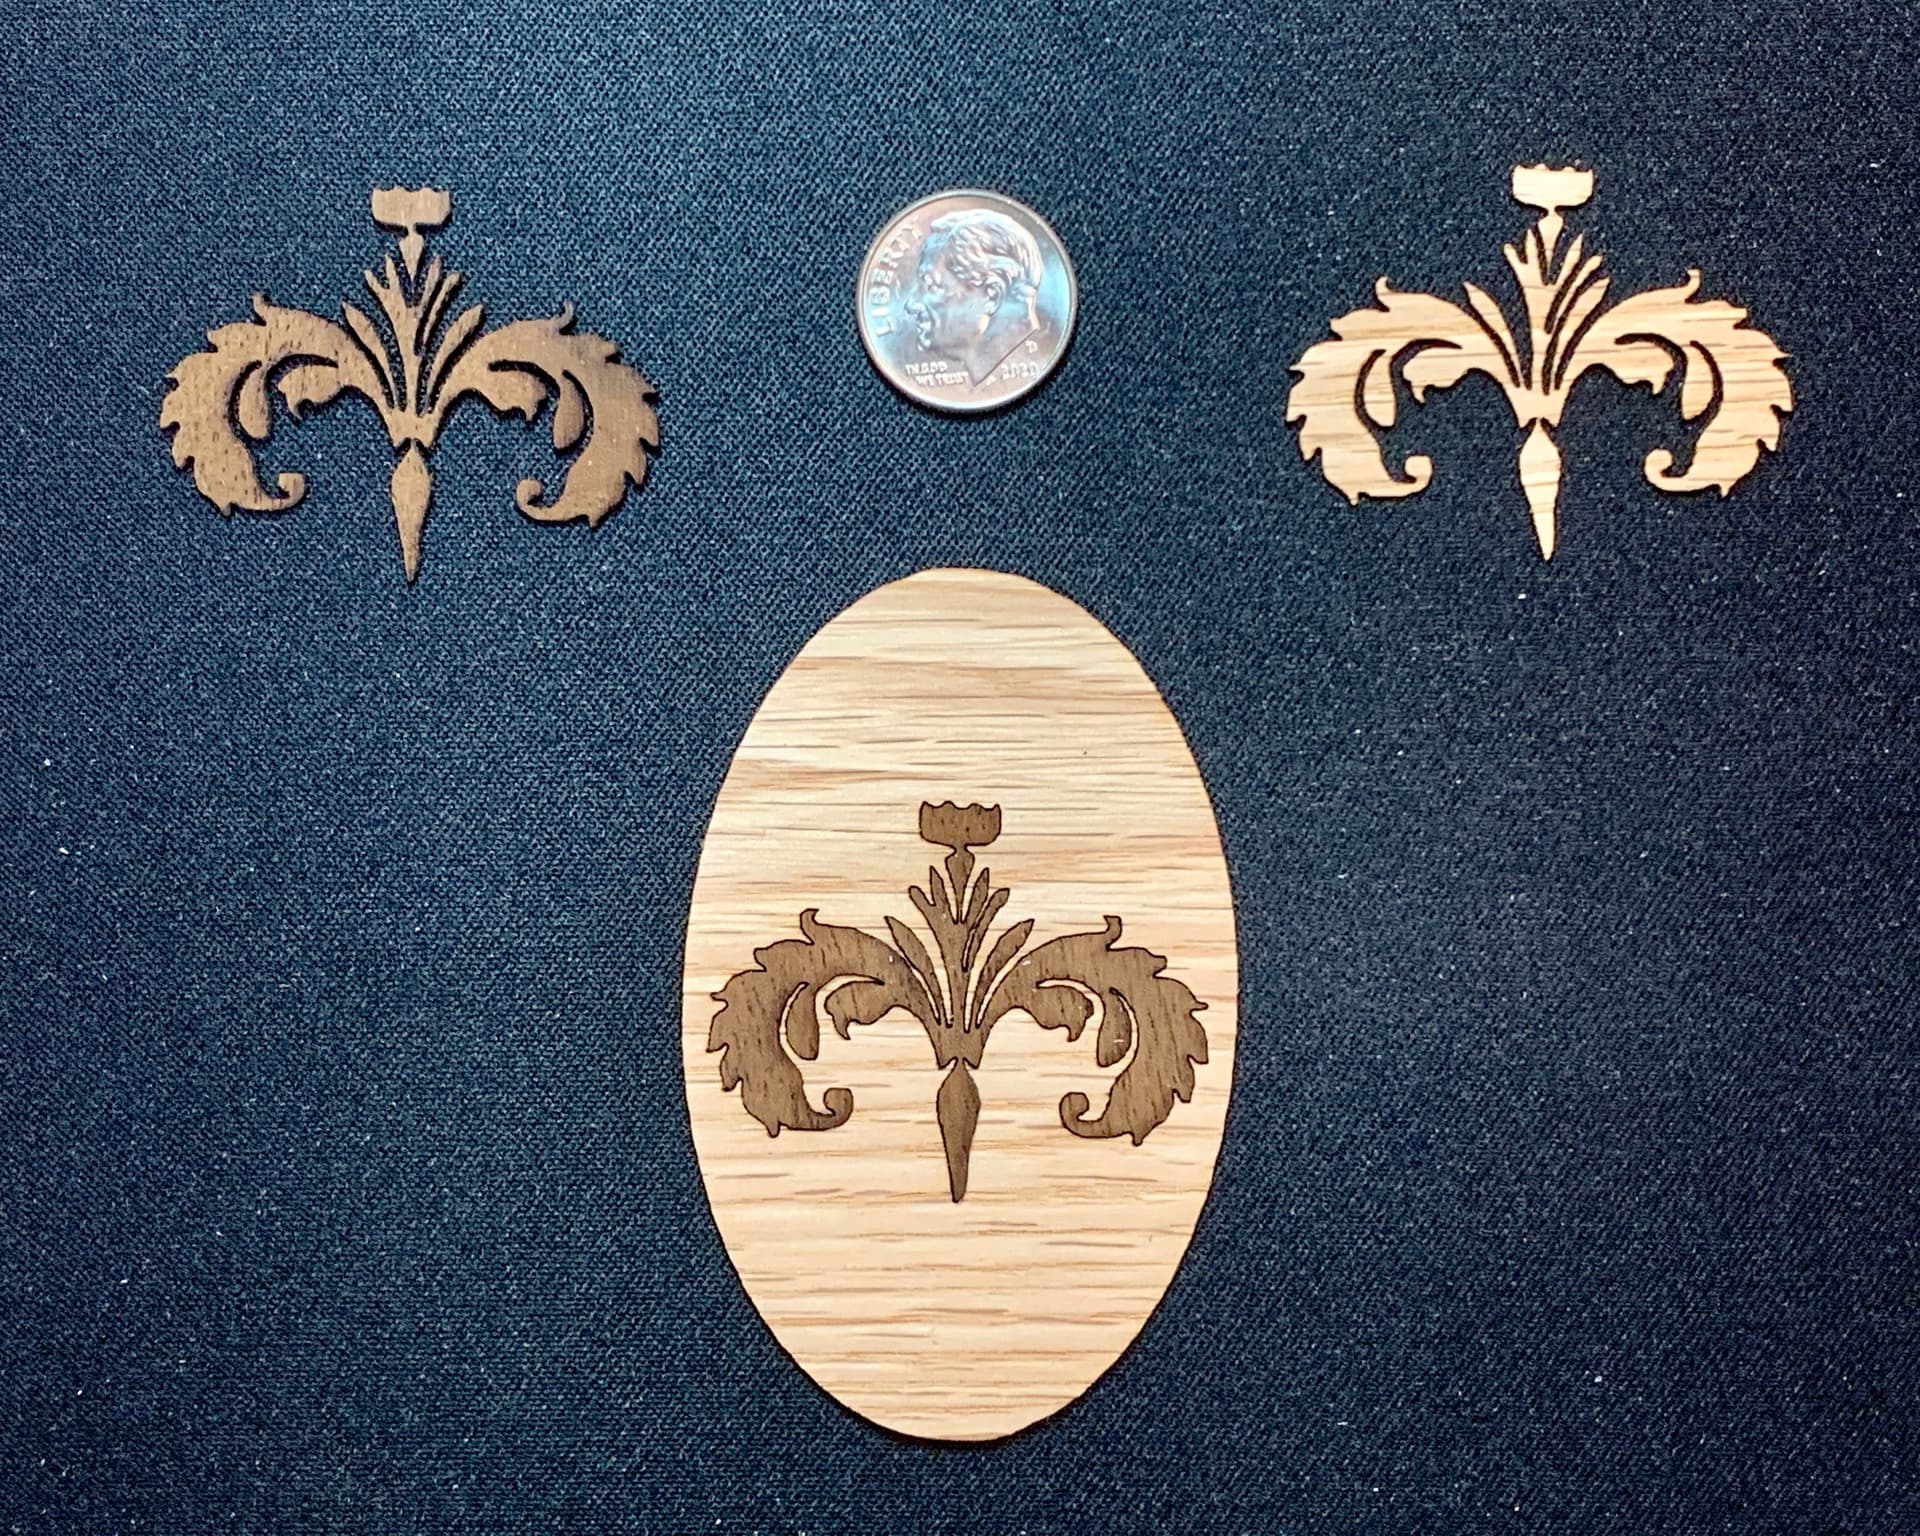
If you can adjust for kerf to do marquetry then you can adjust for thickness to do inlays.
This is a simple project I completed today just to develop my laser inlay technique.
Once you’ve dialed in your settings, cranking these our is a matter of Asmbly.
I gave it a try- it was much lower kerf than I’ve seen before.
I’ve used 0.3mm, this was near zero.
Did discover something about LB when using Fill+Line- its kerf in Layer Settings will not affect the Fill, only Line. Since the kerf is quite low, it won’t matter, but if a wider kerf is used, then the Line may be outside the Fill entirely.
The Offset in the design will still have the intended effect.
Was that on Tarkin or Laguna? If Tarkin then is it a coarser cut due to the two beams being combined? Do you know the Laguna’s kerf? The lasers I’ve been using have had a smaller kerf; mine is 0.1 mm.
Importantly the actual kerf doesn’t affect marquetry since we have the offset feature.
True, but most machines default to a 2” or 2.5” lens and we laser users spend a lot of time with birch. It was in that context I was referencing kerf. It surprises me that Laguna is so large at >0.3mm.