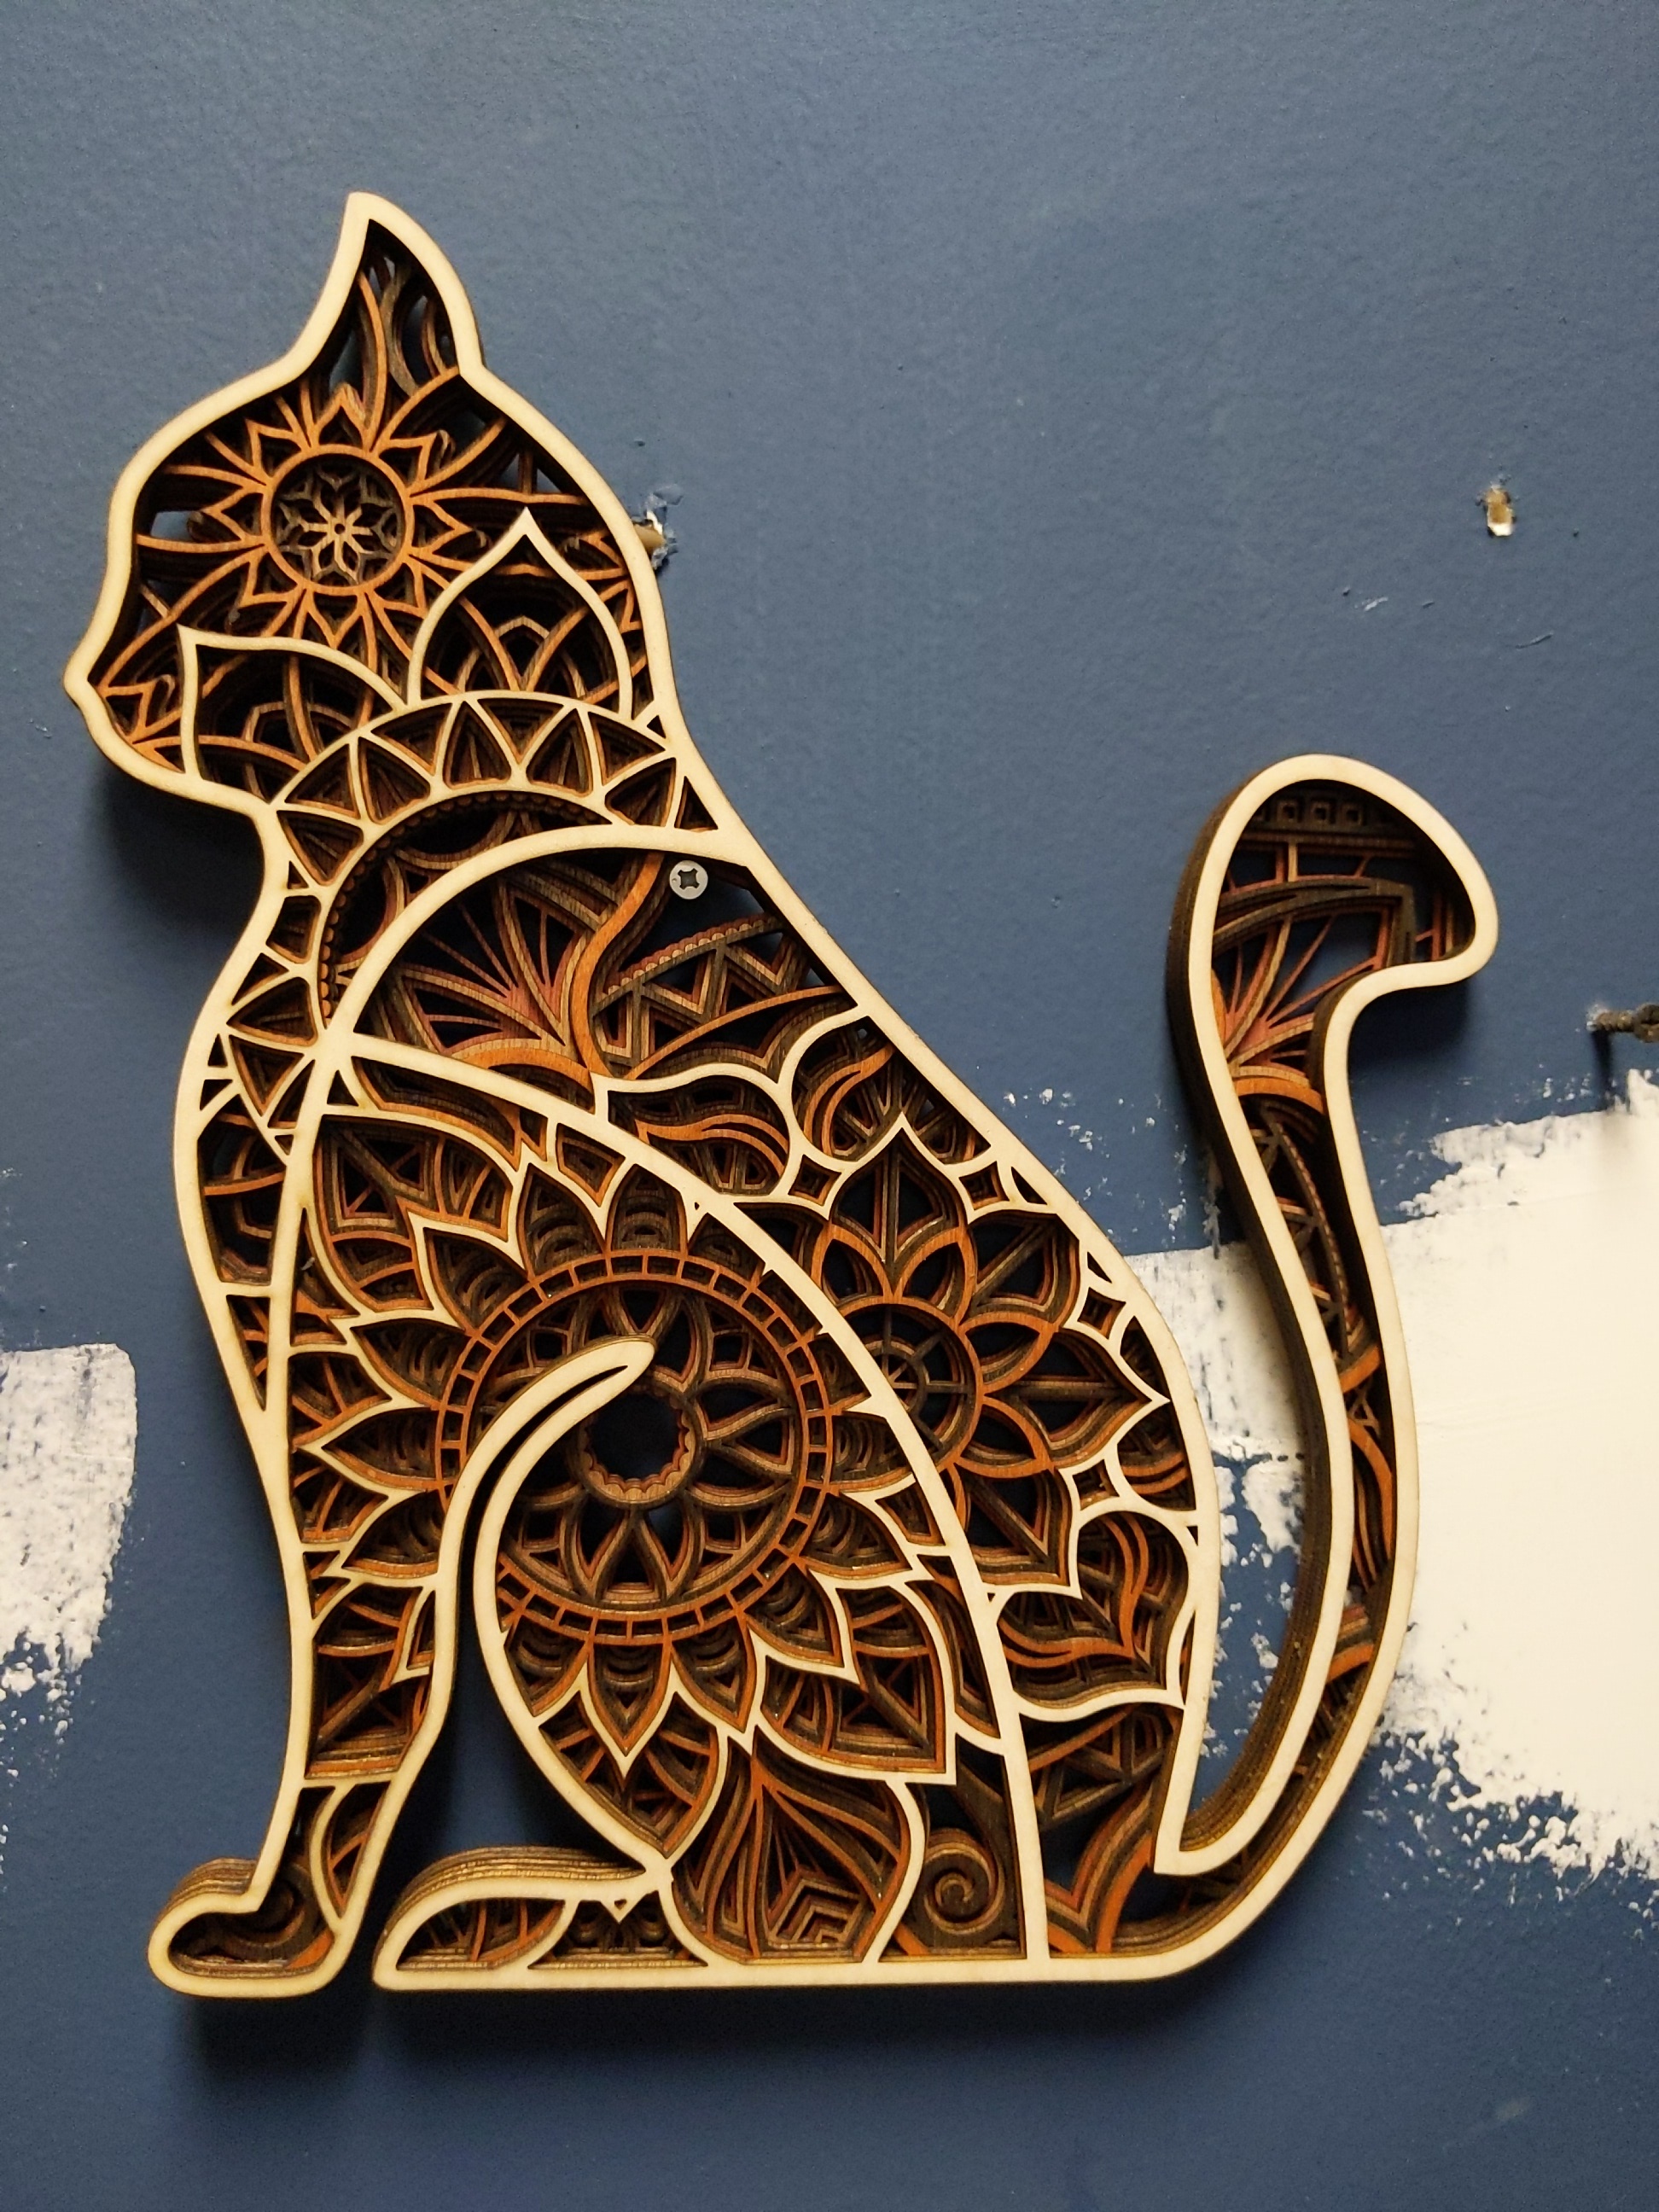
Oh these are neat!!! 1/8" Indonesian birch 80mm/s on Tarkin
Runtime came in under 11min, 100% cut through, ZERO CLEANING. There’s no residue on the wood at all.
Oh these are neat!!! 1/8" Indonesian birch 80mm/s on Tarkin
Runtime came in under 11min, 100% cut through, ZERO CLEANING. There’s no residue on the wood at all.
What’s the best way to glue these up?
Wood glue is easy to overapply, then it squishes out the thin sections and bulges out the side when joined. Any glue on the side of the cut is a visible flaw I’d like to avoid.
It’s taking too long to apply to all the detail without overapplying, even if I’m just sticking with the exterior. I’m rushing it, and still getting only a fraction covered overall and numerous bulging drippy spots.
Spray adhesive is a thing, but in my experience it does go everywhere and subsequently the exposed surface is tacky for a very long time an picks up crud. It does look like the overspray will get into these intricate edges. It might still be the best option, I’m just wondering what else there is to try.
You might experiment with a masking film prior to lasering. But what?
If you spray on the contact adhesive, let it dry, then lay on wax paper?
or double stick adhesive sheets? peel off backing on the other side after lasering?
A lot depends on the composition of the adhesive and the film for safety reasons. MSDS…
I’d give spray adhesive a try on this one. A few things:
I wonder if a spray clearcoat at the end will seal it and end the tackiness of the spray adhesive so it won’t forever collect dust and crud?
Give it a test!
I’ve never actually tried this, but @David78737 mention of wax paper made me think of it. Forgive me if this is what you were suggesting David.
What if you sprayed some adhesive directly on wax paper, then placed the piece directly onto it and moved it around a bit to try to transfer it to just the back face, rather than dealing with all the over spray onto the edges? Could be worth a shot
I got a silicone roller at Woodcraft. That sounds like the right tool for the job!
The silicone roller is a bit better, but not as much as I hoped. Still wants to spread too much or too little, and it goes from too much to not enough after just a few inches of olling. It’s hard and I had some unglued areas, I at least fixed the edges with some glue applied there
@PareshPatel The 4" foam roller TOTALLY works! It’s the only tool to be using! You can still overapply or under, but getting it consistently correct is quite possible. You do need to replace the butcher paper or let it dry completely between rollings. Some glue will roll onto the paper but as long as the piece isn’t moved it won’t transfer to the front, but will as soon as the next piece is placed on it.
While my initial batch of Indonesian birch has no patches, this stuff had significant patches even though the front presentation surface is fine. While the first batch did fine with 90mm/s, I had to bump this down to 60mm/s with this poorer plywood
The wood is stained with a variety of colors before cutting. It is just stain- stain+polyurethane will make it difficult to glue. Sometimes it’s the “correct” presentation side of birch and other the brown, slightly red of whatever the obverse is. That gave a notably different appearance and I need the contrast. I had Fine Lumber & Plywood put 2 cuts in the 4x8 sheets to make 3x 48"x32" pieces, which fit neatly in Tarkin AND my car.
Tarkin’s cut process and air assist is meaning cleaning the stained surface is unnecessary. That’s wonderful because cleaning without breaking thin sections seems nigh impossible.
So I just apply wood glue the bottom of a layer with the 4" roller, stick it to the next layer, put a thick plywood cover sheet and a big weight. It only takes a few minutes and usually getting the next layer all wetted with glue takes long enough that you can remove the weight without it lifting apart by the time you’re ready to place the next layer.
Then, when all layers are done, you can spray with polyurethane (or acrylic_ to clear coat it.
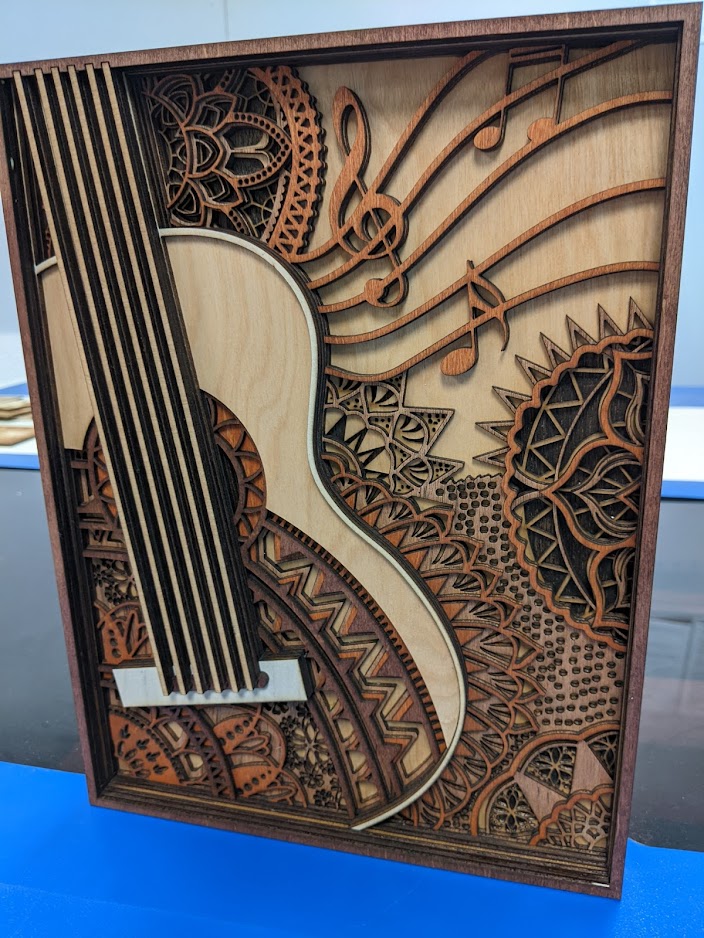
The light-colors final layer of strings are unframed. They cut as loose parts which had to be carefully handled because the 6 are all different lengths and asymmetrical.
Lesson learned on some of these files- some try to be “helpful” and intentionally duplicate every vector so it automatically makes two passes, which Glowforge and other low-power lasers sometimes do. Well, if you wanted to do that, you would specify it in Lightburn’s settings. This is just trouble, so as soon as you import any vector plans from online into Lightburn, use “Delete duplicates” and save the file before doing anything else.
Other lessons learned-
Most of these have an intended scale of mm and would look good with 1/8" plywood in that scale. Thicker plywood shows more edge and less surface reveal on each layer, plus the final project is overly thick.
If you use 1/4" plywood, to preserve the intended height-to-reveal, you’d need to double the linear dimensions. Large piece by the end.
I downloaded a file that looked great- but, its detail was just too thin for 1/8" plywood, like 0.5mm wide and long, curly bits. It cut with these features intact but they’re not going to last even after gluing. These projects were also intended for cardstock too.
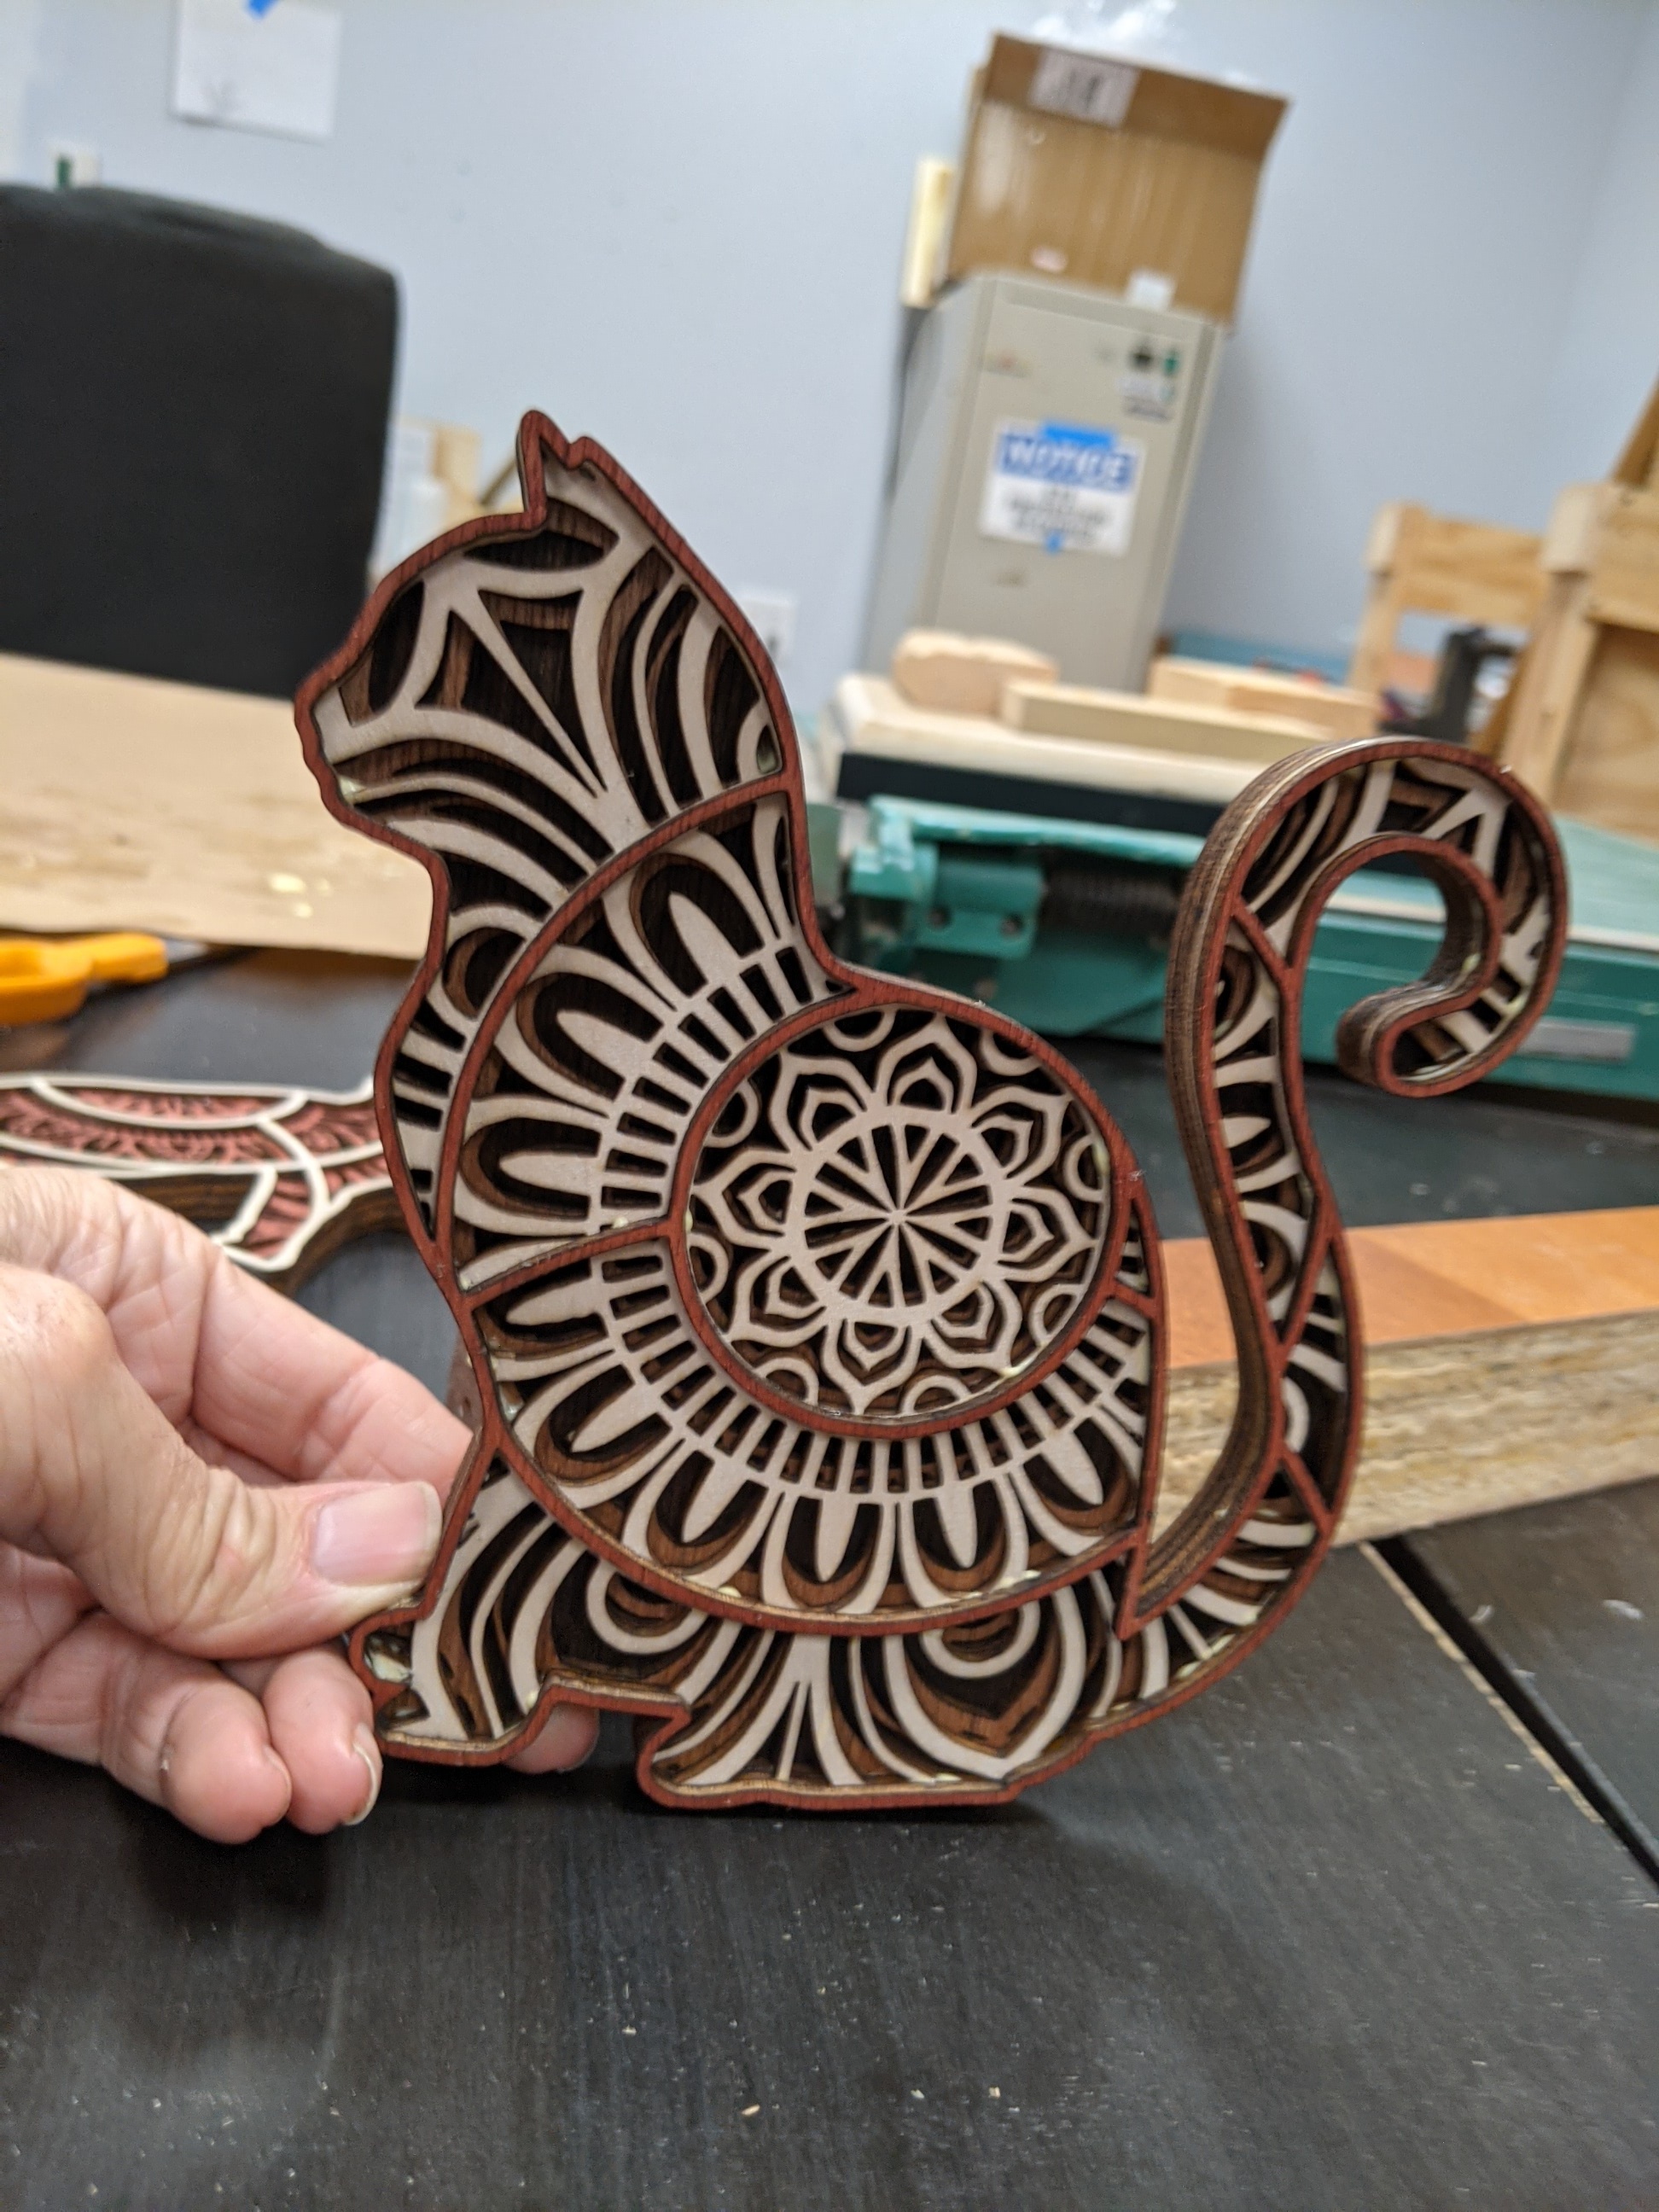
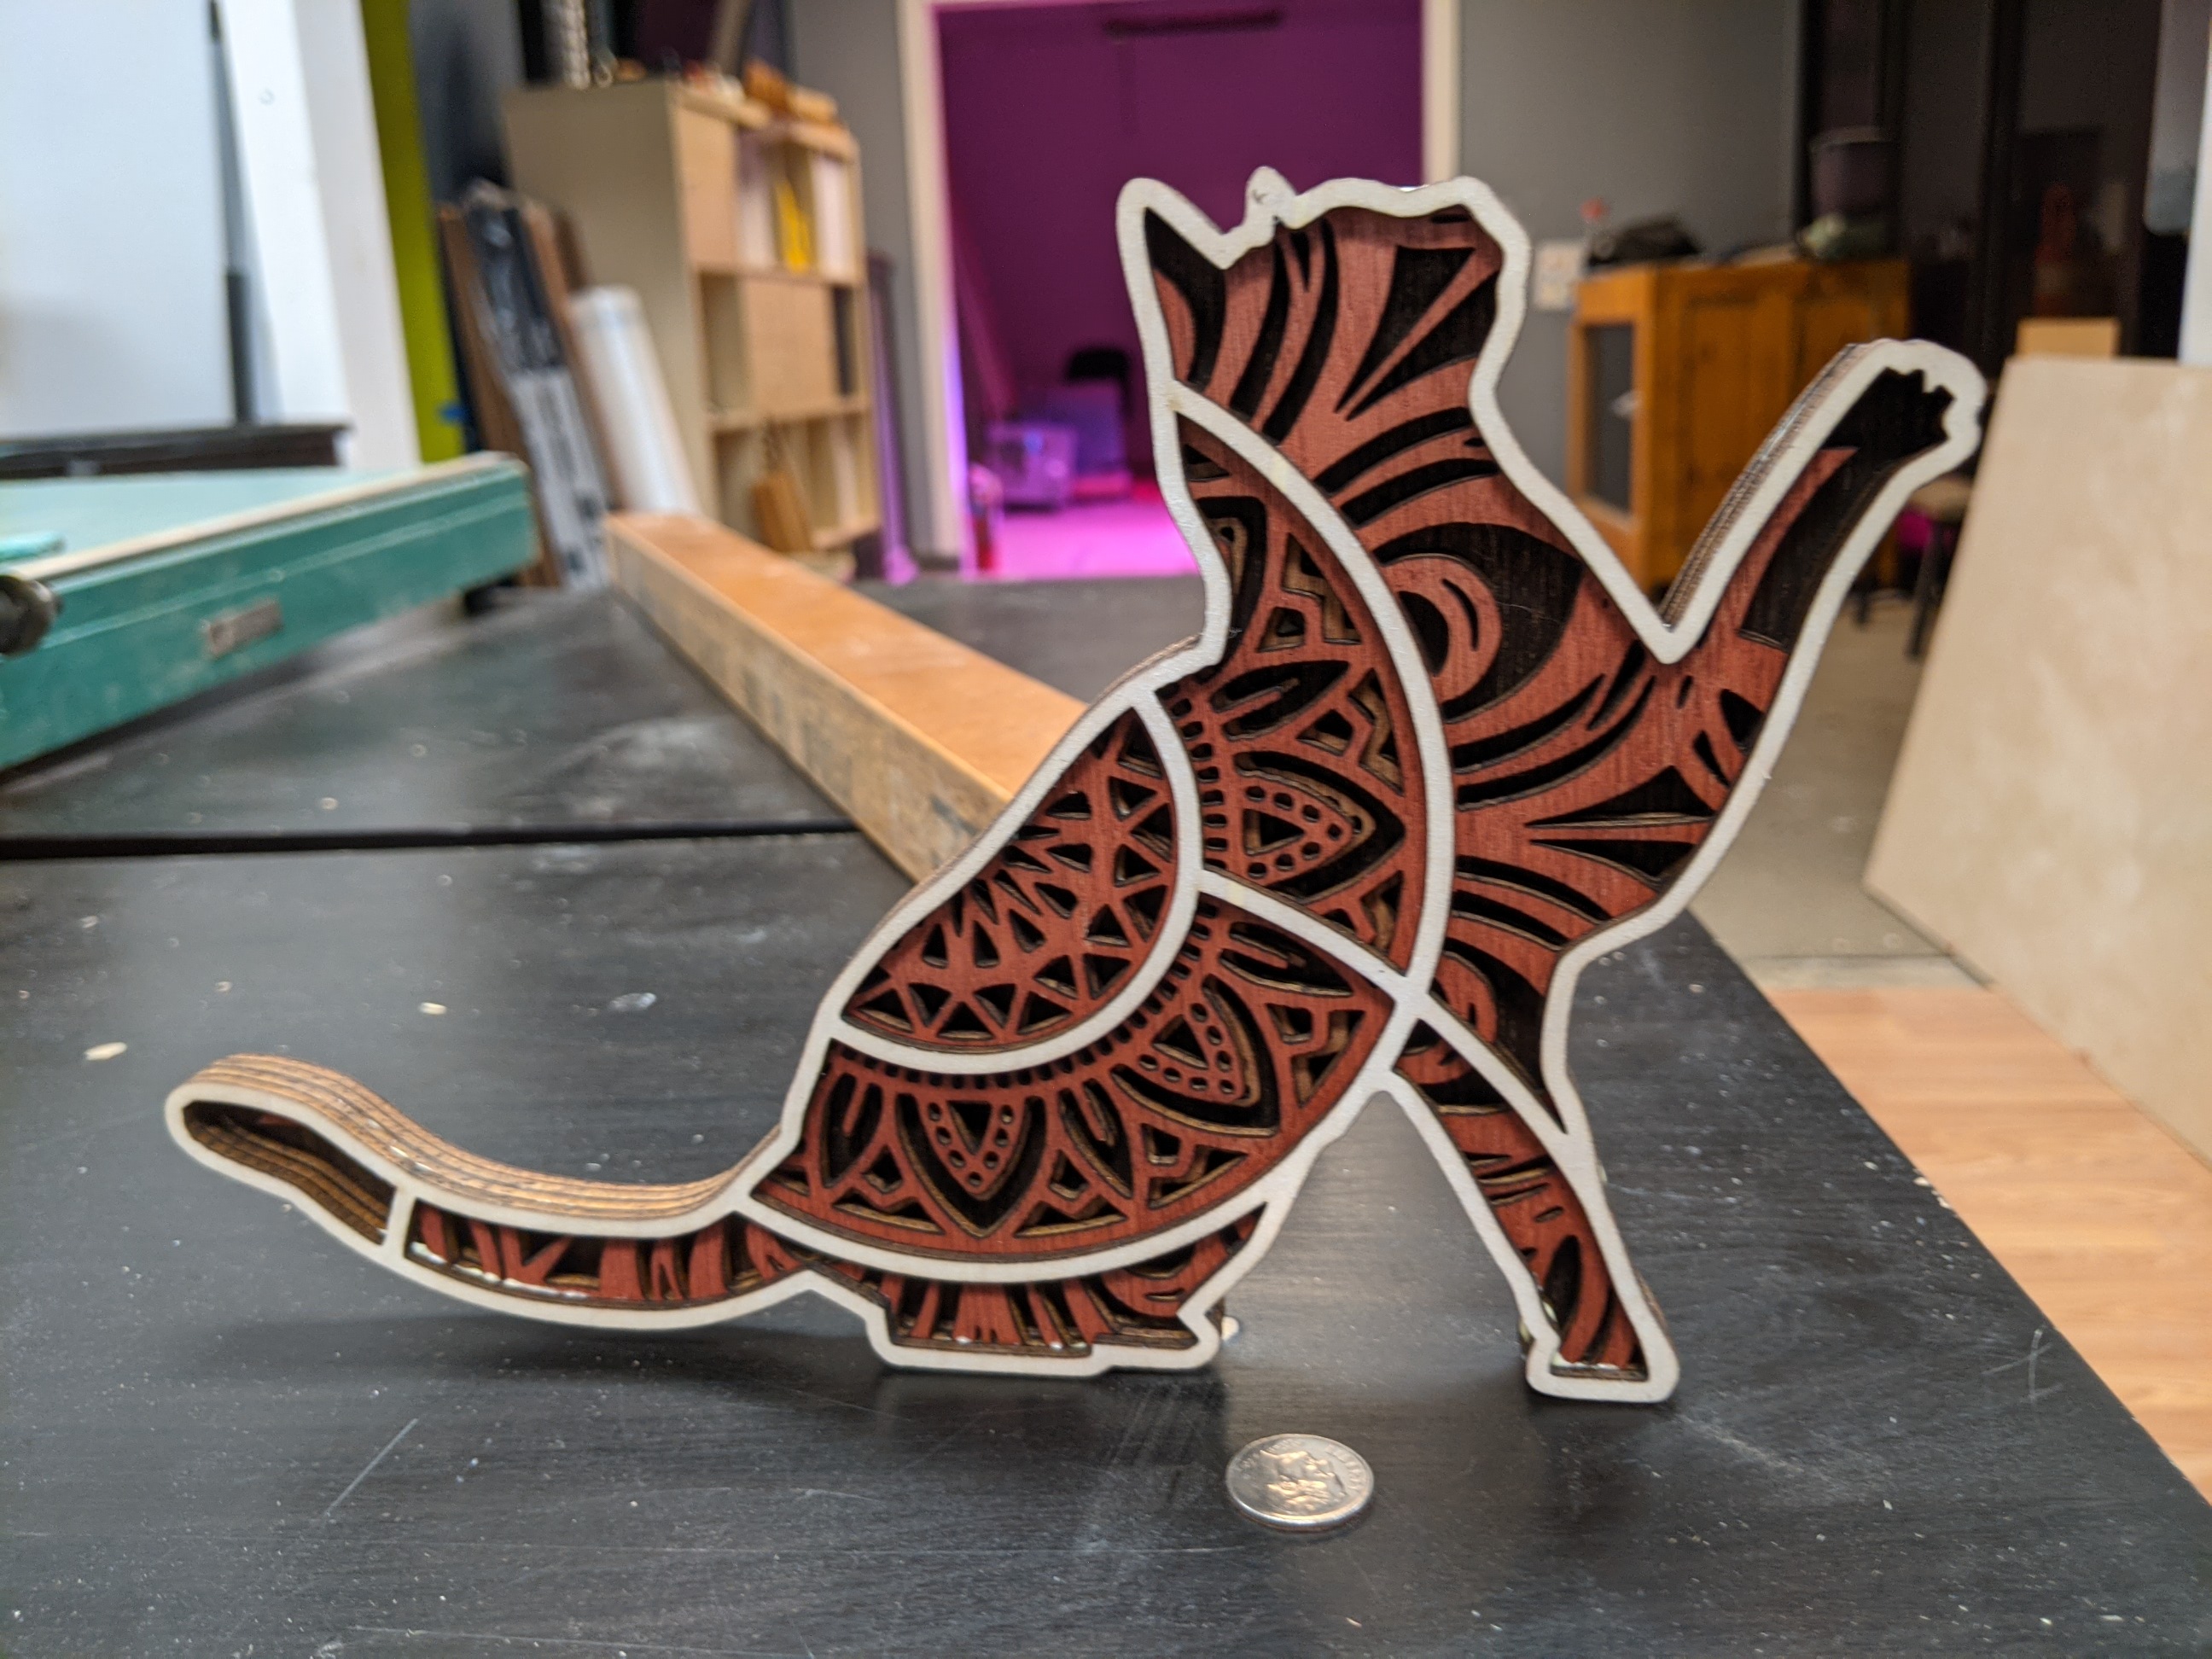
Cutting great detail is quick and easy. Gluing got easier. More layers are more work, most are 7 to as many as 11 layers. Cutting a bunch of alternating colors means cutting several layers out of order on a sheet stained that color, and you need to track carefully which layer is which and don’t put glue on the wrong side.
“framed” layers can just be aligned by the outer frame. Some designs have floating parts in a layer- these are a lot more work. You may have many pieces per layer to track, they are easily confused with cutouts that are supposed to be thrown away, and require manual alignment when placed. It may help to vector-engrave the outline of where a floating part sits on the next layer, but this would be a lot of editing in LB.
Some people have made small holes to add alignment pins, usually stopping before the final outer layer which will not have alignment pin holes so nothing is externally visible.