January CNC Meetup Recap - 1/7/24

Hello All!

Thank you to everyone who attended the CNC Meeting this past Sunday. We shared a lot, and most importantly, learned a lot. For people who couldn’t make it, we have the recording: Jan SIG.mp4 - Google Drive

And here’s a brief recap of what we discussed (along with pictures!):

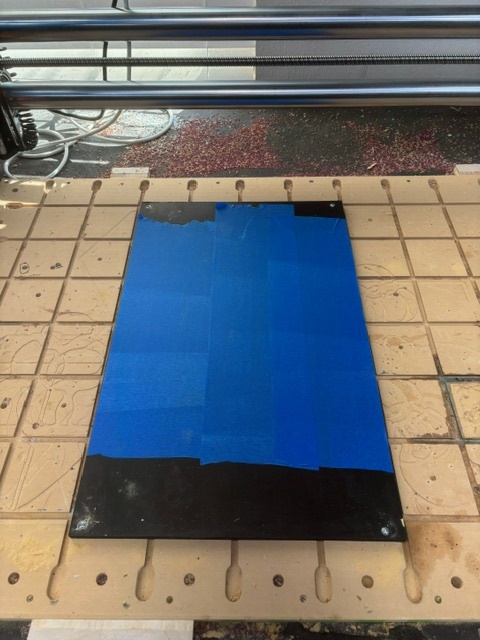
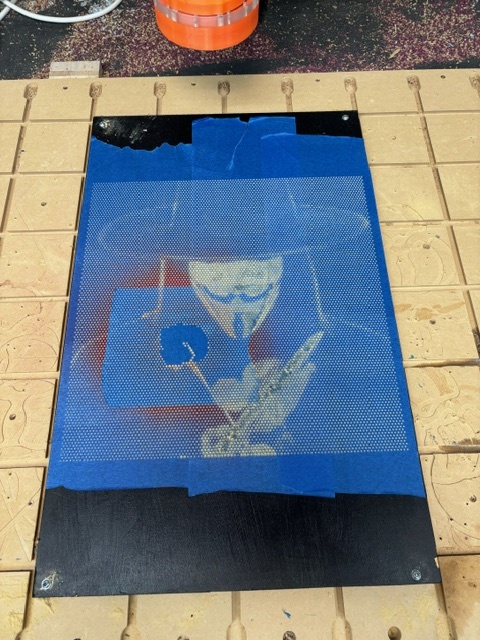
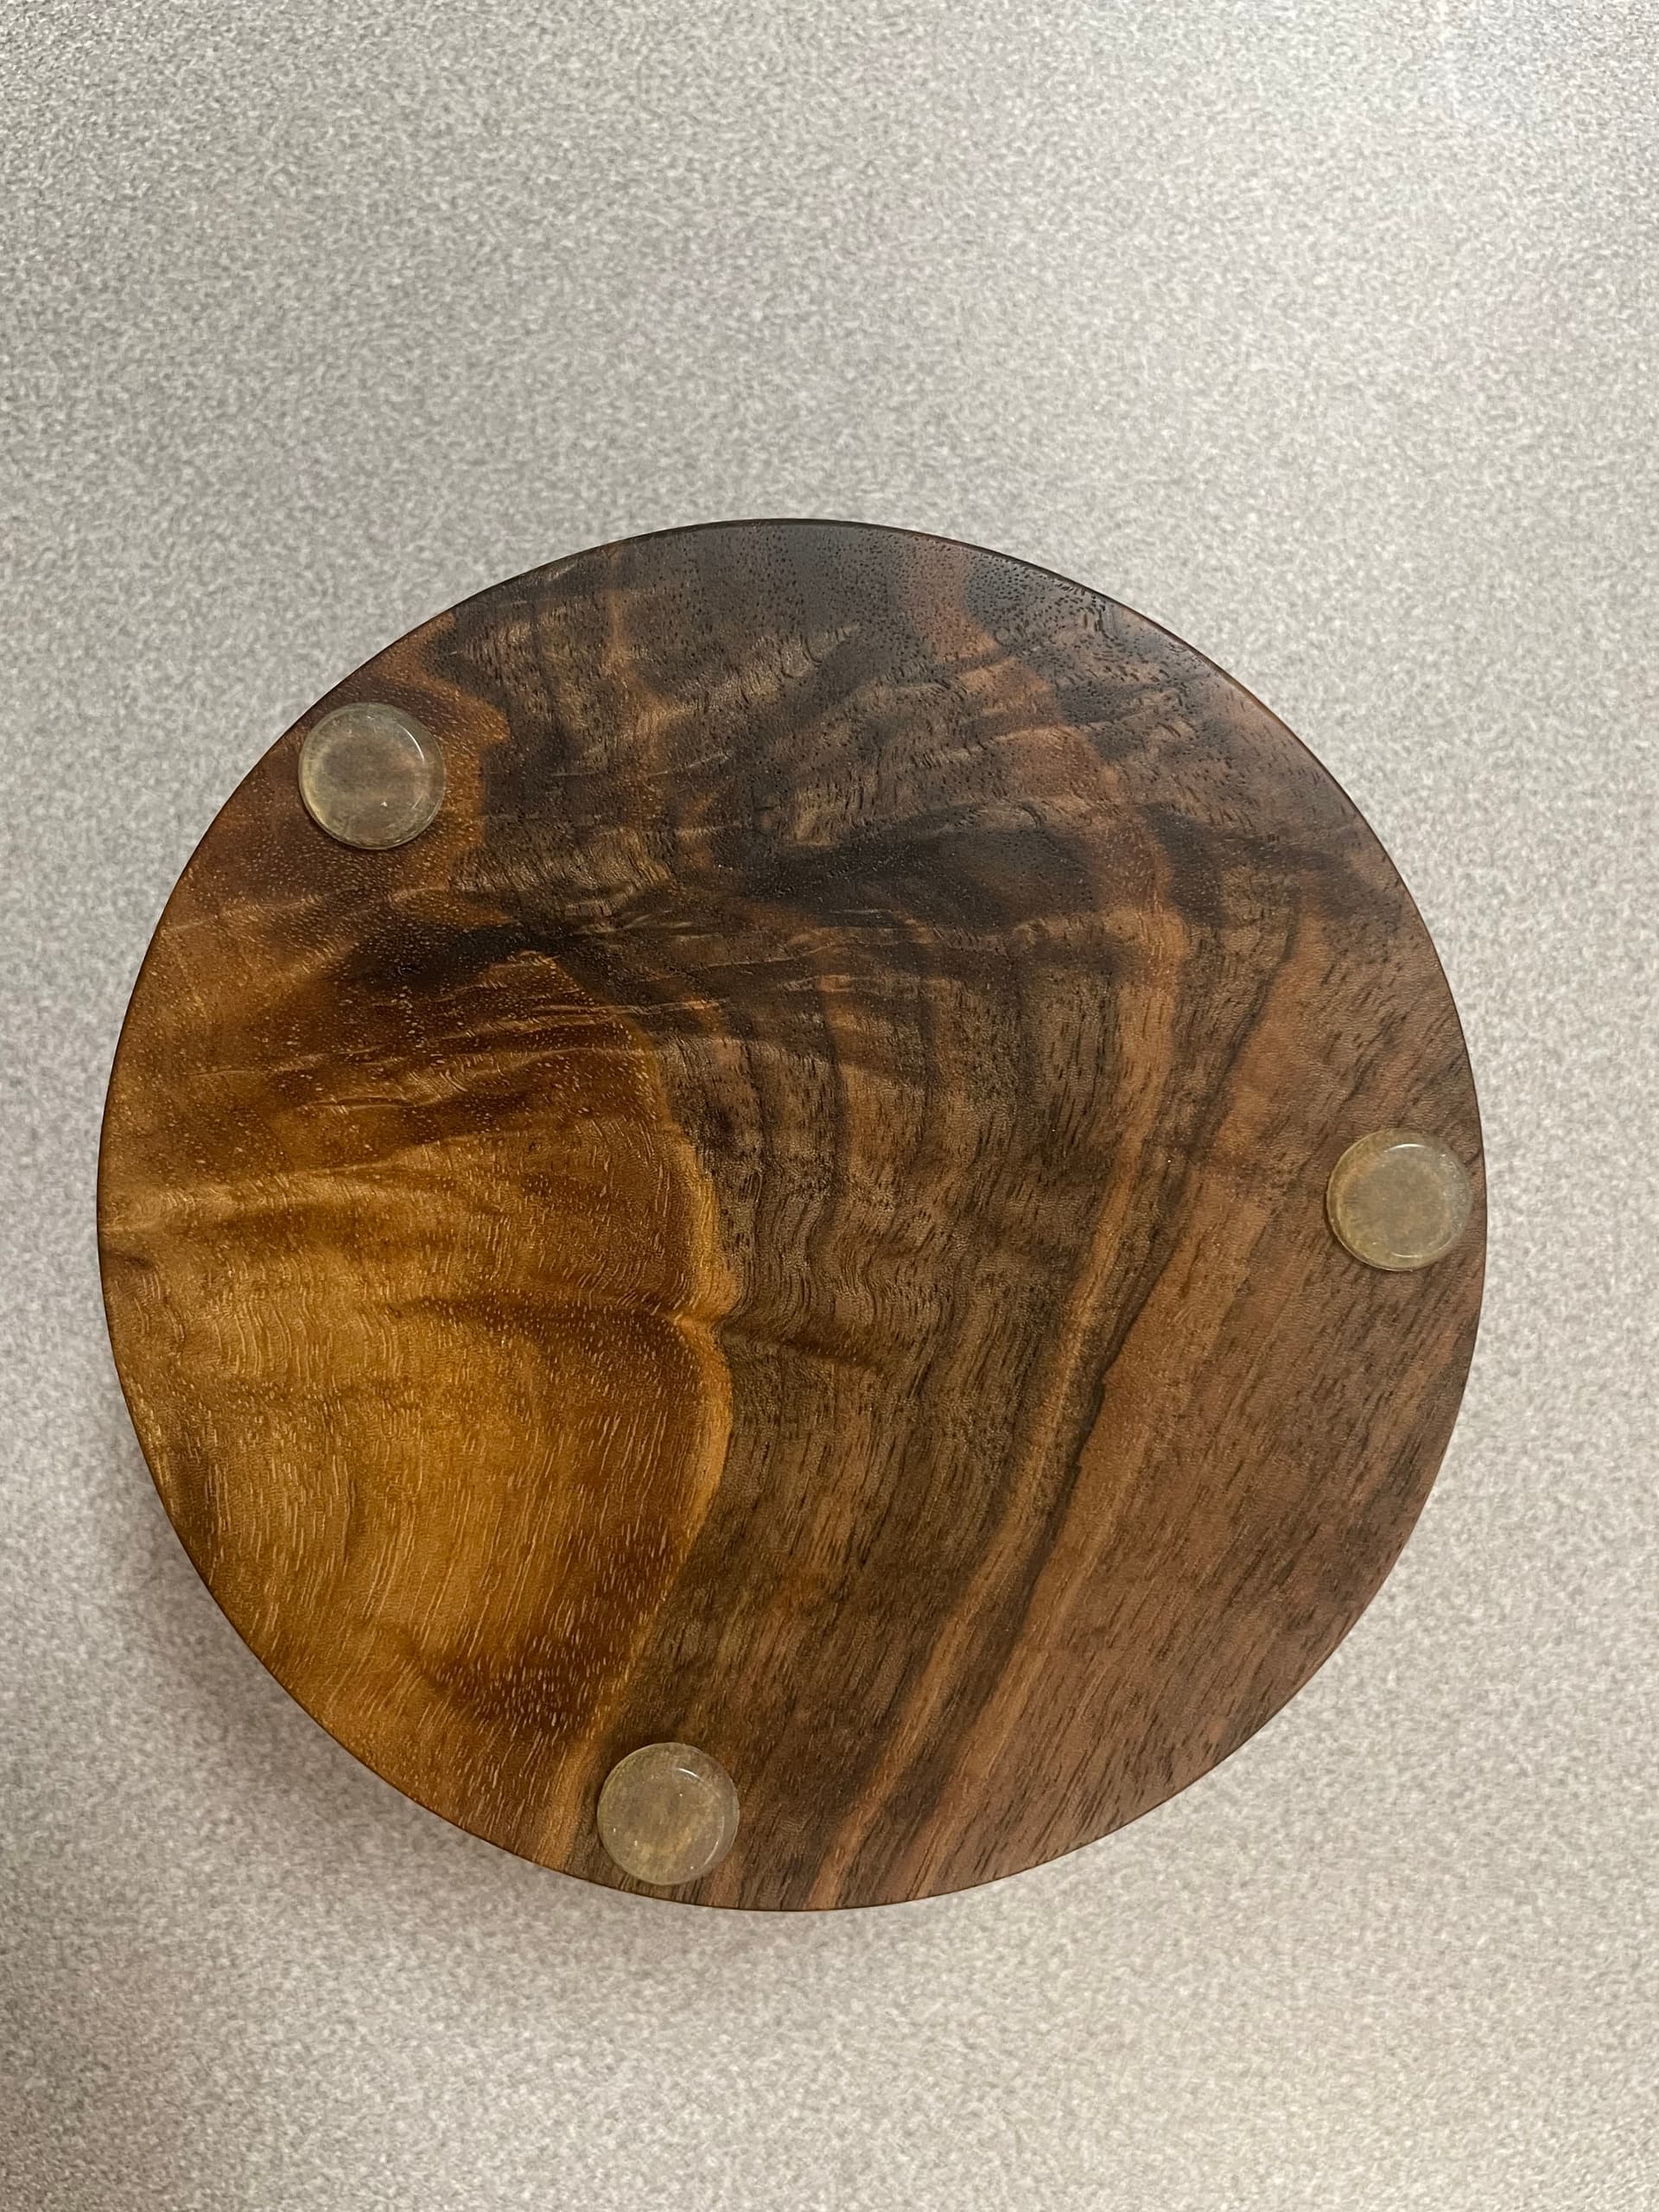
I started off sharing my eyes–because I’m keeping on eye on you!


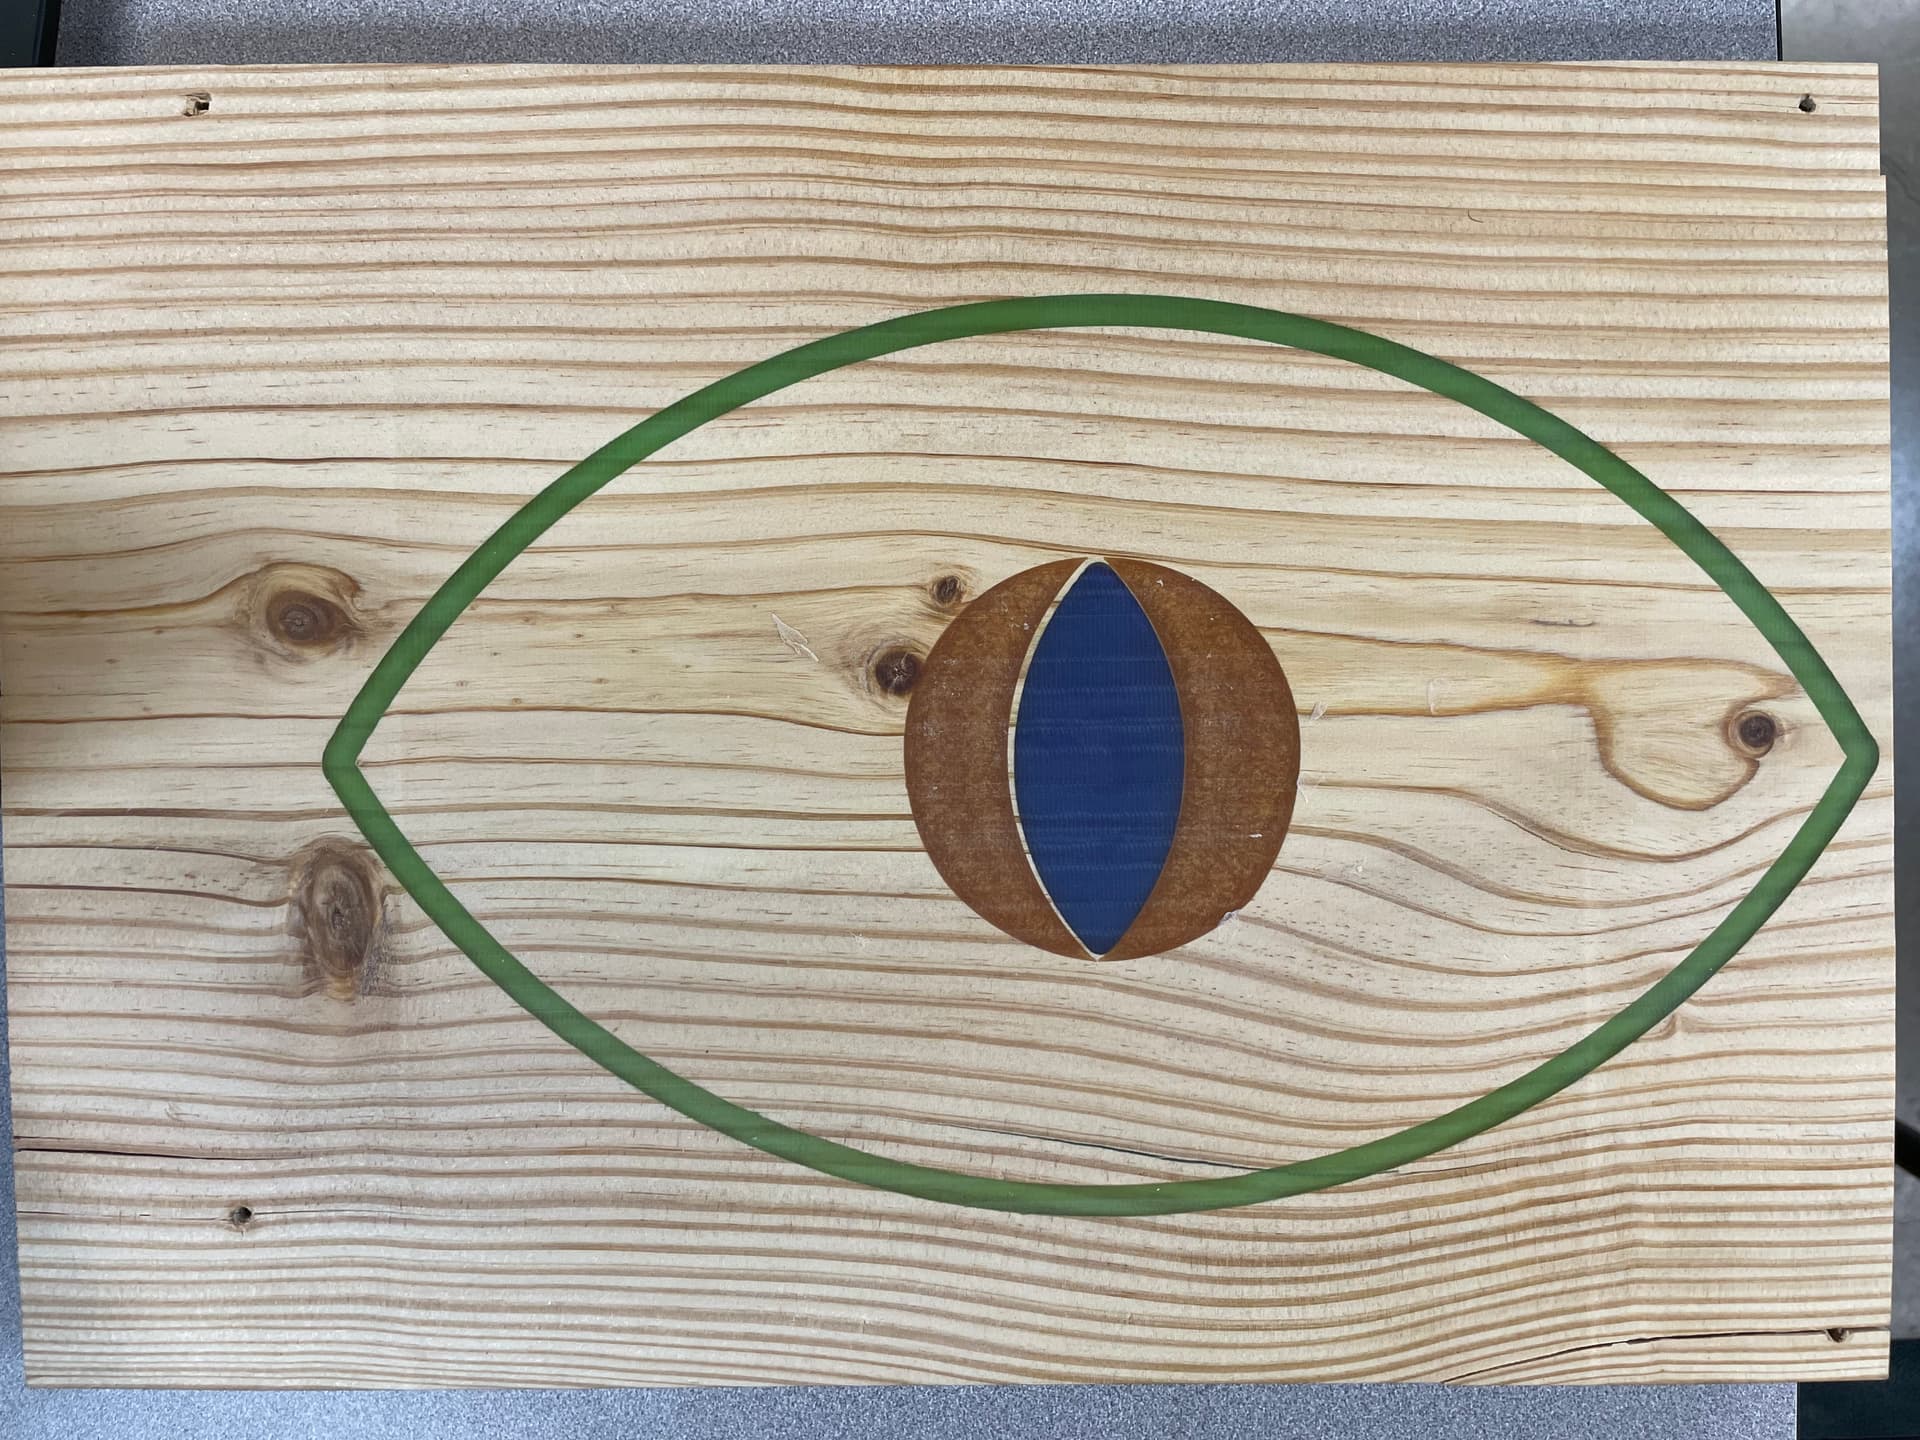
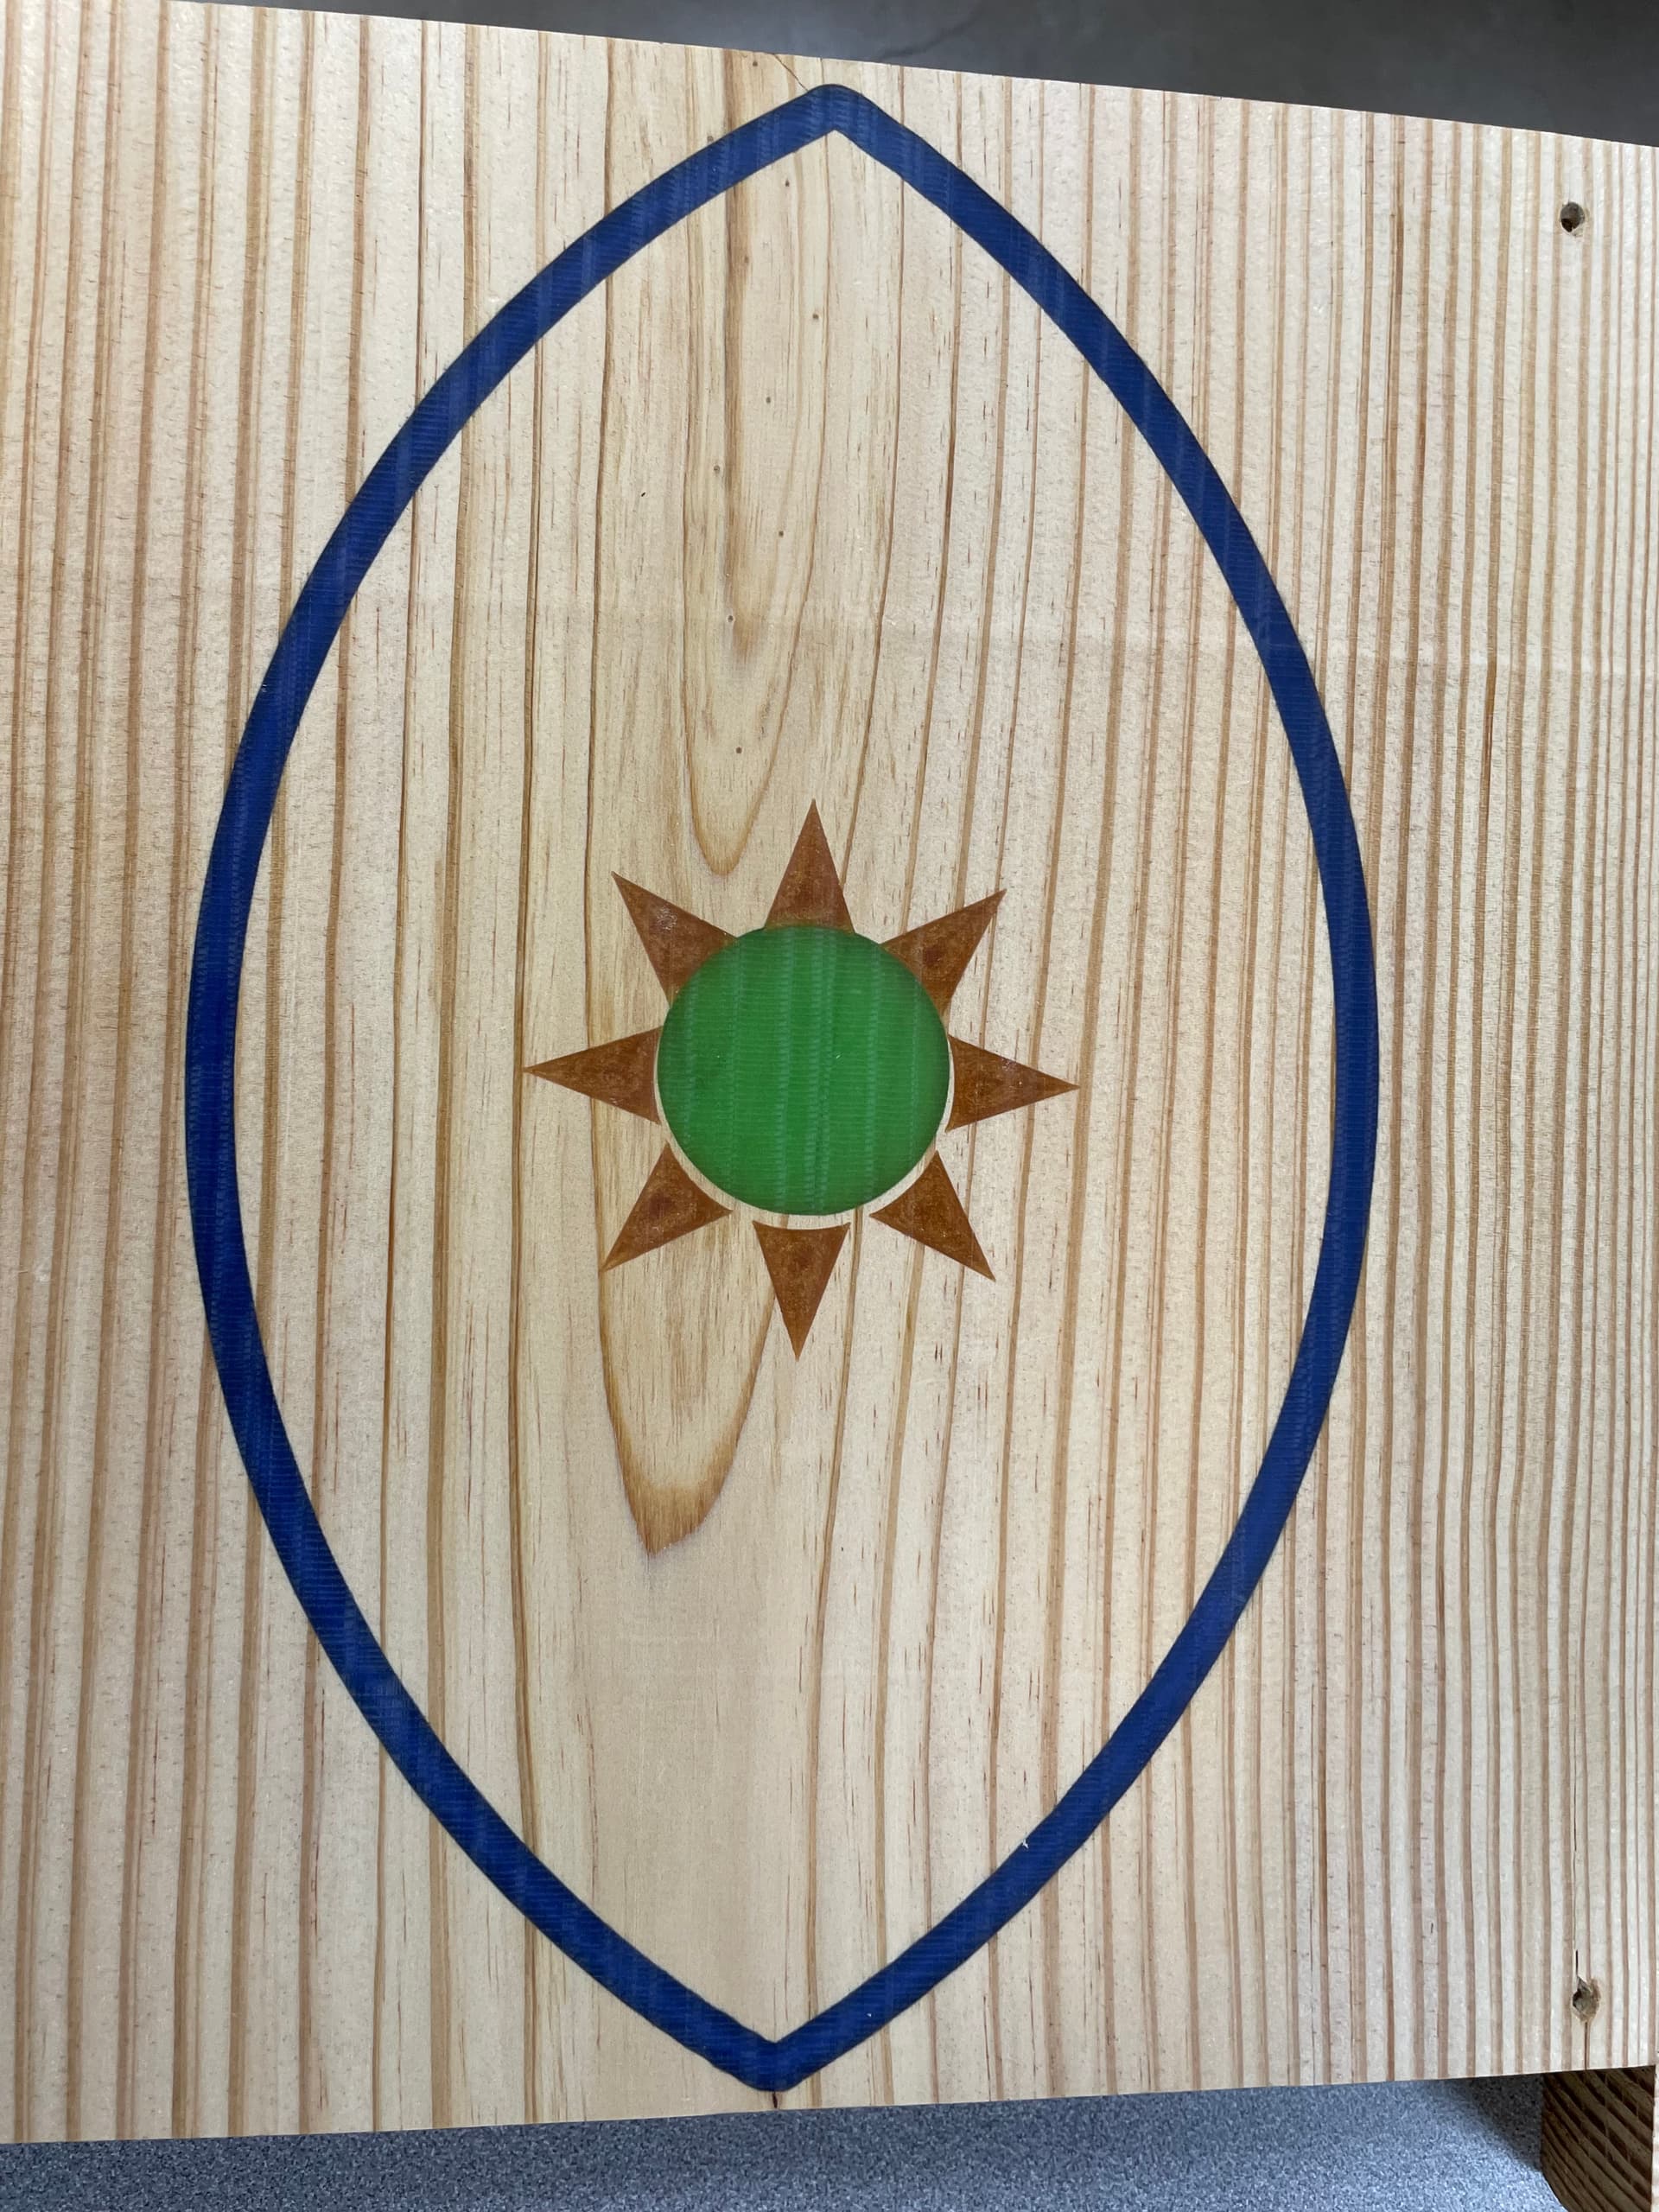
This was my second version. I used epoxy with mica powder (all purchased off Amazon) to bring out the color. This was a 2-step pour where the goldish interior was the second step. In between the pouring steps, and after the epoxy dried (of course!), I sanded the wood before making my second cut. I used a 60 degree 1/4’’ V-bit for the second cut. Biggest issue I ran into was not making registration marks (to set the origin properly) for the second cut. This is why the goldish color is a little bit off. Version 3 will be better!

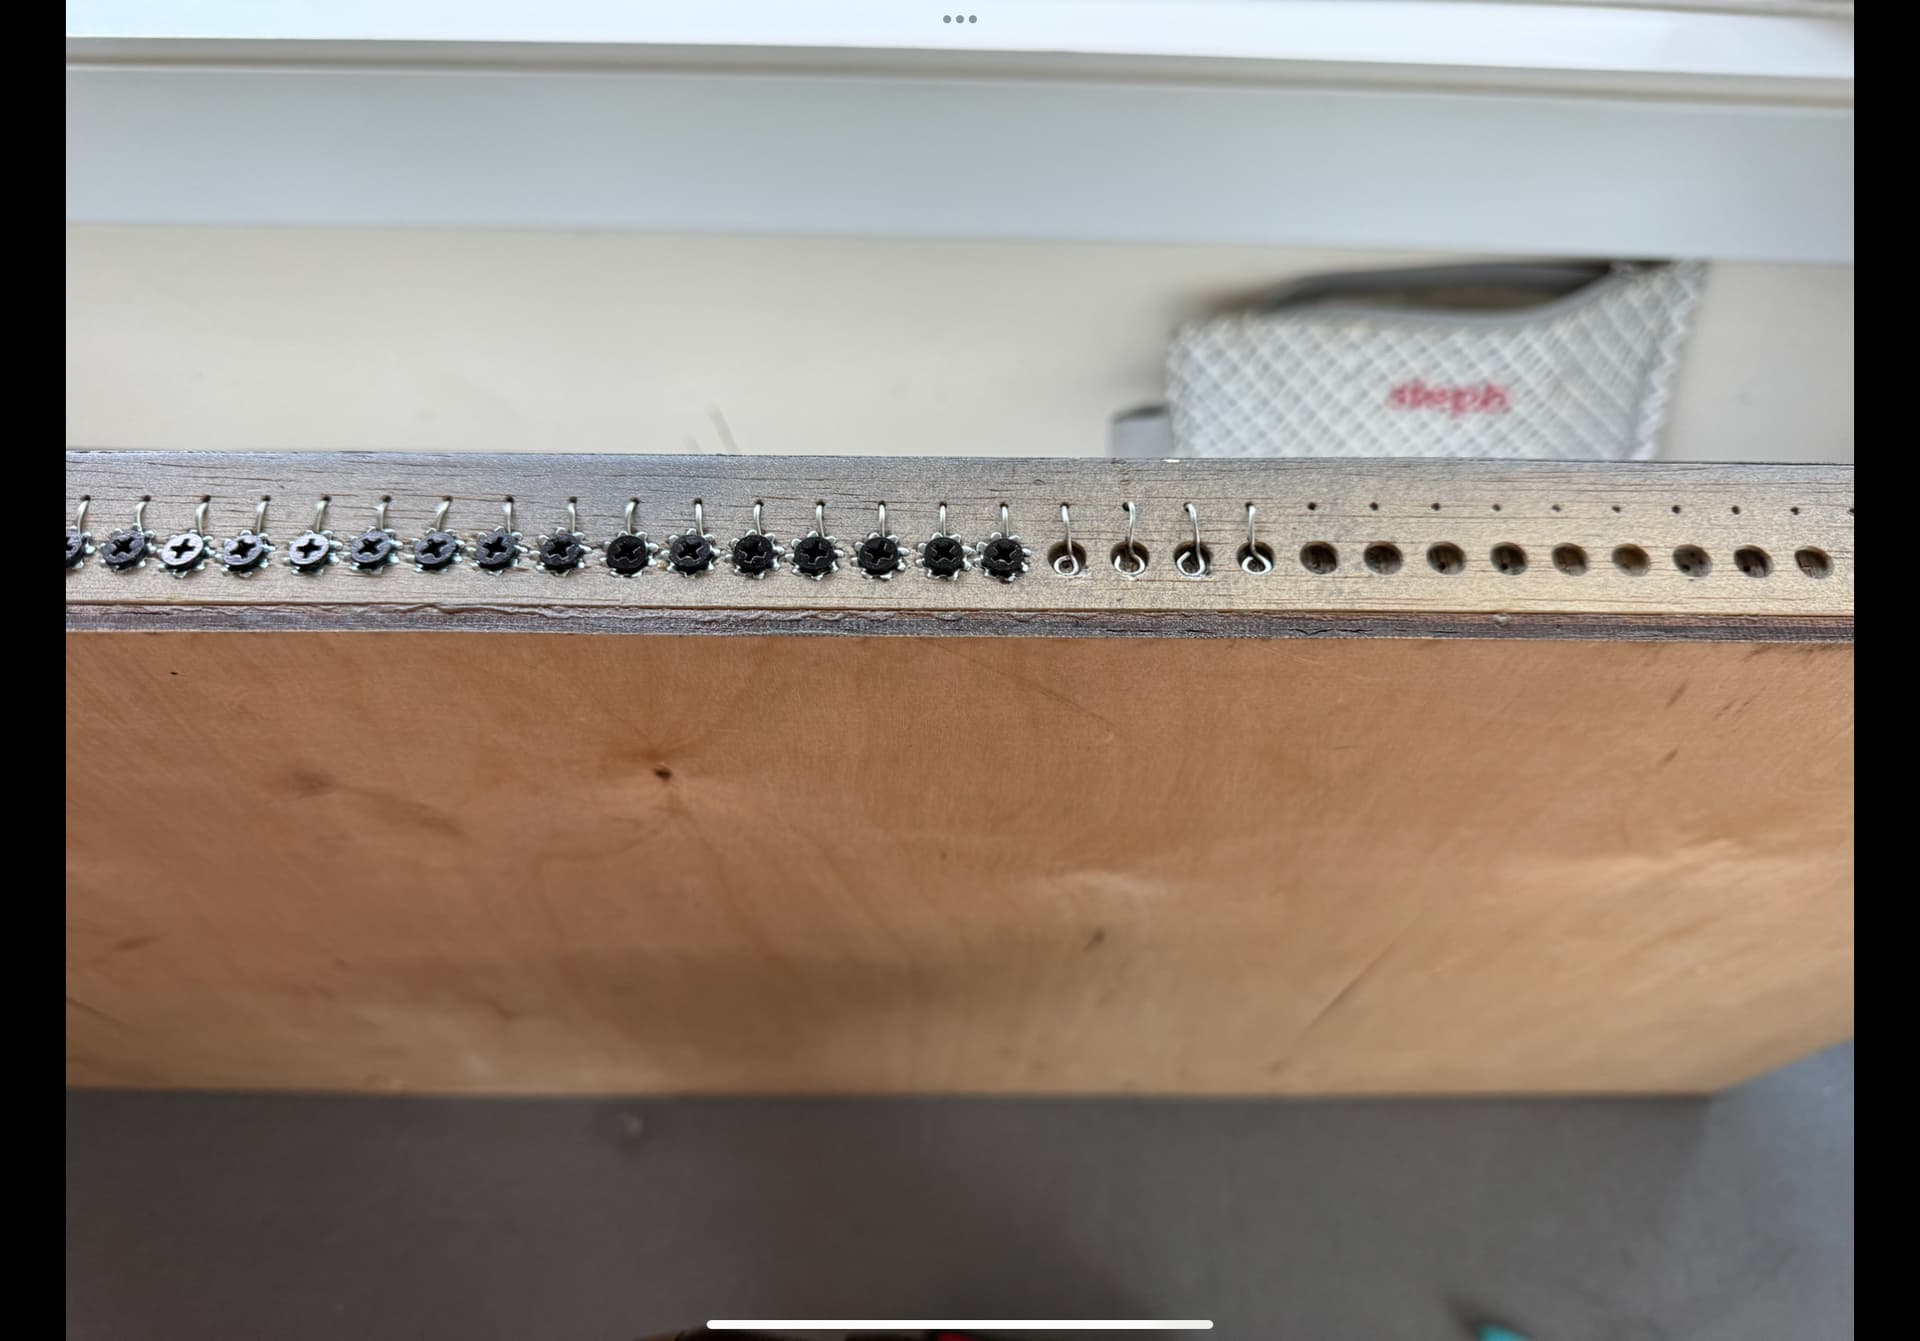
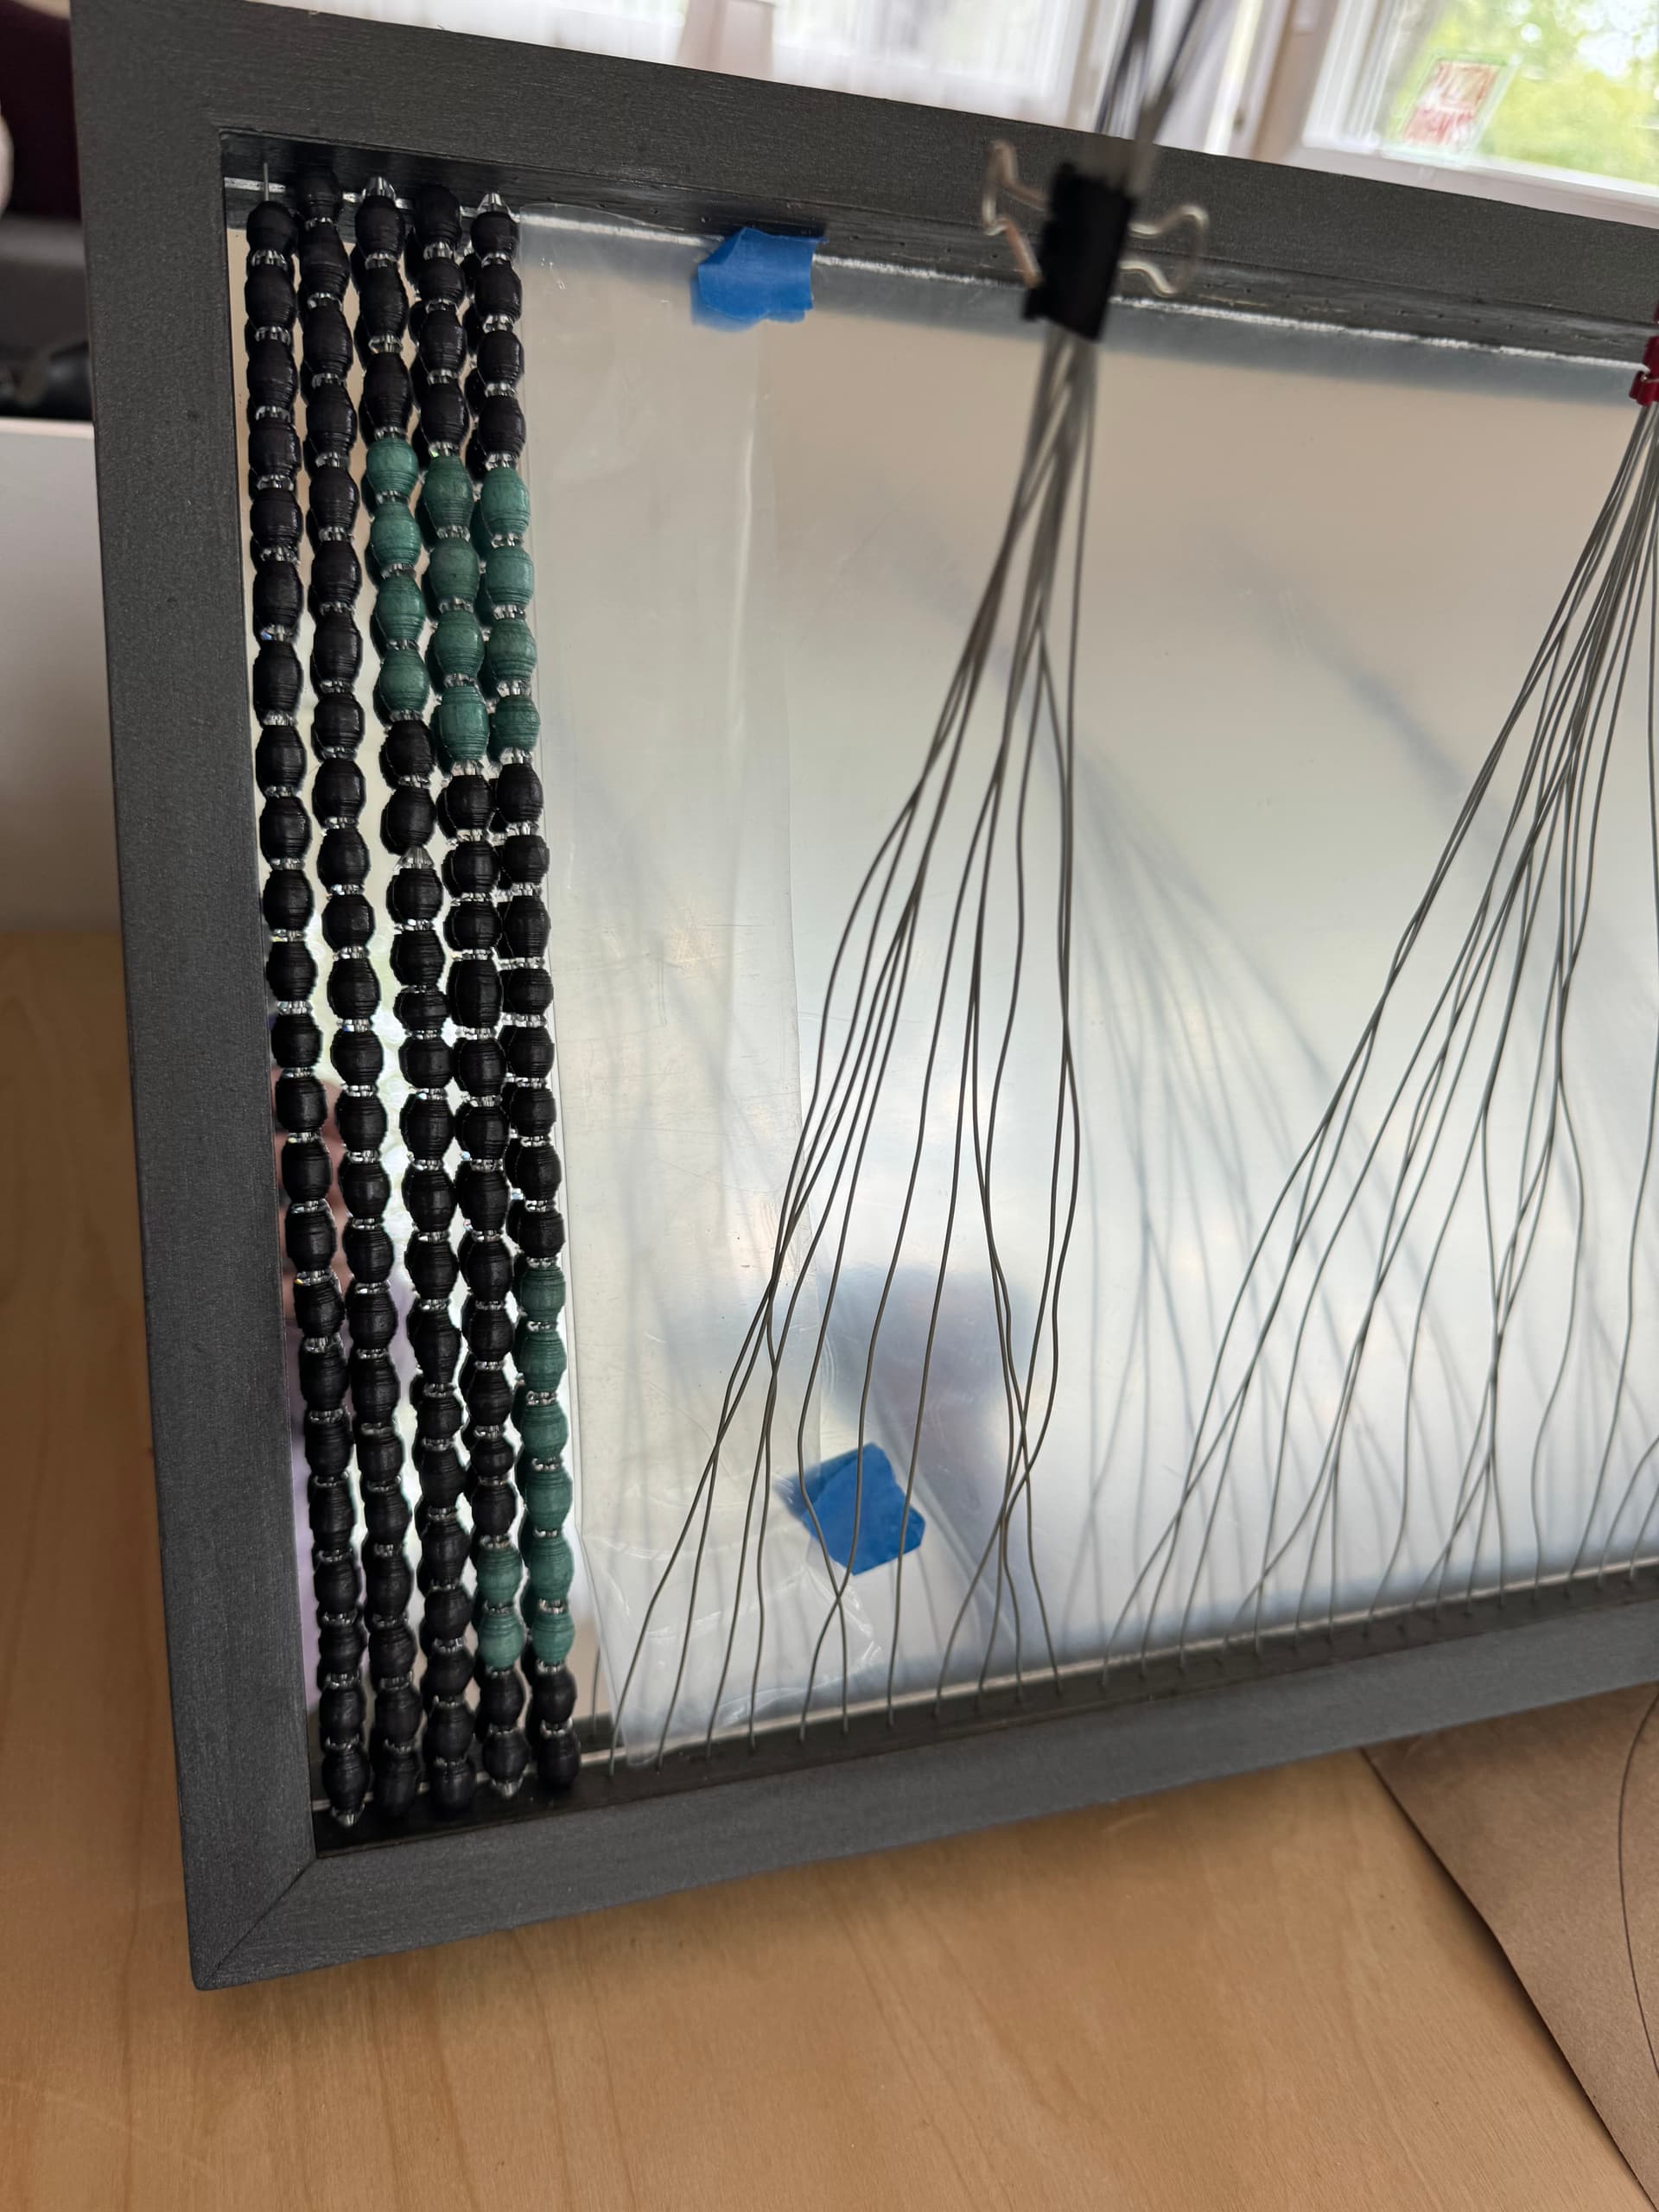
Next, @stepho showed us this incredible work of art she made which took countless hours but is also a wonderful de-stressor while watching TV :slight_smile: .

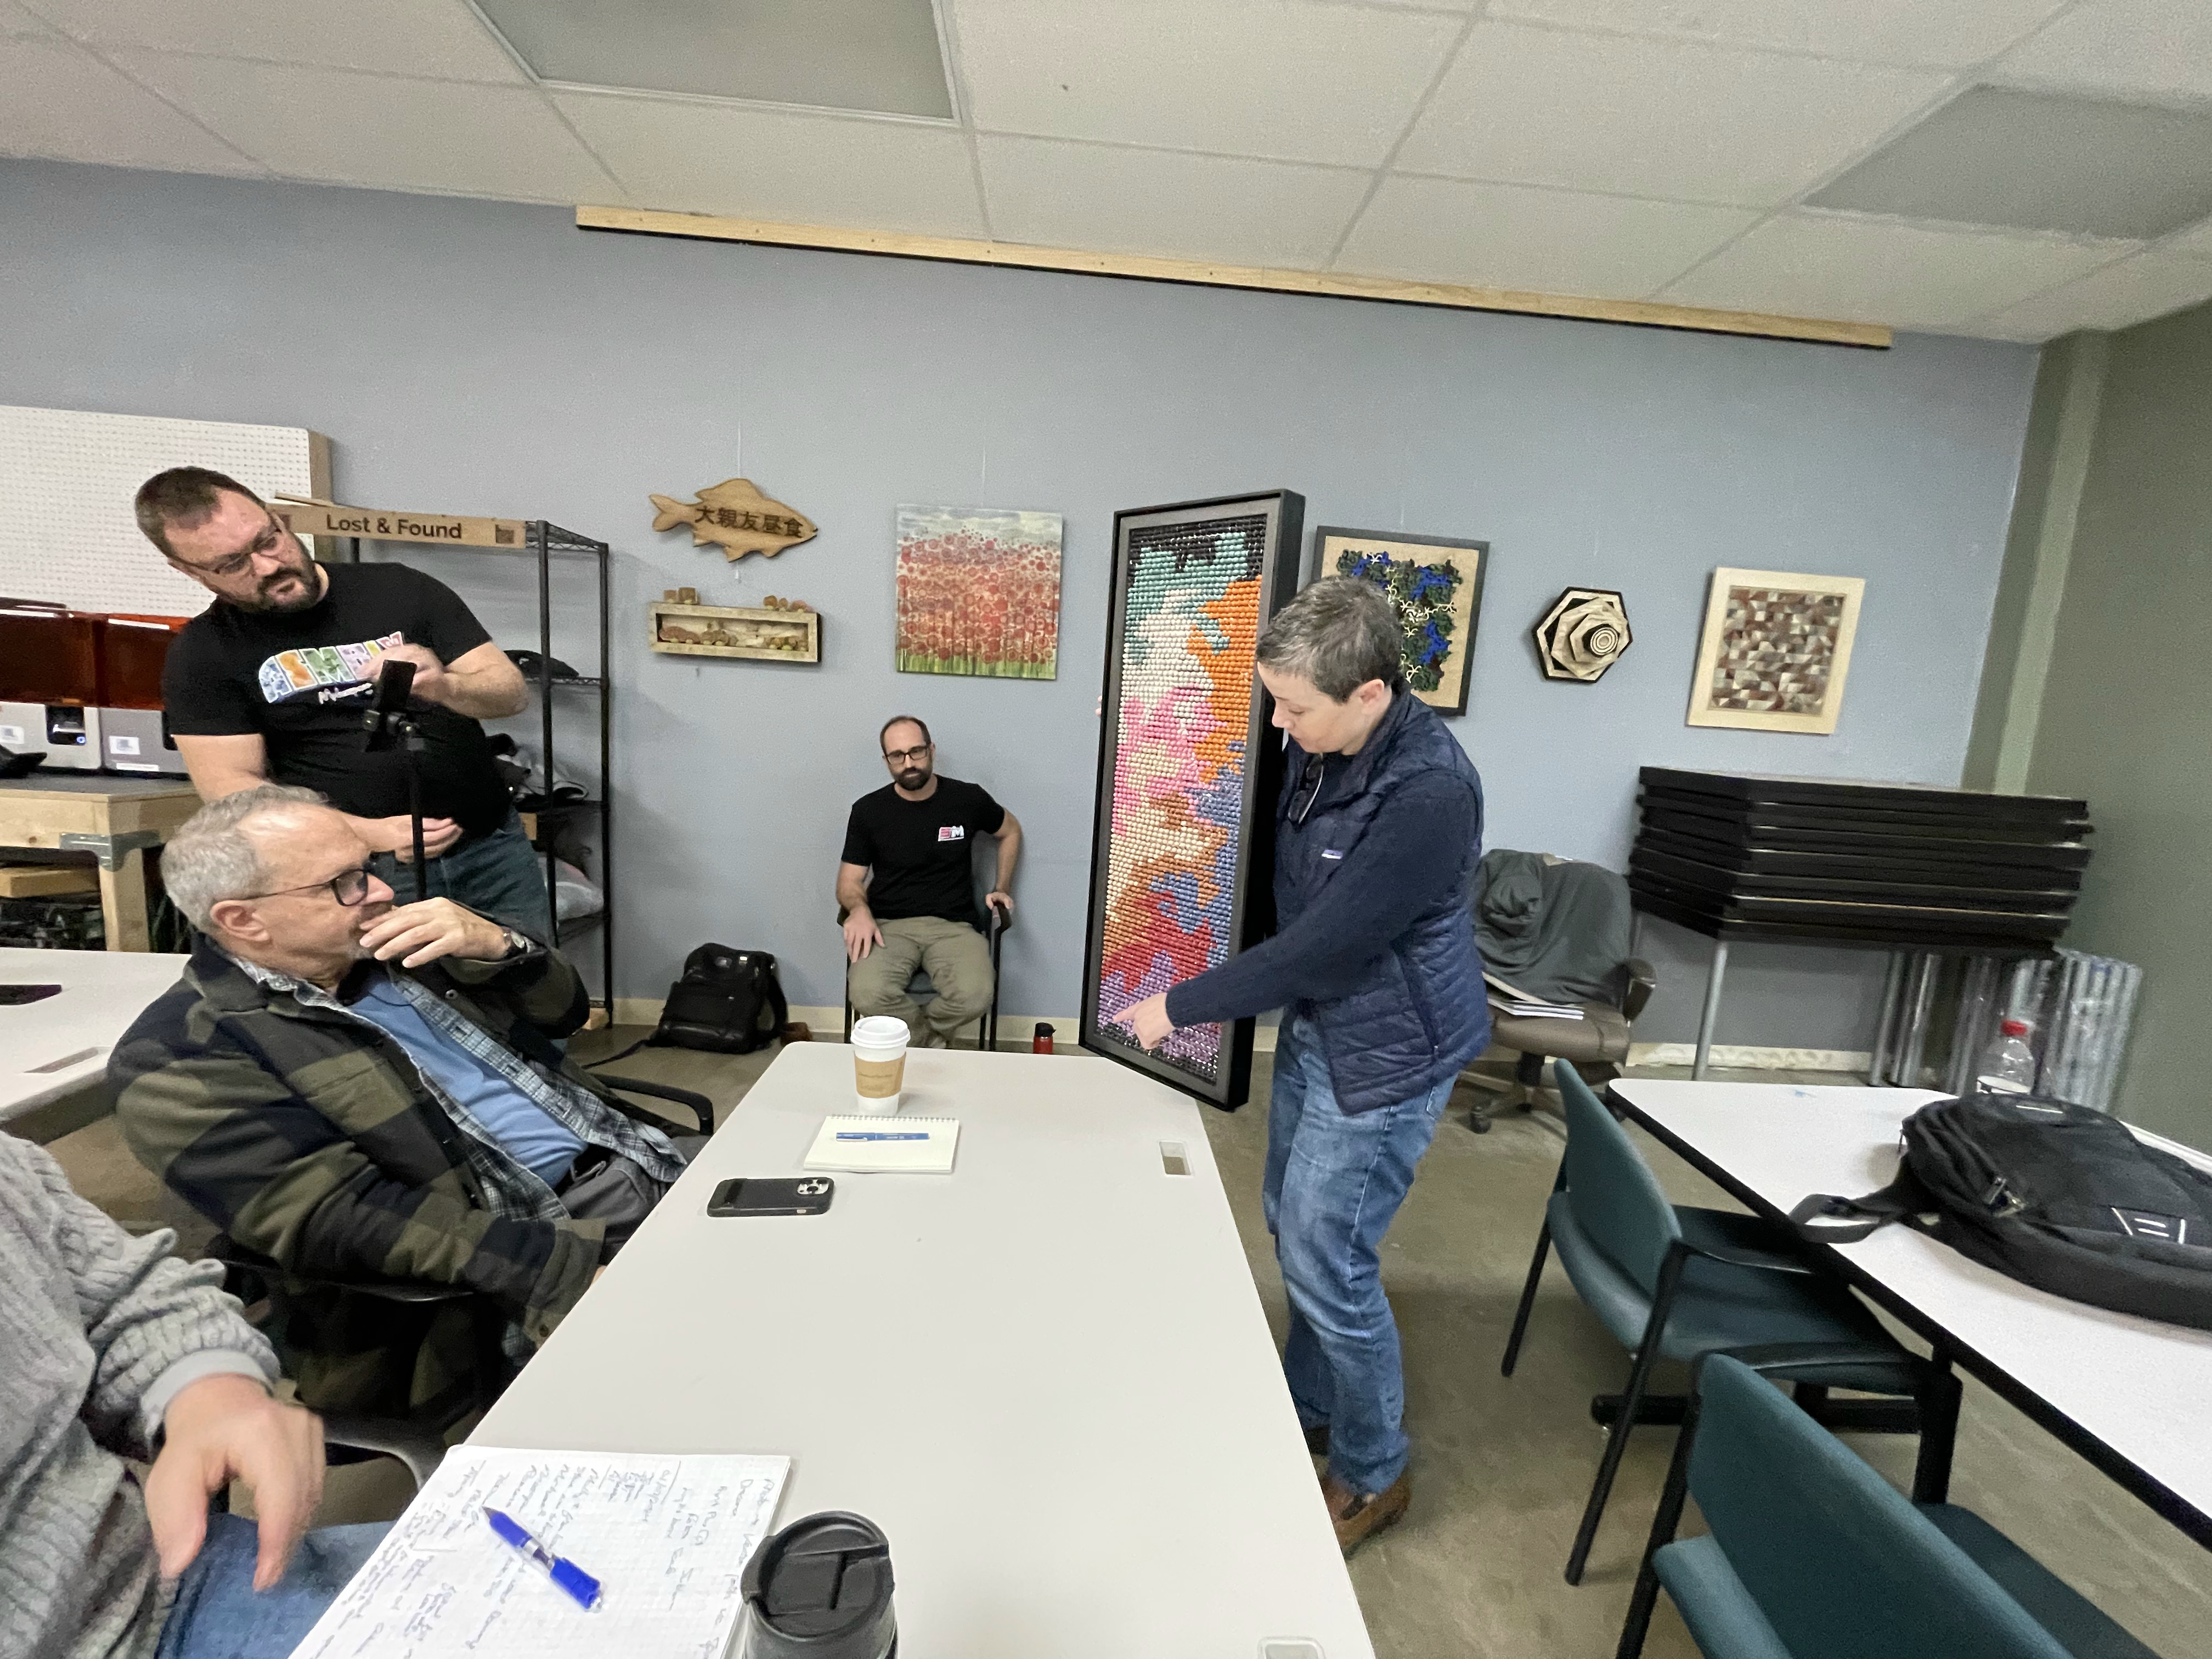
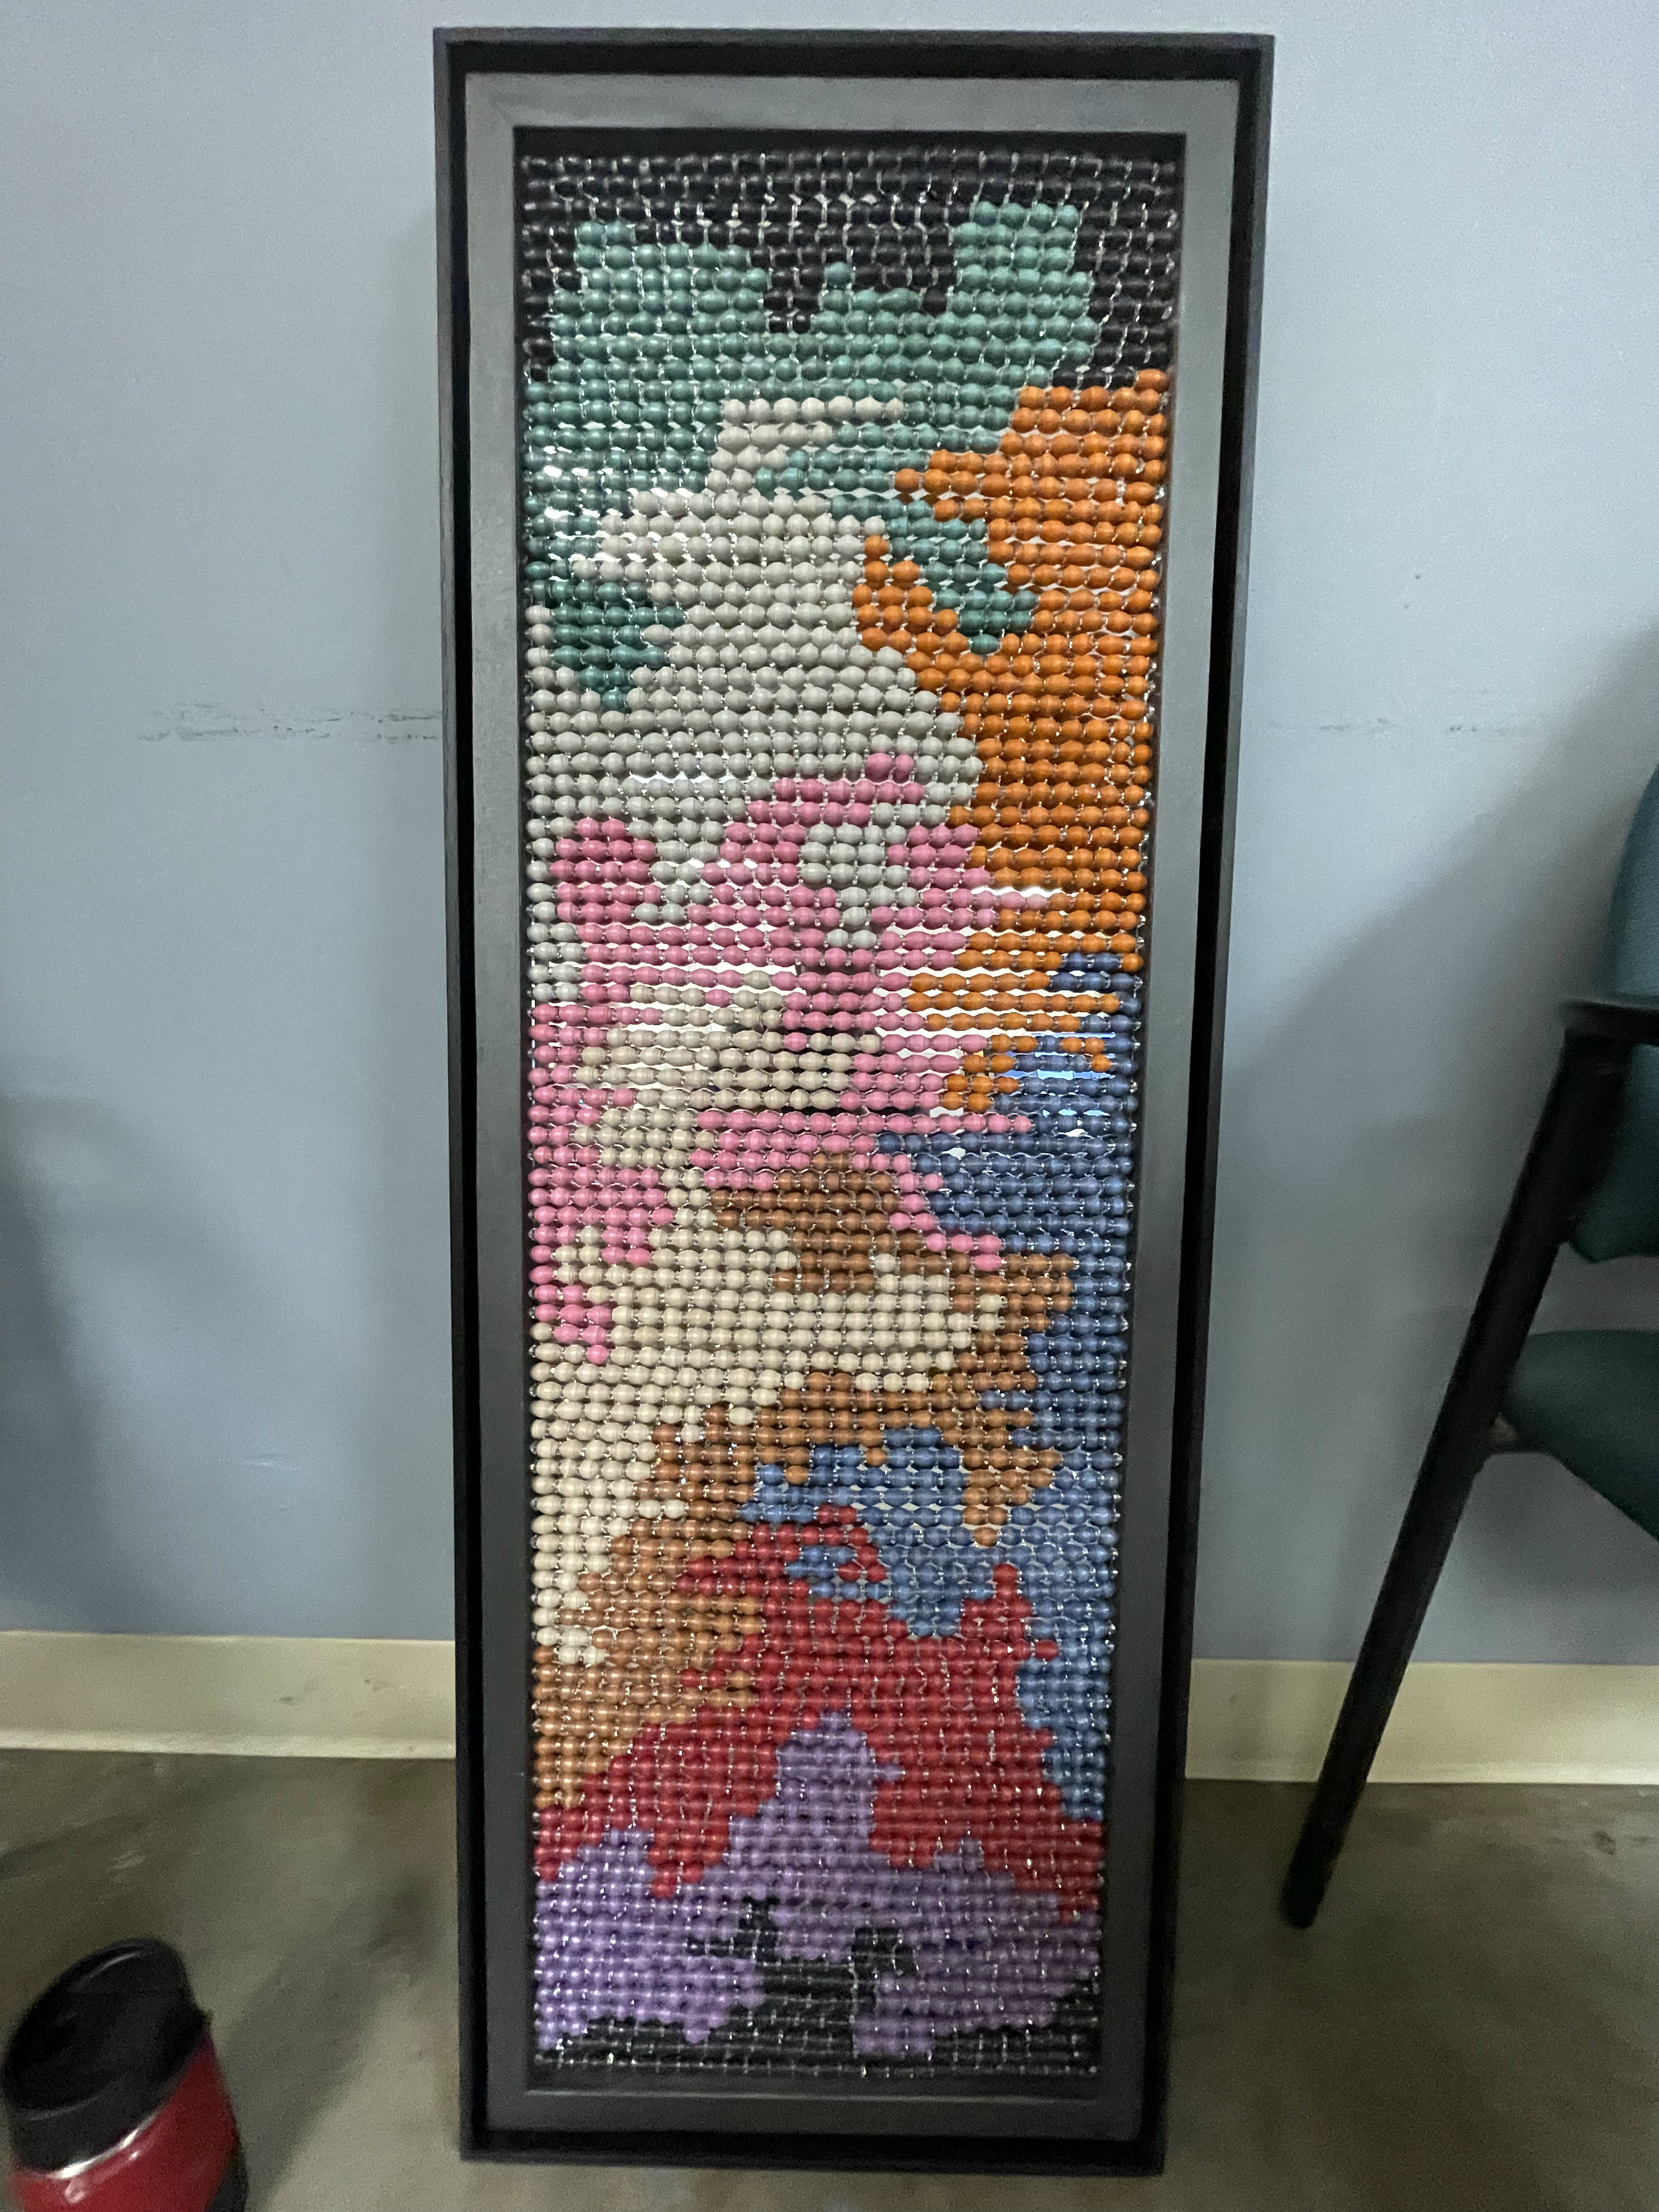
She used the CNC to cut all the holes in her beads, which made the process a lot more convenient and less tedious. She used the drill toolpath and managed not to set the spoilboard on fire. Slowly but surely, we’re figuring this stuff out! :stuck_out_tongue:

After that @atwatsoniii showed us the interesting bowl he’d been working on using Fusion 360.


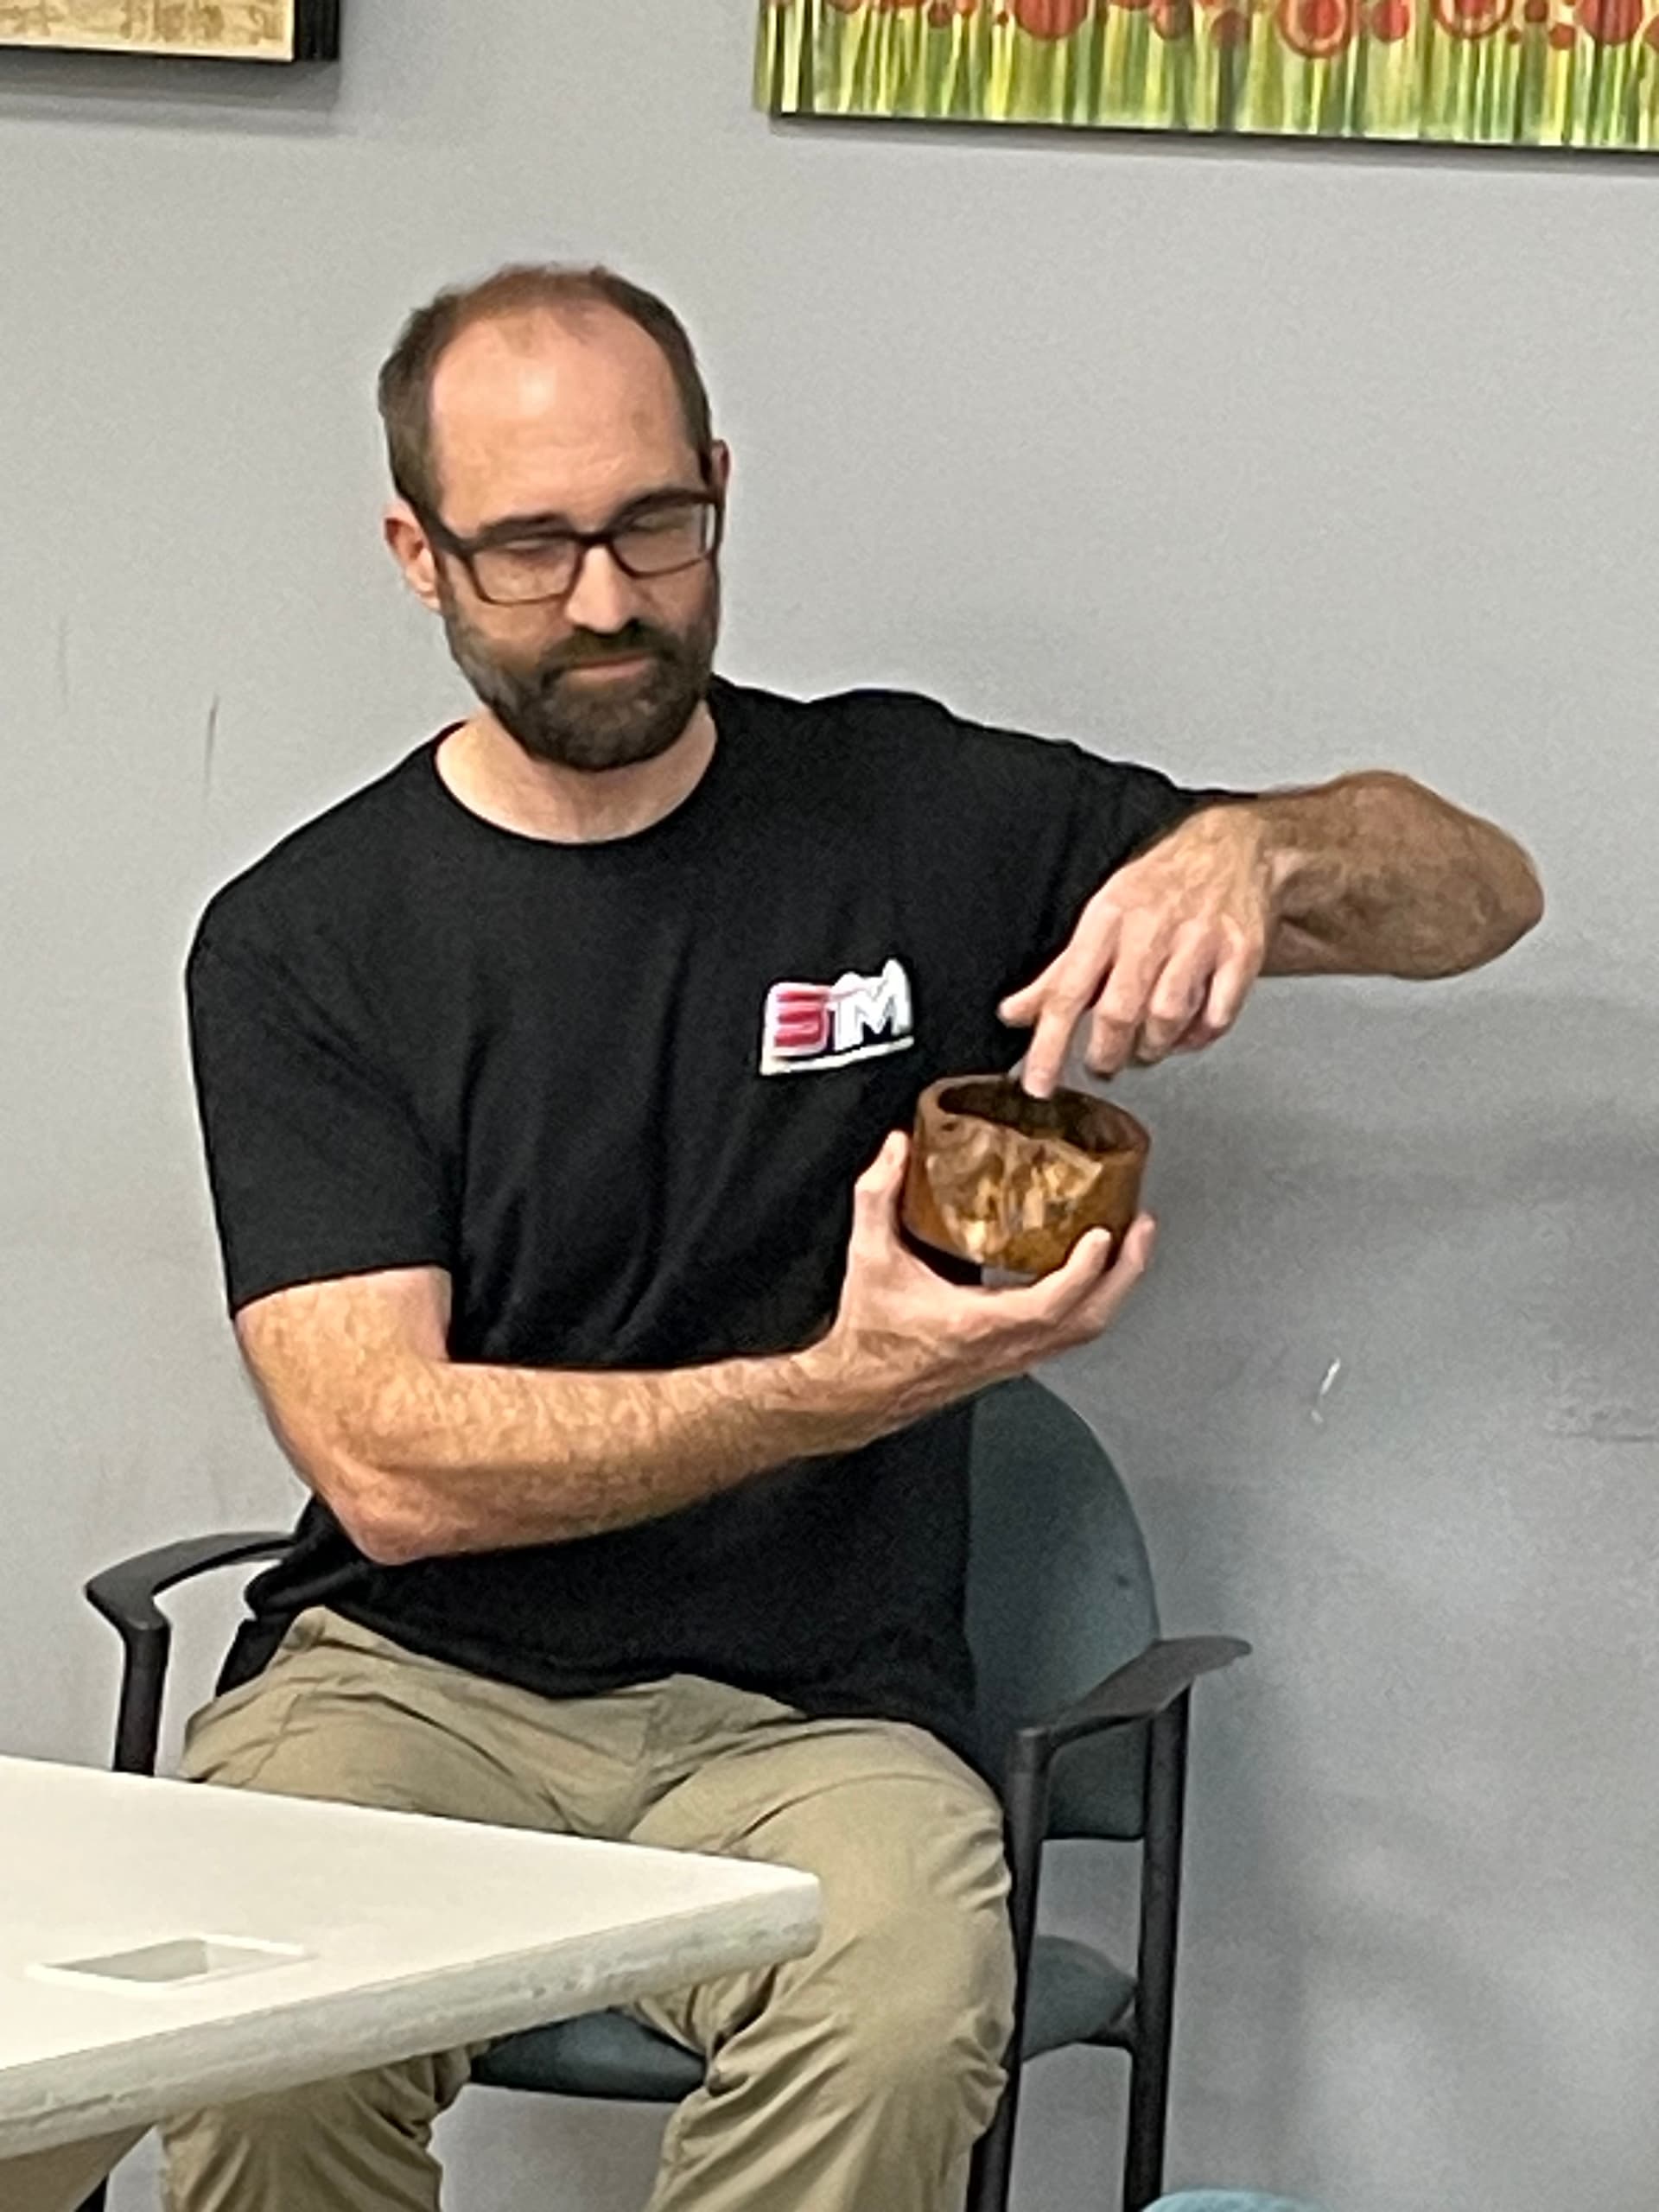
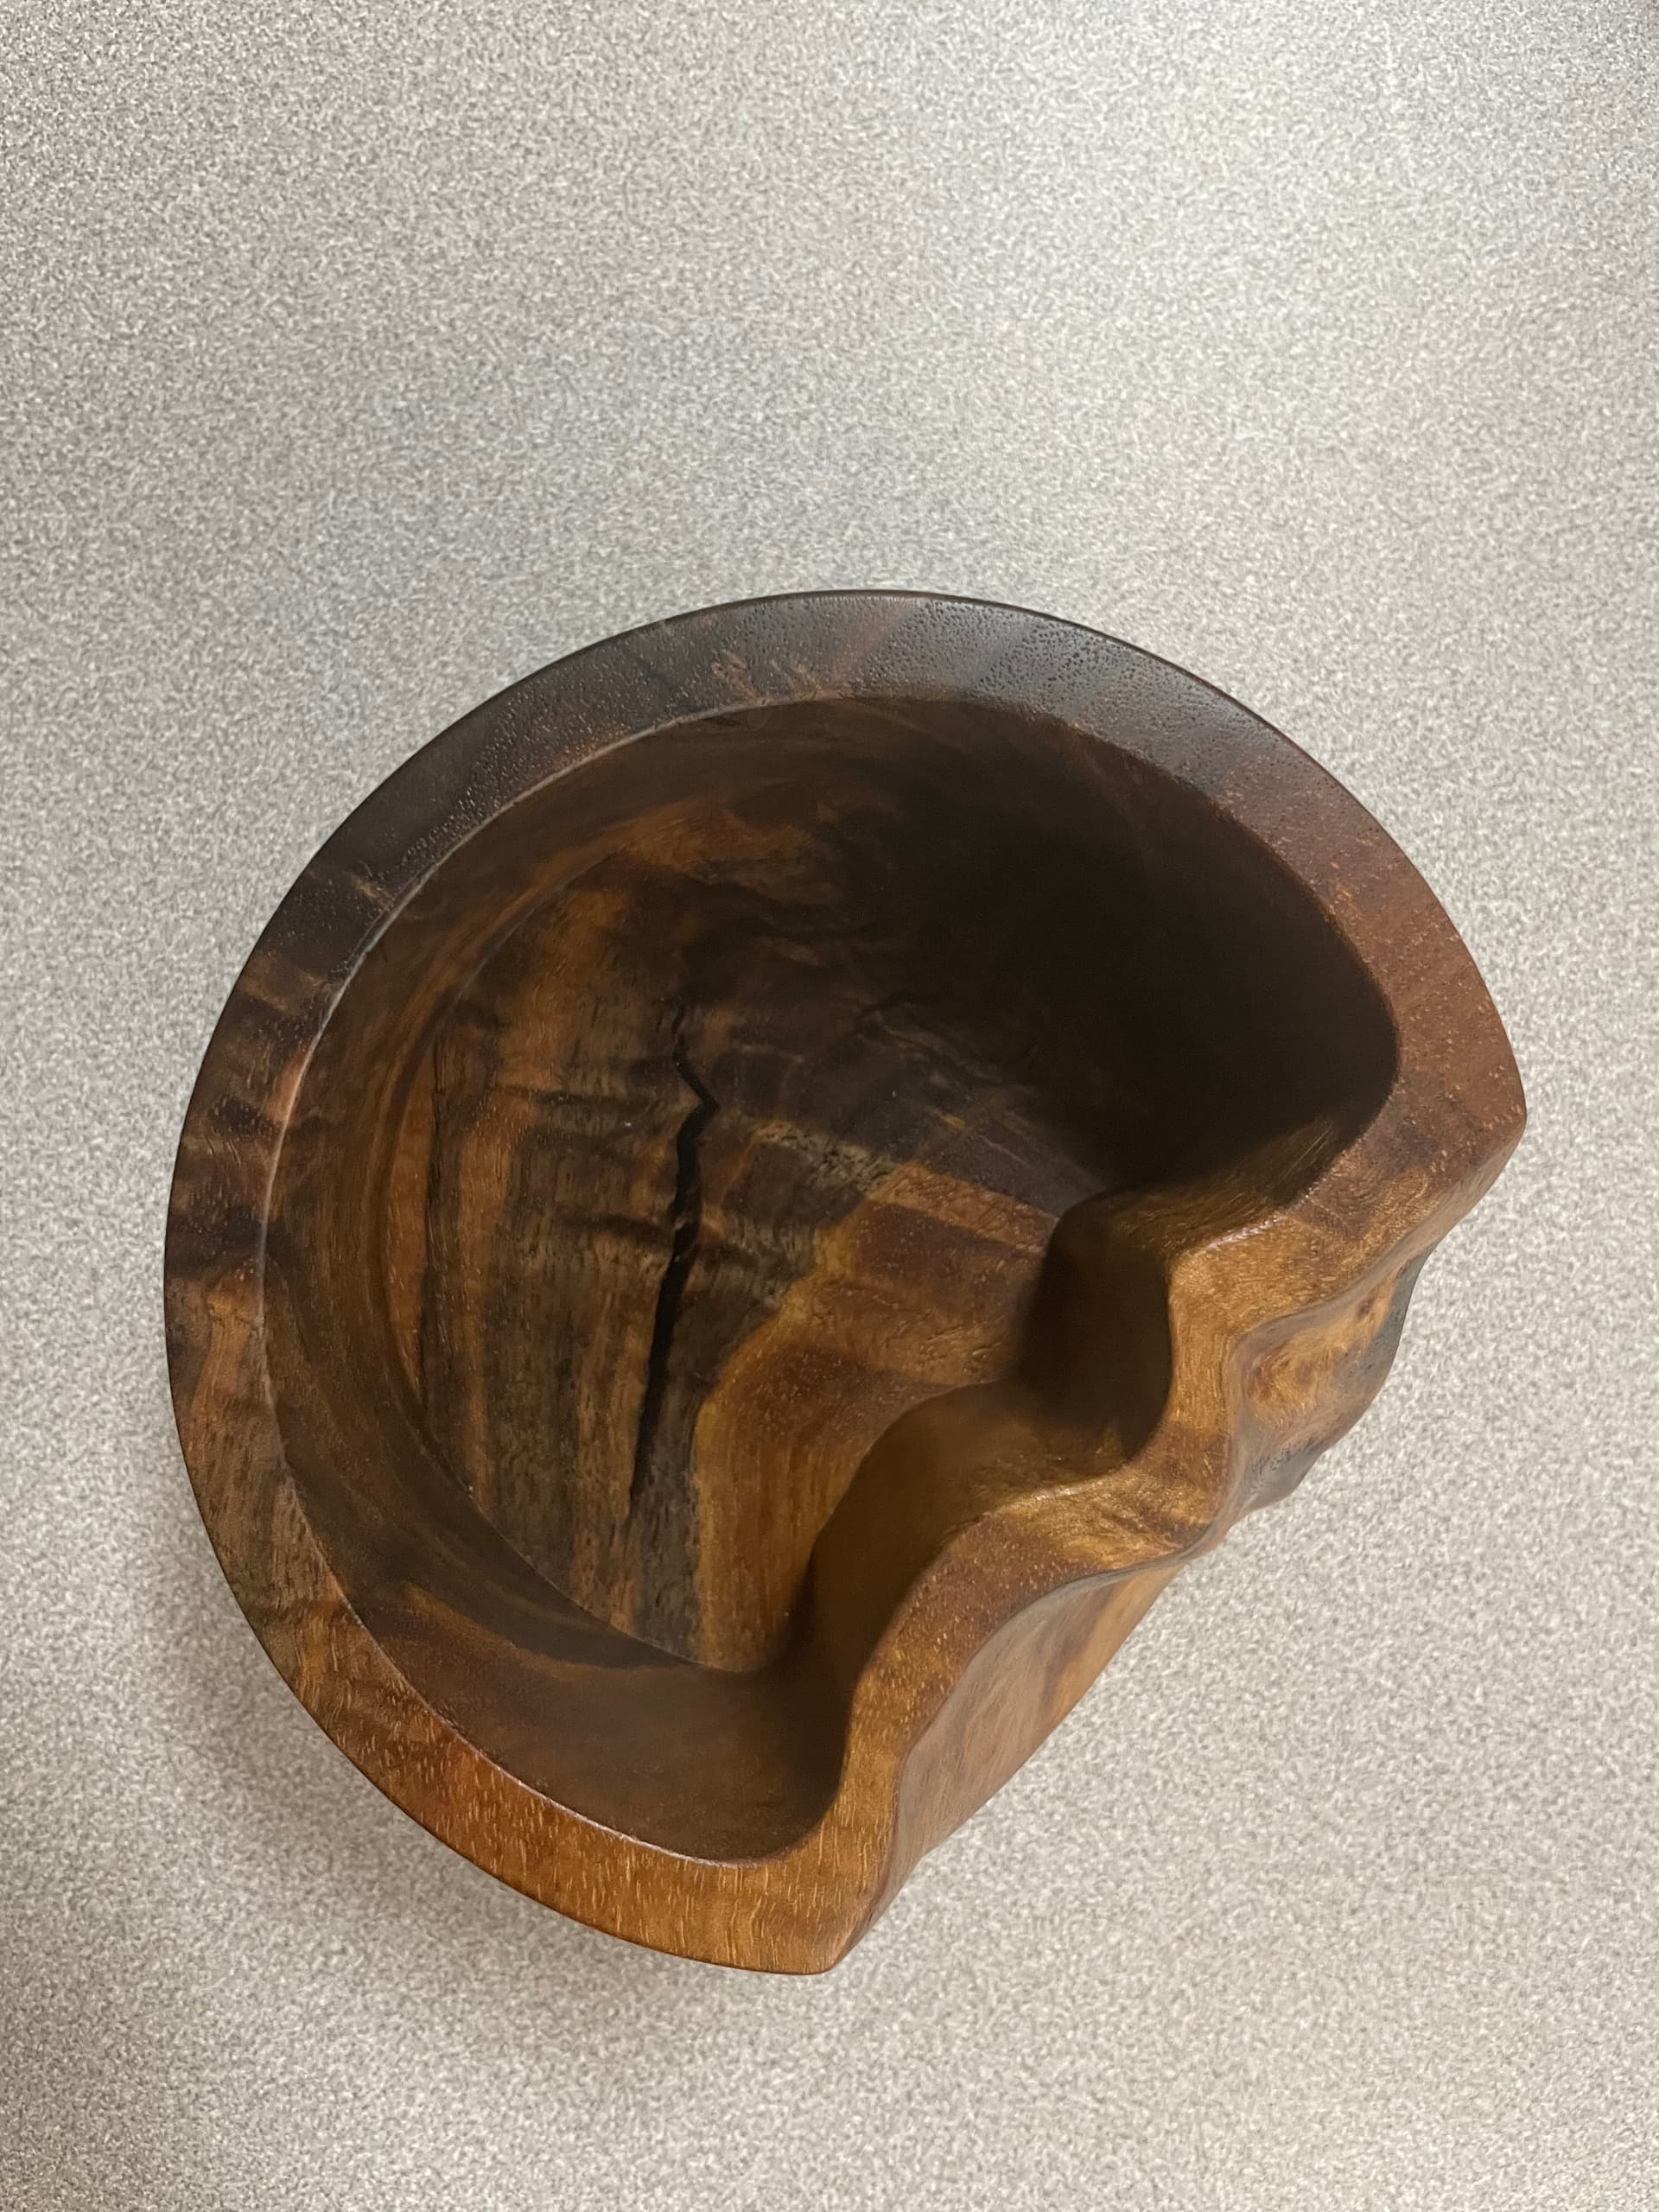
Al used an aspect of Fusion 360 where you can take a picture of the bowl and have it line up its location. That way he could tell the CNC machine where to cut the workpiece after he’d already made updates to it and moved the workpiece around. That would’ve been super helpful for me when I was screwing around with my epoxy and not knowing how to line up my workpiece last Saturday night at 1am. @atwatsoniii, where were you again at 1am?!

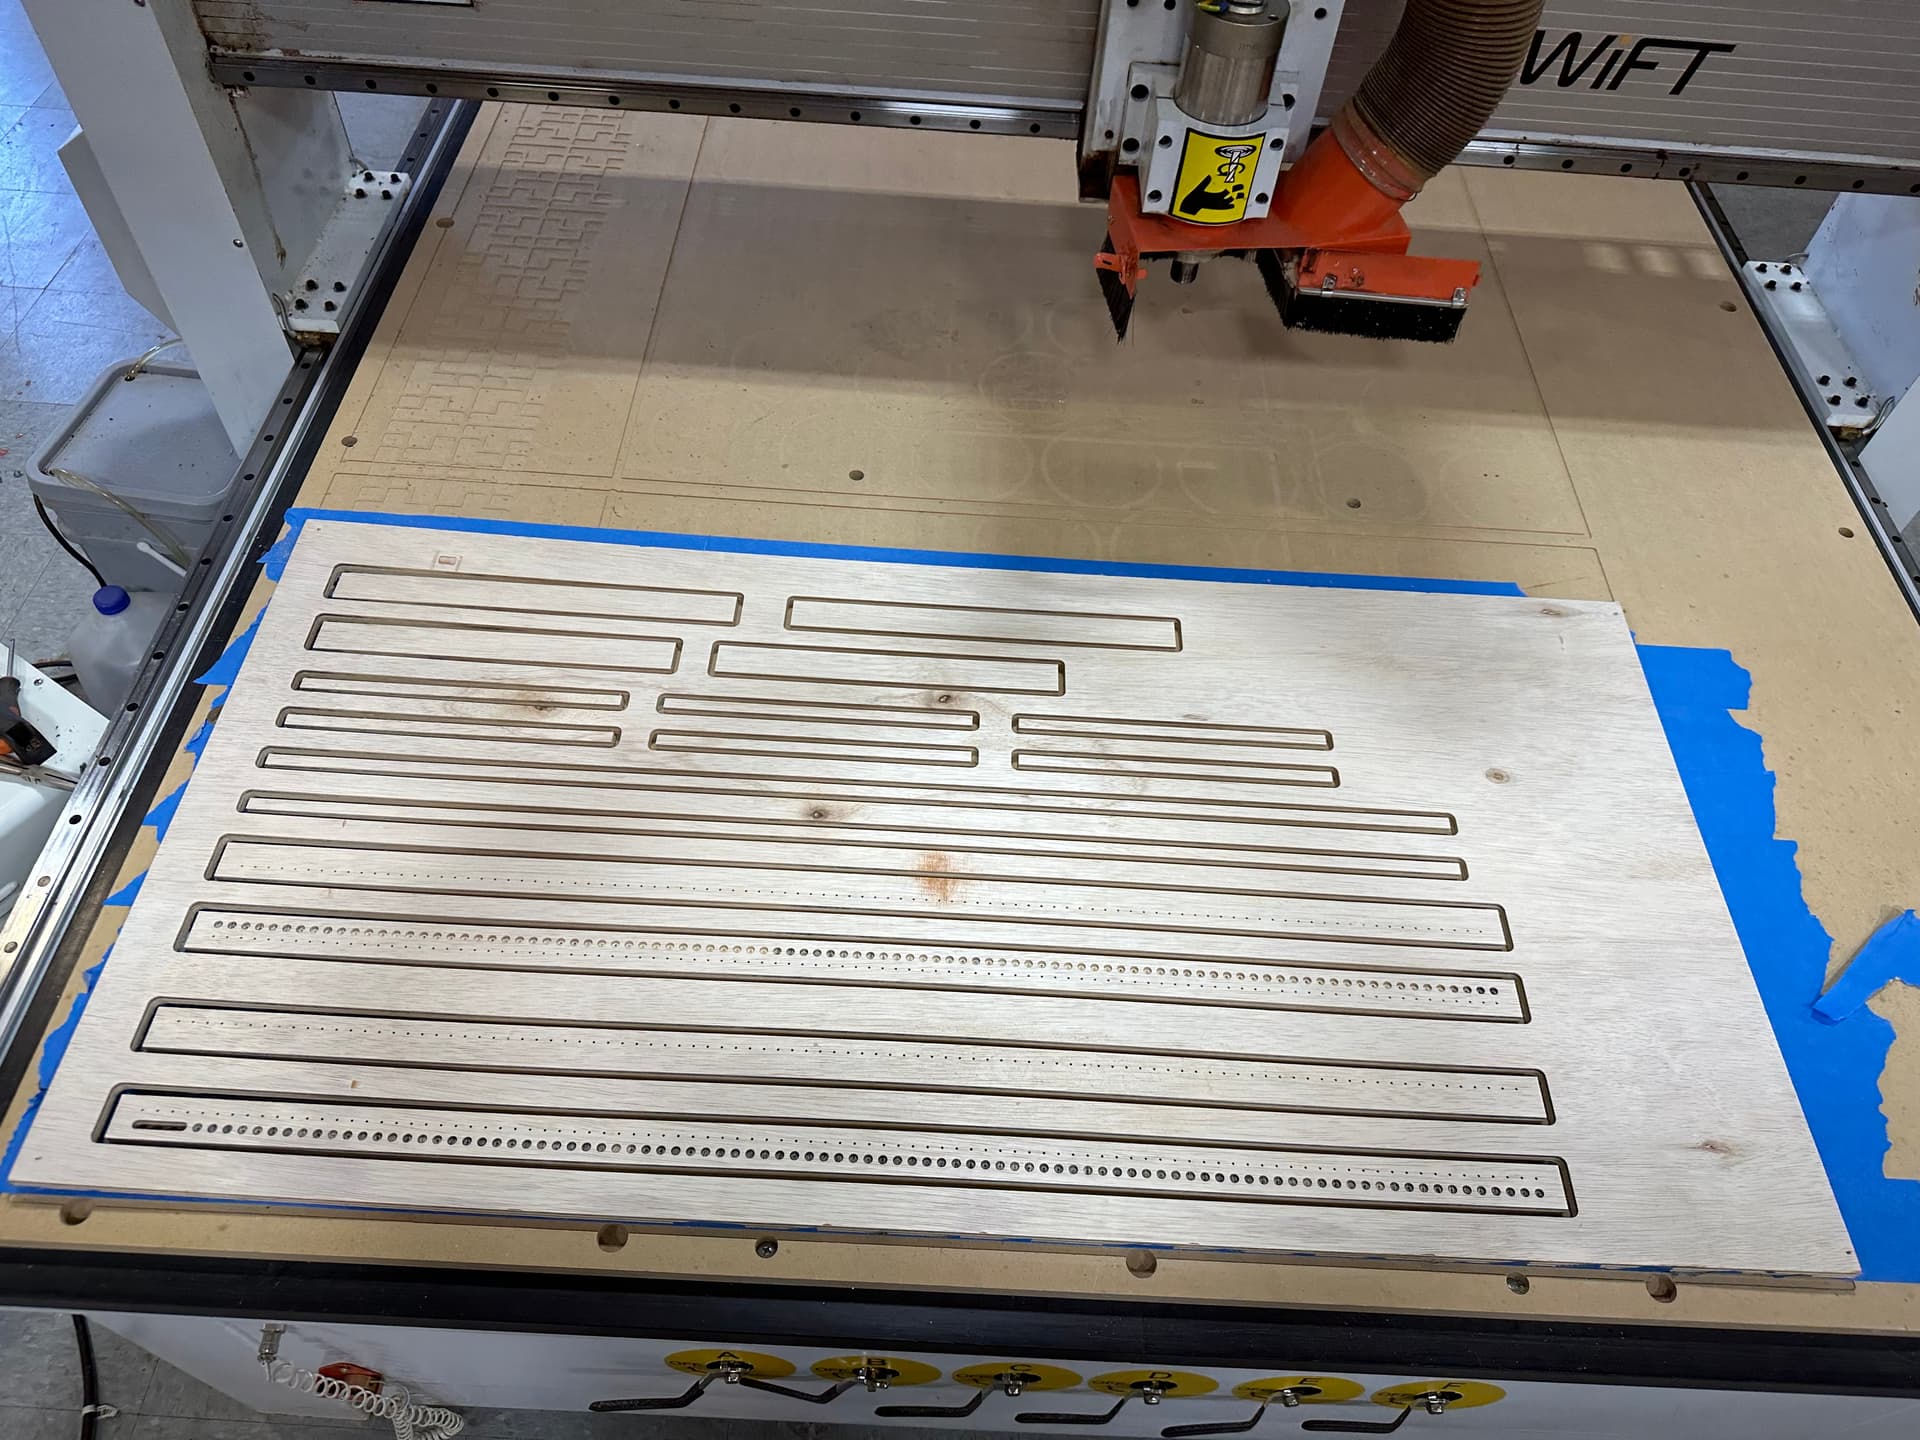
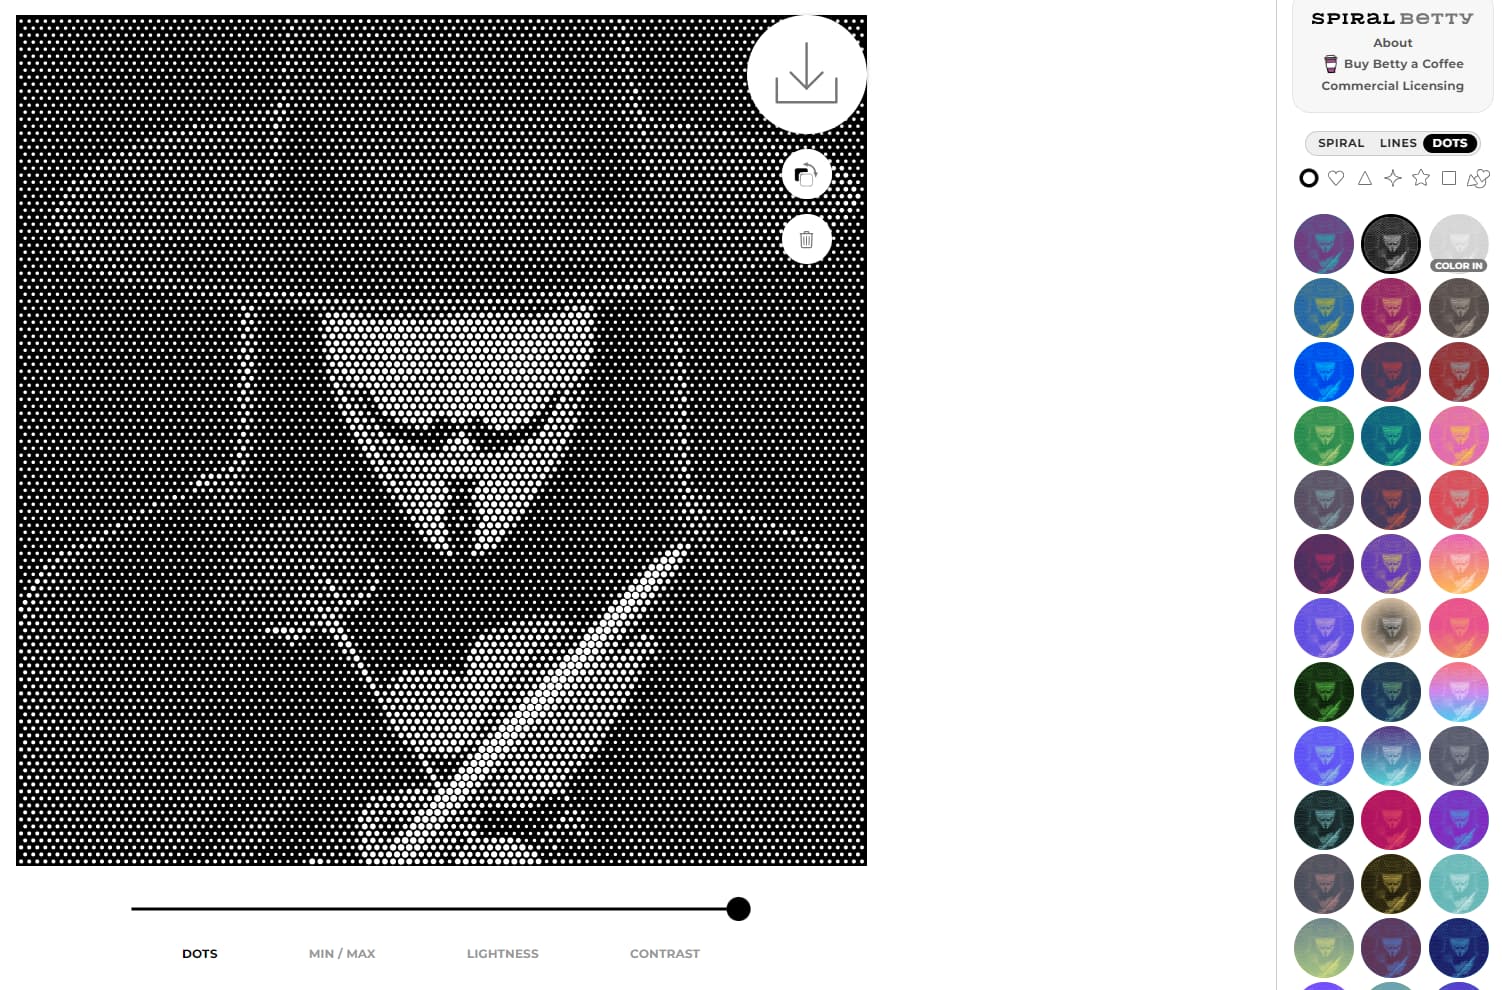
Afterwards we had @SteveW share with us how he was inspired from last month’s meeting & wanting to use the spiral betty technique to create some more CNC art.


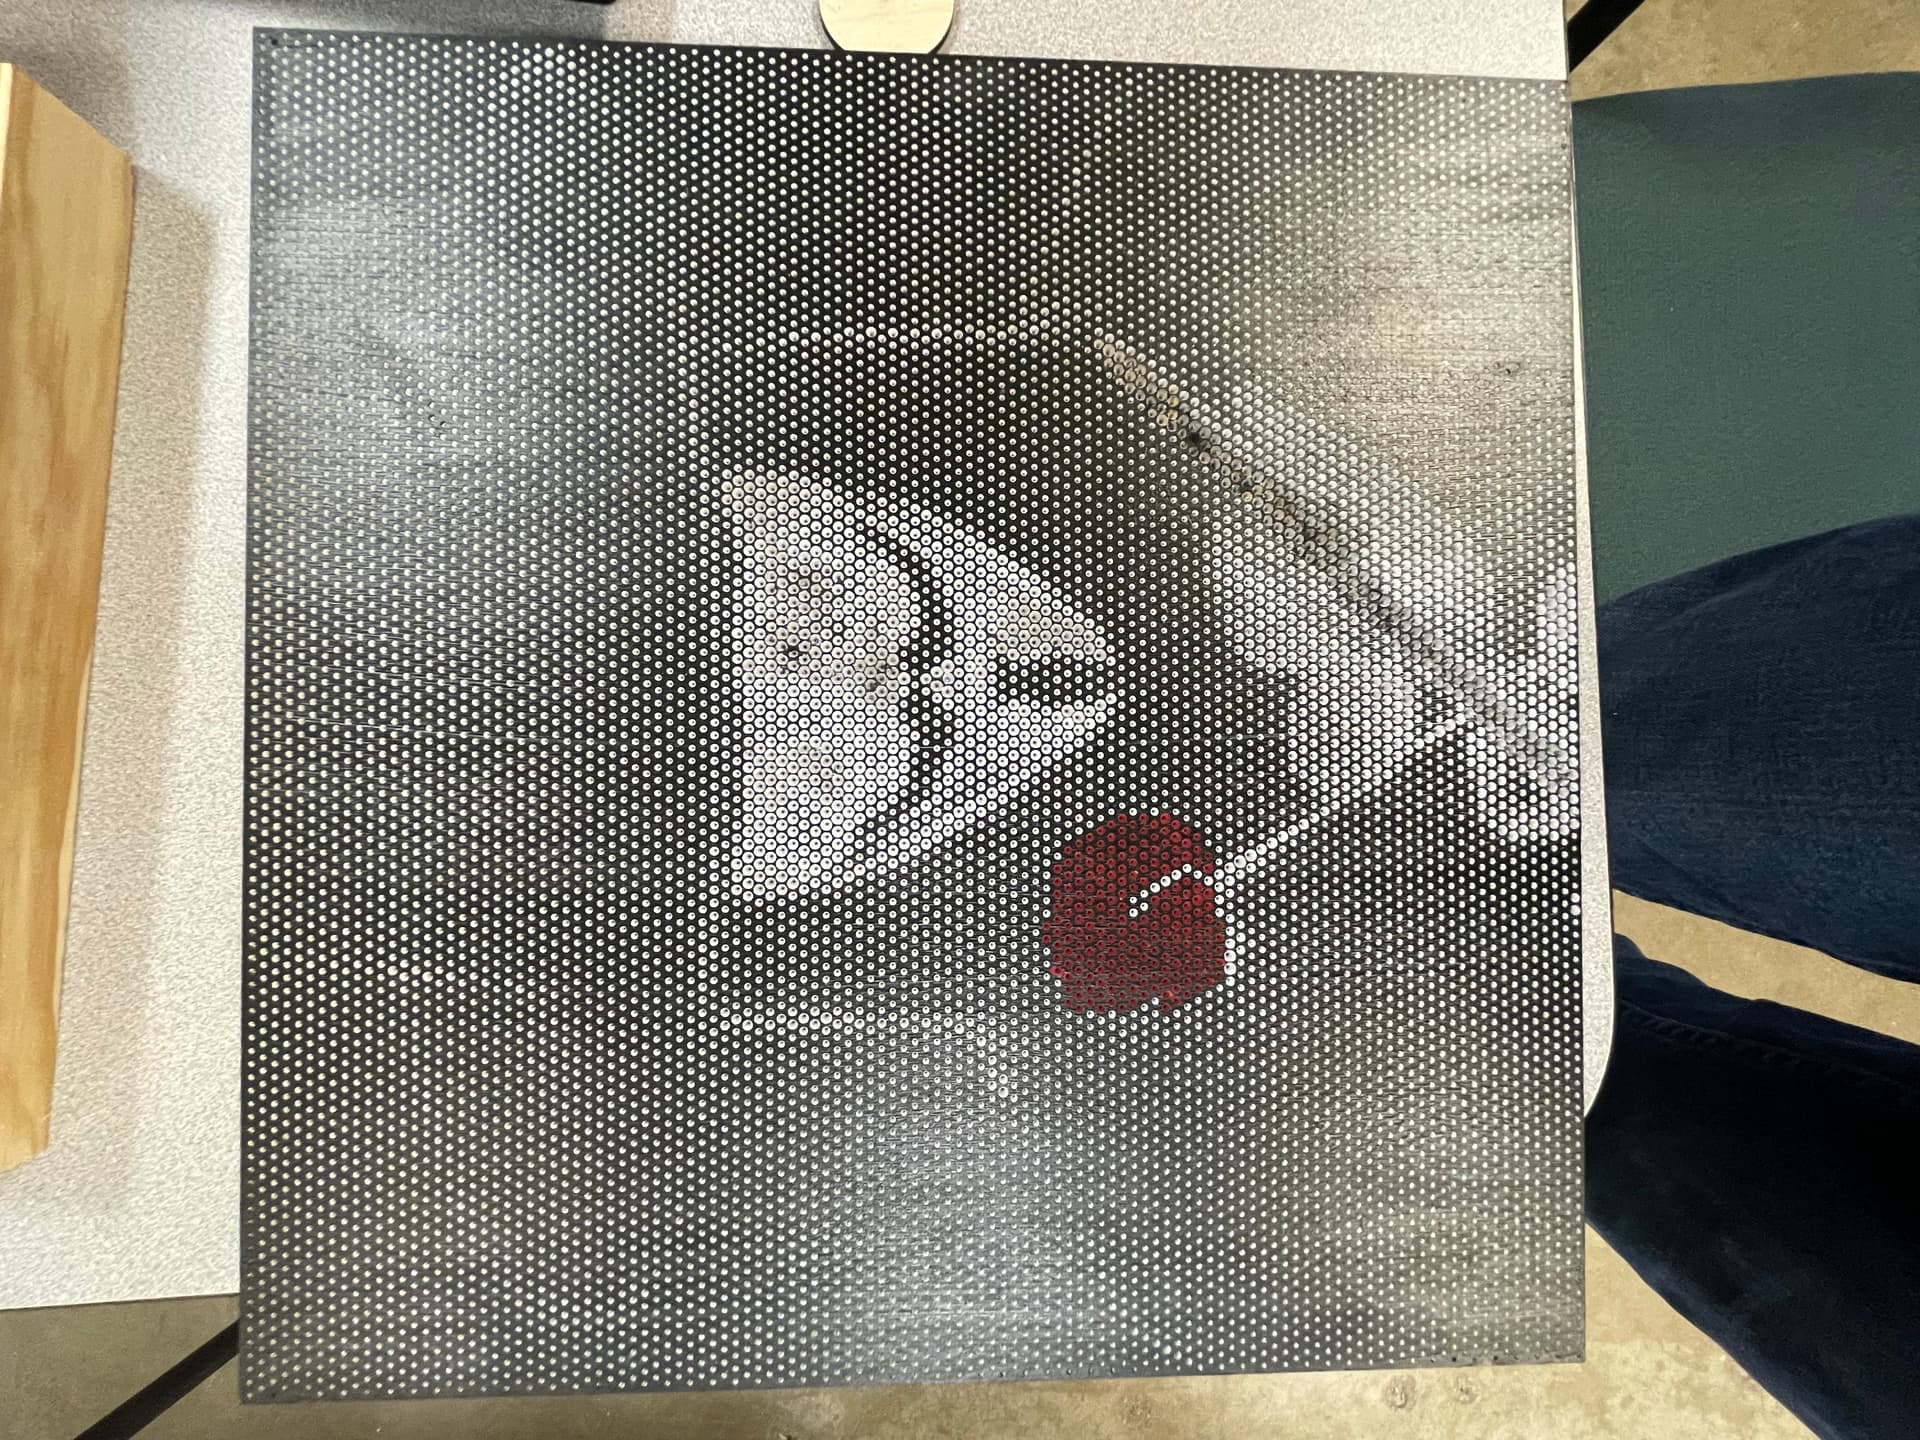
He did this by using a carbide end mill with a fine tip and making tiny little holes in the workpiece. Feel free to check it out onsite and ask him more about it when you get the chance.

Finally, @jamesfreeman shared with us another useful technique in vCarve 11.5: The ability to freehand draw.

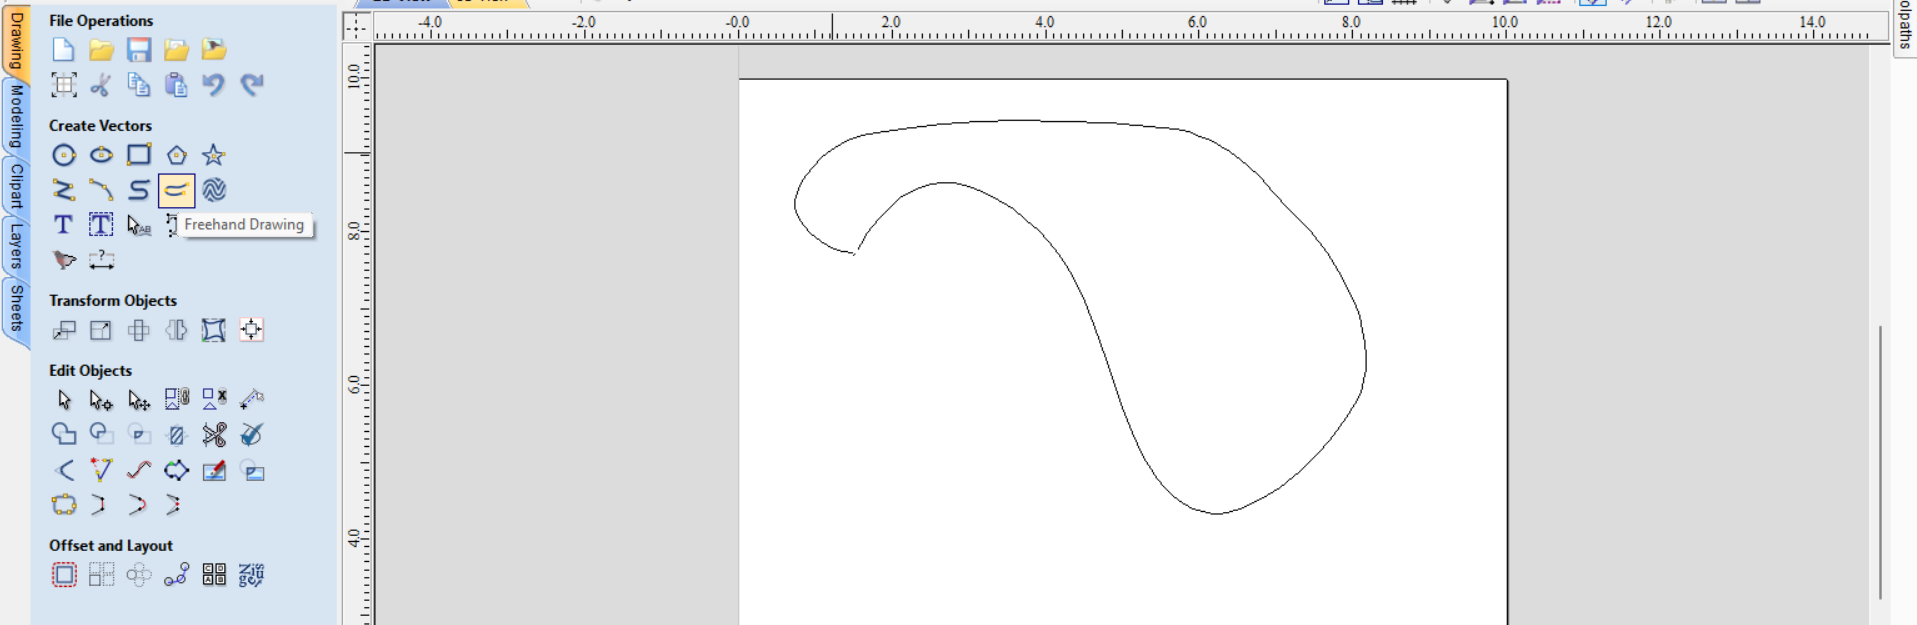
This way we can get as creative as we want. He also shared with us another terrific website which allows us to create a vector file using a photo and colors! The website is here: https://pbnify.com/

Thank you to everyone else who came and learned with us. A big shoutout to @jamesfreeman and @Iammikecohen for working through the technical aspects of the meeting many, many hours the night before. We’re aiming to expand our Special Interest Group (SIG) offerings, and I invite you to look into the brand-new Laser SIG @Iammikecohen is having at 11am on January 21st.

Also, for the next meeting our theme is a 1-day build. This means we want you to build anything that takes 1 day or less working time. Epoxy drying/curing, or anything where you have to ‘sit-and-wait’, doesn’t count towards the 1-day build. Feel free to partner up with others in a joint effort. And there will be a prize, so get to cooking up some amazing alfredo chicken in that CNC kitchen you got!

Looking forward to seeing y’all Sunday, February 4th at 9am at Asmbly for our next meeting. Stay warm & out of the wind!

2 Likes

Excellent write-up, Joaquim!

2 Likes

@SteveW Spiral betty generates a PNG, how did you turn that into something that vcarve could use?

Thanks for the write-up and video Joaquim

1 Like

Some detail of the parts of my project at the CNC stage. Nearly 600 perfectly spaced perfectly straight drill holes that acted as the anchors on either side of my piece to hold the metal wire. The larger holes are where screws were (mostly) inset to hold everything together. Doubles of everything because the 1/16" drill bits were so short that i had to make it with 1/2" plywood

3 Likes

I’ve received a bunch of direct questions on the process I used so borrowing a page from @stepho I thought I’d do a project writeup to hopefully answer them.

I was inspired by this video (check out this guy’s channel for cool projects and some great videography):

There was no way I was going to drill 50k+ holes by hand like he did. This is why we have a CNC.

Next was picking an appropriate visual to create. Without getting political, V for Vendetta has been really resounding with me recently since 2024 is an election year. I found an image off the internet that would work and then made use of the Spiral Betty website @jamesfreeman showed off in our December CNC SIG meeting. After uploading my pic, I choose the options for Dots-min dot size-color in - reverse colors to achieve this which I exported as a SVG file:

Next up was importing into Carveco Maker and setting up my tool paths. I had 3 tool paths - 1) a V-carve for just the rose portion, 2) a V-carve for the remainder, and a profile toolpath to cut the whole thing out once completed. I used a Spetool 60 degree V bit (W06001 1/2" on 1/4" shank) to basically peck away my holes. Simulation put my carve times at just under two hours. Actual carve time was closer to 5 hours (I need to work on my scaling settings for simulation within Carveco) mostly due to Z speed on my home CNC (Onefinity) being relatively slow and the fact that this carve was mostly up and down movements.

Now that the design was done, it came down to stock preparation, hold-downs, cutting and painting. I had a scrap of 1/2" MDF in the garage that I painted with black acrylic paint, laying it on a bit thick. Once dried, I then put some wide blue painters tape over the surface and ran my Rose V-carve tool path. I used screws to hold the piece to my spoilboard and never changed my XY origin once set. I then filled the resultant holes with a red spray paint. See these pics:


I gave the red paint a bit to dry and then applied additional blue painters tape over the red portion and ran my remainder V-carve tool path. This was the slow part clocking in at about 4.5 hours. I took a short video of it to upload but am having problems uploading it to Discourse.

Once that was complete, I filled the resultant holes with silver spray paint. I then switched to a 1/4" compression bit (Jenny for the win! https://www.cadencemfgdesign.com/shop) and made my square profile cut. I painted the fresh edges with more black acrylic and decided to try to touch up some of surfaces where the mdf did not handle the v-carve very well (e.g., the sword). This was a mistake as I ended up filling some of silver filled holes and making it worse.

The final project is on the display desk in the entry at Asmbly if you want to see it.

Some thoughts and lessons learned:

  • I designed, cut and painted this entire project on New Year’s Day. If you stage and multi-task well, you can absolutely get projects accomplished. Go for it! I have a huge list on my markerboard at home of projects/techniques I want to get done this year and small projects like this are a great way to build momentum and a sense of accomplishment

  • MDF was not the right material to use for this project. I needed something that would withstand the holes better and have more structure in the resultant ridges. I once watched a video of someone pouring a basecoat of colored epoxy as a surface and then photo v-carving into that. I may try that at some point in the future

  • Inspiration and technique are important - file them away and keep coming to ASMBLY and especially the CNC SIG to learn from others. I watched the video posted above a few weeks before James showed us the Spiral Betty website in the SIG. It was only a few days after the meeting when my brain tied the two together and set me on this path. Just because you may not have an immediate use, store some of these inspirations/techniques that get shared away in the SIGs away for later use. I am already thinking about building a multi-layered lasered light box with LEDs using the PBNify site demonstrated in this month’s SIG.

Ok, this post is long enough. Hopefully this answered some questions on technique and inspired some others to make use of them.

I look forward to seeing everyone’s “project in a day” during show and tell at next month’s CNC SIG 2/4 at 9 am in the MPR. I have eight possibilities I’m deciding between right now and dependent on if we keep power during this upcoming cold snap I hope to bring a few with me to the meeting.

1 Like

Per my writeup below - you can export SVG files from Spiral Betty. I then used a V-carve toolpath to cut them out.

1 Like

If you download the PNG then use a design tool like Lightburn or Carbide Create or Vcarve to trace for your vectors. Lots of other options but most makers use one of these for laser/CNC projects.

All, I appreciate the detailed write-ups. Very inspiring. Thanks, Bri