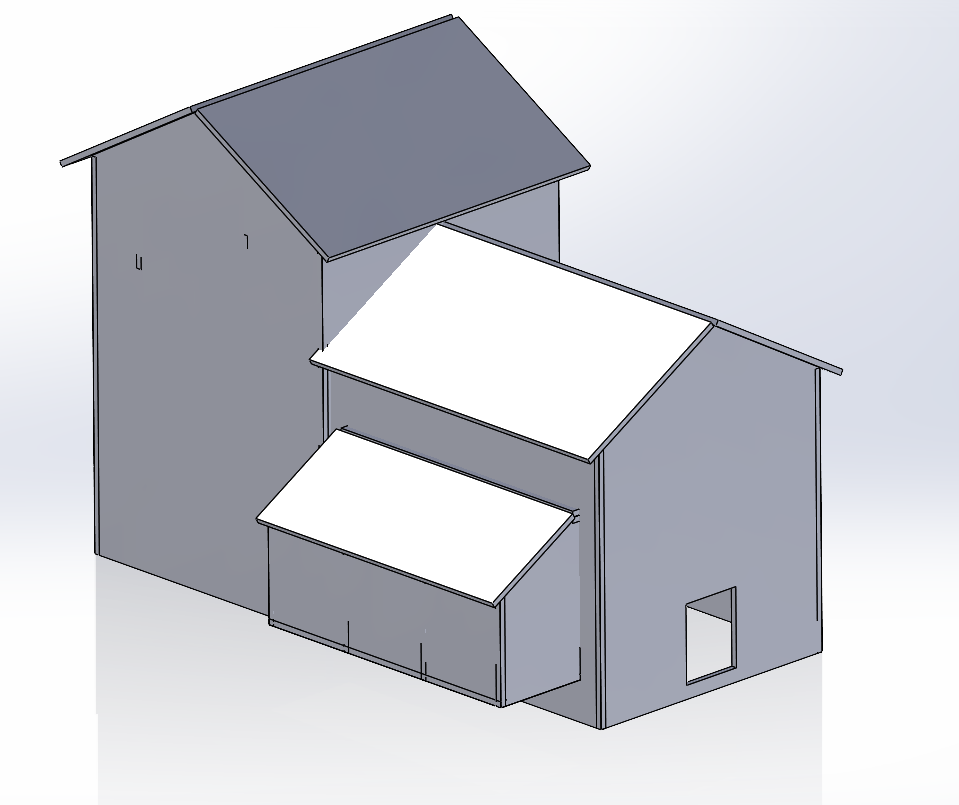

Designing it for 3/4 in plywood. I have never done cuts that thick on Tarkin before though I know it can. If anyone is interested I will give the files out for free to anyone who gives me a hand or I will probably sell them on Etsy for a few dollars after they are finished for anyone else.
2 Likes
I would suggest to go the CNC ir table saw route. In my experience, I have cut 3/4" plywood in Tarkin but is the baltic birch 5 x 5 (4 x 8 does not work), walnut, and some weird plywood I got from a crate. The cost of the above materials may not be in line for a chicken coop. Basically if the core of the plywood is soft, Tarkin will cut it (except marine plywood). I would not try cutting construction plywood in Tarkin or any laser. The probability of fire or mini pop explosions are rather high. The only uncontrolable fires (an extinguisher is needed) I have seen in a laser have been when people were using construction plywood.
1 Like
The reason I am hesitant to go the CNC route is the kerf of the bit creates a lot of limitations. I would prefer to use typical laser box style joinery for the construction. The smallest bit I would think reasonable for this amount of cutting would be 1/8th in. Also IME the CNC is pretty much never worth the time and effort for a one off. Not sure why you are saying 4 x 8 doesn’t work.
Another alterative is to construct it from 1/2in plywood which I feel would probably still have enough strength. I would have to do some testing. Can always design extra support for key areas
Something to keep in mind. Tarkin does cut thriugh 3/4 plywood, the laser desks are a good example of that.
That being said, a lot of things need to line up properly. The plywood type does matter, the machine needs to be functioning at the top of its game, meaning all mirrors and lenses need to be im good shape, and your settings need to be spot on.
Again, this doesn’t mean it can’t do it, just a warning about checking the machine first. I believe some of the laser desks didn’t cut completely, leaving some manual work to be done. @valerie might remember this better. This might have been before the chiller was repaired.
@dannym might have more insight as well.
There has been other posts about the 4 x 8 baltic birch. I believe is actually chinese made and they use a different adhesive. Looking across on the layers the baltic/russian birch (5 x 5) is clear versus the other one has dark lines. When I tried it (4 x 8), initially did not cut through, after some focus, speed, and power adjustments, got it to cut through but did not get a consistent clean cut and the charred edge was rather bad. I did not mess too much with it (about 20 mins) and as i mentioned, other people have posted about this so I gave up and spent the $$ on the 5 X 5. Maybe you have more time and patience and make it work. On the 5 x 5 is rather consistent but you still get the places where it will not clean cut. I have also cut the prefinished plywood (desks in the laser room) but the focus, speed and power have to be right on and even then the cuts are not as consistent. If you run a second pass you will get very charred edges. Pointers: adjust the focus per the instructions on the book (i believe focus off 5mm). Have a smiley circle (2 or 3") cut a smiley, look at the edges, if not squared, adjust the kerf (double click on the line settings, middle of the page, you can go plus, going out with the angle or minus going in). Cut another smiley until you get a squared edge. If you have the kerf squared, your cuts are going to be more efficient. Why a smiley? If the lsaer can cut the close curve tolerances, a straight line is much easier.
3 Likes
Thanks for the tips. I’ll get some material to practice with and see if i can achieve satisfactory results
Yes, this was because of the chiller issues that have since been repaired (thanks @jamesfreeman!). The laser desks are 4x8 sheets of double-sided prefinished birch ply from Dakota. If the machine is at the top of it’s game, as James mentioned, then it cuts that just fine when focused closer to the material (use the focus stick to set it normal, then bump it down half the distance from there – make sure your material is very flat and monitor your cuts closely).
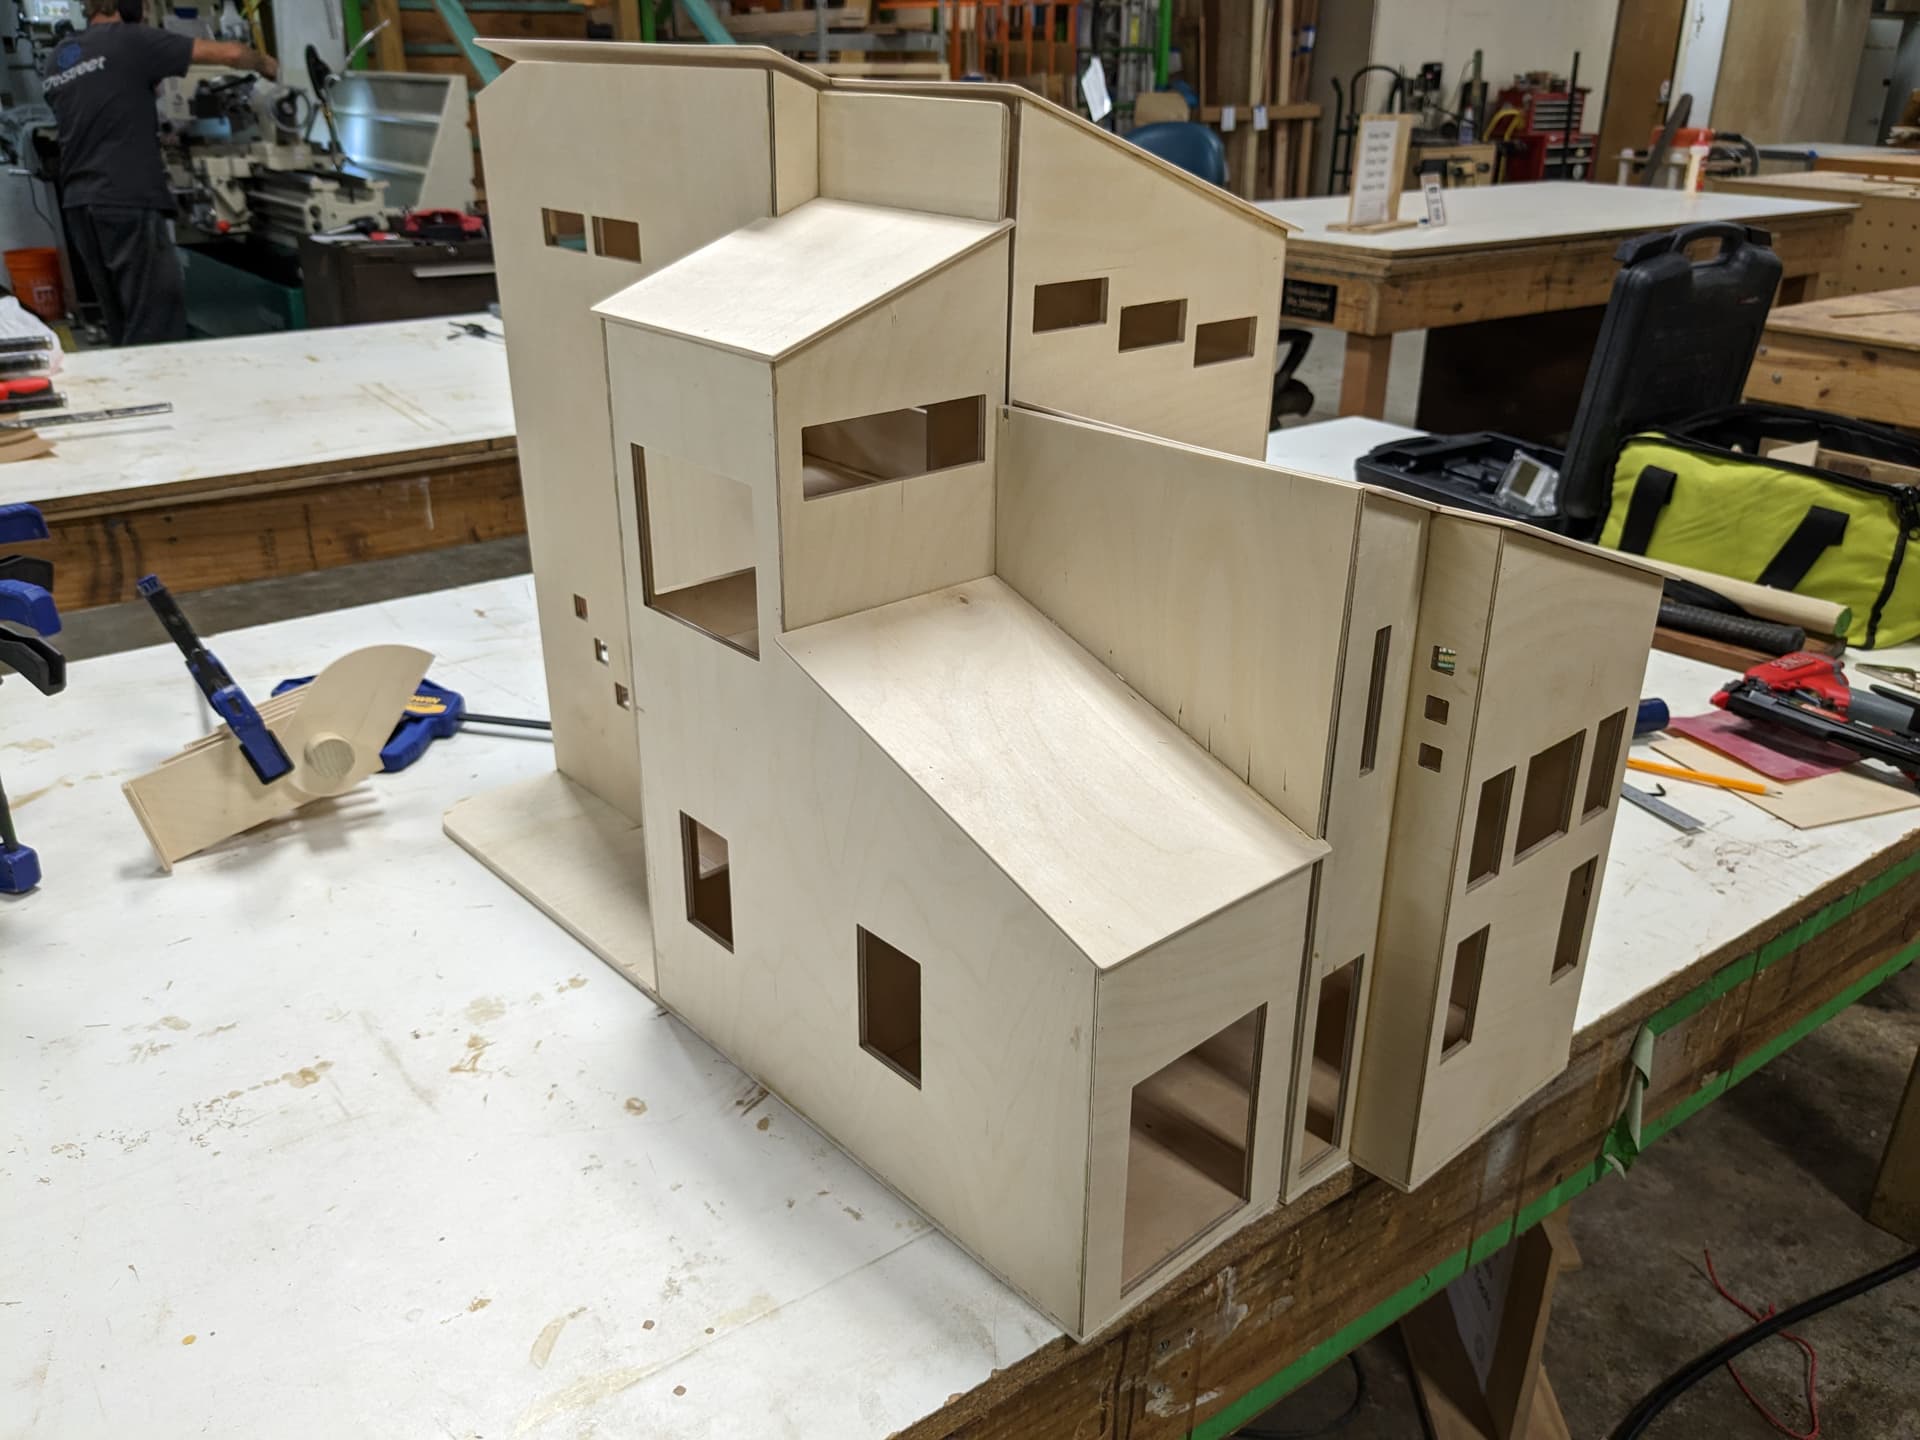
Hey, just wanted to chime in that I’ve created a dollhouse using the CNC that looks pretty similar to this plan, so if you end up going that route I can definitely provide some advice. You’re absolutely right that it took a really long time, but the results were worth it for my project at least. I used half laps in all the joints and they seem to be pretty solid.
3 Likes
I agree with these points- 3/4" ply is possible, but only if it’s certain types of plywood and the ones that work aren’t outdoor-rated plywoods. The other types of plywood, going slower will not help, it will char/ignite. It will also be quite slow for something this big even for ideal 3/4" plywood.
I no longer regularly recommend the focus-plus method very often (moving the work higher so the focal point is below the surface), but 3/4" plywood may be an exception.
More to the point, you mention you want to share the files on Etsy. Very few if any other makers have access too a machine with this beam quality and machine size to handle something of this size so this may not be useful to them.
A CNC would be much more practical. I’m not sure why the dogboning with CNC would be a dealbreaker, they can be quite small even with a 1/4" bit. 1/8" (or 3mm) 22mm O-flute can do this with really minimal dogboning gaps, they’ll close up without sealant just brushed on paint.
You might even be able to one-pass this if you get the speed and RPM right and snug the bit into the collet so the flutes end right where the collet begins. That sounds crazy, but the bit flexes due to the cutting force times the distance from the collet. So on a 22mm cutting length bit, taking say 3x passes 0.25" each (choosing this pass depth for numerical simplicity, that’s a pretty aggressive pass depth) does have significant flex at higher cutting speeds, but if we combine these 3 layers as one, the flex is much less than 3x higher. That’s because most of the material is higher on the flutes, closer to the nut, which proportionally reduces the bending/breaking stress from that depth. The single-pass method means that the bottom 0.5" to 0.75" of the wood contributes the same bending stress as one of the 0.25" passes, but the middle 0.25" to 0.5" only adds about 50% more stress, and the 0" to 0.25" part adds very little stress to the bit because it’s very close to the nut. So single-passing is higher stress for sure, but not 3x higher as it may appear, closer to just 1.5x higher.
2 Likes