Hi All, I am looking to try out some resin molding and from youtube university it seems like degassing the silicone before pouring is best practice. Does anyone know if there is a vacuum chamber, or pump at the workshop i could use?
Also if anyone is experienced doing 2 part molds for small parts I would be really interested to get any tips. It’s naïve to think I am going to nail it on the first try but hoping to not spend forever (and $$$) to get it right!
This is also something I am interested in using. I don’t have the space for both the pump and the chamber at home, and I’d rather use a decent quality community chamber than make a sketchy cheap DIY one.
re: experience molding small parts with 2 part resin
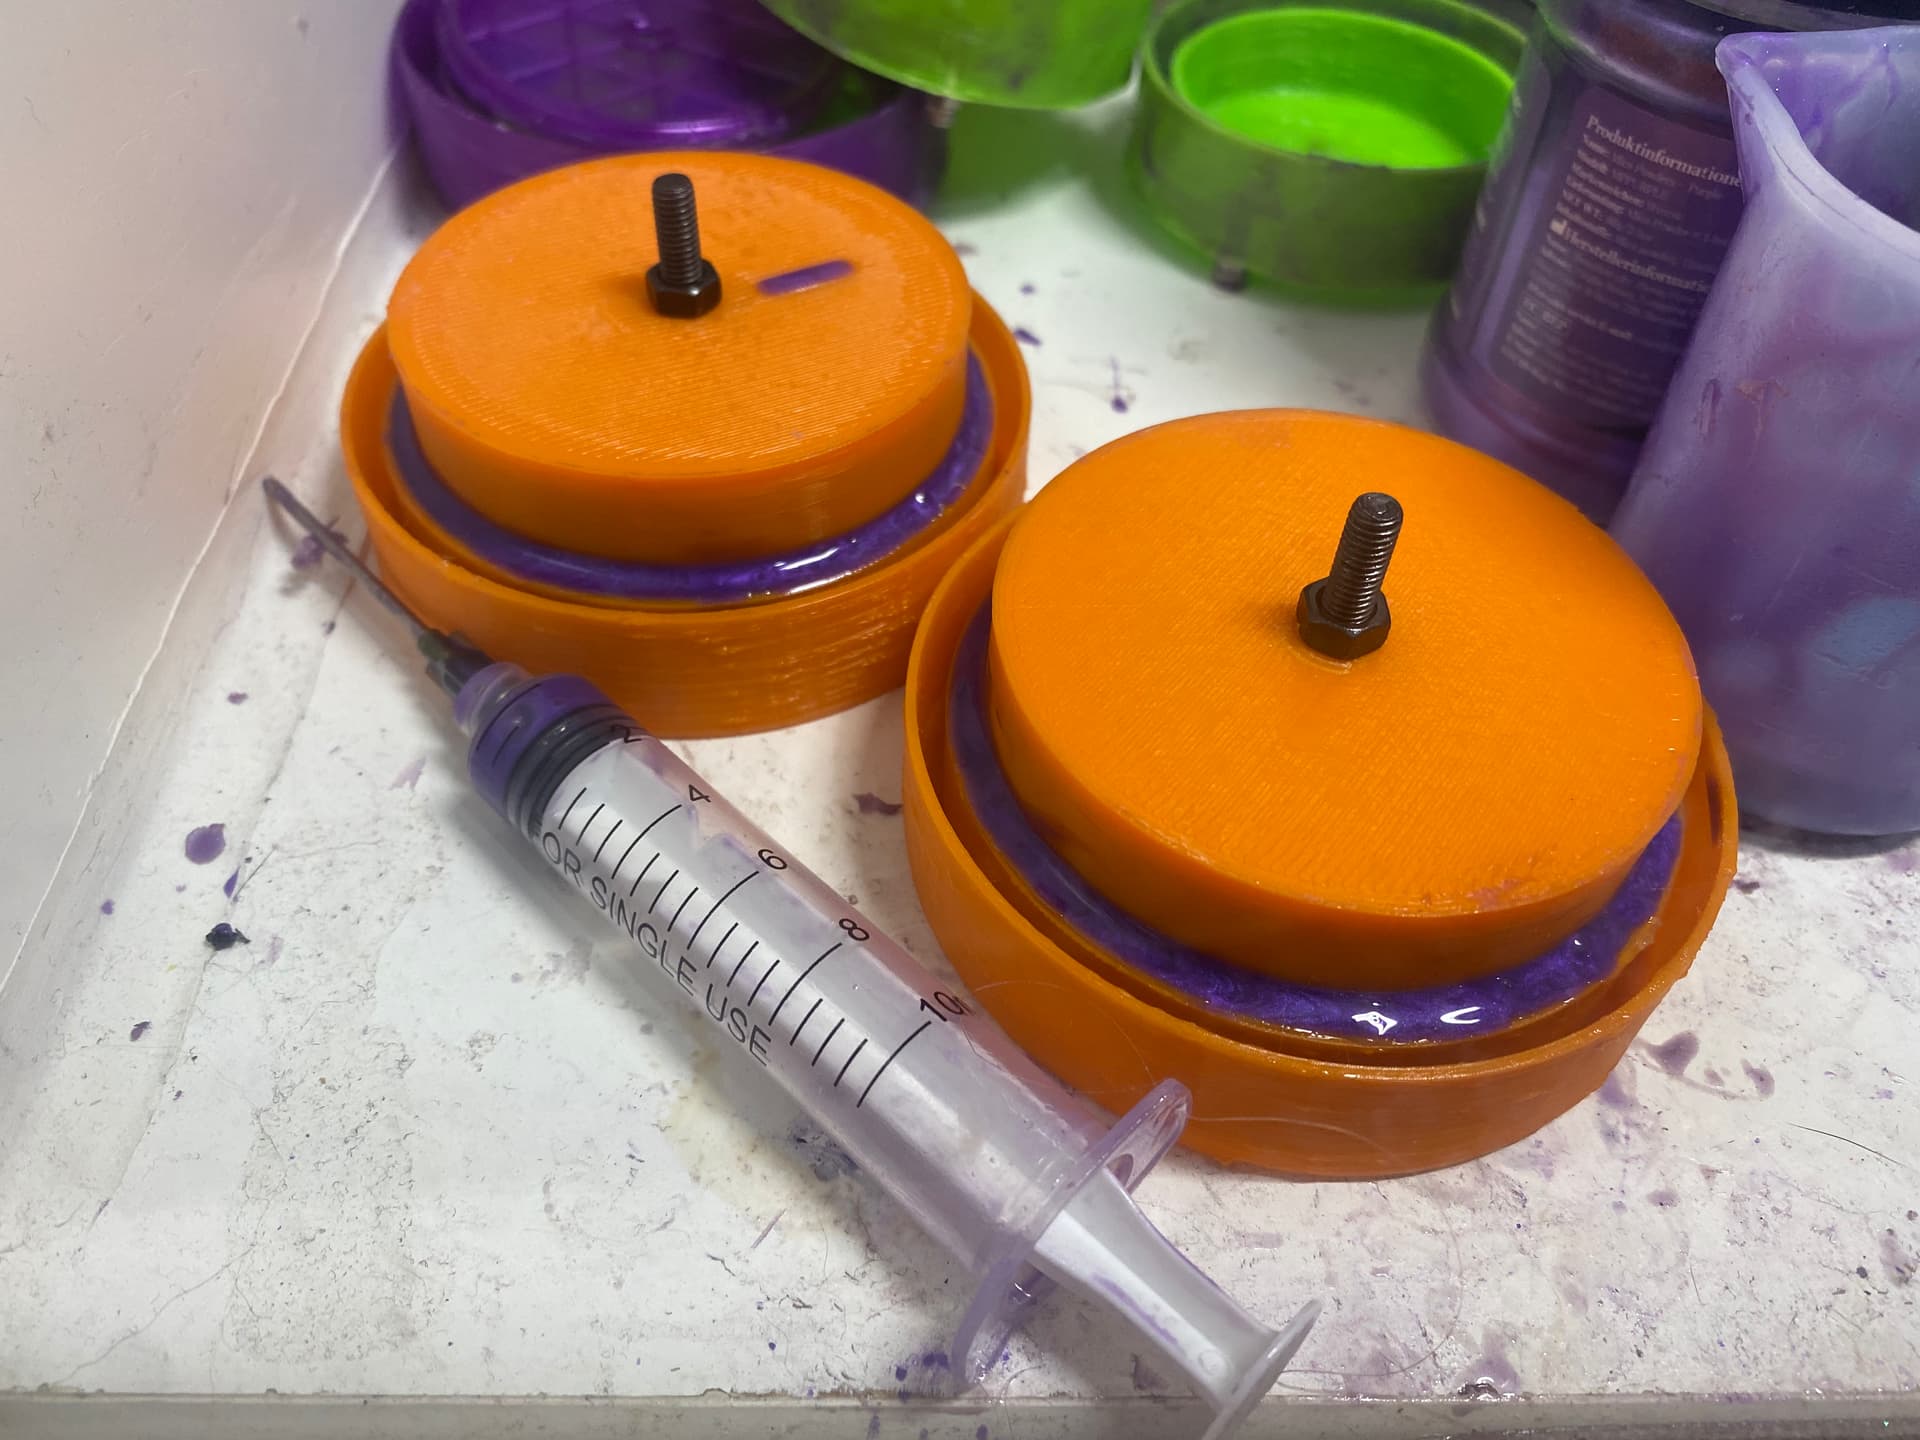
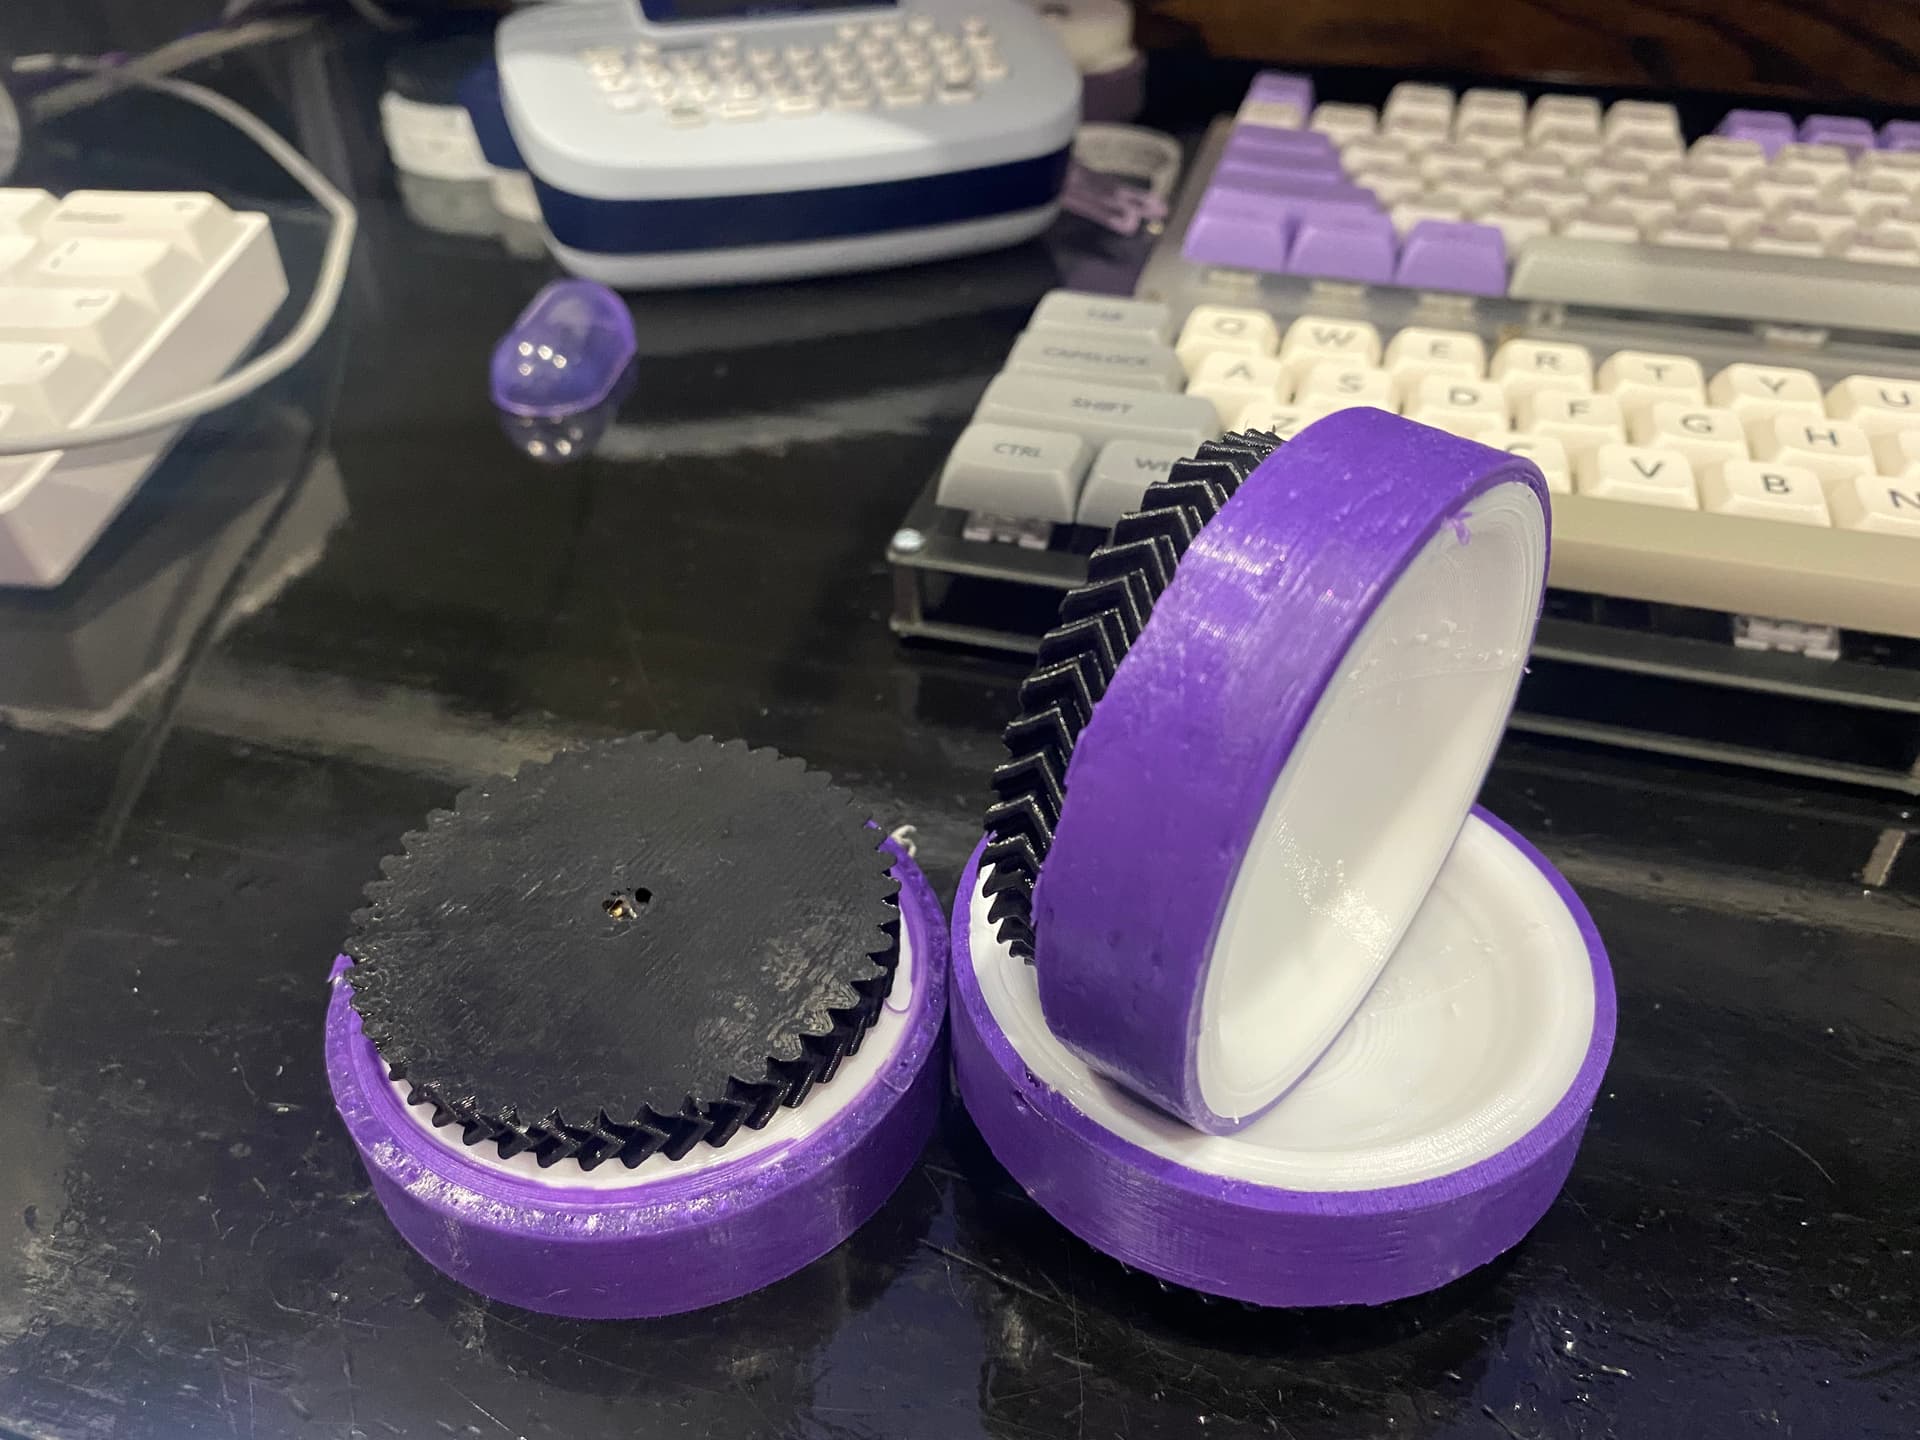
I only recently started doing this, my use case is casting custom sized tires to 3D printed hubs for robotics.
I started with and continue to use Smooth-On Vytaflex (30A hardness) because it’s easy to work with, needs no vacuum chamber, and claims to have non-toxic fumes (they still go in my fume extractor though just in case). I mix mica powder 2% by weight in, and petroleum jelly is decent enough as mold release. I make the molds with 3D printing. It is thin enough in the first 10 minutes of its “pot life” (period when it’s workable after mixing) to be squeezed out of a 14ga blunt syringe needle and it completely cures in 16 hours. It’s extremely beginner friendly. It also pretty much only bonds to itself, if you accidentally spill the mixed resin on something nonporous, it will peel right off once it’s cured- I got a silicone mixing container and mixing stick set and have been able to reuse for multiple molding sessions just by waiting for the resin to cure and peel off with my fingers without difficulty
I have a vacuum pump atvhome, and have been meaning to create the rest of the vacuum chamber, to use with epoxy. I dont have the acrylic yet.
I dont know anything about off gassing silicone however.
Hi, I actually teach 2 part mold making classes. I am moving to Austin soon and will be joining this space once I do so I will likely be posting classes for it. If the shop doesn’t have a vacuum chamber and pressure pot, I would recommend picking one of each up. They aren’t terribly expensive or large, and since you already have compressed air available it will be easy to just hook the pots into it vs needing to have a separate and loud air compressor.
woodcraft .com/products/pressure-pot-for-resin-casting-california-air-tools?gclid=CjwKCAjwq5-WBhB7EiwAl-HEkuclzejLxgHb-SebRftzzk0irdGbR4J7s9Gg0jKkSqE7Bd2v5jz6SxoCCvwQAvD_BwE
This is my recommendation for a pressure pot. This is the most important piece of equipment when it comes to mold making and resin casting. This one in particular is large, on wheels, and works right out of the box. The other option is retrofitting a harbor freight paint pressure pot. These work ok, but getting them leak free is always a struggle at the beginning and they tend to wear out more over time due to not being designed to hold a seal for 24+ hours.
As far as a vacuum pump/chamber, I recommend buying an off the shelf unit for that as well. Unlike the pressure pot, a vacuum chamber will only be in operation for a few minutes at a time and only has to hold about 1 atm of pressure back (vs 35-40psi) so they are far easier to construct to acceptable standards.
amazon .com/dp/B095YGCQFT?psc=1&ref=ppx_yo2ov_dt_b_product_details
I personally own this unit. I have liked it so far, though I haven’t extensively stress tested it. The price-point is so inexpensive though that I am happy to replace either the pot or the vacuum unit whenever one fails with a better version of itself.
We’ve talked about vacuum pot setups before but we never had anyone with much actual experience say “this is the setup we should get, here’s what it enables us to do” or even better “I’ll teach a class on it”.
Basically, we’re not budgeting for equipment to experiment with. Solid plans we’re all for.
My goal is to do all the prep so I can pull finished pieces out of the mold with little to know further finishing. I plan to print a master using the FormLab and start from there.
I will go on the record saying that the pressure pot was a turning point for getting clear resin casts in what I am doing now. I use a well known and documented DIY conversion of a harbor freight pressure pain pot thing.
@Jon I’d happily contribute time/effort to build facilities at the space if the board are open to buying equipment and designate a corner for a “mold & casting bench”
Do be aware the liquid will loft up a LOT under vacuum, and it lofts more the more rapid the vac pump drops the pressure. If done slowly, the bubbles can reach the surface and pop and the loft has time to drop before the next bubbles.
A container may need to be 2-3x bigger than the liquid volume to avoid overflowing.
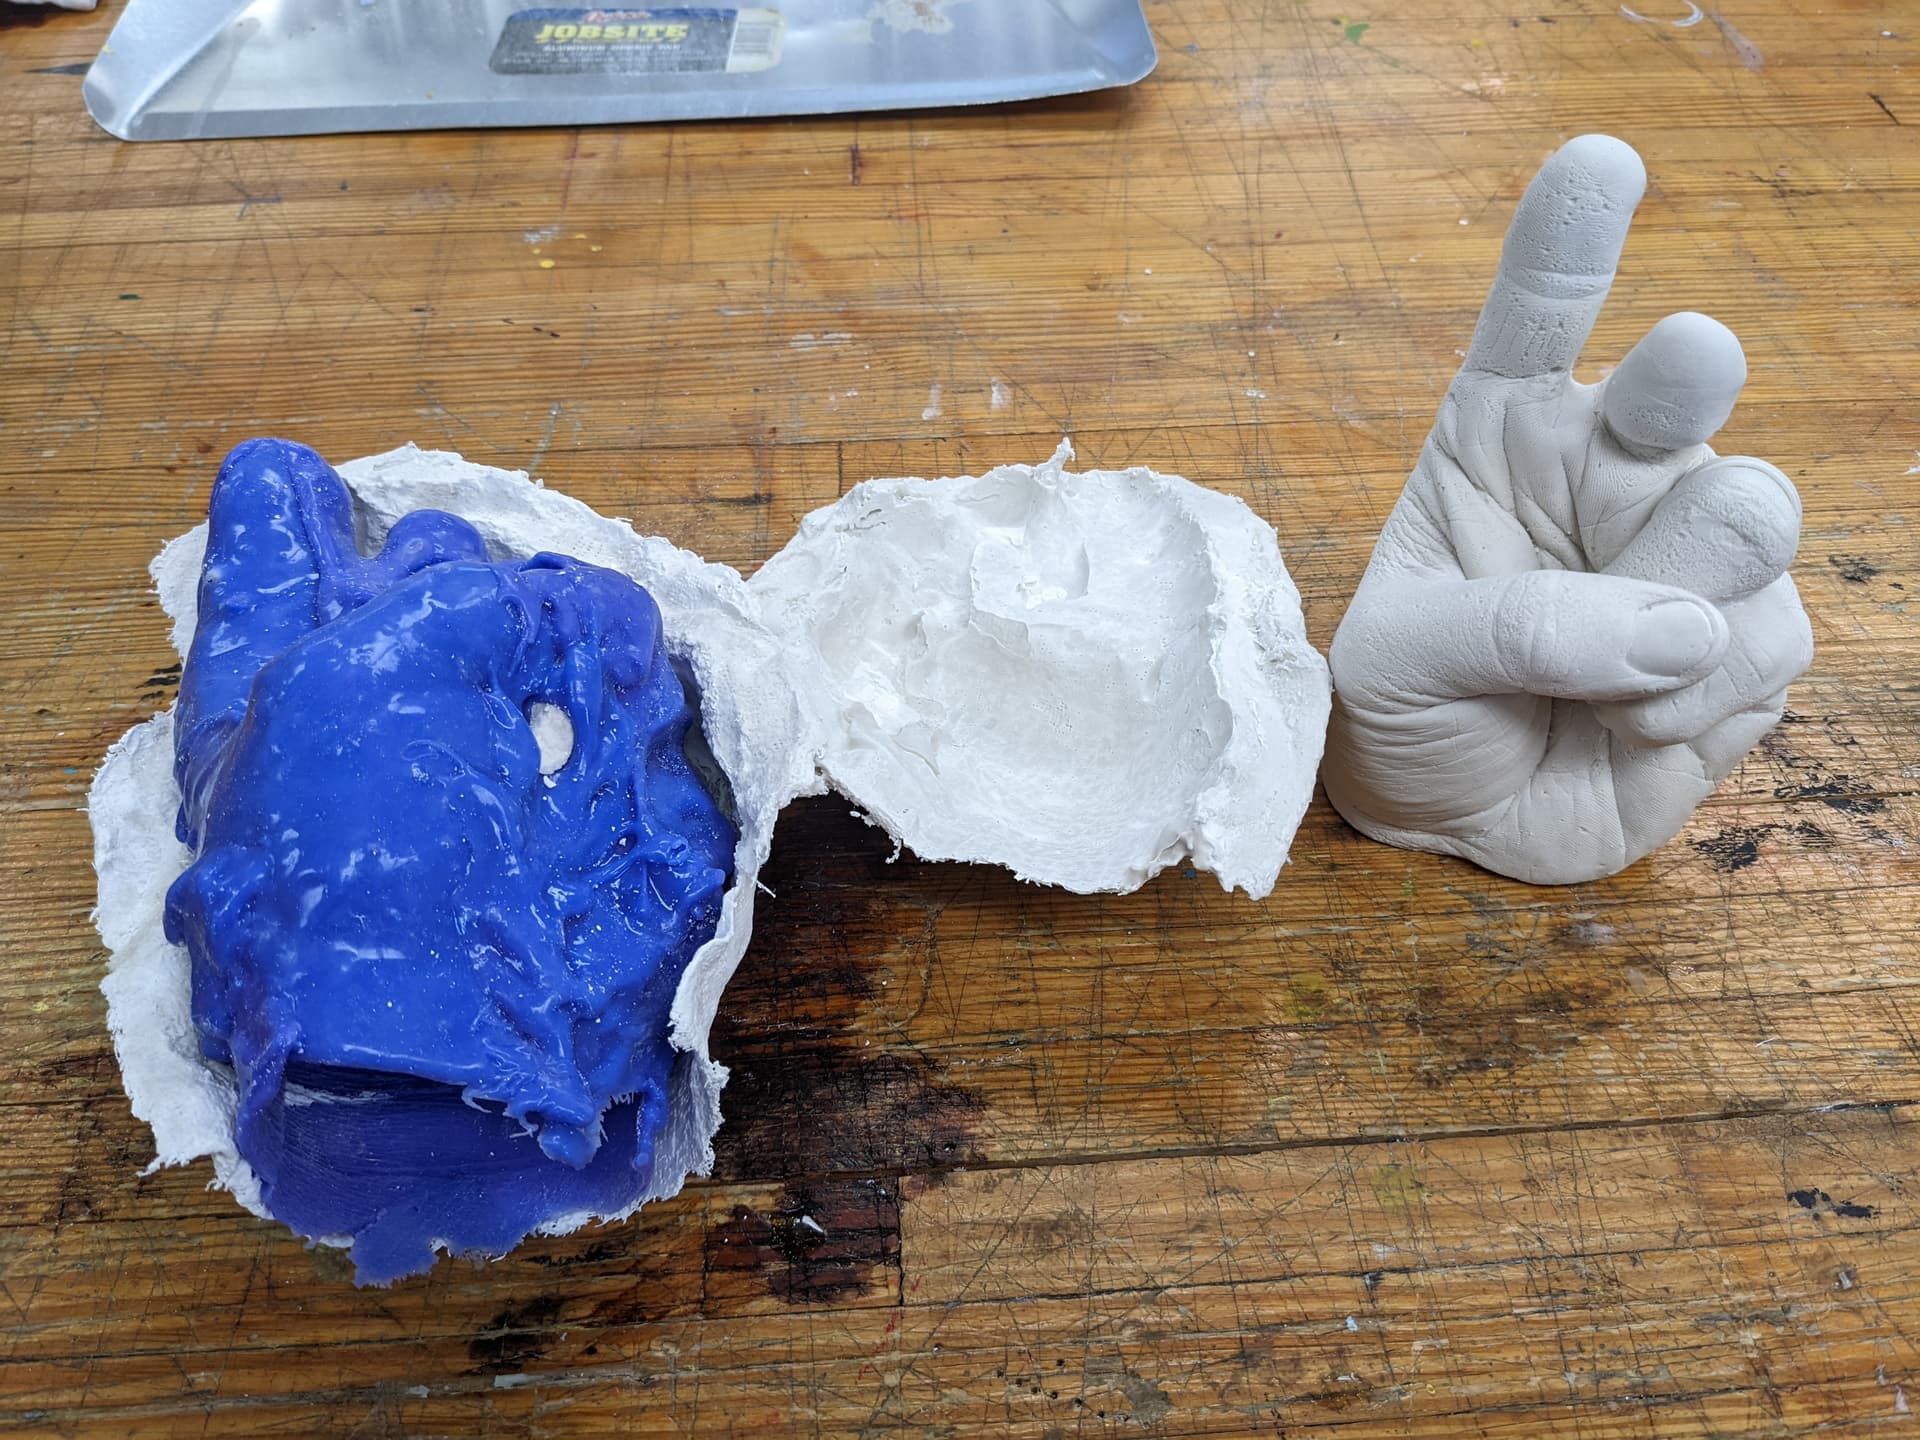
Noted. Like I said once I am there I will be teaching classes in mold making for sure. Probably in September is when I will be ready though possibly late August. I have done several sessions of a 2 part dice mold making class at Dallas Makerspace which have gone great. I have also taught a couple life casting classes using body safe silicone and plaster bandages. Those are a lot of fun for sure.
Agree with Valerie, with the elaboration that I don’t think this project would be blocked on the “Finishing Room” being dedicated. There should be plenty of space now to get a moderately-sized casting bench set up without interfering with the fiber laser build.
It’d probably benefit from fixing the busted outlets; that’ll be on the agenda for next workday.
I understand that we’ve had exploratory discussions before about at VF Table in that space as well. So I was curious if we would just have a section of the space dedicated to Vacuum forming tools.
No. This is not really an option due to needing to keep a nice vacuum seal. Also these cheapo vacuum pumps aren’t going to be good enough to run a vacuformer. Usually those units come with their own built in vacuum pump.
Fair enough, it is a sizable purchase and sizable in size. It’s a fleeting idea until the fiber laser is completed but teaching the class is pretty easy, probably an hour or less since the gist is "load material, prime the vacuum tank, set object on the platten, heat material, raise platten to material, let it rip. More or less, it’s like teaching someone how to use a miter saw.
I think the biggest consideration will be which plastics work well at the temperatures the unit we choose can handle, as well as designing the masters in such a way as to avoid entrapping the master and making it impossible to remove from the copy.