CNC Saloon Recap — Terrain, Toolpaths, and Questionable Geometry 
All,
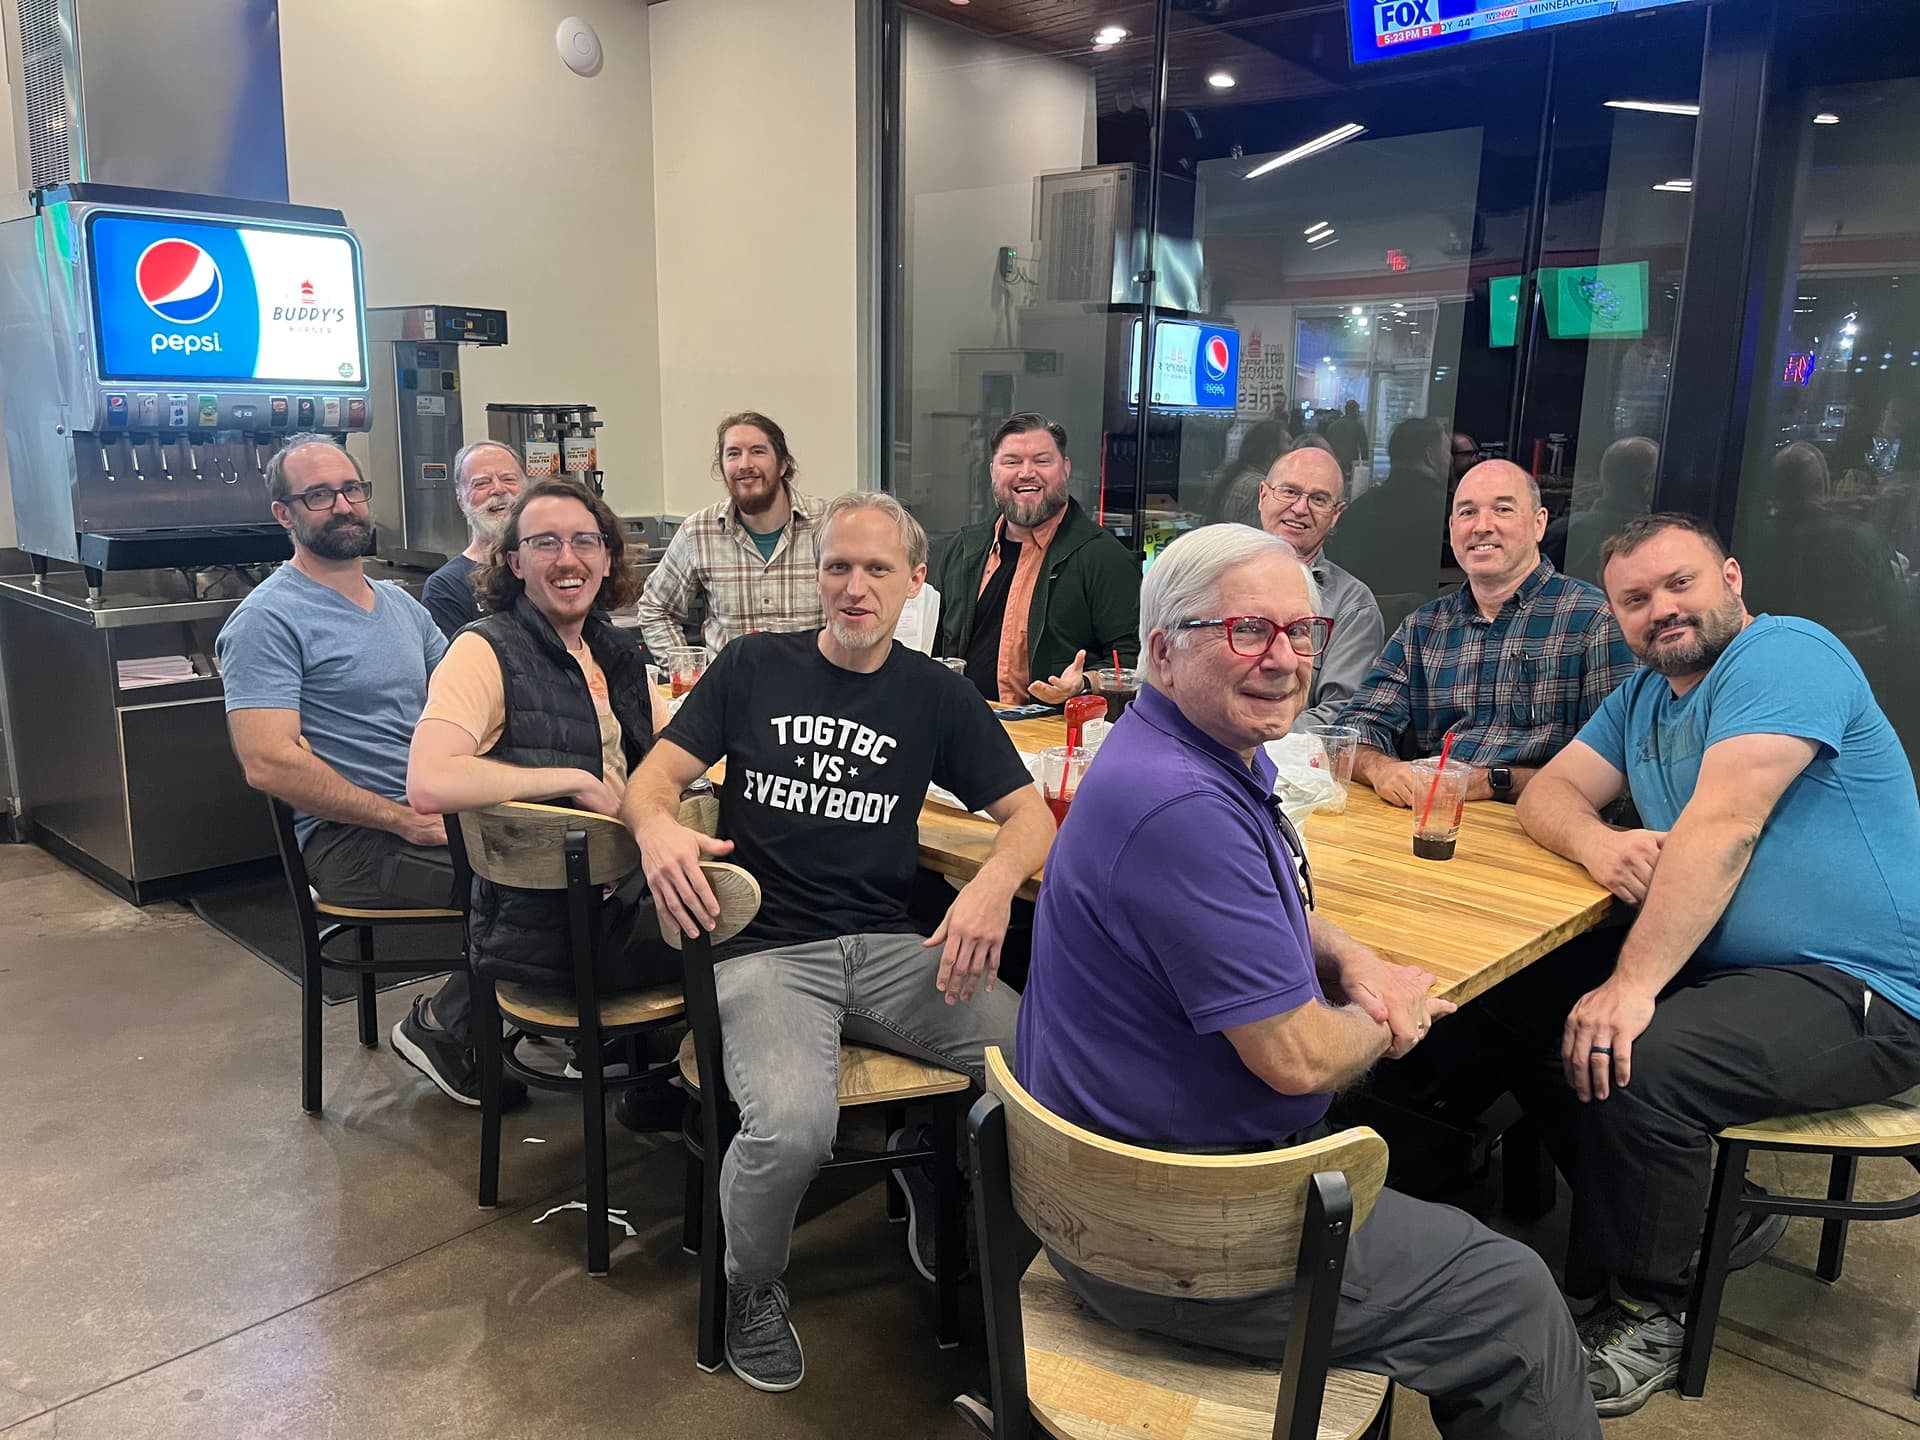
CNC Saloon started exactly how it should: burgers first, CNC later. After fueling up at Buddy’s, we rolled back to the shop to carve the Earth into submission.
Robby vs. The Planet
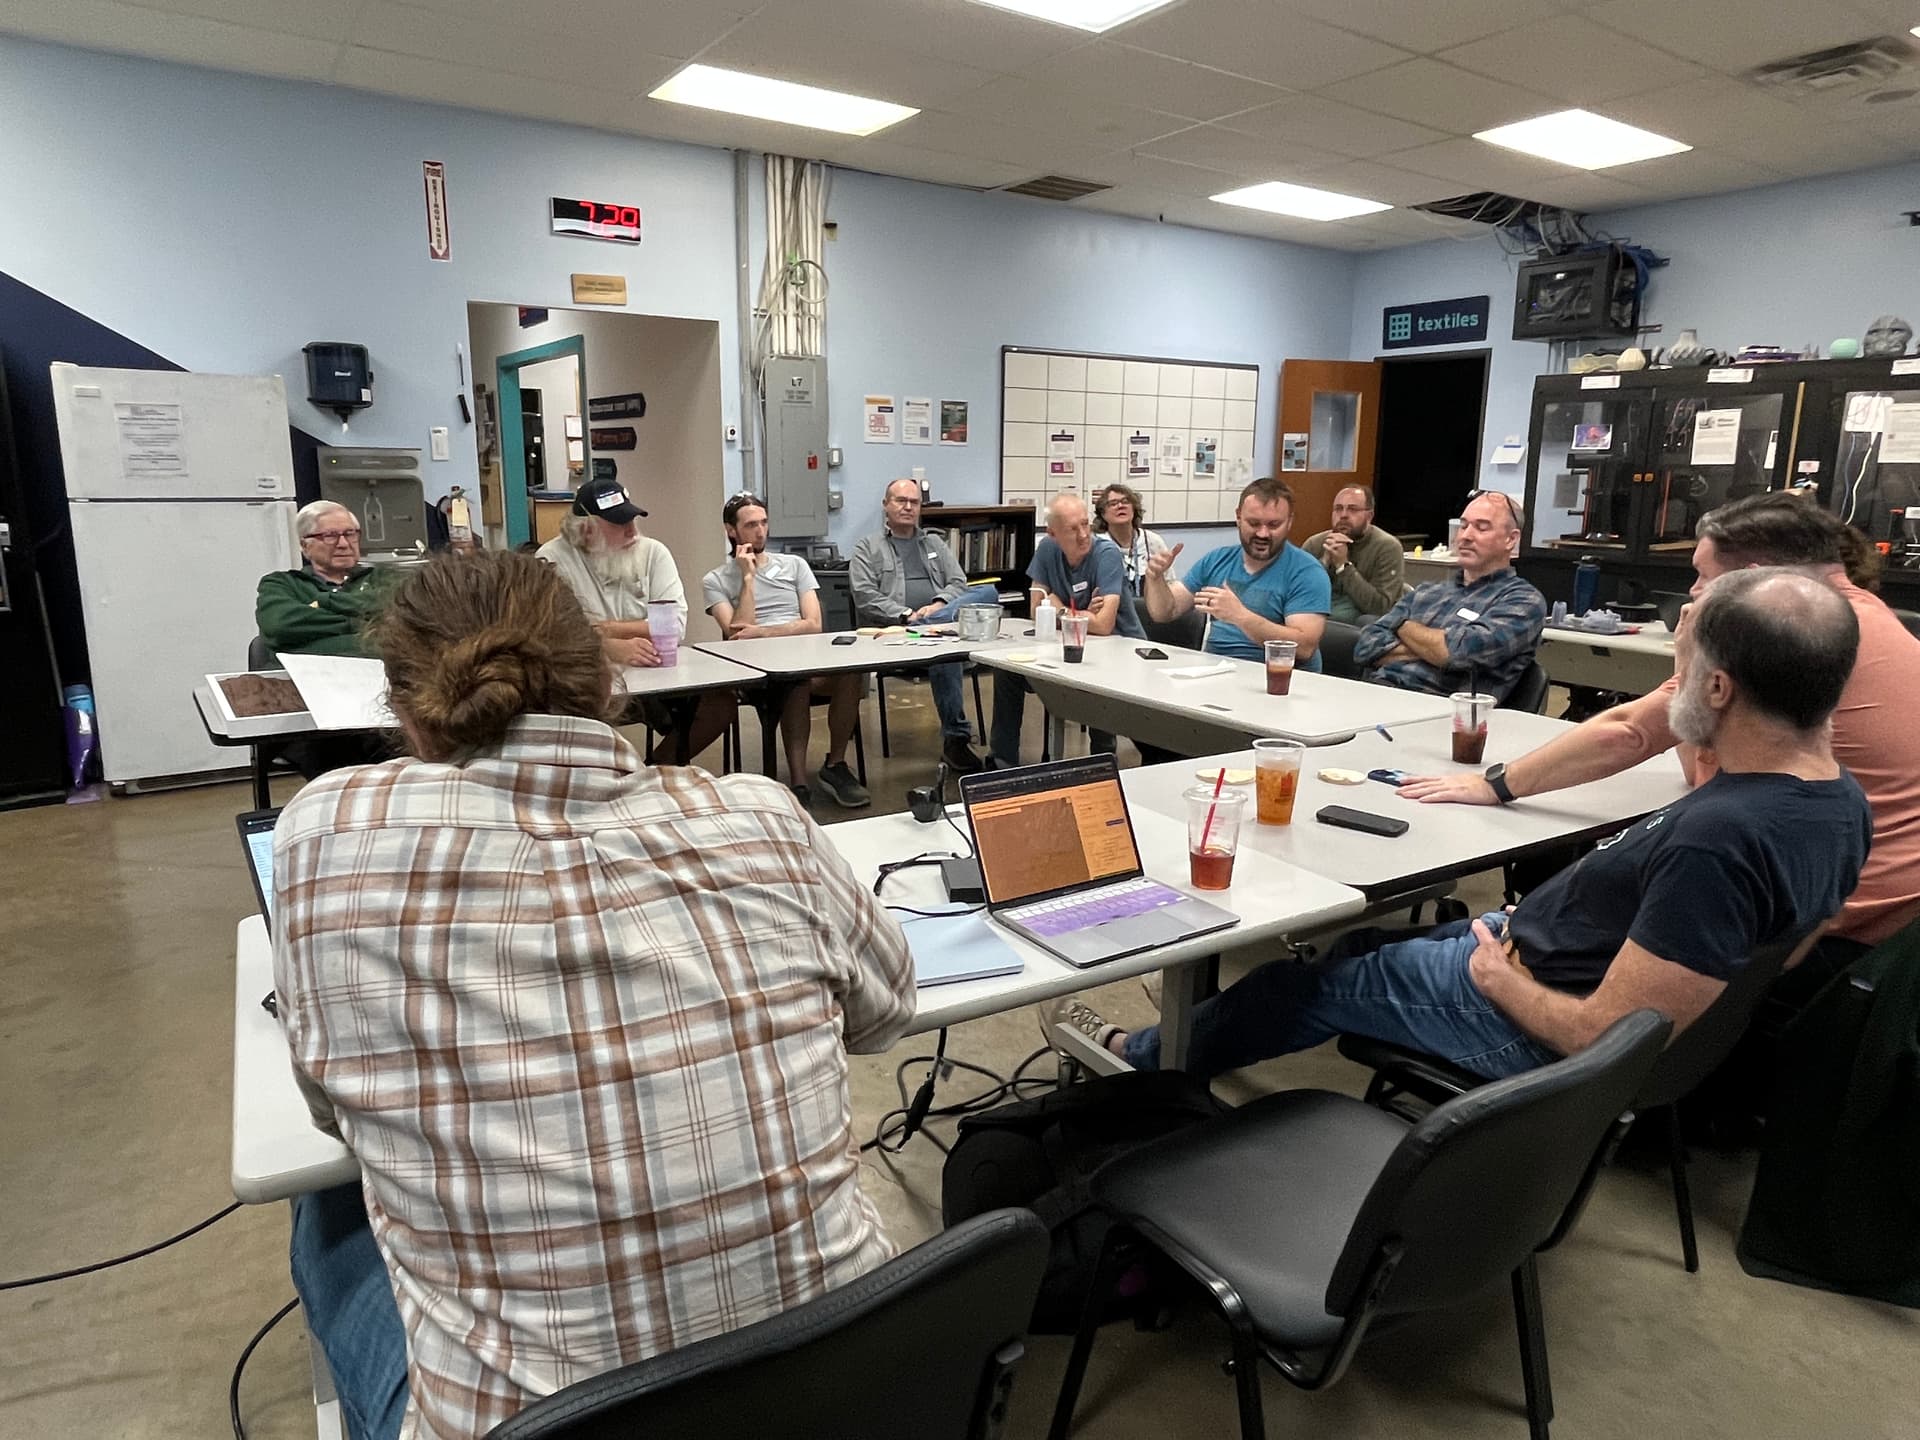
Robby walked us through making 3D topographical maps — turning real-world geography into something the CNC can chew.
We covered:
- Latitude, longitude, altitude – always good to have a refresher!
- Topographical + bathymetric data (yes, underwater mountains!)
- Lowest elevations = darkest, highest = lightest
- Pixelated data that gets interpolated into smooth terrain
Shane astutely noted that 3D topo maps do kind of, indirectly prove, that this flat earther thing might have merit. I knew I missed him.
Where the Data Comes From (a.k.a. Free Stuff)
- touchterrain → turn maps into 3D models
- bmi-topography — bmi-topography 0.9.1.dev0 documentation — open-source terrain data
- https://www.openstreetmap.org/ — crowd-sourced geography for the people
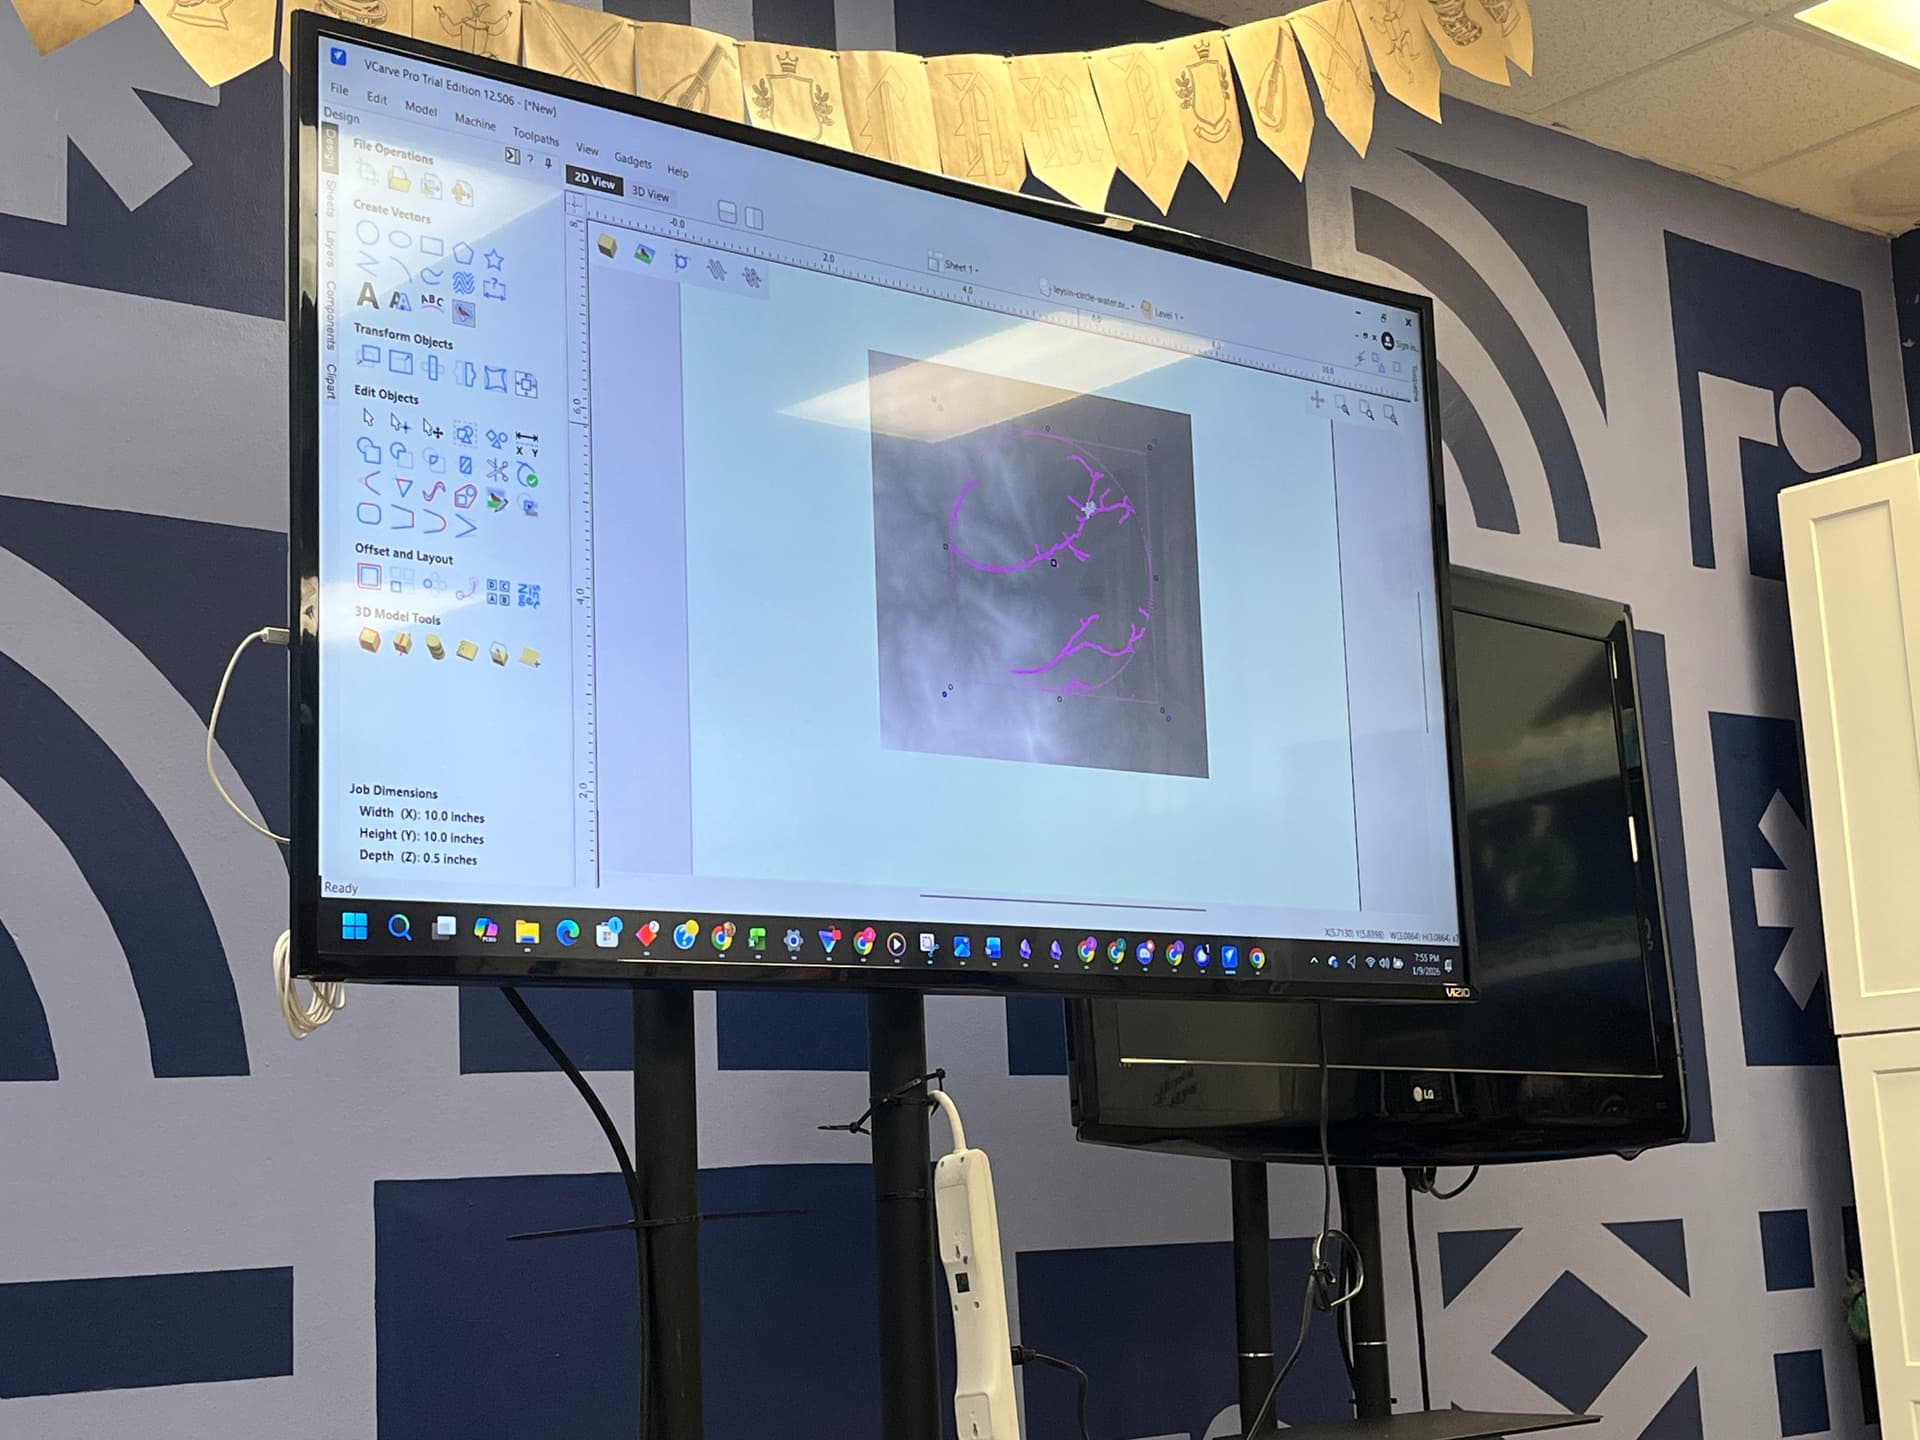
Pick the one you like, and go with it. vCarve’s 3D view lets you line up 2D and 3D elements to align everything.
As a side note, if you have Aspire, it can turn images into 3D models. Aspire is not in our makerspace vCarve but can be purchased separately if you really get into vCarve 3D carving. That being said, it is pricey at $2k.
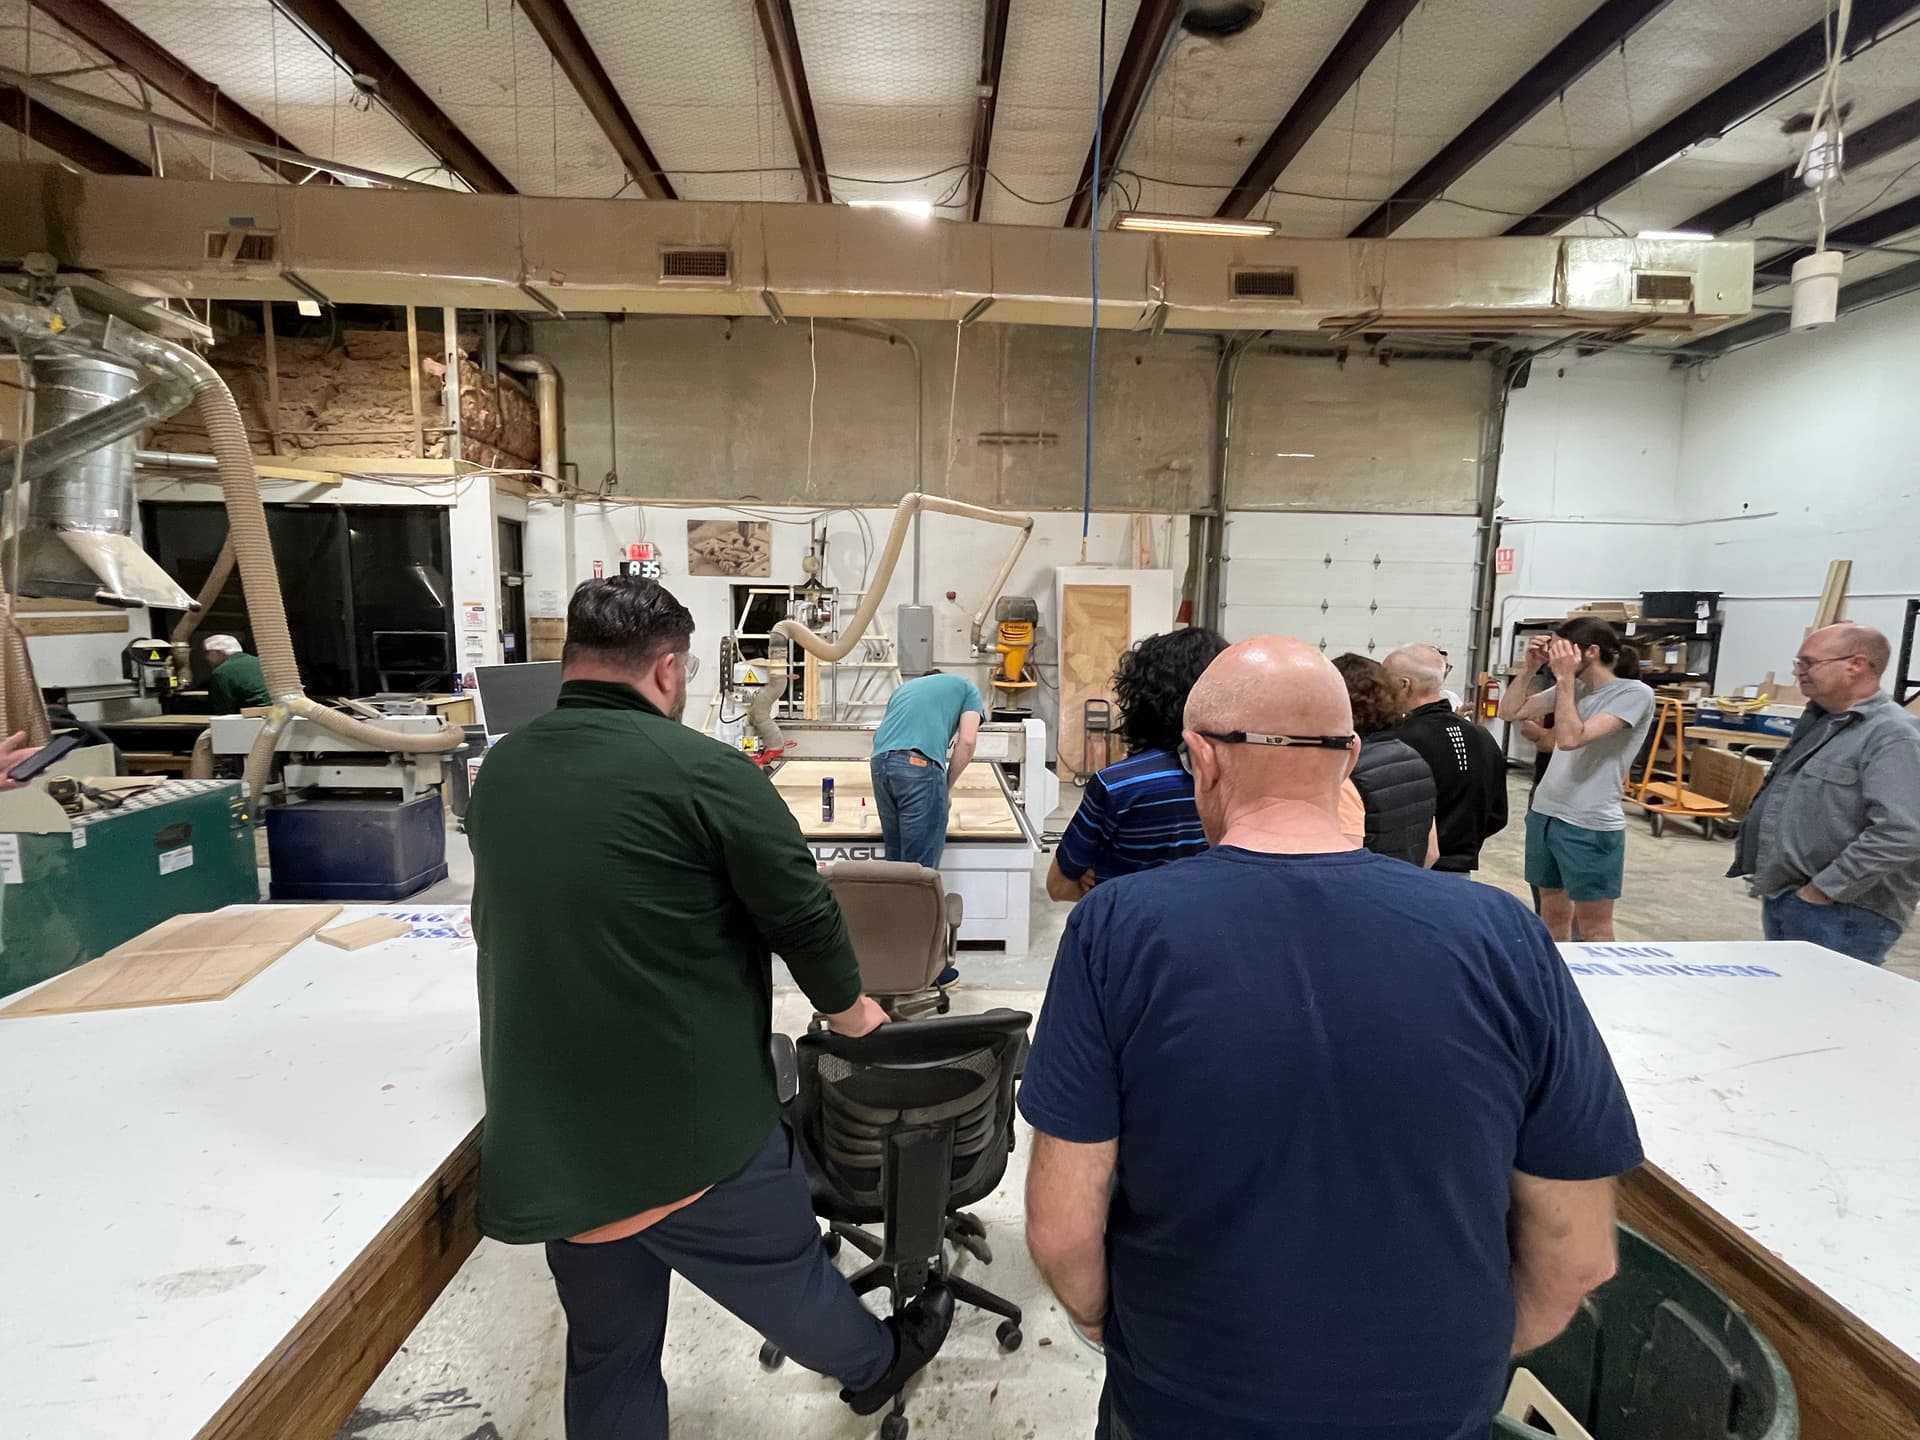
From Screen to Wood
Once the model was set, Robby showed how it translates into an actual cutout — where good setup decisions prevent emotional damage later. It’s not always easy I have to be honest.
Toolpaths: Choose Wisely
- 3D Roughing Toolpath
- Z-level vs. 3D Raster
- Take into account your machine allowance (the gap between fantasy and reality)
- James recommended a downcut bit for roughing.
- Robby used a ¼” compression bit for the roughing because that’s what he had.
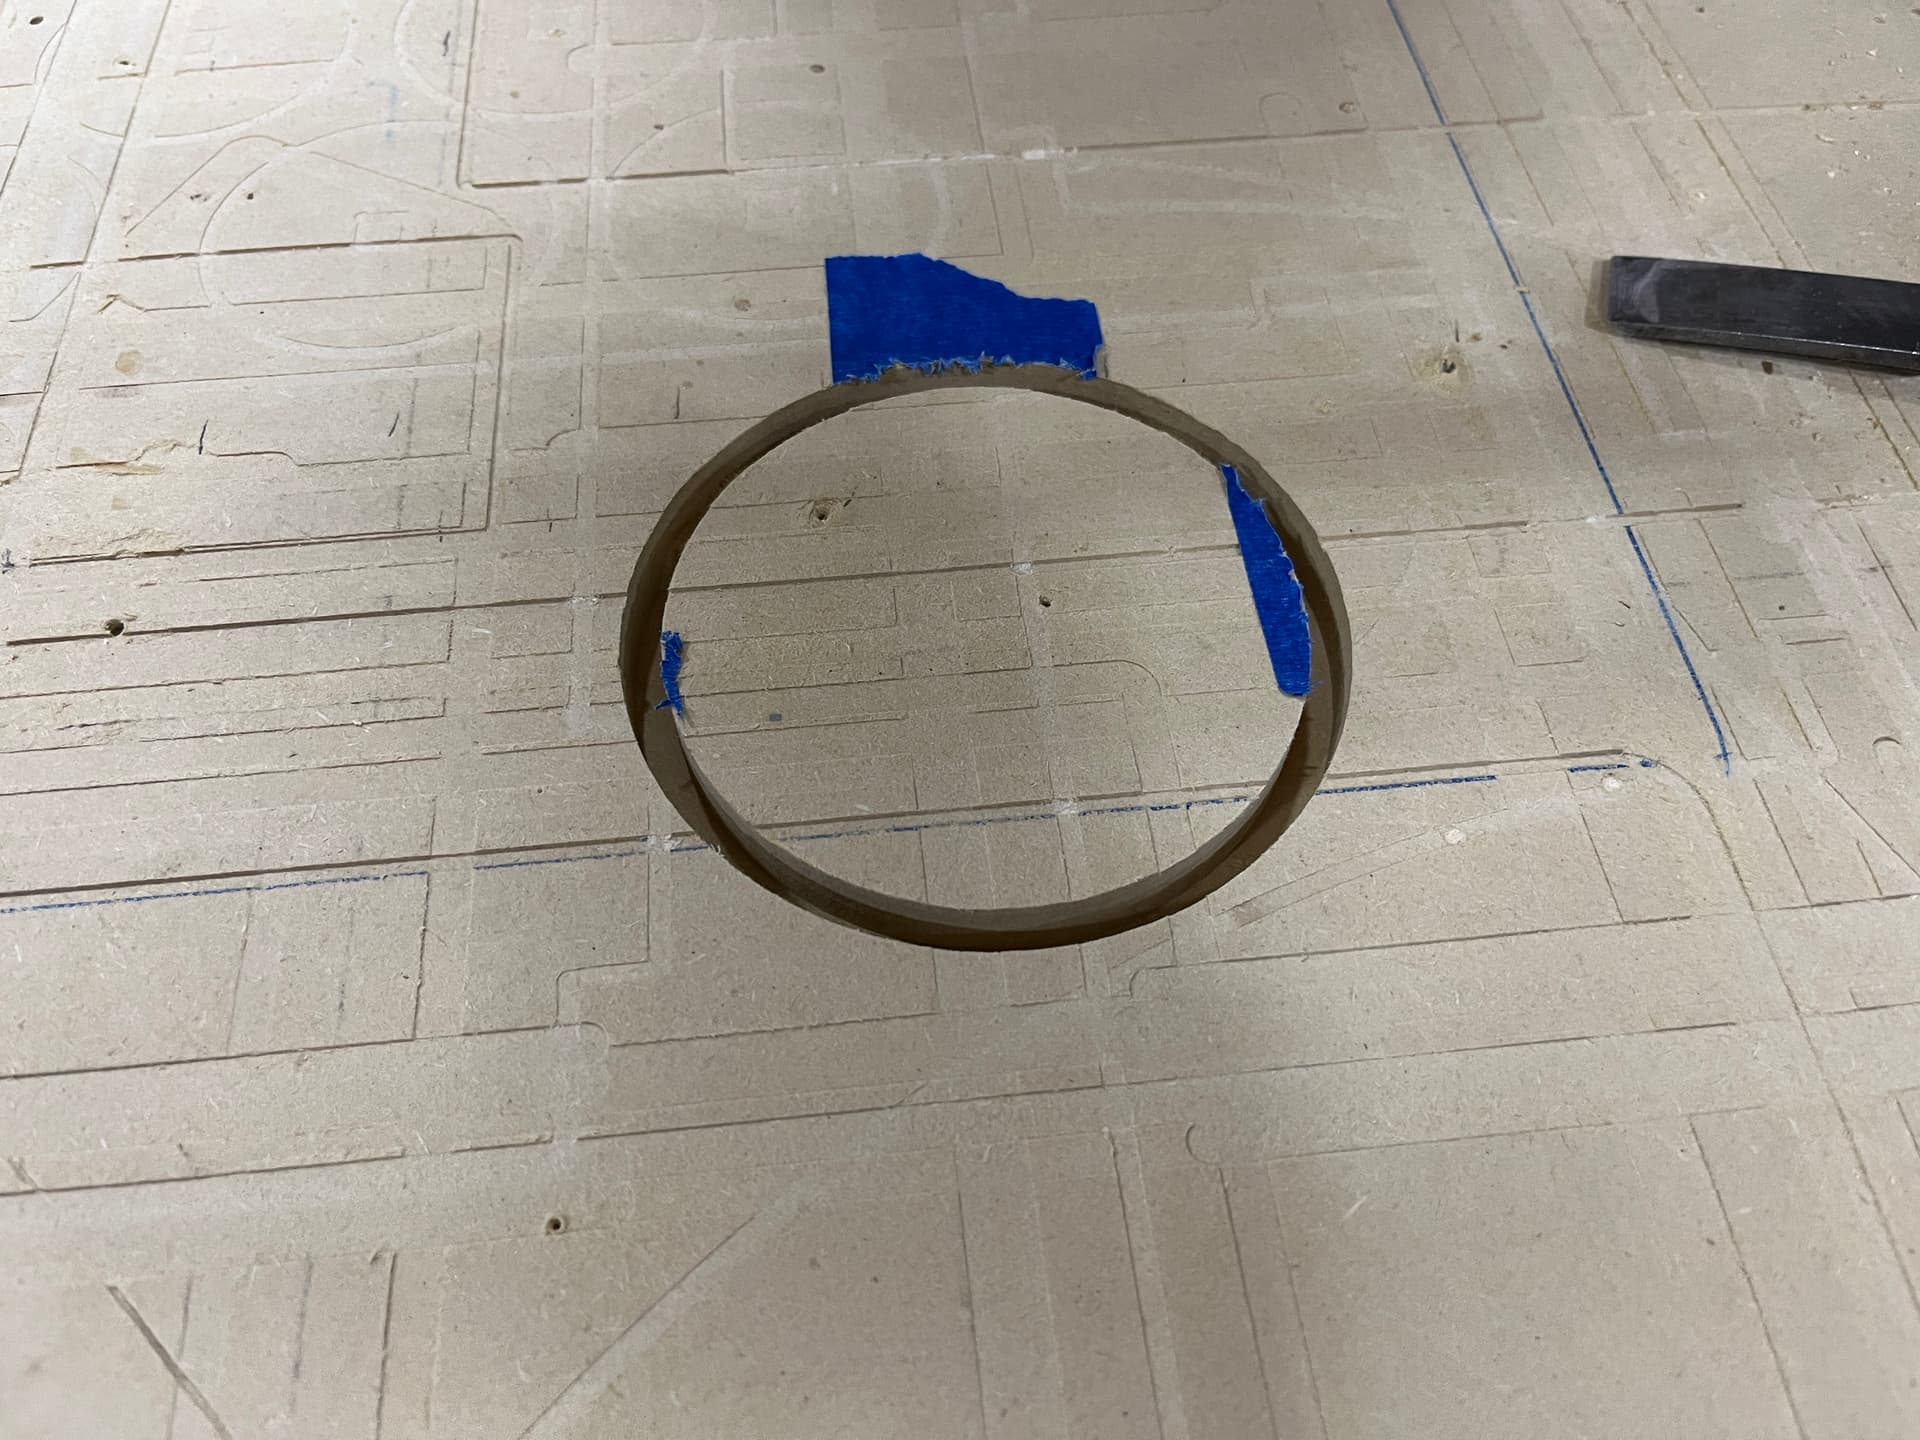
Final Result
This is where theory meets noise. Tool choices suddenly matter a lot once the bit starts moving.

- Used the 3D finishing toolpath
- Used projected toolpaths for a clean surface
- Used an 1/8” ball nose for the finishing
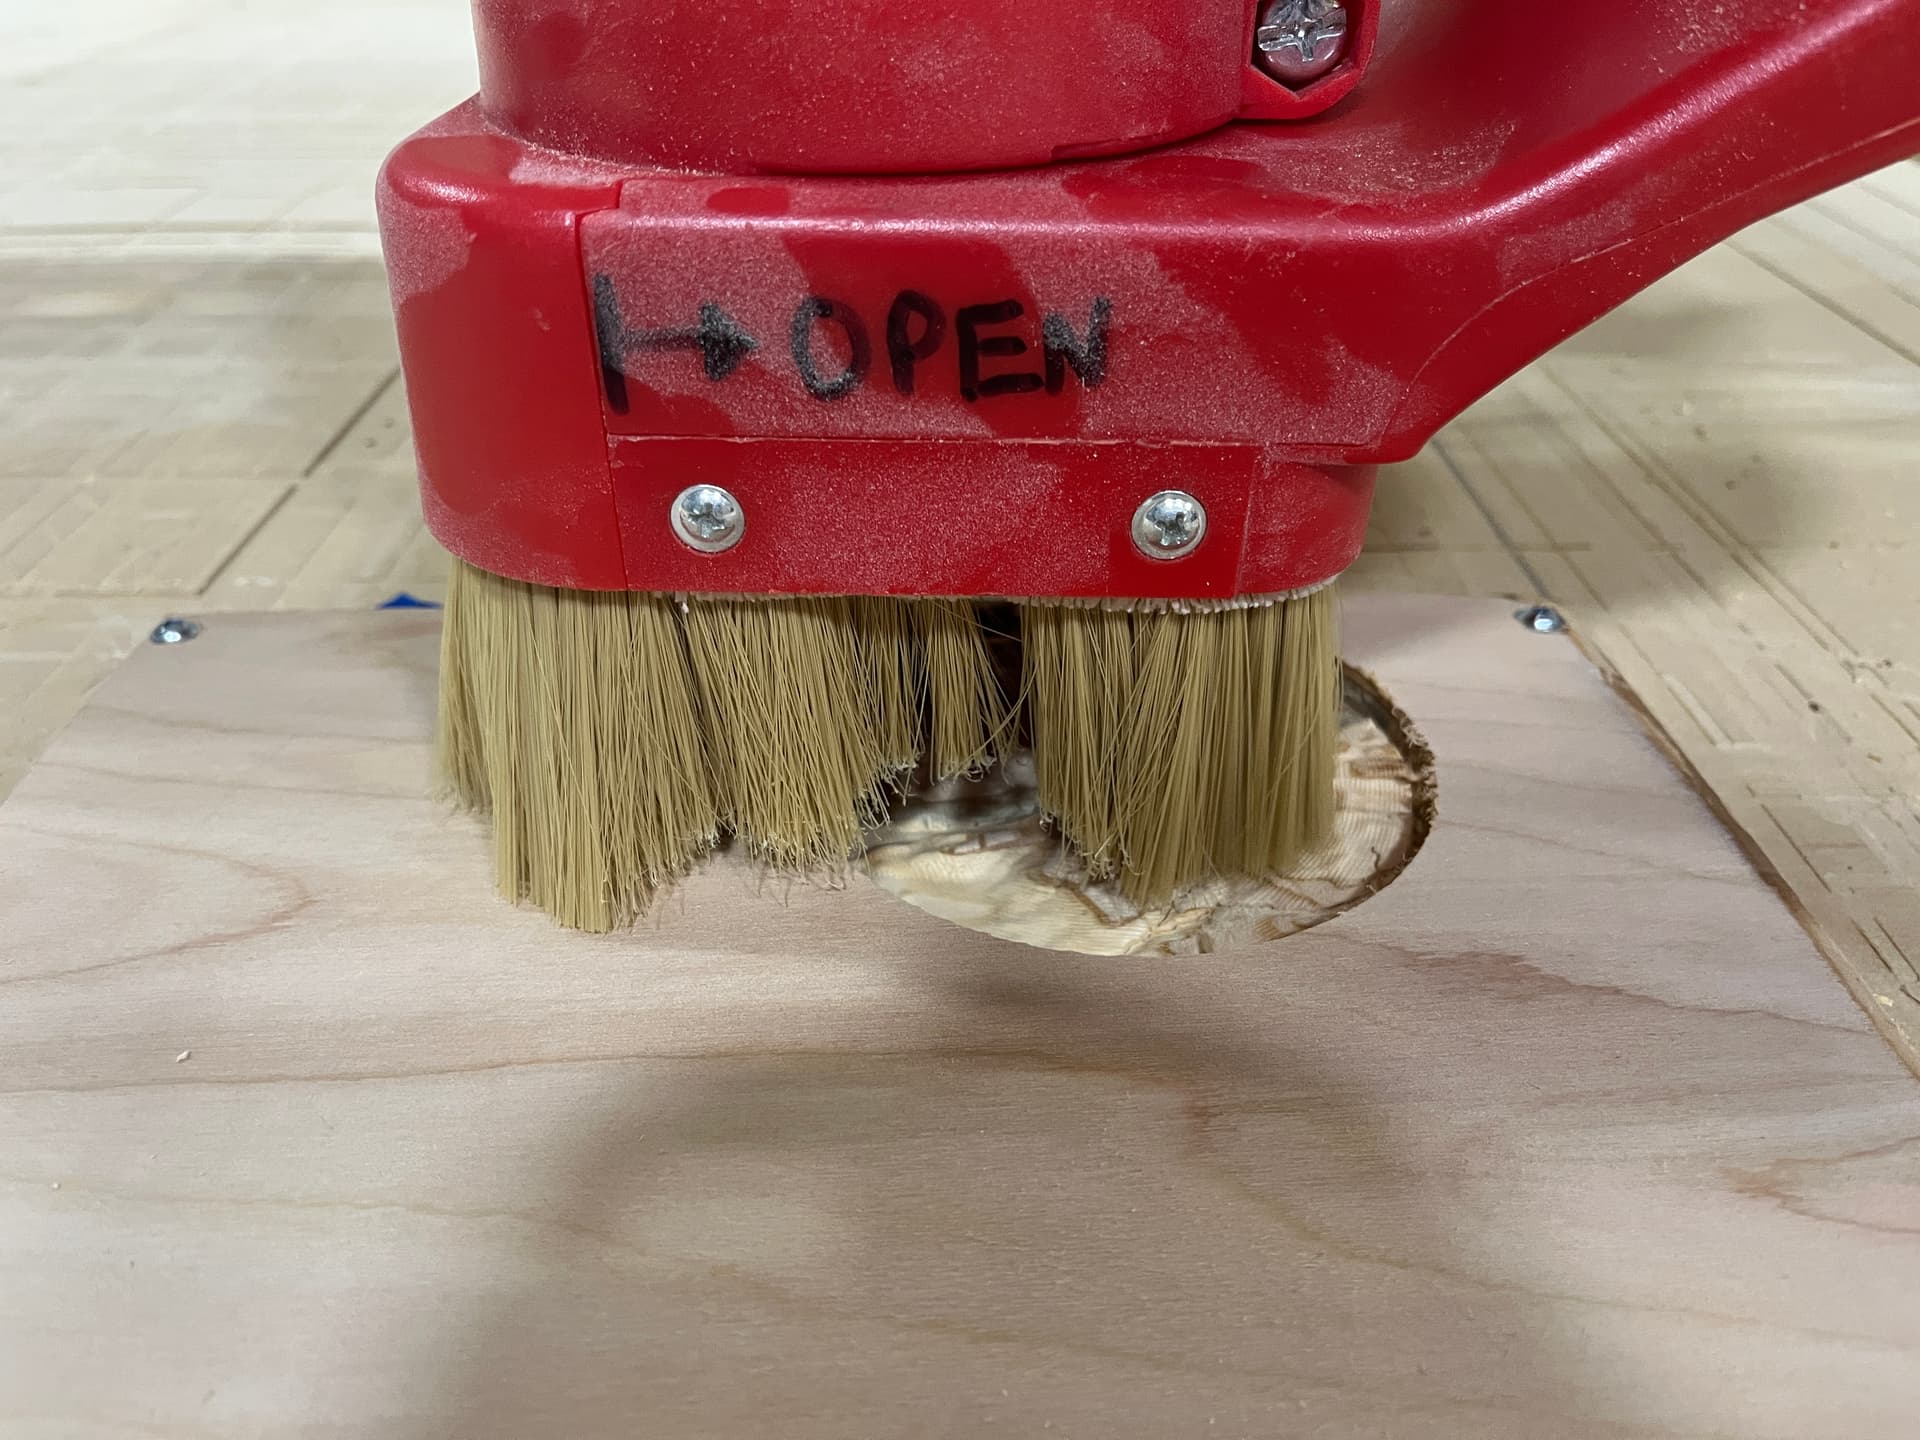
And now, it wouldn’t be right if we didn’t share a boop, as it was called, where the bit cut into the spoilboard. We’re all still learning, and, ironically, with 10+ CNC folks around, we still managed to forget to set the z height. This is helpful in determining how to work through these demos, especially when there are many people around and we want things to move smoothly. We discussed this and think it makes sense to have a total of two people manning the machine so one person isn’t so bogged down.
Huge thanks to Robby for leading a killer session. CNC Saloon continues to be the place where we slow down, go deep, and learn how not to accidentally annihilate our material. But hey, we’re improving!
Missed it? Come to the next one. These nights are pure CNC candy. Also, we’d love to have someone volunteer to do the next CNC Saloon in February. Let me or James know, and we’ll sign ya up!
@jamesfreeman @rjnevels @bwatt @Kasper @Snestle @michleon100 @SteveW @sneezix @Spex_guy @joe
Joaquim