CNC Project: alphabet blocks for a baby shower

I’ve been working on a CNC project for a couple weeks and a few people asked about it so I figured I’d share all the details on here.

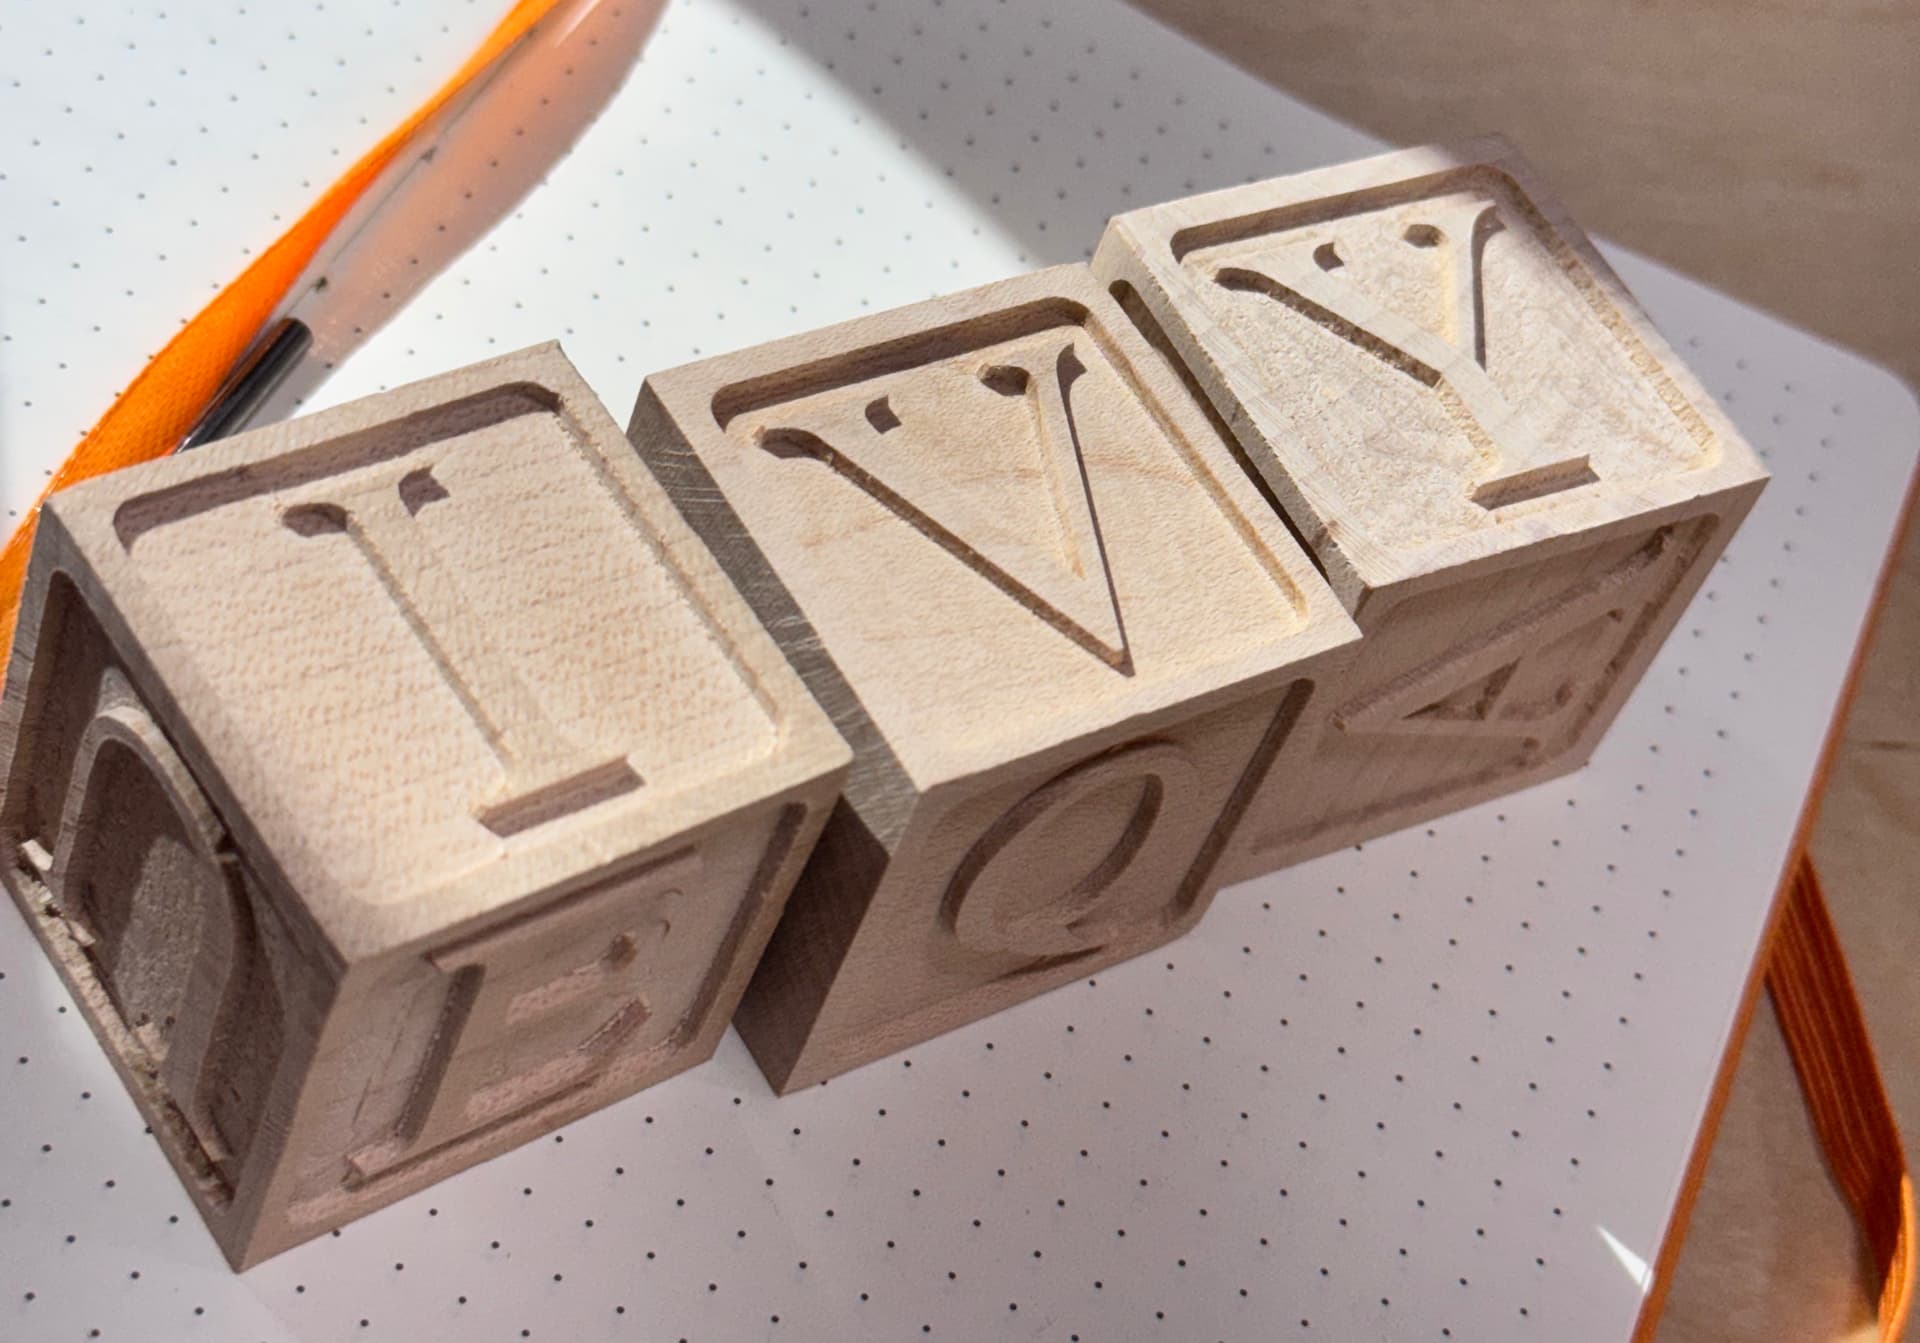
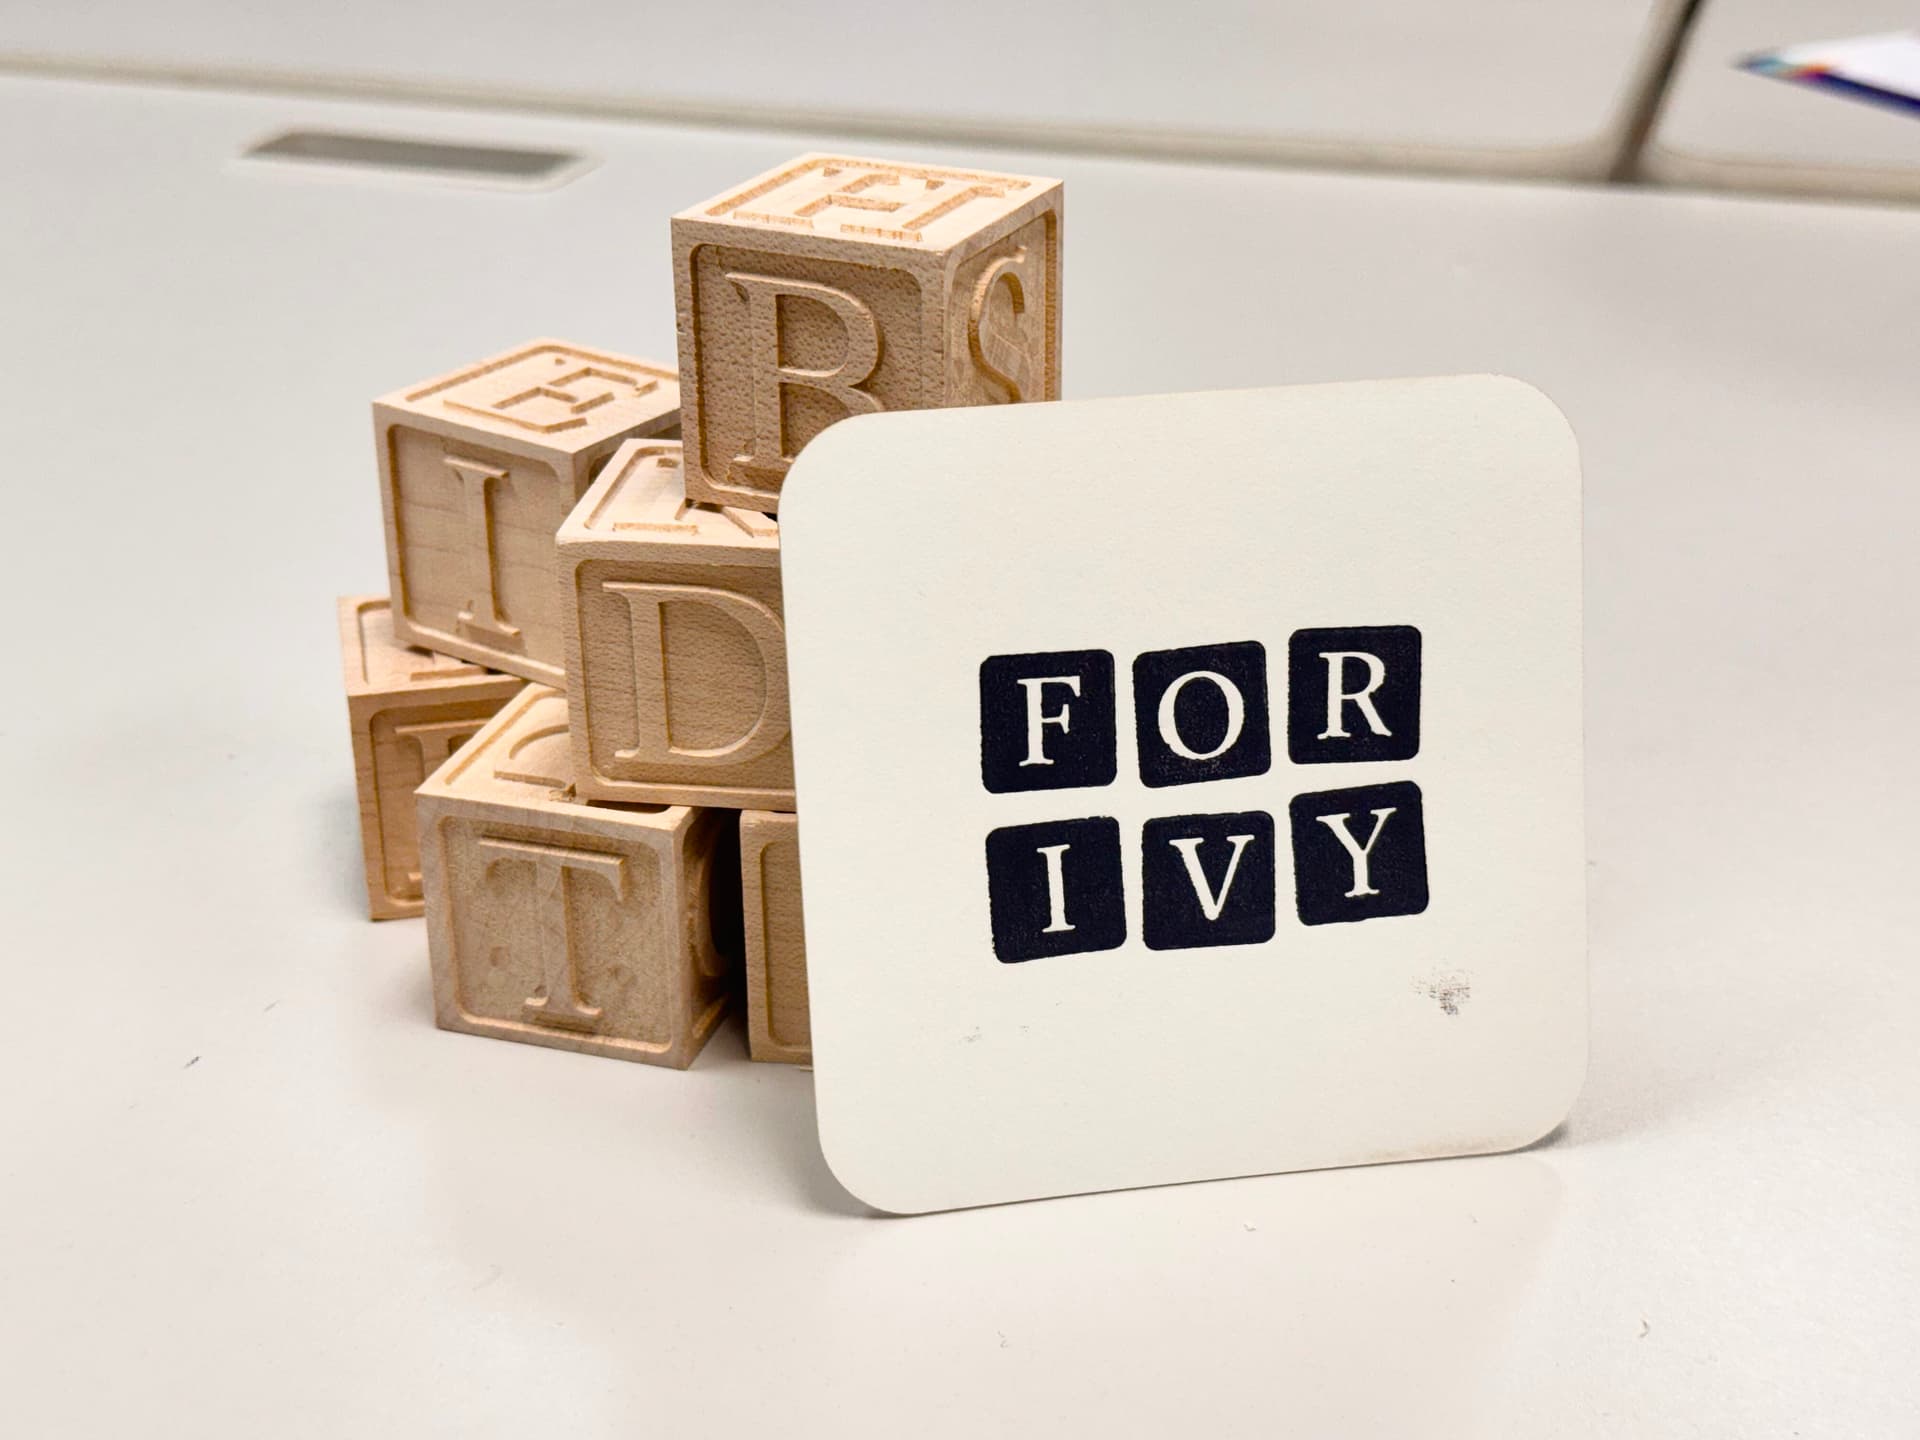
A couple friends of mine are having a baby. The shower is next month, so I made them a set of wooden alphabet blocks:

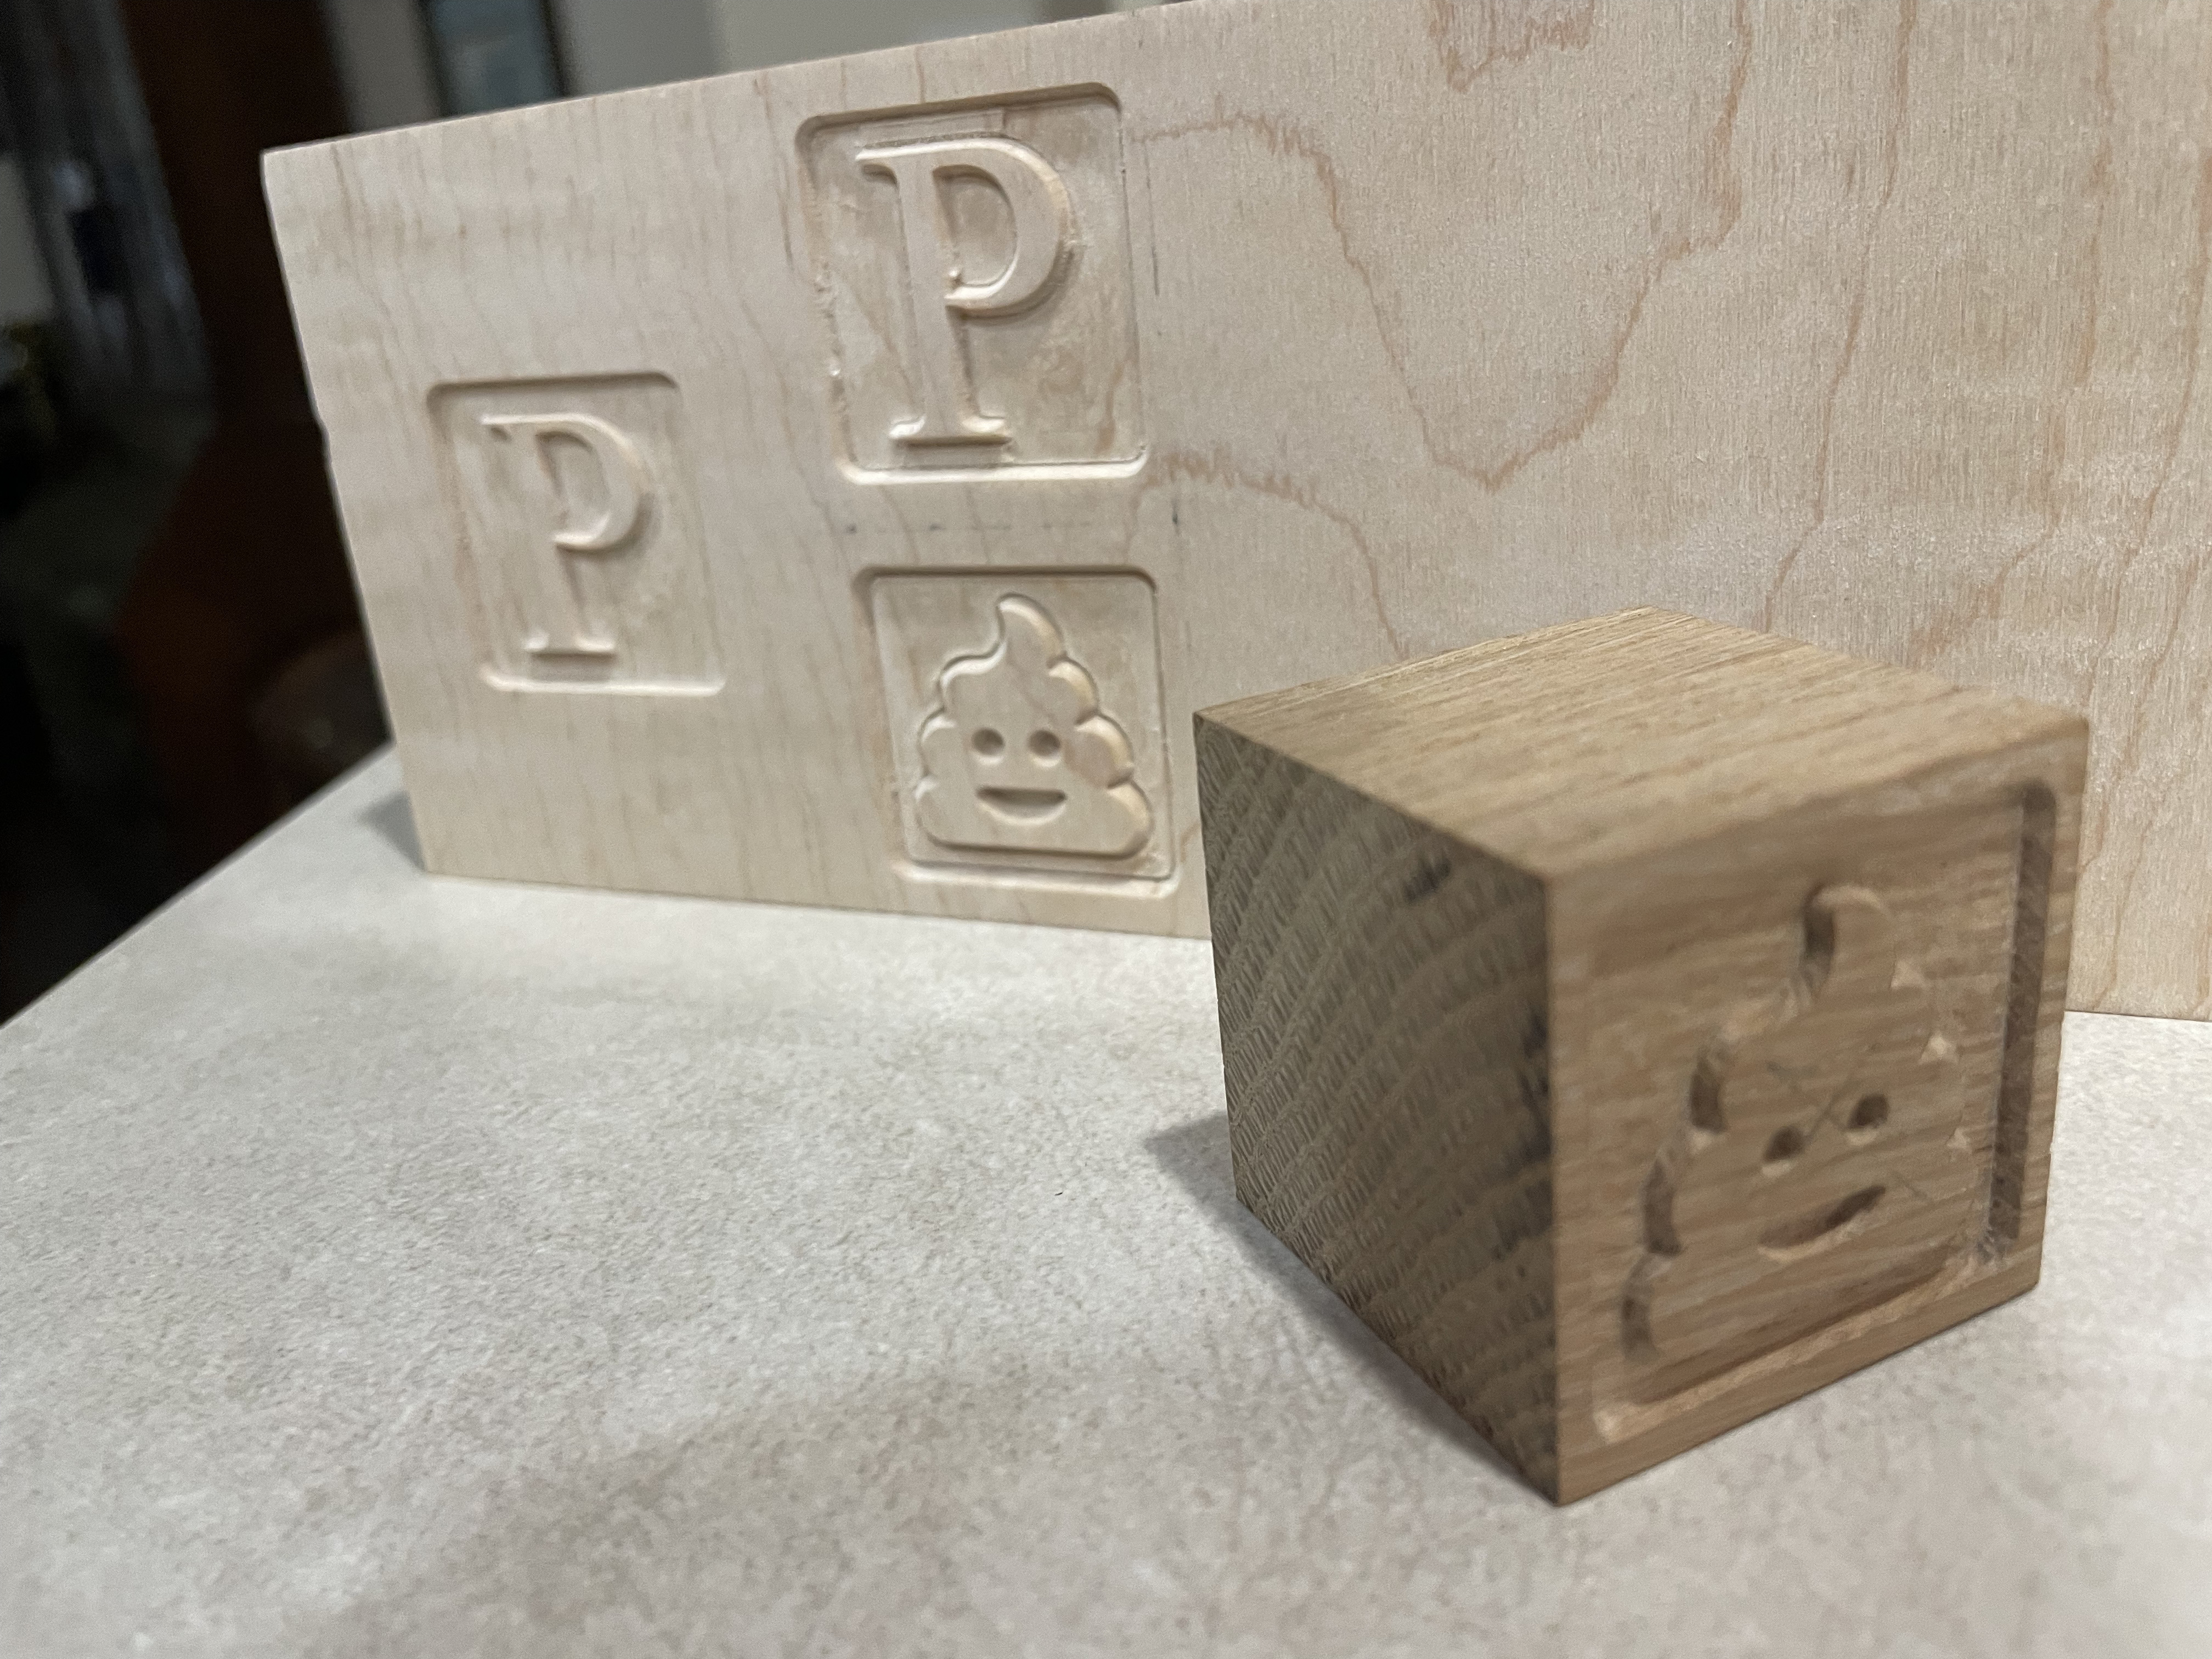
There are 11 blocks total, most engraved on all 6 faces: 3 blocks of vowels, 1 block of symbols, and the rest filled in with other letters depending on how frequently they appear in English words. Apparently it’s unorthodox to engrave every face, but I didn’t see a reason not to.

Each block is a 1-½’’ cube of maple. Fine Lumber actually sells S4S 2-by-2s and will cut to length, which is highly convenient. I bought 3’ for around $15, which was more than enough. I chopped that length into individual blocks at the start, but presumably you could optimize this whole process by machining them all at once and then cutting.

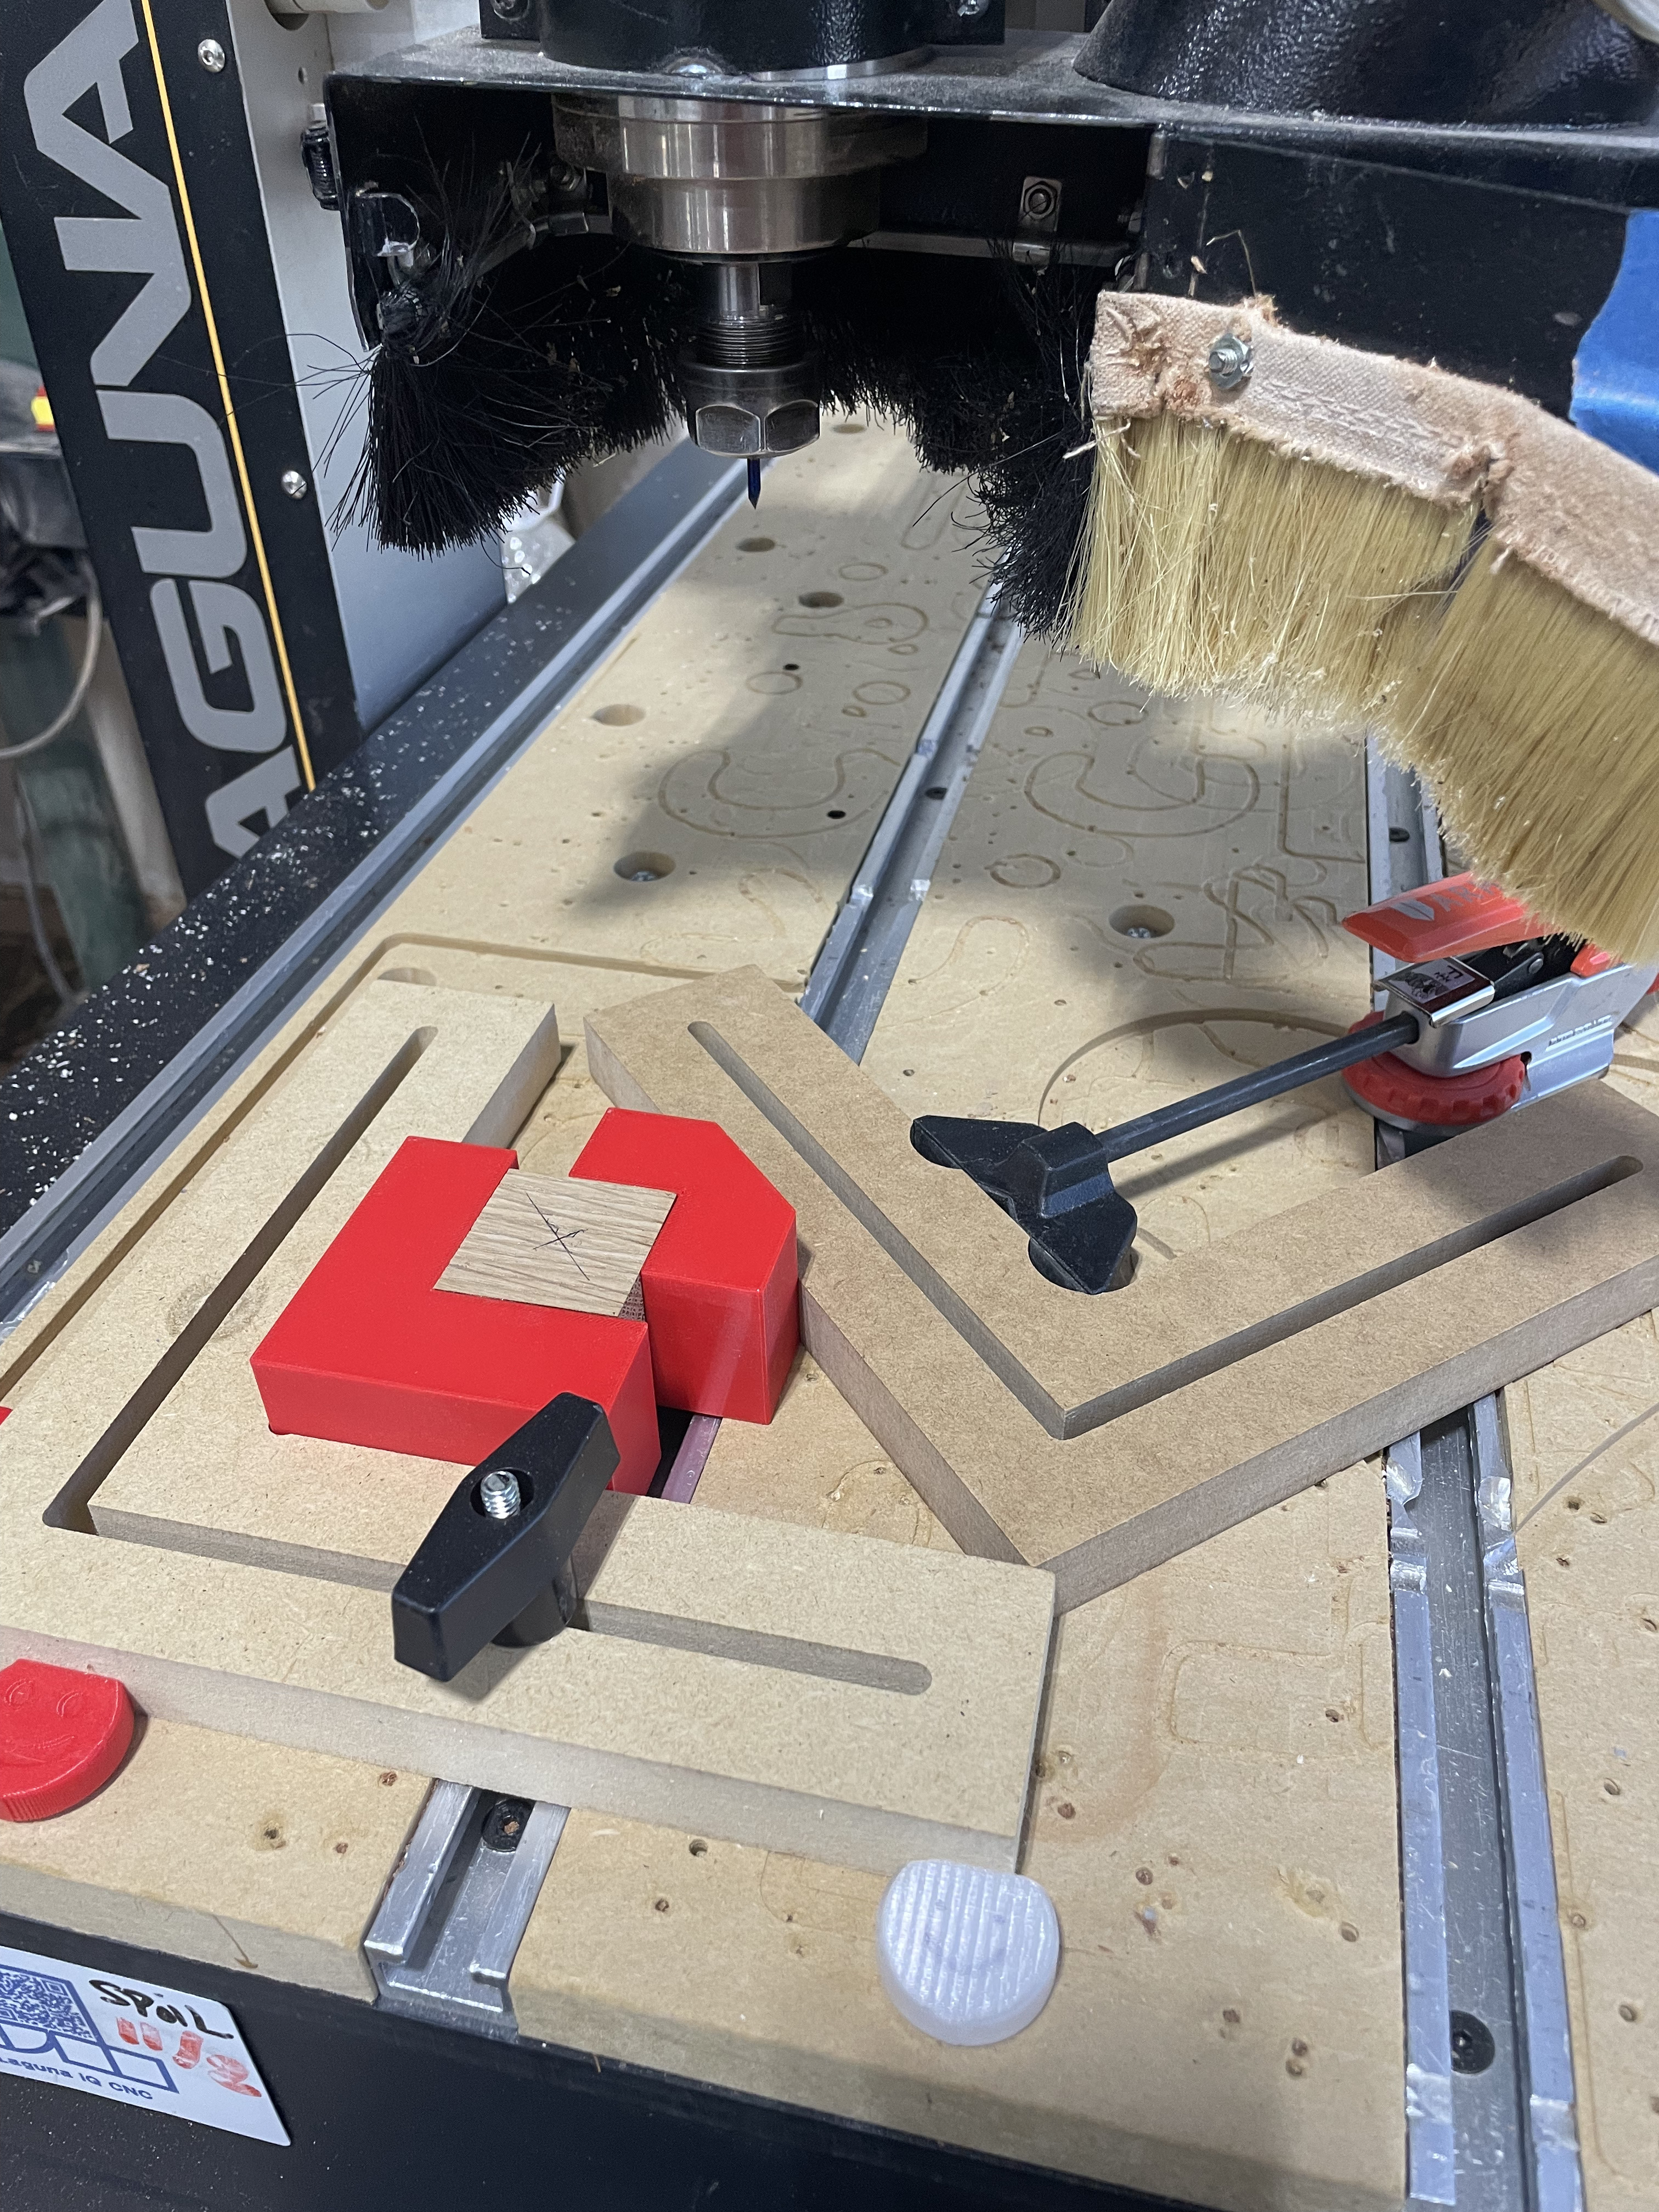
In VCarve, each face is set up as one engraving toolpath with 2 clearing tools and 1 engraving tool. Most of the work in this project is changing tools: for each face, it starts with a 1/8’’ end mill to rough clear, then a 1/16’’ end mill to clear details, then a 60º v-bit to profile the edges. An automatic tool changer would have probably halved the machine time, and I’m amazed at how few times I forgot to re-zero after tool changes!

Those tool paths are exported separately, so each face has 3 files to run. Naming them appropriately to avoid confusion ended up being crucial. Since the controller only shows so many characters for a file name, the convention I landed on was: “A C1”, “A C2”, “A ENG” for “letter A, clear step 1”, “letter A clear step 2”, “letter A engraving”. If I do this again, I won’t export all 90 toolpaths to my USB at once. Scrolling through that menu and being careful to choose the right one did me no favors.

Another mistake I won’t make again is running the v-bit far too slowly. The default pass depth from the tool library was 0.01’', resulting in an absurd number of passes and an engraving toolpath that took 10+ minutes (but gave a great surface finish). I did about 8 entire blocks like that before it occurred to me to bump up the pass depth and do just 2 passes. Since the path was already cleared, the chip load was hardly anything, surface finish was still great, and the engraving was done in about one minute per face.

To hold each block on the bed, I used the MDF corner jig aligned with bench dogs and an MDF cam clamp to squeeze it into the corner. I was really happy with that: it’s quick to move on to a different face and surprisingly repeatable for keeping alignment.

To finish them off, I lightly sanded each face to remove fuzzy tear-out (a brass brush and 220 sandpaper worked just fine). I very slightly chamfered each edge with a 90º bit on the router table (88 edges goes more quickly than you think), and softened the corners by hand sanding. Finally, they all got a generous coat of beeswax blend.

I’m really happy with the result and will almost certainly do this again at some point. If you’d like to try yourself, I’m more than happy to share the VCarve file by email!


Bonus: the packaging was also done on the CNC. It’s just a grid of 1.55’’ squares in some scrap chipboard to hold the blocks in place (plus a signature done on Tarkin):

13 Likes

Impressive work - beautiful, and great writeup!

Love that you truly went multi-dimensional in nearly every way using the CNC router.

Any video clips?

1 Like

Those looked great in person!

1 Like

I’m so glad you published this exquisite work for all of Asmbly to see!

John, what are the dimensions of your blocks? Height x Width x Depth.
P.S. I see you said 1.5" above and assume this is the stock size you started with. Am I correct?

I’m starting to do some better cuts. The one in the background on the board is maple and turned out quite well. The block in the foreground is some oak. I have learned it is absolutely necessary to have the block held down very well. Also I purchased new 1/8" and 1/16" down-cut end mills, because my other end mills appeared to be up-cut and they kept pulling the block out of its hold down.


.

Good insight about the down-cut bit.

One other thing I ought to mention: I set my origin at the center of the block, not the corner. That way if it’s off slightly, the “border” will still be relatively even at the edges. Looks like maybe you already thought of that.

How do you keep track of the origin between cuts? I have experimented with marking wood with pencil X, and have even done a “guidance hole” in the design, so I can re-align the bit.

I just set the origin once on the center of one face and trusted that all other faces were close enough. The hold-down fixture was precise enough that I only had to set the origin once.

That’s what I do. Another method I tried was to set my piece using the pegs, then noting the X-Y reading on the controller, after I’ve set the bit in the center, but before I zero it out. The only problem was that I didn’t zero out the X-Y at the lower left most point of the CNC, before I moved it to center. :man_facepalming:t2:

If you’re not comfortable with the multiple workspaces you can juggle in the Richauto controller, I recommend experimenting with them. After machine homing I always set one or two workspaces to XY zero, that way I can always switch back to a workspace that will tell me my distance from the mechanical XY zero.

Slowly making progress. Created 3D printed “tall” jigs to steady the top of the block better. They are 3D printed in red PETG with .2 layer height and 50% infill. Later, added a tail to the one on the upper right so my “pusher holddown” reach worked better.

And I now have a “Poo” emoji for those who like “bathroom humor” in their blocks. And I’ve chosen to use a 60° VBit (as compared to the 30° VBit that was referenced in the “P” letter VCarve file sent privately to me by John).

Finally. I used ChatGPT to generate a genetic algorithm which successfully evolved an optimized block configuration that can spell 292 valid five-letter words from its sample dictionary

Block 1: Z Q A I T C
Block 2: R Z K W U D
Block 3: R T E O I Y
Block 4: L B A W K X
Block 5: R P Z E L D
Block 6: P F E K O S
Block 7: H G L R P T
Block 8: U V S U I M
Block 9: M N Z F C T
Block 10: N L J V T H

Now I just have to create the various letter VCarve files and get to CNCing the actual blocks.

1 Like

Finally almost done with 12 blocks (10 letter and 2 glyphs) from oak in the scrap cart along with a 5x5 holder for arranging the blocks for my grandson. P.S. Each block took approximately 1 hour to make on the Laguna IQ with three tool changes per side and six sides per block.

7 Likes

It looks great, but now you need to make 13 more!

Phenomenal! Those look great. I really like the wood tray for them, that was a nice touch. Well done.

Thanks to you @JohnWickham! Please keep up your artistic making and inspiring efforts. Also I got the holder idea from you when you described your lovely packaging. And I’ve still got to stain or paint and seal the holder.