Any tips/best practices for cutting 3/4" material on Tarkin? Should I set the focus a bit lower than the surface? There’s no need to swap out a lens or anything, is there?
I’ve got tons of experience with thinner materials and lasers (including Tarkin, which has been great with stuff like 1/4" acrylic/plywood) but I’m suiting up to cut 3/4" plywood this week for the 1965 Airstream I’m working on.
I’m about to do cabinets and am pretty excited about the fact that I can just design these and hit “cut” instead of all of the painstaking measurement/cutting that’d be required to deal with curved walls, avoiding wheel wells, etc. Also jazzed that I can cut out material out of the middle of plywood panels that you can’t see to reduce weight.
As a rule of thumb, focus on the surface then raise the bed half the material thickness. @dannym has been doing some impressive things with thicker materials on Tarkin.
Check his wiki page for Tarkin or write him directly if he doesn’t chime in here.
Tarkin is the only laser I know that does this, but it’s pretty straightforward to do. It’s got a cut settings in the library for 18mm Baltic birch and if you just load the settings and do this “focus -” adjustment and press Play it should work out of the box.
There is no need to swap lenses. This must be a one-pass process, do not attempt two-pass. This does NOT work with pine plywood and the result could be a fire so please don’t try. The setting was created with 18mm Baltic birch. I would strongly recommend Baltic birch as it has much better strength and also cuts easier and most importantly cuts consistently. Baltic birch has recently had major supply probs for 3mm and 6mm but 18mm is still readily available AFAIK.
We do “focus minus” for this, that is, bring the work closer than the normal surface focus. The setting I have on record is 18mm birch plywood 5mm/sec with a “focus -5mm” documented in the name of the setting, but the “focus -” part needs to be observed and manually Z’ed into place.
That is, first use the tool to set the Z and remove the tool- just like normal.
But then go to the Ruida panel and take note of the Z value. This will be around 3000mm and has no meaning as an absolute, but relative. So say it’s “2998.3” after the focus tool. We need to reduce the focal length by 5mm, although this is formatted as a negative number (because we’re reducing the distance from the lens) we achieve it by adding to the Z. Well, we’re moving the Z up, closer to the lens, so that all makes sense. So add 5mm to that number, jog Z up to “3003.3”
That does bring the head close to the surface, about 2mm of clearance. Just make sure the material is not warped and there are no clamps in the way.
I’ve done a fair amount of testing with thick lumber and specifically 3/4" / 18mm plywood.
The machine is certainly capable of cutting some of these materials, but there are significant caveats.
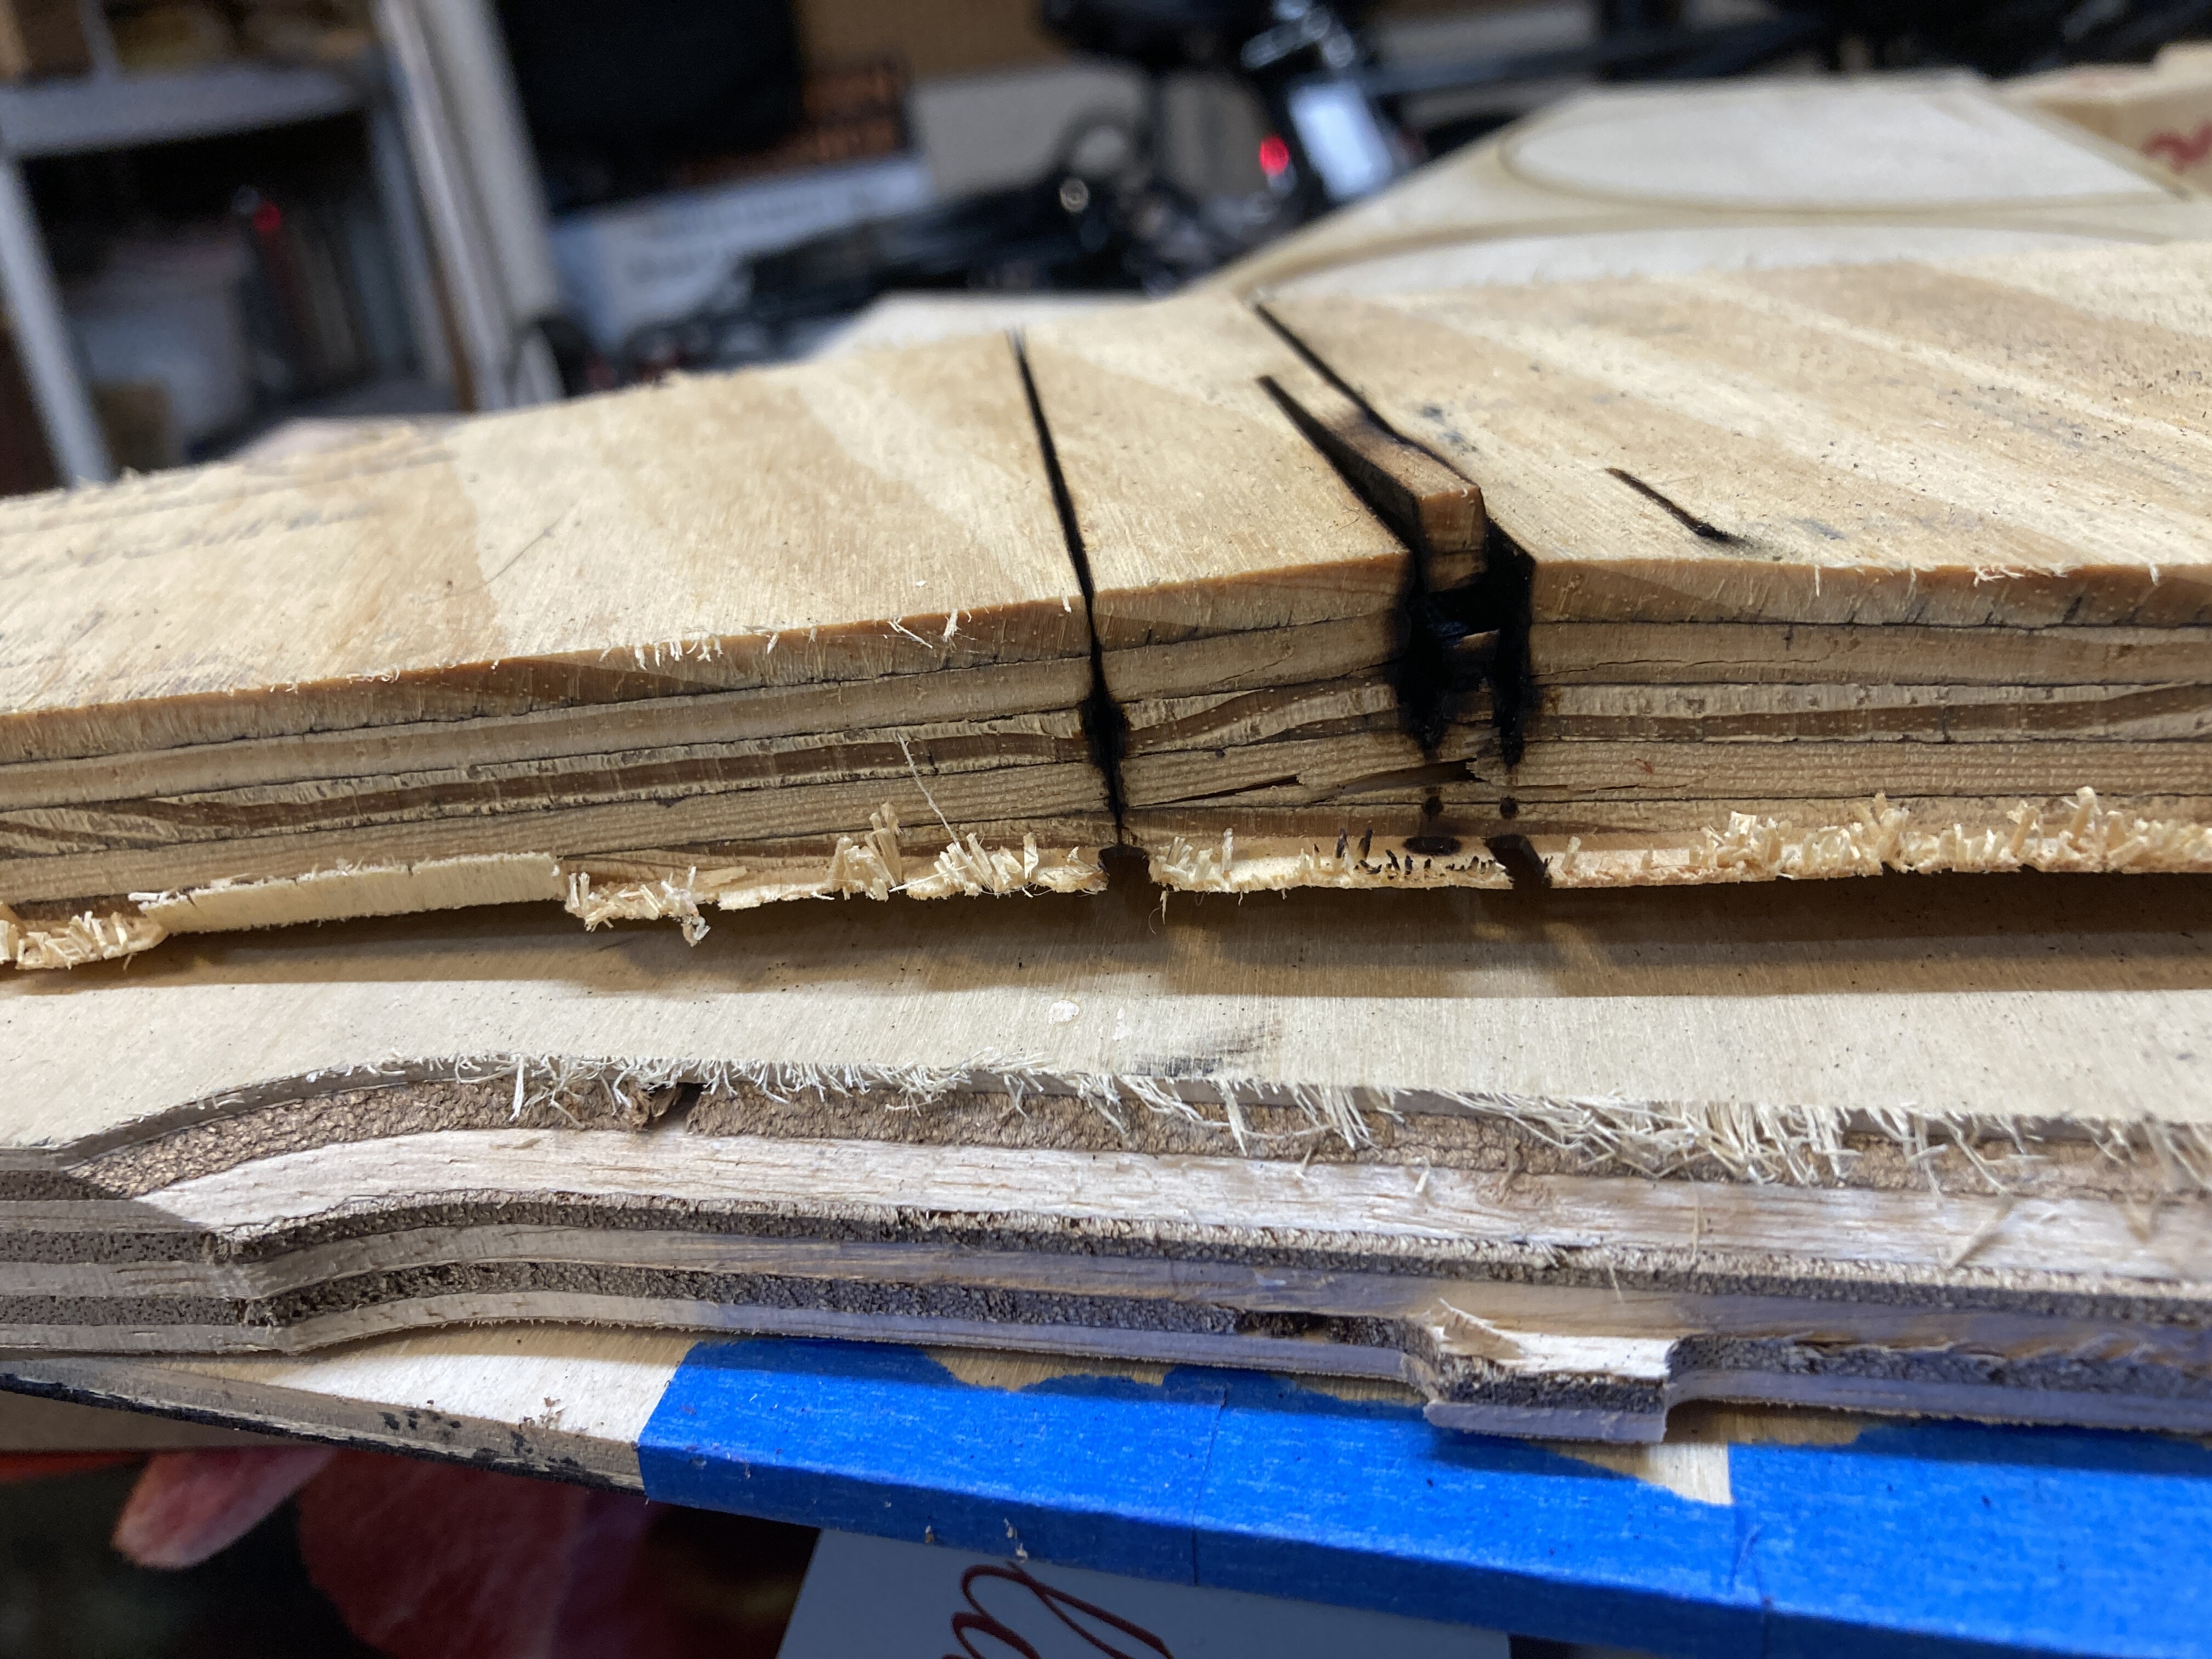
I think the biggest one is that oily/resiny/“smoky” woods can be very troublesome – to the point of being safety concerns. Specific example: I was excited that I would finally have some use for various scraps of cheap pine heavy ply lying around in my garage – wow, what a great way to prototype projects that I might eventually do on the CNC with much more expensive wood! Well, not so much. If thick plywood isn’t very dry and fairly even-density, you can get very inconsistent cuts. Worst case is that you hit a resiny knot or something and it ignites into a coal in the middle of thick plywood. See image as a cautionary tale:
That was a case where I tried one power setting, then canceled when I could tell it wasn’t cutting through, then tried another cut shifted over a bit with more power. Well, it was clear later that the first cut produced an ember that just kept burning. No bueno, and if you hit something like this make sure it is extinguished before throwing out or whatever.
Incidentally, this photo also shows an 18mm baltic birch style plywood that cuts better, but the result is still very very ashy and does not produce consistently clean edges. (I hope it is obvious, but just in case: the edge shown on the bottom piece in this photo was a CNC cut, not laser.) My Tarkin cuts on this wood were still very questionable for any kind of precision joinery.
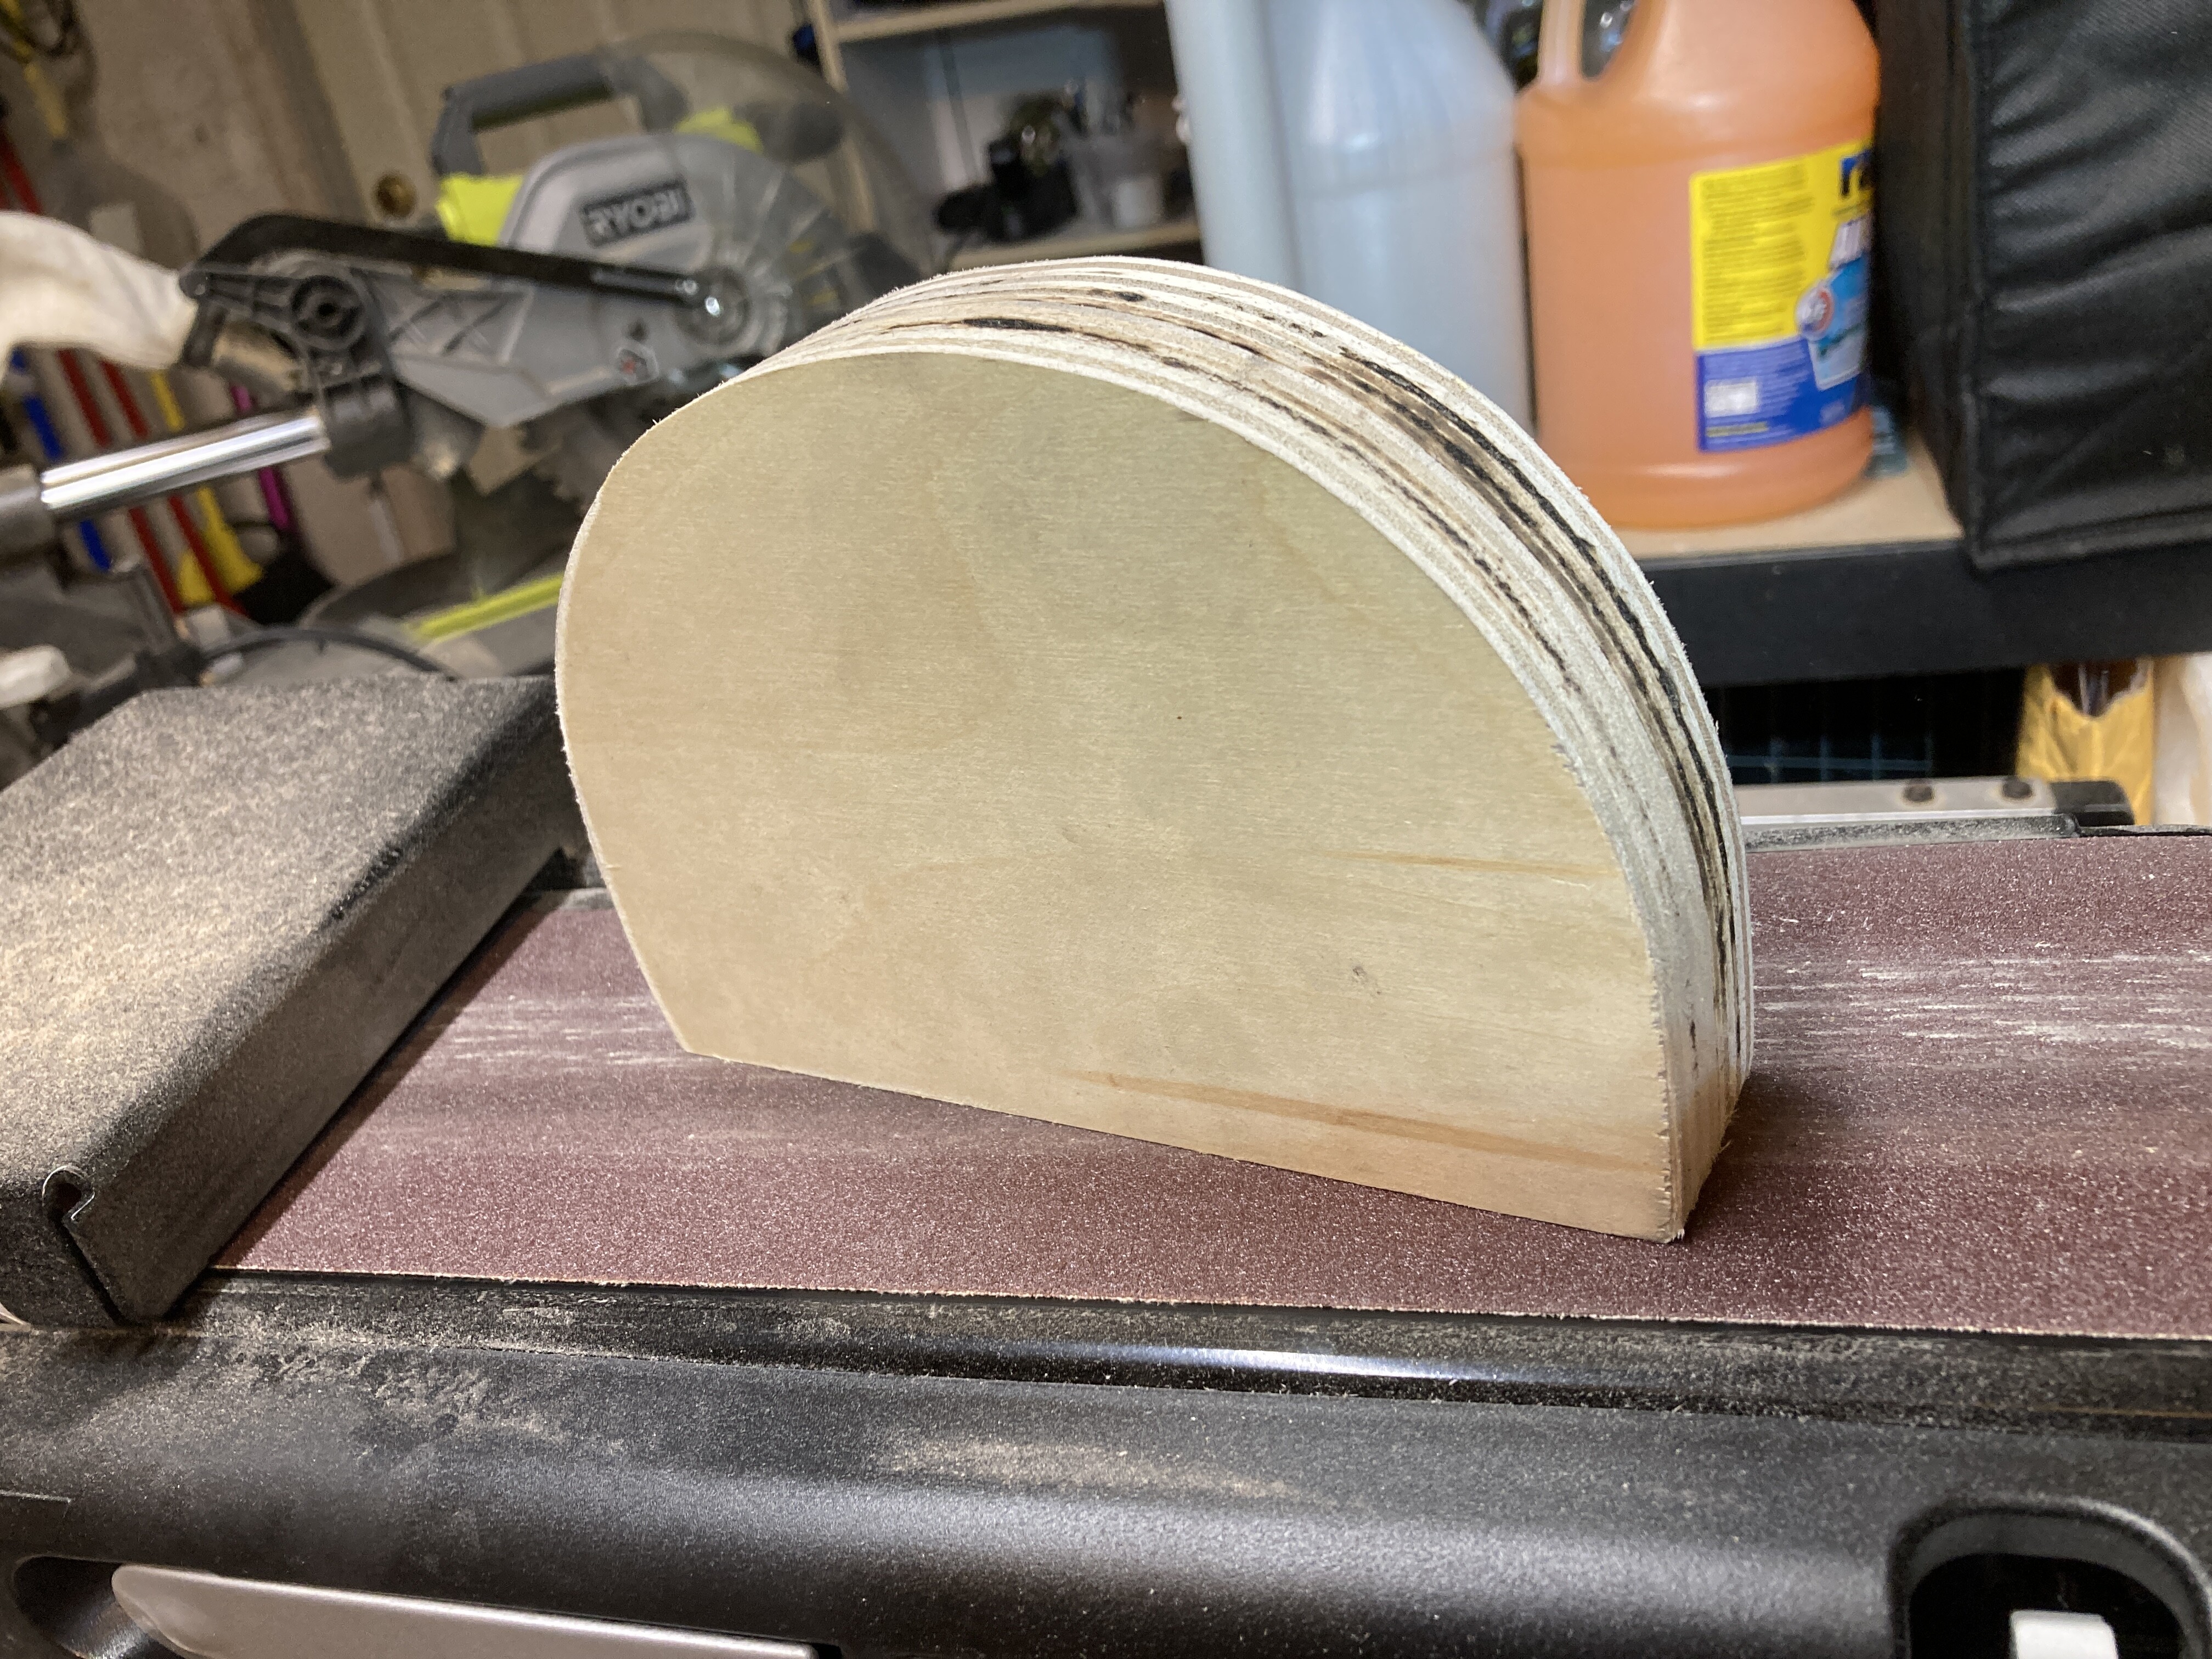
Here’s another image where I cut two layers of a simple curve, which cut through OK, but even after extensive sanding I still hadn’t gotten entirely through the excess burn marks. Luckily, didn’t care much on that project.
Oh, and I also left one of my 3/4" pine scraps on top of the machine a couple weeks ago with the intention to serve as a direct example of why cutting resin-y pine is a bad idea. Dunno if it is still there, but it is a very sad and charred edge.
TL;DR: I’m definitely glad we have this capability, but some projects will still be limited. Choose your materials wisely, and take extra care dialing in settings to minimize excess char – or worse.
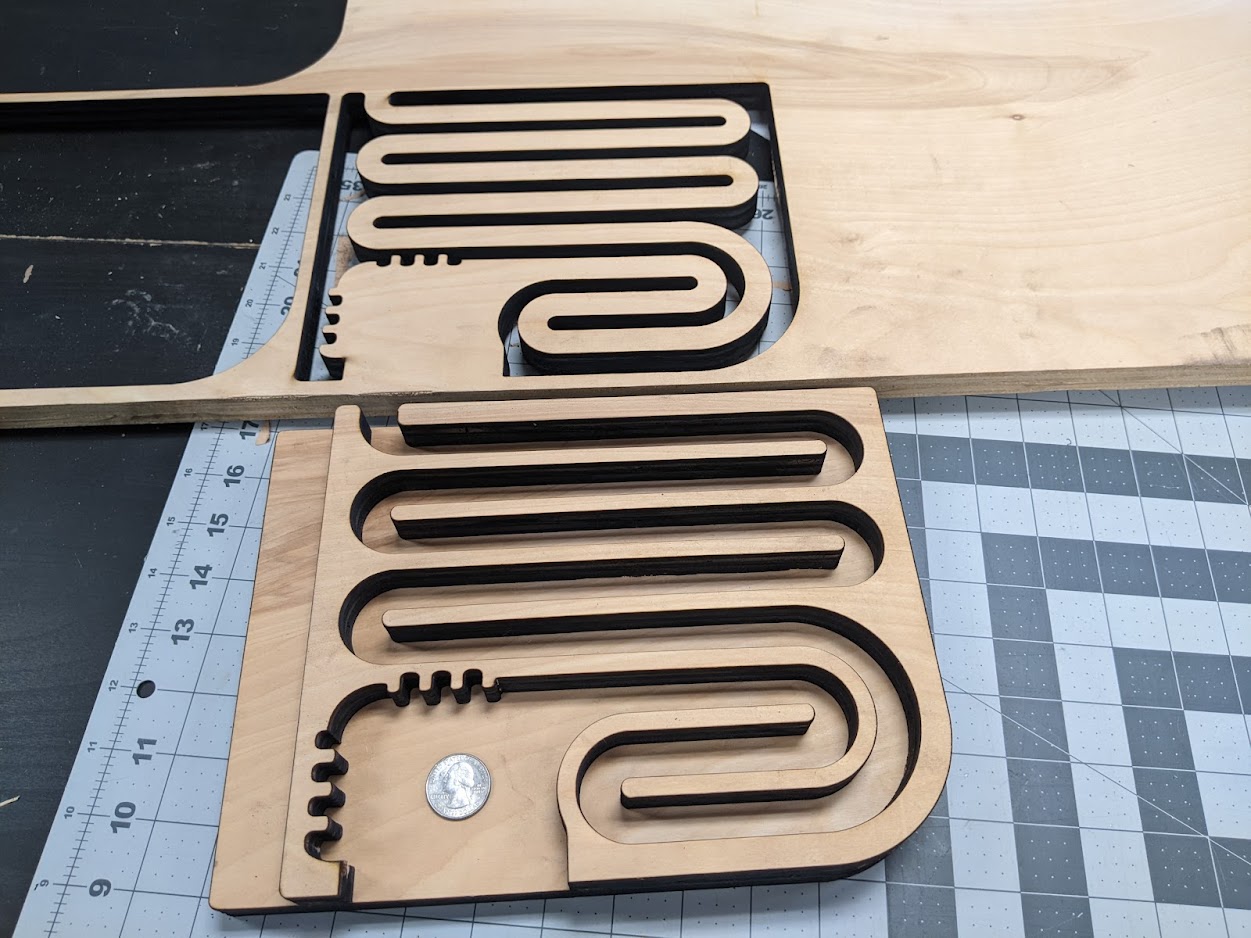
These are subwoofer baffles made from 18mm. It was surprisingly straightforward to set up and produced great results. The edge was pretty clean.
Oh, do watch the chiller temp. There is some question of whether it has enough cooling capacity, I saw it rise before but we think it was just because the condenser core was SOOOO dirty.
Currently the chiller is set for 20C. On a long, sustained full-power cut we did see the coolant temp rise to 25C. This is nowhere near a temp that could damage the laser, but the CO2 output efficiency does decrease by about 1% per deg C so it might not be enough to cut through. If it hits 22C that tells me the chiller isn’t keeping up. If this happens, just pause the job for a minute and let the chiller bring the coolant temp back down and please let me know.
Just to be clear: I’m not advocating for never cutting thick materials. Just know the caveats and proceed carefully. If you care about clean results, take the time to experiment and determine best settings for your material.
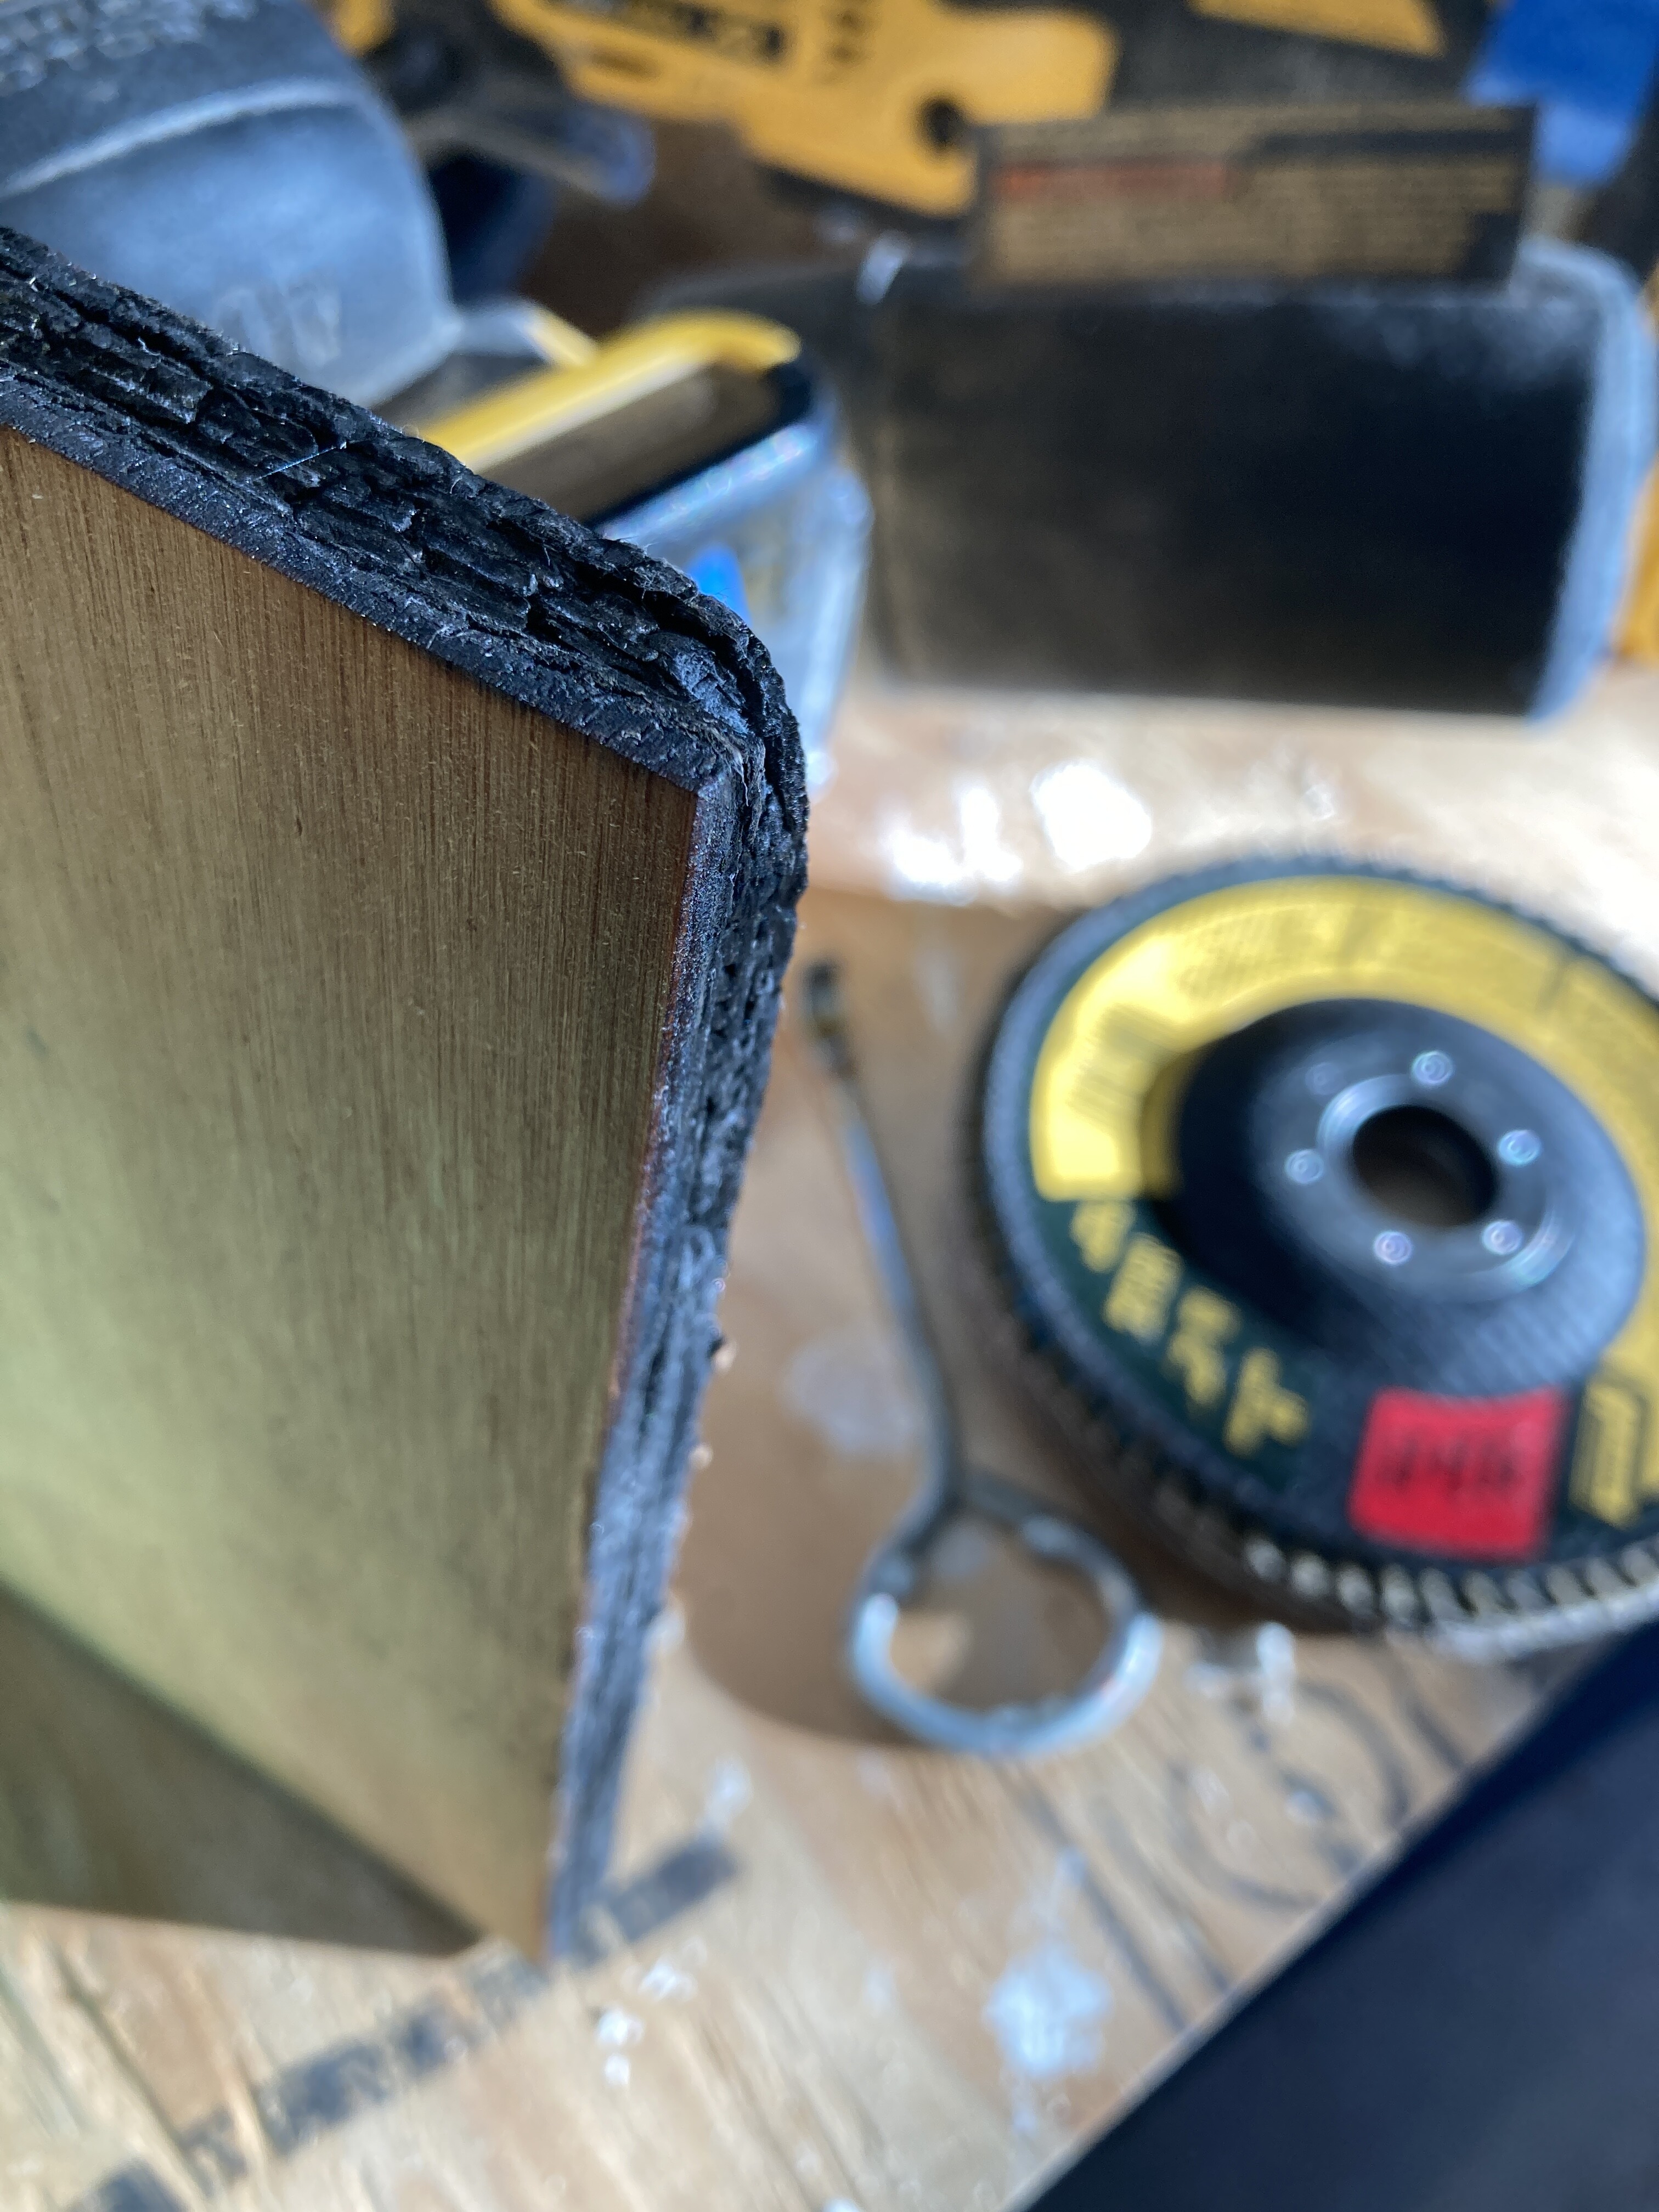
I happened to stumble onto one more example of a scrap that I brought home from early tests… this image is 0.5” ply, so the problem isn’t purely with ultra-thick wood. This is another relatively resin-y ply, so that seems to be the dominant factor as expected.
@J-LoM Thanks for the reminder, I added to the Tarkin Wiki’s “Prohibited” list- any sort of pine greater than 3/8".is prohibited, and discouraged even if it’s thinner.
@dannym A “Prohibited” list on the wiki is ineffective.
If we want people to know then it needs to be in their face.
We should post a list near the laser so people won’t miss it.
This has been great-- thanks! I pondered just getting some 3/8" ply and gluing lasered pieces to make 3/4" ply, but I think I’m going to go for it with 3/4" baltic birch.
These are cabinet carcasses which will ultimately be hidden from view, so if it doesn’t work out perfectly, I’ll still be happy.
I’ll report back after Thursday when I take my first “shot”.
I’m pulling the ripcord on this after trying a mess of test cuts on 3/4" Baltic Birch Plywood from Fine Lumber & Plywood down the road. Cuts are “glow-y orange” after the cut and not getting thru at 100 power / 5 speed. For the sake of science, I also tried focusing at the TOP of the material, doing 1 pass at 15 speed and then adjusting focus by 5mm and it still didn’t do the trick.
Going to fall back to laminating 2 sheets of plywood together with wood glue. A little bit labor intensive, but probably less than trying to table/jig saw my (very complex) design at this point!
Ack I just got home and saw this-- I’ll leave some next time I’m there (should be in the next few days). I hope we can figure it out-- I have $300 worth of very nice 3/4" baltic birch on my hands now! I’m sure I can find something interesting to do with it if it can’t laser easily.
I’ll bring in the 3/4" Baltic Birch that I got from Fine Lumber tomorrow and leave a piece to see if it’s unusual. I tried speed 5 speed / 100 power on a pretty wide variety of focus settings and never got close to cutting thru… and it always seemed to leave glowing edges.
It’s in the settings library. I’m questioning the value of the focus-, with focus0 it still cut, and was notably cleaner on the bottom although that doesn’t make a lot of sense. But both were in the 6mm/s range or greater, so 5mm’/s should have cut
It does have problems when it hits knots, and I’m not sure if lowering the speed would even make a difference when it hits a knot
Wild! I’m forced to conclude that the plywood I have is denser or has some sort of glue that is different than the one you’re using. It definitely wasn’t just struggling with the occasional knot-- it was failing to cut (ever) and glowing orange after the attempt. I’ll leave a piece tomorrow in case anyone wants to fiddle with it.
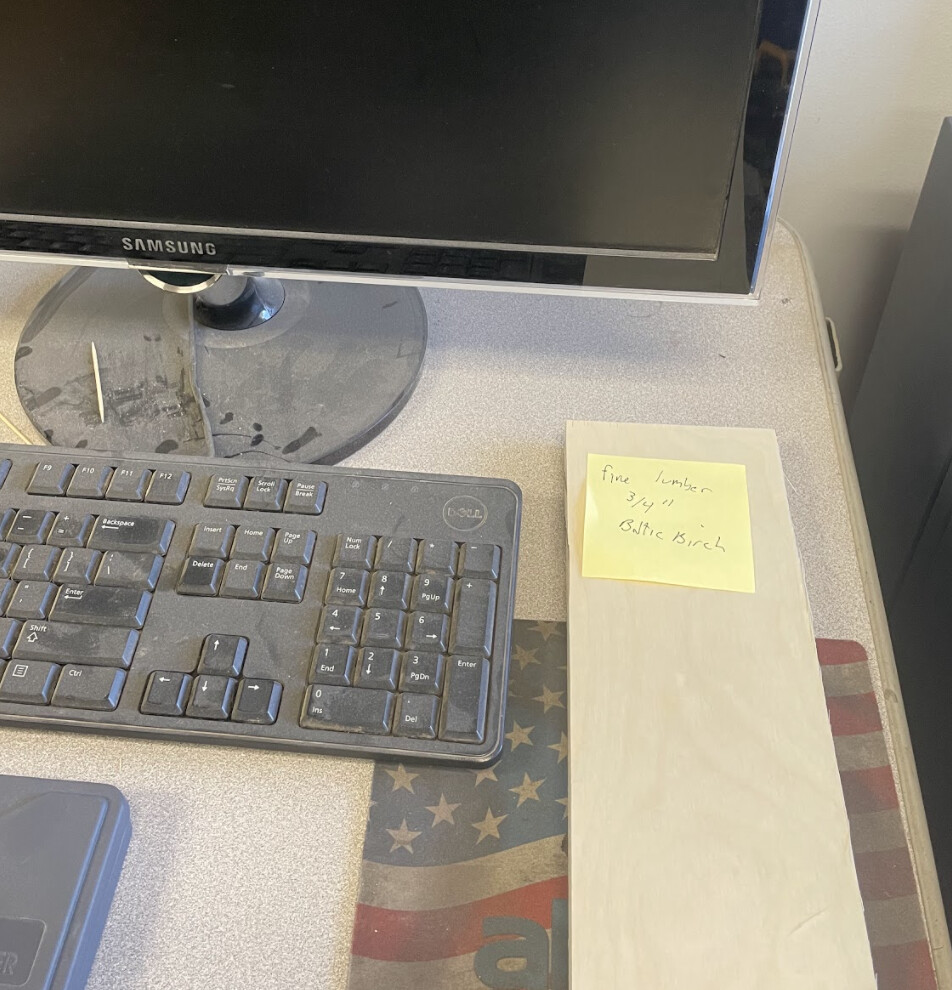
Heyo! I left some of that Fine Lumber 3/4" Baltic Birch by the computer (not the Tarkin computer, the other one). I might run some tests this evening to see if I can make any more progress. I’ll be in Tues/Wed/Thu during the day if you want to hunt me up.