For folks wondering what the heck is up with the water fountain in the MPR, @sarahmartin and I are tired of it. It’s got internal leaks in it’s old bones and decided to leak into our wall a bit. Between that and the plumbing problems throughout the year with the kitchenette, we’ve had it!!
We’re going to gut it all, rip it out, and put a new more efficient kitchenette in the space. Stay tuned for details.
In the meantime, @Iammikecohen has volunteered to make 3 cabinets for us that will fit this space! He’s also happy to show folks how it is done. We do have a full fledged Mozaic class that teaches how to set it up and make a cabinet on the CNC, which we all encourage y’all to take. However this will be a show up and see how it works kind of an evening.
Tuesday and Wednesday evening starting at 6pm he’ll be onsite until roughly 9pm or 10pm. Each evening he’ll plan to be in the MPR to answer questions and talk about the process, then head over to the CNC to get cutting.
Bring ear protection and eye glasses and your curiosity.
Tuesday night he’ll be working through and talking about cabinet construction, CNC operations, and Wednesday night he’ll be going through the drawers.
You’re more than welcome to attend both nights to see how the process is done.
Big success tonight. There’s a discrepancy between Mozaik on the CNC and the lobby computer I designed the cabinets on, I’ll look to resolve that in the future.
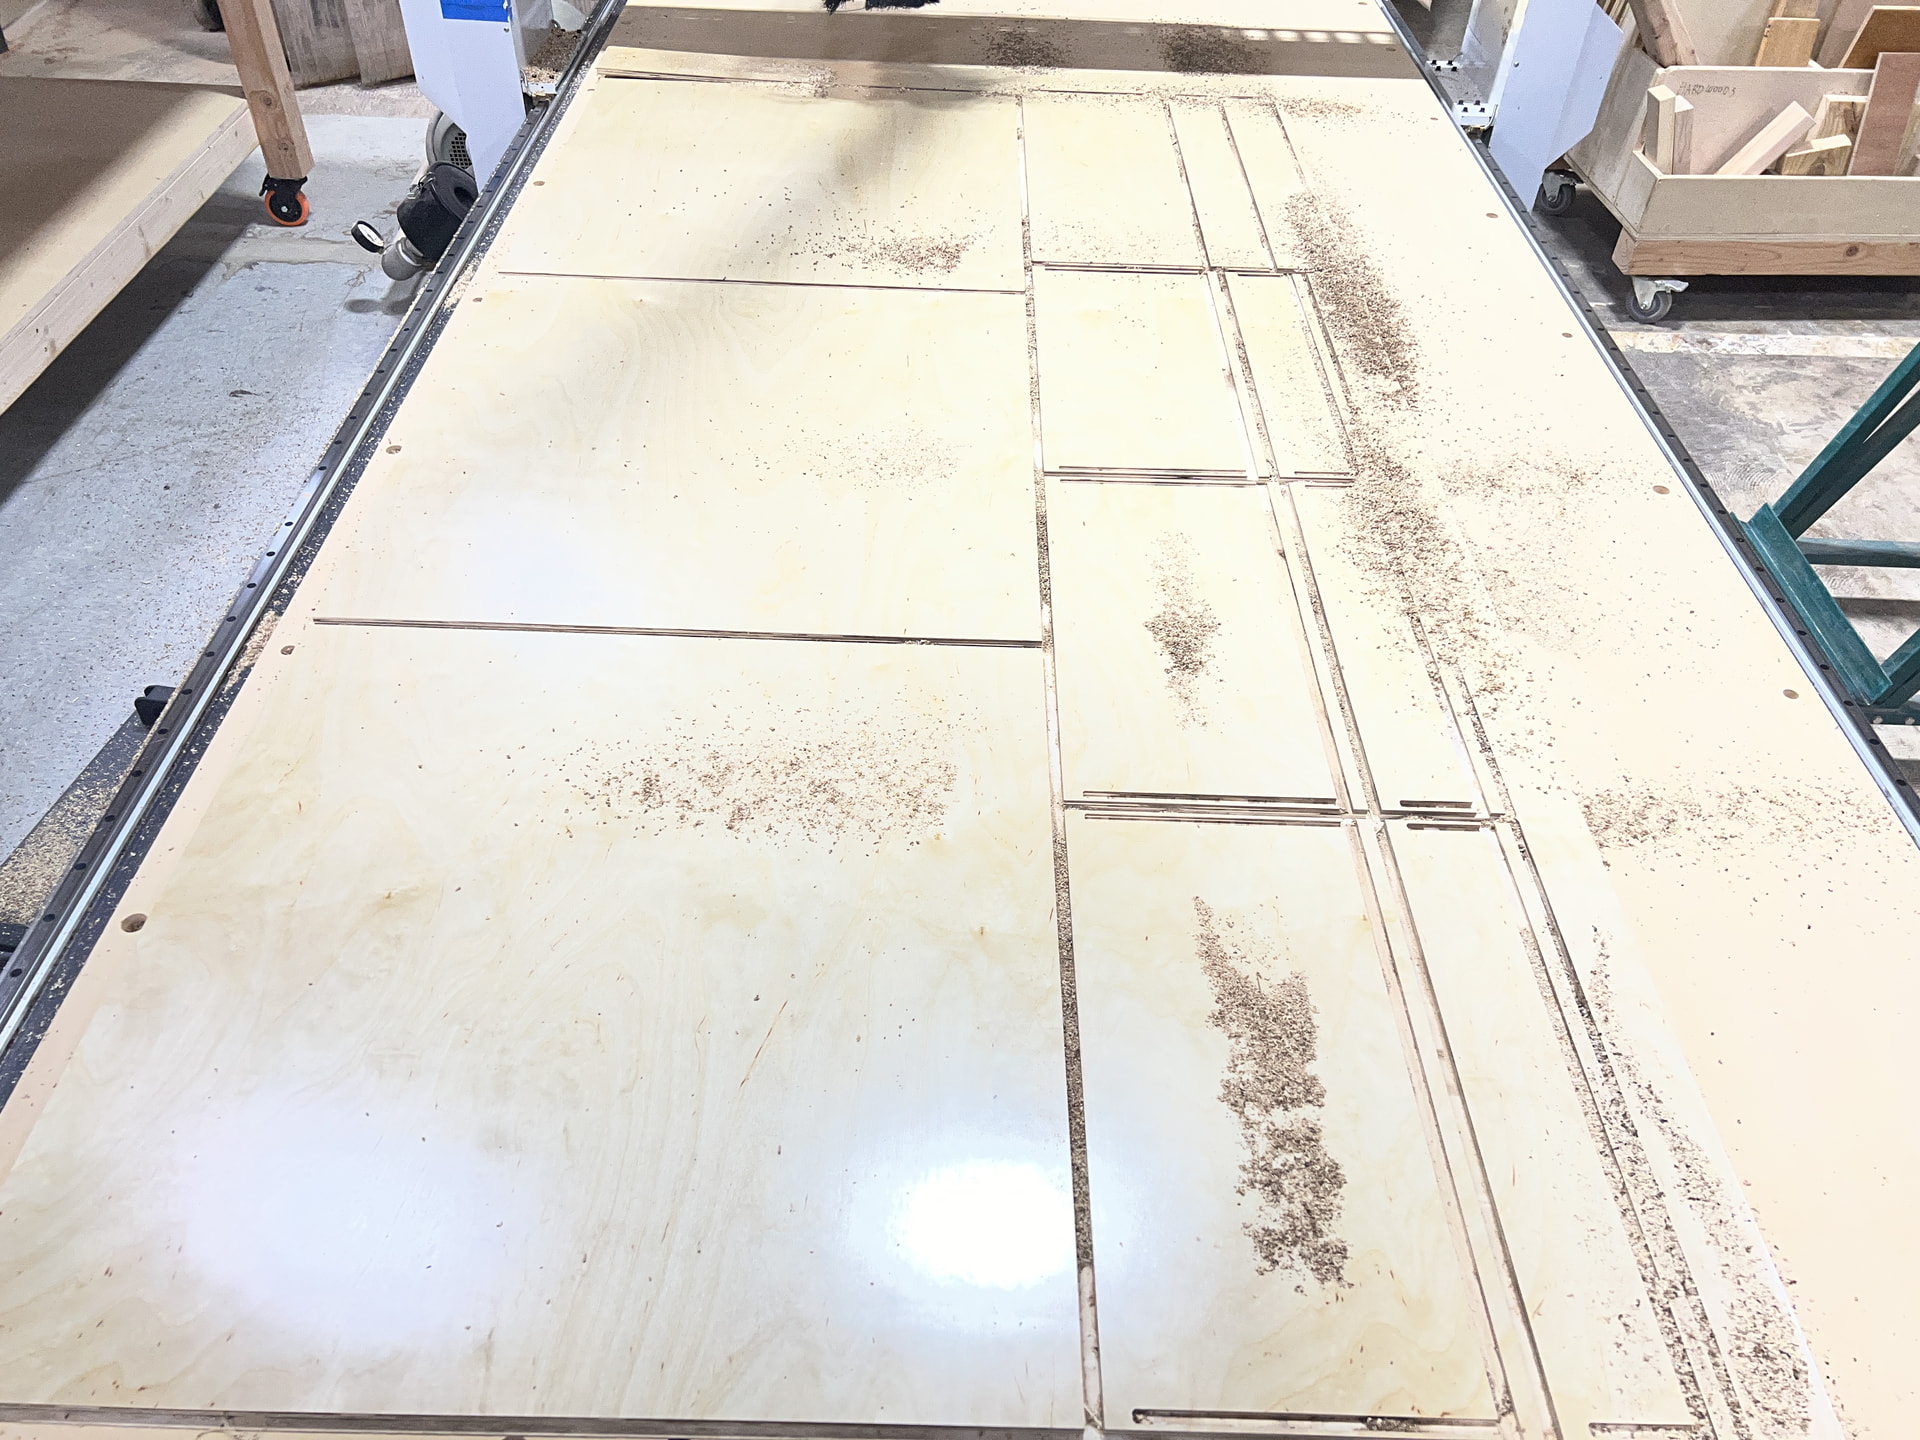
We cut three 3/4” sheets which was all the parts for three base cabinet carcasses. The recently replaced spoil board made the vacuum hold down very strong.
Tomorrow I’ll try to resolve the issue between the two versions of Mozaik then cut the four drawers.
Please be gentle with the spoil board. If you inspect it tonight you’d be hard pressed to find where we cut through.
That’s a wrap on cutting. Five sheets averaged under an hour per sheet.
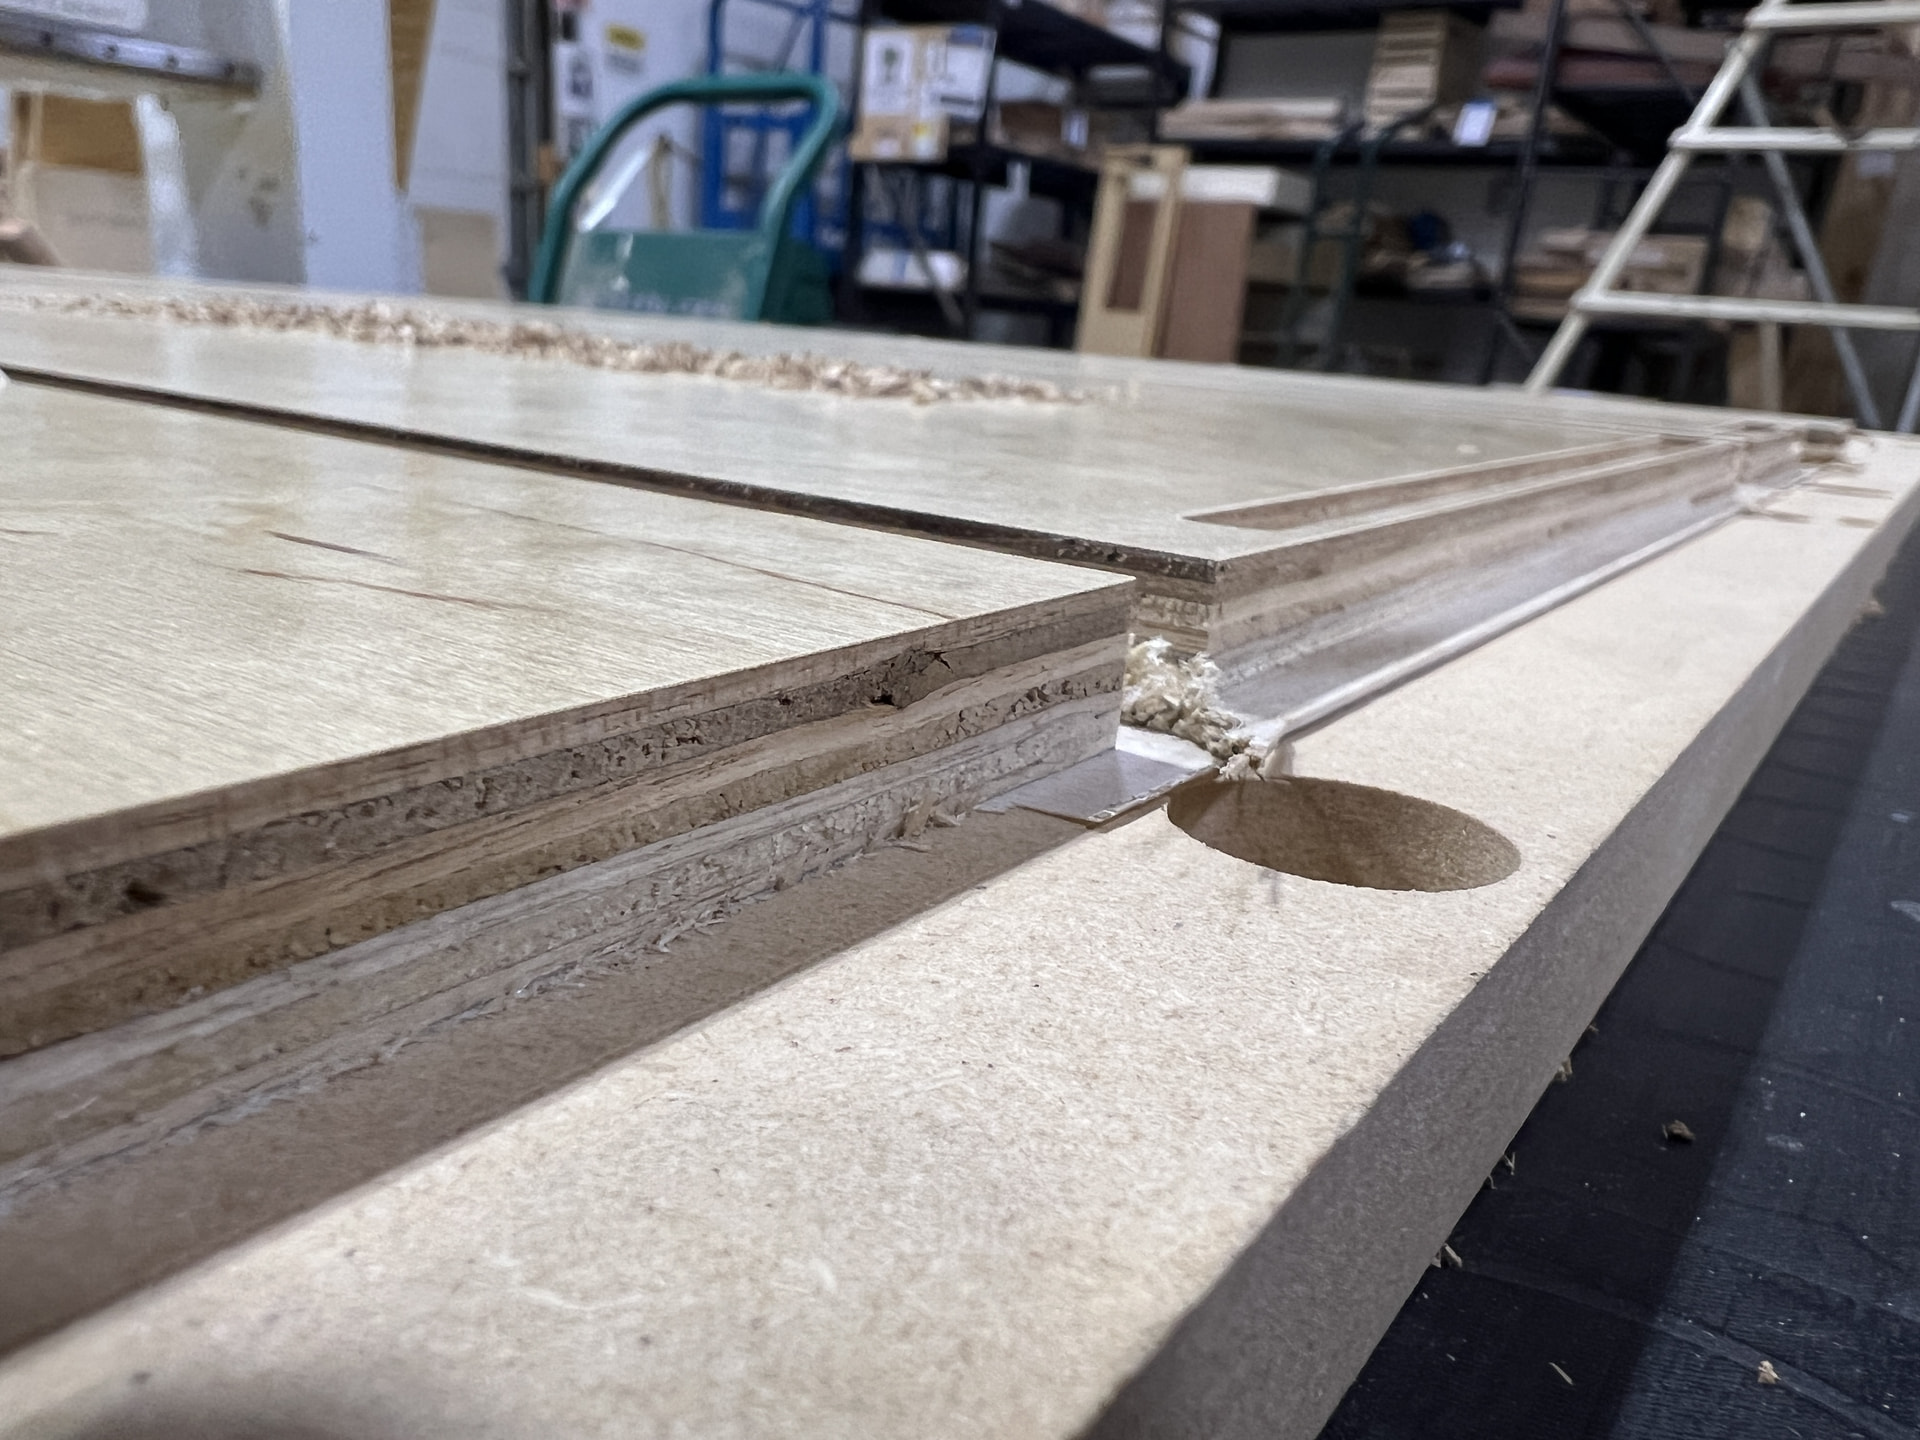
I cut all the sheets with a “full onion skin” using a 3/8” compression bit to cut most of the way through the plywood in one pass, leaving a thin “onion skin” on the bottom to maintain vacuum hold down. Then that thin skin was cut with a 1/4” compression bit.
In this first pic you will see the onion skin cut on the left and the thickness of the skin on the right:
Let me know how I can get some of the edge banding.
Everything cut well for the cubby cabinet, except that I put the sheet with the incorrect side down, so the “good” side is to the inside of the cabinet