I can make it over tomorrow afternoon and attempt a good cleaning and greasing of the bearings and rails with Lithium spray from Home Depot. From the internet it says (this is for my later reference only):
laguna 2x3 IQ how to do a good cleaning and greasing of the bearings and rails
Yes. For a Laguna iQ 2×3, I would treat the linear rails and bearing cars as precision components rather than just spraying lubricant over everything. Laguna’s current maintenance guidance says to clean and lubricate the linear guides and ball screws regularly, using lithium lubricant or 30W oil, and to wipe away excess. (lagunatools.com)
A good thorough cleaning would be:
-
Power the CNC completely off. Vacuum the machine first, especially around the X/Y rails, bearing cars, ball screw, and under/behind the gantry. Don’t start by blowing compressed air everywhere; it can drive MDF dust into the bearing seals and ball nuts.
-
Clean the exposed rail surfaces. Use a clean lint-free rag to wipe the linear rails. For stubborn greasy sawdust, lightly dampen the rag with mineral spirits or a mild degreaser rather than flooding the rail. Keep solvent away from the bearing-car seals. Wipe until the rag stops picking up dark contaminated grease.
-
Clean the bearing-car edges. Pay particular attention to the little wipers/seals at both ends of each linear bearing block. Packed sawdust here is what you especially want to remove. Use a soft nylon brush, cotton swab, or rag. Don’t pry underneath the seals.
-
Clean the ball screws. Rotate/move the axes so you can expose different sections and wipe the screw threads clean. Remove the mixture of sawdust and old grease that accumulates in the grooves. Don’t try to dig inside the ball nut.
-
Lubricate the rails lightly. Laguna specifically allows 30W oil or lithium lubricant; its newer manual says the linear guides and ball screws can be lubricated with lithium grease and that excess should be wiped off. (Laguna Tools) I prefer a light lithium grease or thin lithium spray, not a heavy automotive chassis grease.
-
Put a very thin continuous film on the shiny running surfaces of each rail. Then jog the axis through nearly its full travel several times. The bearing-car seals will distribute the lubricant internally. Wipe off the excess afterward. You should be able to feel that the rail is lubricated, but you shouldn’t see blobs of grease.
-
Lubricate the ball screw similarly. Apply a small amount along the screw, then run that axis back and forth several times. Wipe off whatever gets pushed out or accumulates at the ends.
For the bearing cars themselves, I would not pump grease into any opening unless your particular cars actually have grease nipples/fittings. Laguna’s published iQ documentation talks about lubricating the bearing surfaces rather than specifying a number of grease-gun pumps into the cars. A linear-bearing manufacturer such as Thomson does describe injecting grease through a carriage fitting when one is provided, but that is bearing-specific. (Thomson Linear) If yours have fittings, send me a close-up photo and I can tell you how I would service them without overfilling them.
A few things I would not do: don’t use WD-40 as the lubricant; don’t pack the rails with thick grease; don’t spray lubricant indiscriminately around the machine; don’t remove the bearing cars from the rails for routine cleaning; and don’t force solvent through the bearing seals.
Laguna’s current iQ Pro manual actually specifies lubrication at least every 12 operating hours, with daily inspection/cleaning and weekly inspection of the guide and ball-screw lubrication. Older Laguna iQ documentation says weekly when the machine is used daily. (Laguna Tools) In a makerspace cutting a lot of MDF, I would inspect much more frequently because MDF dust mixed with grease makes an excellent abrasive paste.
If this is the older Laguna iQ 2×3 rather than the iQ Pro, I can also identify every X, Y, and Z rail/bearing location and ball-screw lubrication point and give you a step-by-step “annual deep cleaning” procedure specifically for that machine.
identify every X, Y, and Z rail/bearing location and ball-screw lubrication point
On the older Laguna iQ 2×3, including the machine shown on the Asmbly page, the motion system is fairly easy to understand once you separate the three axes. Laguna confirms that the iQ is unusual among its CNCs because it uses a ball screw on all three axes, not rack-and-pinion, and replacement parts are still listed for the iQ X, Y, and Z ball screws and linear guides. (Laguna Tools Parts & Accessories)
Standing in front of the machine, Laguna defines the axes as X = left/right, Y = front/back, Z = up/down. (device.report)
X axis — across the gantry
This is the easiest set to see.
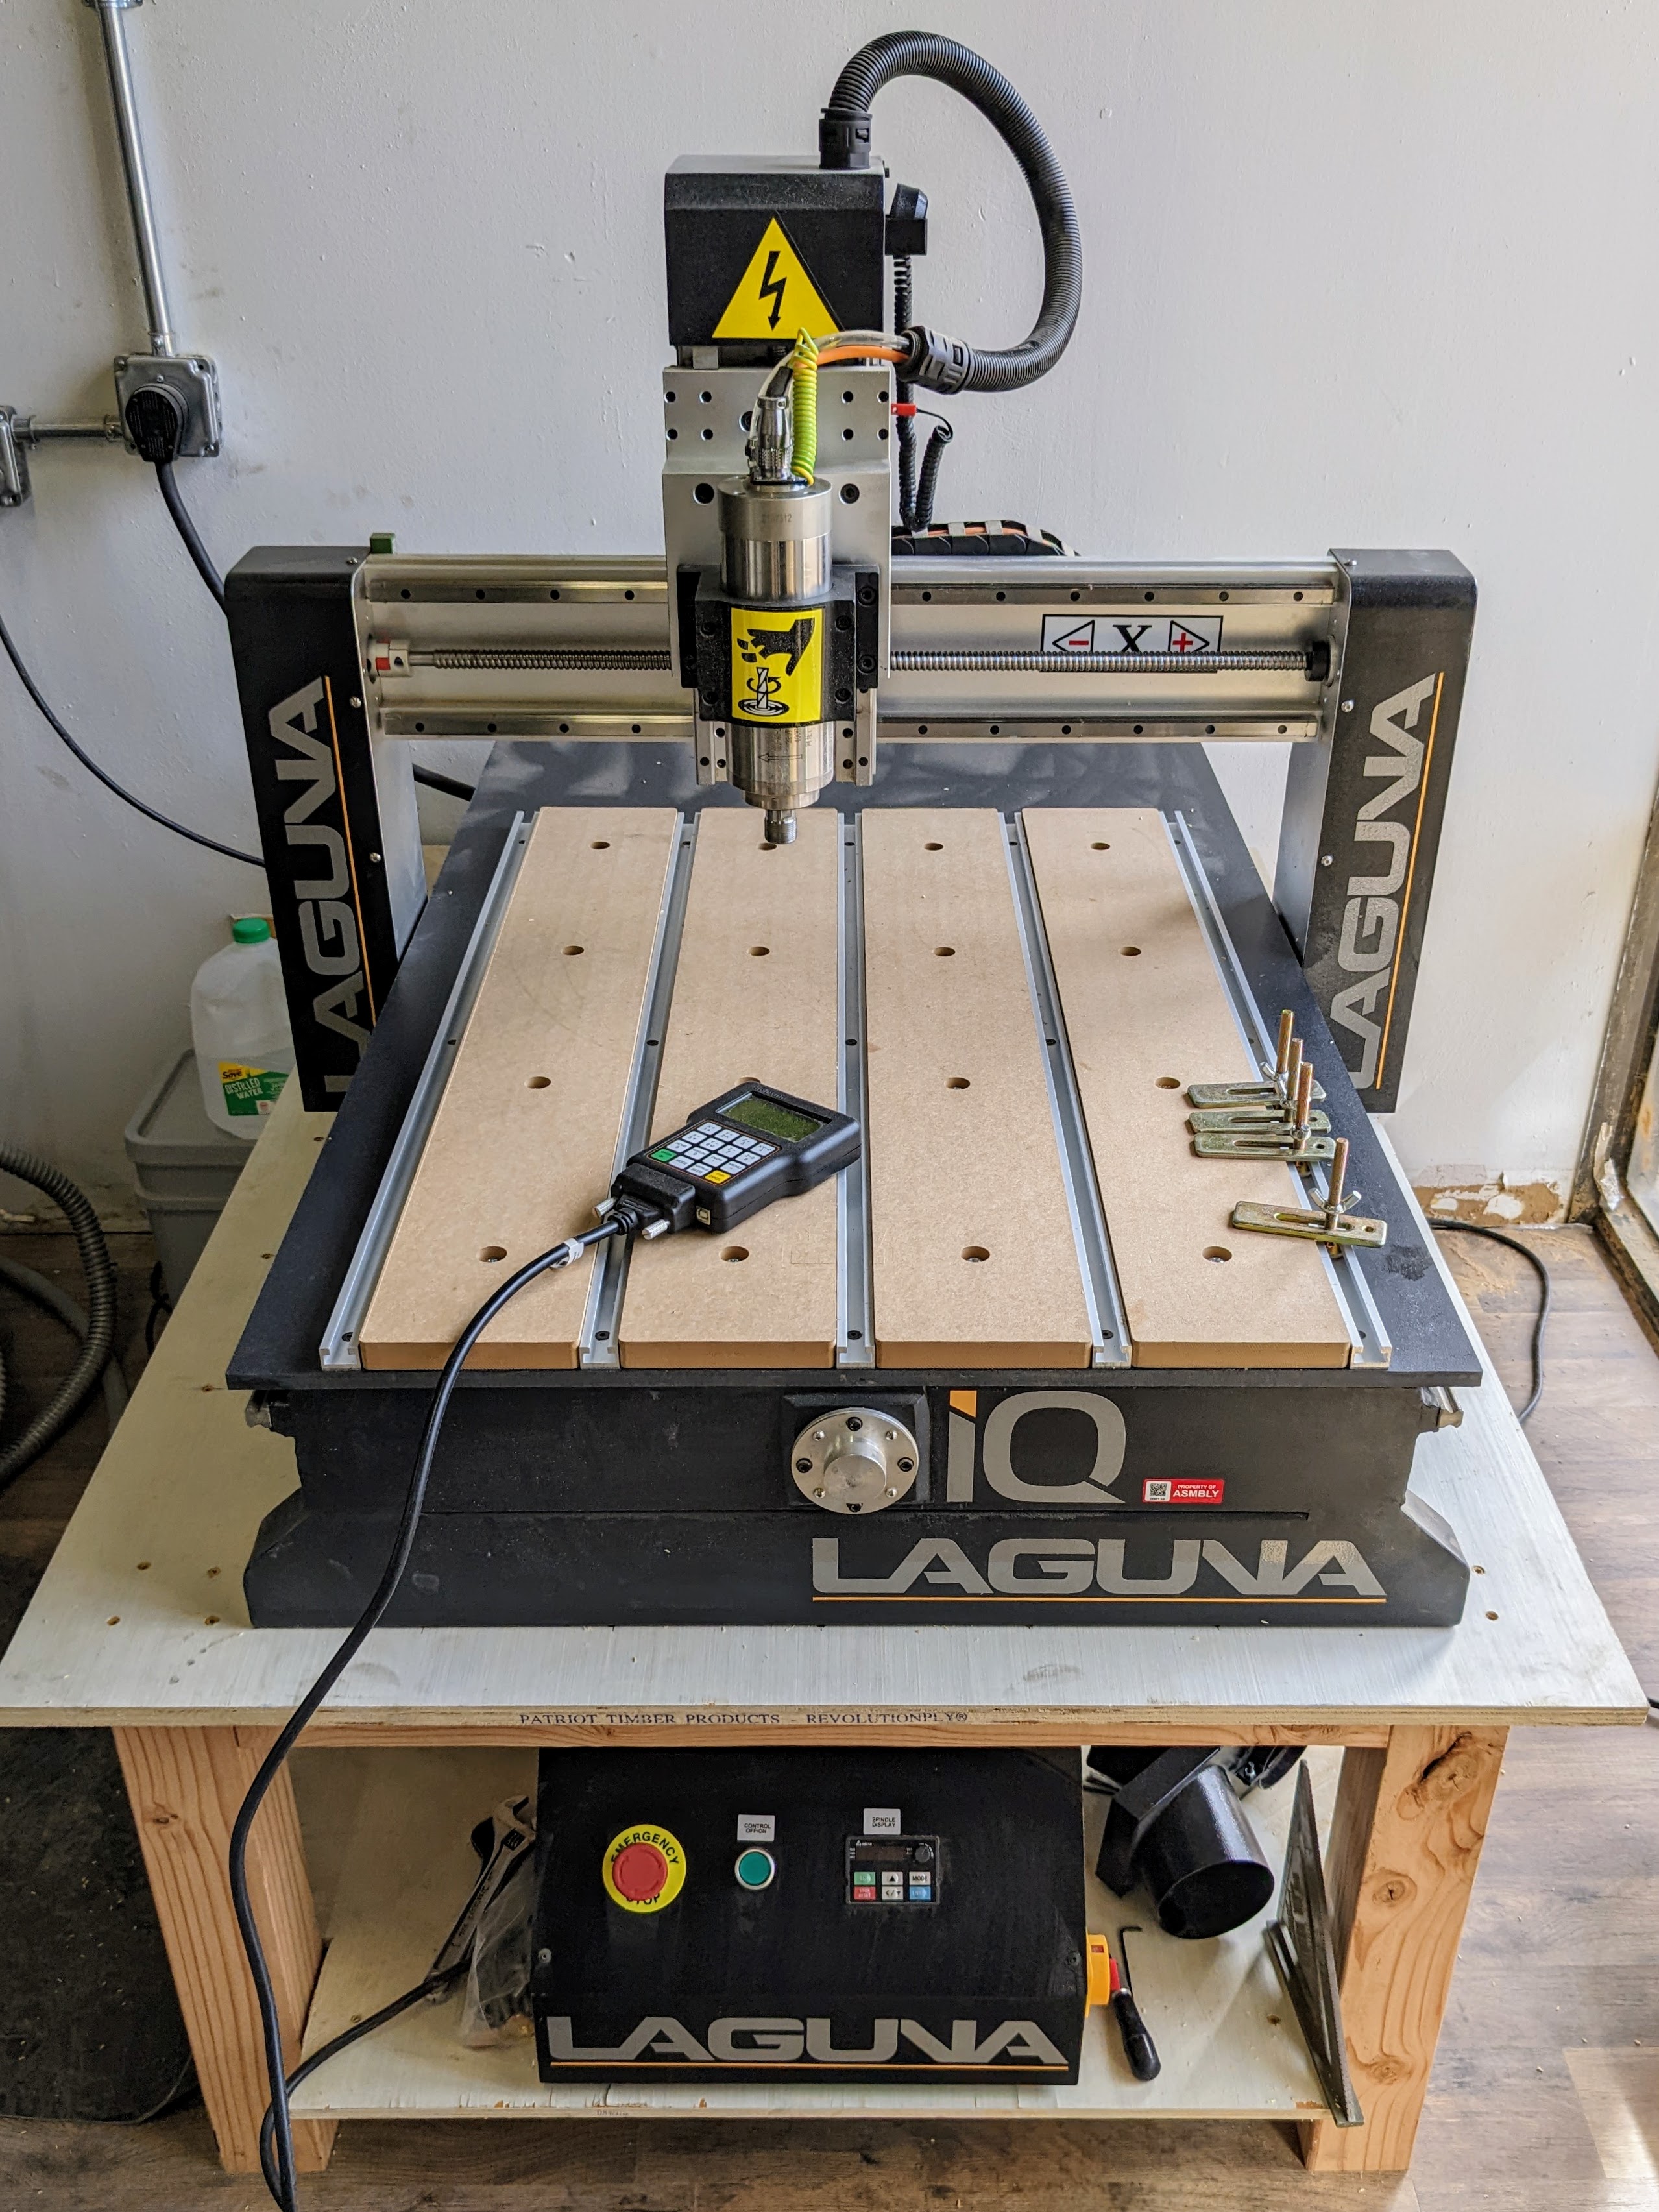
The spindle/Z assembly moves left and right across the horizontal gantry. On the front face of that gantry you have:
-
2 horizontal linear rails, one above the other.
-
The spindle/Z carriage rides on bearing blocks attached to those rails. Typically you will see two bearing cars per rail, so 4 X-axis bearing cars total.
-
1 X-axis ball screw, running horizontally across the gantry, essentially between/alongside those two rails.
-
The X ball nut is attached to the moving spindle/Z carriage.
Laguna currently lists an iQ replacement X-axis ball screw approximately 31¼ inches long, which matches this arrangement. (Laguna Tools Parts & Accessories)
So when servicing X, your lubrication targets are:
X1 — upper horizontal linear rail
Wipe the entire exposed polished rail surface and leave a very thin lubricant film.
X2 — lower horizontal linear rail
Same treatment.
X3 — four bearing-car wipers
Clean around the ends of the bearing blocks where they contact the rails. You are mainly removing accumulated oily sawdust here, not trying to force solvent into them.
X4 — horizontal X ball screw
Clean the helical grooves that you can reach, then apply a very light film of lubricant and traverse X back and forth.
The ball screw is the threaded/helical shaft, not either of the smooth guide rails.
Y axis — front to back
This one is less obvious because much of it is alongside/below the work table.
The entire gantry travels toward and away from you. There is a linear guide system on each side of the machine:
             BACK
              ↑ Y+

   Y rail                    Y rail
   ======                    ======
      │       work area         │
      │                         │
      │                         │
   ======                    ======

              ↓ Y-
             FRONT
You therefore have:
-
Left Y linear rail
-
Right Y linear rail
-
Bearing cars underneath/inside the two gantry uprights.
-
Normally two cars on each side, giving approximately 4 Y bearing cars.
-
One Y-axis ball screw, running front-to-back and driving the gantry.
Laguna specifically sells separate “Linear Guides for Y-axis IQ CNC” and a 50¾-inch iQ 2×3 Y-axis ball screw, confirming the Y-axis arrangement. (Laguna Tools Parts & Accessories)
The Y servicing points are therefore:
Y1 — left-side linear rail
Clean the exposed top/running surfaces along its entire length.
Y2 — right-side linear rail
Same.
Y3 — left-front and left-rear bearing cars
Y4 — right-front and right-rear bearing cars
Move the gantry fore and aft so that areas normally covered by the bearing cars become accessible for cleaning.
Y5 — Y ball screw
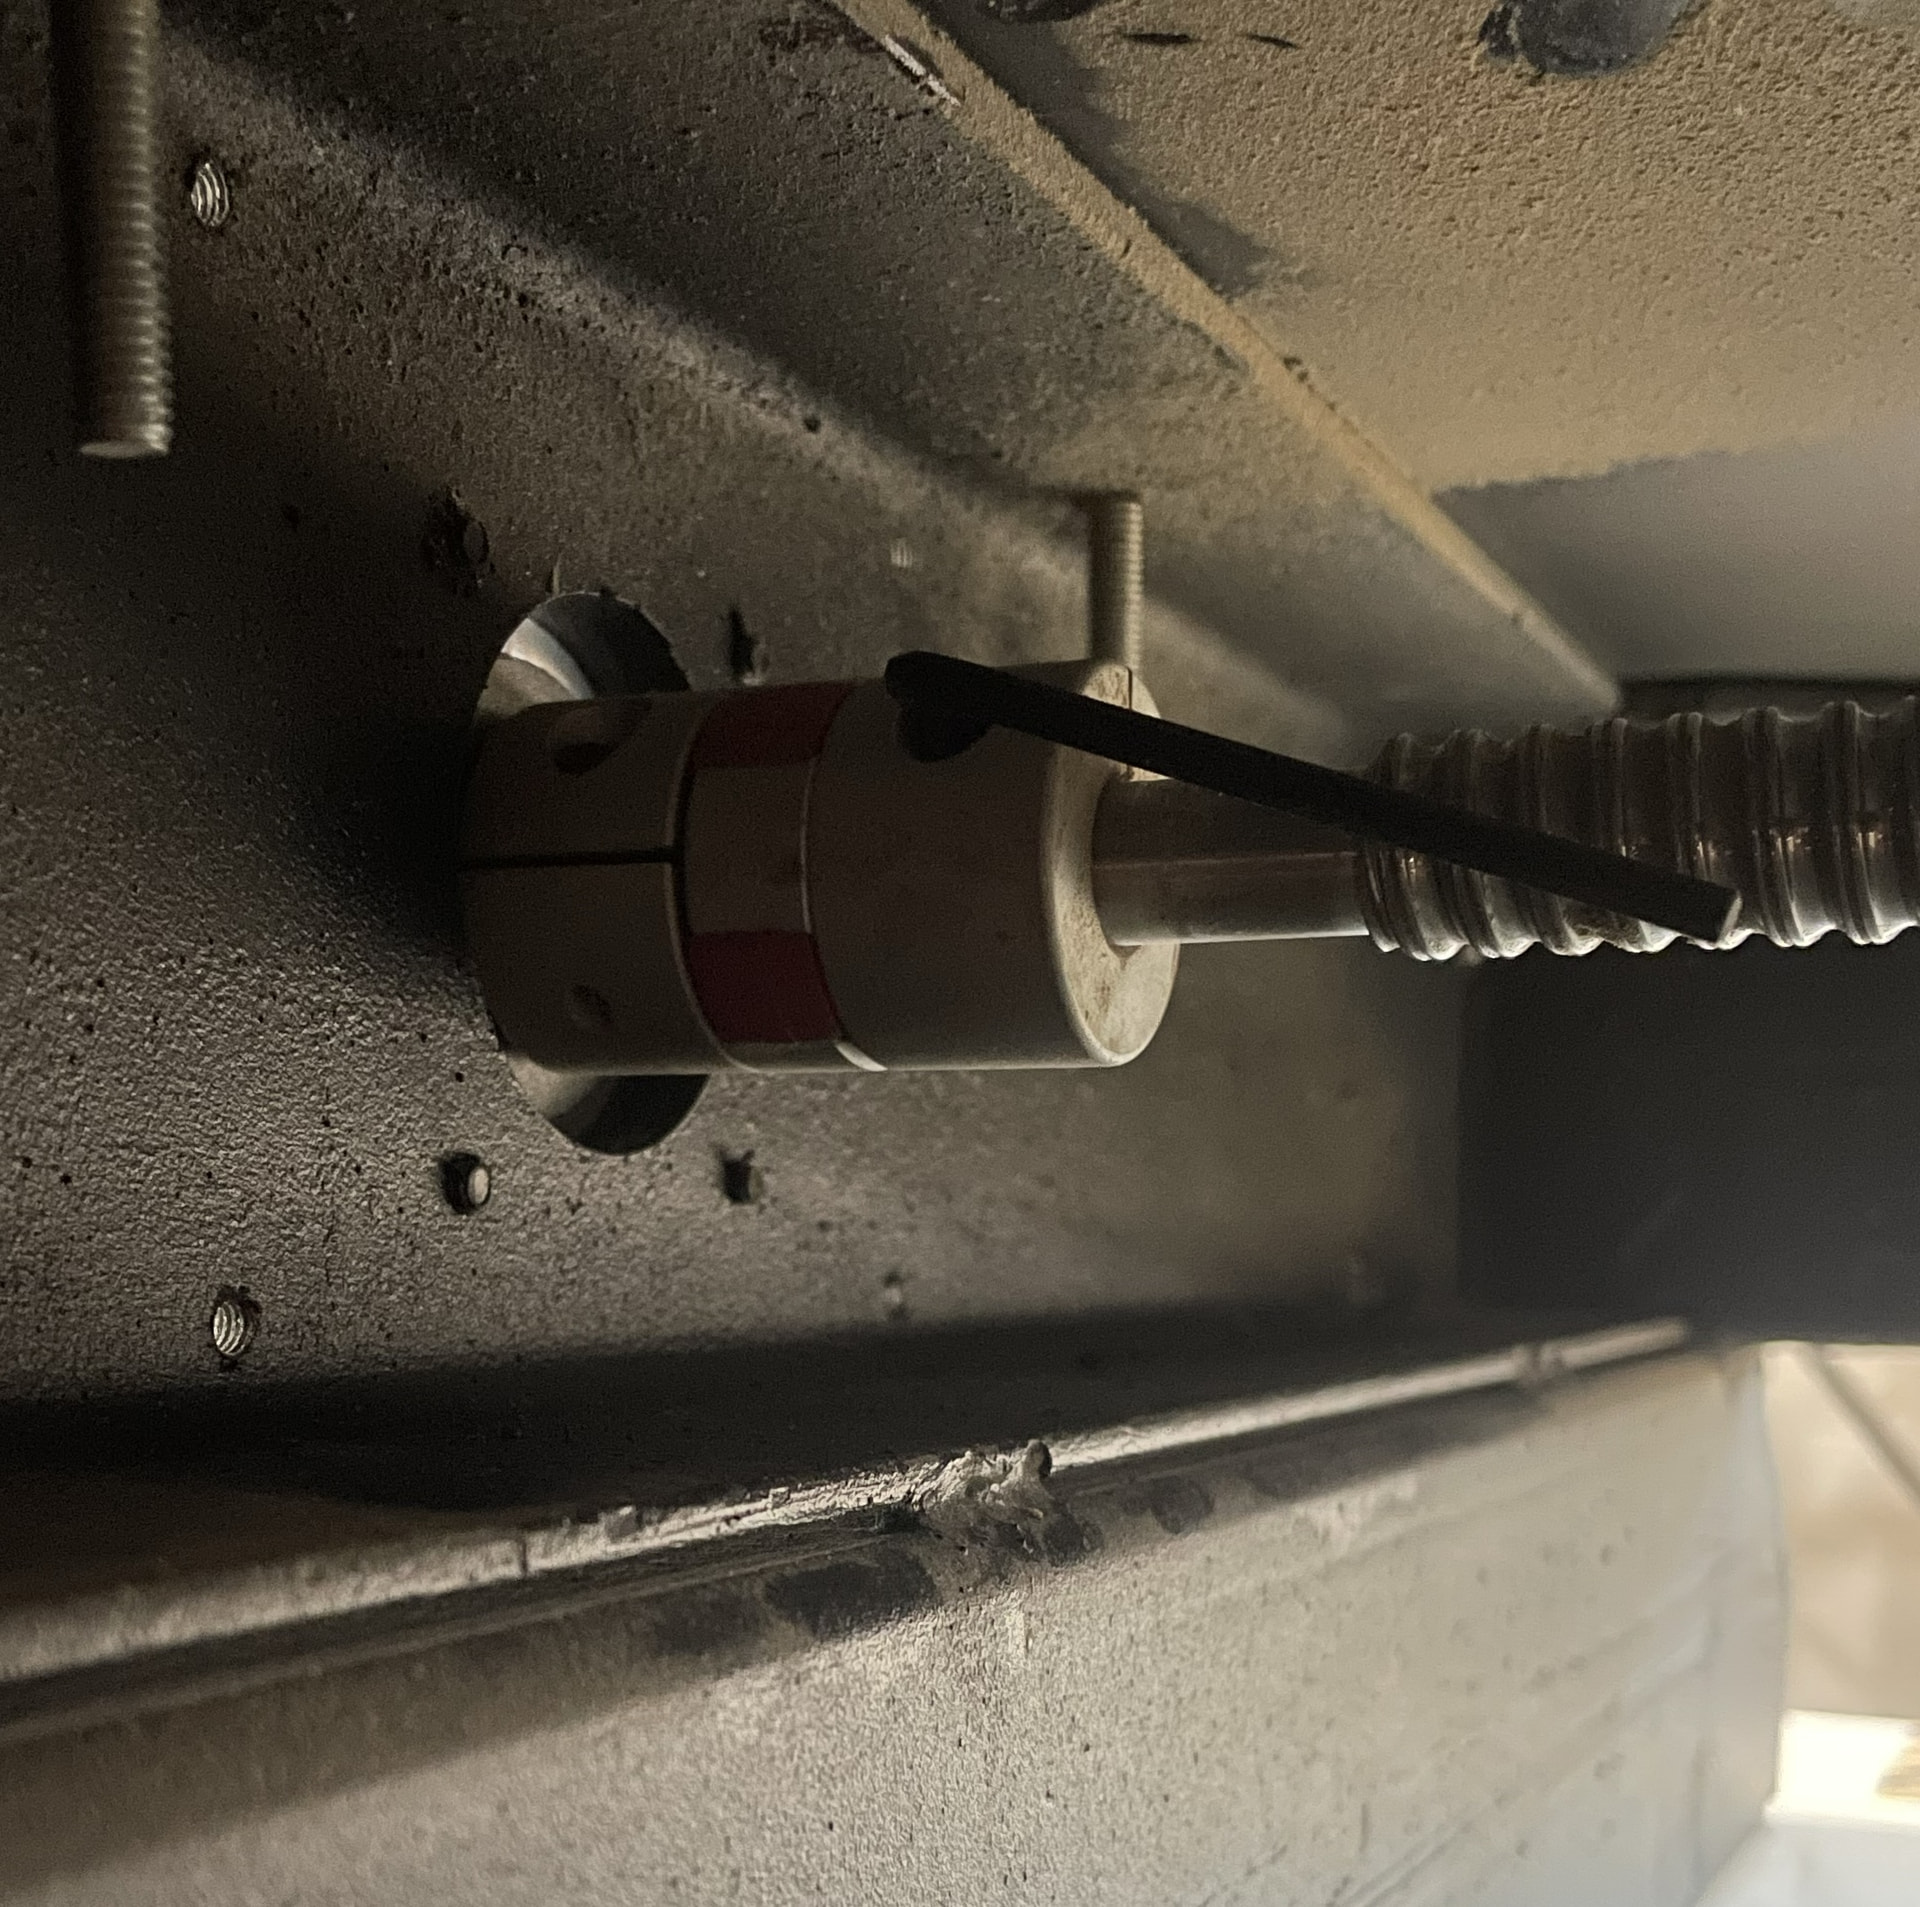
This is the long front-to-back screw. Depending on the exact production revision of your iQ, access is considerably less convenient than X. Don’t confuse it with a guide rail. Follow the screw from its drive motor/coupler toward the ball nut attached to the gantry.
Clean the screw grooves and lightly lubricate them. Moving Y through most of its travel distributes lubricant through the ball nut.
Z axis — behind the spindle
The Z mechanism is the smallest and tends to collect a surprising amount of dust because it is immediately above the cutter.
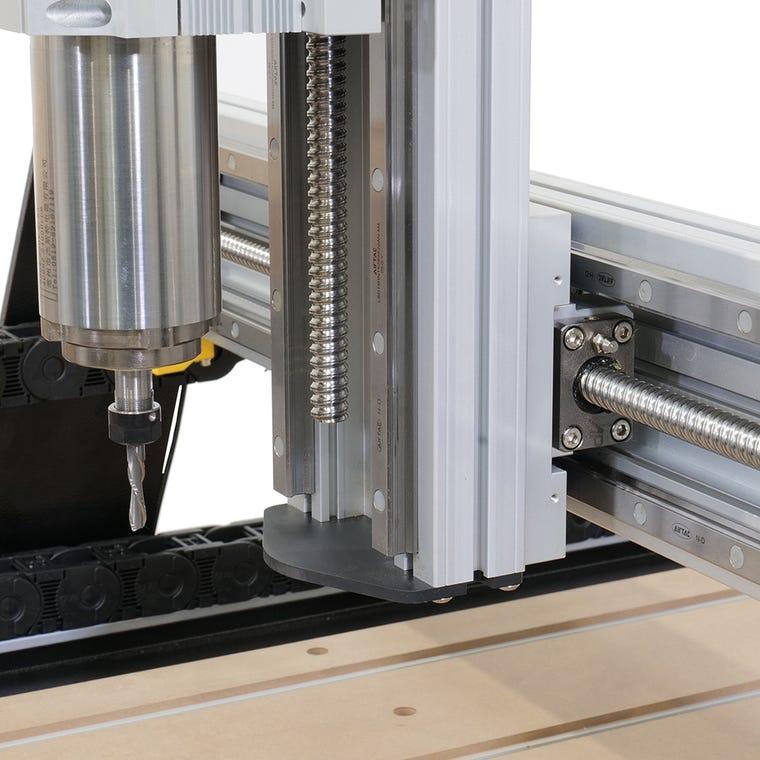
Behind/alongside the spindle you should find:
-
2 vertical linear rails
-
Usually 4 bearing cars, two on each rail
-
1 vertical Z ball screw, between the rails
-
One Z ball nut attached to the moving spindle plate
Laguna lists a separate 19-inch iQ Z-axis ball screw. (Laguna Tools Parts & Accessories)
So:
Z1 — left vertical rail
Z2 — right vertical rail
Z3 — four Z bearing-car wipers
Z4 — vertical ball screw
This area deserves especially careful vacuuming before lubrication. Dust from cutting falls directly into it.
That gives you the complete basic lubrication map
For the older iQ 2×3, I would inventory it this way:
| Axis |
Linear rails |
Bearing cars |
Ball screws |
| X |
2 |
~4 |
1 |
| Y |
2 |
~4 |
1 |
| Z |
2 |
~4 |
1 |
| Total |
6 |
~12 |
3 |
The six rails and three ball screws are the principal lubrication surfaces. Laguna’s maintenance documentation specifically calls for lubricating the bearing surfaces/linear guides and ball screws, and its professional preventative-maintenance procedure separately says to clean/lubricate rails, inspect bearing cars, and inspect/lubricate the ball screw and check the ball nut for play. (device.report)
One distinction is important: I would not yet call all 12 bearing blocks separate “grease points.” Some versions of the bearing blocks used by Laguna have lubrication provisions, but Laguna’s routine iQ instructions tell you to lubricate the guide/bearing surfaces, rather than telling you to connect a grease gun to every bearing car. Laguna has used both LSA15R and HGW15-type blocks on iQ machines. (Laguna Tools Parts & Accessories)
On your Asmbly iQ specifically
The photo on the Asmbly Wiki is clearly the older iQ machine we’re talking about, rather than the later enclosed/ATC iQ Pro. (Asmbly Wiki)
I would like to make this more useful for maintenance at the makerspace: take three photos of your actual machine—
-
straight at the front of the gantry,
-
down the left or right side of the bed with the gantry near the opposite end,
-
close-up behind/alongside the spindle.
Upload those here and I can mark X1–X4, Y1–Y5 and Z1–Z4 directly on your actual Laguna, including exactly where to put lubricant and, just as importantly, where not to put it. That would also let me verify whether your particular bearing cars have grease fittings rather than guessing from Laguna’s production variants.